

so here i go, This is where i am gonna post my first "proper" Aircraft build in many years,
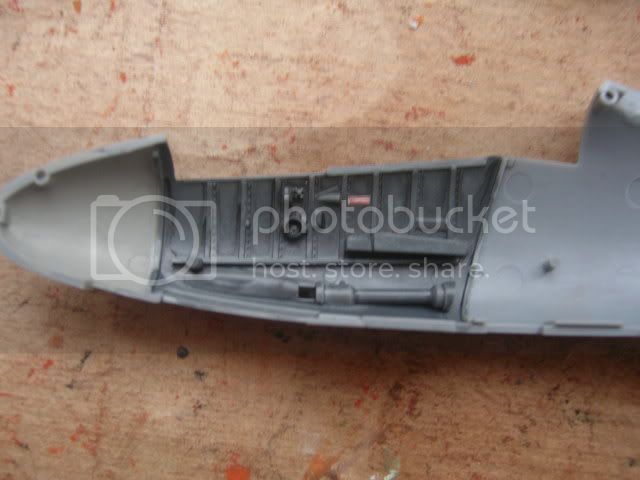
i am planning to plumb up the engine, and i can add some wires here and there, if anyone knows of anything that is easily corrected, or if there are any certain wires please let me know:D
btw im using brushes for this, hoping to get a new airbrush for christmas, the kit i am getting tomorrow, bright and early,
a simple question to start with, are there any alternatives to solvaset, or any decal setting soloution, ? i have head a smidgeon of a rumor that vinegar works,.
i hope you enjoy the build,
James
World War II
Discuss WWII and the era directly before and after the war from 1935-1949.
Discuss WWII and the era directly before and after the war from 1935-1949.
Hosted by Rowan Baylis
Tamiya 1/48 Heinkel He 162

lespauljames

Joined: January 06, 2007
KitMaker: 3,661 posts
AeroScale: 369 posts

Posted: Tuesday, November 04, 2008 - 12:03 PM UTC

lespauljames
Joined: January 06, 2007
KitMaker: 3,661 posts
AeroScale: 369 posts
Posted: Wednesday, November 05, 2008 - 01:40 AM UTC
hello some basic colurs blocked in on the cockpit walls now:)
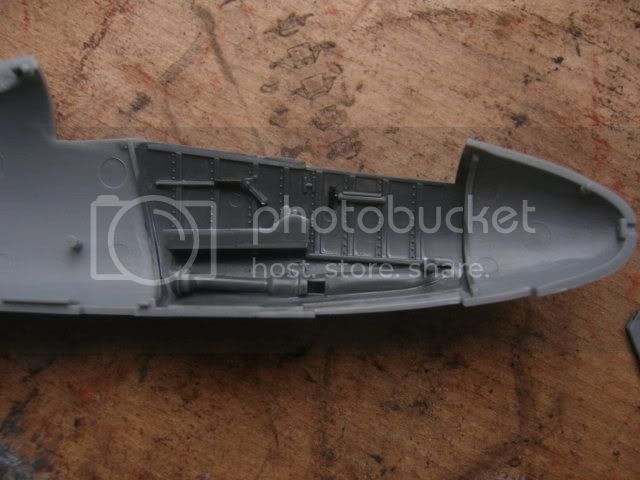

and some mini sub assemblies
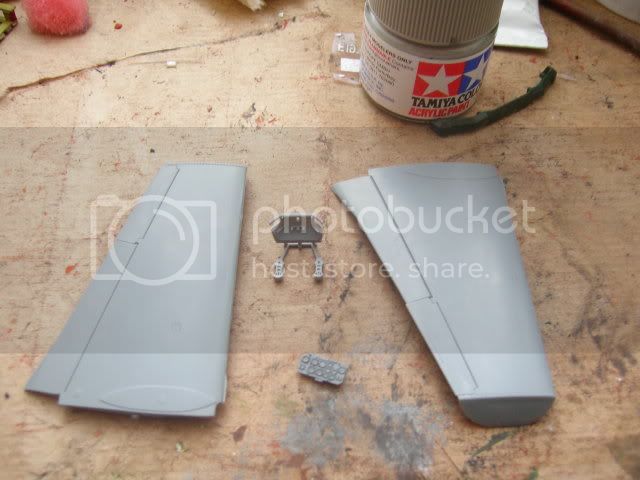
i thought this aplane would be a lot smaller tbh
vinegar question still stands
and some mini sub assemblies
i thought this aplane would be a lot smaller tbh
vinegar question still stands
lespauljames
Joined: January 06, 2007
KitMaker: 3,661 posts
AeroScale: 369 posts
Posted: Wednesday, November 05, 2008 - 03:38 AM UTC
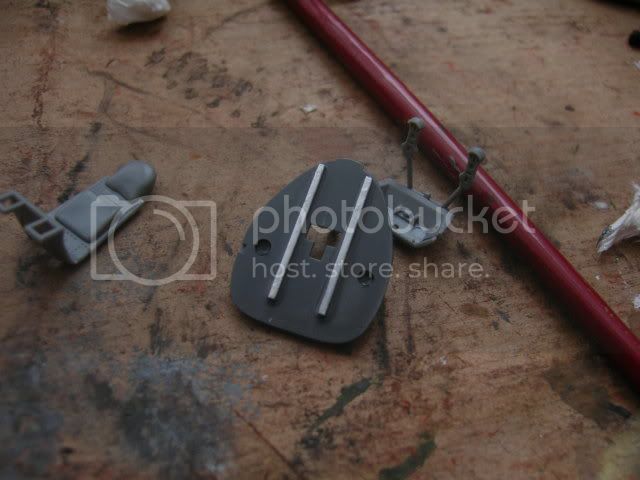
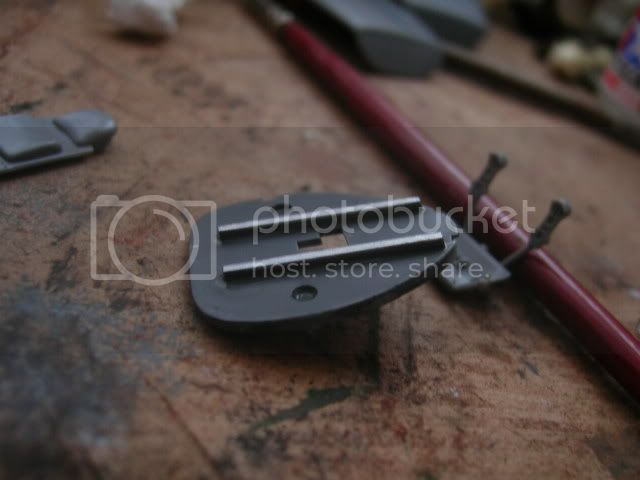
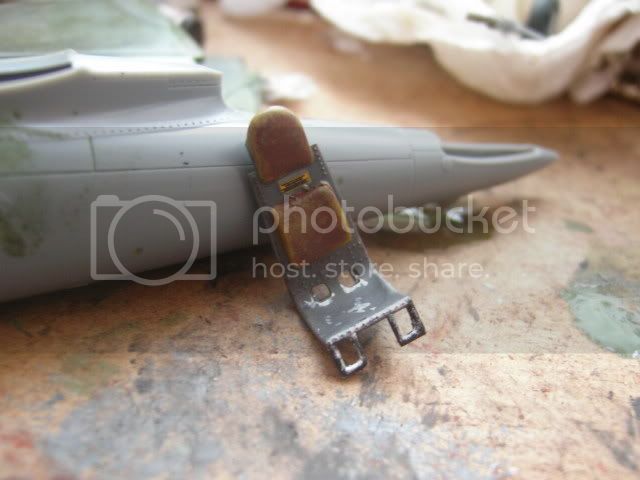
some detail painting:D

lespauljames
Joined: January 06, 2007
KitMaker: 3,661 posts
AeroScale: 369 posts
Posted: Wednesday, November 05, 2008 - 04:08 AM UTC
the tiding in the last picture looks a lot better in "real life":D

jaypee

Joined: February 07, 2008
KitMaker: 1,699 posts
AeroScale: 1,384 posts

Posted: Wednesday, November 05, 2008 - 04:37 AM UTC
looking good, nice detail on the controls
Not sure about vinegar but microset has a smell and taste reminiscent of chemistry class. probably weak acetic acid or vinegar. just basically wets the surface and breaks down fats (like dirty fingerprints),
microsol is something else more acetone-like.
Not sure about vinegar but microset has a smell and taste reminiscent of chemistry class. probably weak acetic acid or vinegar. just basically wets the surface and breaks down fats (like dirty fingerprints),
microsol is something else more acetone-like.

lespauljames
Joined: January 06, 2007
KitMaker: 3,661 posts
AeroScale: 369 posts
Posted: Wednesday, November 05, 2008 - 05:02 AM UTC
the vinegar seems to be working, as the dials have become seperate for some reason, and seems to be sinking down a lil,
ill wait and see tomorrow if it has doen it properly

ill wait and see tomorrow if it has doen it properly

Bigskip

Joined: June 27, 2006
KitMaker: 2,487 posts
AeroScale: 575 posts
Posted: Wednesday, November 05, 2008 - 05:07 AM UTC
Jimmy
I was gonna say suck it and see on a spare decal, but it look like you've passed that approach already.
Andy
I was gonna say suck it and see on a spare decal, but it look like you've passed that approach already.
Andy

lespauljames
Joined: January 06, 2007
KitMaker: 3,661 posts
AeroScale: 369 posts
Posted: Wednesday, November 05, 2008 - 05:22 AM UTC
hehe well i like painting the dials so if it went wrong it wouldnt matter:)
but now the panel has dissapeared
but now the panel has dissapeared
jaypee
Joined: February 07, 2008
KitMaker: 1,699 posts
AeroScale: 1,384 posts
Posted: Wednesday, November 05, 2008 - 05:36 AM UTC
There's no such thing as the carpet monster! It's there somewhere 
lespauljames
Joined: January 06, 2007
KitMaker: 3,661 posts
AeroScale: 369 posts
Posted: Wednesday, November 05, 2008 - 05:50 AM UTC
i think it may have been the moddeling space monster 
i have looked in the areas where it more than likely would have got to, like under my amp, or little rug, not i am gonna have a look in the extremities, althogh i think it may have stuck to my arm and jumped off somewhere else!
i have looked in the areas where it more than likely would have got to, like under my amp, or little rug, not i am gonna have a look in the extremities, althogh i think it may have stuck to my arm and jumped off somewhere else!
lespauljames
Joined: January 06, 2007
KitMaker: 3,661 posts
AeroScale: 369 posts
Posted: Thursday, November 06, 2008 - 03:56 AM UTC
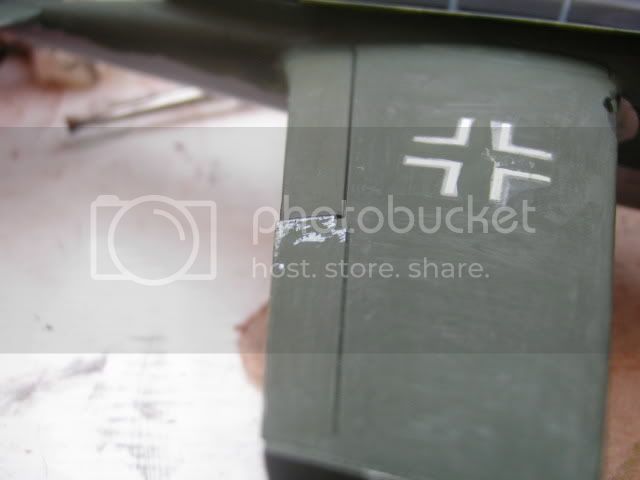
Found it, but the transfer dissapeared.....
some pics,


but the transfer dissapeared.....some pics,

modelmaidenwillow
Joined: March 26, 2008
KitMaker: 71 posts
AeroScale: 4 posts

Posted: Thursday, November 06, 2008 - 05:54 AM UTC
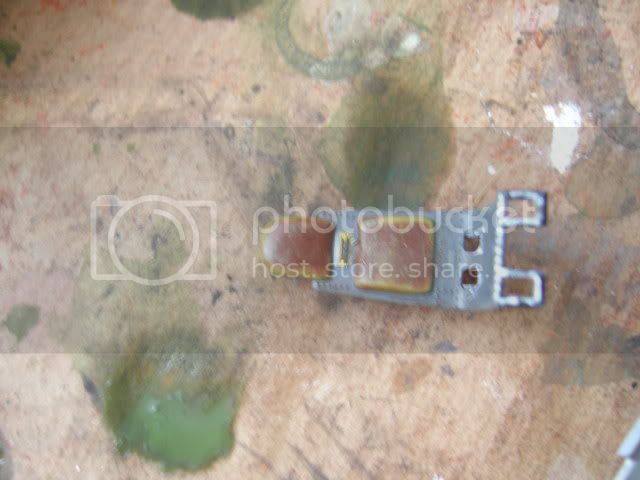
Good seats. look nice and old Paint job looks quite smooth too.keep up the good work. should look good when it's finished 
Paint job looks quite smooth too.keep up the good work. should look good when it's finished lespauljames
Joined: January 06, 2007
KitMaker: 3,661 posts
AeroScale: 369 posts
Posted: Thursday, November 06, 2008 - 06:00 AM UTC
shoulld look good dosent mean it will !!:( lol
lespauljames
Joined: January 06, 2007
KitMaker: 3,661 posts
AeroScale: 369 posts
Posted: Thursday, November 06, 2008 - 11:05 PM UTC
small update, the finish isnt what i would like, so om definatelt gonna get me an airbrush soon,
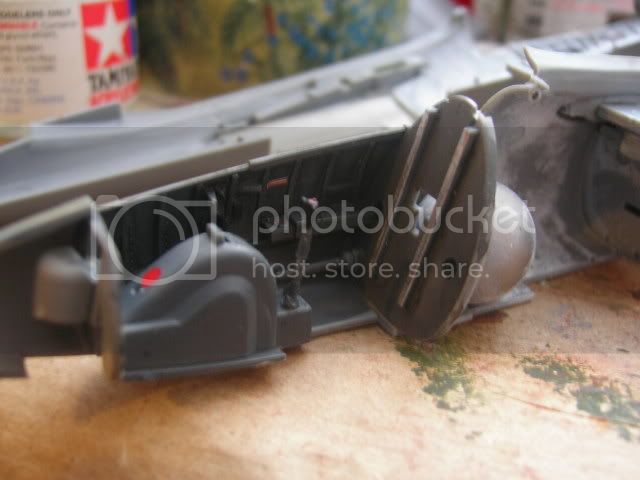
yuo may be confused at my odd building style, but when painting planes i usially do it in sections, hence the relatively inpainted tail and undercarrigr
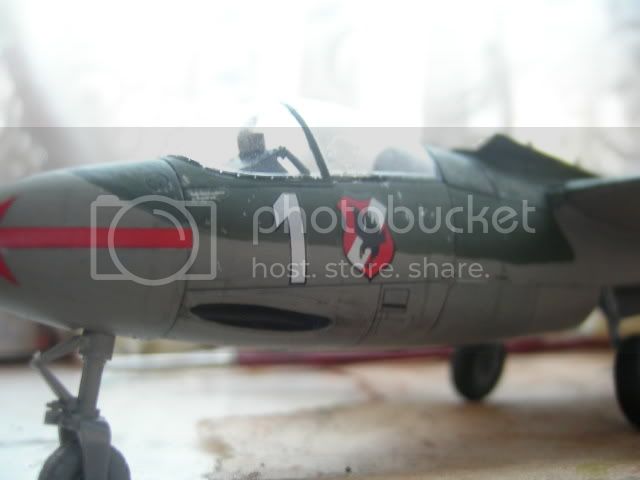


yuo may be confused at my odd building style, but when painting planes i usially do it in sections, hence the relatively inpainted tail and undercarrigr
lespauljames
Joined: January 06, 2007
KitMaker: 3,661 posts
AeroScale: 369 posts
Posted: Friday, November 07, 2008 - 11:19 AM UTC
nobody
lol
lol
lespauljames
Joined: January 06, 2007
KitMaker: 3,661 posts
AeroScale: 369 posts
Posted: Monday, November 10, 2008 - 07:46 AM UTC
if i did a ww1 peice would i gets more help, or a p 47?

calvin2000

Joined: July 25, 2007
KitMaker: 886 posts
AeroScale: 332 posts

Posted: Monday, November 10, 2008 - 01:05 PM UTC
You did really good for the first serious one.. An airbrush will help allot but put a coat of future on it and that will surprise you with how it will look.
Later,
Kelly
Later,
Kelly
thehannaman
Joined: April 04, 2006
KitMaker: 279 posts
AeroScale: 194 posts
Posted: Monday, November 10, 2008 - 03:54 PM UTC
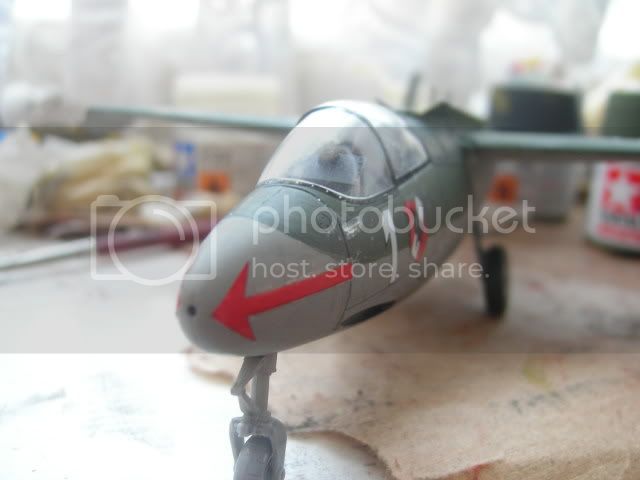
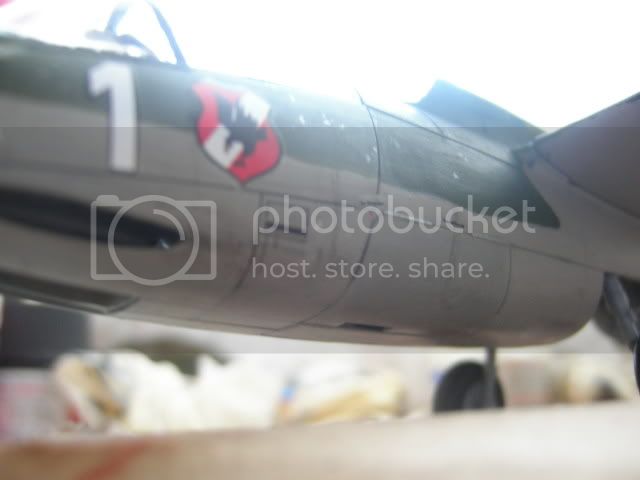
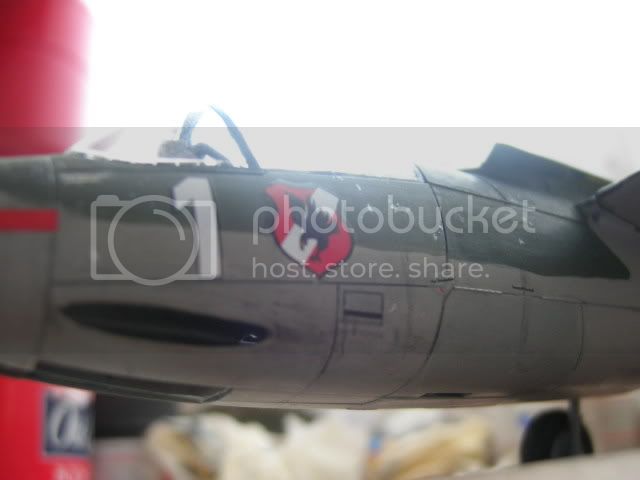
I think the model is executed fairly well. The national insignia decals are a litle rough however. There is significant silvering and misalignment. That detracts from the rest of the build. Try putting decals over a gloss surface next ime to avoid silvering. All is not lost though, try perforating the decals slightly to get some softening agent or setter under them. That might eliminate some of the silvering.
Good work otherwise!
Good work otherwise!
lespauljames
Joined: January 06, 2007
KitMaker: 3,661 posts
AeroScale: 369 posts
Posted: Tuesday, November 11, 2008 - 11:13 AM UTC
hello i tried to reply earlier but my net screwed up when posting!!
wouldnt the future make it glossy, or is glossy good on planes? i havent had too much luck with gloss, i figured im okay at cockpits, just not brushpainting the fuselage and wings, hmm, im hoping to get an aitbrush at xmas, ( a good one) so i can pre shade e.t.c, i ahve still got the engine to finish:) i feel really nooby, having made armor for so long , to retur to something im even more useless at,
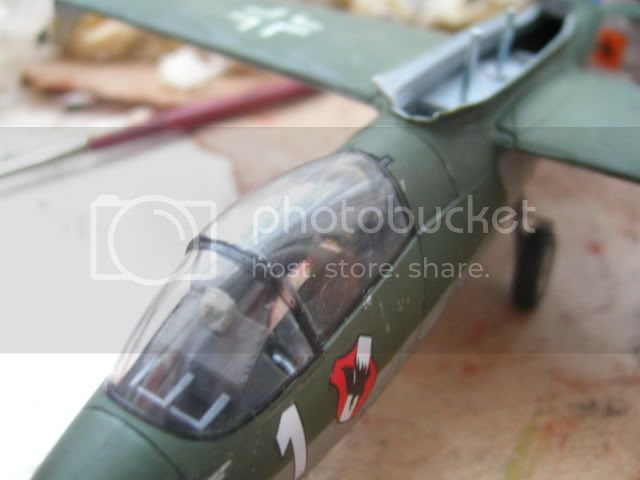
are the chips ok? i seem to think they are a bit naff
wouldnt the future make it glossy, or is glossy good on planes? i havent had too much luck with gloss, i figured im okay at cockpits, just not brushpainting the fuselage and wings, hmm, im hoping to get an aitbrush at xmas, ( a good one) so i can pre shade e.t.c, i ahve still got the engine to finish:) i feel really nooby, having made armor for so long , to retur to something im even more useless at,
are the chips ok? i seem to think they are a bit naff
thehannaman
Joined: April 04, 2006
KitMaker: 279 posts
AeroScale: 194 posts
Posted: Tuesday, November 11, 2008 - 02:04 PM UTC
The future would make it glossy. However the idea is to put decals over a glossy surface. Once they have set, you go over everything with whatever clear coat you like or need.
Don't get discouraged. This is a great start and I look forward to more of your builds. I like the chipping as it is realistically random in spacing and size.
Keep the good work up.
Don't get discouraged. This is a great start and I look forward to more of your builds. I like the chipping as it is realistically random in spacing and size.
Keep the good work up.
vanize
Joined: January 30, 2006
KitMaker: 1,954 posts
AeroScale: 1,163 posts
Posted: Tuesday, November 11, 2008 - 02:30 PM UTC
great build for your first serious attempt in a while.
don't get too discouraged by lack of replies - sometimes posts fall thru the cracks, and then sometimes Aeroscale is pretty empty for a bit. Also you choose a subject that fewer people know much about.
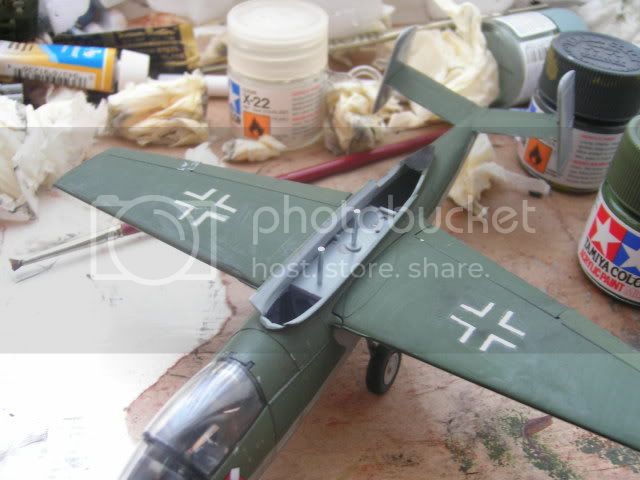
as for tips... the biggest one i have for you is research. the plane you are modeling was built late in the war, was not operational very long before wars end, and the airframe was made mostly of "non-strategic" materials. that means there would be minimal wear/weathering, and if there were chipped paint - it would be showing primed laminated wood, not aluminum in most areas.
These jets were flown a handful of times at most, so while you did a fantastic job making the leather cushions on the seat look well worn (I am interested in your technique there), chances are that the leather looked fairly pristine during this planes operational life.
As for the decals - spray on a glass coat first and let it set. apply the decals and gently dab them when they in place to remove extra water from underneath. Then, while they are still a bit damp but solidly in place, carefully apply some decal softening solution to them. this partially dissolves the carrier film and makes it really snuggle down onto the surface as it evaporates. DO NOT TOUCH OR MOVE the decal once the softener has been applied - if it appears to crinkle, don't worry, it'll smooth out as it dries. Once the decals have set and are totally dry (wait a day), then clean off any extra decal glue or whatever that might have gotten on the model's paint surface and then spray it with a flat/semi-gloss/gloss clear coat tp protect the decals and give the final appearance you wish. You can, or course, paint the clear coats too, but you'll find the time saved and superior finish from a spray can (or, better yet, airbrush) is well worth the hassle of having to mask the clear parts and cost of the spray cans.
as for alternative to solvaset - there are several brands of decal film softeners out there and they all perform similarly (though some are stronger than others). while vinegar might work, i haven't used it, and frankly being cheap/thrifty rarely pays off in this hobby.
hope that helps.
and looks like you are off to a great (re)start really. that's a pretty solid build
don't get too discouraged by lack of replies - sometimes posts fall thru the cracks, and then sometimes Aeroscale is pretty empty for a bit. Also you choose a subject that fewer people know much about.
as for tips... the biggest one i have for you is research. the plane you are modeling was built late in the war, was not operational very long before wars end, and the airframe was made mostly of "non-strategic" materials. that means there would be minimal wear/weathering, and if there were chipped paint - it would be showing primed laminated wood, not aluminum in most areas.
These jets were flown a handful of times at most, so while you did a fantastic job making the leather cushions on the seat look well worn (I am interested in your technique there), chances are that the leather looked fairly pristine during this planes operational life.
As for the decals - spray on a glass coat first and let it set. apply the decals and gently dab them when they in place to remove extra water from underneath. Then, while they are still a bit damp but solidly in place, carefully apply some decal softening solution to them. this partially dissolves the carrier film and makes it really snuggle down onto the surface as it evaporates. DO NOT TOUCH OR MOVE the decal once the softener has been applied - if it appears to crinkle, don't worry, it'll smooth out as it dries. Once the decals have set and are totally dry (wait a day), then clean off any extra decal glue or whatever that might have gotten on the model's paint surface and then spray it with a flat/semi-gloss/gloss clear coat tp protect the decals and give the final appearance you wish. You can, or course, paint the clear coats too, but you'll find the time saved and superior finish from a spray can (or, better yet, airbrush) is well worth the hassle of having to mask the clear parts and cost of the spray cans.
as for alternative to solvaset - there are several brands of decal film softeners out there and they all perform similarly (though some are stronger than others). while vinegar might work, i haven't used it, and frankly being cheap/thrifty rarely pays off in this hobby.
hope that helps.
and looks like you are off to a great (re)start really. that's a pretty solid build
lespauljames
Joined: January 06, 2007
KitMaker: 3,661 posts
AeroScale: 369 posts
Posted: Wednesday, November 12, 2008 - 12:42 PM UTC
hello thanx for the reply,
i am getting a good ab soon i hope!!
the leathers is vallejo dark yellow, with vj flat brown washed on slowly, the drybrushed with dark yellow,
im not sure if im correct, but i think the fuselage was alu , and the wings wood on this 'plane
i tired vinegar with no luck !!
haha
thanks for the tips,
ill poke around in armor till i get my airbrush then!!
vanize
Joined: January 30, 2006
KitMaker: 1,954 posts
AeroScale: 1,163 posts
Posted: Wednesday, November 12, 2008 - 03:29 PM UTC
oop - i suppose the fuselage was aluminum after all!
tanks are good too - but the same technique works on armor models if you want good decals on them as well.
tanks are good too - but the same technique works on armor models if you want good decals on them as well.
lespauljames
Joined: January 06, 2007
KitMaker: 3,661 posts
AeroScale: 369 posts
Posted: Wednesday, November 12, 2008 - 08:24 PM UTC
Vance, the odd thing is, i never get silvering on my armour kits, never used future either,
i just dont see, how i cant transfer my armour weathering ( sans mud) to aircraft. it just dosent work for me, are the pro moddelers washes better for thsi?
i just dont see, how i cant transfer my armour weathering ( sans mud) to aircraft. it just dosent work for me, are the pro moddelers washes better for thsi?
 |

WEB HOSTING BY


Copyright ©2021 AeroScale and Kitmaker Network, a subsidiary of Silver Star Enterprises
All Rights Reserved. Please read our Conditions of Use and Privacy Policy.
All Rights Reserved. Please read our Conditions of Use and Privacy Policy.