_GOTOBOTTOM
World War II: USA
Aircraft of the United States in WWII.
Hosted by Rowan Baylis
Williams Bros. C-46 Build..
Red4
_VISITCOMMUNITY
California, United States
Joined: April 01, 2002
KitMaker: 4,287 posts
AeroScale: 1,164 posts
Posted: Tuesday, November 18, 2008 - 03:21 PM UTC
Alrighty then... After finishing my Connie I decided I was going to give my best effort to this kit. Now before you run away screaming, its not a bad kit. It just needs some TLC and patience which I plan to give it. So having said that, lets get started. I decided to start with the wings. Why? No particular reason, I just did. After some liberal sanding of all the mating surfaces I was rewarded with a pretty decent fit.
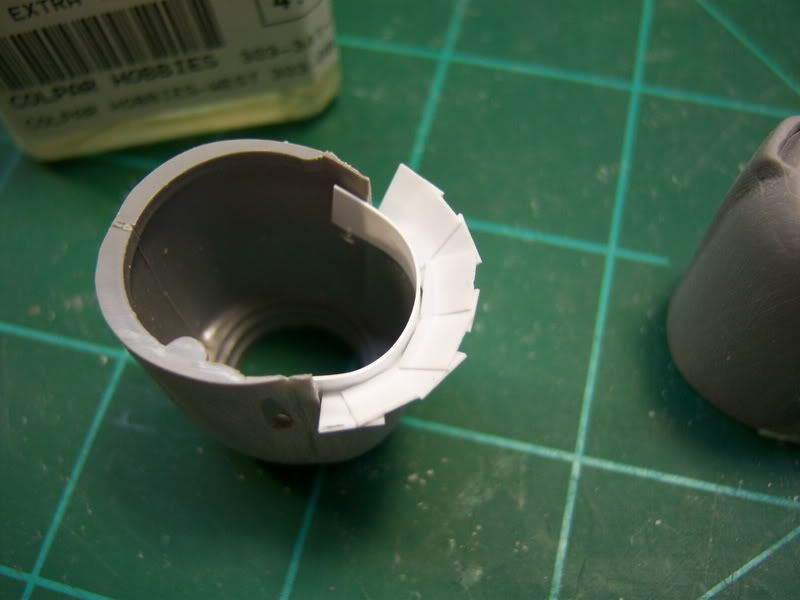
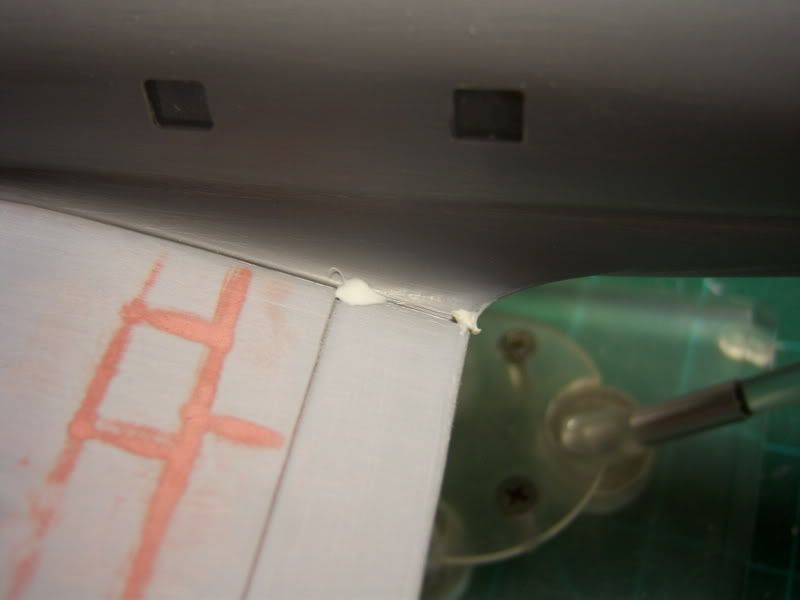
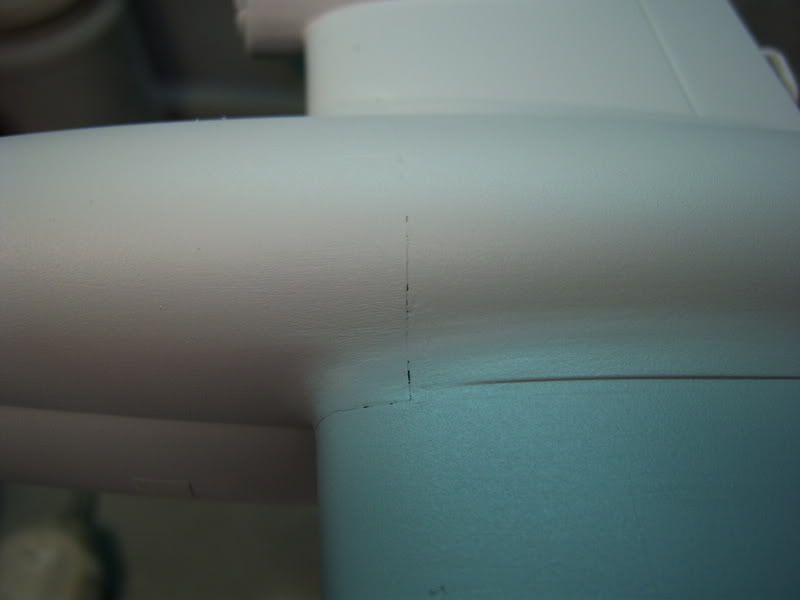
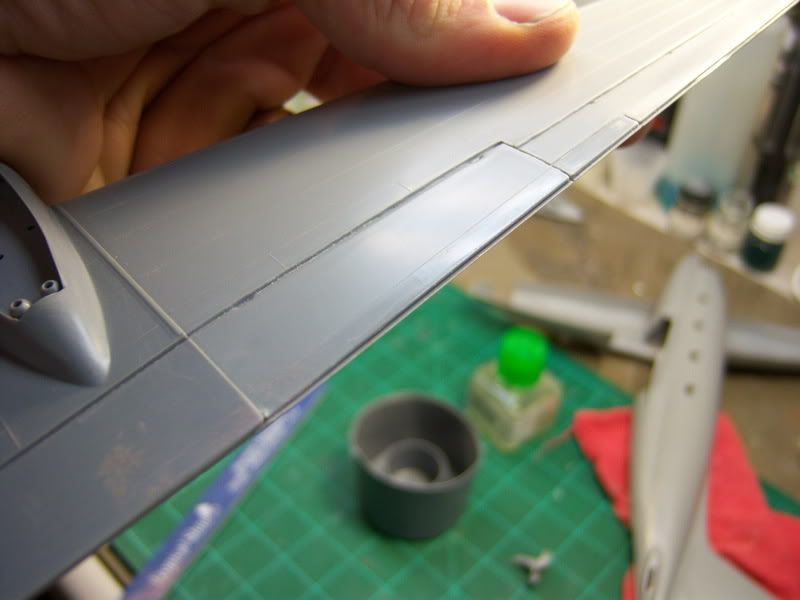
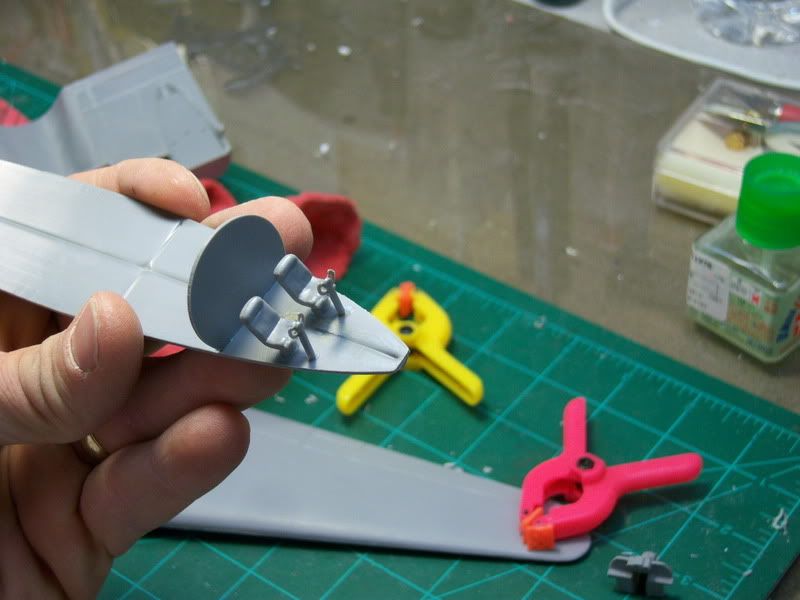
The re-inforcing strip here is the mating area between the two halves. Pretty nice if you ask me.

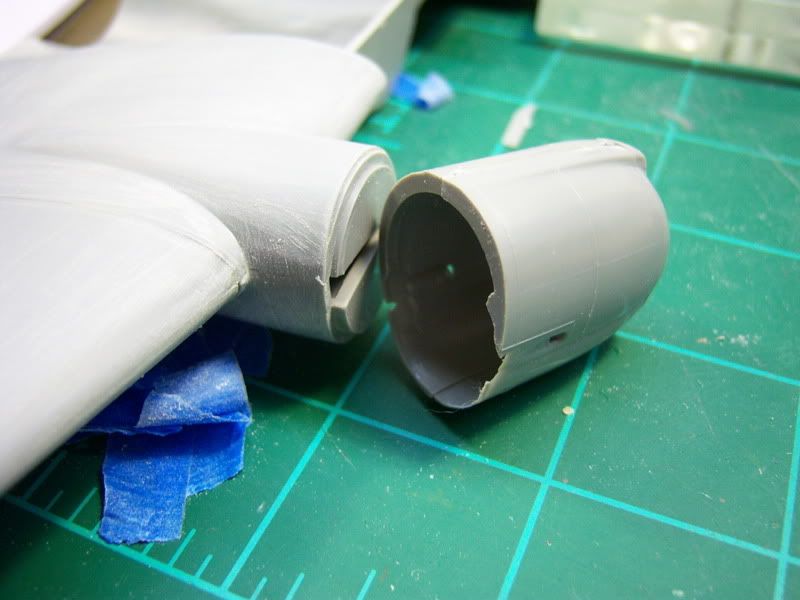
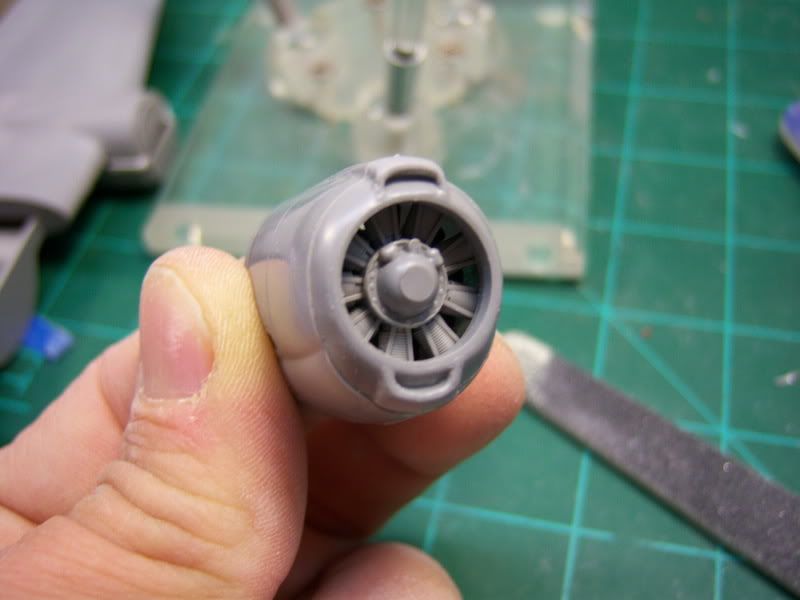
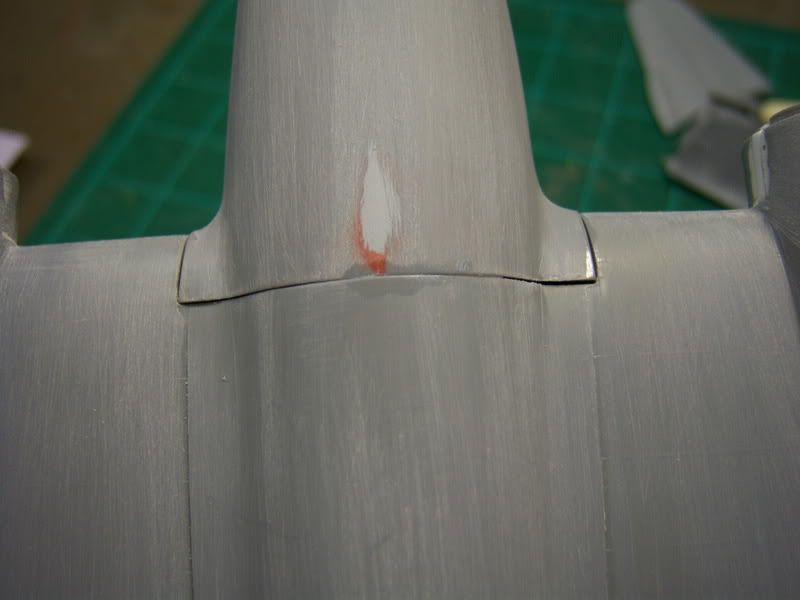
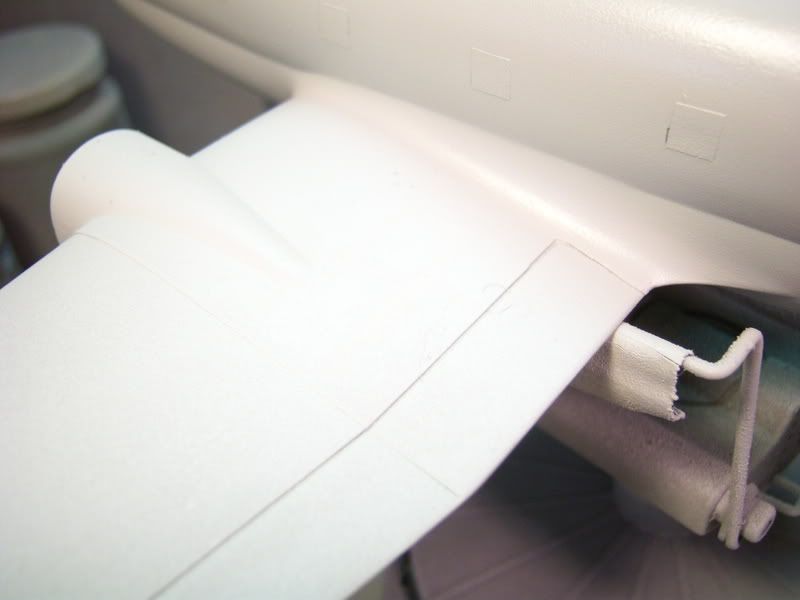
The Engine nacelles looked cockeyed to me though and I thought it was because of some extra material that was causing them to sit funny.

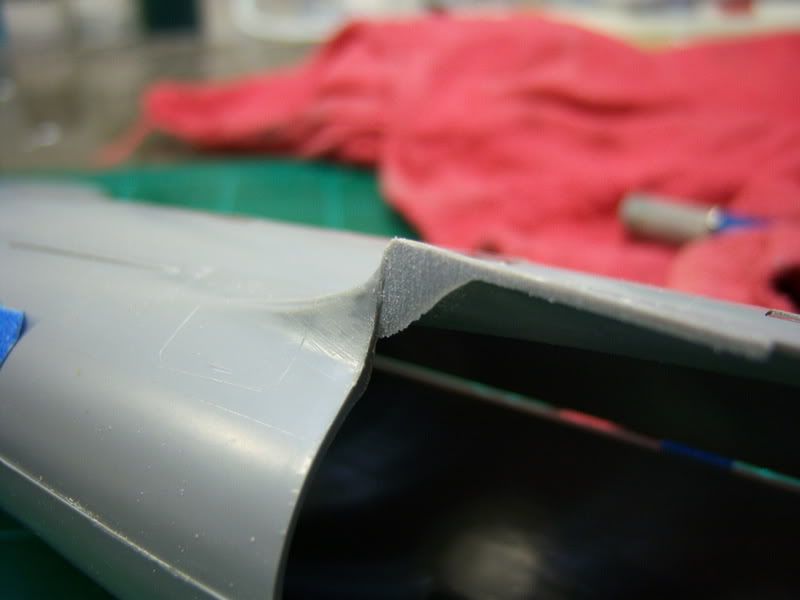
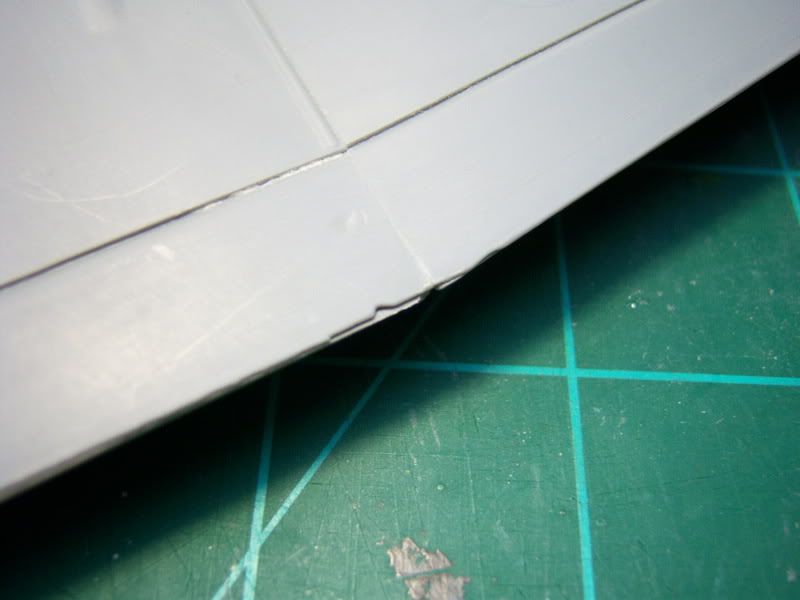
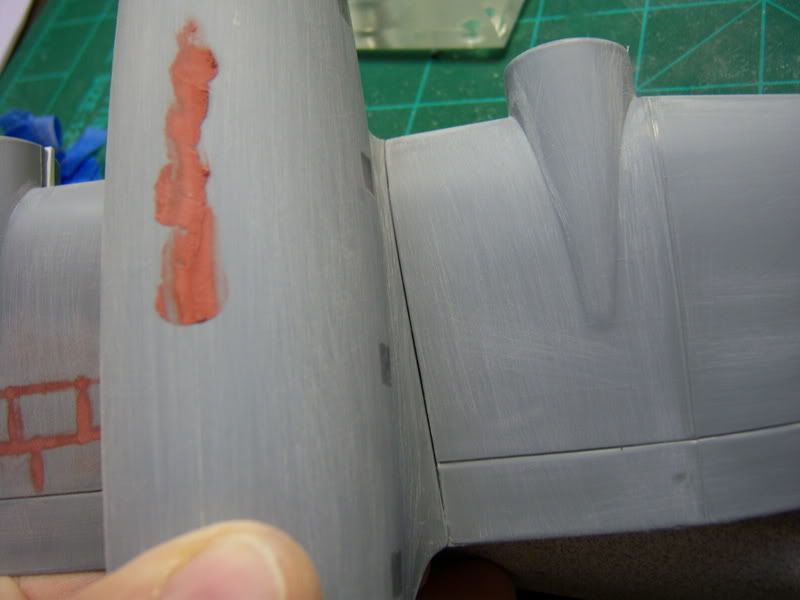
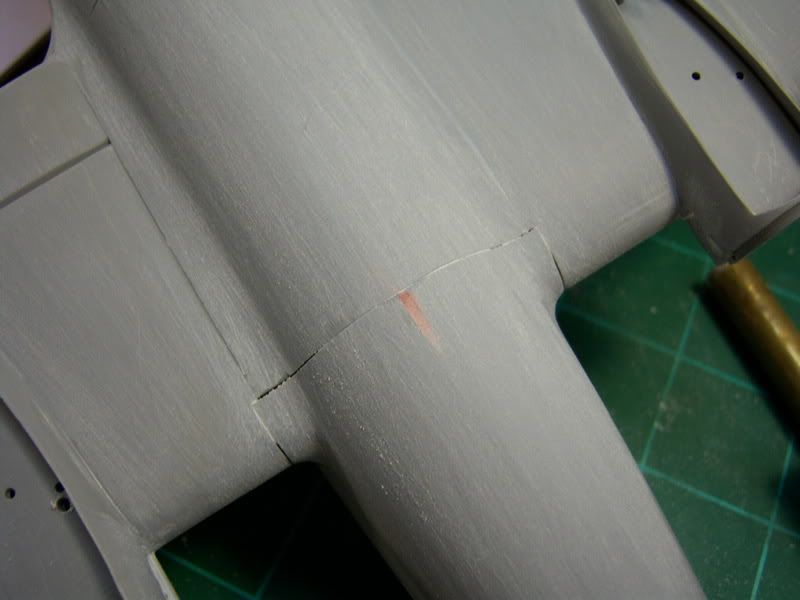
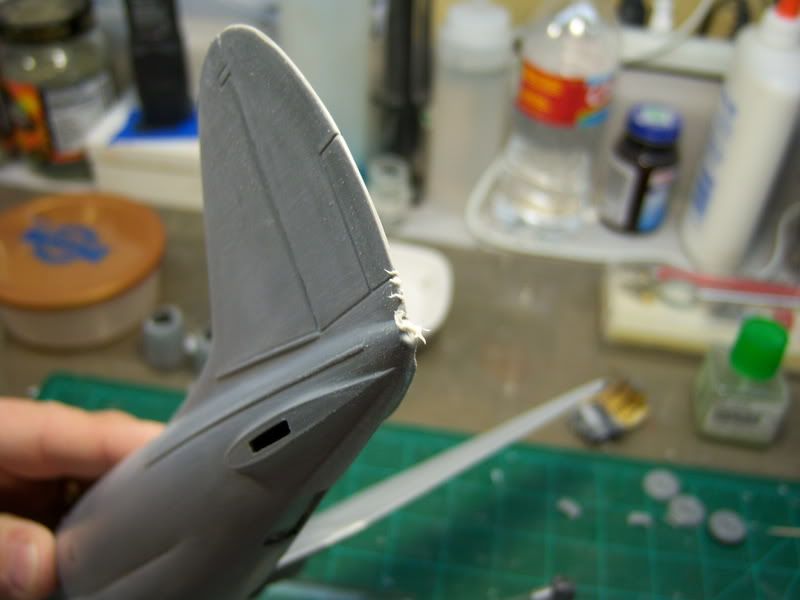
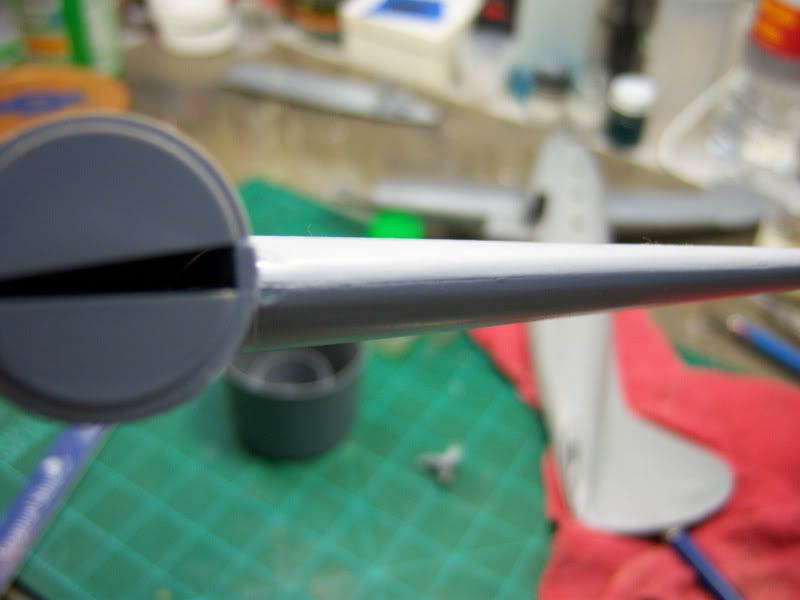
I snipped this stuff off and dropped the scraps in the trash can...big mistake. Those tabs were there to help impart the dihedral the wing is supossed to have. I frantically dug thru the trash, but to no avail. I will have to go back and add some scrap to fill the resulting gaps. The angled ones are supossed to be like that. I can deal with that. At this point I'm noticing some small areas to address...trailing edges of one wing doesn't align and some small seams along the leading edges.


Easy enough. TLC is the order here. Now,...I dry fit the wings and holy cow would you look at that!


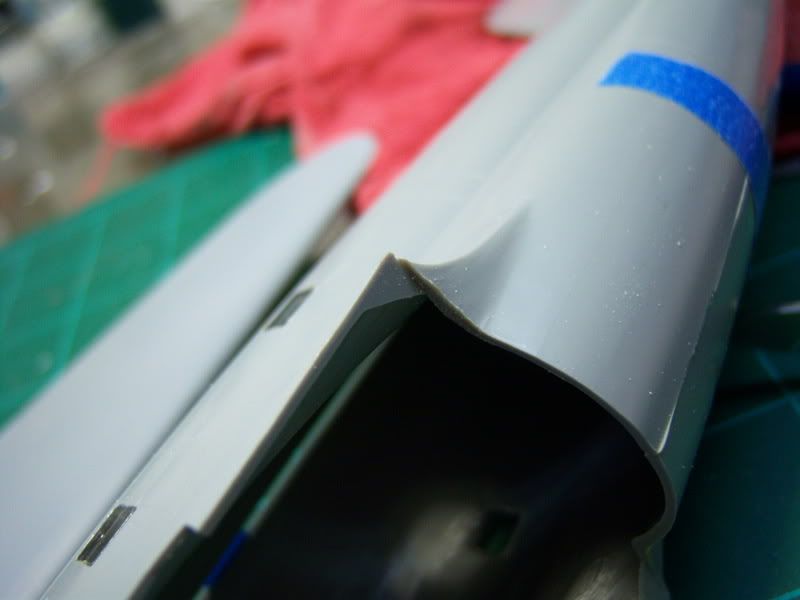
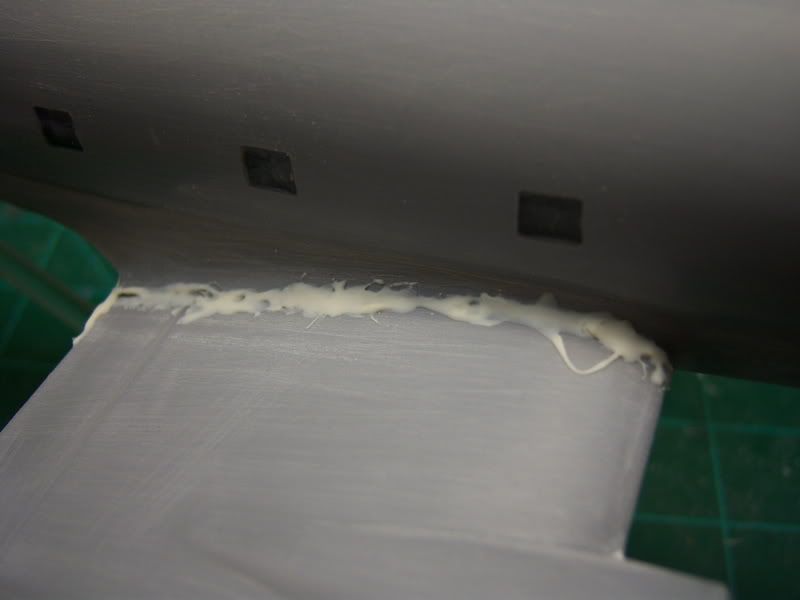
Some serious gaps at the wing roots to deal with. The lower half of the wing is protruding where it shouldn't so a few swipes with the sanding stick should help this out. What remains will be dealt with using some styrene strip and sanding. It looks bad, but it is workable. I would much rather have a gap than a step.
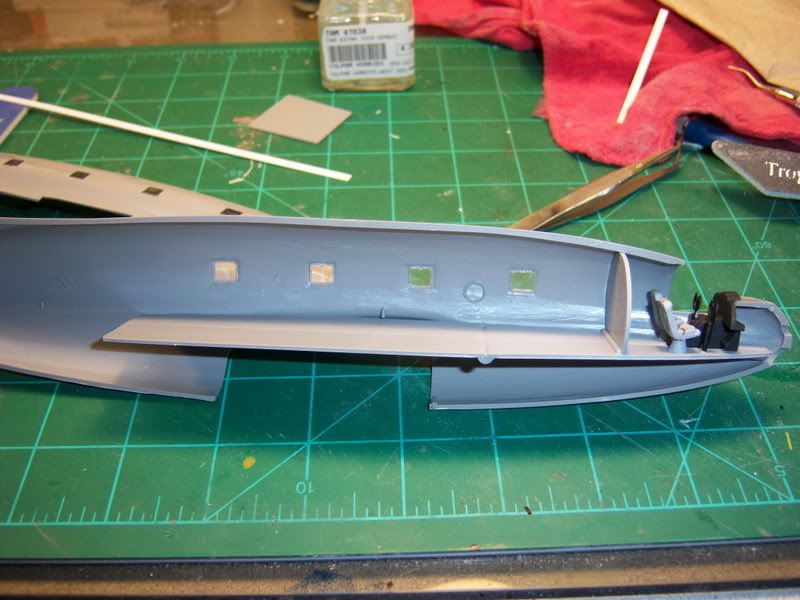
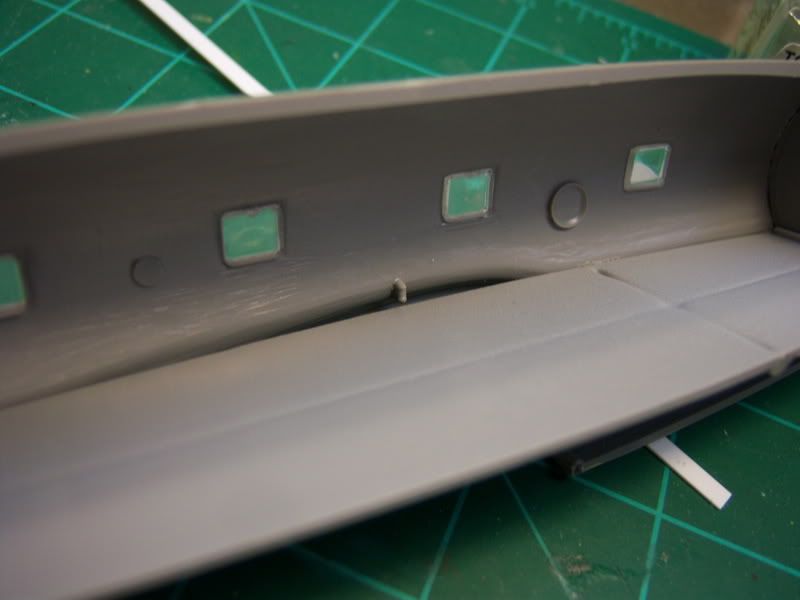
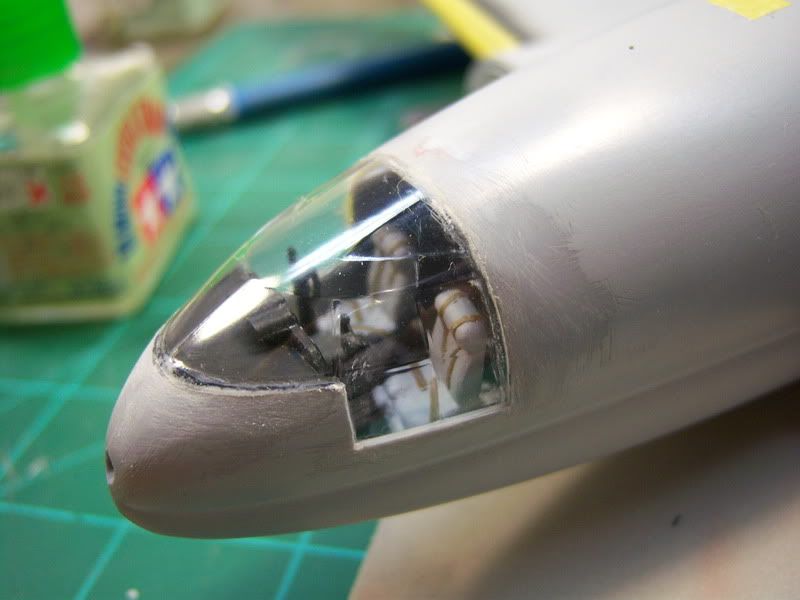
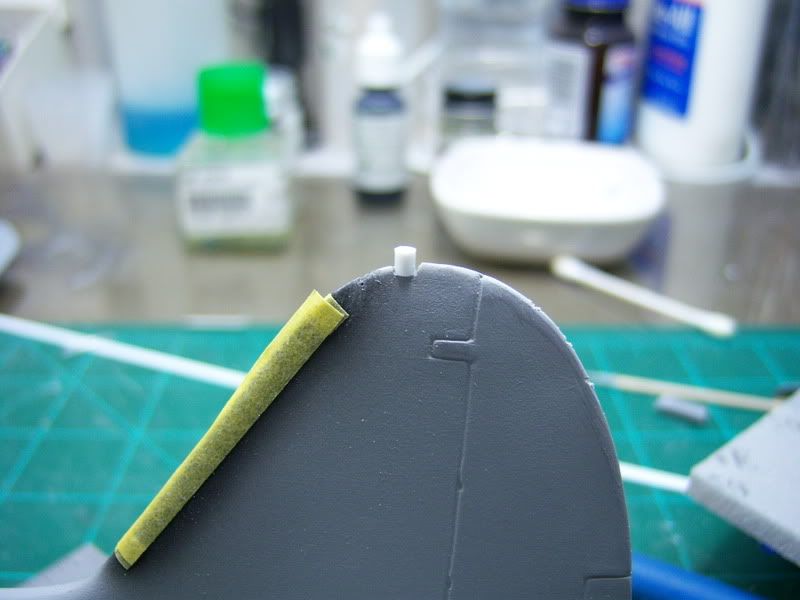
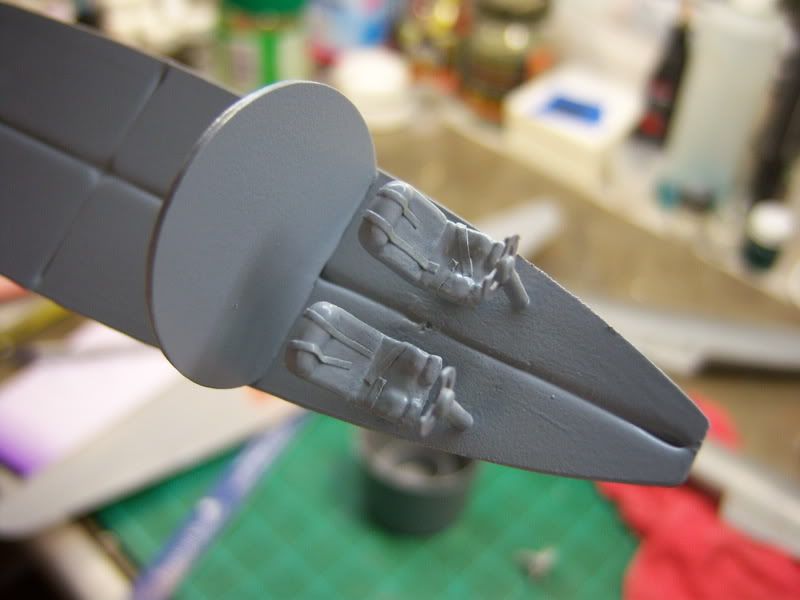
The cockpit is pretty basic but the large green house canopy should let in a fair amount of light. As such I added some belts and harnesses to the seats. Once painted they should look the part once installed. Notice the huge trough running down the middle of the cockpt floor....nice. Luckily it shouldn't be seen once installed.


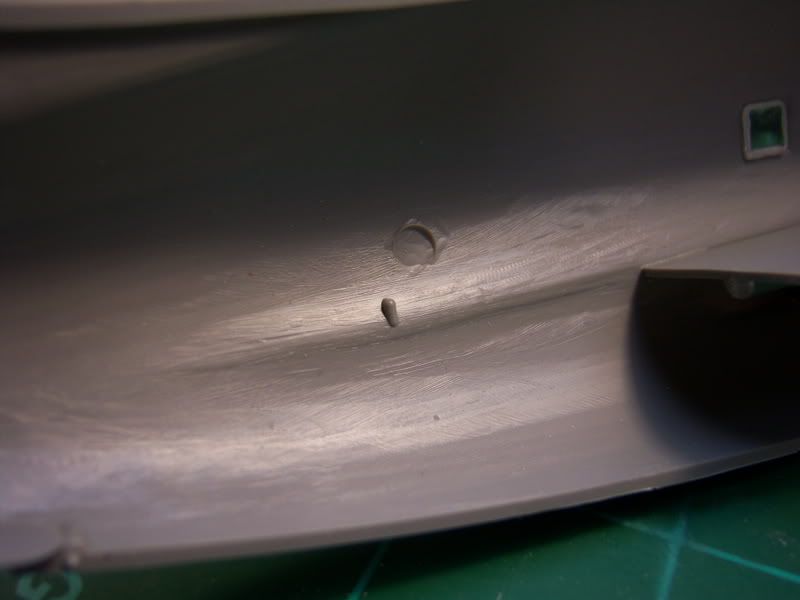
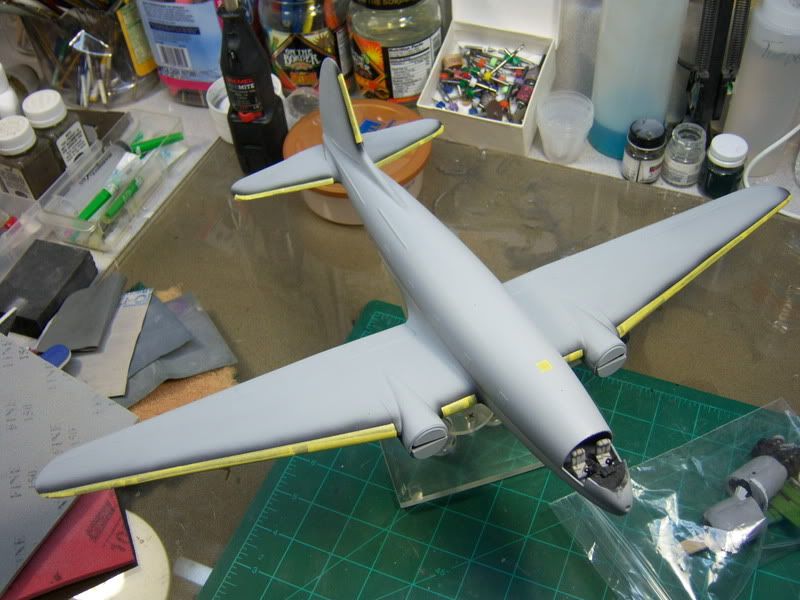
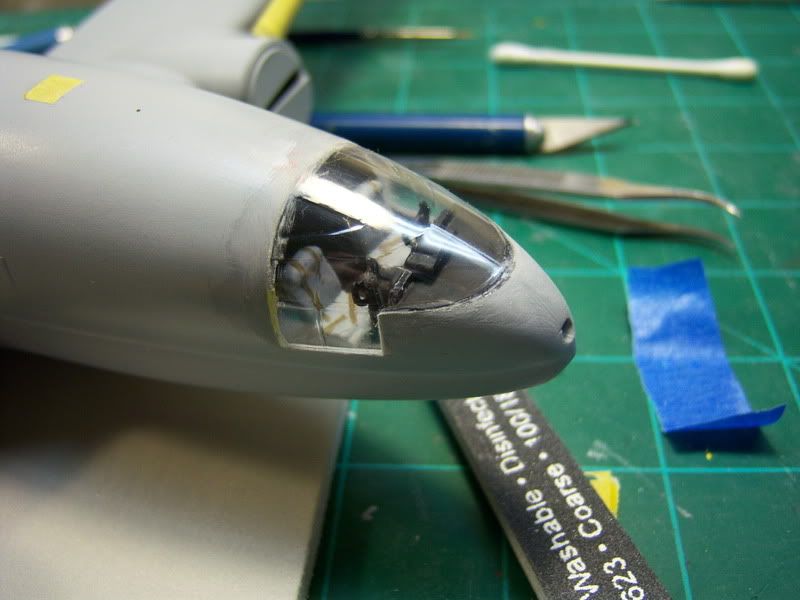
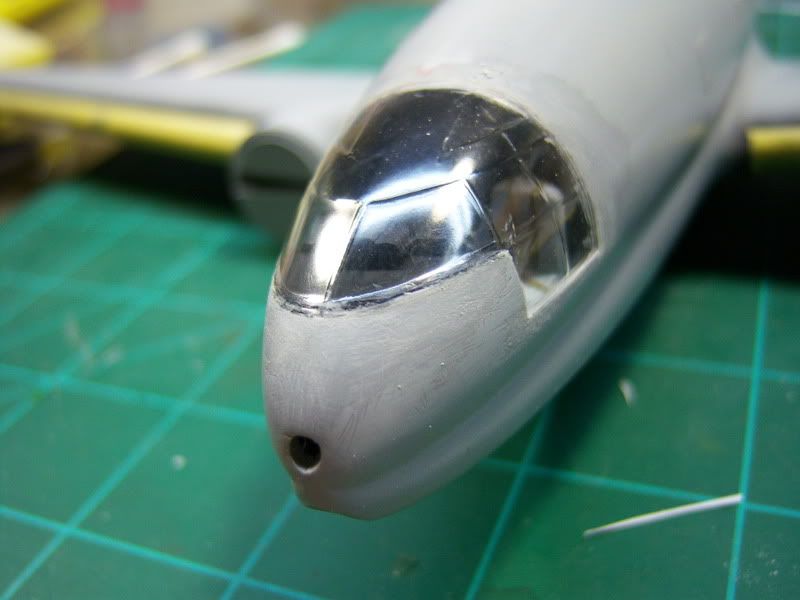
I installed the windows and will sand them down flush later, and then polish them out for a nice shine

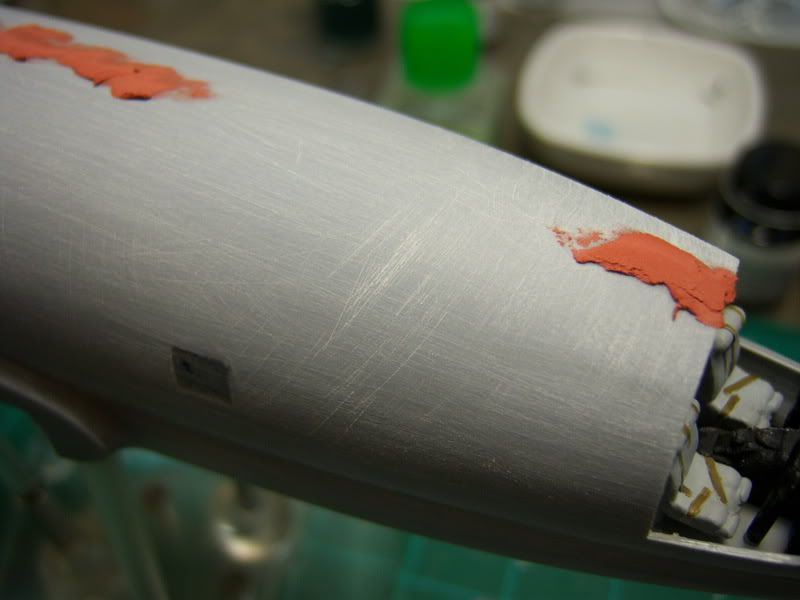
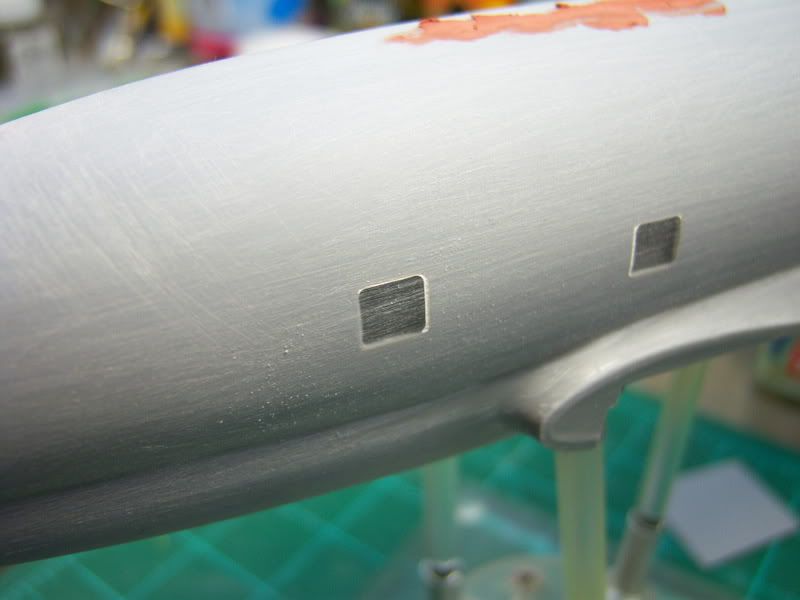
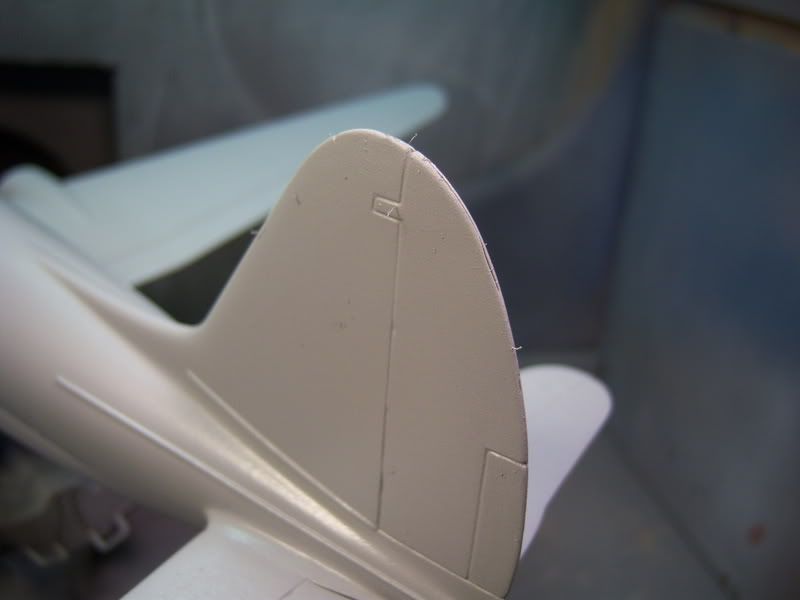
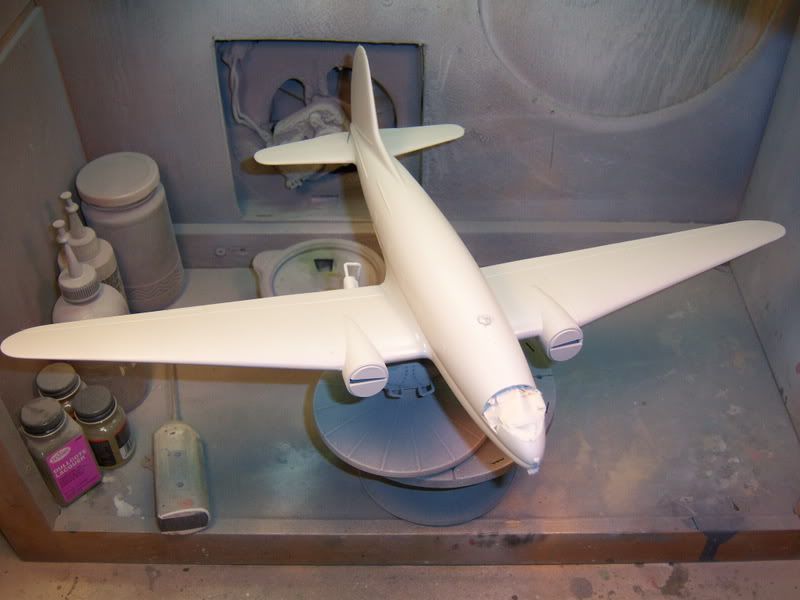
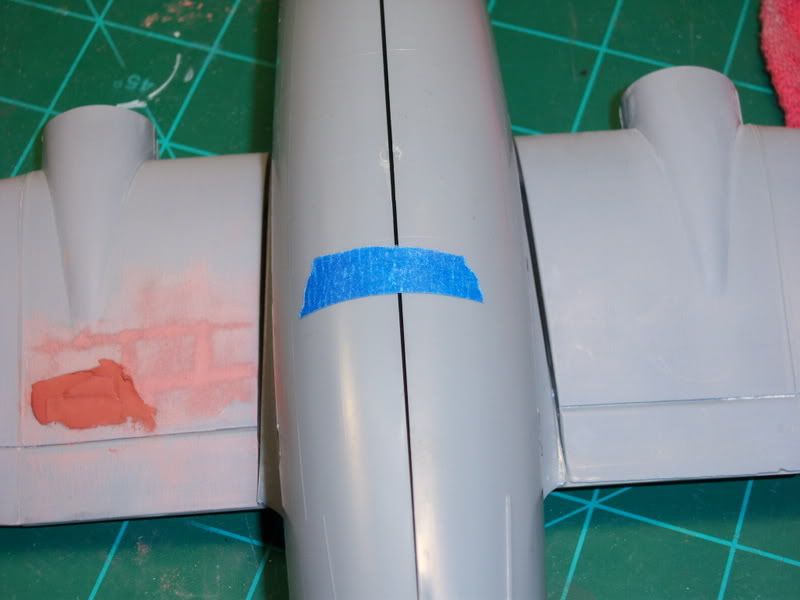
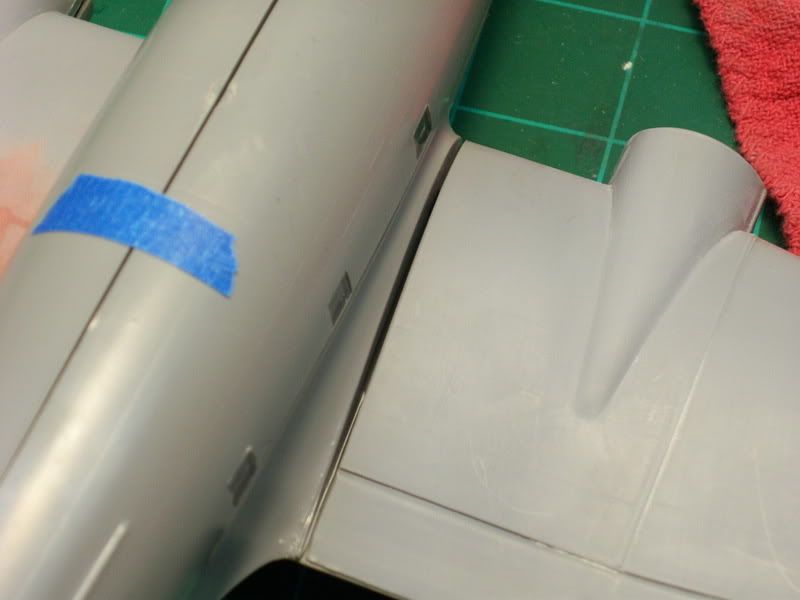
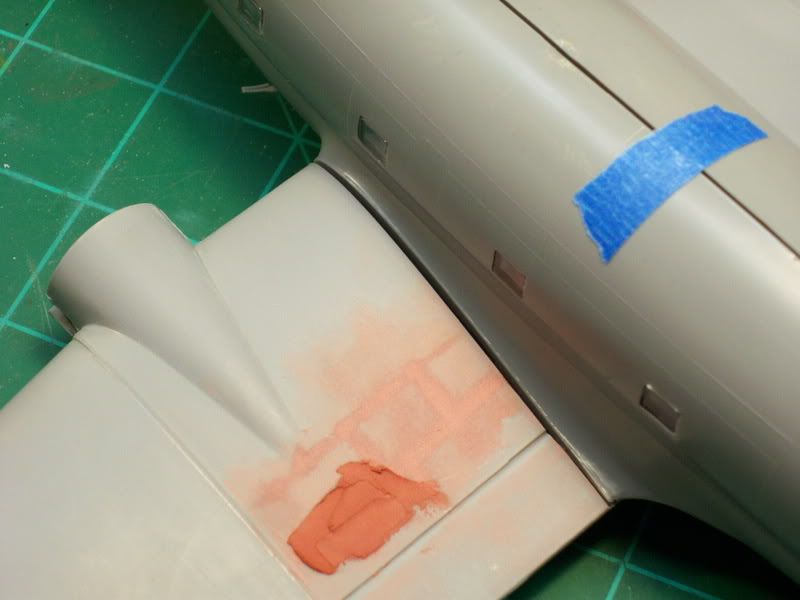
I've sanded off pretty much all of the panel lines as this is going to be a NMF bird with just the stars and bars, a tail number and a Vargas Girl nose art. I want a smooth finish for her.


Thats about it. Comments welcome, and thanks for looking. "Q"
Merlin
Staff MemberSenior Editor
AEROSCALE
#017
_VISITCOMMUNITY
United Kingdom
Joined: June 11, 2003
KitMaker: 17,582 posts
AeroScale: 12,795 posts
Posted: Tuesday, November 18, 2008 - 10:10 PM UTC
Nice one Matthew

I'm looking forward to following this build - I haven't seen a C-46 tackled for ages.

All the best

Rowan
Red4
_VISITCOMMUNITY
California, United States
Joined: April 01, 2002
KitMaker: 4,287 posts
AeroScale: 1,164 posts
Posted: Wednesday, November 19, 2008 - 02:26 PM UTC
Rowan, Thanks for the support. Now, onto tonights updates. I started to ID the offending areas where the wings were fouling. Here is what I found.

and here,

and here,

not to mention here

and here.

Okay a litle work, but nothing earth shattering. I sanded these areas down and the fit improved. Not a whole lot, but enough. I will still need to add some shims to the wing roots, but will add these before the wing is glued on. Just adding some filler as it were.
I added some paint to my masking tape belts and the controls then glued the center console in. Once these were attached I then dropped the interior in place. As you can see by the locating tabs, there isn't much there to support the flooring.


Mine held in place pretty good so I decided to not add any additional support material. Others may wish to add some additinal bracing. I found that my Tamiya liquid glue held things down really quick, so I decided it was good. A nice feature is that the bulkhead just aft of the cockpit helps locate and keep thjngs where they are supposed to be.

I started gluing he fuselage halves together and they are drying as I type this. There are several attention getters I've found on this kit. Here is just one...

Once I have the wings and the rest of the major parts/assemblies together, I will do a good detailed search for more of these. While it sucks to have to fix these, this is modeling after all and something I'm not afraid to do. Again, TLC and patience. That's about it for tonight. Stay tuned and thanks for looking. "Q"
Yeti123
_VISITCOMMUNITY
Michigan, United States
Joined: February 11, 2008
KitMaker: 311 posts
AeroScale: 278 posts
Posted: Wednesday, November 19, 2008 - 03:28 PM UTC
Matthew:
Great update. Your moving along at a fast clip. I can't wait to see paint on it.

Taylor
Merlin
Staff MemberSenior Editor
AEROSCALE
#017
_VISITCOMMUNITY
United Kingdom
Joined: June 11, 2003
KitMaker: 17,582 posts
AeroScale: 12,795 posts
Posted: Thursday, November 20, 2008 - 04:51 AM UTC
Hi Matthew

What is the brown filler you're using? - I haven't seen anything like it in the UK.

All the best

Rowan
Red4
_VISITCOMMUNITY
California, United States
Joined: April 01, 2002
KitMaker: 4,287 posts
AeroScale: 1,164 posts
Posted: Thursday, November 20, 2008 - 06:55 AM UTC

Quoted Text

What is the brown filler you're using?

You must be talking about the stuff on the wing. Bondo spot putty. It's red, must be the camera lighting..Pretty much the same thing as what Dr. Microtools and Testors Red Putty used to be. Got it at the auto parts store for about $5. Thanks, "Q"
Grumpyoldman
Staff Member_ADVISOR
KITMAKER NETWORK
_VISITCOMMUNITY
Florida, United States
Joined: October 17, 2003
KitMaker: 15,338 posts
AeroScale: 836 posts
Posted: Thursday, November 20, 2008 - 05:22 PM UTC
Williams Brothers kits, either you love them or you hate them, but they sure do bring out the old fashion modeling skills.
I always described them as injection molded vacuform kits.
Shaping up nicely though Matthew.
Red4
_VISITCOMMUNITY
California, United States
Joined: April 01, 2002
KitMaker: 4,287 posts
AeroScale: 1,164 posts
Posted: Saturday, November 22, 2008 - 05:07 AM UTC
Dave, thanks for the comments. Yep, either love em or hate em. So far I haven't made my mind up as to which yet! More progress.....
It was pointed out to me via email that I had the seats too far aft in the cockpit area. Damned if I didn't! I yanked them, the controls and the console out and moved them forward where they should be. It looks better now.

Before-


After-


Also painted the coaming, and added the instrument decal to the IP.... then I spent the better part of last nights build session sanding on the fuselage and wings. Filled a few gaps/seams, but mostly focused on removing all the panel lines. I also assembled the engine nacelles and found both to be short shot.

I'll tackle fixing that a little later once I devise a plan for them. The nacelles are keyed. Notice the "tab" sticking out on the one half, now notice the slot on the wing piece. Insert Tab "A" into slot "B" and viola...well, it should fit but it doesn't.


The ass end of the nacelle is too small and will need to be hogged out a wee bit. The kit supplied engines look pretty good stuffed into the nacelles. I thought about swapping them, but figured I wouldn't on this one. Maybe for the Flying Tigers one I have in mind later.
They aren't held in by anything other than what parts of them are touching the sidewalls, so they will recieve a brace across the back of them to keep them in place.

In this photo you can see the amount of sanding that has taken place. I worked carefully around the stiffeners as I didn't want to have to replace them. It looks a lot worse than it is. I went back over this with progressively finer grits and once the primer goes on, most of these scratches will go away.


The gaps at the wing roots are getting better. Just more and more fiddling with things is getting it there. Still might need some strips to bulk thing out, but I'll do my best to avoid that.


The windows sanded down fine. Had a couple that were low, so they wer filled with CA, and then sanded out. All of them will get polished soon in preparation for the primer thats coaming.


Last shot shows that she is beginning to look like a C-46. Tossing around the idea of painting her in a what if Navy scheme of white over gray with the Hi-viz orange tail, and wing tips. What do you guys think? More to follow. Thanks for looking. Comments welcomed. :Q:


Red4
_VISITCOMMUNITY
California, United States
Joined: April 01, 2002
KitMaker: 4,287 posts
AeroScale: 1,164 posts
Posted: Saturday, November 22, 2008 - 05:57 AM UTC
Well, It's Saturday morning and I have the house all to myself. Figured I would get some time in at the bench before I end up with a honey do! Last night I had started cleaning up the landing gear in preparation for painting. Wow! There is a lot of offset on some of these so clean up continued with those parts this morning. One of the braces did not fit at all, so new holes were drilled a little forward to help get this part in. Here you can see how tight it was

Here are the new holes.

The fit is still tight, but at least it fits.

The old mounting holes will be filled with plastic a little later. I still need to do some cleaning on the seams of the landing gear arms etc.
I happened upon two sets of some True Details A-26 wheels in 1/48, and the nose wheels looked the part of the main gear for this, so they are going to be swapped out. I had to shorten the attaching peg for the wheel and hog out the hub slightly, but they look good and fit well.


Here's a shot of the retraction legs in place. Notice the clean up still required....argh. But they fit pretty good.

I described the cowl flap area as being short shot earlier. I decided to cut them out, and scratch them in the open position.


Not my best effort at scratch building something, but I'm happy with how they came out, and best of all, the cowling fits with them on.
I glued the wings on this morning and took my time getting everything lined up just so. It came out pretty good, but I was still faced with some minor steps here and there along the bottom, but it is nothing some 150 grit paper and sanding forms/blocks in various shapes couldn't take care of.


Even after the sanding I needed to add some putty. Mr. Disolved Putty is my putty of choice for this. Dries fast, sands easily, minimal shrinkage (if any) and tastes great.. Ok maybe not that tasty, but the stuff works well.
Looks worse than it is.


While I had the putty out I tidied up all those attention getters I found earlier....


Some of the various parts lined up for cleaning

The holes in the nose for the landing lights will need to be reshaped.

More progress to come. Thanks for looking and comments welcome.
"Q"
Merlin
Staff MemberSenior Editor
AEROSCALE
#017
_VISITCOMMUNITY
United Kingdom
Joined: June 11, 2003
KitMaker: 17,582 posts
AeroScale: 12,795 posts
Posted: Saturday, November 22, 2008 - 06:44 AM UTC
Hi Matthew

Great stuff! really quick progress too, considering the work involved. Mr Dissolved Putty? That's another new one on me - I'll have to try to track both that and the Bondo down over here.

I definitely like the idea of the Navy scheme with Hi-Viz Orange.

All the best

Rowan
Red4
_VISITCOMMUNITY
California, United States
Joined: April 01, 2002
KitMaker: 4,287 posts
AeroScale: 1,164 posts
Posted: Saturday, November 22, 2008 - 12:18 PM UTC
Rowan, thanks for the kind words. Mr. Dissolved Putty can be found at Sprue Bros. About $4.99 USD. Great stuff. Basically its the Mr White Putty with just the right amount of solvent. It dries quickly, and sands like a dream. Very forgiving too. I use Mr. Surfacer 500/1000/1200 over it depending on the application and have been really pleased with the way they both work. Thanks again for the kudos. Hoping to have her primed soon. Thanks, "Q"
ps. As far as the Navy scheme, I'm leaning more and more that way myself. Colorful and big!
Yeti123
_VISITCOMMUNITY
Michigan, United States
Joined: February 11, 2008
KitMaker: 311 posts
AeroScale: 278 posts
Posted: Saturday, November 22, 2008 - 03:08 PM UTC
Matthew:
Things are looking great and you are making it look easy. I think the Navy scheme would be great. A lot mor interesting than an OD bird

Taylor
Red4
_VISITCOMMUNITY
California, United States
Joined: April 01, 2002
KitMaker: 4,287 posts
AeroScale: 1,164 posts
Posted: Monday, November 24, 2008 - 12:42 AM UTC
Well, the time finally came to shoot some primer on the ole girl. Just as I had thought, the sanding scratches have disappeared. I did detect some seams that reared to life again but I'll deal with them. So far so good. The only thing that aggrivated me was all the hair that stuck to it. Seems that all the sanding and polishing caused a fair amount of static which has caused hair, lint, things not nailed down and anything remotely close to find its way to the plane. This happened even after using a tack rag to remove the sanding dust...argh. I'll knock the stuff off when I buff the primer out. Anyway, here she is. Thanks for looking. Stay tuned.
"Q"


Nasty seam reappears...

The rare and elusive North American fuzzy split tailed variant of the C-46..


repair work onthe port wing even came out well, if a little bright...

Waiting for the primer to dry.

Red4
_VISITCOMMUNITY
California, United States
Joined: April 01, 2002
KitMaker: 4,287 posts
AeroScale: 1,164 posts
Posted: Monday, November 24, 2008 - 02:42 PM UTC
And now we wait. I tried to use the kit supplied canopy, but it there was a nasty seam between the two halves that I could not get to go away. I went ahead and ordered the Squadron replacement one, I wanted the Eduard masks to go with it, but they are out of stock at the moment. Hoping the come back in soon and that I won't tank it! I guess I could paint all the fiddly bits while I'm waiting. I thought I would try something different with the de-icer boots by painting them first and them masking them. I did this to prevent having to apply any tape to the silver surfaces and rish marring them and I don't have to handle the model a lot once its done either. Took about 45 minutes to mask everything off, and I'm happy with the results. Now I just need that canopy and masks to get going again. Thanks for looking and stay tuned. "Q"
Red4
_VISITCOMMUNITY
California, United States
Joined: April 01, 2002
KitMaker: 4,287 posts
AeroScale: 1,164 posts
Posted: Wednesday, November 26, 2008 - 06:29 PM UTC
Well, I'll be resuming work on the commando soon, hopefully tomorrow after chowing on some turkey and other vittles. I got my canopy from a friend here in the Springs and should be able to get it ready for install tomorrow. I need to dip it in future, then let it cure, and finally install and mask it. My props are in the mail as I type so they shold arrive soon too. I ordered from Sprue Bros. and they are on their game with shipping. Oh, and I might have found an actual paint scheme to put her that isn't made up. It's just as colorful too. Stay tuned for more info! Thanks, "Q"
VonCuda
_VISITCOMMUNITY
North Carolina, United States
Joined: November 28, 2005
KitMaker: 2,216 posts
AeroScale: 1,080 posts
Posted: Friday, November 28, 2008 - 04:36 AM UTC
Great job on everything so far Matthew. Not only is your commando turning out superb but I'm picking up some good tips on sanding and filling. Also, one question if I may. One of your pics show that you've added filler to the wing root at the fueslage. That scares the crap out of me. This probably sounds like a stupid question, but how the heck to get in that tight area to sand it down without destroying the fuselage sides? I use sanding sticks as well but everytime I've tried filling/sanding that particular area it is a disaster.

Again, great job and thanks for showing how you're doing all these steps.

Hermon
Red4
_VISITCOMMUNITY
California, United States
Joined: April 01, 2002
KitMaker: 4,287 posts
AeroScale: 1,164 posts
Posted: Friday, November 28, 2008 - 11:00 AM UTC

Quoted Text

............but how the heck to get in that tight area to sand it down without destroying the fuselage sides? .........

There really wasn't much of a seam there. The area was only slightly lower than the other side, so I wanted to even it up a bit. The putty I used, Mr. Dissolved Putty is really soft once cured so sanding isn't that much of a problem. I had been using a piece of 150 grit paper throughout this build and it was pretty worn down so I used that to knock the high edges off, then progressively finer pads until I was able to polish it out. You might also consider some riffler files as the angled heads allows a little better access than just a sanding stick will. Still have to be careful with them though as they can chew the daylights out of the surrounding area if you stray. Hope that helps..... Now, on to my next update...
I finally got my canopy from friend and got her installed. Had some hiccups while trying to dip her in Future and had to strip it. Not a big deal. The canopy is pretty clear without dipping, and I found that once dipped, the panels disappeared so it would have been really clear, but very hard to mask...even with pre-cut masks....which I'm still waiting on..
This was the first Squadron canopy I have ever used so I took my sweet time cuttin git free, trimming to fit, and finally installing it. There were some high spots on the fuselage that I had to trim down to meet the framing. It isn't as smooth a transition as I would like, but getting it any closer will more than likely result in a scratched up canopy. There are a few knicks on it, but nothing a drop of Future shouldn't clear up. I drilled some holes for static discharge leads along the rudder and wing tips and have begun adding a tail beacon. Need to let this dry so I can sand it to shape and fair it in to the vertical stab. Drilled all the holes along the belly and spine to accept the antennas later. Good call whoever suggested doing that prior. Also sanded/carved/whittled various lumps and bumps that will get added post painting. I have decided I am going to combine several different a/c paint schemes on this one. I was initially looking for something with gloss white over gray with a black cheat line, and the hi-viz markings on it. Found some of it, but not all of it together, so this will wear that scheme, along with NMF wings outboard of the nacelles, black lower nacelles aft of the cooling fins. Hi-viz orange nose, wing tips, and band just forward of the tail. Will also have a few lumps and bumps on her to add a little character to her. And to top it all off, she'll be in Japanese meatballs with a cool tail flash. Most of the paint schemes I found were pretty blase'...to me anyway. The airliners were cool, but I want his one to stand out ficticious markings and all.. Anyway, here is where she sits as of tonight. Hopefully my masks will arrive soon so I can get some paint on her. Thanks, Comments welcome. Stay tuned! "Q"


LuckyBlunder
_VISITCOMMUNITY
Kansas, United States
Joined: February 02, 2006
KitMaker: 273 posts
AeroScale: 163 posts
Posted: Sunday, November 30, 2008 - 03:36 AM UTC
Matthew -

I will be very interested to watch you mask that canopy. In my limited experience, vac-formed canopies that large are very "flexy" and it's I've always had trouble trimming them.

Another outstanding build.

Red4
_VISITCOMMUNITY
California, United States
Joined: April 01, 2002
KitMaker: 4,287 posts
AeroScale: 1,164 posts
Posted: Sunday, November 30, 2008 - 07:10 AM UTC
I'm waiting on the pre-cut masks for that very reason. I don't want to risk putting down a lot of masking and then ripping the canopy off when I go to remove it. I may have found a solution to the whole canopy issue anyways, but you're going to have to wait a little while for it. I need to try it first. Stay tuned. Thanks, "Q"
 _GOTOTOP