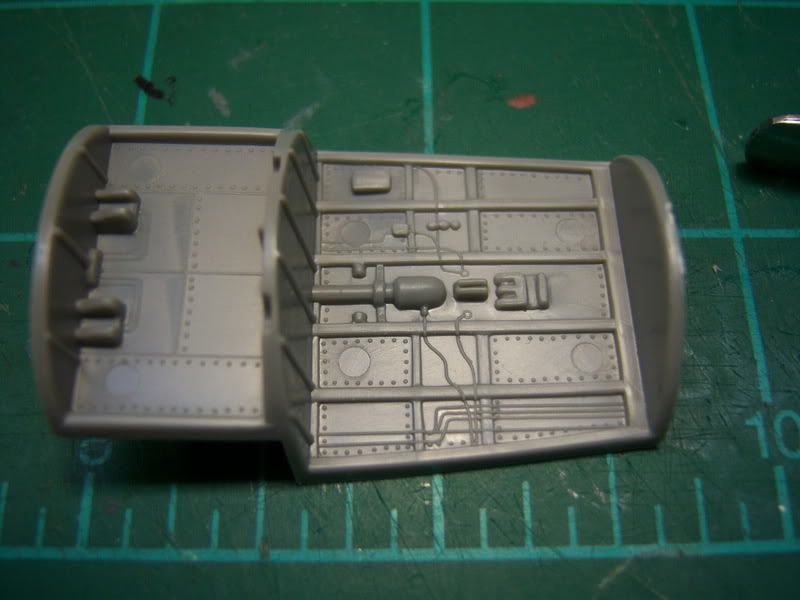
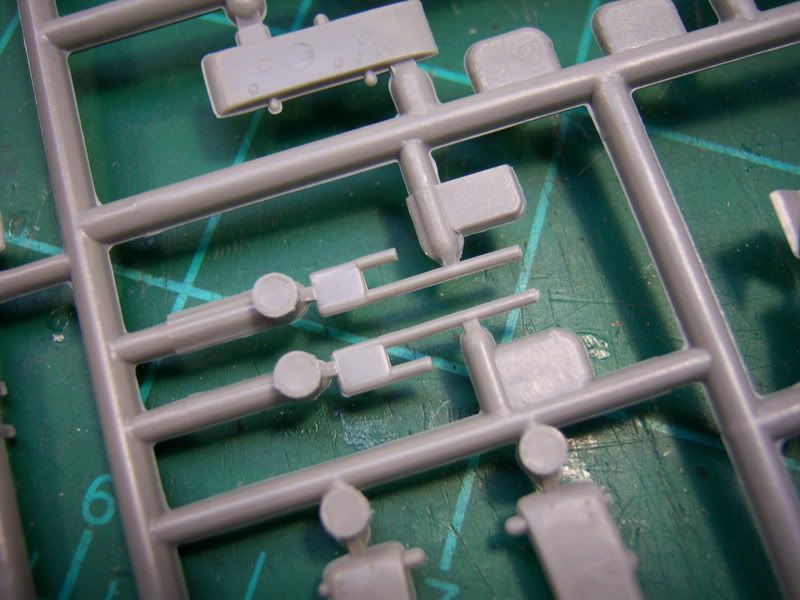
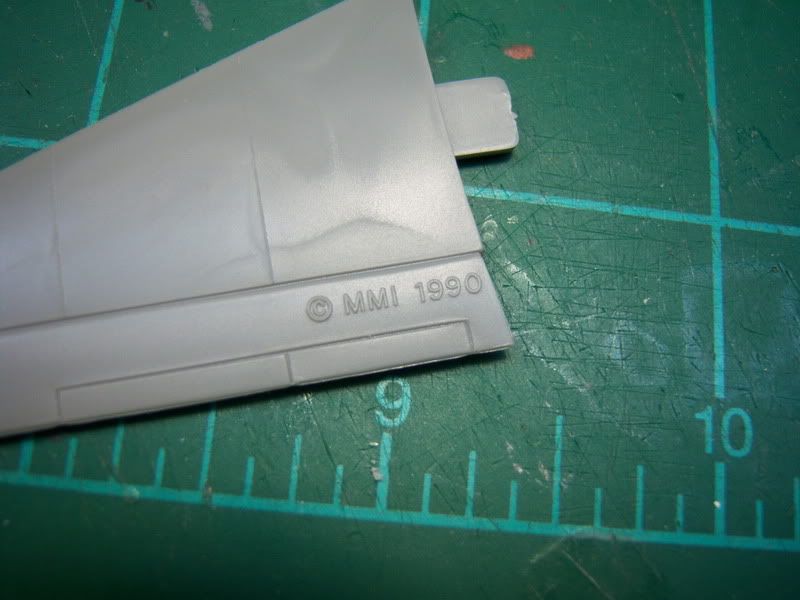
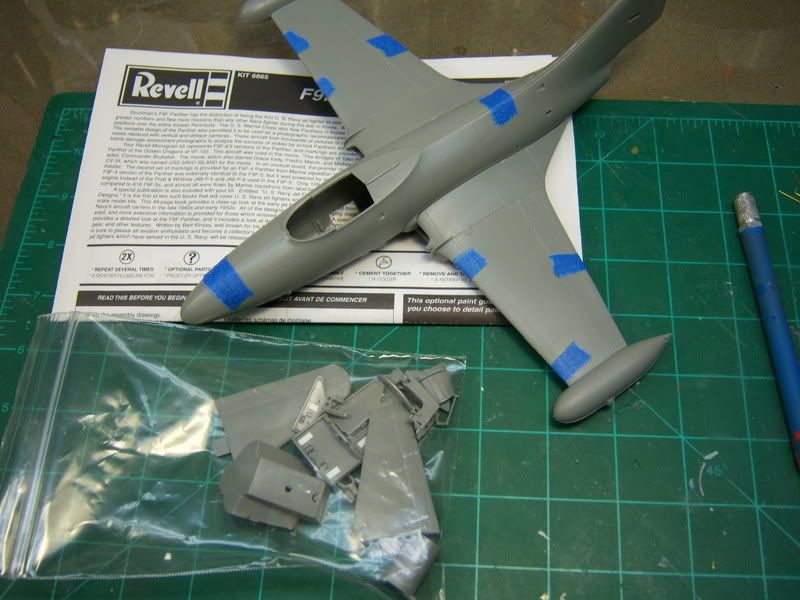
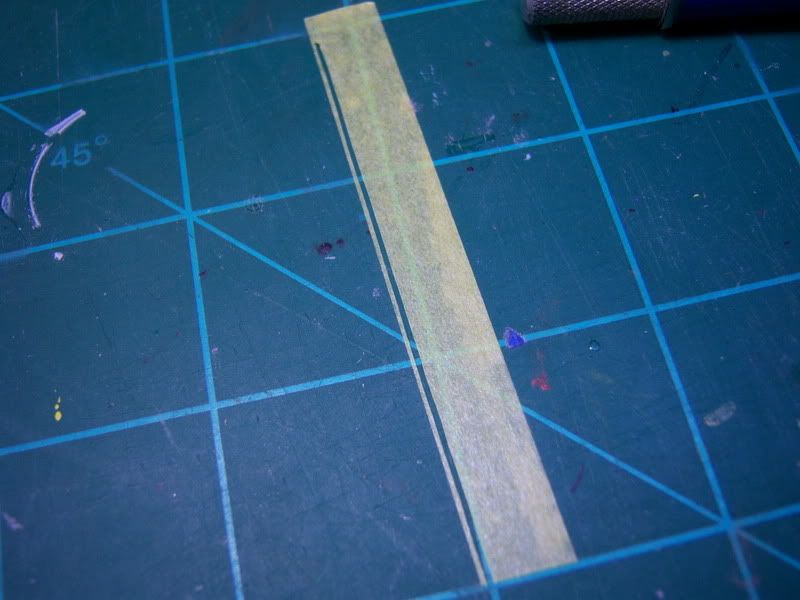
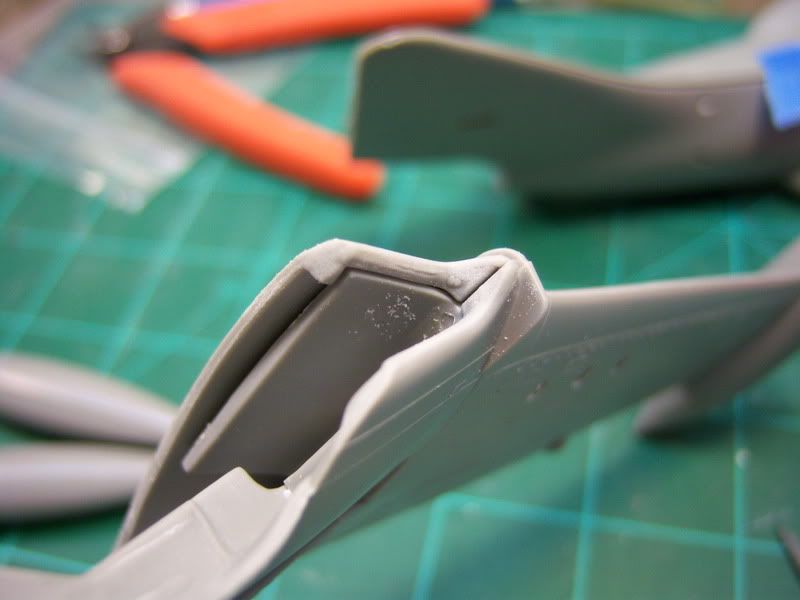
Alrighty then. Day 2 of our build has some more parts clean up and a little painting in store. I was test fitting the wings and couldn't quite get the fit I was looking for. I found the culprit right here...you can see my sanding marks...still fresh!
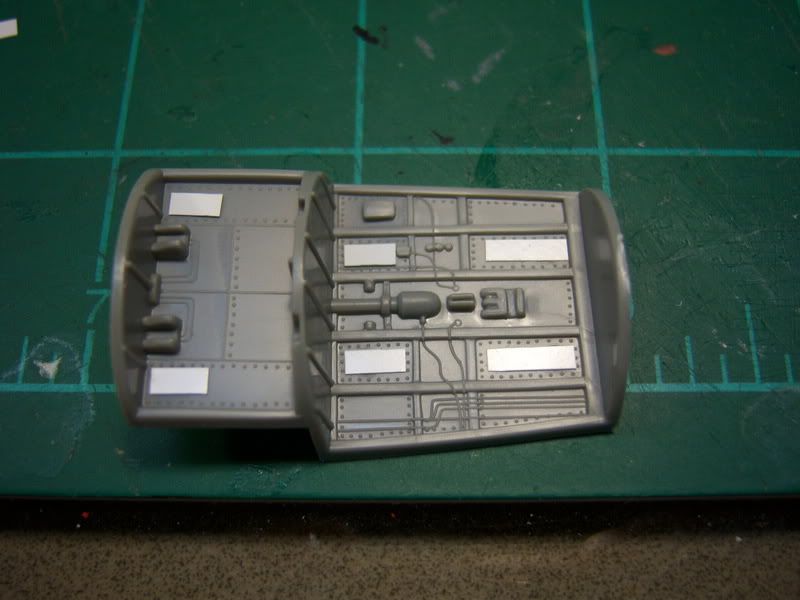
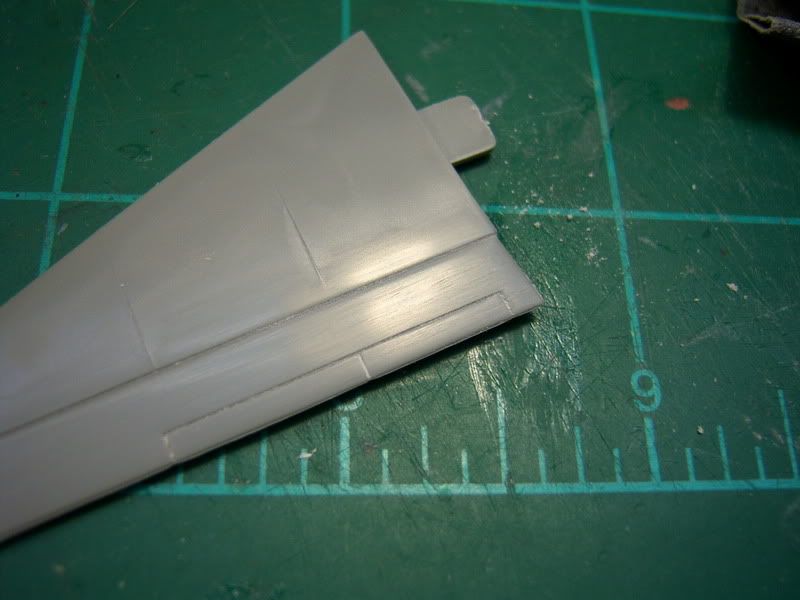
I sanded this area down a wee bit and she fit like a glove. There is a sequence to assembling these wings and the fuselage; One upper wing half glued to the lower wing. Insert the fuselage, and then glue the other wing half on. I almost got both upper wing halves together when I tried to get the fuselage in...boy howdy did panic set in. I quickly figured out the error of my ways and yanked the one upper wing off. No damage other than my nerves.

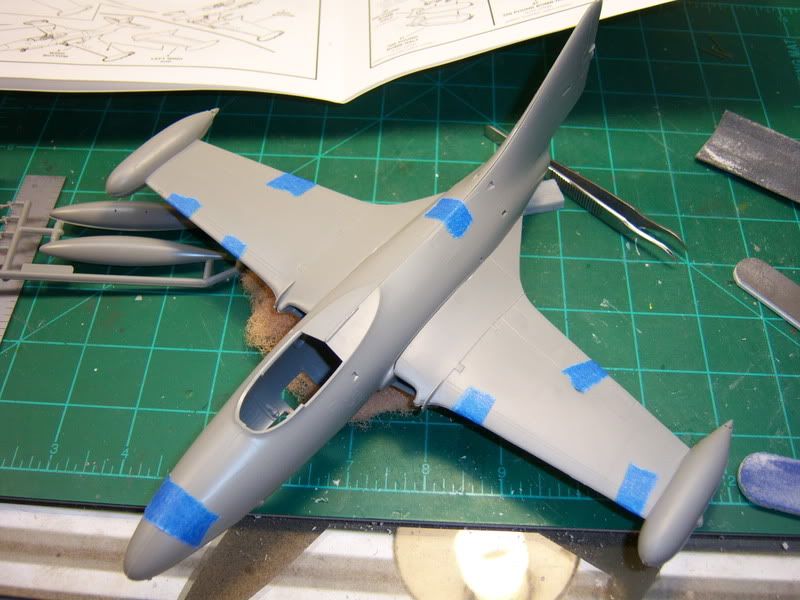
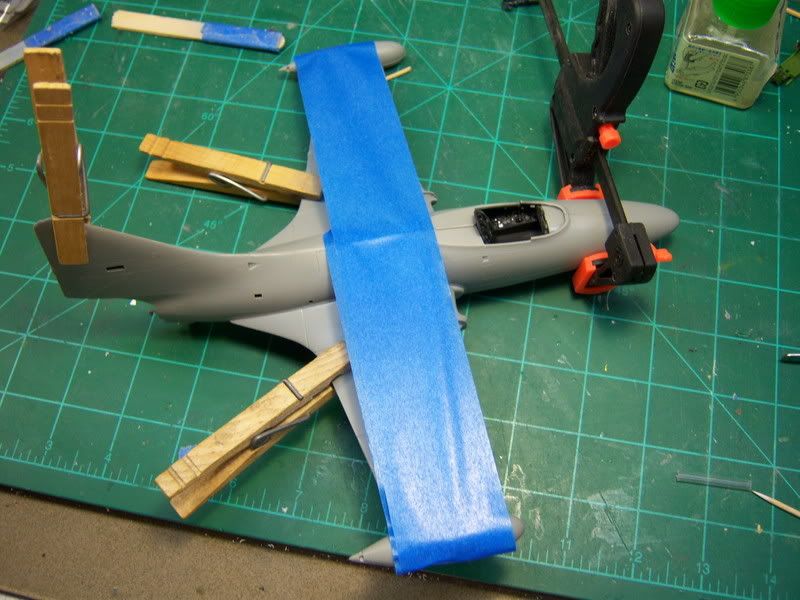
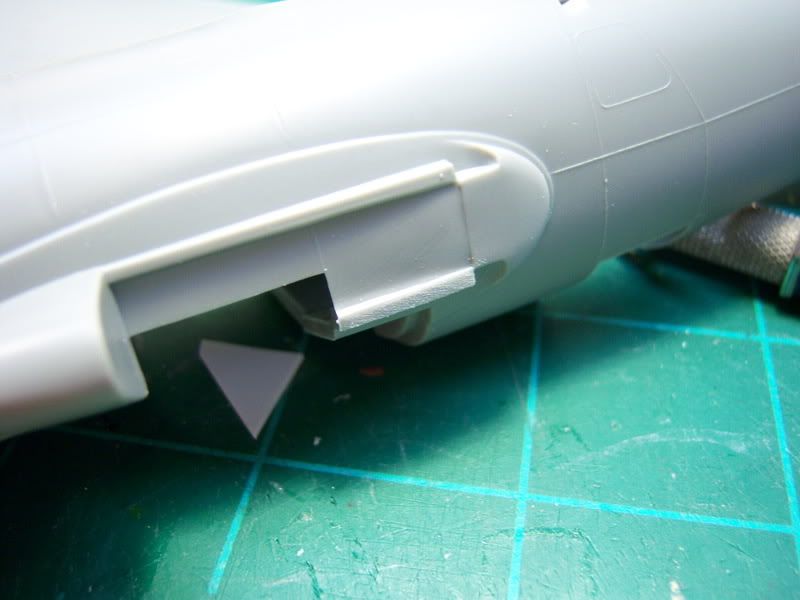
There are some areas around the intakes that will need some filling, but they should be easily taken care of after assembly. That is the reasoning behing my trying to get the wings assembled completely. Therefore I could work the seams, then install the wings to the fuselage...WRONG. Will just have to take it a little slower on these seams is all to avoid damaging the surrounding detail.
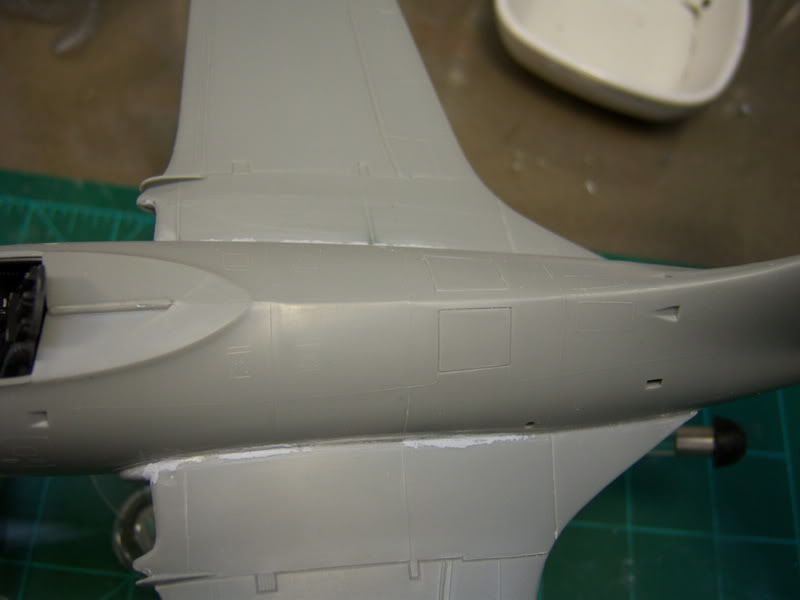
Seams-
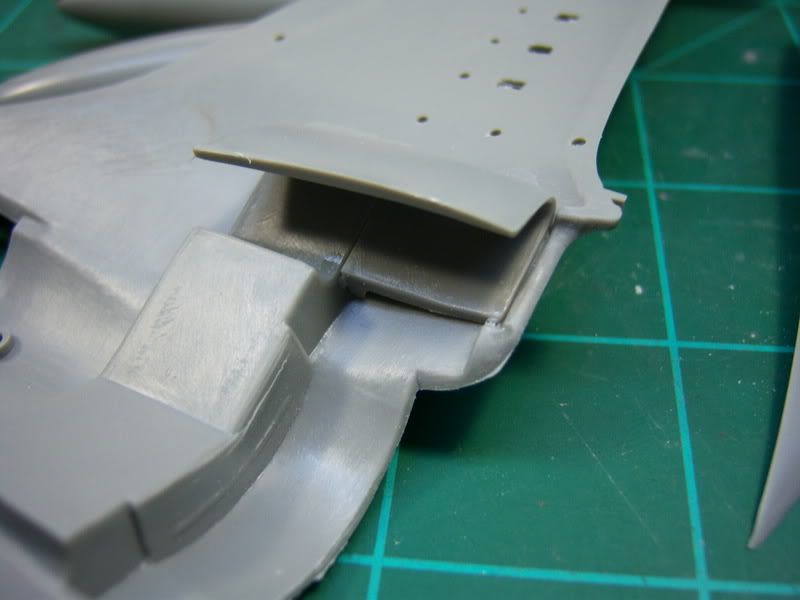
more seams-
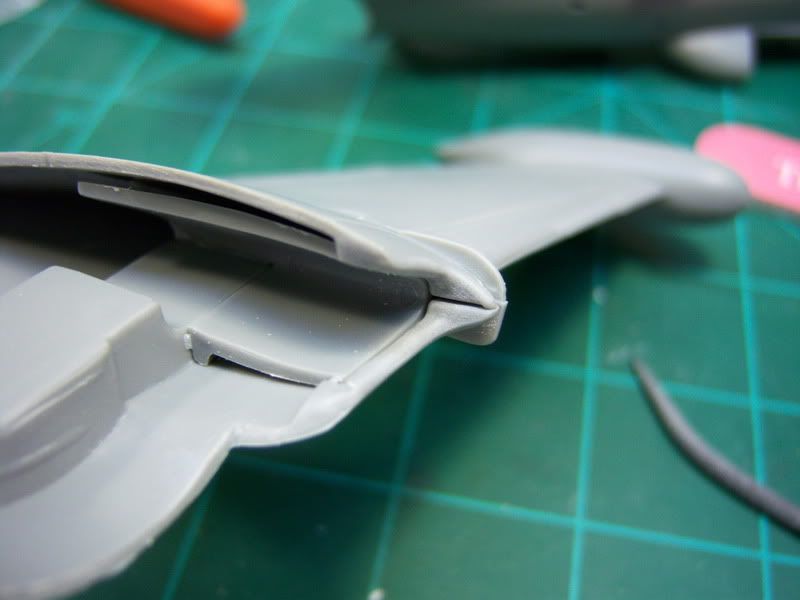
and yet more seams- All easily dealt with.
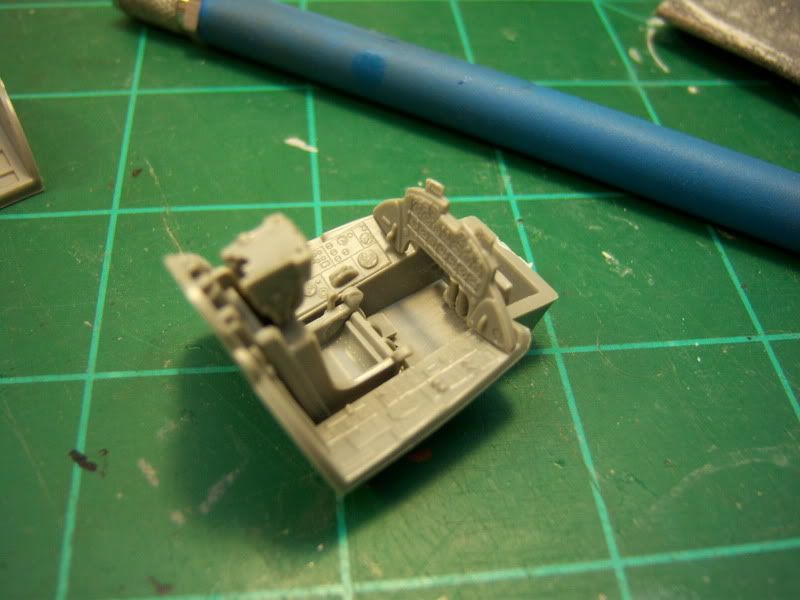
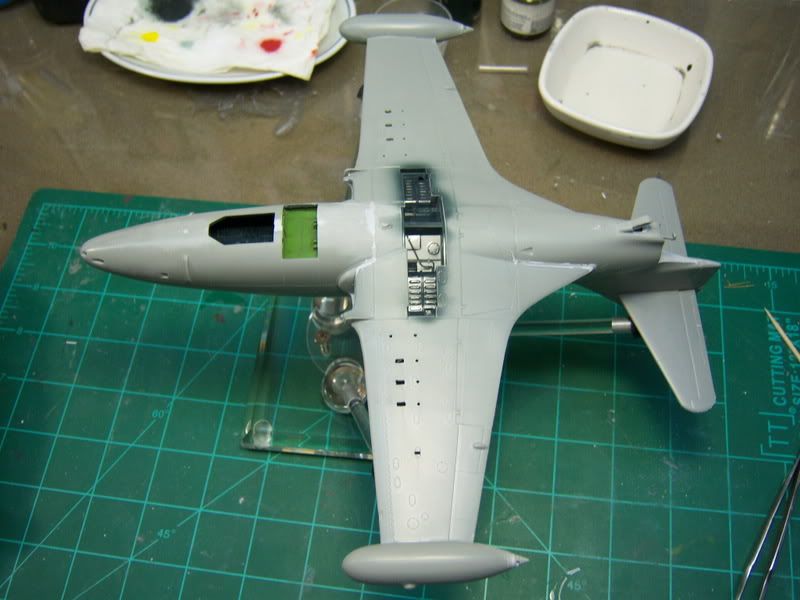
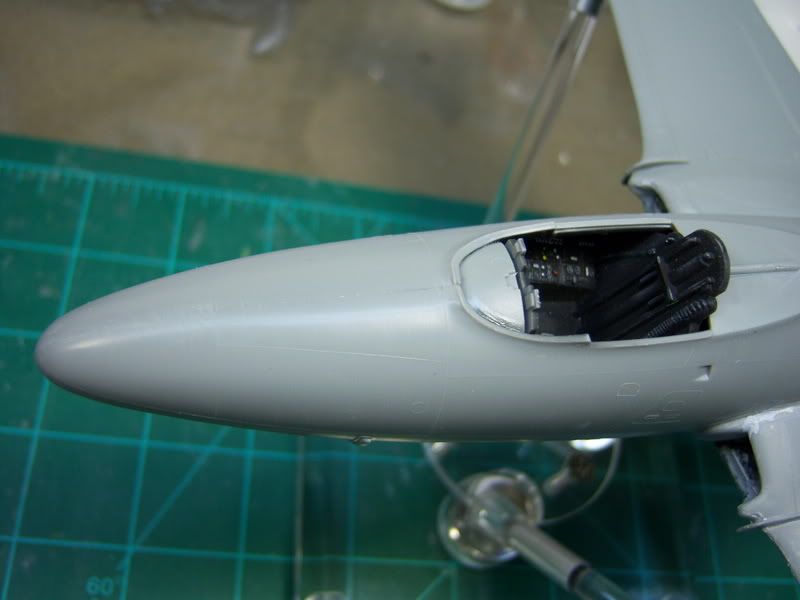
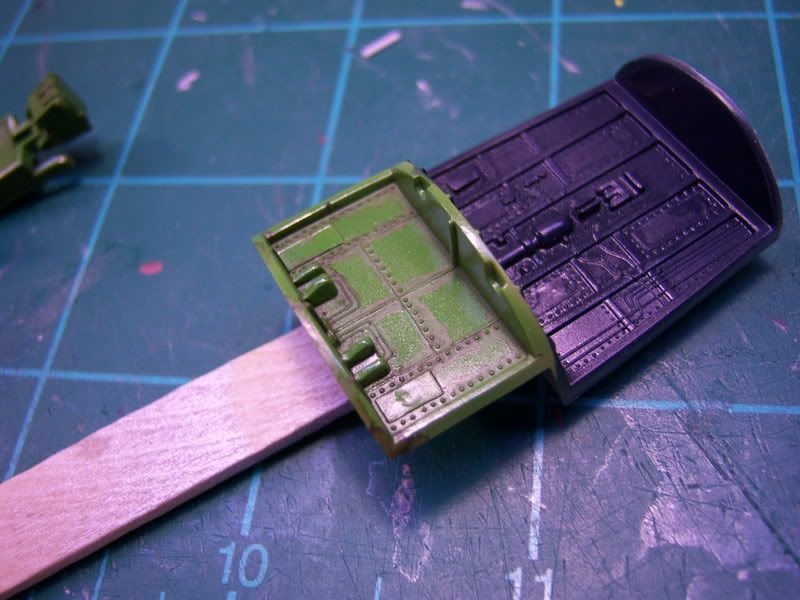
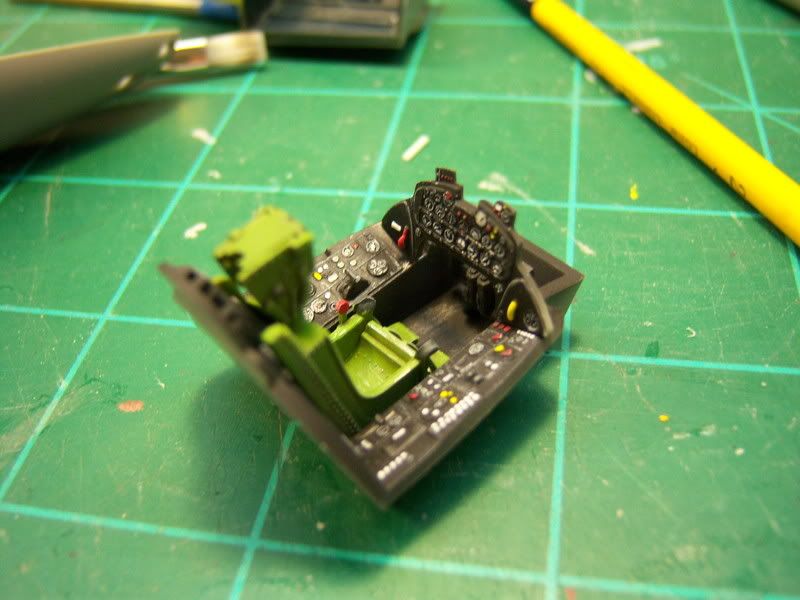
It came time to get some paint on this bad johnny so I could get the fuselage halves closed up. Namely, the cockpit, front wheel well and all the doo dads that go in them. I started with the seat and the well just aft of the nose gear. The front wheel well is Gloss Sea Blue and the compartment directly behind it is interior green. A couple quick passes with the Iwata HP-CH and both were wearing a nice shade of green.
I then painted the cockpit and exhaust can flat black.

Finally, I mixed up some gloss sea blue with a little Japan dryer that was suggested to help aid in the drying of gloss paints. Darned if it didn't work! The parts were safe to handle after I finished detail painting the cockpit. I like that!
Speaking of detail painting, here was the process I used for it. I like to paint all of my a/c offices using Vallejo acrylics as the dry quickly and are completely opaque. I use a wet pallet when I paint as the paint tends to dry out quickly if I don't. For the unknowning, a wet pallet is simply a paper towel or in my case a napkin that has been wetted. The moisture from the napkin keeps the paint workable for a lot longer time. The wet napkin also acts a a cleaning surface when I need to change colors. A few swipes and whatever color I was working with is cleaned away and I'm ready for the next color.
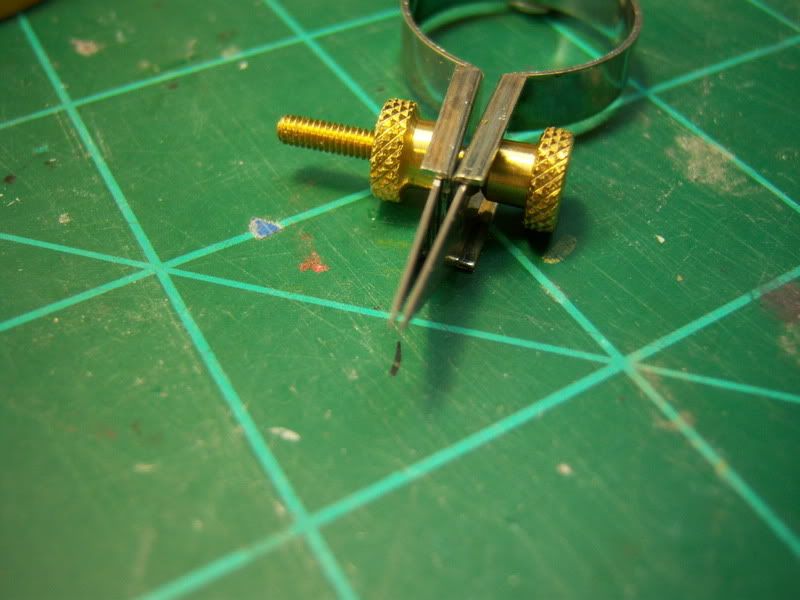
Here is the layout of my tools/equipment I used for the painting.
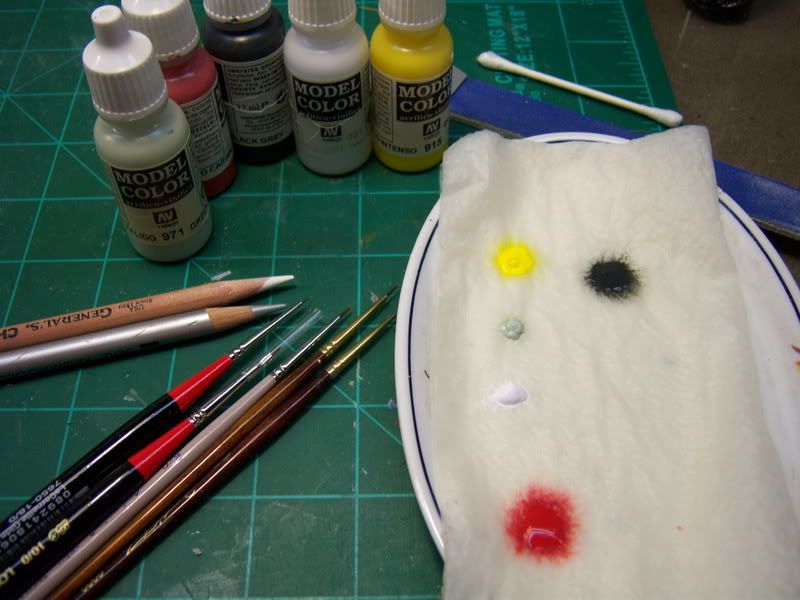
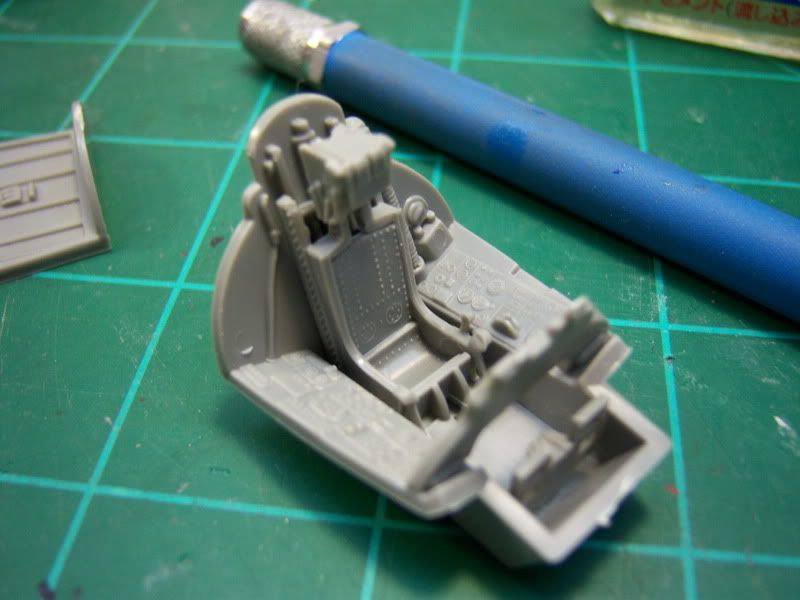
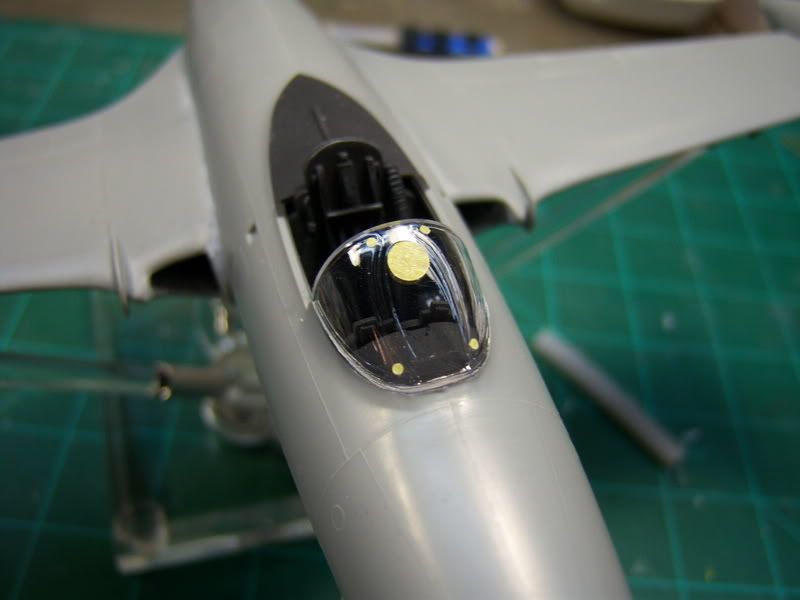
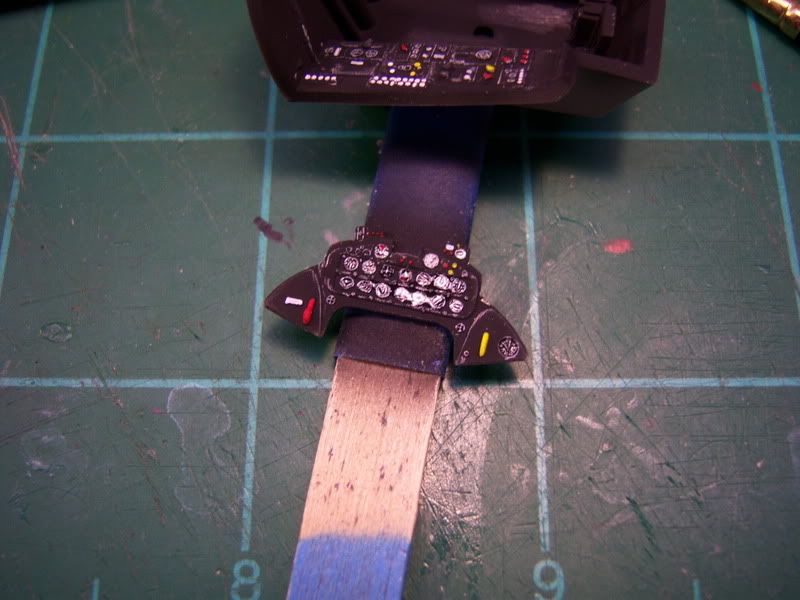
While there are several different brushes here, I only actually used a couple, but I like to have a choice in case I can't get the results I'm after from one, I can choose another. The art pencils come into their own and you'll see why soon. I start by adding random colored dots to various buttons/knobs. No particular order, or color. I just lay them in where they will look good. I continue this until I am satisfied with the coverage.Now comes the art pencils. I try to keep them as sharp and pointy as possible to get into the tight areas. I simply run them around the gauges and poof, all that hidden details comes to life. I add scratches and define corners and wear areas with a silver one. When I am happy with the look of it, I seal it with a coat of semi gloss clear. I used to shoot just flat, but after looking at some 1:1 stuff, there is a certain sheen that is there and I think the semi gloss conveys it pretty well. The last step is to add some Future to the lenses to simulate the glass faces. Mine ran on me, so I need to go back and touch them up.
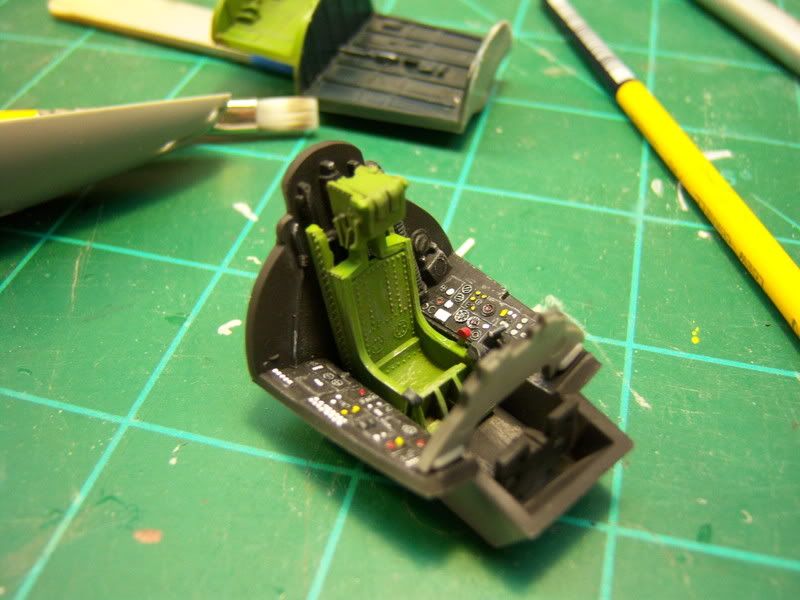
I gloss coated the seat and the other interior green bay to prep them for washes.
I used oil washes with unscented Turpenoid to bring out the detail on the seat and the bay behind the wheel well.
Looks knida ugly at this point, but that will change-
A couple seconds with the hair dryer set on low and the items are ready for some blending. A wide flat dry brush was used to wipe away the excess thereby leaving some color in/around things. Once complete, a flat coat is sprayed over it to help with drybrushing.
Some titanium white, a flat brush, and a few light passes is all it took to bring out the detail. The same treatment was used for the interior of the fuselage.
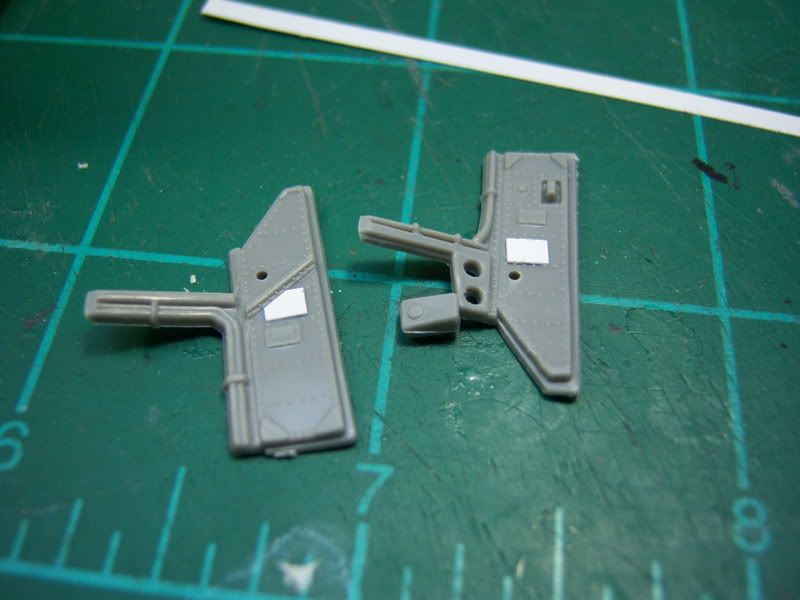
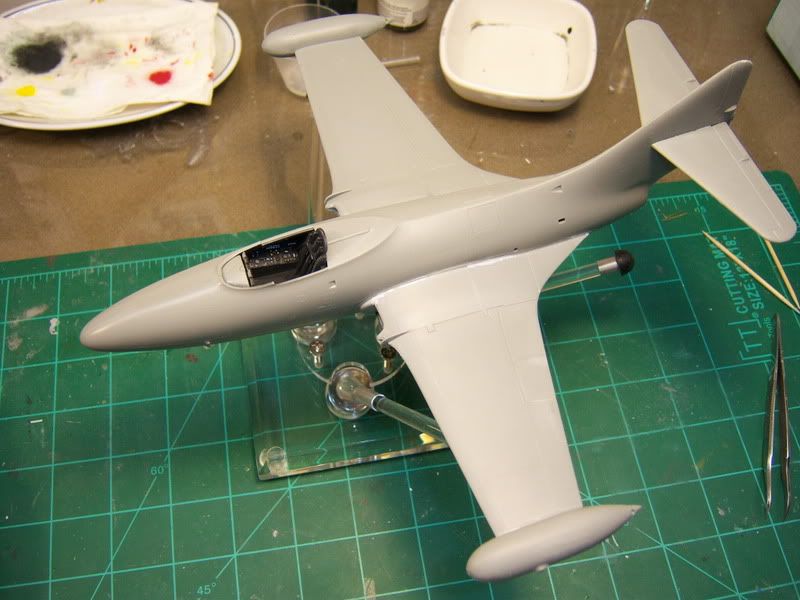
I test fit the office and found the IP to be fouling just slightly against the fusalage sides.
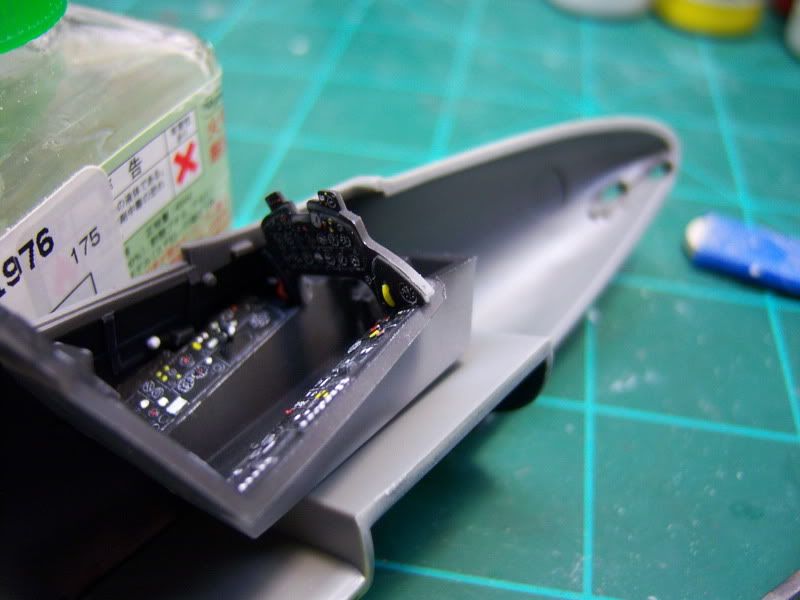
I took a #11 blade and shaved off a little on each side and this fixed the problem. Shes currently sitting patiently on the work bench while I get this report typed up. I should be able to get the fuselage halves sealed up tonight. Thanks for watching, stay tuned.
"Q":)