1/32 Roden GB 2008 SE5a - Mark
West Virginia, United States
Joined: December 18, 2006
KitMaker: 1,121 posts
AeroScale: 1,063 posts
Posted: Saturday, December 13, 2008 - 04:49 PM UTC
OK Everyone.
Here's the Hisso powered SE5a build. I'll be doing this one pretty much out of the box (OOB). I will be fixing a few things that I feel like I need to change.
I strongly recommend everone building this kit to also view Stephen (Jackflash) and Steve's (Hatter50) excellent build threads with the Viper powered SE5a for more building and detailing ideas.
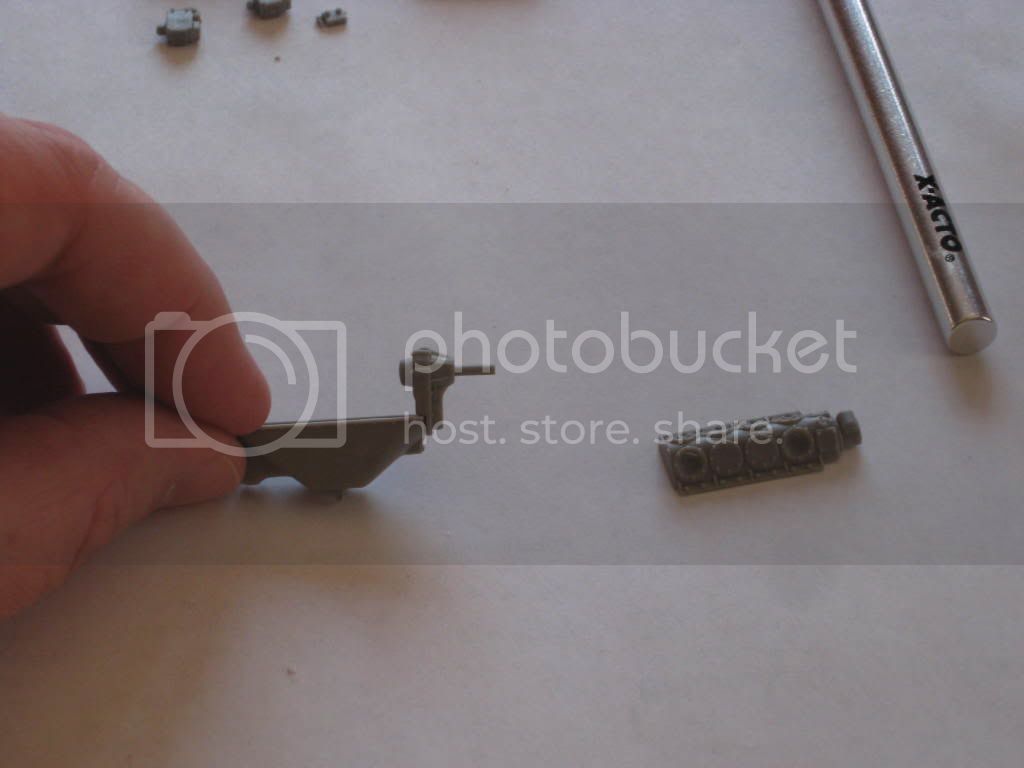
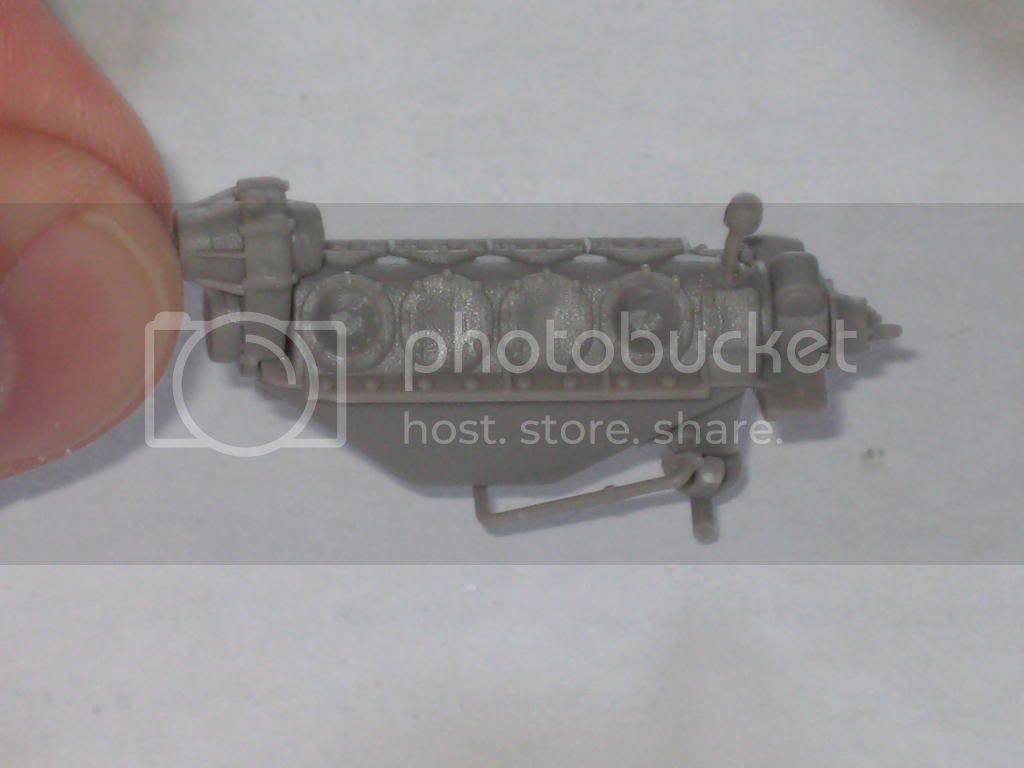
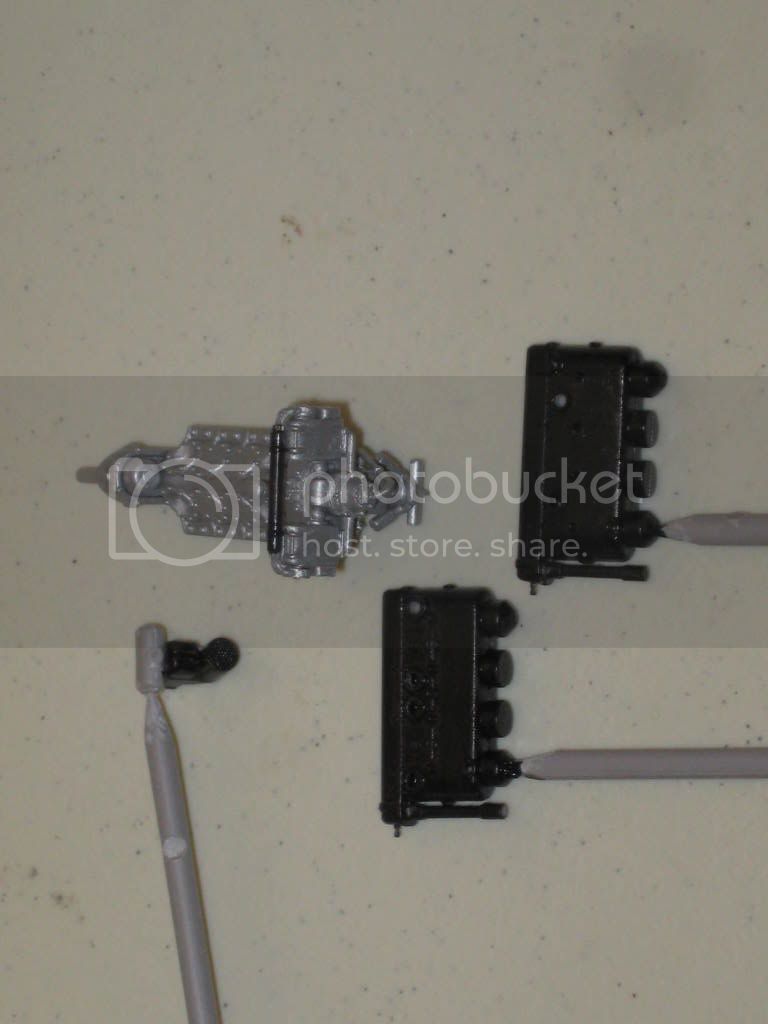
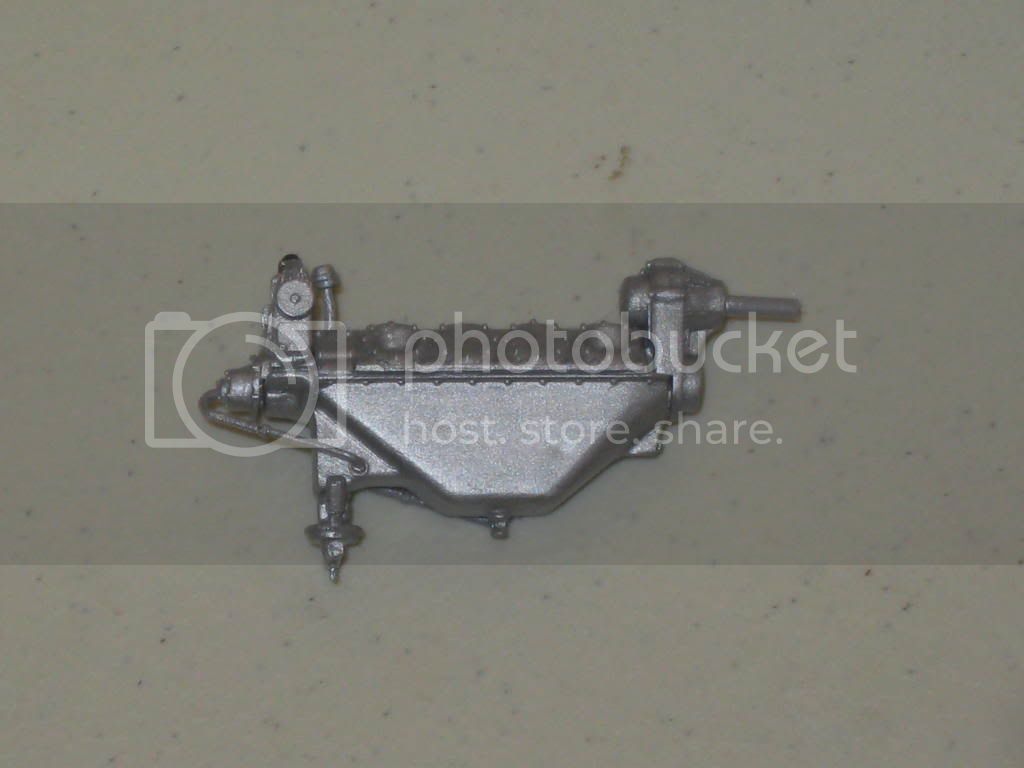
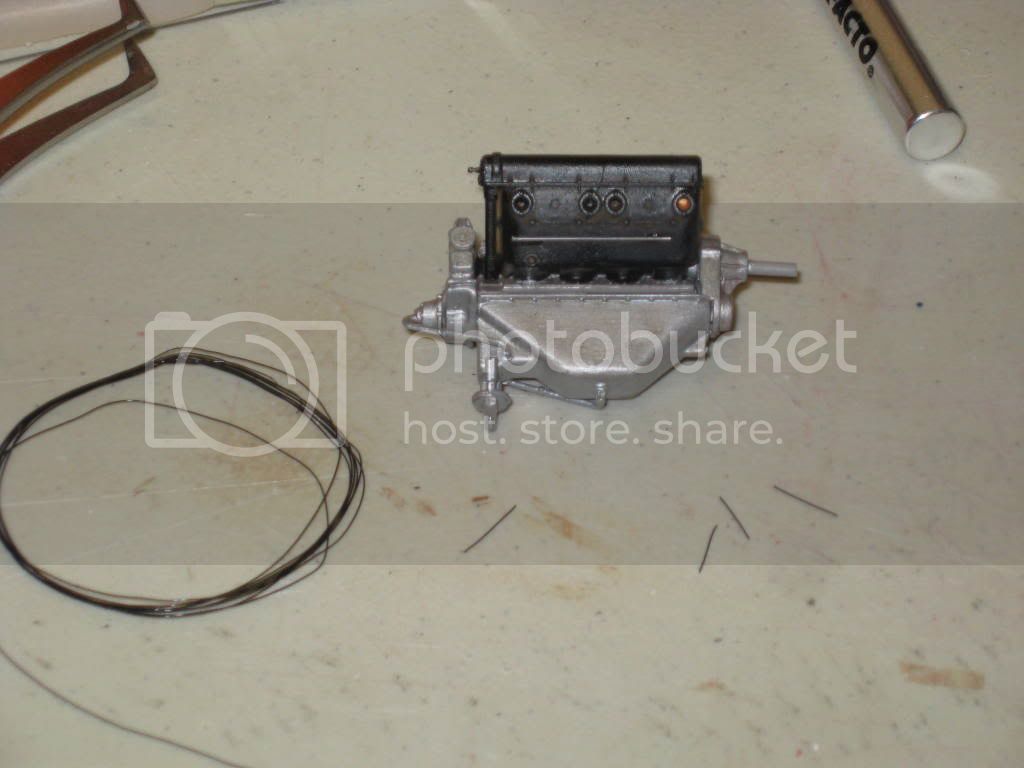
I checked my copy of "Aerosphere 1939" to research the engine. The Hispano-Suiza Model D is the engine represented in this particular kit. This engine was rated at 200 h.p. and employed propeller reduction gears at the propeller end of the engine (kit parts numbered 30E, 32E and 40C.)
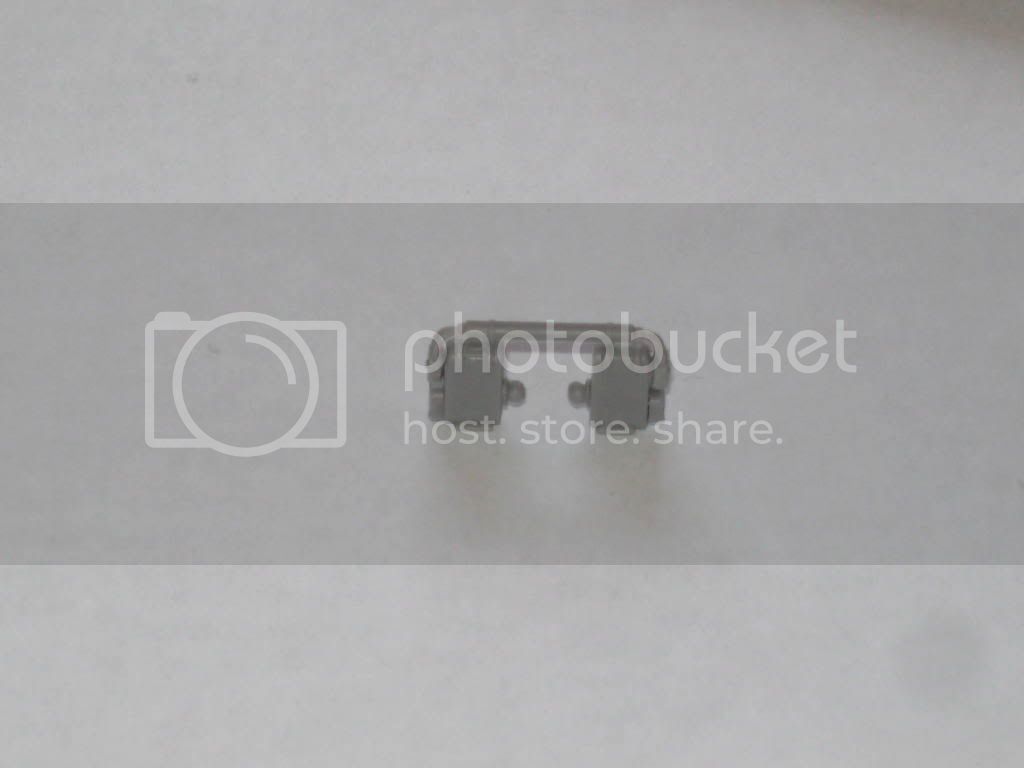
Here are the gears on the front of the engine. Notice how the propeller shaft is raised up above where it usually comes out of the engine.
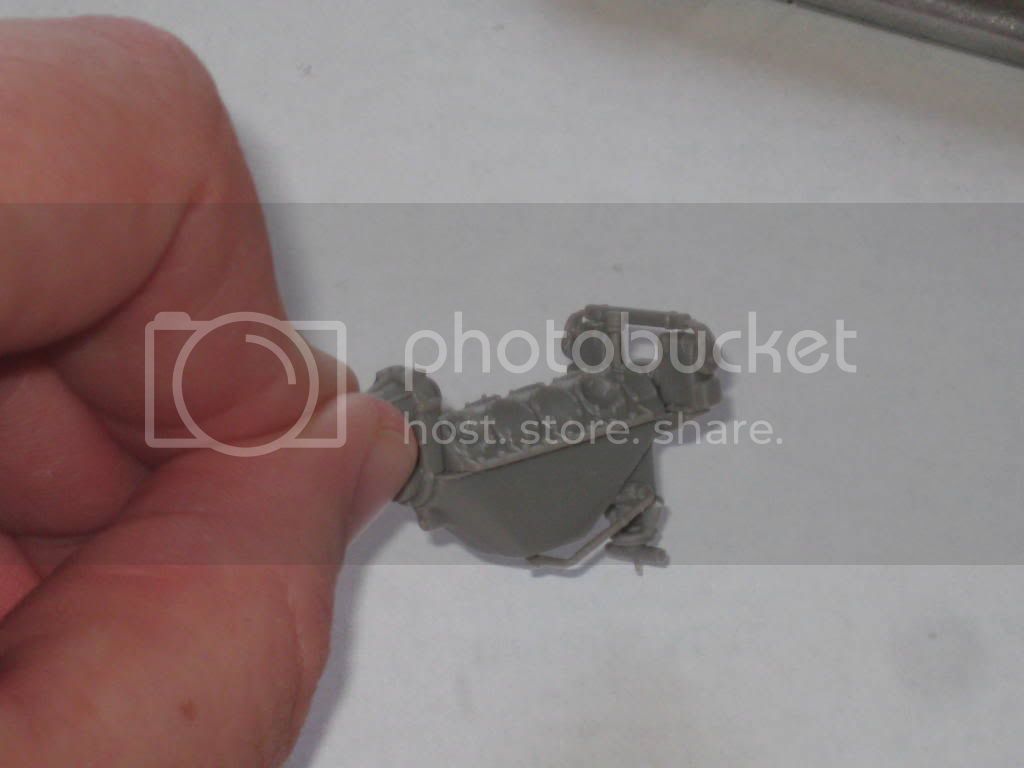
A few other bits added on...................
Added some piping............................
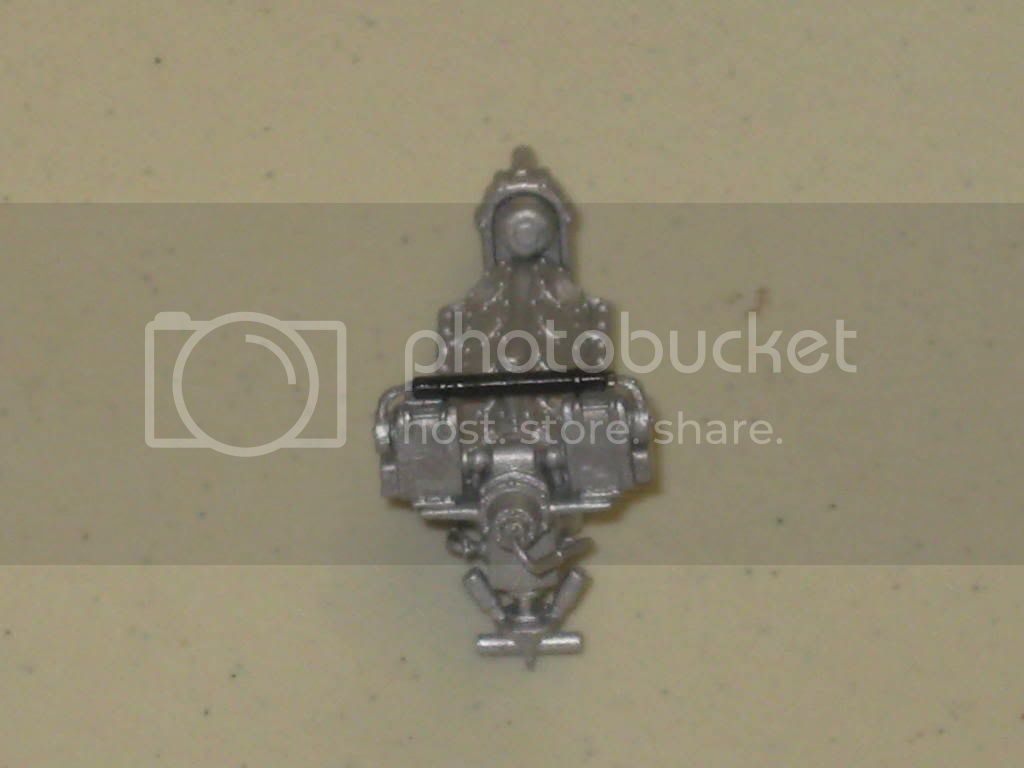
The magnetos.....................
Paint is drying so I'll assemble more tomorrow.
Mark
North Carolina, United States
Joined: June 17, 2006
KitMaker: 478 posts
AeroScale: 391 posts
Posted: Saturday, December 13, 2008 - 10:39 PM UTC
Hey Mark,
Welcome to the SE5a Group Build.

I have enjoyed my SE5a so much, I now have another in my Stash (I'm still waiting for the PoP PE set to go along with it).
I'll be following your build. Roden did a really fine job on the detail. It will be interesting to see an almost OOB build.
Regards
Steve
1/350 USS San Francisco on Slipways
1/350 HMS Warspite in Research Mode
1/32 P-39D stalled
Östergötland, Sweden
Joined: April 04, 2006
KitMaker: 1,058 posts
AeroScale: 1,004 posts
Posted: Saturday, December 13, 2008 - 11:24 PM UTC
Hi Mark
Welcome, this GB will last forever

, It ends with Roden(my guess) I'll be following your build, still have this kit on the shelf, just waiting for some freetime and space on the bench.
Larsa Q
West Virginia, United States
Joined: December 18, 2006
KitMaker: 1,121 posts
AeroScale: 1,063 posts
Posted: Sunday, December 14, 2008 - 03:00 AM UTC
Thanks Steve and Lars. Glad to be here.
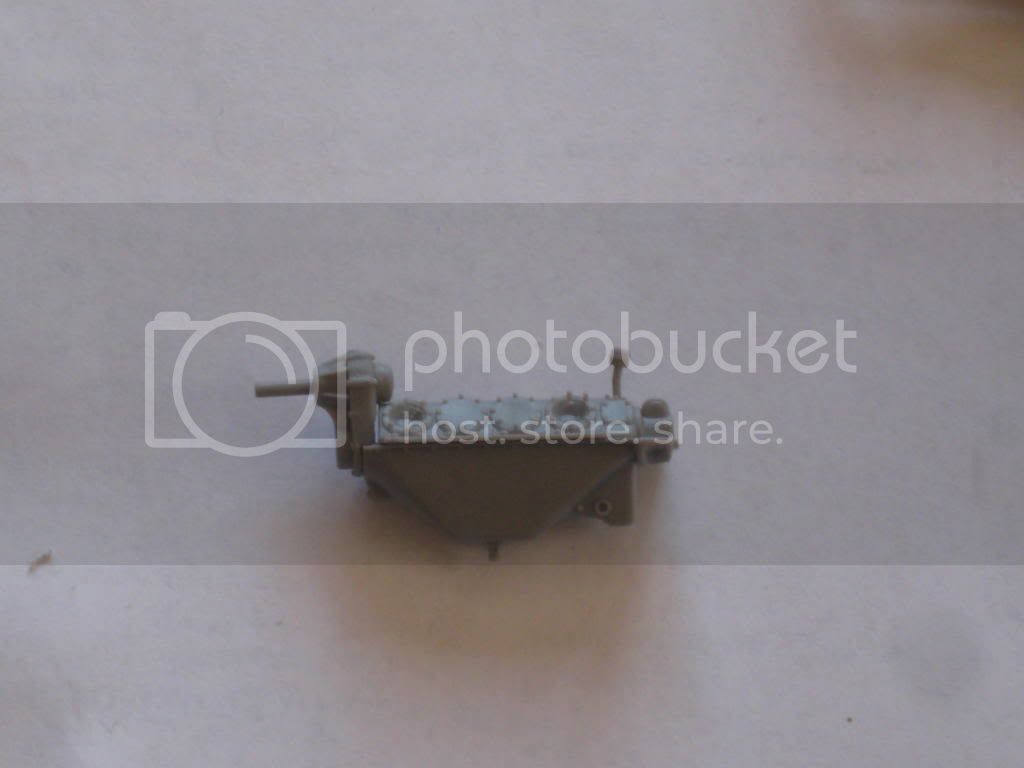
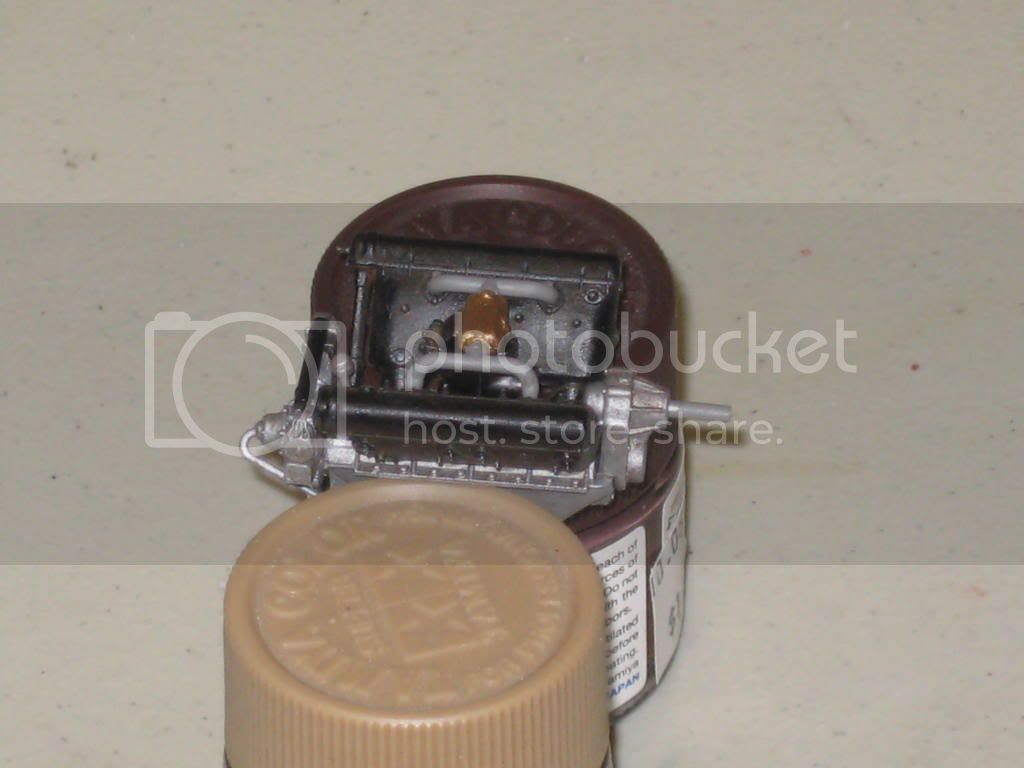
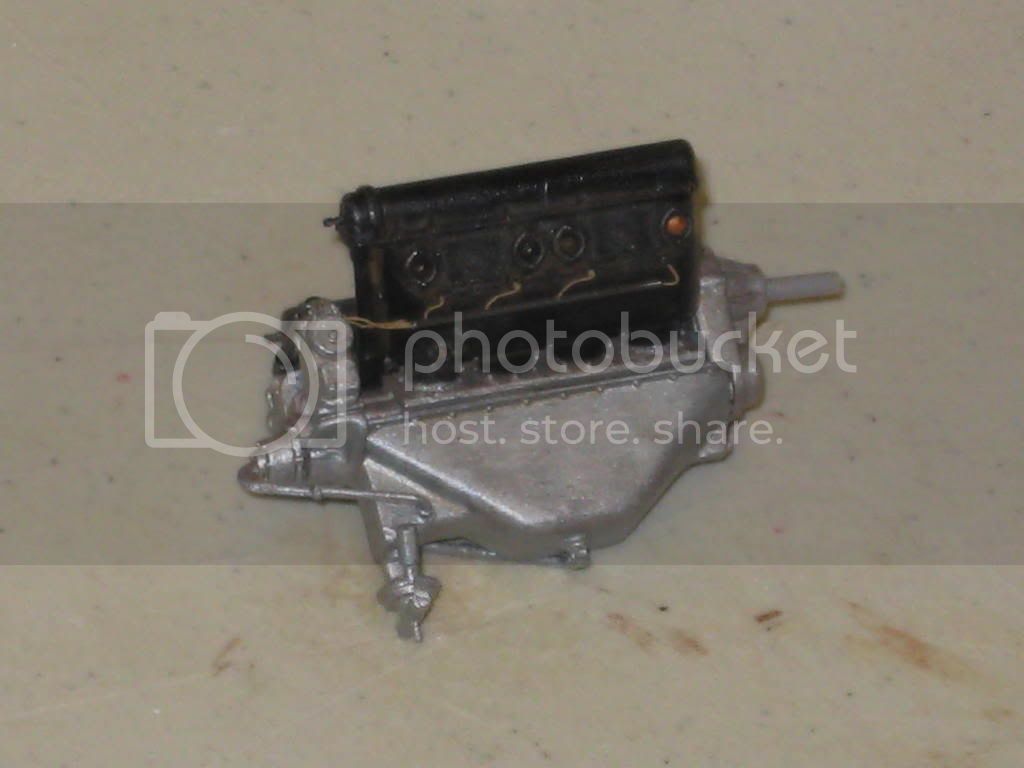
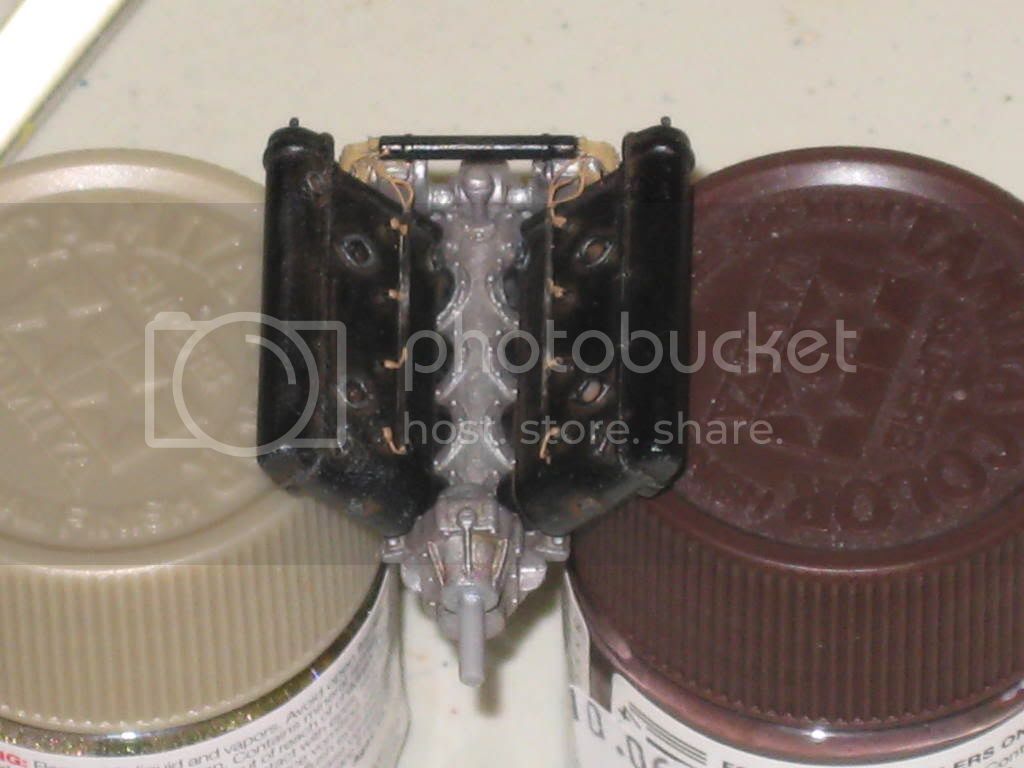
Here's some of the engine painted. Washes and drybrushing will really bring out the details. I'll show everone how I do it as I go along. I plan on detailing the engine with wiring since I plan to show the engine exposed.
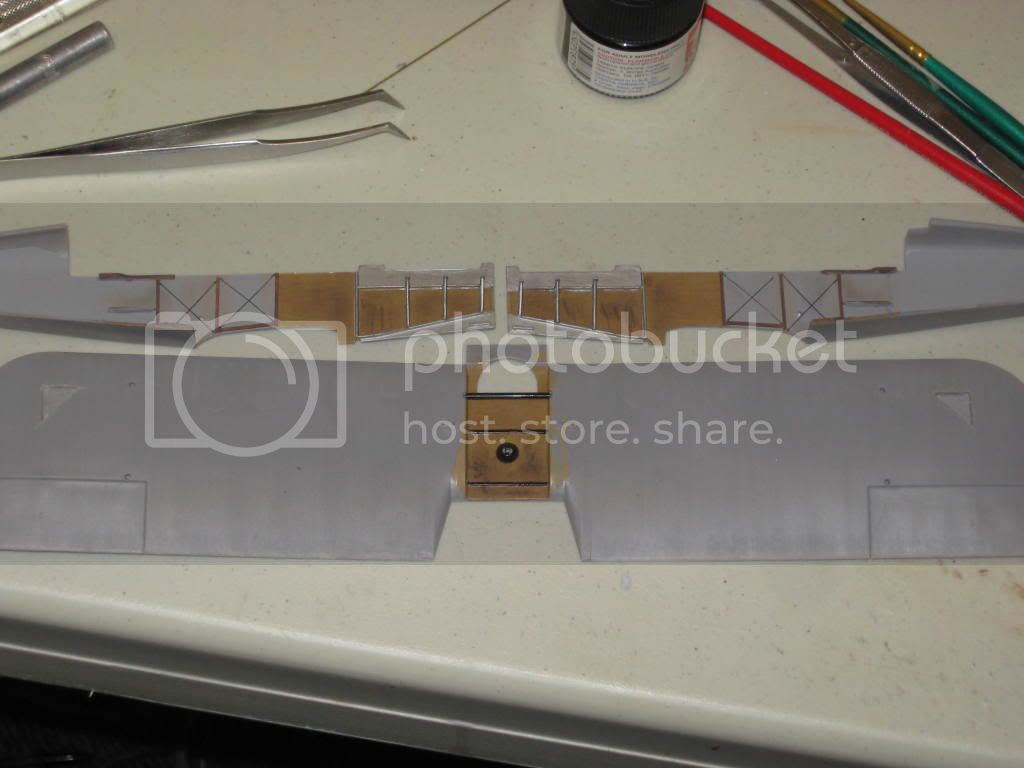
Here's an alternative for those of you who haven't used, are getting used to or just don't like to use oil paints to simulate wood grain. I'll be using a Spada wood grain decal sheet for this build. Plywood in 1/48 to be specific.
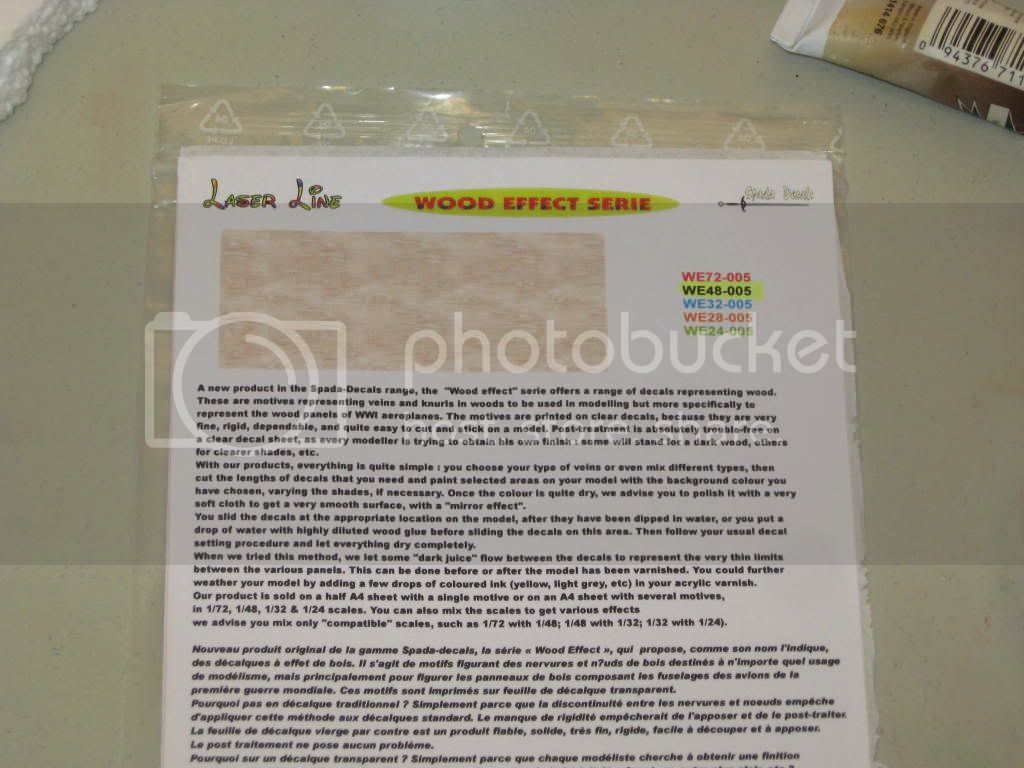
I first gave the areas to be decaled a coat of Tamiya Desert Yellow, then after it was dry, a coat of Future.
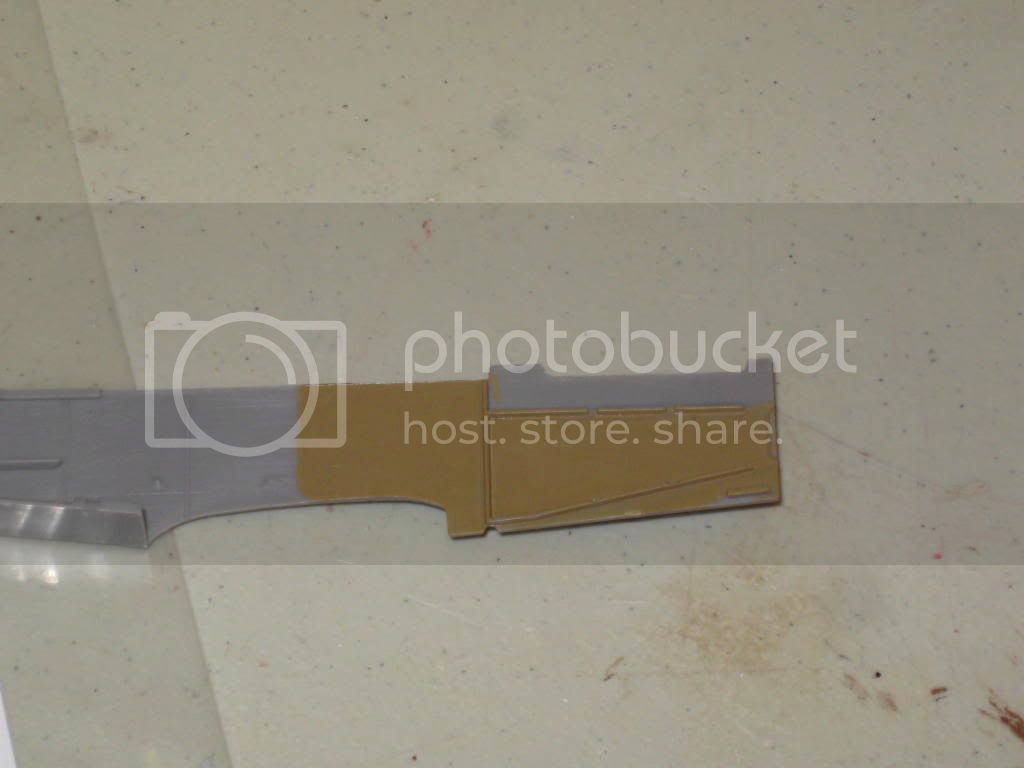
Then I cut the shapes out of the decal sheet..........................
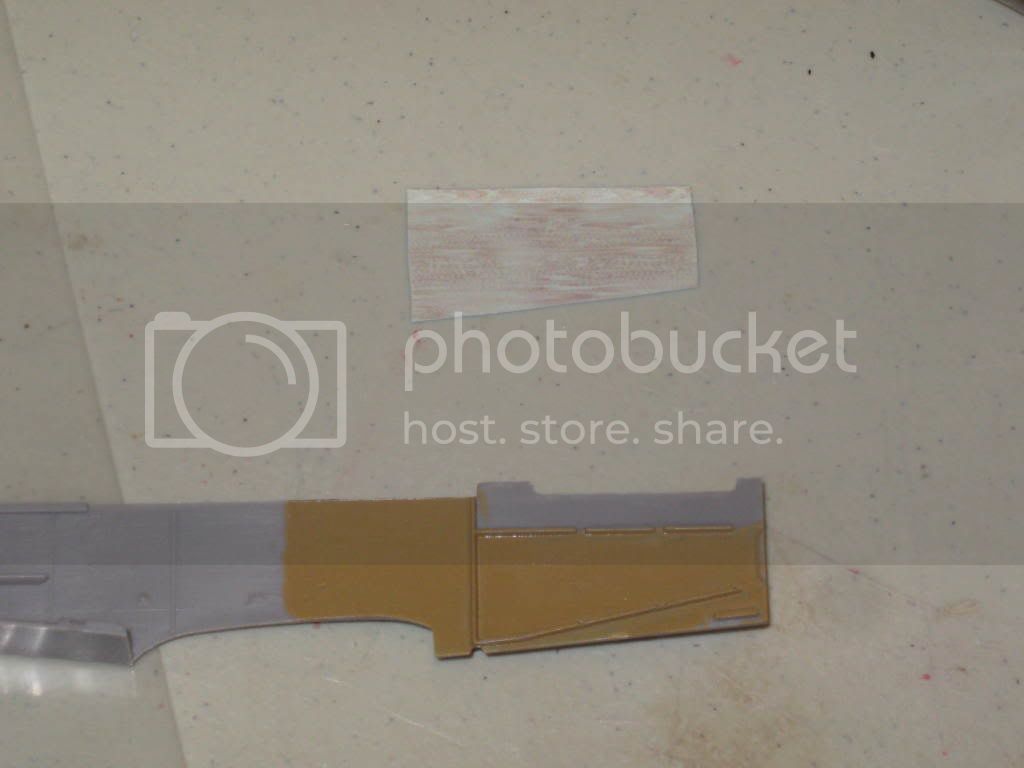
I use Micro Sol decal setting solution. I brush a little on the area to be decaled before placing the decal and on top of the decal after it's placed on the part. Here's the effect. The pictures don't do it justice.
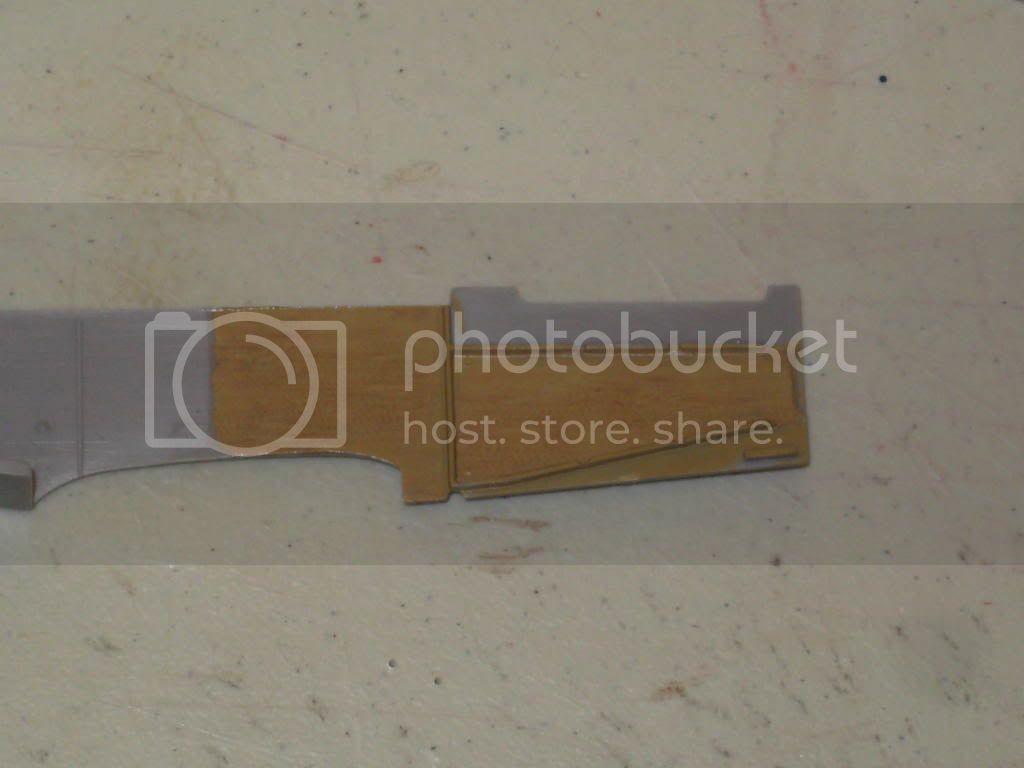
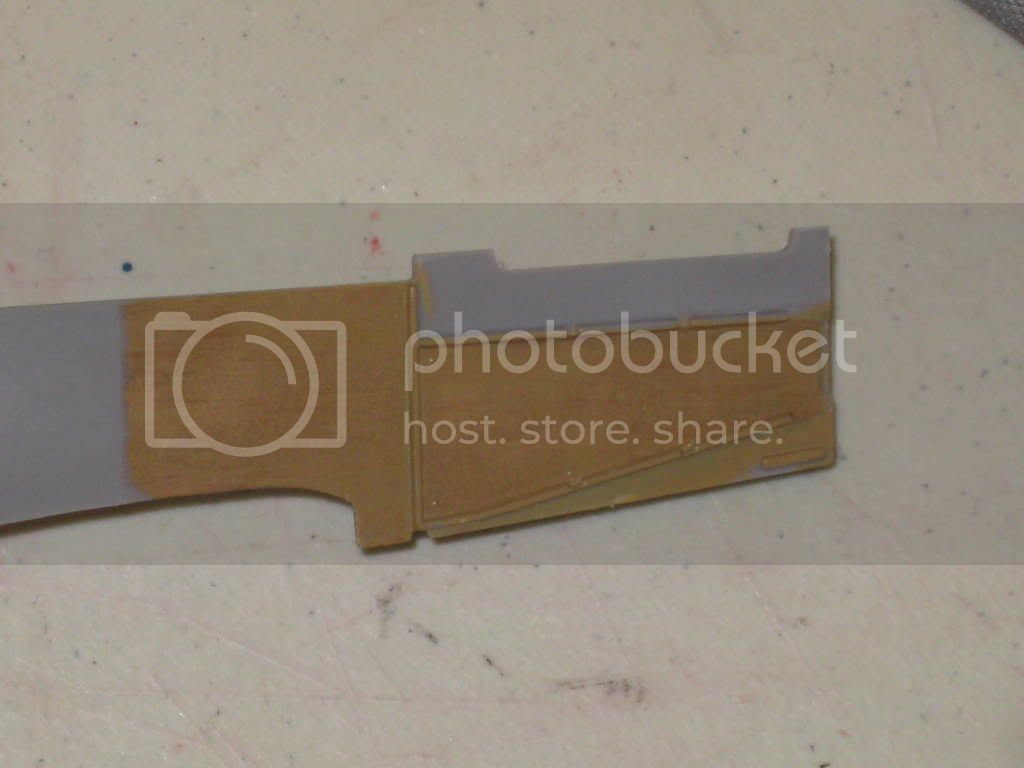
To decal the fuselage sides and cockpit floor took me about 5 minutes. Nice, quick, and easy.
Mark
Alberta, Canada
Joined: January 19, 2008
KitMaker: 6,743 posts
AeroScale: 6,151 posts
Posted: Sunday, December 14, 2008 - 03:25 AM UTC
Well Mark I'm looking forward to seeing your build on this bird . The wood grain decals look good , lot faster then paint !
West Virginia, United States
Joined: December 18, 2006
KitMaker: 1,121 posts
AeroScale: 1,063 posts
Posted: Sunday, December 14, 2008 - 05:02 AM UTC
Thanks Terri.
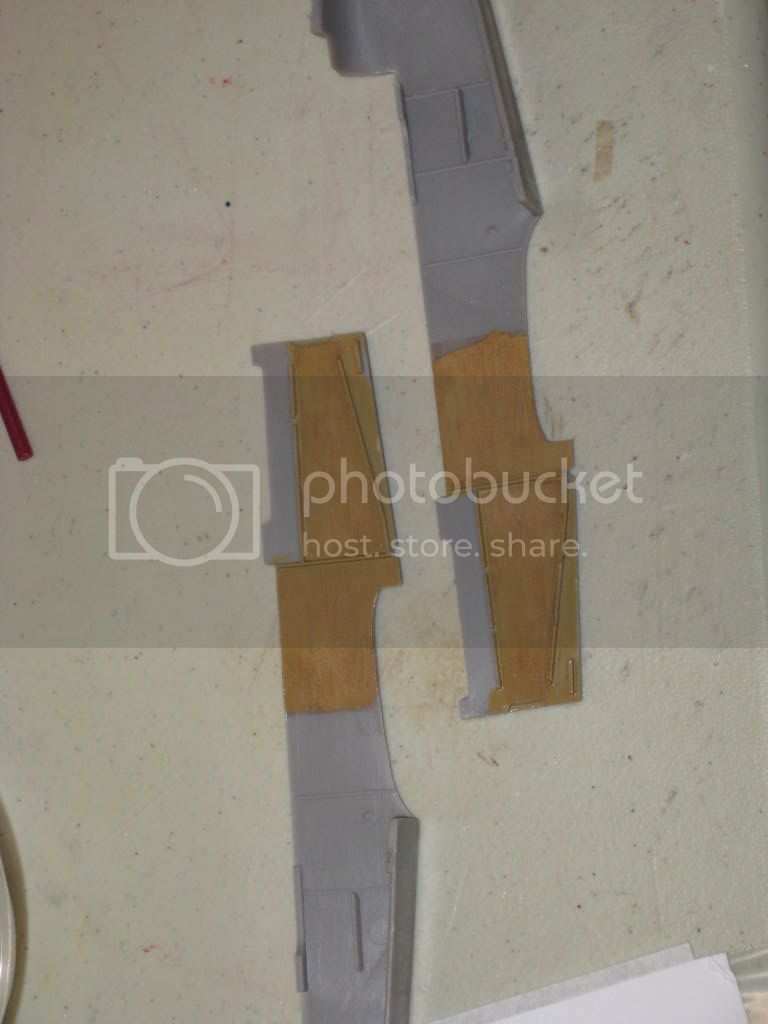
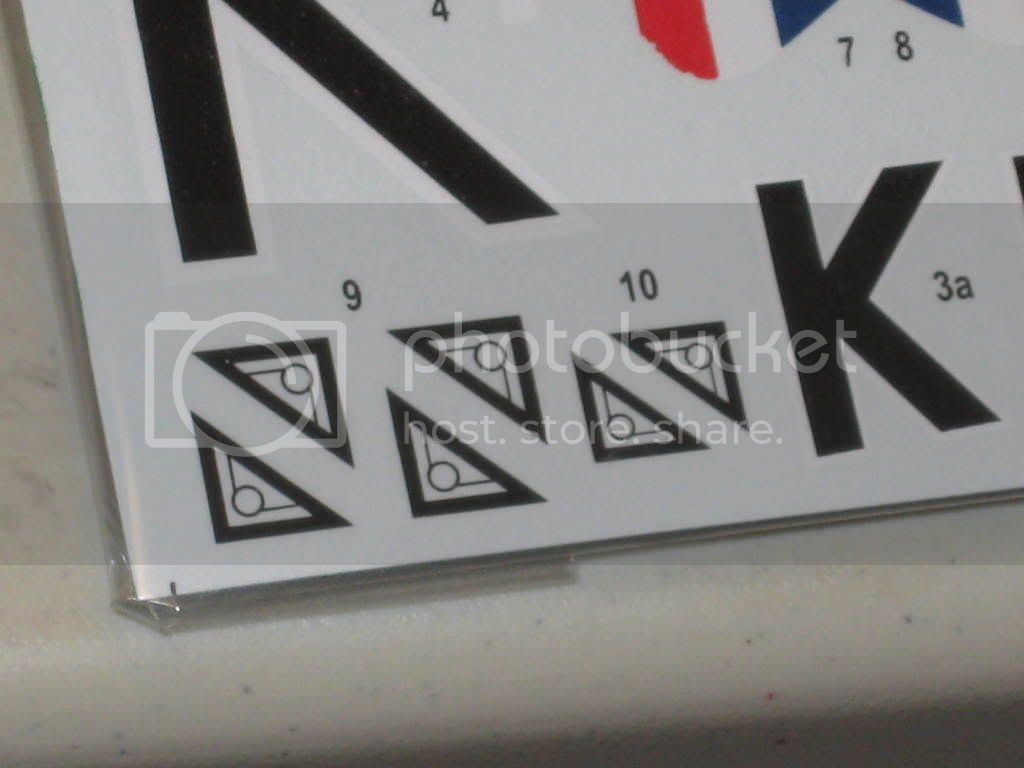
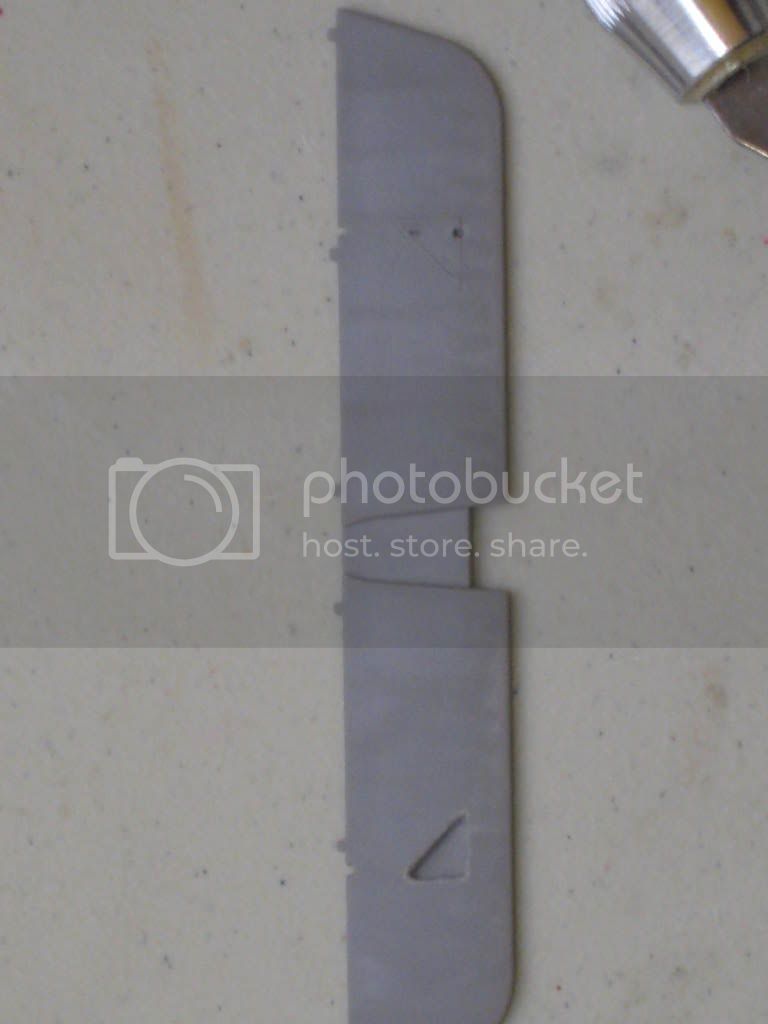
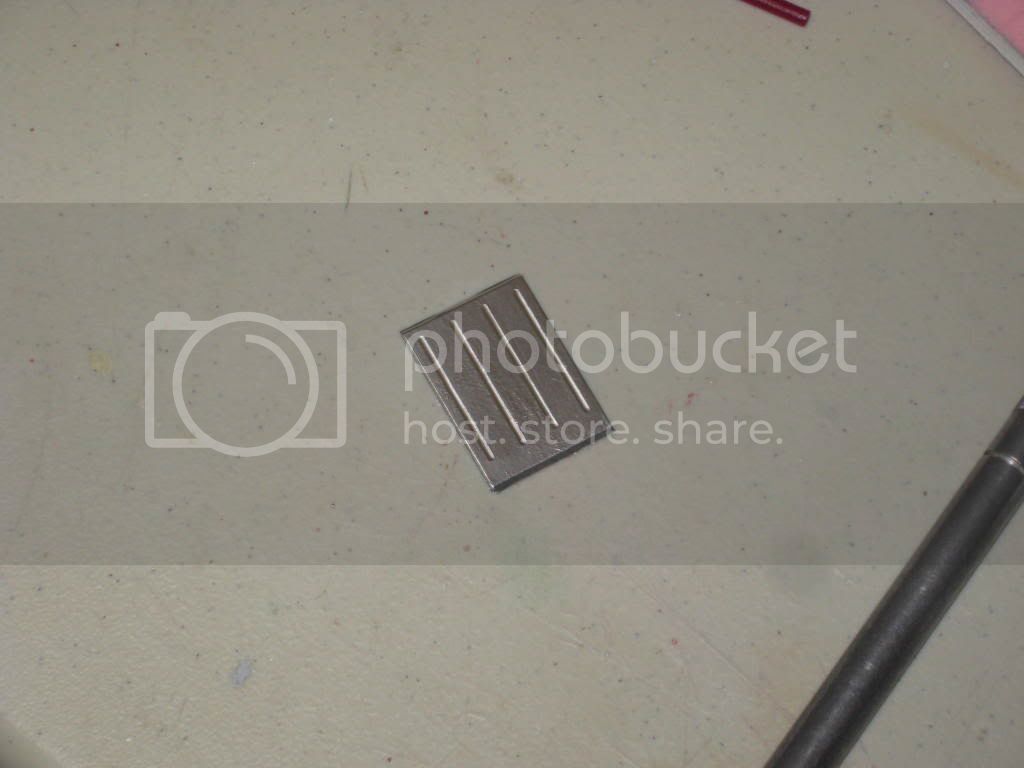
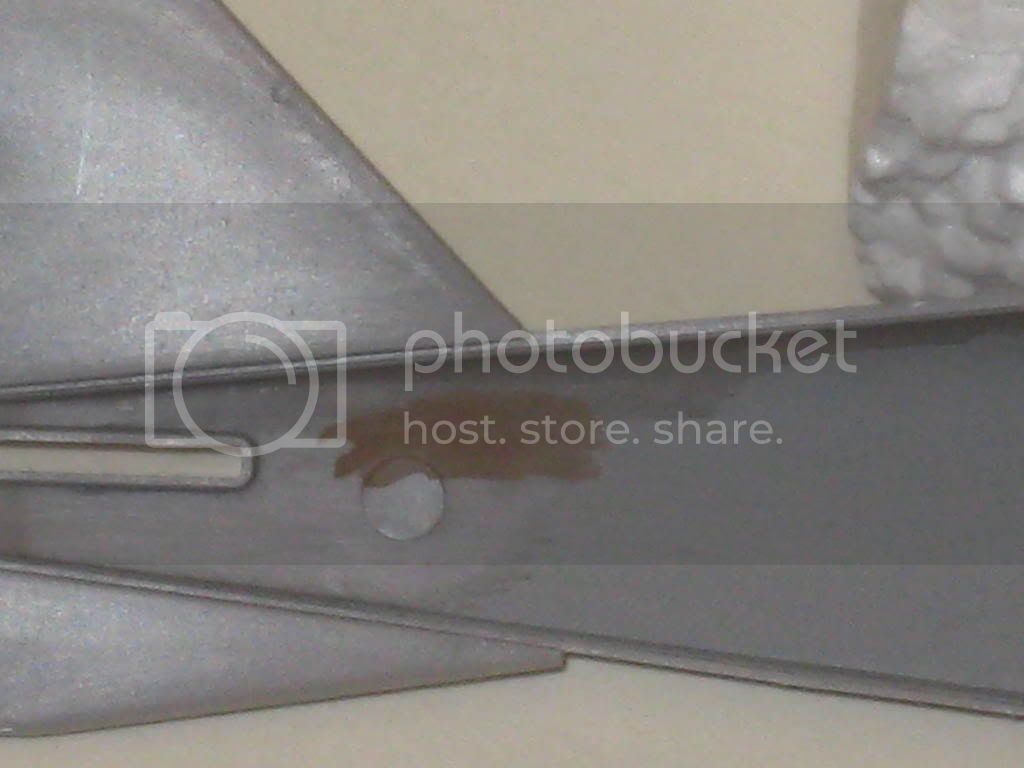
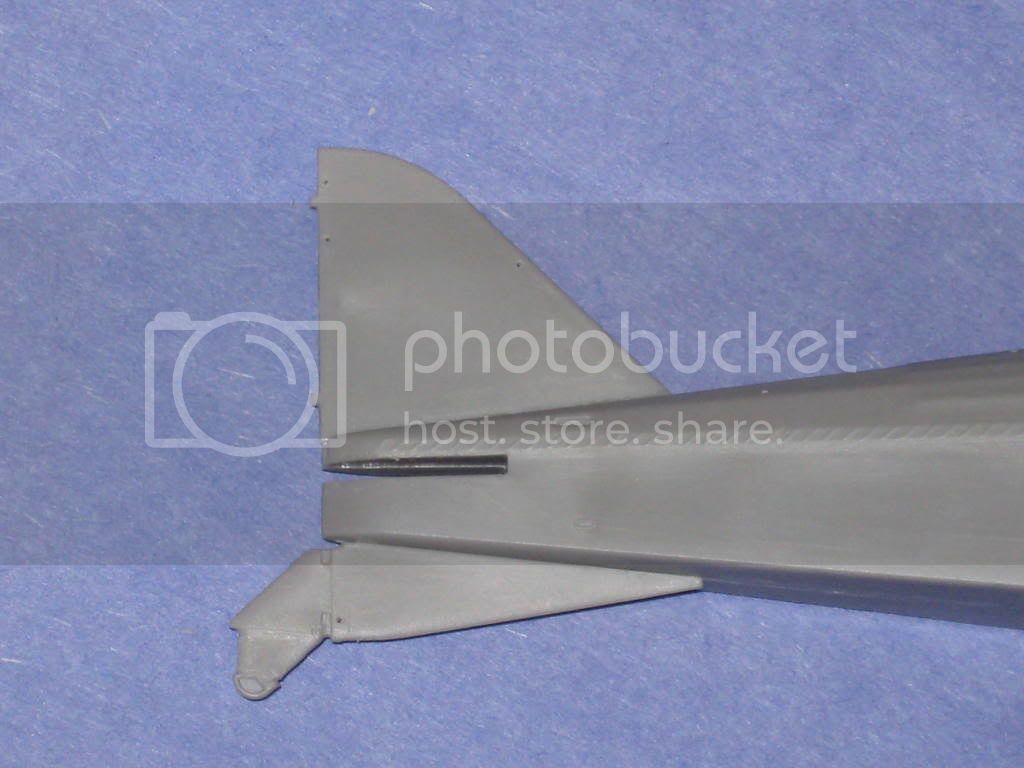
I felt I really had to fix the control line pulley access parts on the tail and wings. I just don't think the decals are a realistic option.
Here's a picture of what they should look like from Stephen's thread......................
Here's the kit part..................................
Here are the decals that are supposed to go over the part............................
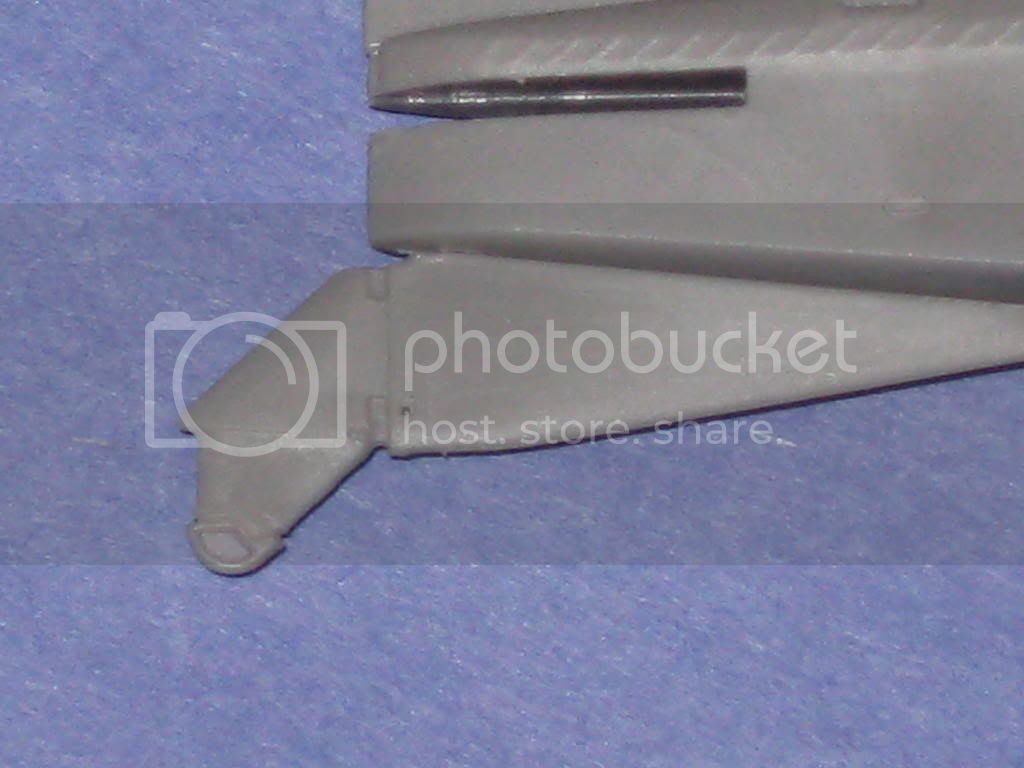
Here are the tools I use to dig out the insides of the pulley area. I used my Dremel to sharpen the small screwdriver (second from the bottom) into a chisel.......................
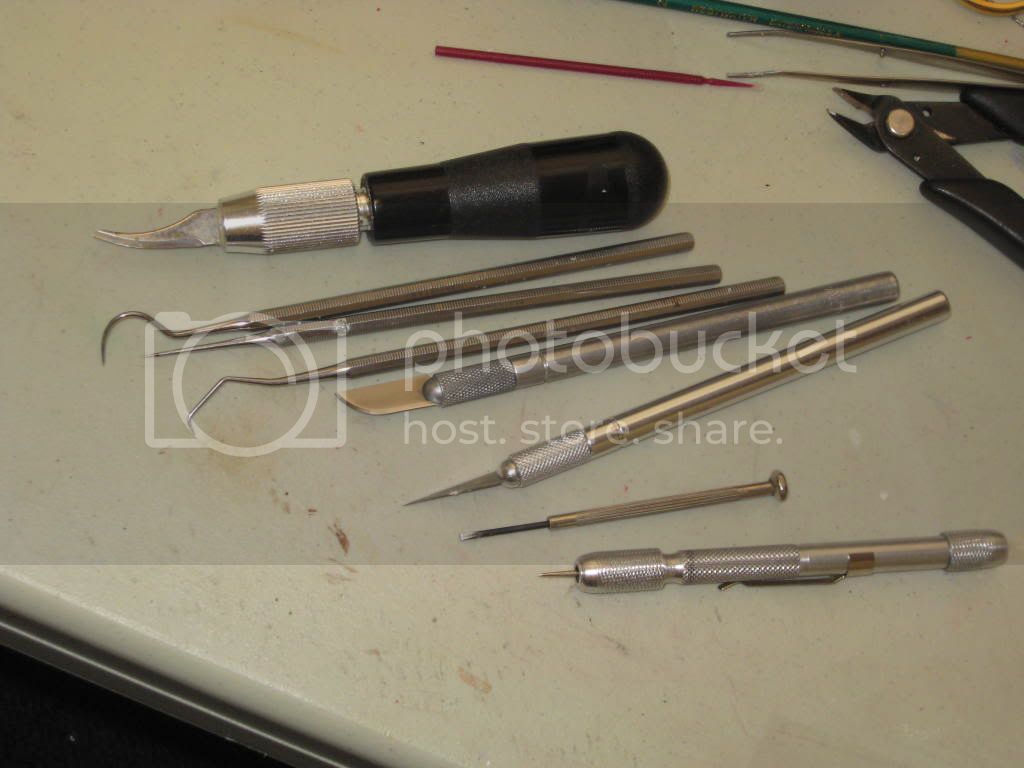
Here's one side "dug out"..................................
More later,
Mark
North Carolina, United States
Joined: June 17, 2006
KitMaker: 478 posts
AeroScale: 391 posts
Posted: Sunday, December 14, 2008 - 05:33 AM UTC
Hmmmmmmmmmm......I've got a dentist appointment coming up.....might need to "borrow" some of those torture tools. Need something other than my #11 knife.
Regards
Steve
1/350 USS San Francisco on Slipways
1/350 HMS Warspite in Research Mode
1/32 P-39D stalled
Victoria, Australia
Joined: November 26, 2006
KitMaker: 608 posts
AeroScale: 602 posts
Posted: Sunday, December 14, 2008 - 09:26 AM UTC
GO MARK!
Looking good so far.
I too do not think that the kit decals are up to spec for the Pully Access ports. But some home printed decals might just do the trick

Cheers,
Hugh
West Virginia, United States
Joined: December 18, 2006
KitMaker: 1,121 posts
AeroScale: 1,063 posts
Posted: Wednesday, December 17, 2008 - 02:56 AM UTC
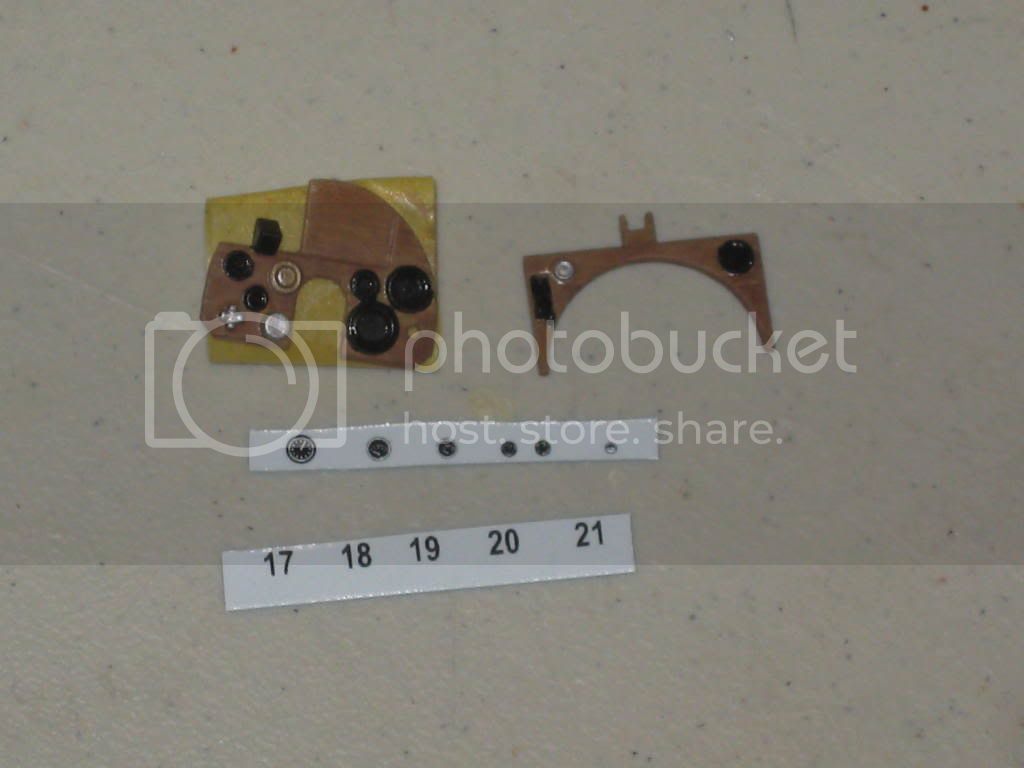
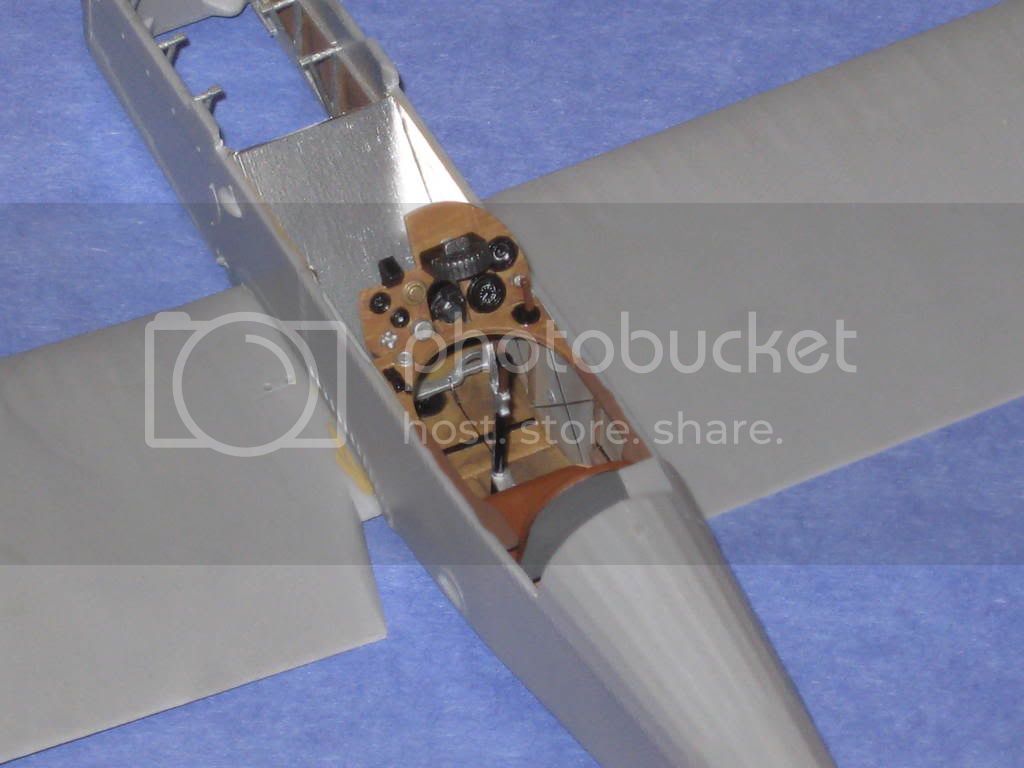
Heres' the instrument panel. I painted the panel Tamiya "desert yellow" then used a stiff bristle brush to drag some thinned Tamiya "red brown" over it to create grain. don't paint it, just drag the bristles over it.
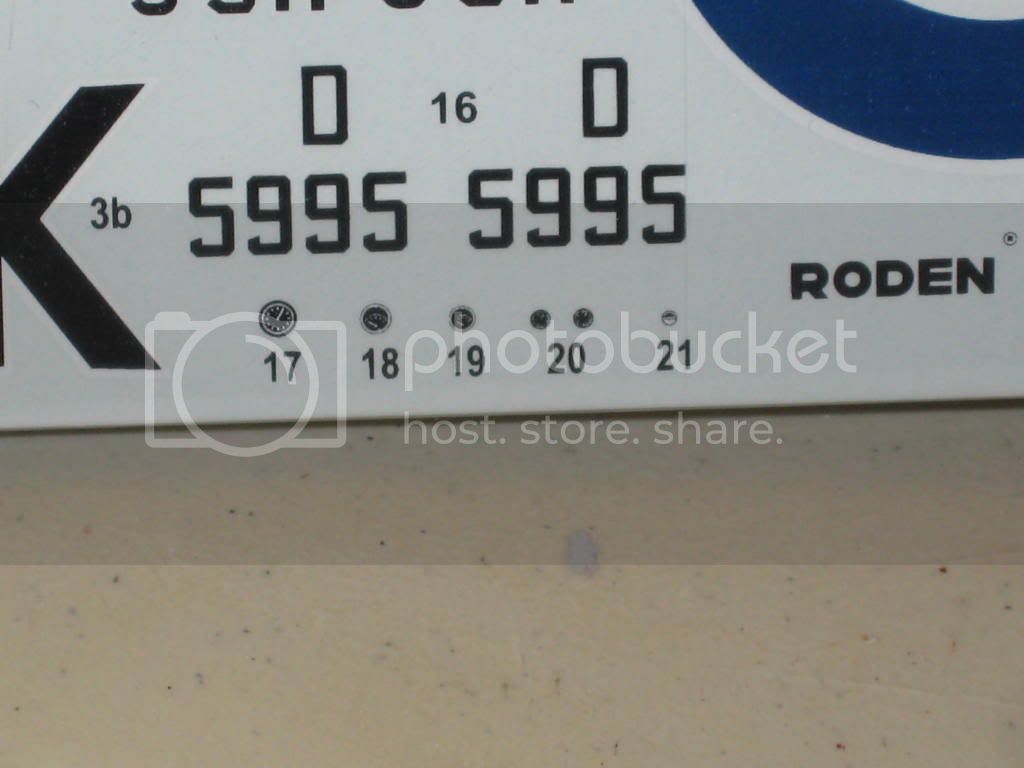
I decided to try the kit decals for the instuments.

More soon,
Mark
Alberta, Canada
Joined: January 19, 2008
KitMaker: 6,743 posts
AeroScale: 6,151 posts
Posted: Wednesday, December 17, 2008 - 03:04 AM UTC
Looking really good Mark !
West Virginia, United States
Joined: December 18, 2006
KitMaker: 1,121 posts
AeroScale: 1,063 posts
Posted: Wednesday, December 17, 2008 - 12:55 PM UTC
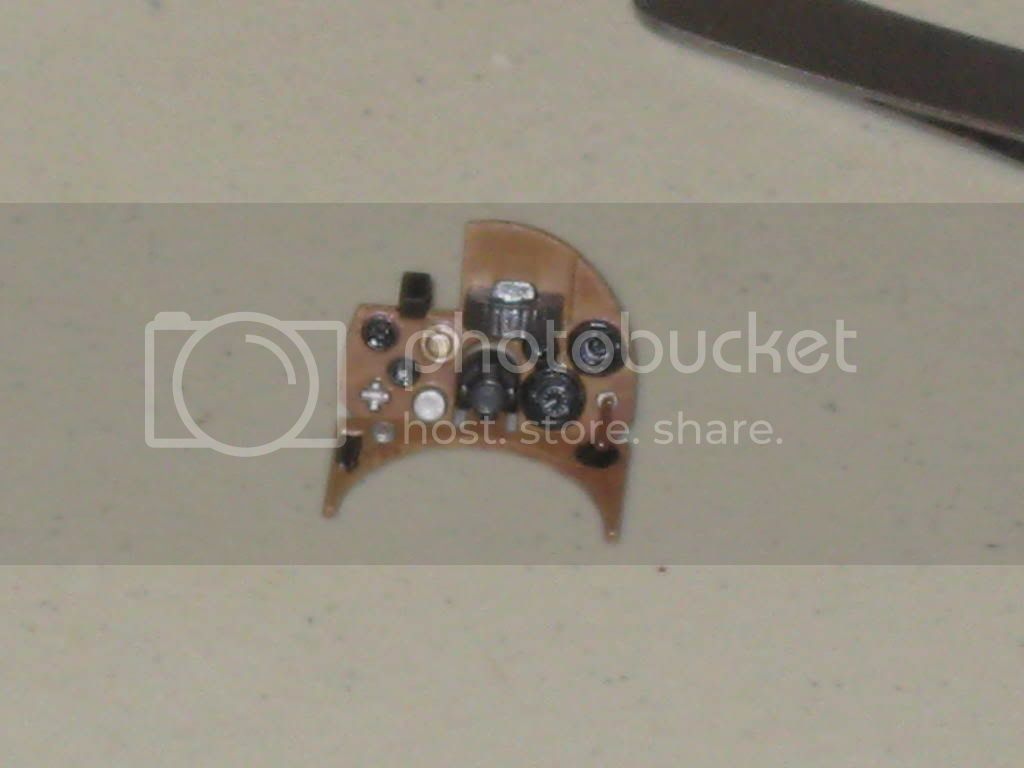
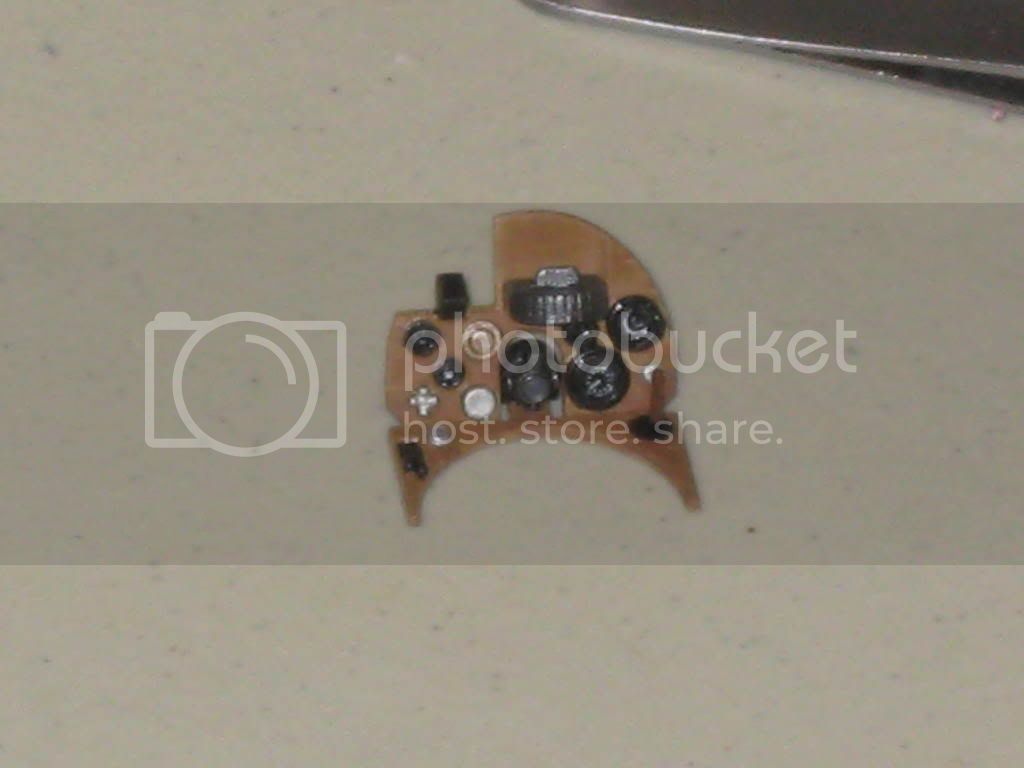
Thanks Terri, here's the completed instrument panel.
Mark
West Virginia, United States
Joined: December 18, 2006
KitMaker: 1,121 posts
AeroScale: 1,063 posts
Posted: Wednesday, December 17, 2008 - 03:27 PM UTC
I decided to cover the firewall with Matte Aluminum Bare-Metal Foil. Here's the foil with part 22C.
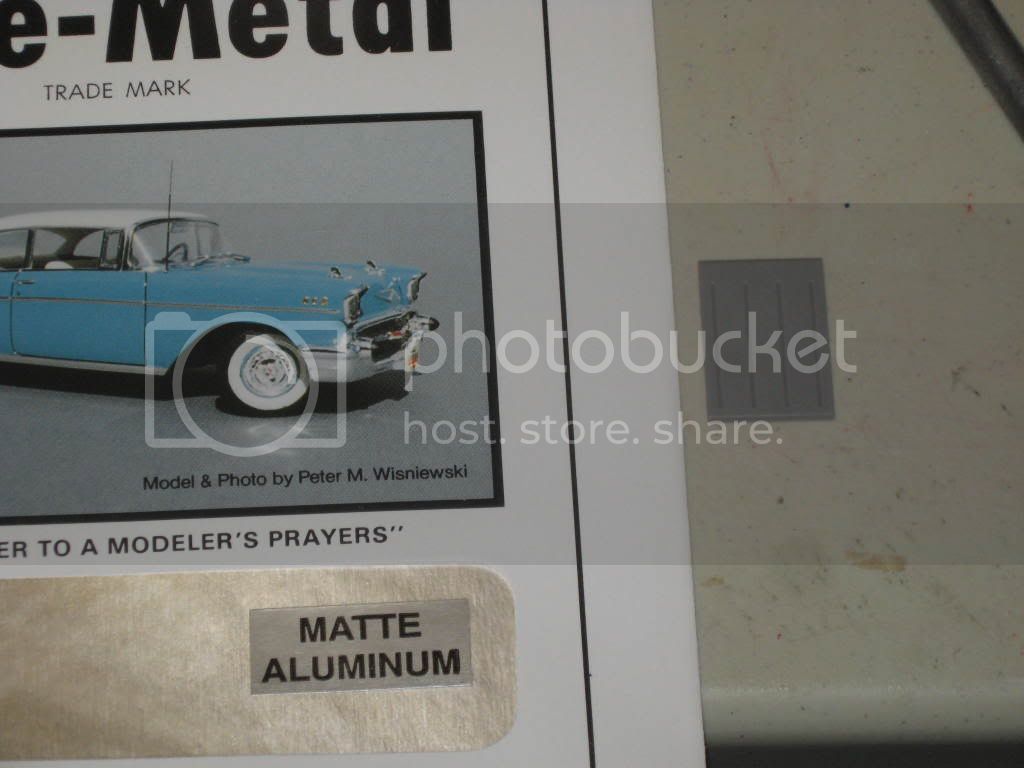
I cut out a piece of foil and sandwiched the part in the middle............
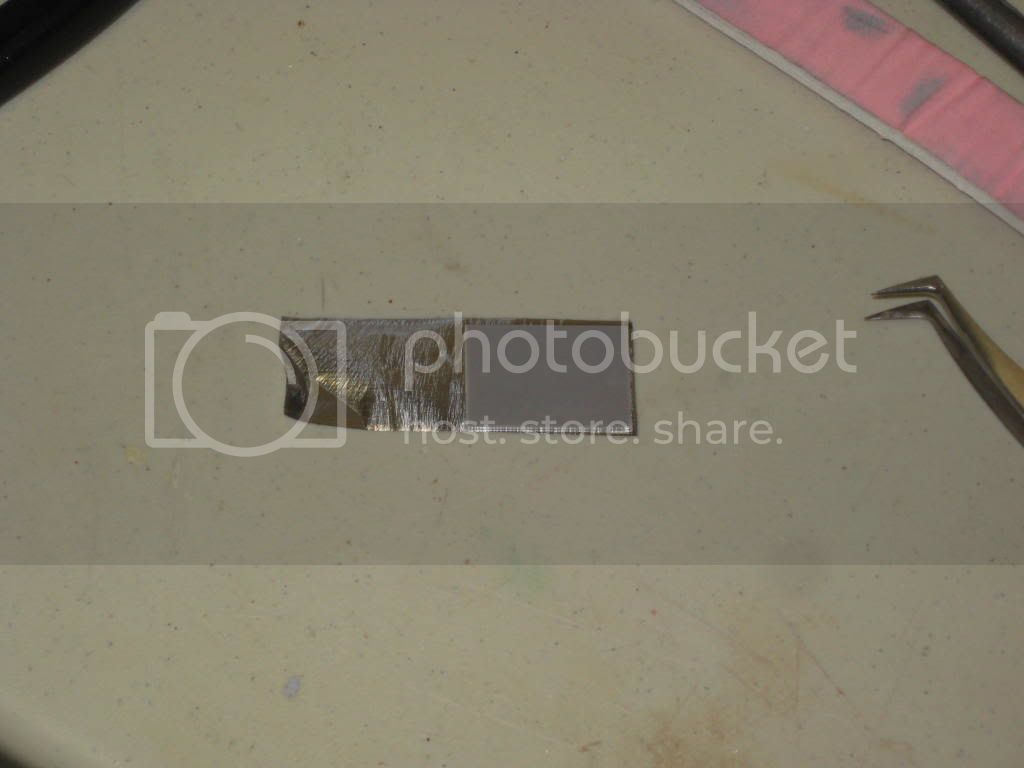
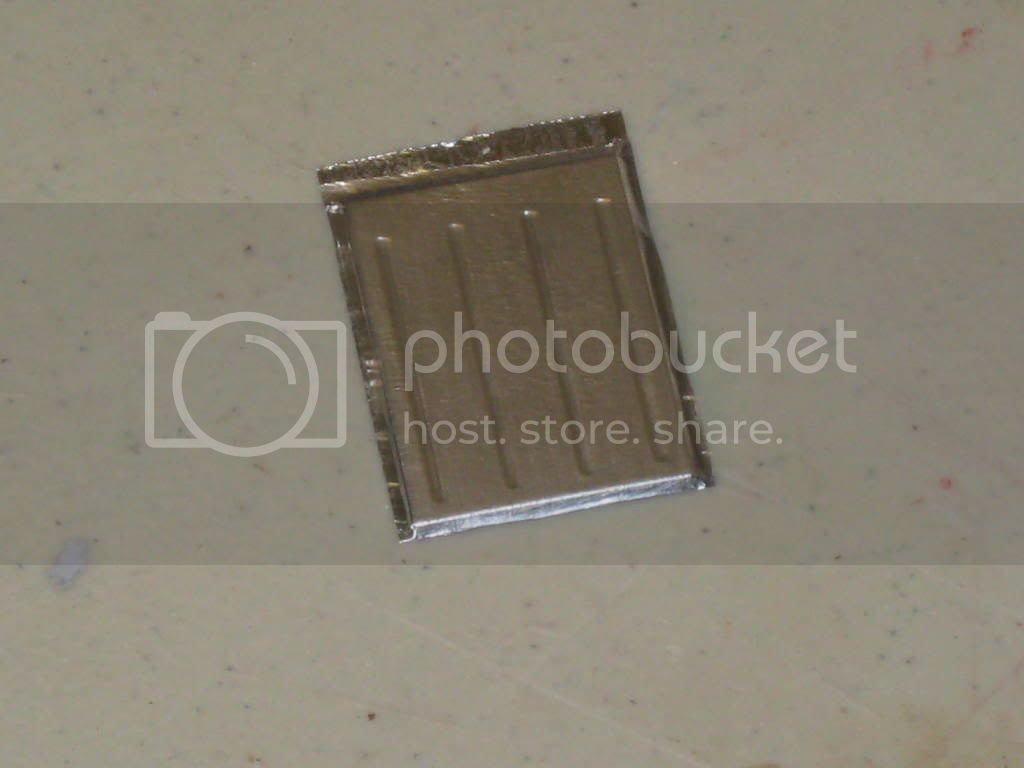
I pushed it down with my fingertip making sure to push out the creases................
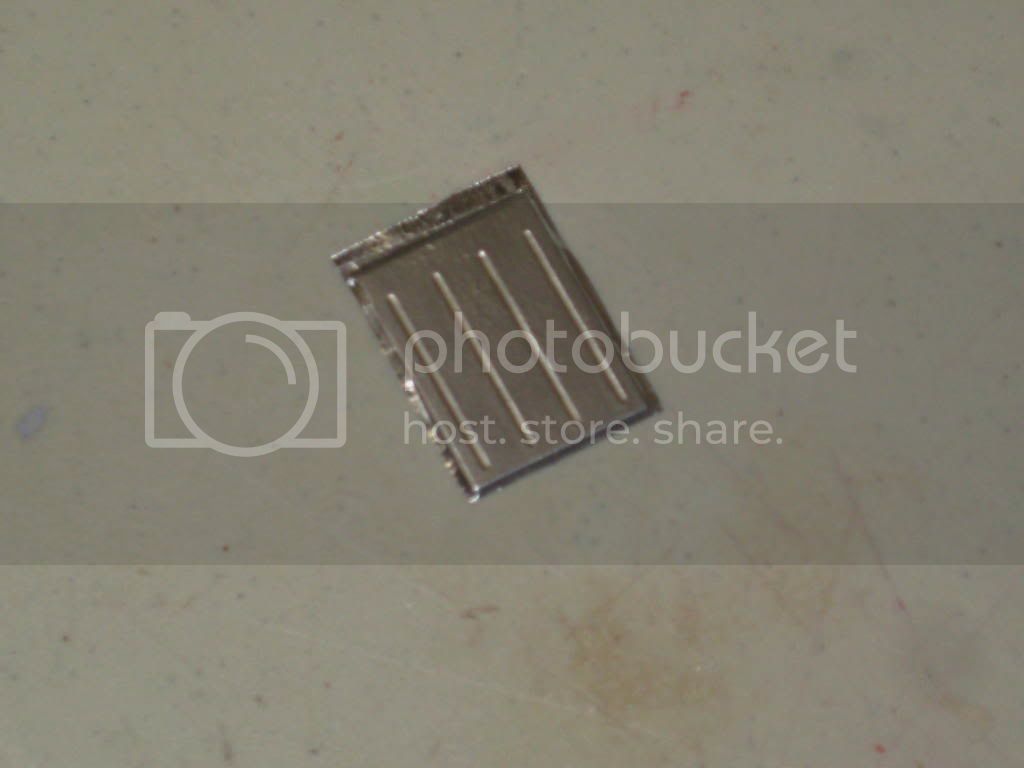
Cut the edges and there you have it...................................
And here's a test fit of the engine.....................
More later,
Mark
West Virginia, United States
Joined: December 18, 2006
KitMaker: 1,121 posts
AeroScale: 1,063 posts
Posted: Thursday, December 18, 2008 - 05:24 AM UTC
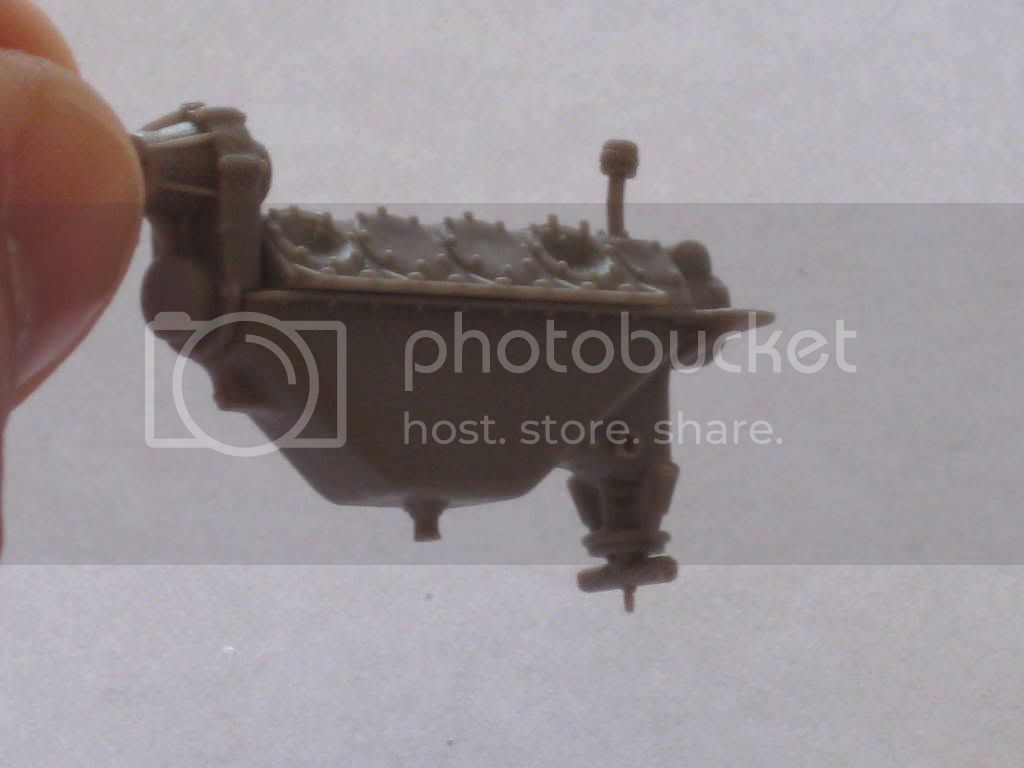
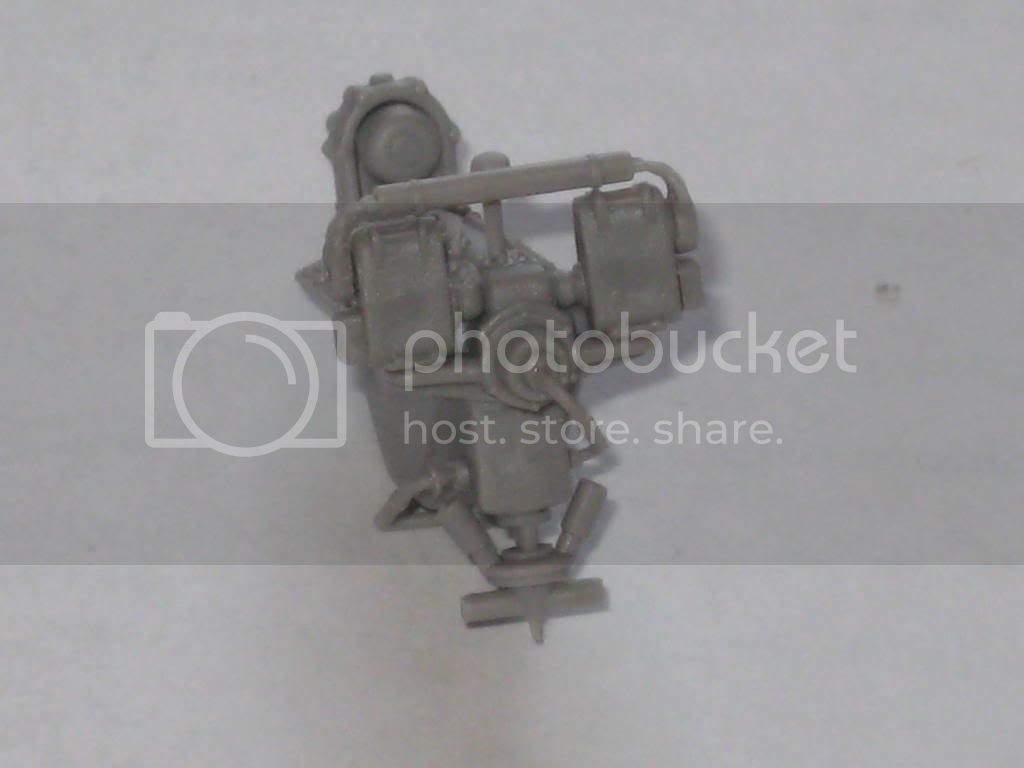
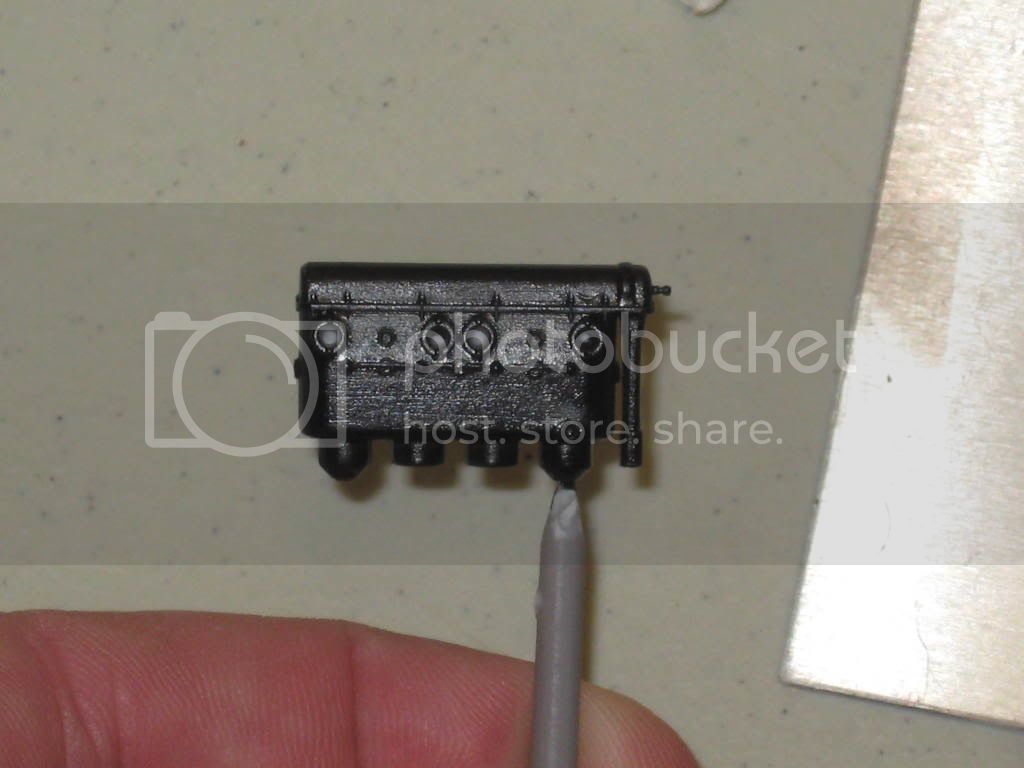
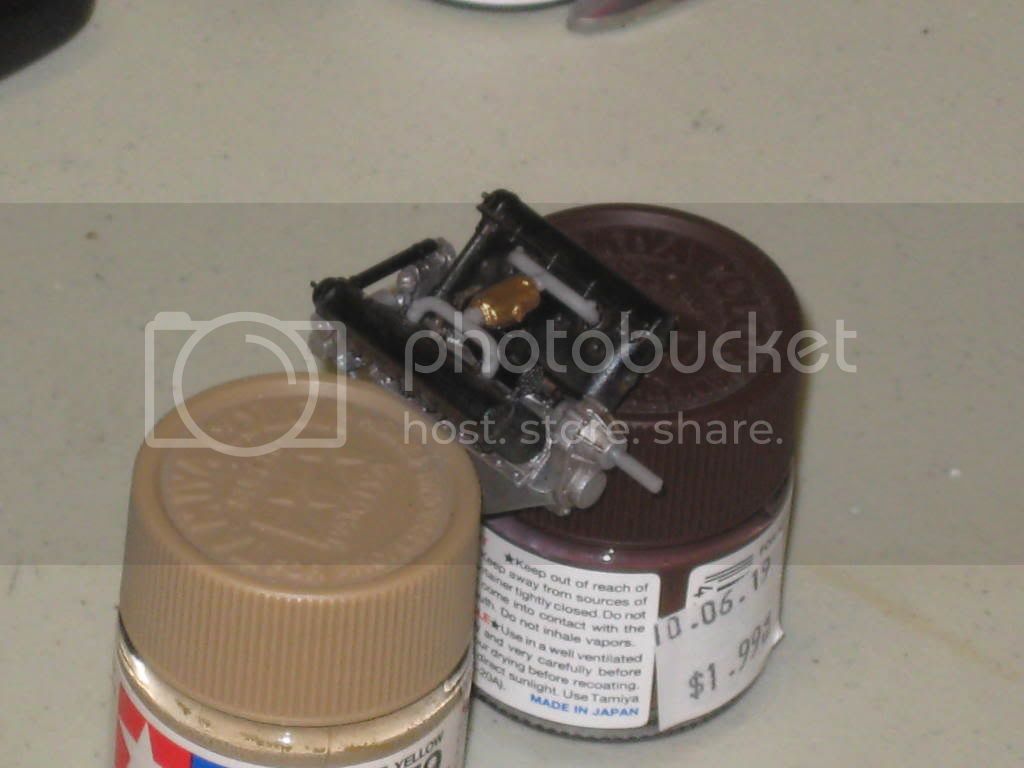
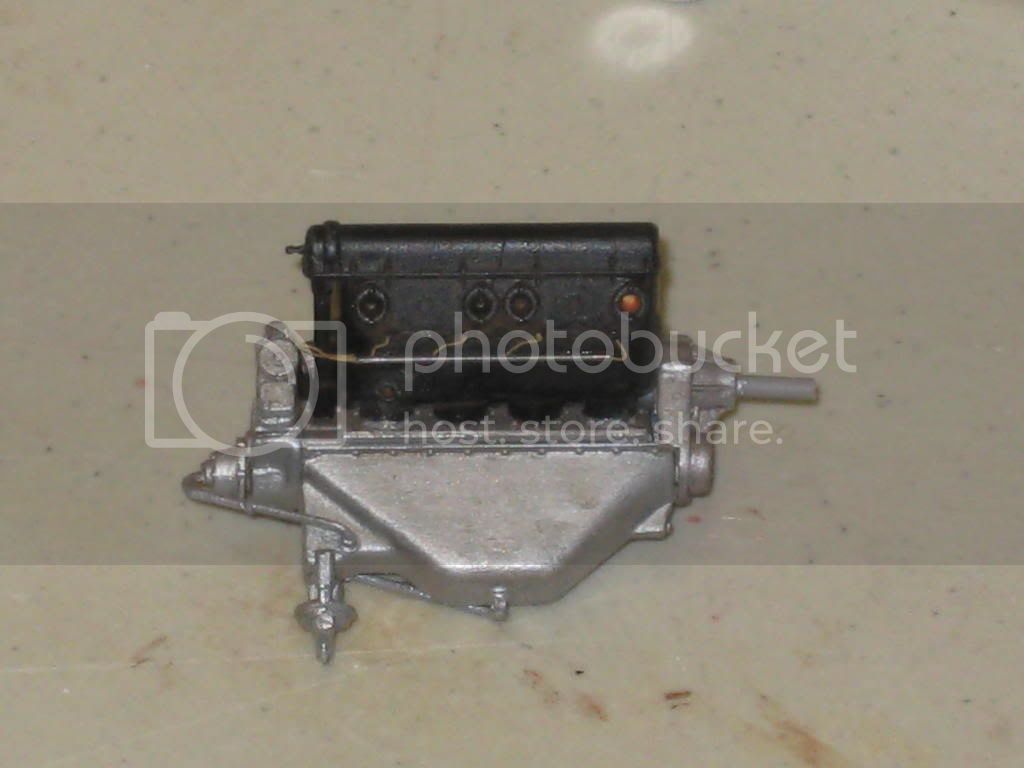
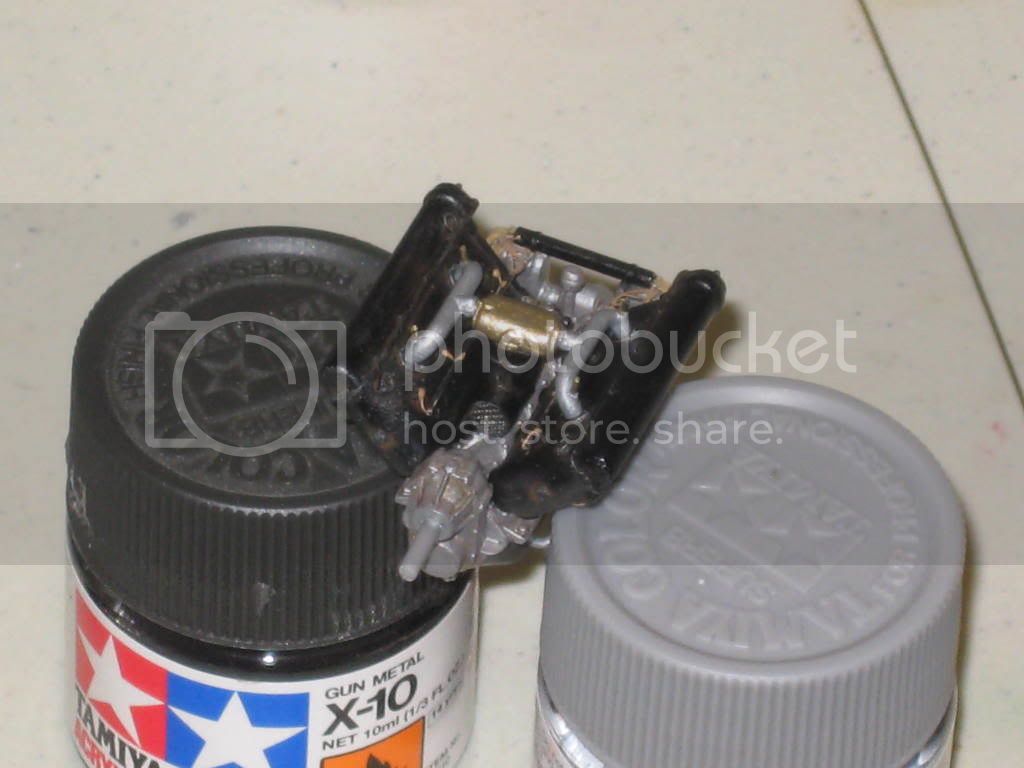
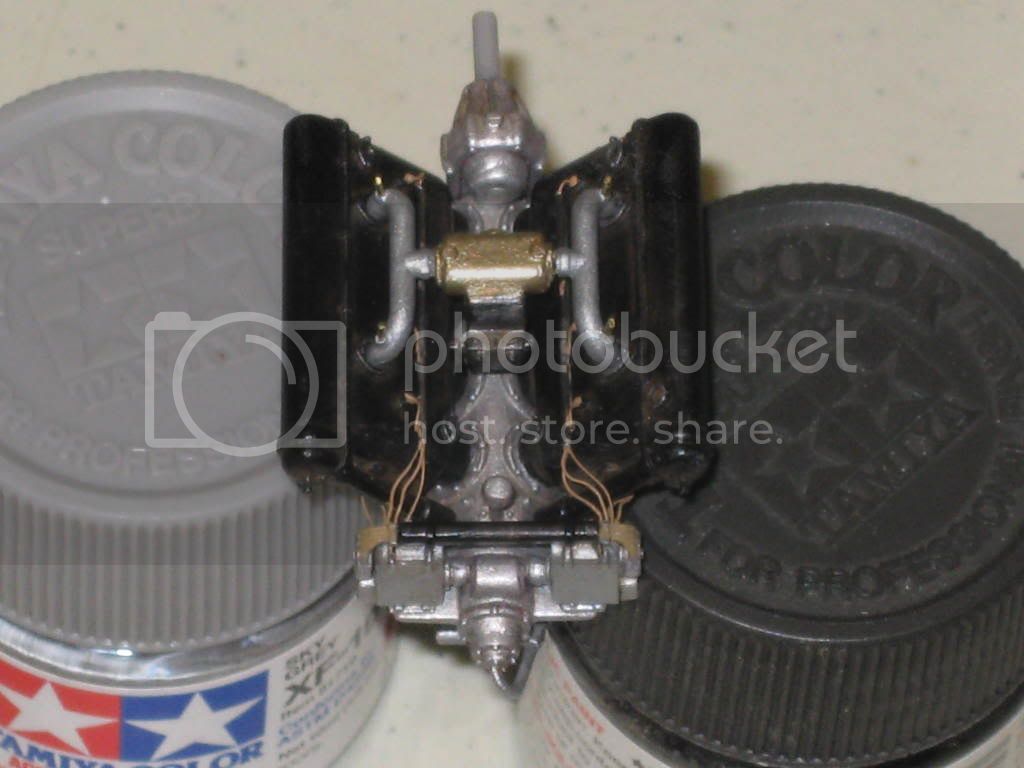
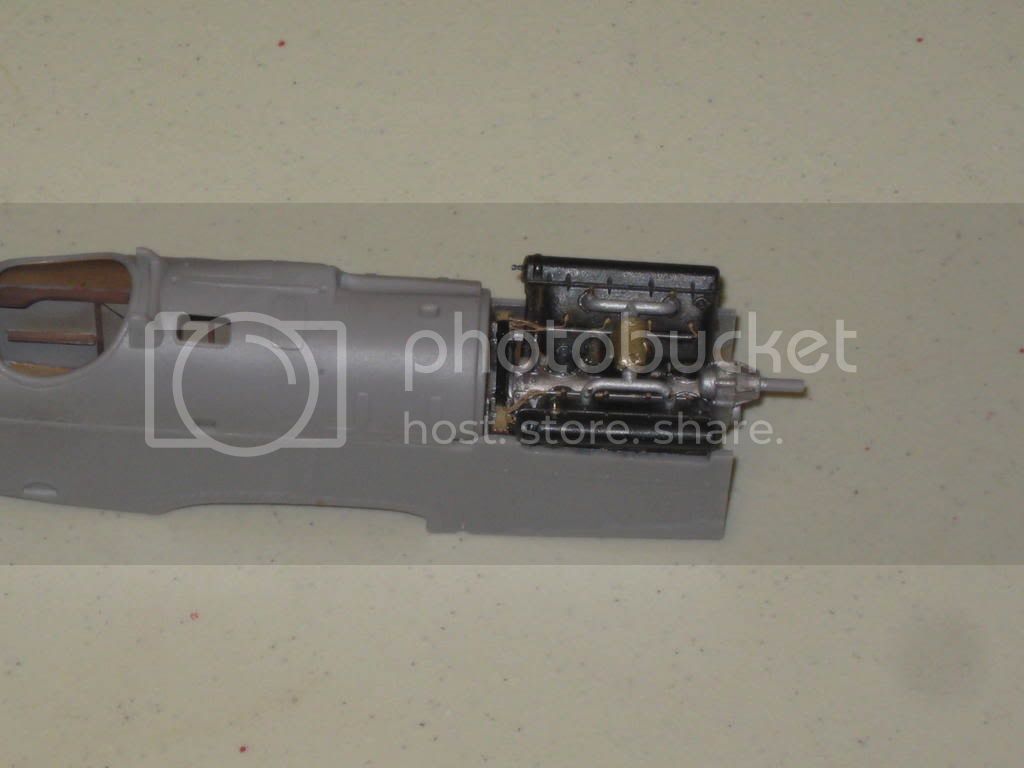
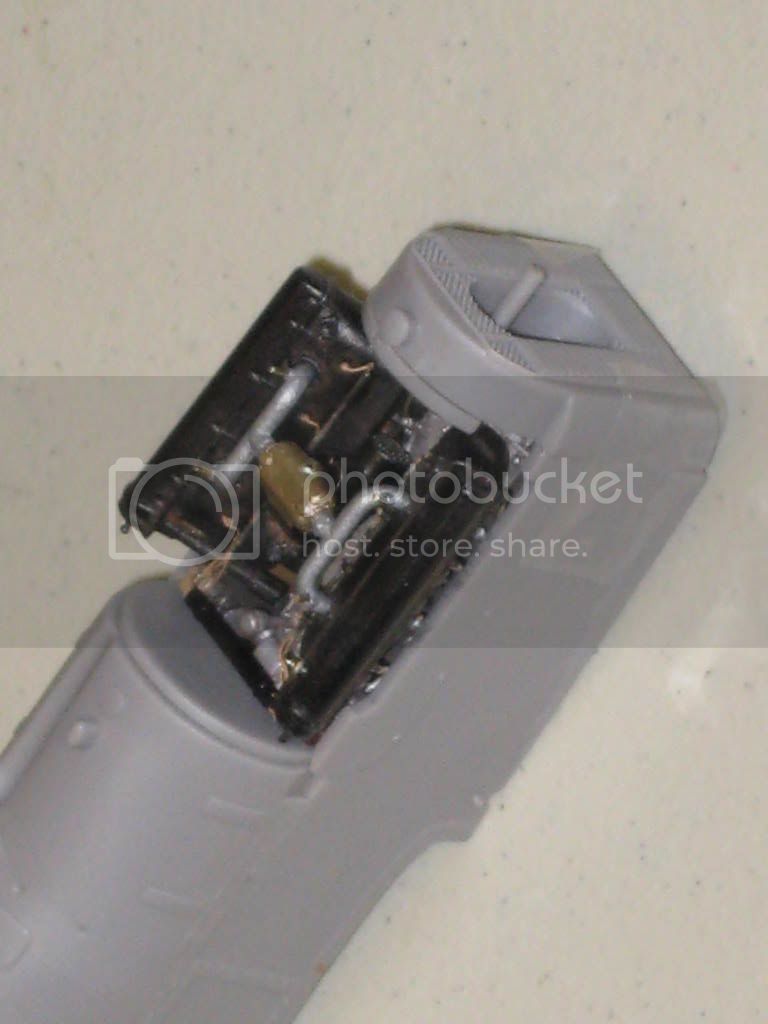
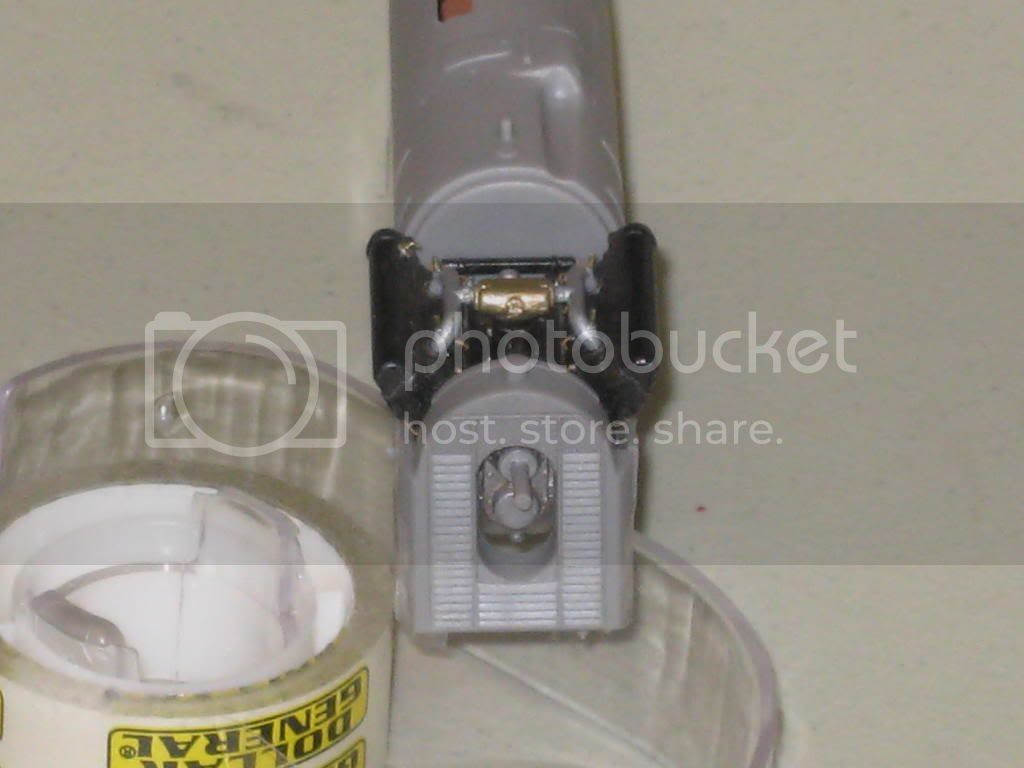
I've detailed some wiring on the engine with hypodermic tubing and "Detail Master" wire.
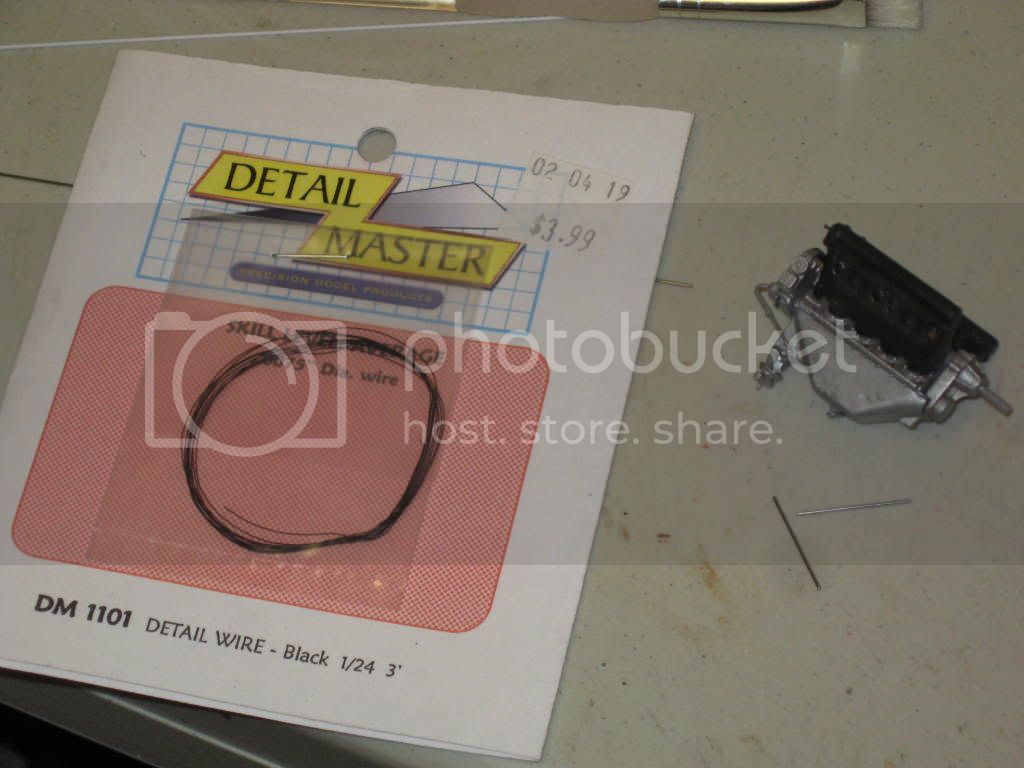
I painted the wires a light brown color. Here's one side of the engine.
Mark
Victoria, Australia
Joined: November 26, 2006
KitMaker: 608 posts
AeroScale: 602 posts
Posted: Thursday, December 18, 2008 - 09:24 AM UTC
Nice going Mark.
Of course, knowing your work, you have little holes drilled along the Hypedermic tube to take the ignition leads and these leads go all the way along to the magnetos.
Did you also make sure that the thermostat was set for the obligatory 90°C... Remember that Ethylene Glycol was not in wide use at this stage...
Just Kidding Buddy.
How close are you to closing her up?
Cheers,
Hugh
Colorado, United States
Joined: January 25, 2004
KitMaker: 11,669 posts
AeroScale: 11,011 posts
Posted: Thursday, December 18, 2008 - 09:38 AM UTC
Mark, excellent progress and I like the methods you are describing. Model On Please!
". . .The most important thing is to know why you build and then get the most that you can out of building." via D.D.
North Carolina, United States
Joined: June 17, 2006
KitMaker: 478 posts
AeroScale: 391 posts
Posted: Thursday, December 18, 2008 - 10:13 AM UTC
Whats gonna bug me is that Mark's gonna be done before i get paint on mine............

unless........ unless we can get him to do some more "scratching" to his OOB build.
Regards
Steve
1/350 USS San Francisco on Slipways
1/350 HMS Warspite in Research Mode
1/32 P-39D stalled
West Virginia, United States
Joined: December 18, 2006
KitMaker: 1,121 posts
AeroScale: 1,063 posts
Posted: Thursday, December 18, 2008 - 10:40 AM UTC
Thanks guys. Hugh, you know me all too well. I should be able to close it up tomorrow. I'm putting together my youngest son's 7th birthday party this weekend so I won't be doing any building this weekend.
Steve, that'll give you a chance to catch up. I can't wait to see how your paint job turns out. I haven't decided how to do mine yet.
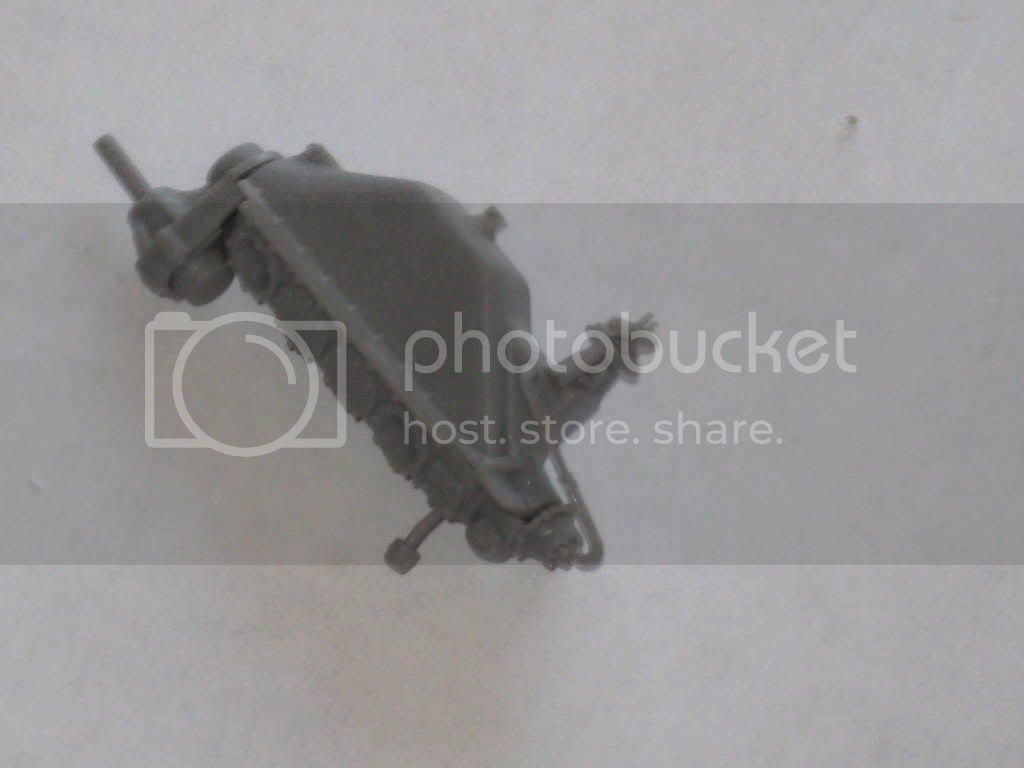
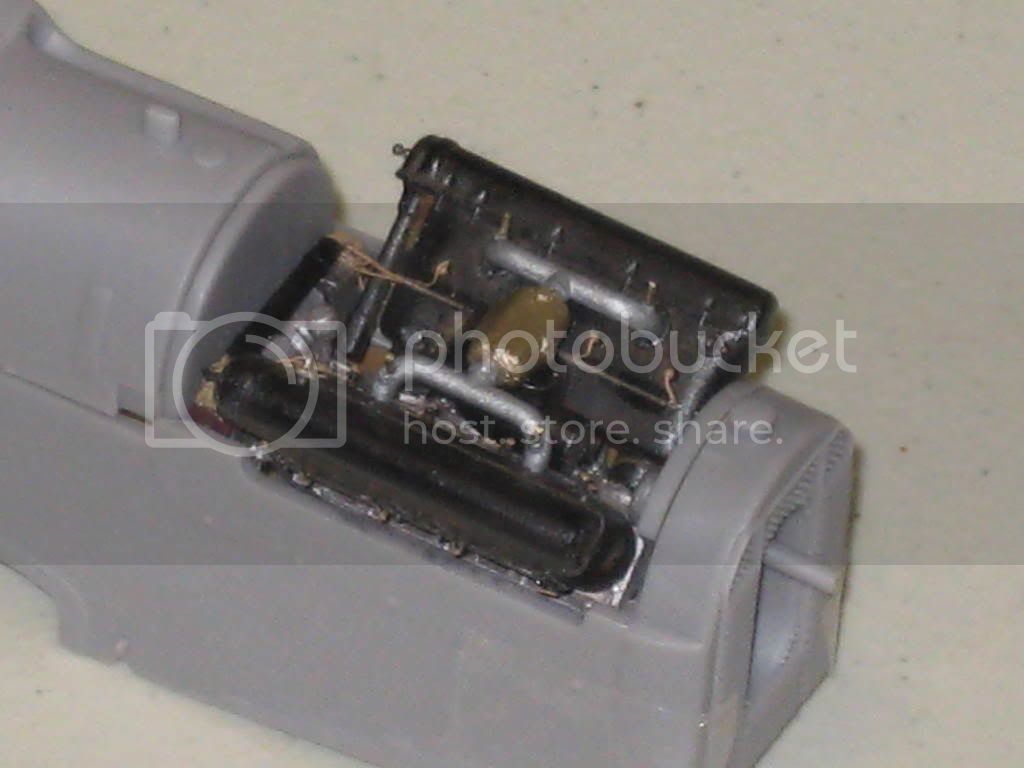
Here's the engine 99% complete. I'll give some notes next week on things to watch out for for those who will be building the kit in the future.

Thanks for the posts Hugh, Stephen and Steve, I'm always glad to hear from you.
Mark
Alberta, Canada
Joined: January 19, 2008
KitMaker: 6,743 posts
AeroScale: 6,151 posts
Posted: Thursday, December 18, 2008 - 04:36 PM UTC
Man , I go to work and look what I missed out on ! Excellent detail work done to the engine Mark . Bare metal foil , never tried the stuff before . I have used the foil that comes in a pack of cigarette . Works really well . Looking forward to more and a very happy birthday to your son !

West Virginia, United States
Joined: December 18, 2006
KitMaker: 1,121 posts
AeroScale: 1,063 posts
Posted: Friday, December 19, 2008 - 05:22 AM UTC
Thanks Terri. I've never had to cover such a large piece with foil so I thought I'd try it out and I liked it so I kept it ......and thanks for the birthday wishes, we're going to have a great time this weekend.
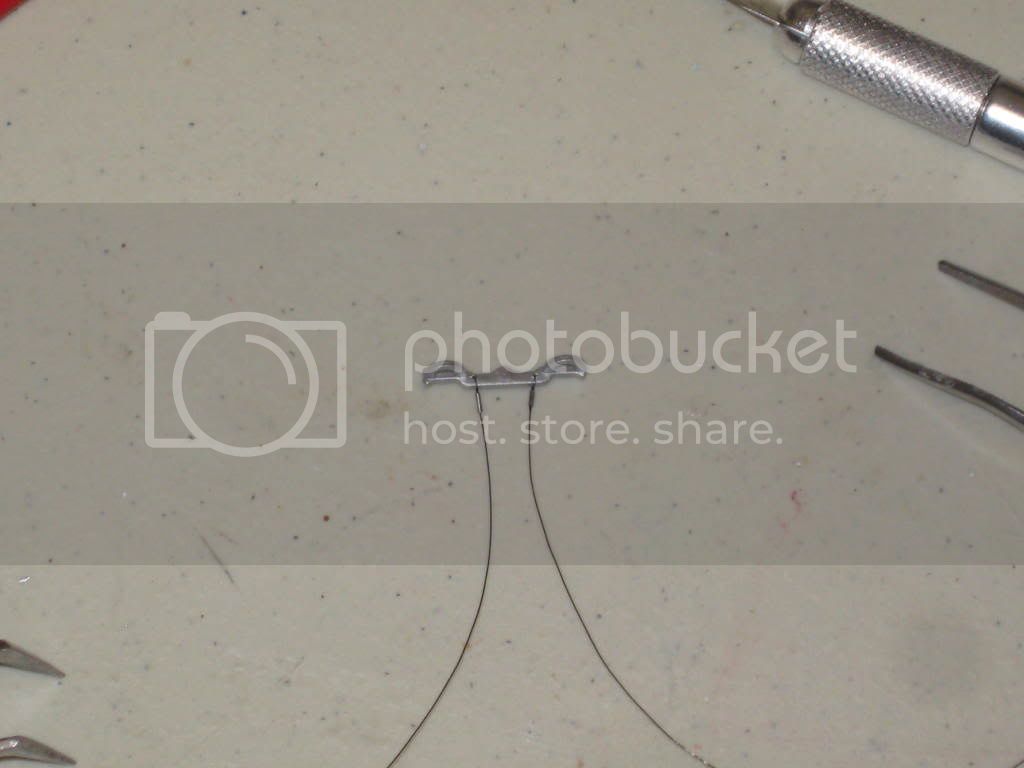
Here's a little more progress. I decided to rig up the rudder bar so here are the parts, Roden part 25C with 2 holes drilled and painted silver, two small pieces of hypodermic tubing and .005 Dai-Riki fishing line colored with a Sharpie.................
I put the tubing on the line first then ran the line through the top of the rudder, out of the bottom and back through the tube.
Pull the tube up to the rudder then clip the excess line then superglue both ends of the tube.......
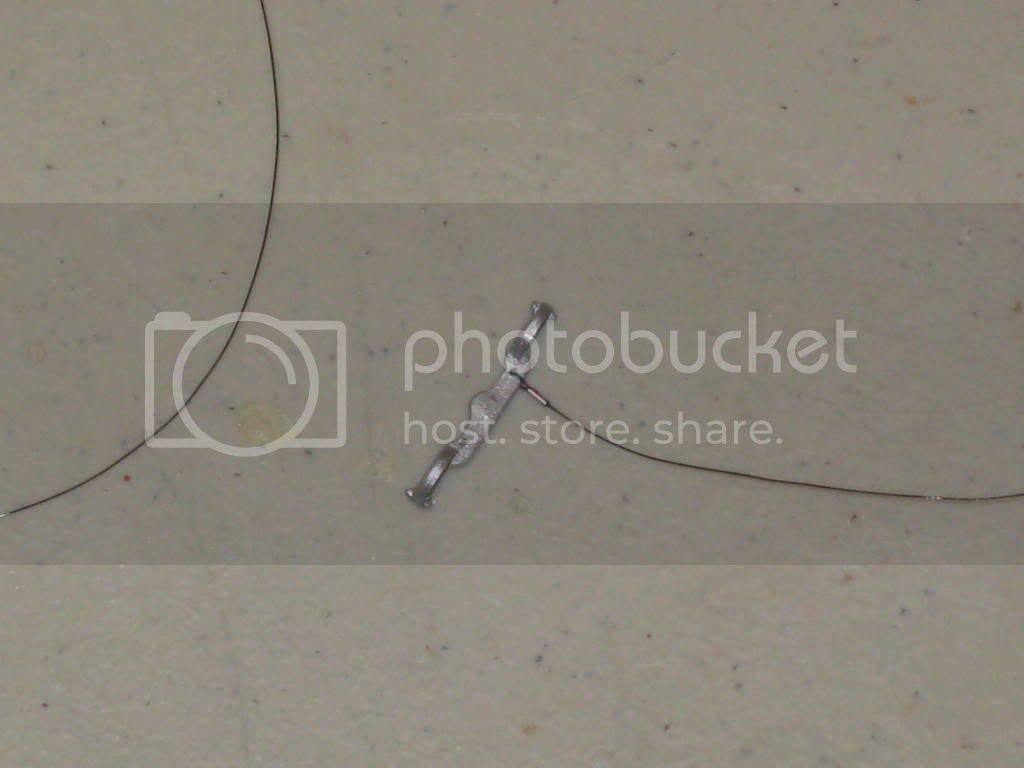
Done.
And here's the fuselage halves and bottom wing. I used pastels to give some color variations. I was hoping to close it up today but I need to drill rigging holes before I do that to save me some headaches later.
More later,
Mark
Colorado, United States
Joined: January 25, 2004
KitMaker: 11,669 posts
AeroScale: 11,011 posts
Posted: Friday, December 19, 2008 - 05:52 AM UTC
Excellent Mark ! I like that we are all taking a specific approach to various build issues. It gives other modelers a chance to choose their method.
". . .The most important thing is to know why you build and then get the most that you can out of building." via D.D.
North Carolina, United States
Joined: June 19, 2007
KitMaker: 604 posts
AeroScale: 600 posts
Posted: Friday, December 19, 2008 - 11:43 AM UTC
Mark, I don't think I have welcomed you to the build yet, so consider that done! Welcome! I like your work so far, very close to what I was doing OOB for my ill fated Viper build for Internet Modeler. The major difference is the decal wood, I used Oils, and the wiring on the engine, I am looking forward to your further progress.
RAGII
West Virginia, United States
Joined: December 18, 2006
KitMaker: 1,121 posts
AeroScale: 1,063 posts
Posted: Monday, December 22, 2008 - 03:24 PM UTC
I agree wholeheartedly, Stephen.
Thanks for the welcome, Rick. I'm really enjoying the build.
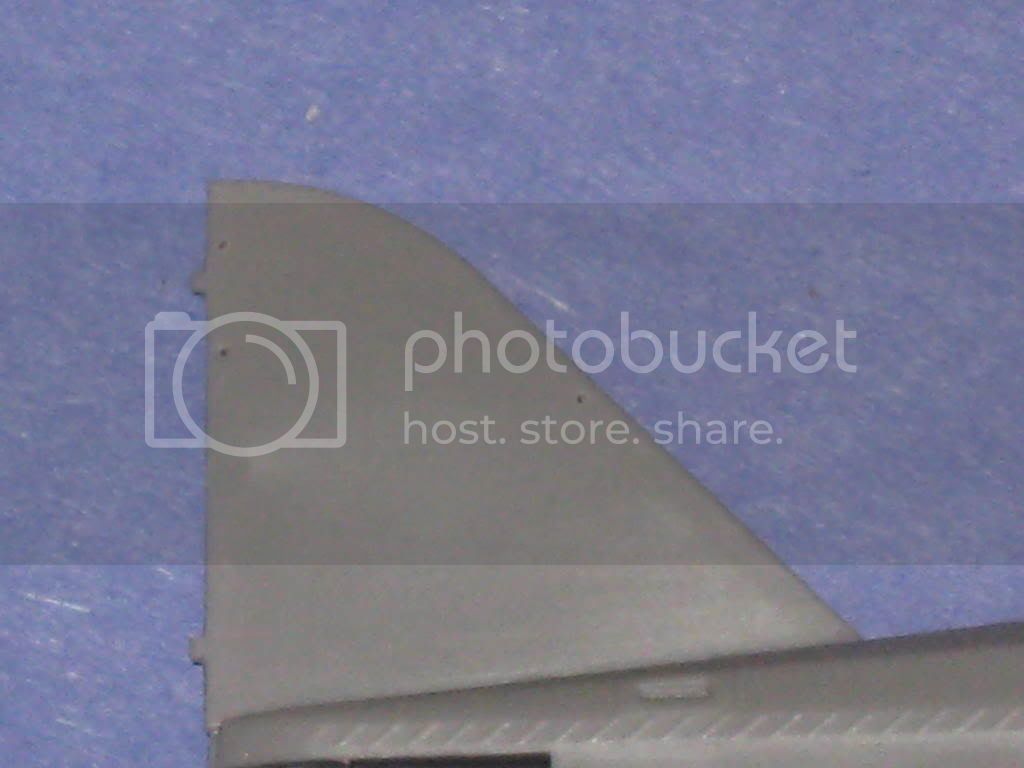
Here's a test fit of the fuselage and engine. The tail was molded a little low on the receiving side......................
and when I put the fuselage halves together, it distorted the tail by pushing it off center.............
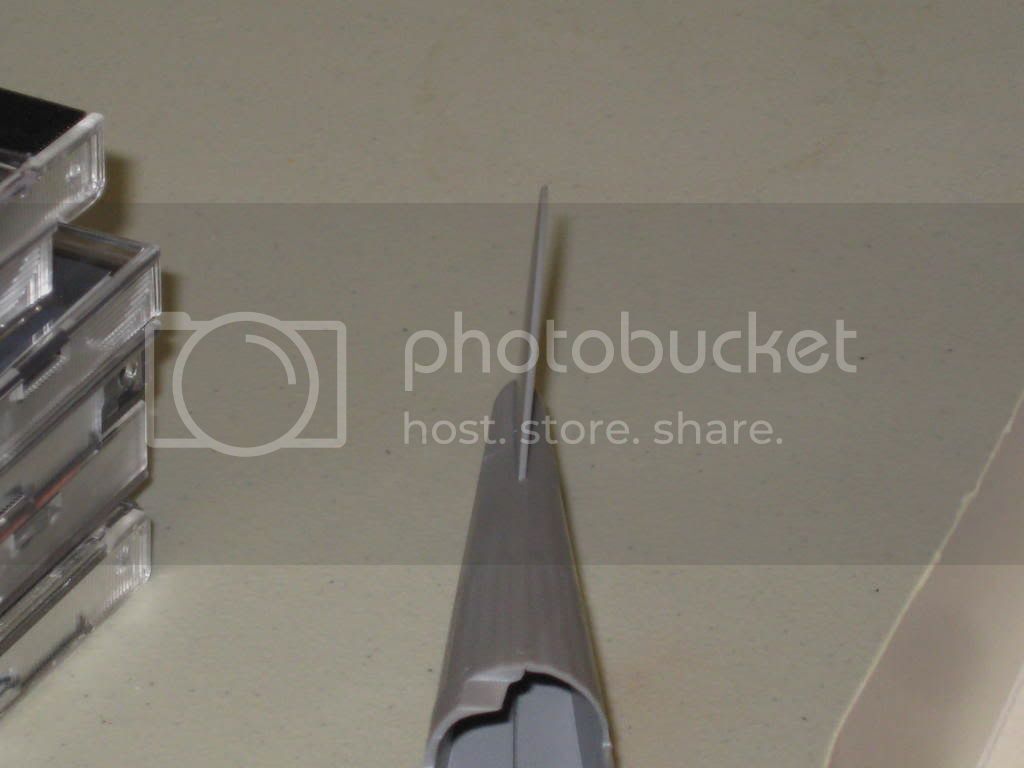
so I had to cut a little off of the fuselage side to accept the tail.............................
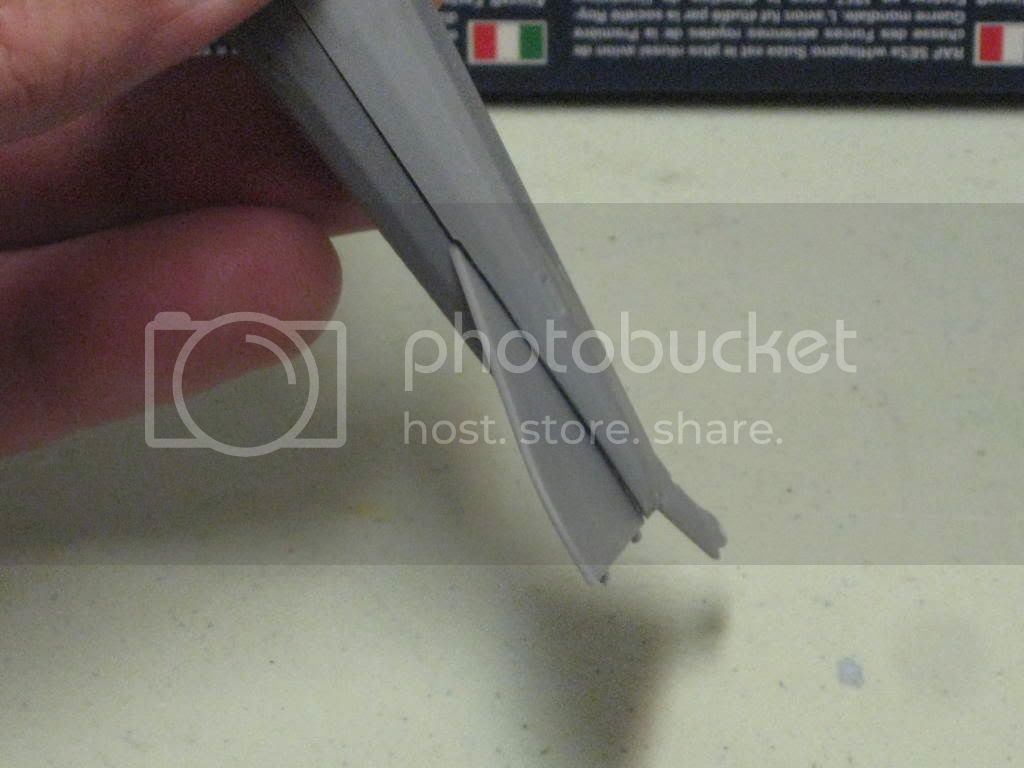
and here's a test fit of the fuselage and engine.....................

So far so good........
More soon,
Mark
Alberta, Canada
Joined: January 19, 2008
KitMaker: 6,743 posts
AeroScale: 6,151 posts
Posted: Tuesday, December 23, 2008 - 01:46 AM UTC
Looking good so far Mark . can't wait to see what you do next ! keep the pic's coming ..........
Östergötland, Sweden
Joined: April 04, 2006
KitMaker: 1,058 posts
AeroScale: 1,004 posts
Posted: Tuesday, December 23, 2008 - 06:40 AM UTC
Looking good my friend. Just get a one colourbackground when you taking the pics and we have awesome pics to look at.
Cheers
Larsa Q
West Virginia, United States
Joined: December 18, 2006
KitMaker: 1,121 posts
AeroScale: 1,063 posts
Posted: Tuesday, December 23, 2008 - 04:34 PM UTC
Thank you, Larsa. I'll use a blue background for my pics from here on out.
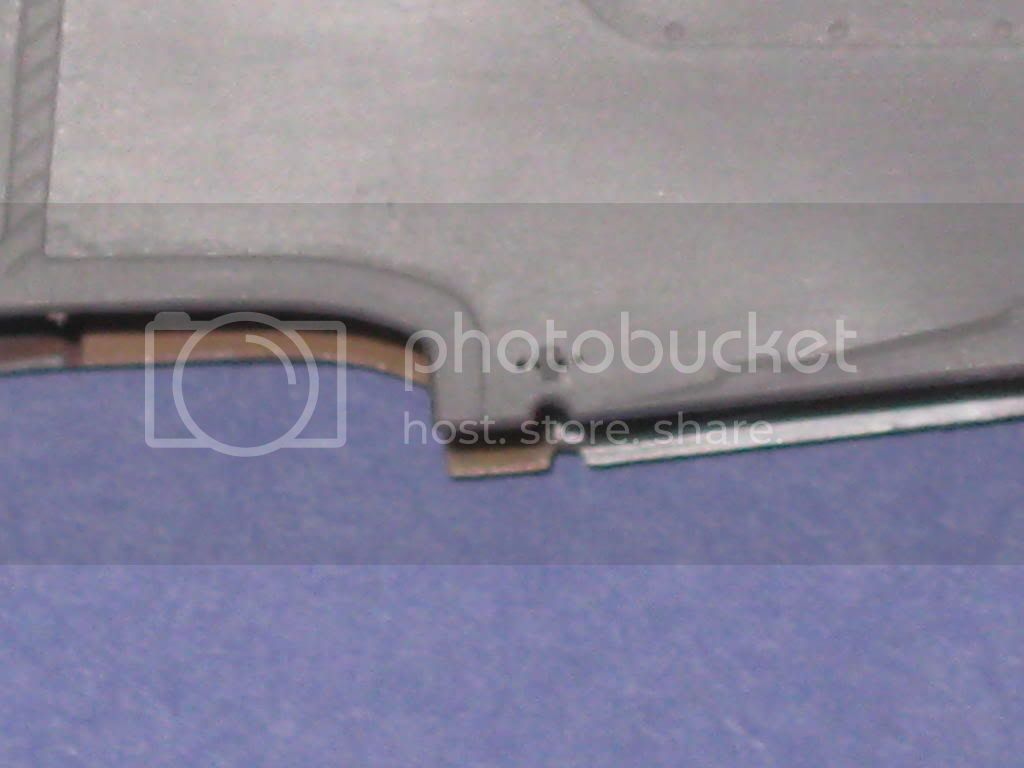
Here's some rigging holes on the tail and fuselage............
One to the right above the tail skid.......................
One on the leading edge and two near the rudder.....................................
four near the wing root for the doubled flying wires..........................
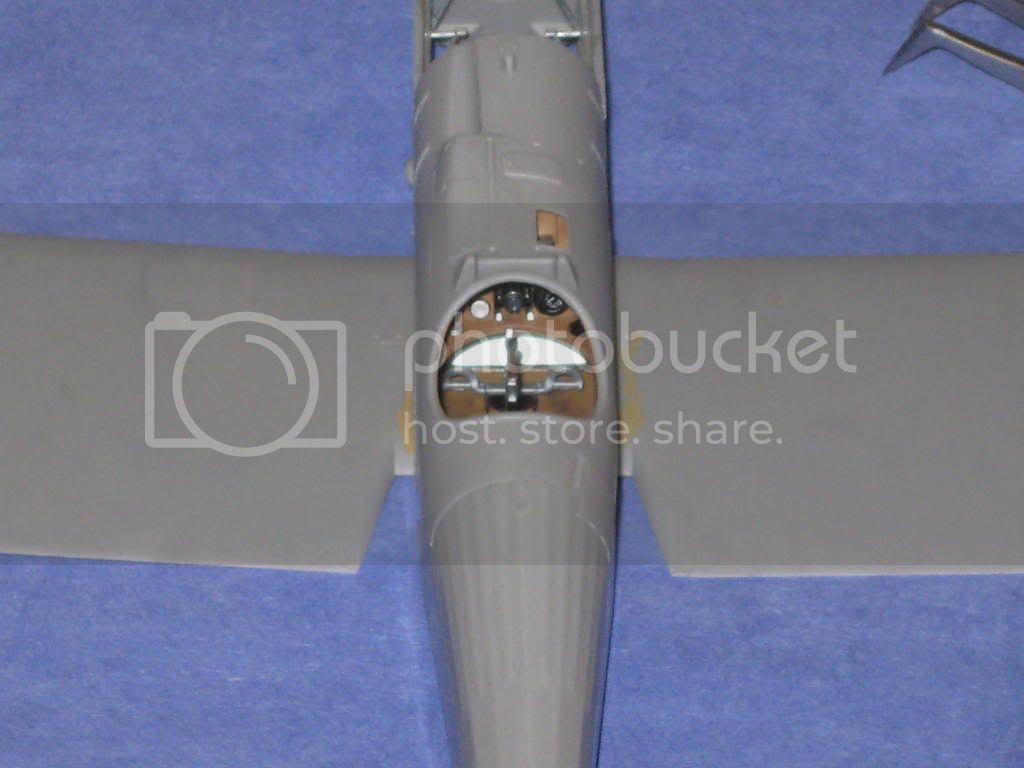
Here's the fuselage closed up and the seat, control stick and rudder controls in place...........
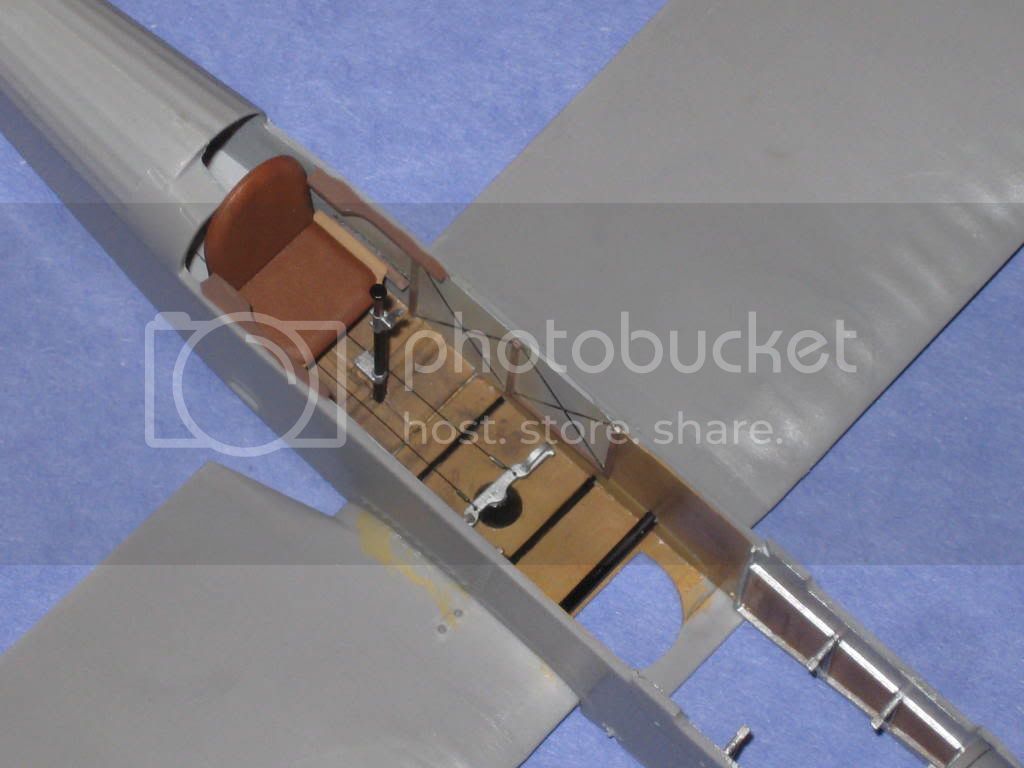
firewall and instrument panel.............................
And a test fit of the top of the fuselage, just to be sure every thing's lining up...........................
More soon,
Mark


