_GOTOBOTTOM
Early Aviation
Discuss World War I and the early years of aviation thru 1934.
1/48 Derelict Junkers J.I
guitarlute101
_VISITCOMMUNITY
West Virginia, United States
Joined: December 18, 2006
KitMaker: 1,121 posts
AeroScale: 1,063 posts
Posted: Saturday, February 28, 2009 - 03:04 AM UTC
Here's my next project. It will be a 1/48 derelict Junkers J.I. It will have vacuform, resin, white metal and scratchbuilt parts.


I'll be using the 1/48 Lone Star Models J.I, Datafile #39, and Windsock International Magazine Vol. 4, No.3 Autumn 1988 along with some internet pictures of the surviving J.I in Canada.

Posting my progress really helps me keep on top of the build, so thanks for everyone checking in and posting comments.

Mark
JackFlash
_VISITCOMMUNITY
Colorado, United States
Joined: January 25, 2004
KitMaker: 11,669 posts
AeroScale: 11,011 posts
Posted: Saturday, February 28, 2009 - 06:35 AM UTC
Greetings Mark;
Can you tell us something about Lone Star? Like how do you contact them? Where can we find their list of kits? I also look forward to your eval on the kit. Model On!
guitarlute101
_VISITCOMMUNITY
West Virginia, United States
Joined: December 18, 2006
KitMaker: 1,121 posts
AeroScale: 1,063 posts
Posted: Saturday, February 28, 2009 - 08:20 AM UTC
Here's the Lone Star website :

http://www.lonestarmodels.com

It is definitely worth checking out. It's owned and ran by Mike West. I have several of his kits and am very impressed with them but they are for the advanced modeler. I've emailed him several times and he has always been very helpful. His email is on the website.

The kit I am building of the Junkers J.I was produced by Mike in the 1990's I believe and is now long out of production.

I'll be photographing and showing the parts in my next post.

Mark
thegirl
_VISITCOMMUNITY
Alberta, Canada
Joined: January 19, 2008
KitMaker: 6,743 posts
AeroScale: 6,151 posts
Posted: Saturday, February 28, 2009 - 01:19 PM UTC
I always like this aircraft for the differences from other two seaters . Mike West is awesome ! Done many trades with him in the past and he has excellent products out there .
I do have Eduards kit of this in 1/72 scale so this will be inspirational to watch !
guitarlute101
_VISITCOMMUNITY
West Virginia, United States
Joined: December 18, 2006
KitMaker: 1,121 posts
AeroScale: 1,063 posts
Posted: Saturday, February 28, 2009 - 03:06 PM UTC

Thanks, Terri. This is a difficult but very well thought out kit with lots of "goodys" to detail it up.

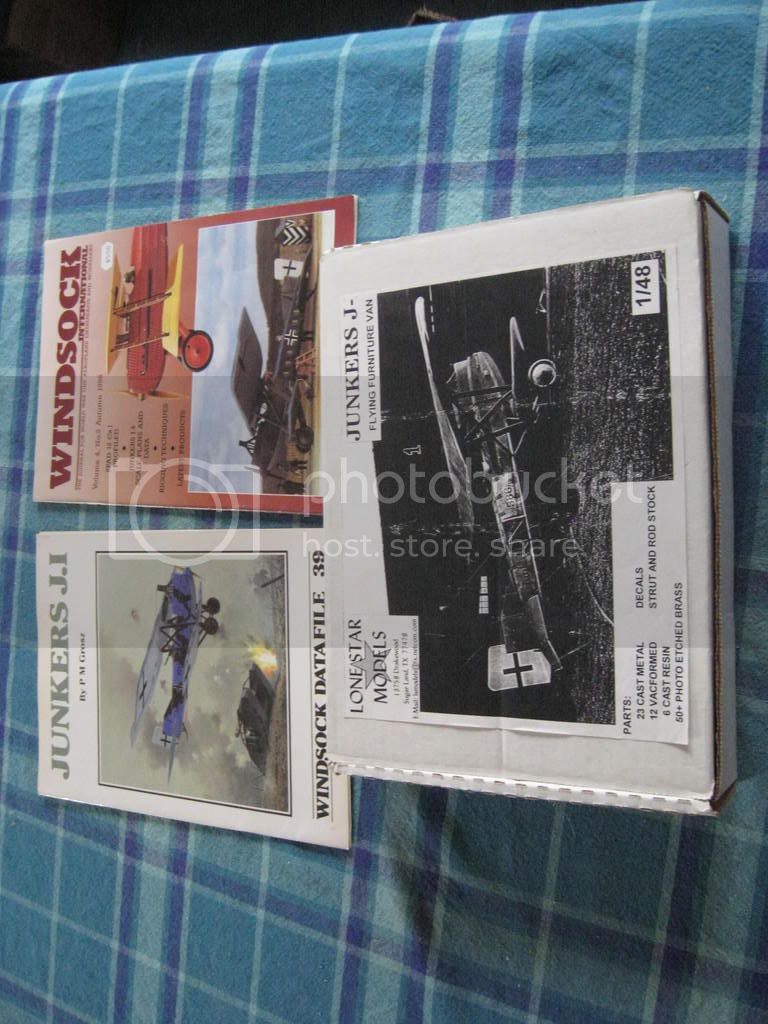
Here's some information for those of you who are not familiar with the Junkers J.I.

The Junkers J.I was designed for low level reconnaissance and troop support and supply. The J.I was used on the front in 1917 and 1918. The front of the fuselage from the gunners back wall to the propeller was housed in an armored "bath tub" to protect the crew, engine, fuel tanks and wireless equipment from ground fire. It was very effective at this as they were respected by their crews and there were no recorded J.I's that were shot down. The fuselage, flying and control surfaces were made of steel tube. The fuselage from the back of the gunner to the rear was covered in fabric while the flying and control surfaces were covered in .015 thick corrugated duraluminum sheeting that was riveted to the tubular structure. Control lines ran through steel tubing in the wings. The J.I was armed with one rearward firing Parabellum. The gunner was also equipped with hand grenades, carrier pigeons, canned food and water as needed for drop delivery for troops. The J.I would fly so low that the gunners would sometimes wear steel infantry helmets instead of flight helmets.


Now for the kit.

This was an ebay find for me. The previous owner had removed only a few vacuformed parts then seemed to have given up on it.

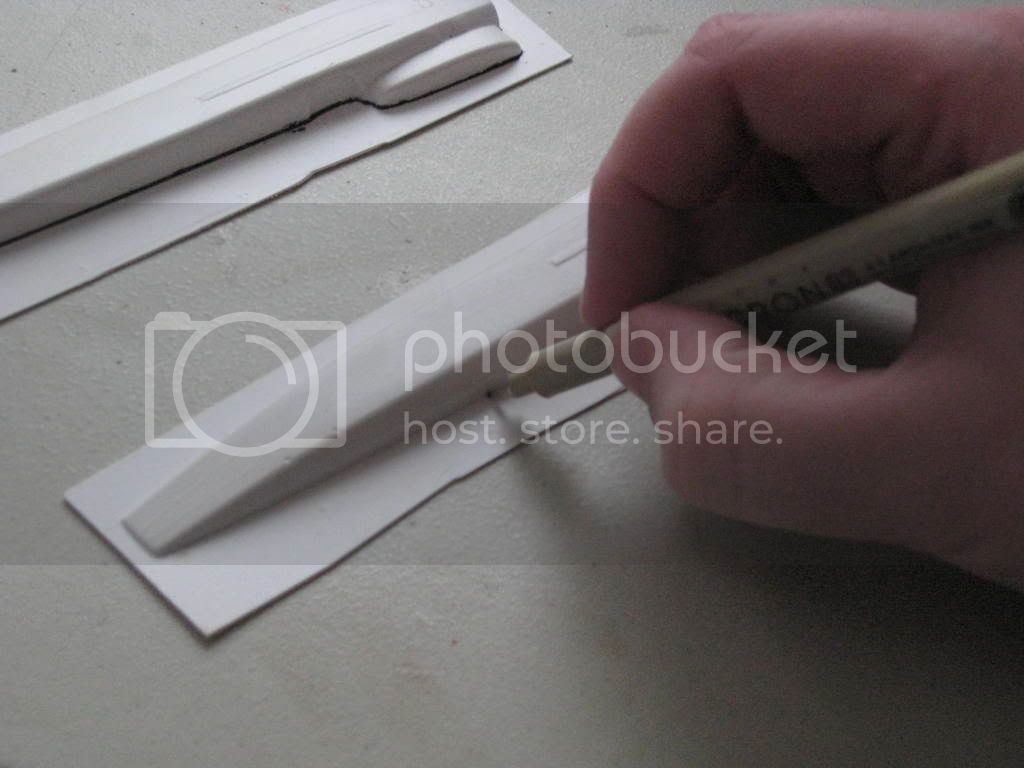
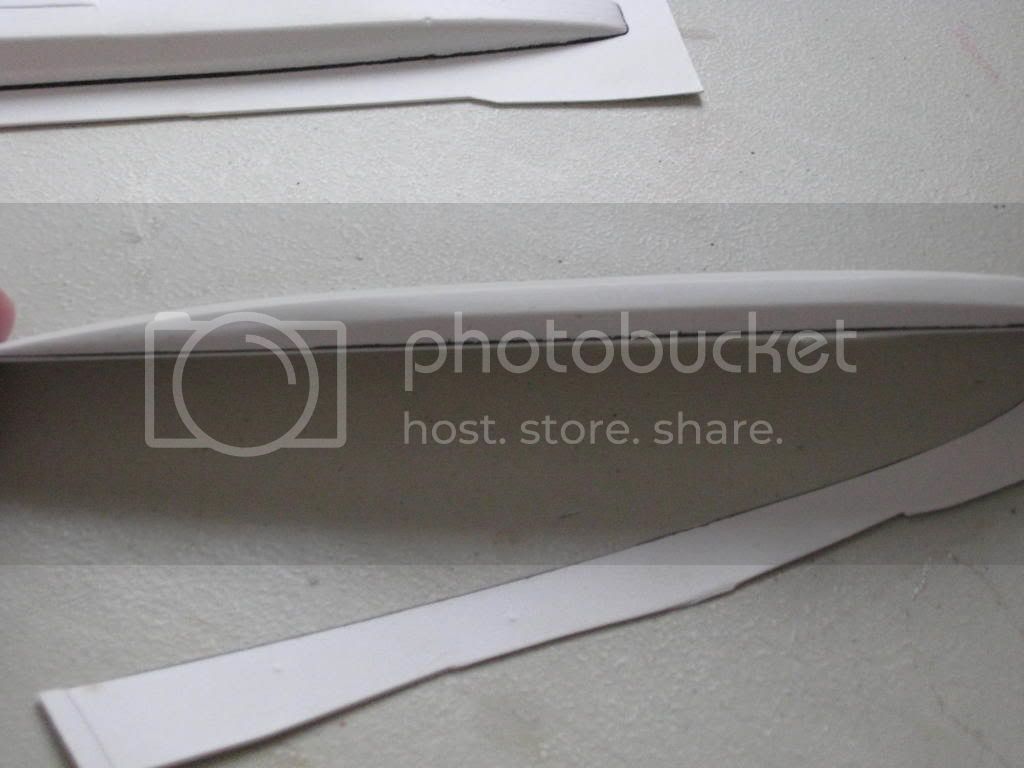
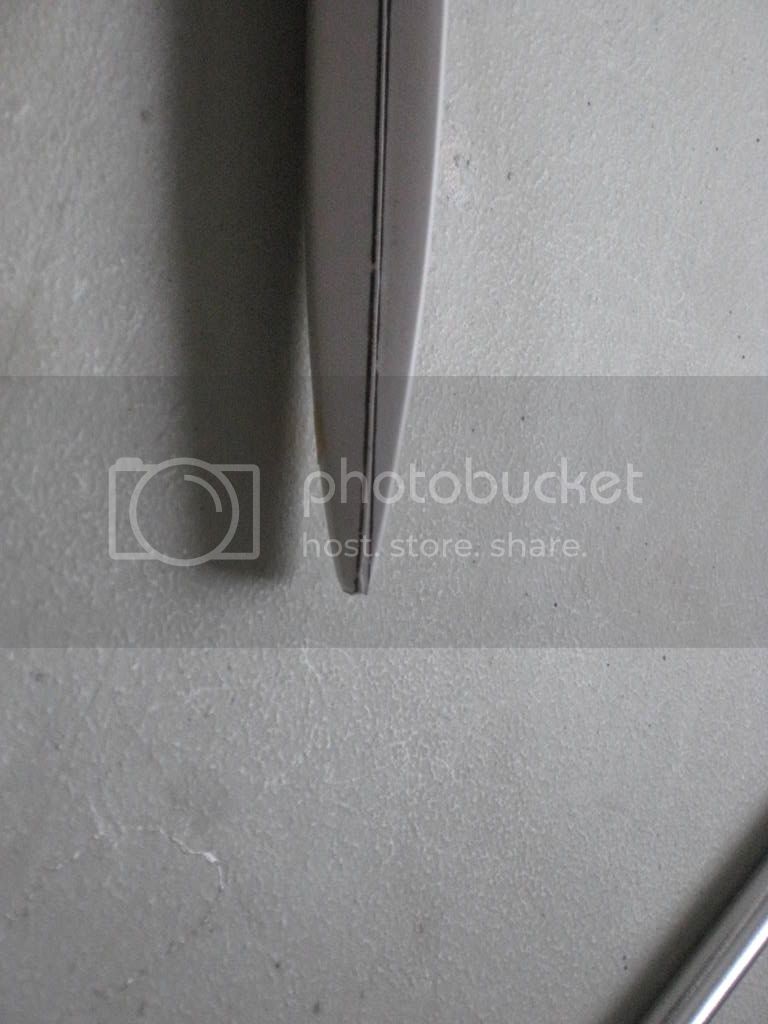
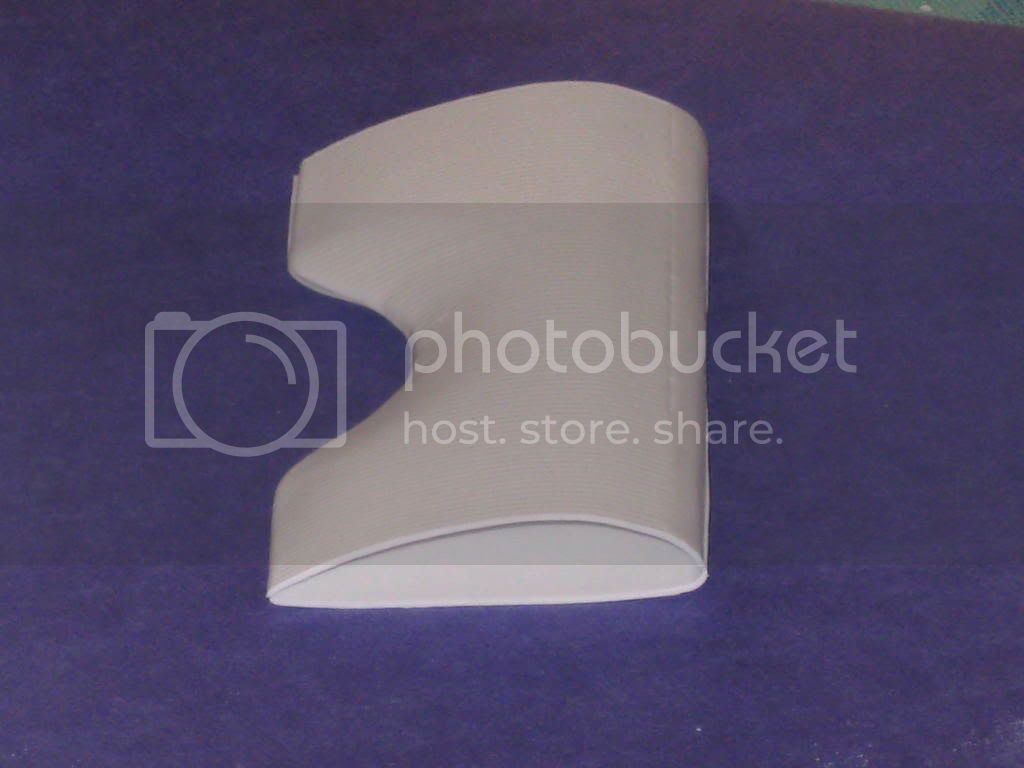
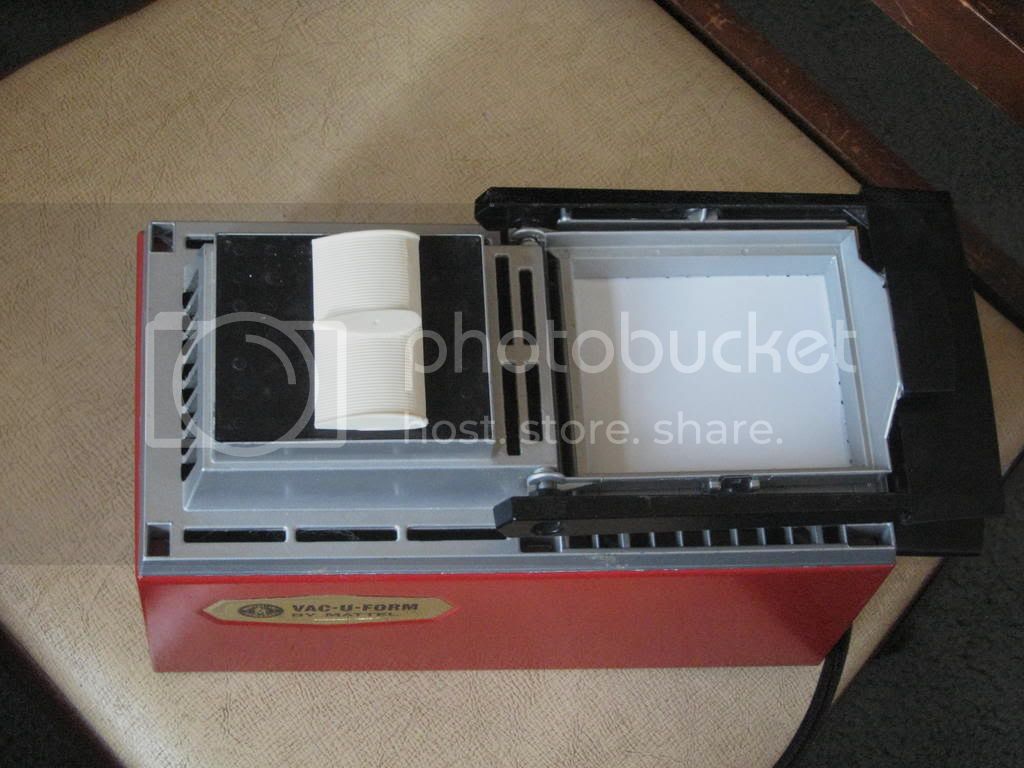
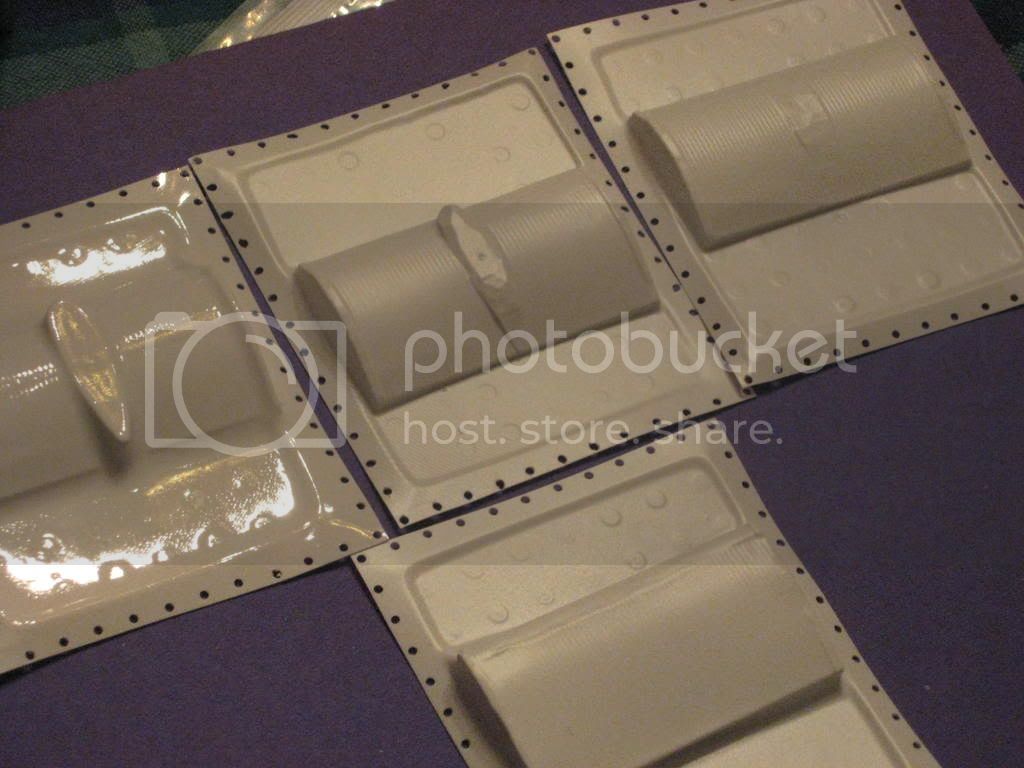
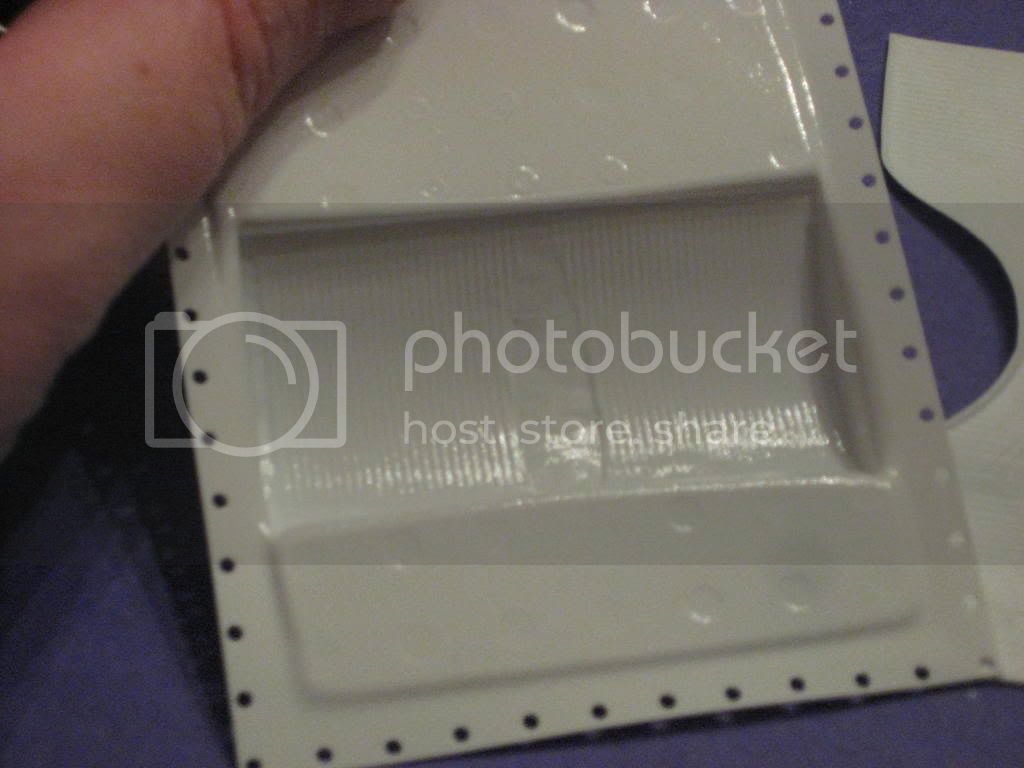
It contains vacuformed wings and control surfaces with nice corrugated detail..................


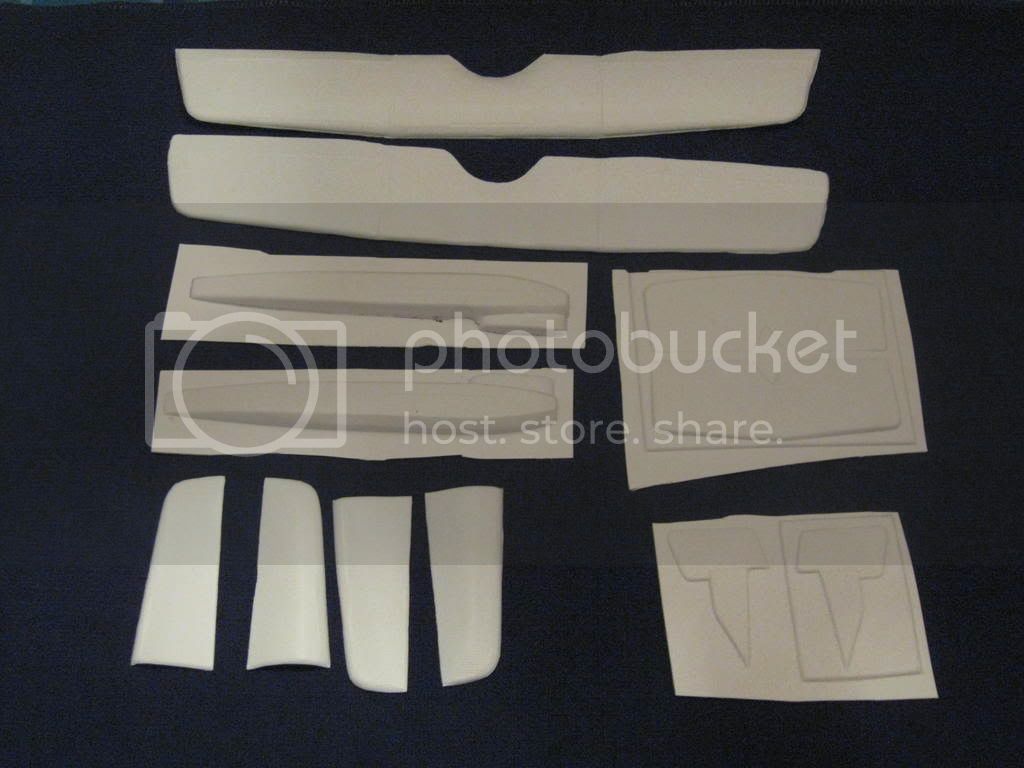
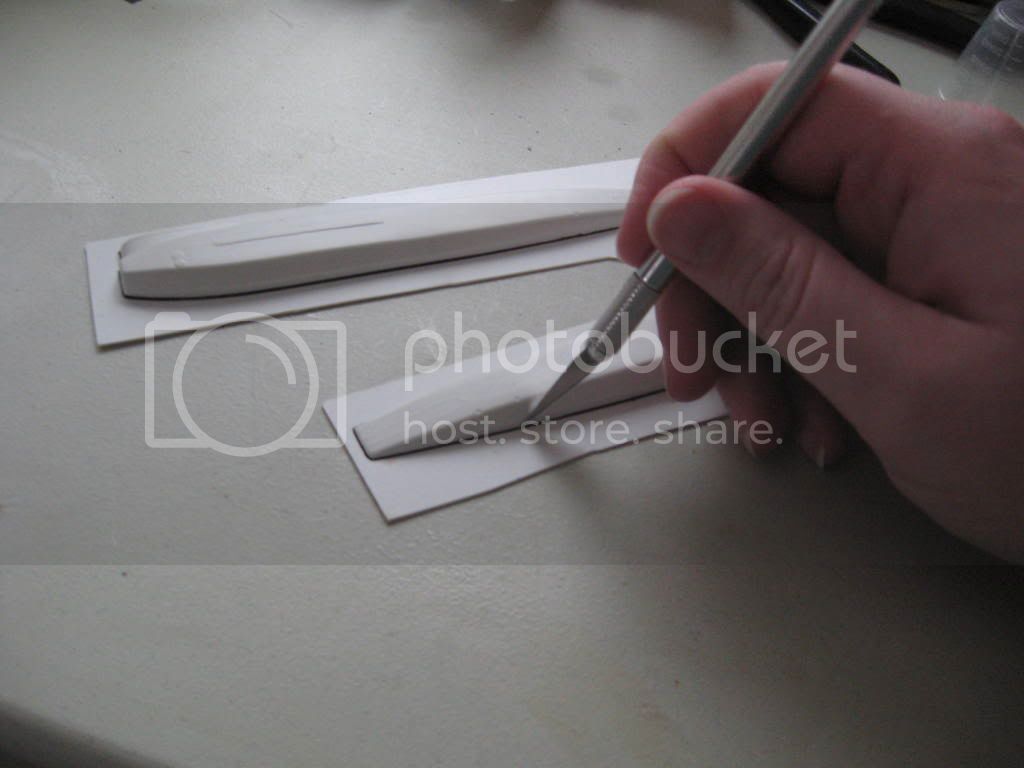
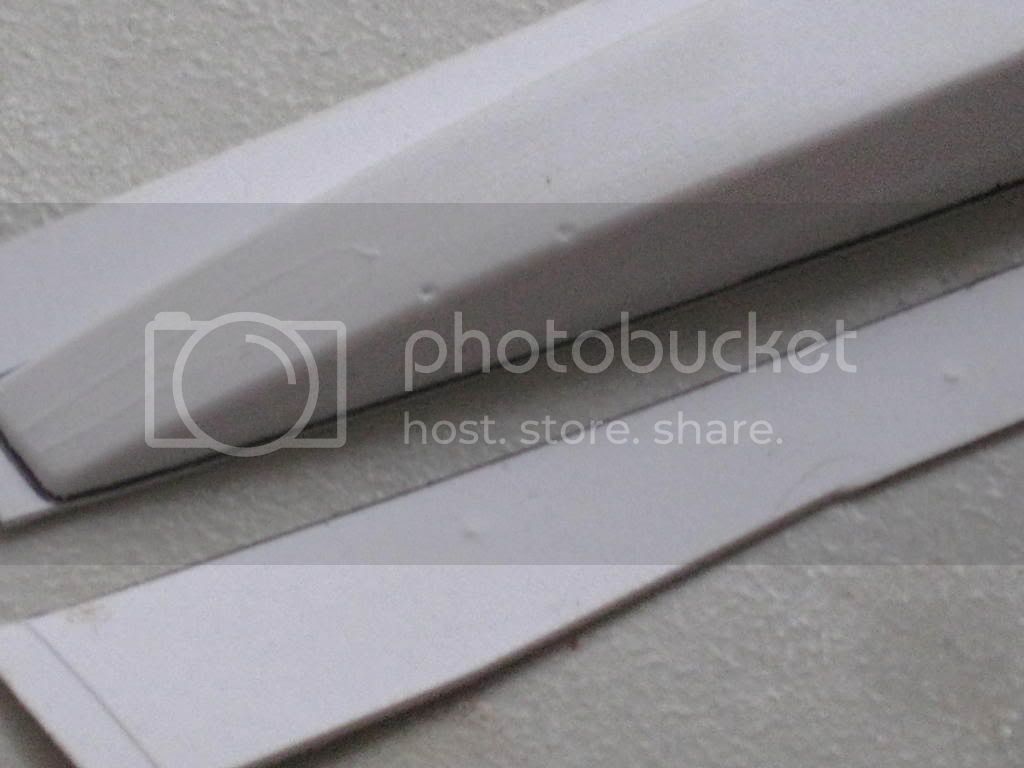
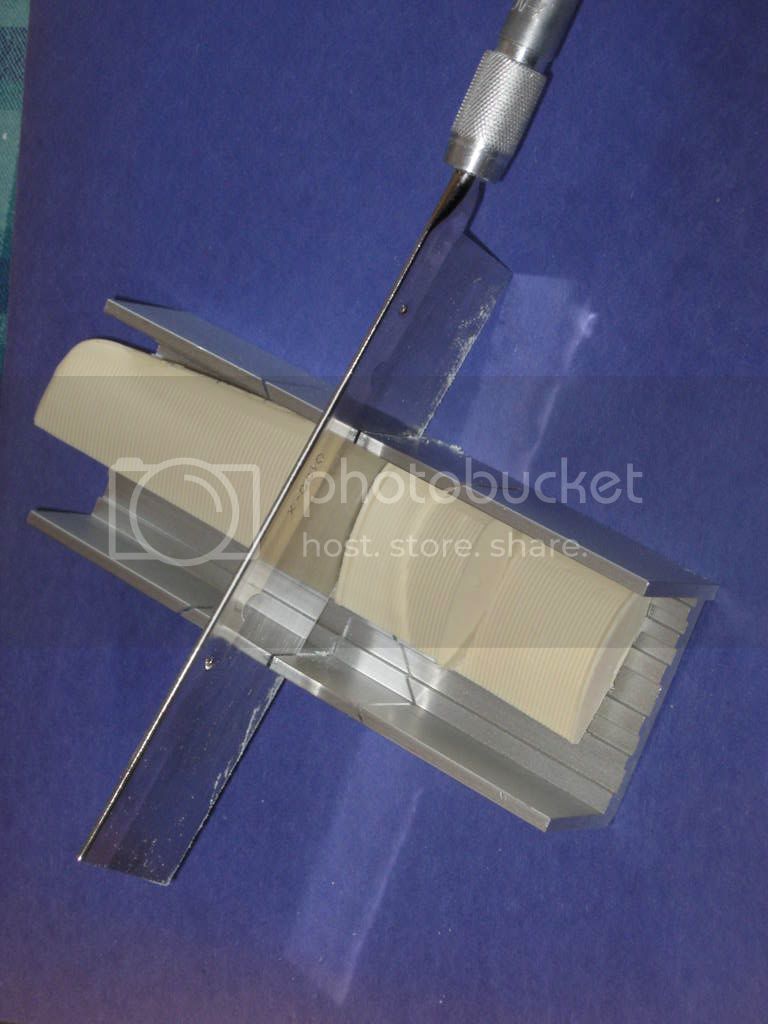
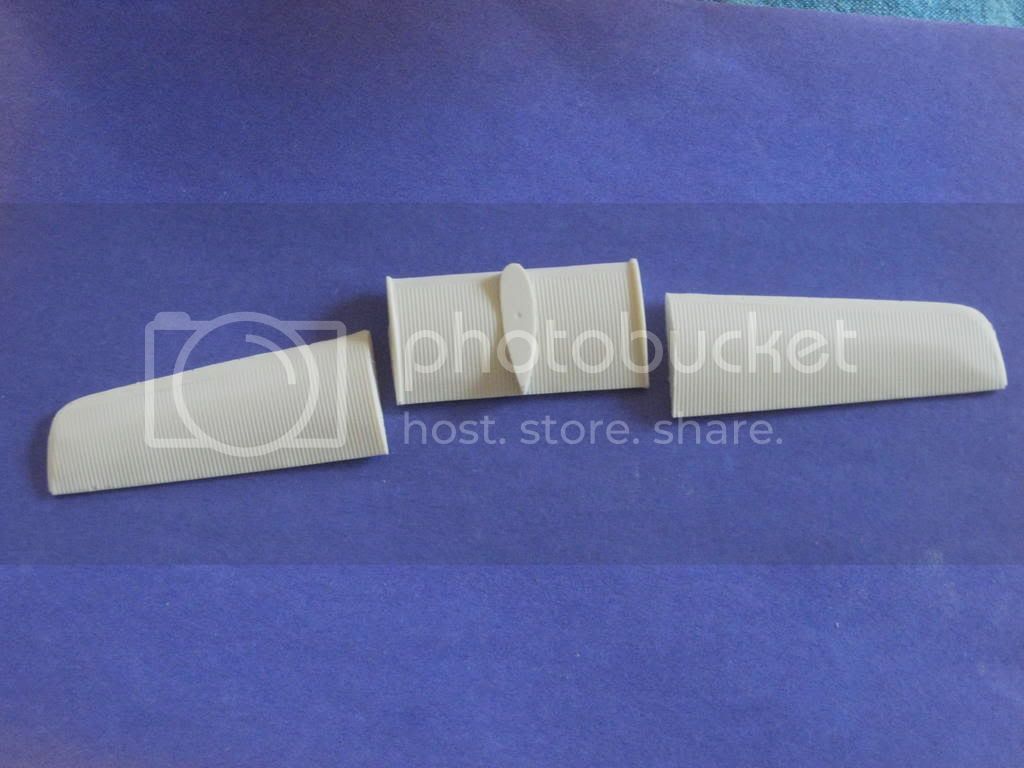
..............and resin replacement wings and control surfaces...................................


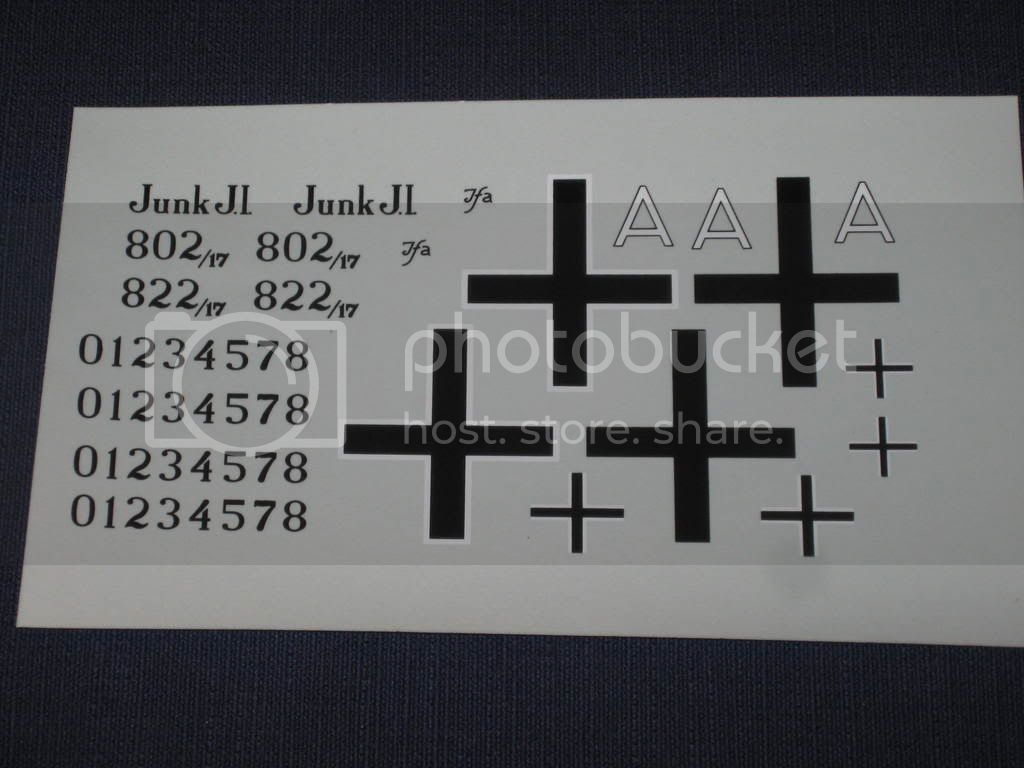
................decals.........


.........white metal props, engine exhauts, landing gear, gun and gun ring..............


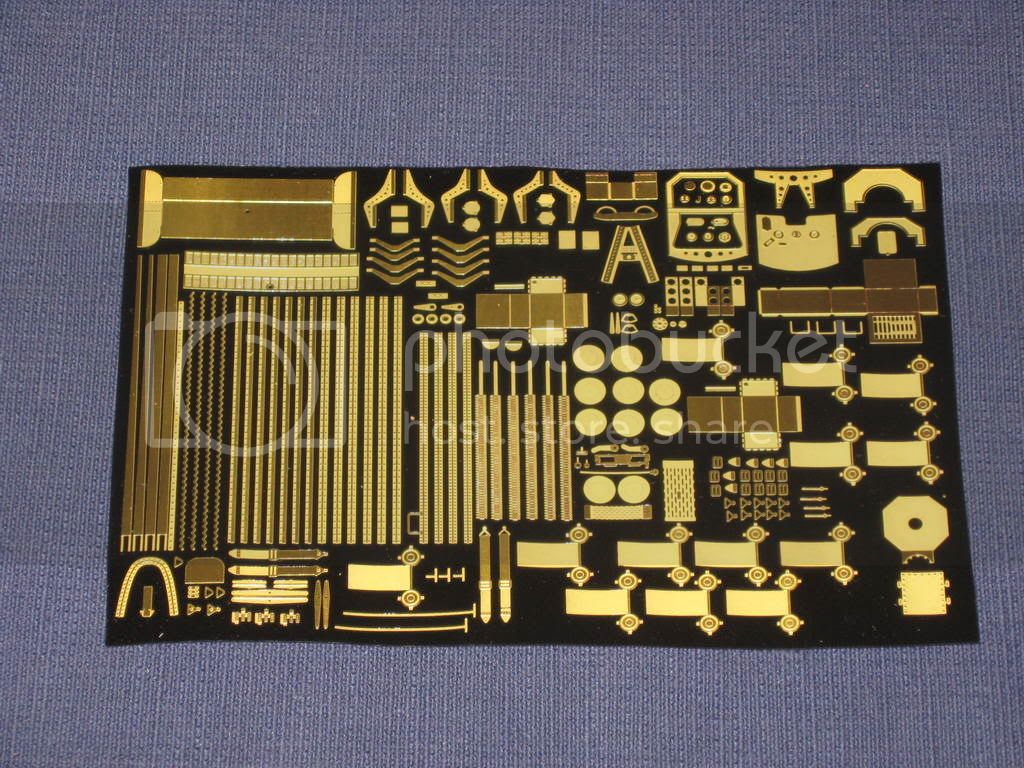
.........an extensive photoetch fret...looks like it's from fotocut..................................


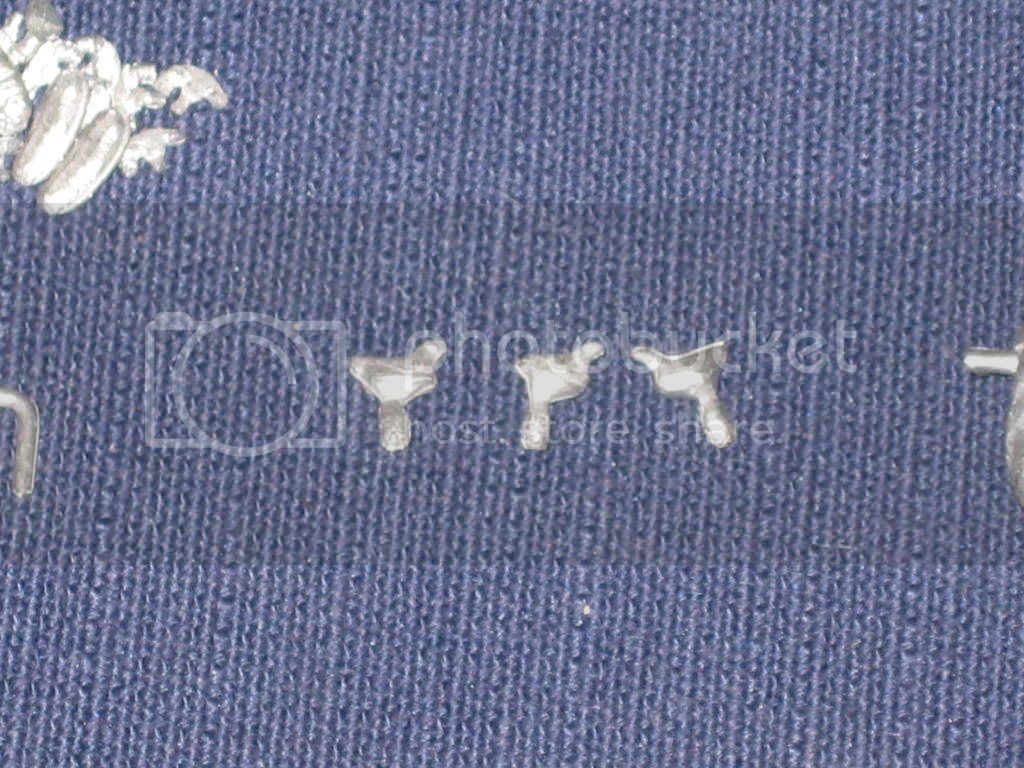
Mike even included white metal pigeons and a PE cage..............................


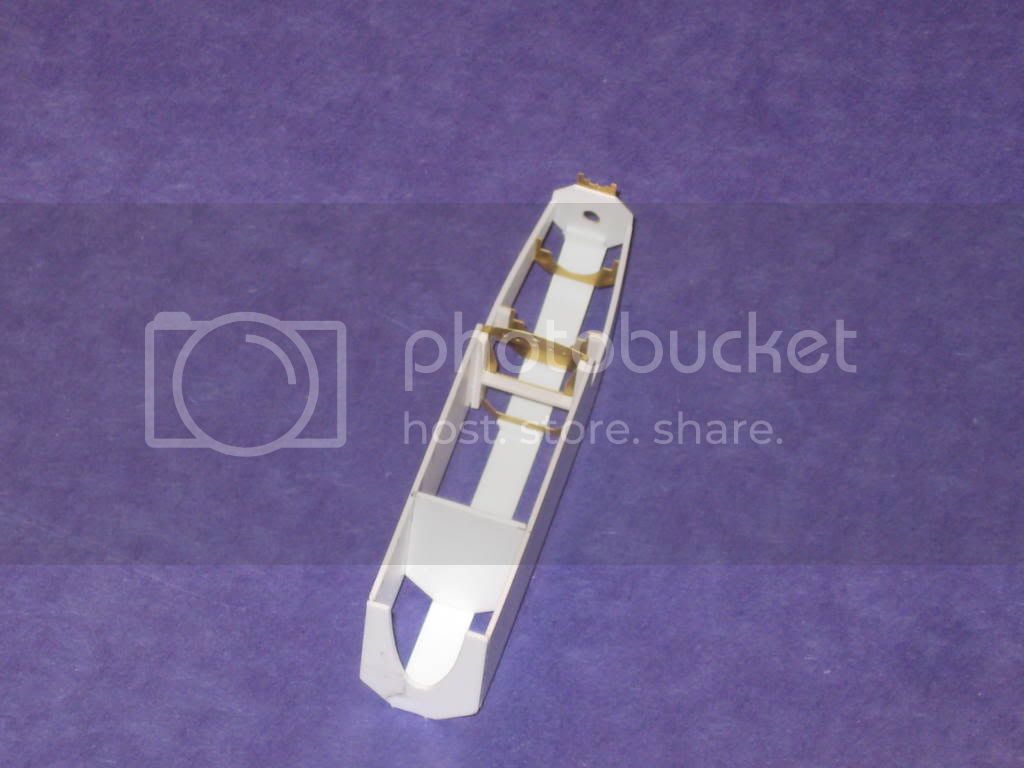
I have something a little different in mind for the kit. I'll be modelling it as a derelict J.I as found by allied forces near the end of the war.

Mark
JackFlash
_VISITCOMMUNITY
Colorado, United States
Joined: January 25, 2004
KitMaker: 11,669 posts
AeroScale: 11,011 posts
Posted: Saturday, February 28, 2009 - 04:51 PM UTC
I think Flight Magazine had some info on the J.I as well. It might already be incorporated with the Datafile though.
guitarlute101
_VISITCOMMUNITY
West Virginia, United States
Joined: December 18, 2006
KitMaker: 1,121 posts
AeroScale: 1,063 posts
Posted: Monday, March 02, 2009 - 03:28 AM UTC

Stephen,

I have Derek Riley's "Flight' CD set and checked through them. An article on a captured and wrecked Junkers J.I on display at the "Enemy Aircraft View Rooms at the Agricultrual Hall, Islington" is in the 1918 Volume, page 1356. The article is dated November 28, 1918. It shows a picture of the forward armored fuselage with the engine exposed and another picture of the internal structure of the upper wing. These 2 pictures are not in any other of the references I have.

Here are some thoughts and technique for removing the vacuform parts of the fuselage. The first thing I do is use a permantent marker to draw along the edge of the part and the sheet at a 45 degree angle making sure that there is a thin line on the sheet and on the part.


Go completely all around the part.


Then I cut along the part with an Exacto knife at a 90 degree angle. You could also cut at a 45 degree angle like you draw the cut line.


After a couple of passes with the knife you should be able to bend the sheet away from the part and snap it off.


This will leave a thin black line on the part with excess plastic that needs to be removed underneath it.


Here is what the fuselage looks like before removing the excess plastic. The idea is to get the black lines to meet. You can easily see the plasic that needs to be removed.


Next I'll talk about sanding and fitting.

More soon,
Mark
JackFlash
_VISITCOMMUNITY
Colorado, United States
Joined: January 25, 2004
KitMaker: 11,669 posts
AeroScale: 11,011 posts
Posted: Monday, March 02, 2009 - 03:13 PM UTC
Excellent Mark!

The one mis-step that most younger modelers make with Vacuforms is they try to cut /sand the parts to a point where they become too narrow. Your image of the fuselage halves taped together is exactly how these should look.
guitarlute101
_VISITCOMMUNITY
West Virginia, United States
Joined: December 18, 2006
KitMaker: 1,121 posts
AeroScale: 1,063 posts
Posted: Tuesday, March 03, 2009 - 05:11 AM UTC

Thanks Stephen. The information I've got from various vacuformers over the years has been that they generally glue a sheet of plastic to the bottom of the parts to be vacuumed to raise them the amount of the thickness of the sheet used to vac over the parts. That way the flat part of the unused vac sheet is at the level of the sheet that was glued to the part.

Something like this.....


I hope I made that understandable. Is that your understanding, too?

Mark
guitarlute101
_VISITCOMMUNITY
West Virginia, United States
Joined: December 18, 2006
KitMaker: 1,121 posts
AeroScale: 1,063 posts
Posted: Friday, March 06, 2009 - 07:11 AM UTC
Hello all,

Like I put in the title of the thread, I'll be making this a derelict J.I I want to try some different modelling techniques and hopefully expand my scratchbuilding along the way. As far as what the aircraft will look like, I'm imagining something like these.............


I'll be modelling the upper and lower wings as if they have been partially dismantled. Here are the vac parts to the upper wing..............................


I've removed the inner section and sanded and test fit them. Next, I'll begin to construct the inner wing structure so I can sandwich it between the vac parts.


Mark
JackFlash
_VISITCOMMUNITY
Colorado, United States
Joined: January 25, 2004
KitMaker: 11,669 posts
AeroScale: 11,011 posts
Posted: Friday, March 06, 2009 - 09:38 AM UTC
How will you replicate the ribbed metal surface on the interior?
Mecenas
Joined: December 23, 2007
KitMaker: 1,596 posts
AeroScale: 1,275 posts
Posted: Friday, March 06, 2009 - 09:43 AM UTC
Have a beer Stephen in a meantime and be patient...
guitarlute101
_VISITCOMMUNITY
West Virginia, United States
Joined: December 18, 2006
KitMaker: 1,121 posts
AeroScale: 1,063 posts
Posted: Friday, March 06, 2009 - 01:22 PM UTC
Stephen,

Here's how I did it. The inside of the vac wing has just a little corrugation to it but not enough that will be noticeable when painted. I scribed the corrugation lines in then used an embosser to give the lines more of a "U" shape.


While not technically "corrugated", I think it will work and look fine when painted.

------------------------------------------------------------------

Here's what I had to do for the lower wing.

The kit did not have the vac lower wing parts so I used the resin lower wing center to make vac parts. First I separated the wings from the lower middle section.


Then I used my trusty Vac-U-Form machine to make the top and bottom parts of the center section.


The first three tries are on the top. The plastic on the first shiny one was too thick and the corrugation didn't show through. The next two show how used thinner plastic and I reduced the fuselage attachment point (the teardrop shape in the middle of the wing) by cutting it down so the plastic would form to the corrugation around it.


The shiny one.............


The third one..............


Even the underside of the parts I made have good corrugation.


As for the internal ribbing, I haven't decided if I'll use metal tube or styrene. It depends on what I can find.

Mark
JackFlash
_VISITCOMMUNITY
Colorado, United States
Joined: January 25, 2004
KitMaker: 11,669 posts
AeroScale: 11,011 posts
Posted: Friday, March 06, 2009 - 06:01 PM UTC
I can tell your not going for simplification but getting closer to accuracy. Wow! The truss and strut assemblies will be a challenge. Just for a bit of help Whalthers (model railroad distributor) may have some corrugated metal sheeting in HO scale. Not sure about the size of the sheets. Model on!
guitarlute101
_VISITCOMMUNITY
West Virginia, United States
Joined: December 18, 2006
KitMaker: 1,121 posts
AeroScale: 1,063 posts
Posted: Saturday, March 07, 2009 - 12:53 AM UTC


Stephen,

I was actually wondering about that. The owner at my local hobby shop is really into trains. I have to stop by today and check on metal tube for the interior ribbing and I'll ask him about the corrugated sheeting. It seems like I've seen it once before in his styrene section. That would be great to try.

Mark
guitarlute101
_VISITCOMMUNITY
West Virginia, United States
Joined: December 18, 2006
KitMaker: 1,121 posts
AeroScale: 1,063 posts
Posted: Saturday, March 07, 2009 - 02:44 PM UTC


Thanks for the suggestion, Stephen. There are actually corrugated aluminum sheets available. It will be perfect for the job. Now I can make the inner wing structure and cover it with the Aluminum sheeting. The hobby store only had it available in thin strips. I bought it to do some testing.


I'll have to order larger sheets for the wings. I carved a balsa core of the horizontal tail section and covered one side with the sheeting.


And you can mangle it to simulate wear and damage.................


Mark
JackFlash
_VISITCOMMUNITY
Colorado, United States
Joined: January 25, 2004
KitMaker: 11,669 posts
AeroScale: 11,011 posts
Posted: Saturday, March 07, 2009 - 03:38 PM UTC
Looking good Mark! Now where is my long fuselaged Junk. D.I? I have an idea.
guitarlute101
_VISITCOMMUNITY
West Virginia, United States
Joined: December 18, 2006
KitMaker: 1,121 posts
AeroScale: 1,063 posts
Posted: Sunday, March 08, 2009 - 01:50 PM UTC

Ok, I don't know why but I decided to forgo the vac fuselage and build the armored tub from scratch from the scale plans. I'm using the photoetch parts from the kit. Here's what I've come up with.


I forsee that the kit will be mostly scratchbuilt.

Mark
guitarlute101
_VISITCOMMUNITY
West Virginia, United States
Joined: December 18, 2006
KitMaker: 1,121 posts
AeroScale: 1,063 posts
Posted: Tuesday, March 10, 2009 - 01:45 PM UTC


Here's the finished armored "bathtub". Next I'll detail it and make the top with coaming and gun ring.


More soon,

Mark
Kalt
_VISITCOMMUNITY
Mendoza, Argentina
Joined: June 14, 2006
KitMaker: 222 posts
AeroScale: 219 posts
Posted: Tuesday, March 10, 2009 - 08:07 PM UTC
Looking good, Mark! great work on the armored tub

By the way, what happened with your scratchbuilt Gotha?

Cheers,

Claudio
B24Liberator
_VISITCOMMUNITY
Minnesota, United States
Joined: November 07, 2008
KitMaker: 134 posts
AeroScale: 113 posts
Posted: Tuesday, March 10, 2009 - 10:50 PM UTC
Mark -

Wow !! This is quite the project that you're working on!

I have Eduards 1/72 scale version, but it's nothing compared to what you're working on! I look forward to futher posts. Keep up the great work!
guitarlute101
_VISITCOMMUNITY
West Virginia, United States
Joined: December 18, 2006
KitMaker: 1,121 posts
AeroScale: 1,063 posts
Posted: Wednesday, March 11, 2009 - 12:45 AM UTC

Thanks Claudio and Johannes, I appreciate your posts. This build sure is a lot of fun.

Claudio - I'll be bringing the Gotha back out once I finish the tail on the Grig M-5. I've been trying to find the best way to make the front half of the fuselage, it has a very complex shape. Also I have some friends who are looking for more info on it so I can get it as accurate as possible. I put it in the list of builds at the bottom of my posts so it is always staring me in the face.

Mark
guitarlute101
_VISITCOMMUNITY
West Virginia, United States
Joined: December 18, 2006
KitMaker: 1,121 posts
AeroScale: 1,063 posts
Posted: Thursday, March 12, 2009 - 02:52 AM UTC
Hi everyone,

I made the backrest for the observer from .010 sheet bent to shape. The kit seat fits fine and just needs a little putty to fill holes and a little more detailing. I'm going to attempt to use the engine covers I've cut from the kit's vac fuselage (the white part).


Mark
guitarlute101
_VISITCOMMUNITY
West Virginia, United States
Joined: December 18, 2006
KitMaker: 1,121 posts
AeroScale: 1,063 posts
Posted: Thursday, March 12, 2009 - 03:39 PM UTC


The engine access panels were hinged on the J.I for easy access to the engine.


The kit has PE detail for the panels.


Mark
Mecenas
Joined: December 23, 2007
KitMaker: 1,596 posts
AeroScale: 1,275 posts
Posted: Thursday, March 12, 2009 - 08:10 PM UTC
Mark, send me please your photo: I'll put it into a shrine in my modelling room...
 _GOTOTOP