In the whole procedure I had not used the instruction manual because it was in Japanese, so I had to consult other resources.
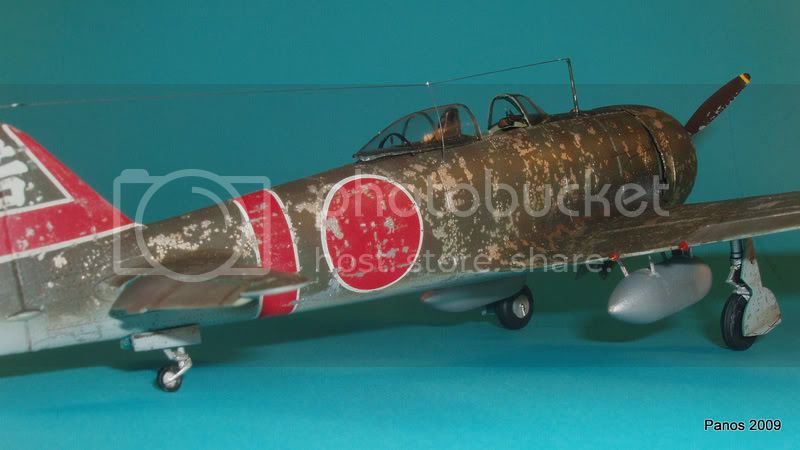
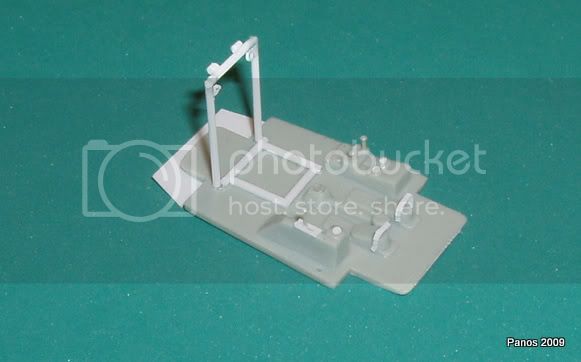
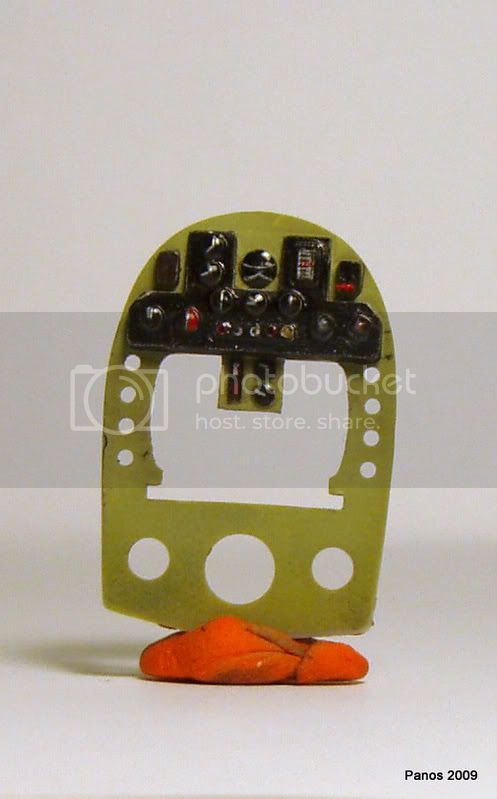
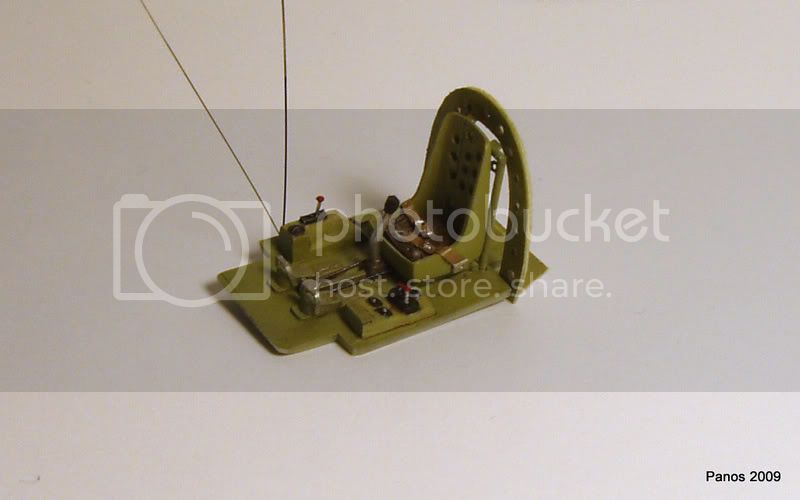
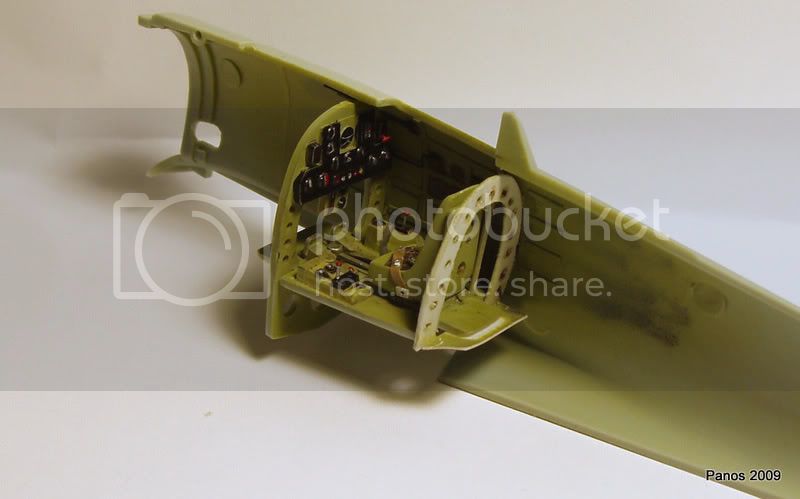
I started from the cockpit, which was very simple. So I had to add the basic details such as cables, levers, etc. I also had to improve the seat by opening some holes (for weight reduction purposes) and construct the supporting brackets. The seatbelts were made from aluminum foil and the buckles from a very thin plastic strip.
After I finished detailing, I airbrushed the cockpit with a mixture of Vallejo interior green and white in proportions 4:1 approximately and continued with dry brushing and wash with oil color (burnt umber).
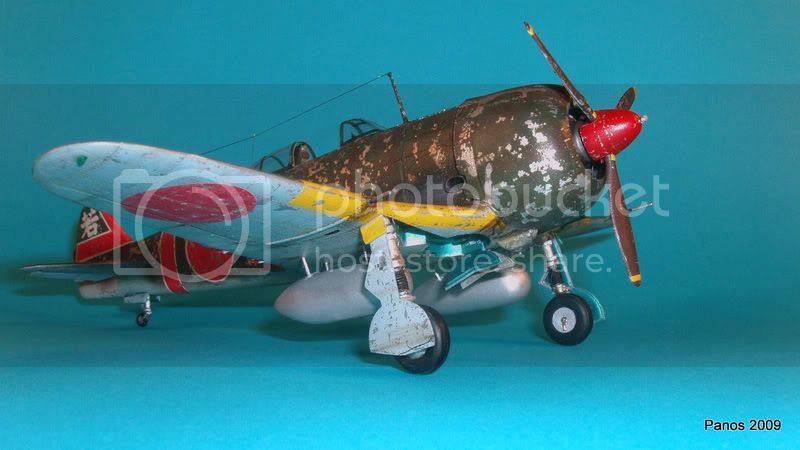
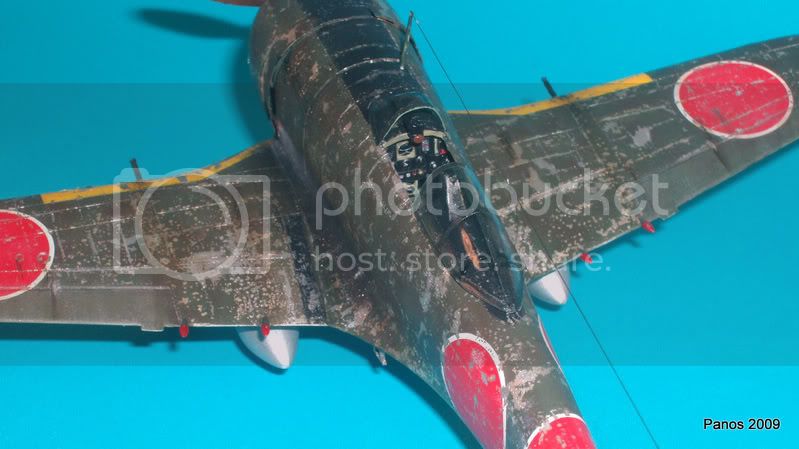
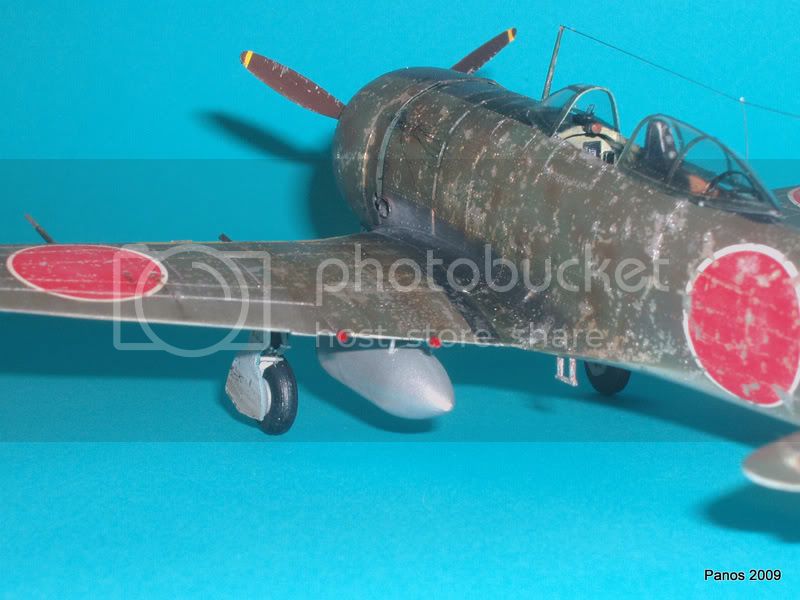
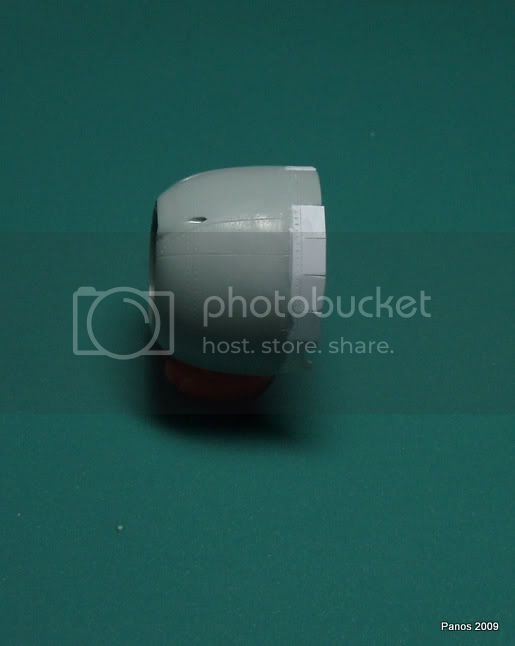
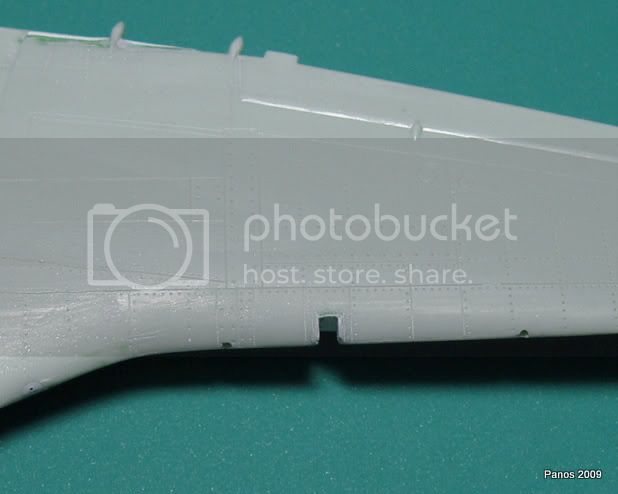
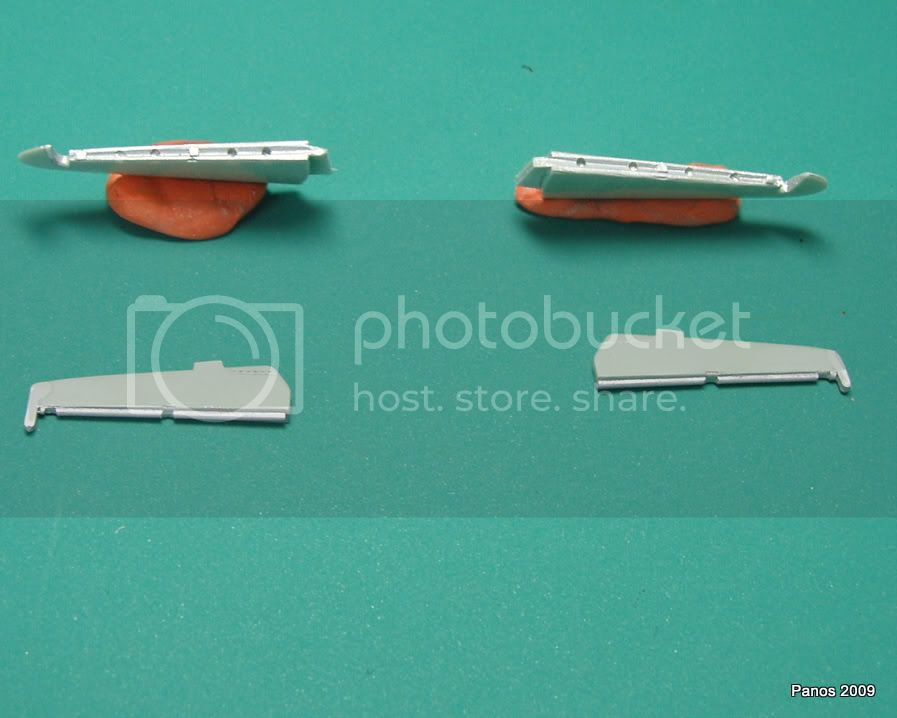
The fit of the kit generally was good, but in certain areas I had to use a lot of putty and plastic strips to fill the gaps and build a new canopy since the one from the kit was blurry and scratched. Also I was not satisfied by the quality and the fitting of the cowl flaps, so I decided to make new ones from scratch using evergreens plastic sheet. The next step of the construction was to cut and build new exhaust pipes, since the ones that Arii provided was in one piece with the fuselage. For that purpose I used pieces from an empty soda can, which I cut and glued in the desired shape and position. I also noticed the non-existent headlight at the left wing which I built too.
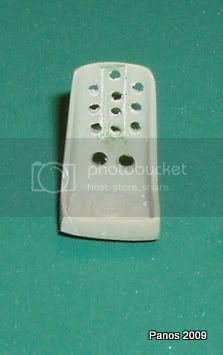
As far as the engine detailing, the only things I added was the sparkle plugs and the oil transfer tubes improving the general appearance of it.


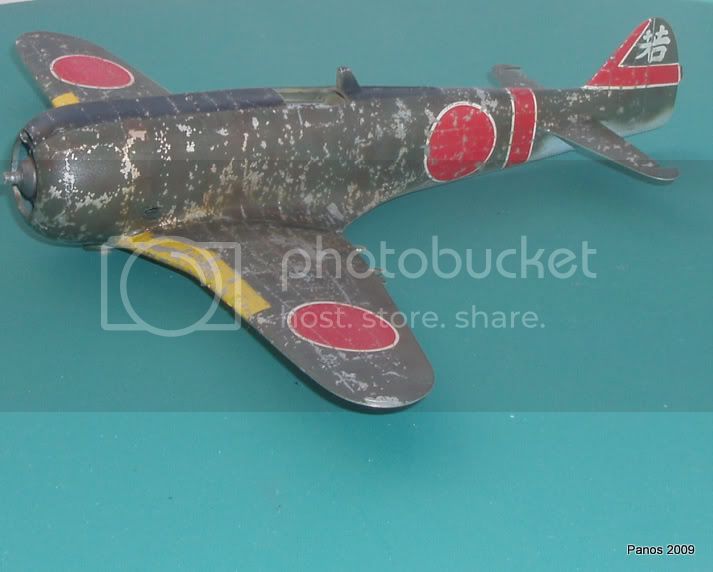
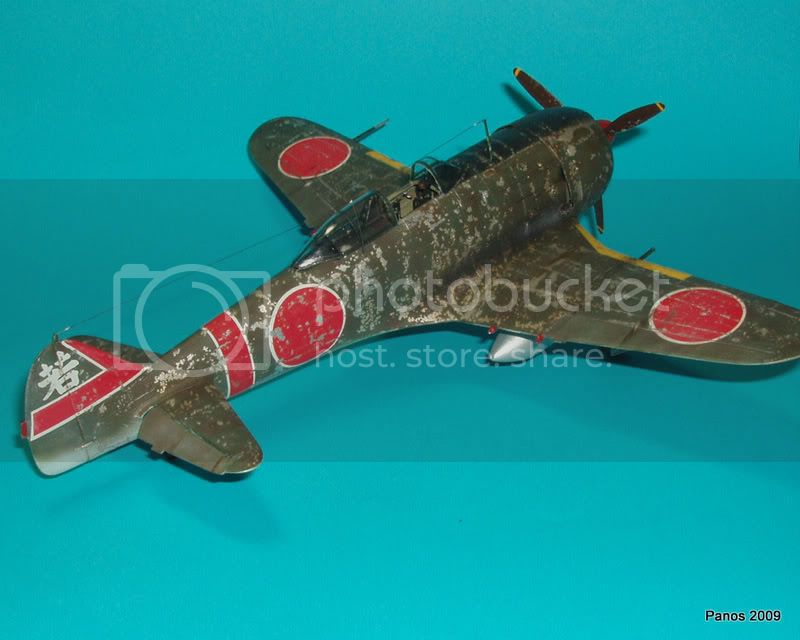
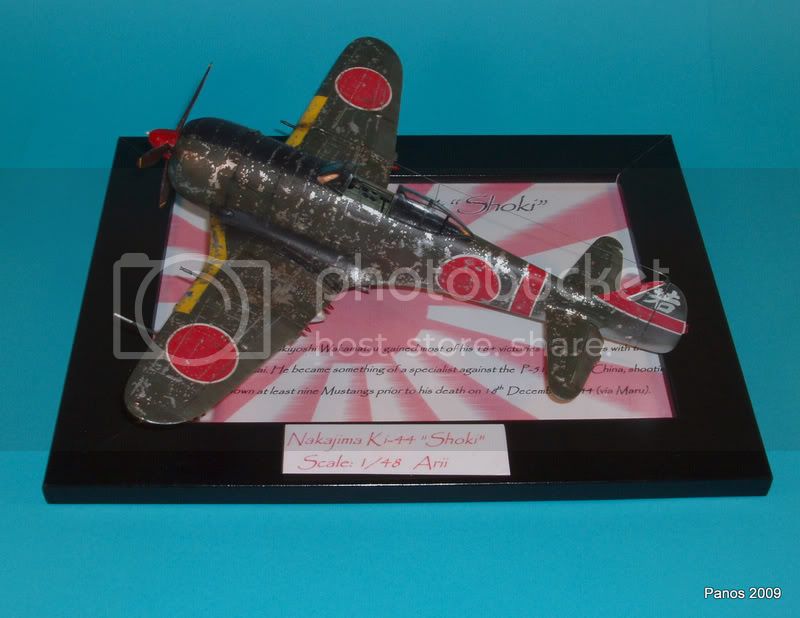
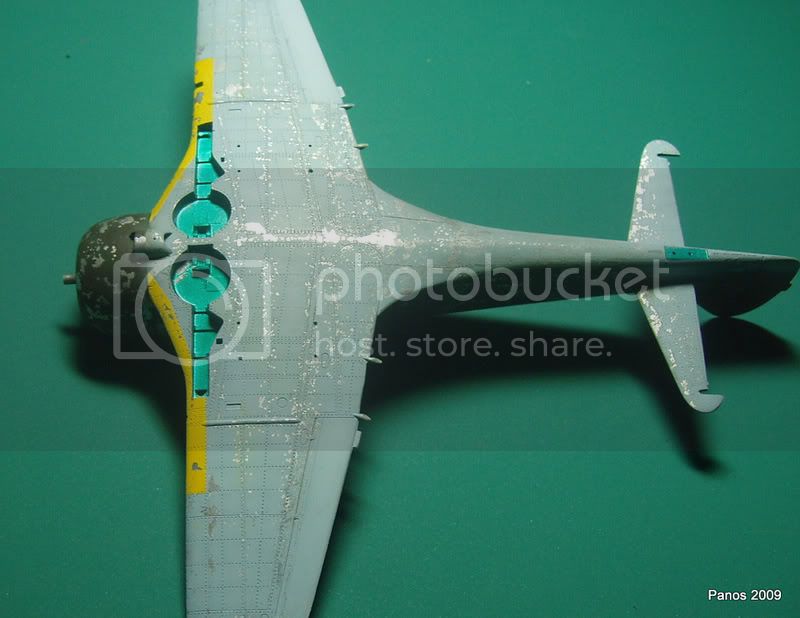
Painting and Weathering
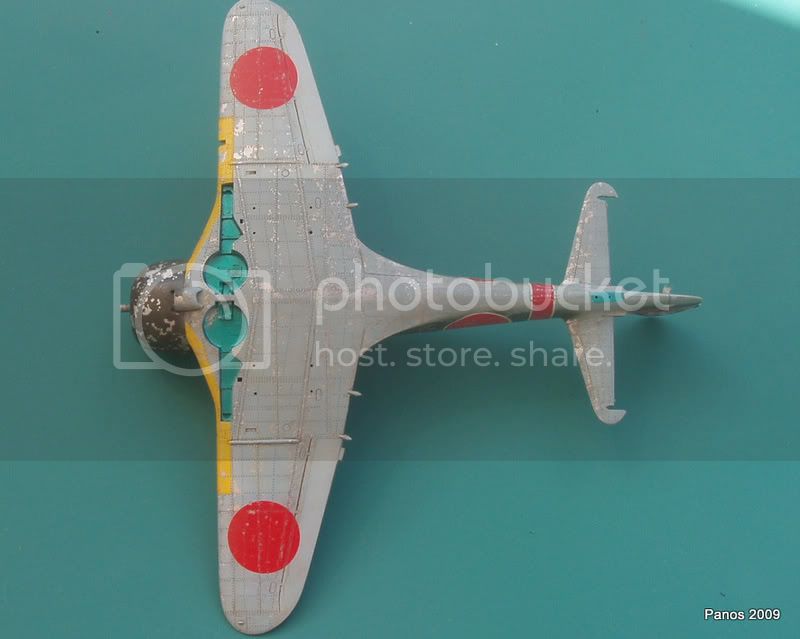
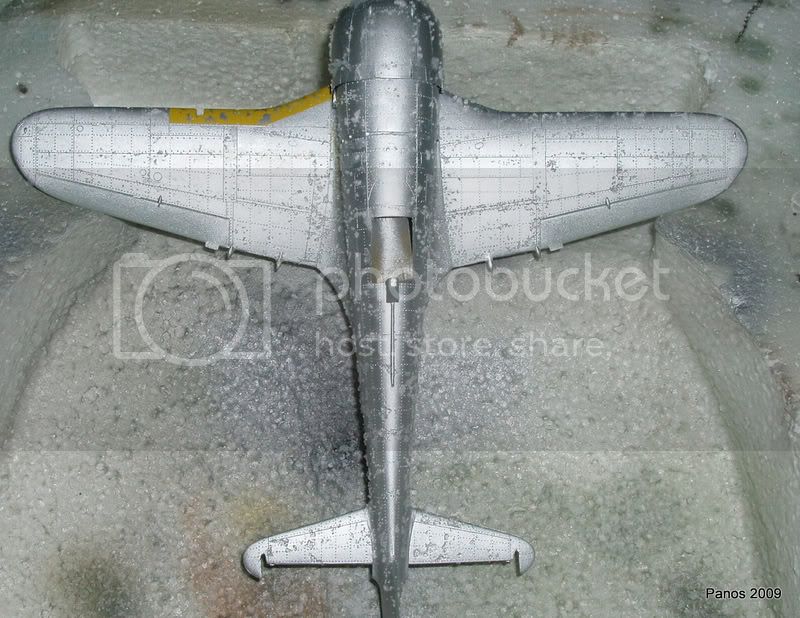
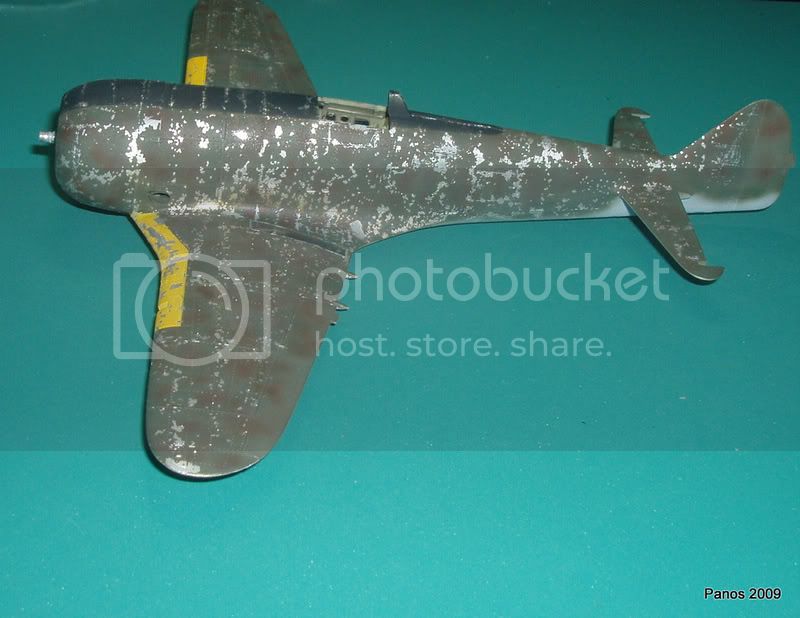
Since I used Tamiyas aluminum for my undercoat, I proceeded to the painting without priming, spraying the whole model and letting it dry for a couple of hours.
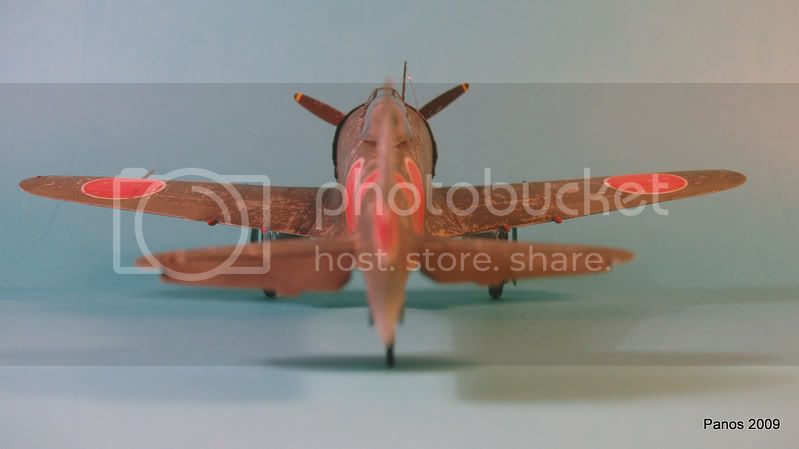
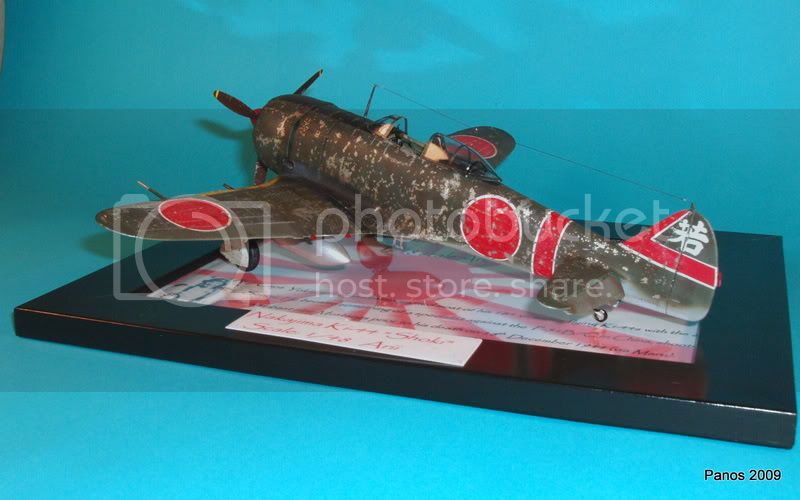
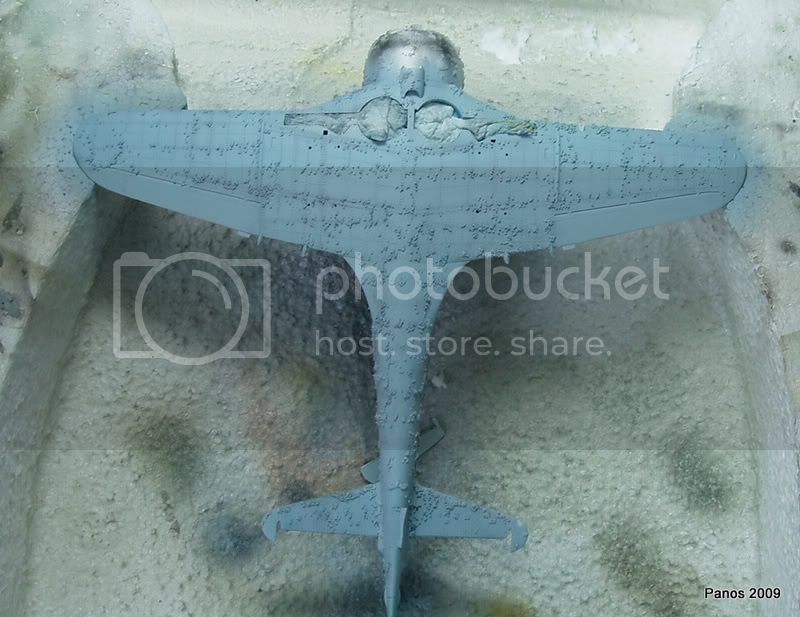
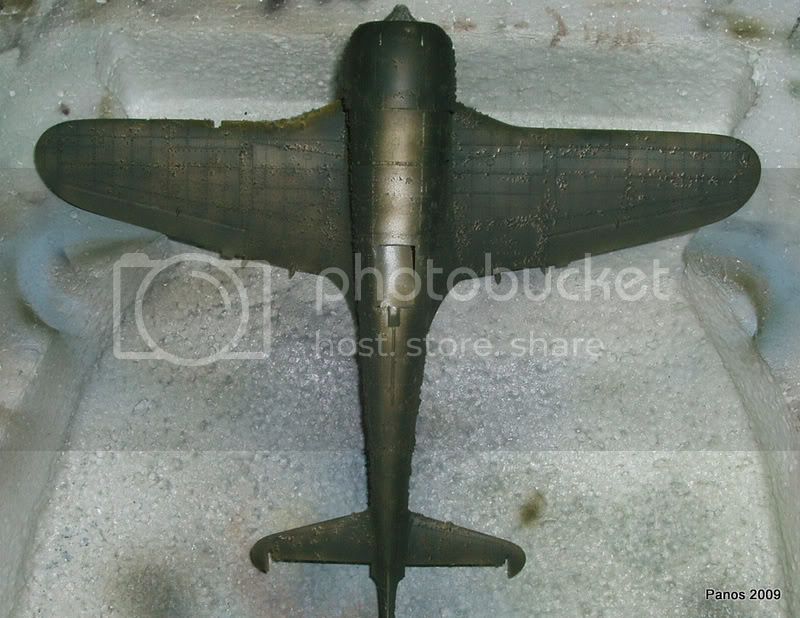
The next step was critical for the final appearance of the model. I decided to use the salt technique for the chipping-weathering since my goal was to build a very old bird. With a thin wet paint brush I added a touch of water to the desired areas of the model, followed by sprinkling salt on them. With the same paint brush I did some correction at the positioning of the salt, simply by pushing it in desired area. After the hole procedure was finished I let it dry overnight. The next step was to spray the camo, with IJA dark green and red brown mottling for the upper surfaces and a mixture of Rlm 78, light gray and white approximately in a ratio 4/1/1. I let it dry for a couple of hours and then with an old toothbrush I gently scrapped the salt from the surface. Last, a coat of gloss varnish was followed in order to place the decals.
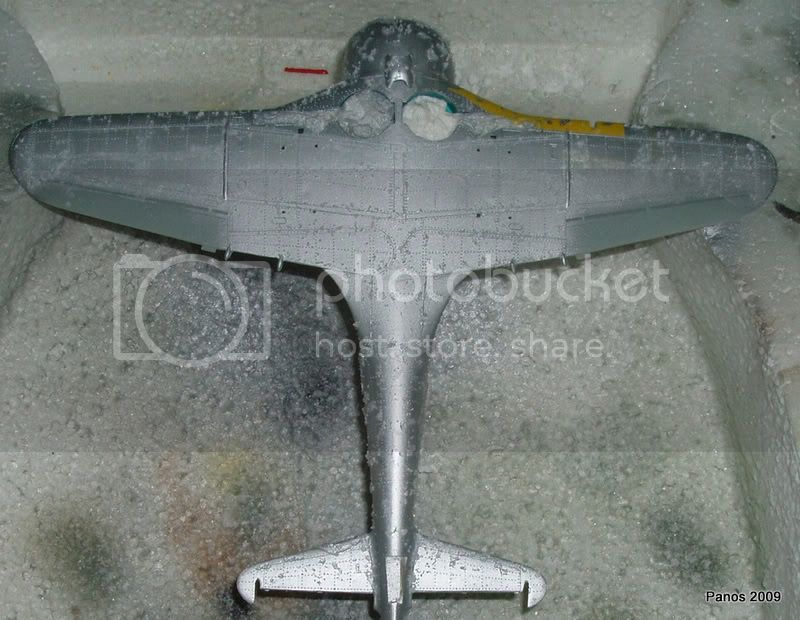

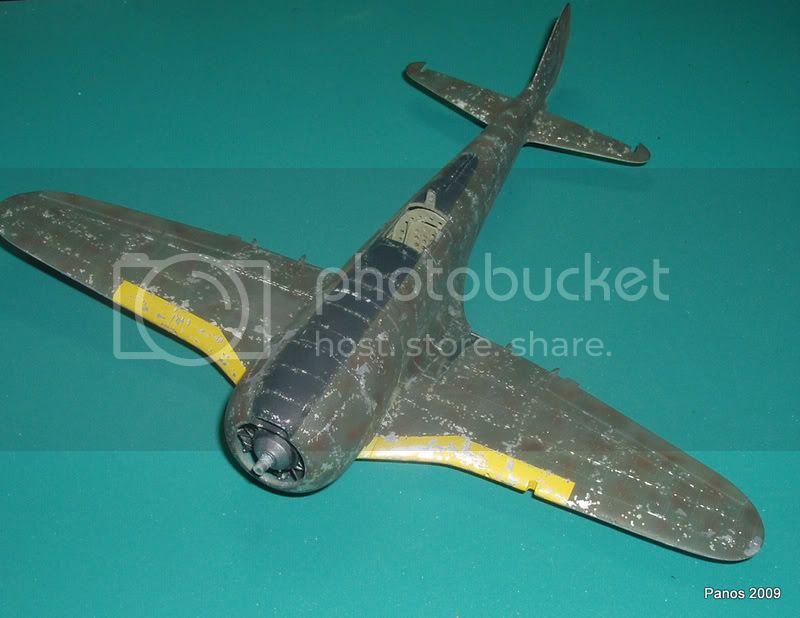
Next step was to place the decals using Microset and Microsol letting them dry and then I did a wash with thinned oil paint (burnt umber). With the edge of the X-acto blade I scrapped the decals to make them looked aged to tie it together with the general appearance of the model. Last I added some oils stains, smoke at the exhaust, machine guns and some more scrapes to needed areas. Lastly I sealed my work by spraying a semi-gloss varnish