

 it would be sooooo great if there were a tutorial on this subject for lug heads like me!
Early Aviation
Discuss World War I and the early years of aviation thru 1934.
Discuss World War I and the early years of aviation thru 1934.
Hosted by Jim Starkweather
drill bit size for rigging

UNITEDSTATESNAVY

Joined: July 07, 2007
KitMaker: 243 posts
AeroScale: 150 posts
Posted: Sunday, March 22, 2009 - 04:55 AM UTC
I am building my first WW1 fighter, Eduards Pfalz DIIIa 1/48. My drill bit assortment does not include such a small bit, there are many bits for sale at hobbylink.com anywhere from #50 to #80, what size do I need? it would be sooooo great if there were a tutorial on this subject for lug heads like me!
it would be sooooo great if there were a tutorial on this subject for lug heads like me!
modelguy2
Joined: March 09, 2002
KitMaker: 818 posts
AeroScale: 137 posts
Posted: Sunday, March 22, 2009 - 05:23 AM UTC
I'm going to suggest #76 but it's a matter of personal opinion. I think these are small enough for the task yet not as easily broken as some of the smaller bits. Micro mark
sells them in packages of 6 for around $8. Good way to go because if you buy a set of #50-80 and one breaks you're out.
sells them in packages of 6 for around $8. Good way to go because if you buy a set of #50-80 and one breaks you're out.

guitarlute101
Joined: December 18, 2006
KitMaker: 1,121 posts
AeroScale: 1,063 posts
Posted: Sunday, March 22, 2009 - 05:30 AM UTC
Hi Dave,
Welcome to the forum. I use a Drill Index (#61 to 80) and a pin vise that I got at my local hobby shop. I think they are also available at Micro-Mark.
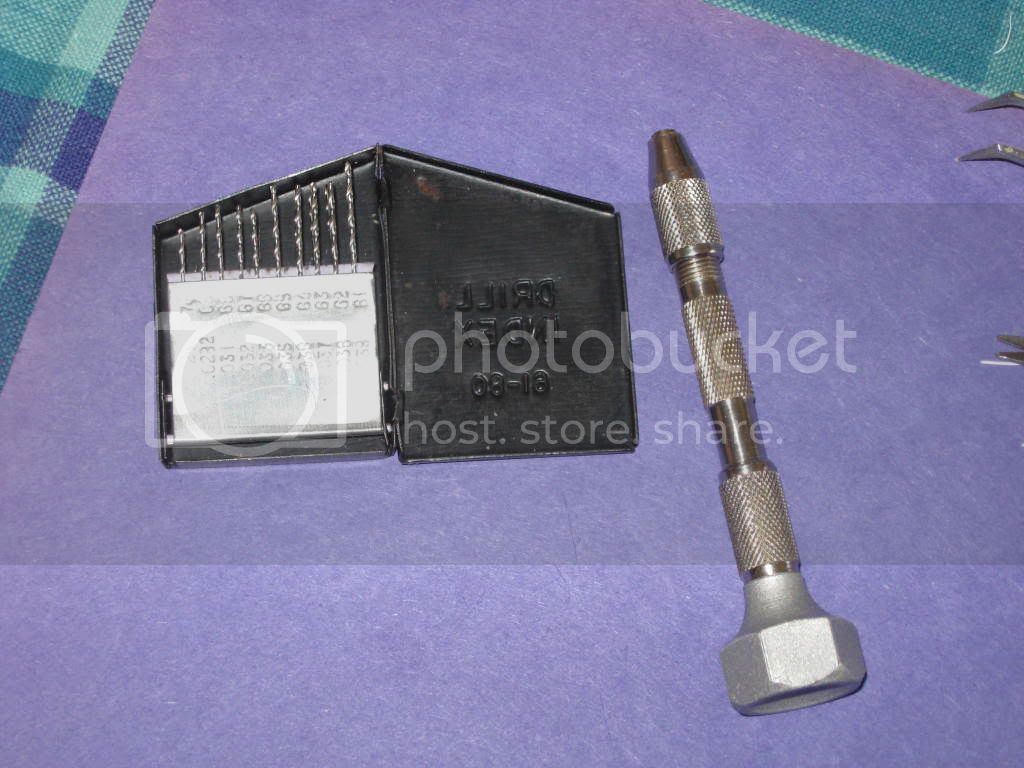
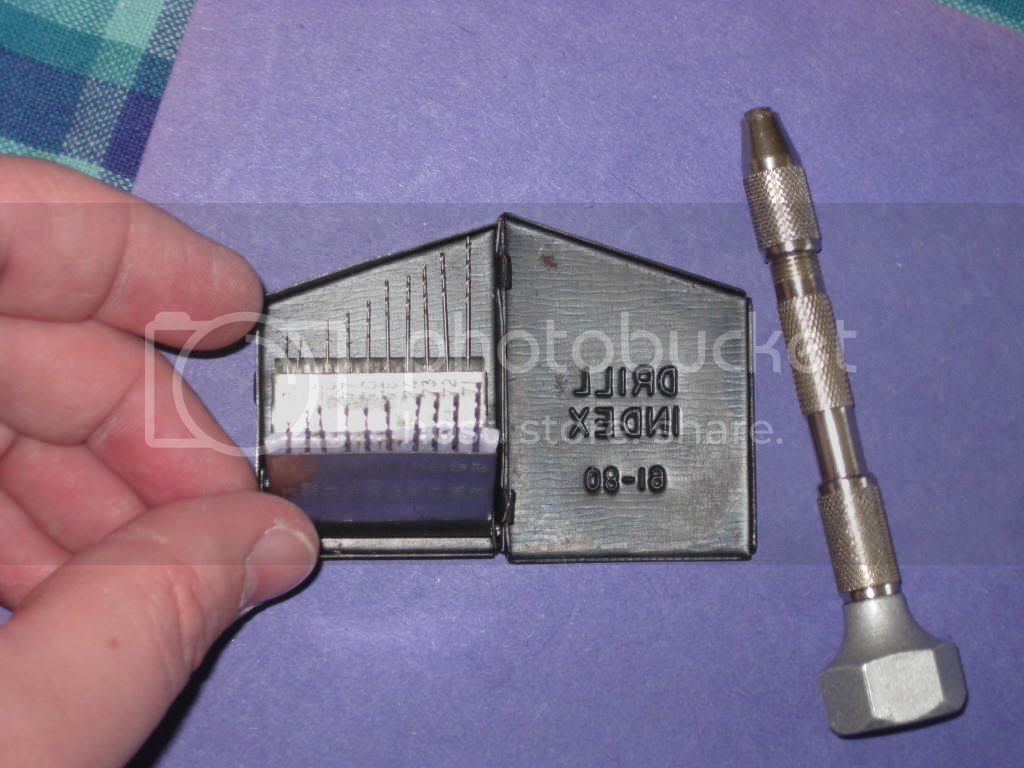
Make sure the pin vise has a small collet for the smaller drill bits.
Mark
UNITEDSTATESNAVY
Joined: July 07, 2007
KitMaker: 243 posts
AeroScale: 150 posts
Posted: Sunday, March 22, 2009 - 05:44 AM UTC
any tutorials on here for rigging? just blew 1/2 hour of my life slooowly scrolling through 13 pages of a build with no mention of rigging technique, not looking to use turnbuckles at this point, just point me in thr right direction? purchased two books online about techniques, not sure if that info will be there  they sell they bits individually on hobbylink for about $3.00 a pair..will go with the #76 to add to my bits on hand...thanks
they sell they bits individually on hobbylink for about $3.00 a pair..will go with the #76 to add to my bits on hand...thanks thegirl

Joined: January 19, 2008
KitMaker: 6,743 posts
AeroScale: 6,151 posts
Posted: Sunday, March 22, 2009 - 05:47 AM UTC
I use drill sizes from #76 to #80 depending on the rigging method I'm using . Have a look at the threads for tips and ideas . The subject of rigging is always coming up . you will enjoy building the Eduard kit of the Pfalz D.IIIa . It is the worlds sexiest aircraft . Share your progress with us and welcome to the string baggers ! 
The set which Mark has is the same set on which I use and can be purchased at micro mark with replacement bits . Your local hobby shop should also carry these as well .
The set which Mark has is the same set on which I use and can be purchased at micro mark with replacement bits . Your local hobby shop should also carry these as well .

B24Liberator
Joined: November 07, 2008
KitMaker: 134 posts
AeroScale: 113 posts
Posted: Sunday, March 22, 2009 - 11:14 PM UTC
Hi Dave -
Follow Teri's advice regarding drill bit size. Everyone uses different materials when it comes to the rigging wire. You use to be able to various fish lines through Roll Models - it was call Dai Rikki, from Japan. From what I understand, it's no longer avaialble. You could go to your bait & tackle shop - up here in Minnesota ( Land of 10,000 lakes and 10 billion mosquitos!), you can't spit without hitting one!
I've actually had better luck with what's called "Smoked thread" which you can get at a Fabric Shop and will last a lifetime.
Some people choose to measure between the attachment points with a compass, then cut to measure the wire,thread, etc..
I choose to drill through the wings & fusalage and thread it through. I've been taught by others to drill at a slight angle through the wings. I have found, especially in 1/72 scale the this method makes the aircraft much stronger and resistant to accidents.
thegirl
Joined: January 19, 2008
KitMaker: 6,743 posts
AeroScale: 6,151 posts
Posted: Monday, March 23, 2009 - 01:51 AM UTC
Hi Dave . The method on which Johannes mentioed works the best for the beginner . I would like to add a few things to it .
I start with this method when I started doing WW1 aircraft and the results are great .
when doing the rigging on the top wing under side don't drill the hole all the way through just enough to act as an anchoring point . on the lower wing drill the holes all the way through . Have all the holes drilled before mounting the top wing , makes it easier .
Johannes is dead on with the thread to use . Smoke invisible thread works very well for 1/72 and 1/48 scale planes and can be used for 32 as well . this also comes in clear as well and can be purchaced at a local dollar store for a buck .
when the top wing has been mounted start from there first . cut a lenght of thread and dip the tip in super glue , I like to use the gel type it has a strong bite to it then the thin stuff .
let it cure and thread the other end through the hole in the bottom wing lightly pull tight but not to tight . and afix with super glue . rebeat this for the rest . Once all that is said and done you only have to trim the excess on the bottom of the lower wing using a new #11 blade as close as you can . fill the hole with paint or what ever method you like and the apply the decal and no one will ever know . . Now sit back and admire your handy work .
Well that's it in a nut shell hope you find this helpful . I won't get into the other methods since it's not what you are looking for . As you get better at it and feel comfortable with your progress you can always up grade on it . I use about 5 different methods for my rigging , just depends on how much detail I want to add in the project . Take your time and if you mess up you can redrill the hole and do it again . 
Good luck and share your build(s) with us .
I start with this method when I started doing WW1 aircraft and the results are great .
when doing the rigging on the top wing under side don't drill the hole all the way through just enough to act as an anchoring point . on the lower wing drill the holes all the way through . Have all the holes drilled before mounting the top wing , makes it easier .
Johannes is dead on with the thread to use . Smoke invisible thread works very well for 1/72 and 1/48 scale planes and can be used for 32 as well . this also comes in clear as well and can be purchaced at a local dollar store for a buck .
when the top wing has been mounted start from there first . cut a lenght of thread and dip the tip in super glue , I like to use the gel type it has a strong bite to it then the thin stuff .
let it cure and thread the other end through the hole in the bottom wing lightly pull tight but not to tight . and afix with super glue . rebeat this for the rest . Once all that is said and done you only have to trim the excess on the bottom of the lower wing using a new #11 blade as close as you can . fill the hole with paint or what ever method you like and the apply the decal and no one will ever know . . Now sit back and admire your handy work .
Well that's it in a nut shell hope you find this helpful . I won't get into the other methods since it's not what you are looking for . As you get better at it and feel comfortable with your progress you can always up grade on it . I use about 5 different methods for my rigging , just depends on how much detail I want to add in the project . Take your time and if you mess up you can redrill the hole and do it again .
Good luck and share your build(s) with us .

JackFlash
Joined: January 25, 2004
KitMaker: 11,669 posts
AeroScale: 11,011 posts
Posted: Monday, March 23, 2009 - 04:40 AM UTC
First of all leave the top wing upper surface and the lower wing under surface unfinished. Why you ask? These are the areas that you need to apply glue to. An open flat surface is easier to work with than the narrow area between the wings.
Drill straight through the wing next to the strut at the appropriate angle. There should be two holes for each strand. Note also that one hole can possibly hold upto 5 strands. The key to working with monofilament is start by the upper cabane strut locations and move out and down with your strands. Used spring action clothes pins to clip on the strands once their through the lower wing area. One clothes pin for one strand. This pulls the strand(s) tight and then you just put one drop of thin type super glue in the hole. Dont use metal hemostats as they can over stress the small 5-8 mil strands and after your complete it will go slack and heat application wont tighten it permanently.
When your finished rigging use a sharp #11 blade and clip all ends of the secured strands. Then scrap any glue spots off the plastic and finish to suite your chosen profile.
The other choice is ( I prefer blackened brass) fine wire. For 1/48 and smaller try .006-.008. For larger scales try .015 -.020 and up. Brass is best choice for short runs of 1½ and smaller. Brass has weight and will tend to sag over a period of time. Turnbuckles can be manufactured in scale, it just take patience. In smaller scales you can simply replicate turnbuckles with an application of thicker gel super glue then paint when dry.
I have a much larger and more detailed account on my website in the documents tab here.
UNITEDSTATESNAVY
Joined: July 07, 2007
KitMaker: 243 posts
AeroScale: 150 posts
Posted: Tuesday, March 24, 2009 - 04:56 AM UTC
I had not much interest in WW1 aircraft, my young daughter does not have the patience yet for this project so I inherited this plane, I find I am interested in this era as much as WW2 planes  thanks everyone for all the help.I found a very useful tutorial on an obscure site, IPMS stockholm.com, rigging in scale, has an method of making turnbuckles that appeals to me with its simplicity, very useful info here that jibes with everyones suggestions....I am hooked now
thanks everyone for all the help.I found a very useful tutorial on an obscure site, IPMS stockholm.com, rigging in scale, has an method of making turnbuckles that appeals to me with its simplicity, very useful info here that jibes with everyones suggestions....I am hooked now thegirl
Joined: January 19, 2008
KitMaker: 6,743 posts
AeroScale: 6,151 posts
Posted: Tuesday, March 24, 2009 - 06:27 AM UTC
Cool you are hooked now ! glad we where able to help you out Dave !

Bratushka
Joined: May 09, 2008
KitMaker: 1,019 posts
AeroScale: 17 posts

Posted: Tuesday, March 24, 2009 - 09:42 AM UTC
Quoted Text
I had not much interest in WW1 aircraft, my young daughter does not have the patience yet for this project so I inherited this plane, I find I am interested in this era as much as WW2 planes
i couldn't get your link to work. i searched a bit and came up with this: http://www.ipmsstockholm,org/
B24Liberator
Joined: November 07, 2008
KitMaker: 134 posts
AeroScale: 113 posts
Posted: Tuesday, March 24, 2009 - 10:58 PM UTC
Good for you Dave!
I tend to float between WW I & WW II subjects myself and enjoy the 'stick & fabric' stuff a lot. A suggestion after you finish the Pfalz -- try the Eduard Albatross D V or their Nieuports.
They are a fun build in either 1/48 or 1/72 and the paint schemes are as numerous as the stars in the sky...! Enjoy!
UNITEDSTATESNAVY
Joined: July 07, 2007
KitMaker: 243 posts
AeroScale: 150 posts
Posted: Tuesday, March 31, 2009 - 06:18 PM UTC
thats the site then enter rigging in scale in search site.I do not know how to add links to forum yet ...sorry.
Removed by original poster on 04/04/09 - 15:54:48 (GMT).
UNITEDSTATESNAVY
Joined: July 07, 2007
KitMaker: 243 posts
AeroScale: 150 posts
Posted: Saturday, April 04, 2009 - 05:01 AM UTC
Quoted Text
I ordered the download, thanks so much, I am going to try making turnbuckles as in htpp://www.ipmsstockholm.org looks like a fairly simple method First of all leave the top wing upper surface and the lower wing under surface unfinished. Why you ask? These are the areas that you need to apply glue to. An open flat surface is easier to work with than the narrow area between the wings.
Drill straight through the wing next to the strut at the appropriate angle. There should be two holes for each strand. Note also that one hole can possibly hold upto 5 strands. The key to working with monofilament is start by the upper cabane strut locations and move out and down with your strands. Used spring action clothes pins to clip on the strands once their through the lower wing area. One clothes pin for one strand. This pulls the strand(s) tight and then you just put one drop of thin type super glue in the hole. Dont use metal hemostats as they can over stress the small 5-8 mil strands and after your complete it will go slack and heat application wont tighten it permanently.
When your finished rigging use a sharp #11 blade and clip all ends of the secured strands. Then scrap any glue spots off the plastic and finish to suite your chosen profile.
The other choice is ( I prefer blackened brass) fine wire. For 1/48 and smaller try .006-.008. For larger scales try .015 -.020 and up. Brass is best choice for short runs of 1½ and smaller. Brass has weight and will tend to sag over a period of time. Turnbuckles can be manufactured in scale, it just take patience. In smaller scales you can simply replicate turnbuckles with an application of thicker gel super glue then paint when dry.
I have a much larger and more detailed account on my website in the documents tab here.
JackFlash
Joined: January 25, 2004
KitMaker: 11,669 posts
AeroScale: 11,011 posts
Posted: Saturday, April 04, 2009 - 08:46 AM UTC
Part of Poland has some nice turnbuckles with their control horm fret.
UNITEDSTATESNAVY
Joined: July 07, 2007
KitMaker: 243 posts
AeroScale: 150 posts
Posted: Sunday, April 05, 2009 - 06:14 AM UTC
part of poland? huh?
guitarlute101
Joined: December 18, 2006
KitMaker: 1,121 posts
AeroScale: 1,063 posts
Posted: Sunday, April 05, 2009 - 08:04 AM UTC
"Part" is the name of a Photo-etch manufacturing company located in Poland. Their PE sets are availble here in the US and are very excellent PE sets.
Mark
 |

WEB HOSTING BY


Copyright ©2021 AeroScale and Kitmaker Network, a subsidiary of Silver Star Enterprises
All Rights Reserved. Please read our Conditions of Use and Privacy Policy.
All Rights Reserved. Please read our Conditions of Use and Privacy Policy.