Florida, United States
Joined: March 01, 2008
KitMaker: 529 posts
AeroScale: 340 posts
Posted: Thursday, April 09, 2009 - 08:05 AM UTC
Current projects:
Revell F-15E (1:48)
Auckland, New Zealand
Joined: October 25, 2005
KitMaker: 949 posts
AeroScale: 493 posts
Posted: Friday, April 10, 2009 - 06:49 PM UTC
Hi there Herman,
Shes' looking good so far.
Can't wait for more updates.
Cheers
Chris
"A Geek is someone who has found something more interesting than sex."
Neil Degrasse Tyson
Moselle, France
Joined: May 15, 2005
KitMaker: 5,653 posts
AeroScale: 4,347 posts
Posted: Friday, April 10, 2009 - 09:08 PM UTC
Hi Hermann,
Quoted Text
Can't wait for more updates.
Same here! Looks good so far!

Have you already decided on a paint sheme?
Jean-Luc

Better think one hour and build five minutes...
Than think five minutes and build an hour!
Florida, United States
Joined: March 01, 2008
KitMaker: 529 posts
AeroScale: 340 posts
Posted: Saturday, April 11, 2009 - 01:56 AM UTC
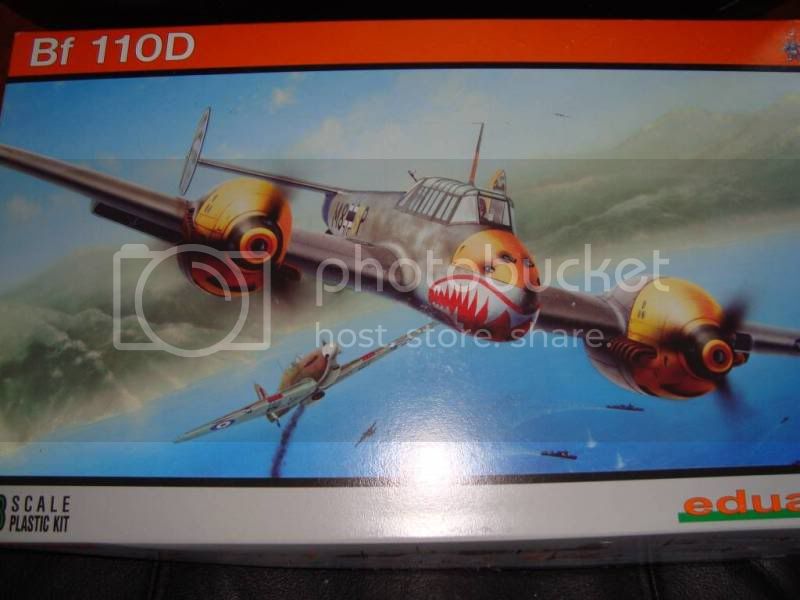
Thanks for the replies. Jean-Luc, referencing the instructions, so far I'm considering option C: 4./zg 26, Mediterranean, Spring 1941 color scheme.
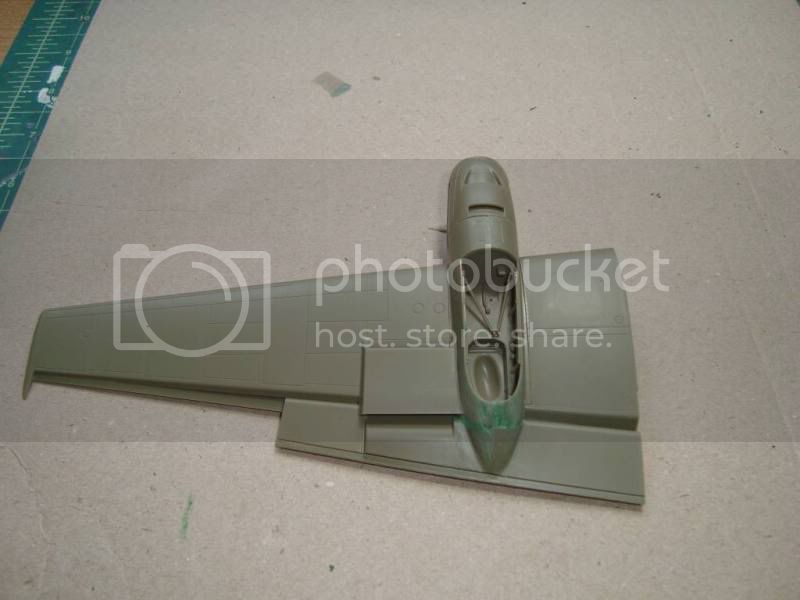
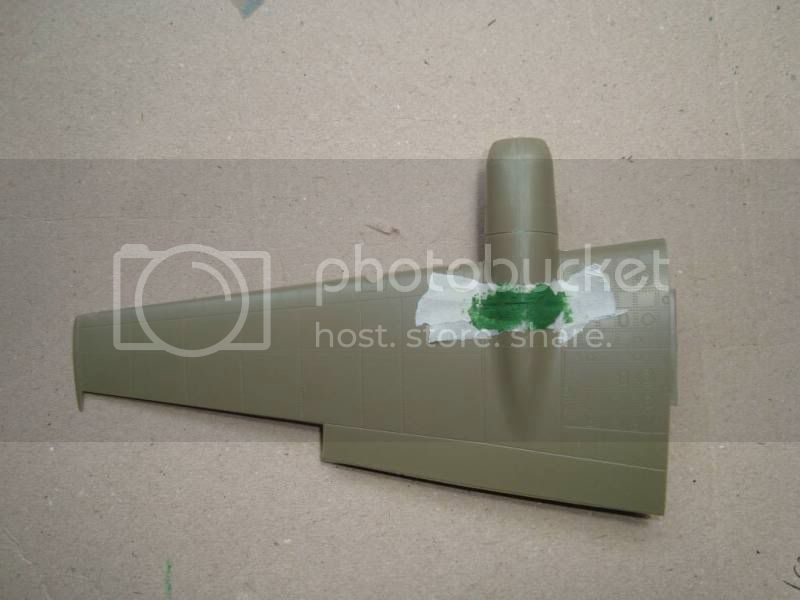
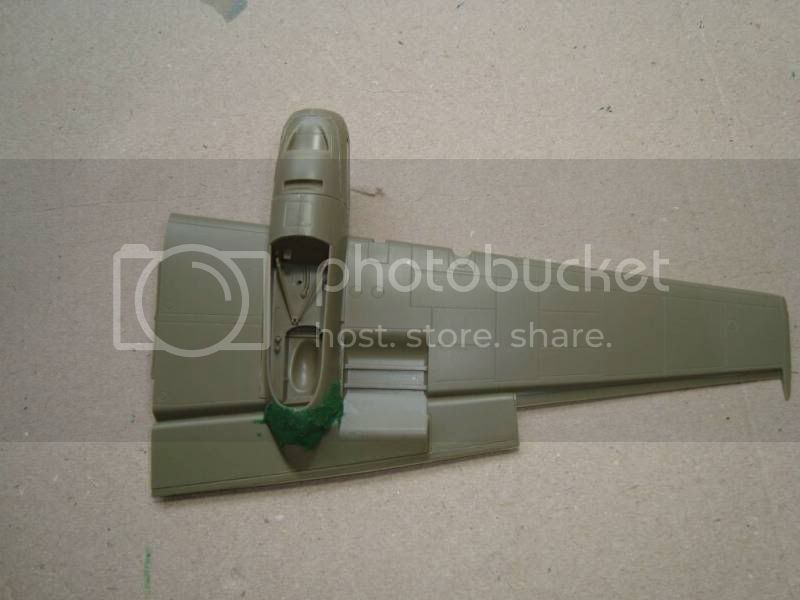
The next process is to glue the fuselage together. This is my first aircraft and wanted to get some input on the best way to accomplish the task to get the best results. My adhesives of choice are tamiya's extra thin cement and my old friend Testors liquid cement with metal applicator. Do I cement in between the gaps and brace the two parts together or do I connect the fuselage halves and apply the cement on top of the seams? If I do the latter, will I loose the bond when I sand?
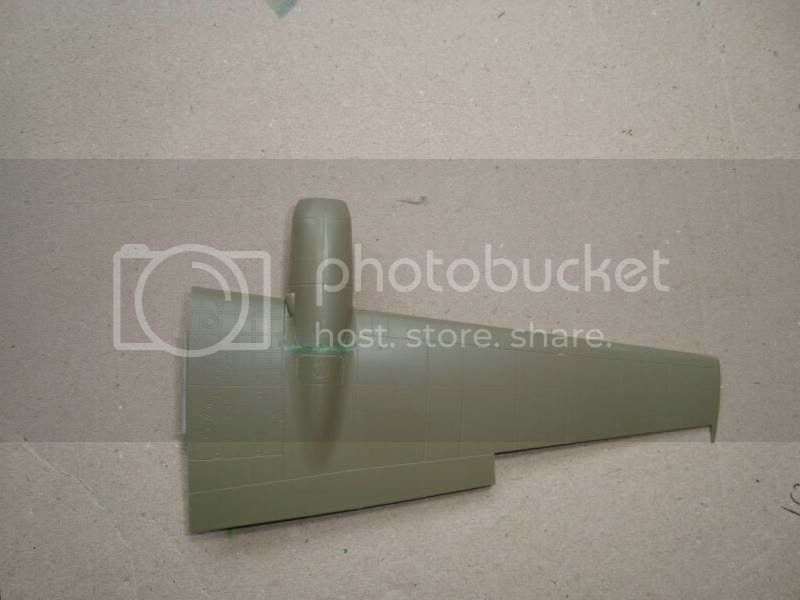
So far with my test fitting, I noticed a considerable gap where the wing is attached to the fuselage. Is this avoidable with adjustments or just a matter of fact requiring filling and sanding? Anyone with experience with this build, your input will be greatly appreciated.
Current projects:
Revell F-15E (1:48)
New South Wales, Australia
Joined: March 09, 2006
KitMaker: 248 posts
AeroScale: 160 posts
Posted: Saturday, April 11, 2009 - 01:18 PM UTC
Looks very nice so far- keep the pics coming.
I have been thinking about adding one of these to my stash. I have only built 3 1/2 planes to date and was wondering if you think it would be ok for a relative nebie to build?

On the Workbench:
1/48 Academy P-38L (Pin ups II Campaign)
1/35 Dragon King Tiger
Florida, United States
Joined: March 01, 2008
KitMaker: 529 posts
AeroScale: 340 posts
Posted: Saturday, April 11, 2009 - 03:49 PM UTC
I would start out with a tamiya kit first. Eduard kit are full of detail and very unforgiving.The large part count, details and scale can be overwhelming at times. If you decide to go with eduard kit, be VERY patient with the build and continually test fit as you progress to make there are no surprises later on. Good luck and thx for the reply.
Current projects:
Revell F-15E (1:48)
Victoria, Australia
Joined: August 23, 2007
KitMaker: 629 posts
AeroScale: 539 posts
Posted: Saturday, April 11, 2009 - 07:15 PM UTC
Quoted Text
Thanks for the replies. Jean-Luc, referencing the instructions, so far I'm considering option C: 4./zg 26, Mediterranean, Spring 1941 color scheme.
The next process is to glue the fuselage together. This is my first aircraft and wanted to get some input on the best way to accomplish the task to get the best results. My adhesives of choice are tamiya's extra thin cement and my old friend Testors liquid cement with metal applicator. Do I cement in between the gaps and brace the two parts together or do I connect the fuselage halves and apply the cement on top of the seams? If I do the latter, will I loose the bond when I sand?
So far with my test fitting, I noticed a considerable gap where the wing is attached to the fuselage. Is this avoidable with adjustments or just a matter of fact requiring filling and sanding? Anyone with experience with this build, your input will be greatly appreciated.
Hi Hermann,
Nice work. It is possible to work the wing joins to improve their fit. Your best bet is to go to Hyperscale and download Brett Greens "modellers rescource" on this kit. He describes how to overcome the wing join problem. The worst fit areas are the nose and nacelle to upper wing join...for both those places i ended up using filler and sanding. The rest was pretty good from what i remember, i built the E version not long after the kit came out.
I just got this D kit as well. Though i'll be using it to build another 110E (an early version that still had the long tail extension of the "D") using the Iraqui markings from the E kit.
Andrew
Current Projects:
Eduard 1/48 F6F-3 Hellcat
Hasegawa 1/350 Yukikaze
1/6 JJ Models Sarah "Gothic"
Florida, United States
Joined: March 01, 2008
KitMaker: 529 posts
AeroScale: 340 posts
Posted: Sunday, April 12, 2009 - 12:44 AM UTC
That's exactly what I did and what I've been using to guide me through the build. It's just that I did not understand what it was that he did in that portion of the guide.
Current projects:
Revell F-15E (1:48)
Florida, United States
Joined: March 01, 2008
KitMaker: 529 posts
AeroScale: 340 posts
Posted: Friday, April 17, 2009 - 08:44 AM UTC
Current projects:
Revell F-15E (1:48)
Florida, United States
Joined: March 01, 2008
KitMaker: 529 posts
AeroScale: 340 posts
Posted: Tuesday, April 21, 2009 - 04:12 AM UTC
Current projects:
Revell F-15E (1:48)

#041
Kobenhavn, Denmark
Joined: July 20, 2006
KitMaker: 10,069 posts
AeroScale: 3,788 posts
Posted: Friday, May 01, 2009 - 12:50 AM UTC
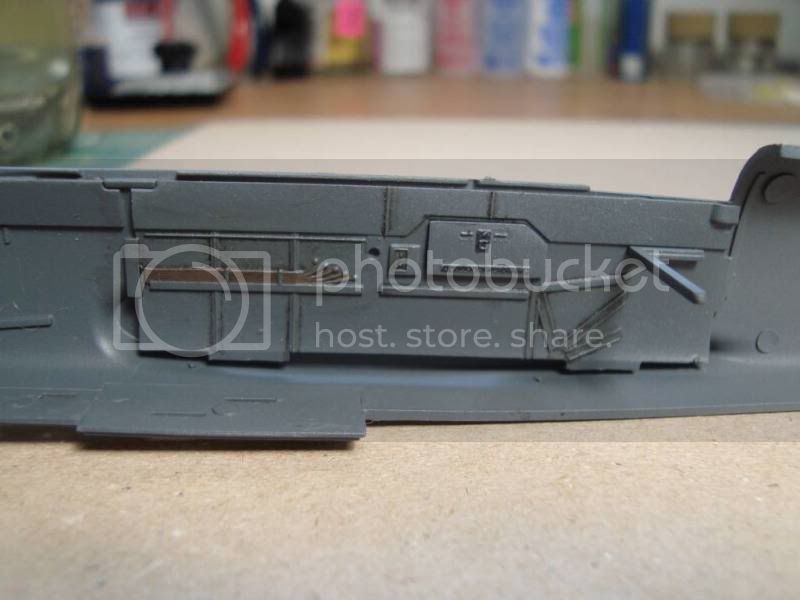
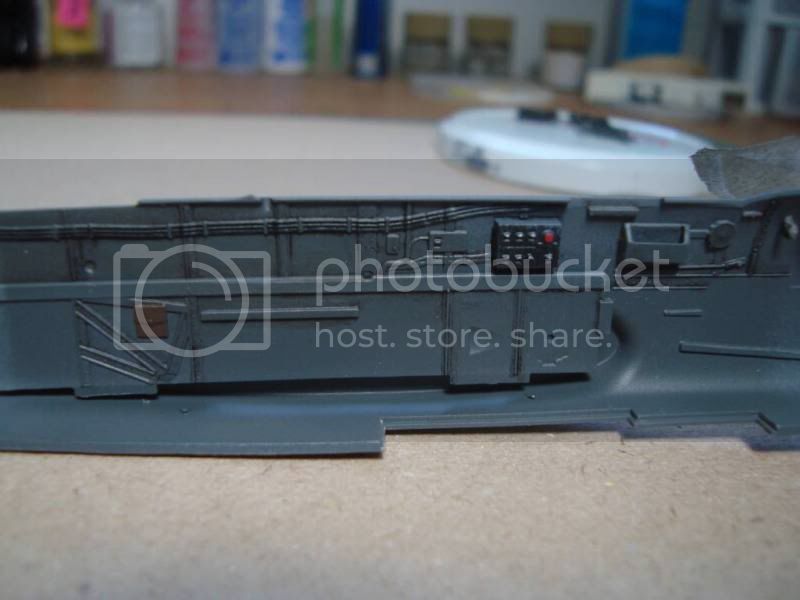
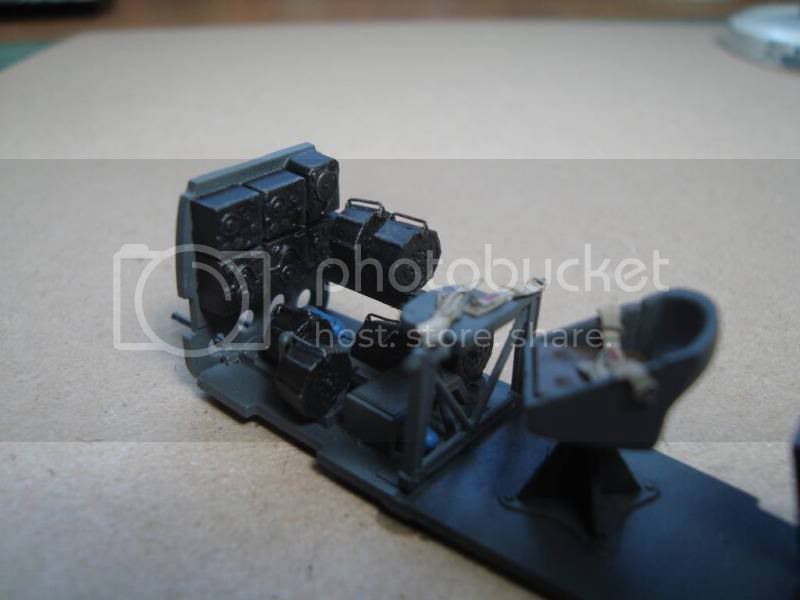
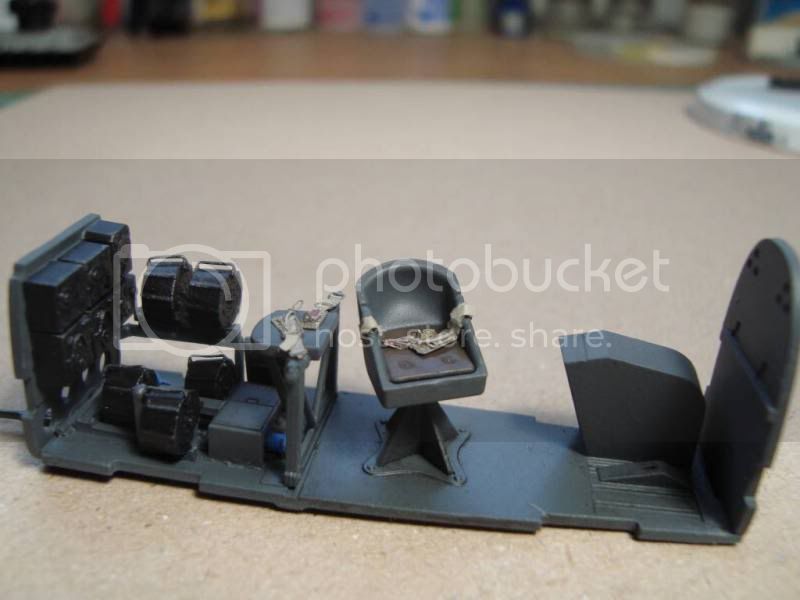
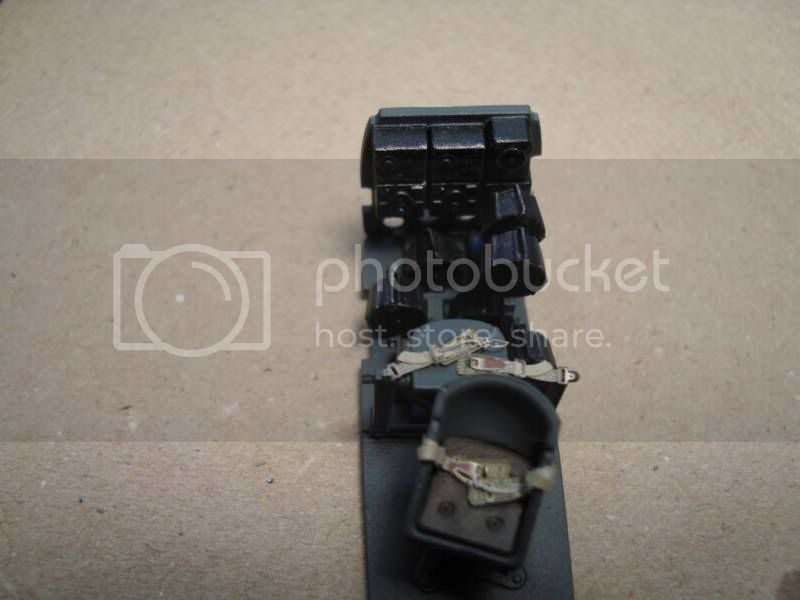
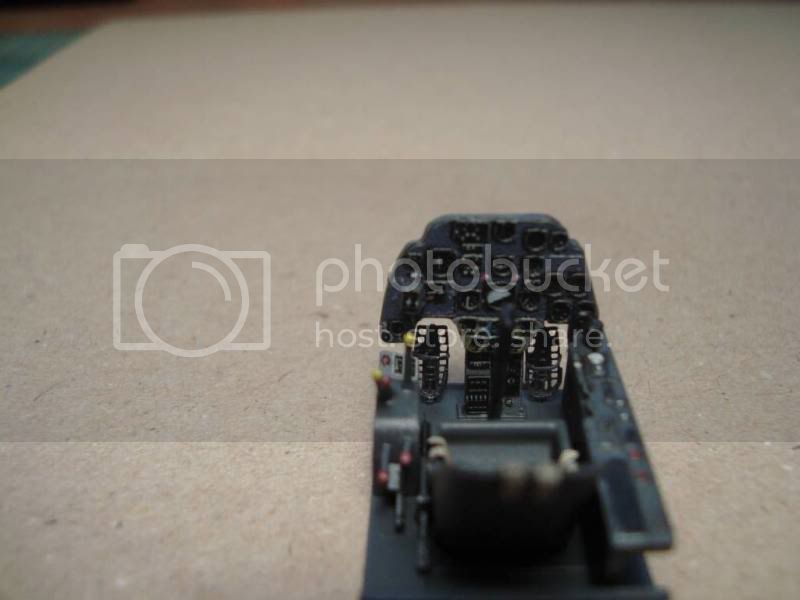
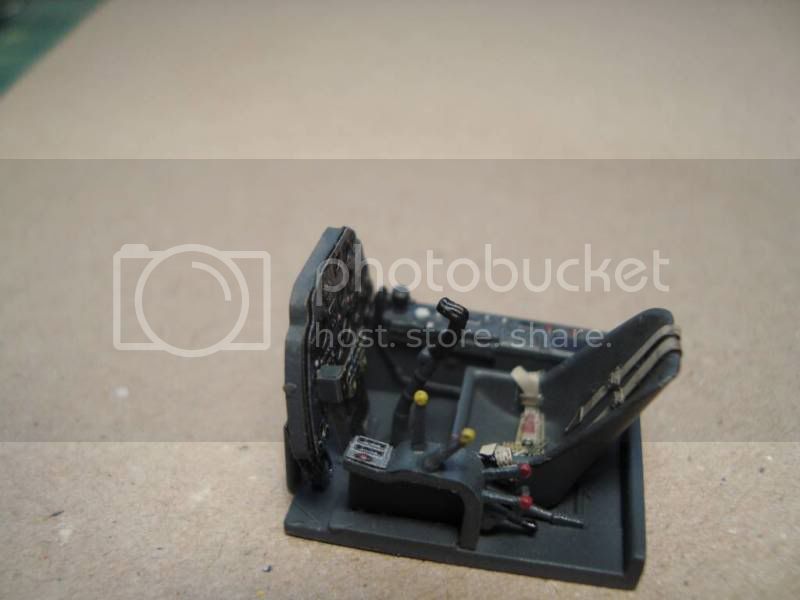
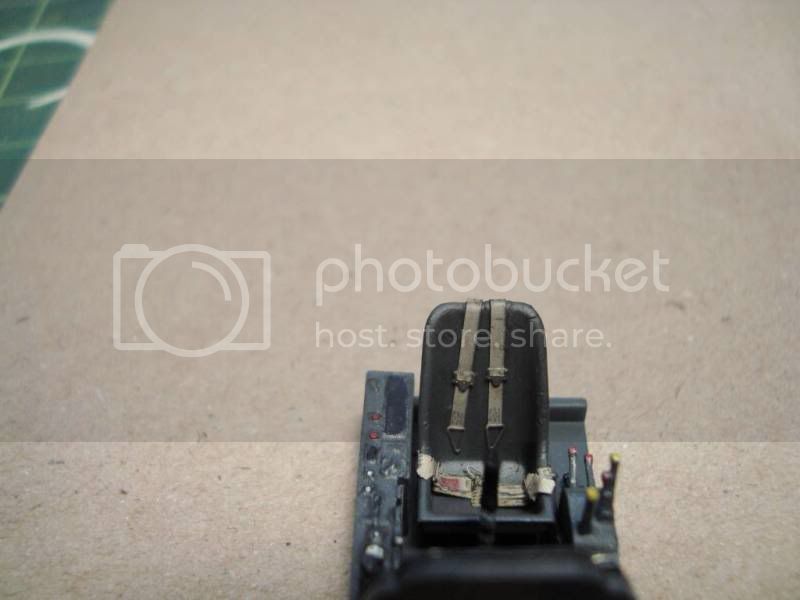
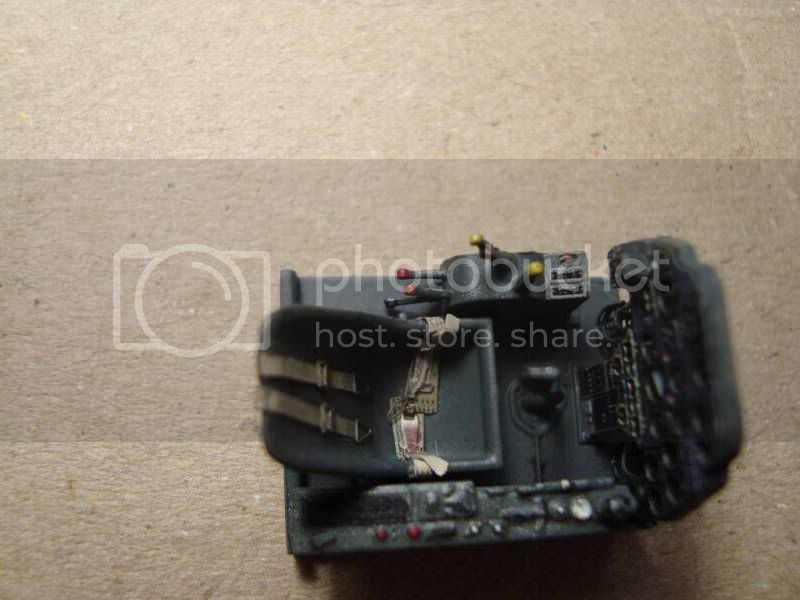
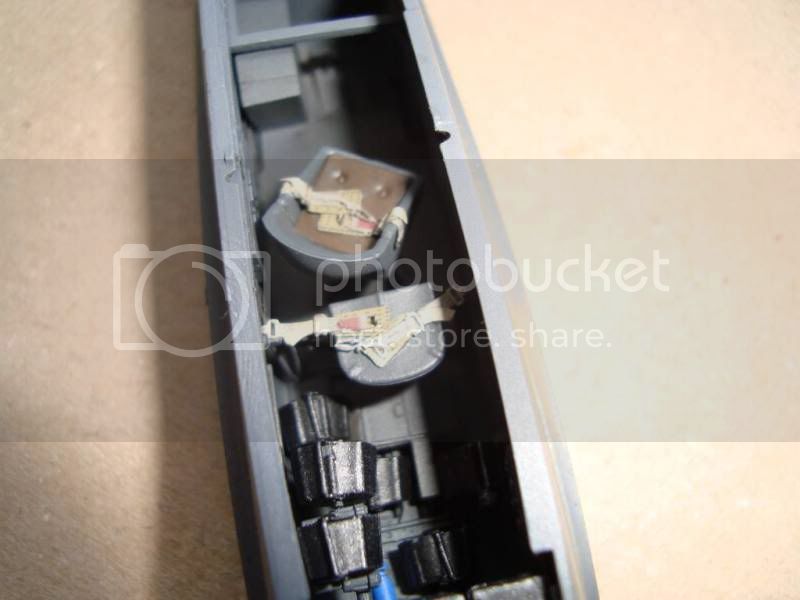
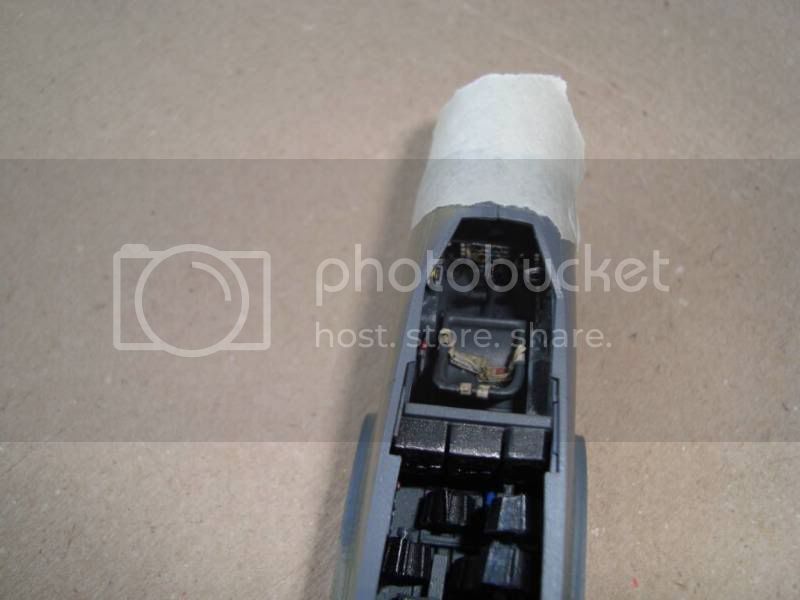
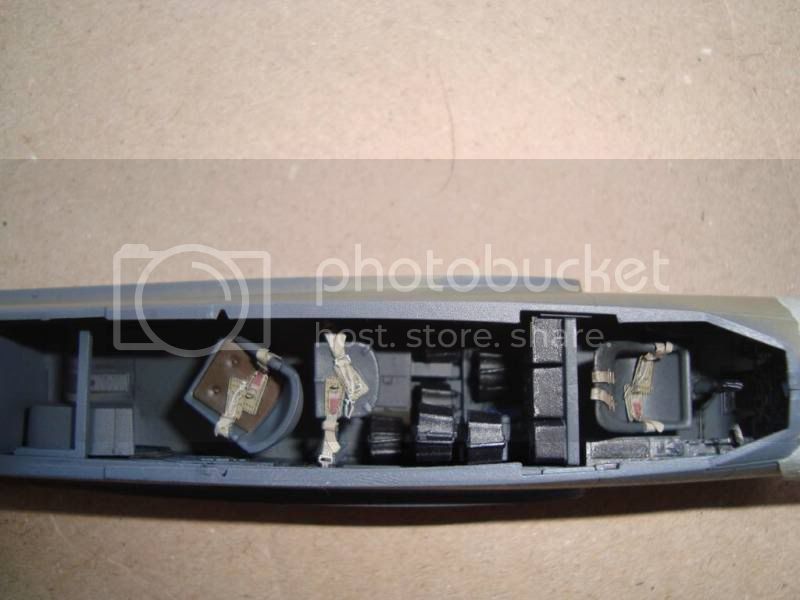
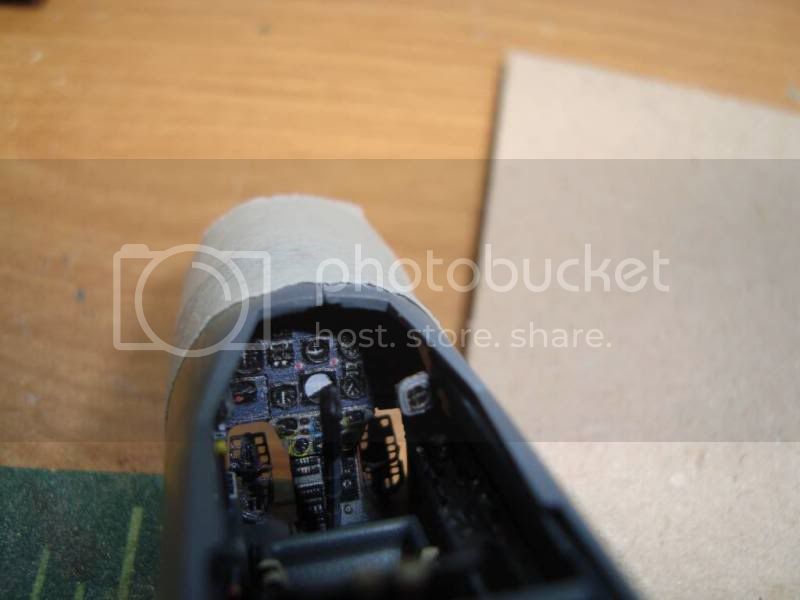
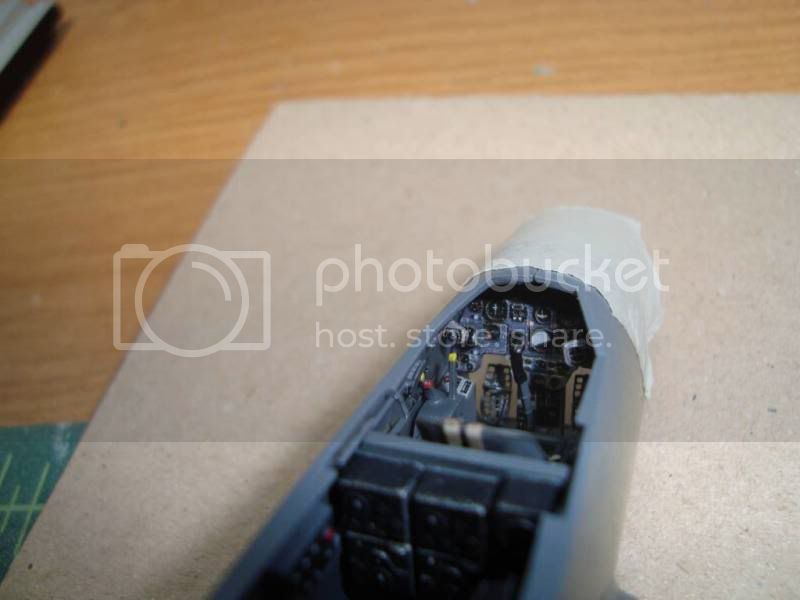
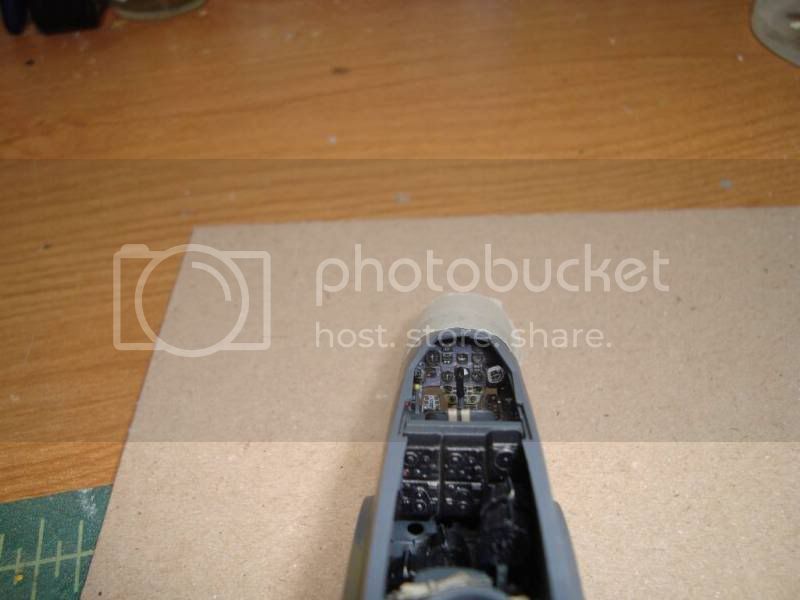
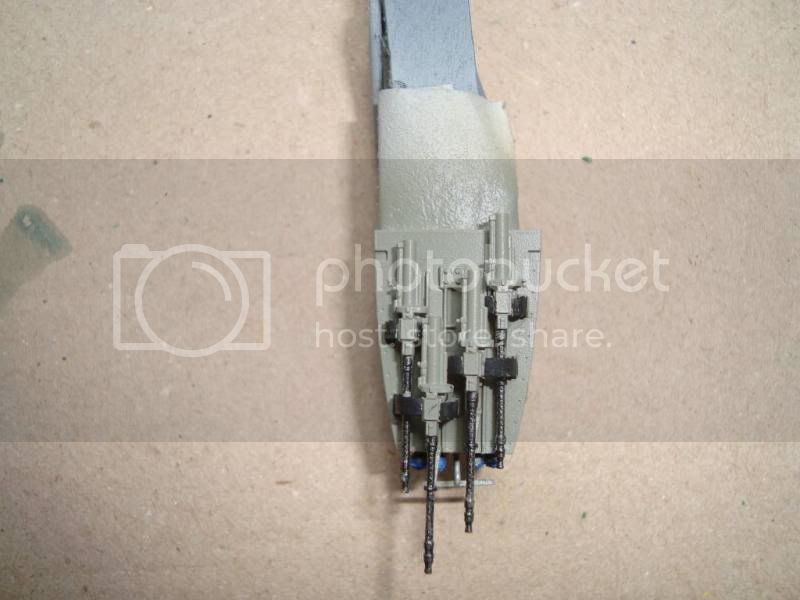
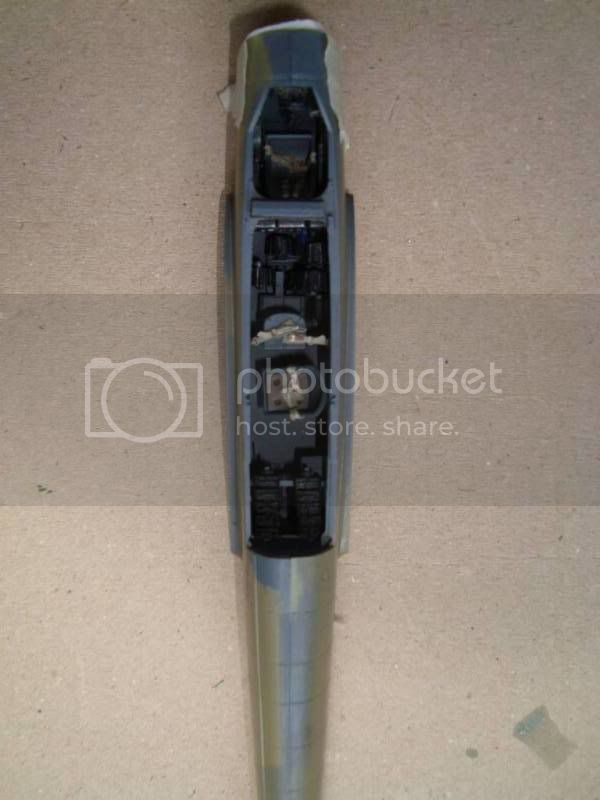
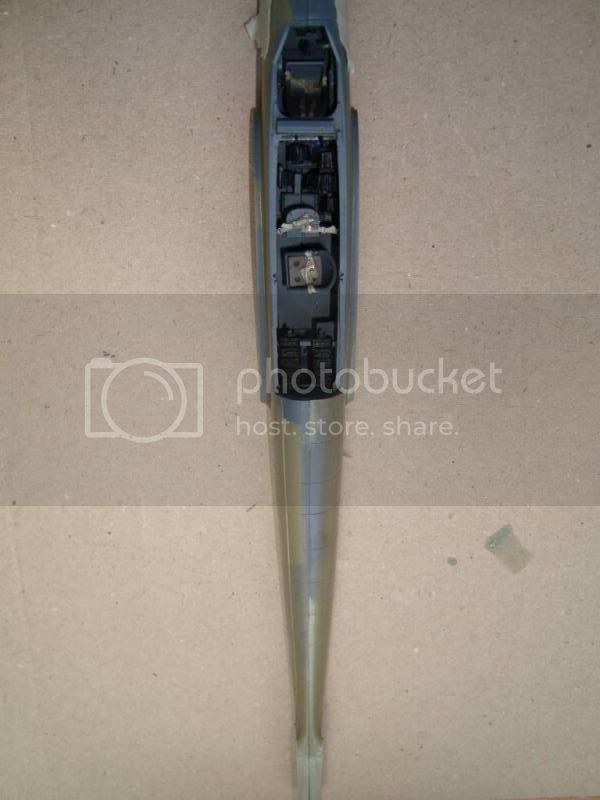
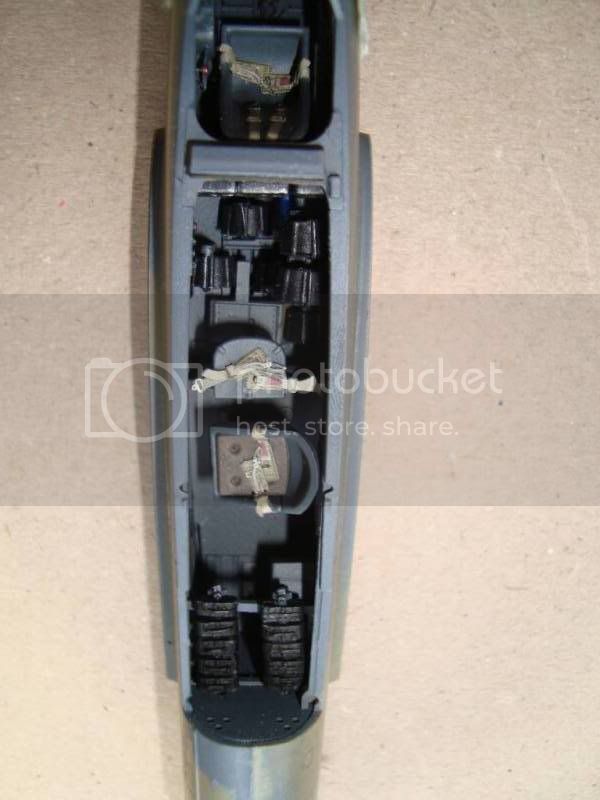
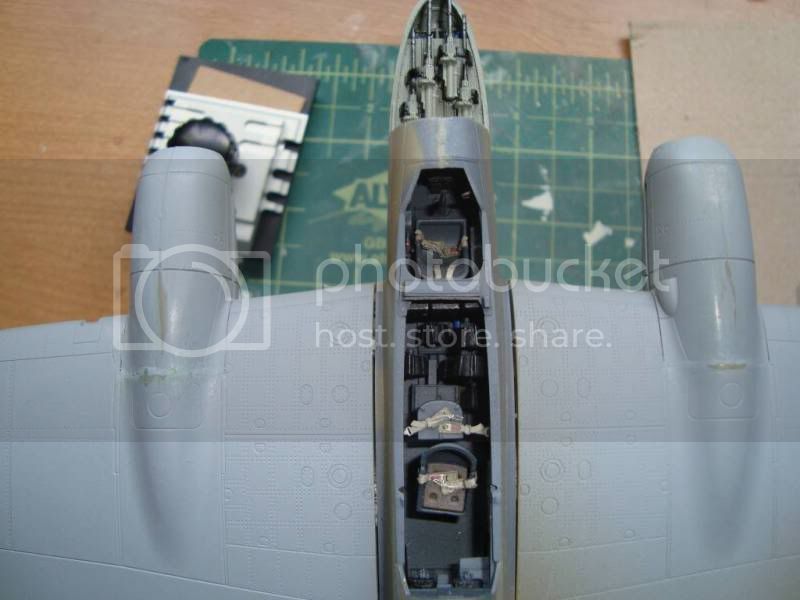
Looks good, Hermann. The cockpit looks really nice and the fuselage is coming together well.
I am surprised to hear there is an issue with the fit of the engines. I would have expected Eduard to have solved these kind of issues on their new kits.
Looking forward to see more

Campaign'oholic - 252+ campaigns completed
Florida, United States
Joined: March 01, 2008
KitMaker: 529 posts
AeroScale: 340 posts
Posted: Wednesday, May 20, 2009 - 08:49 AM UTC
Current projects:
Revell F-15E (1:48)
Alberta, Canada
Joined: January 19, 2008
KitMaker: 6,743 posts
AeroScale: 6,151 posts
Posted: Wednesday, May 20, 2009 - 09:56 AM UTC
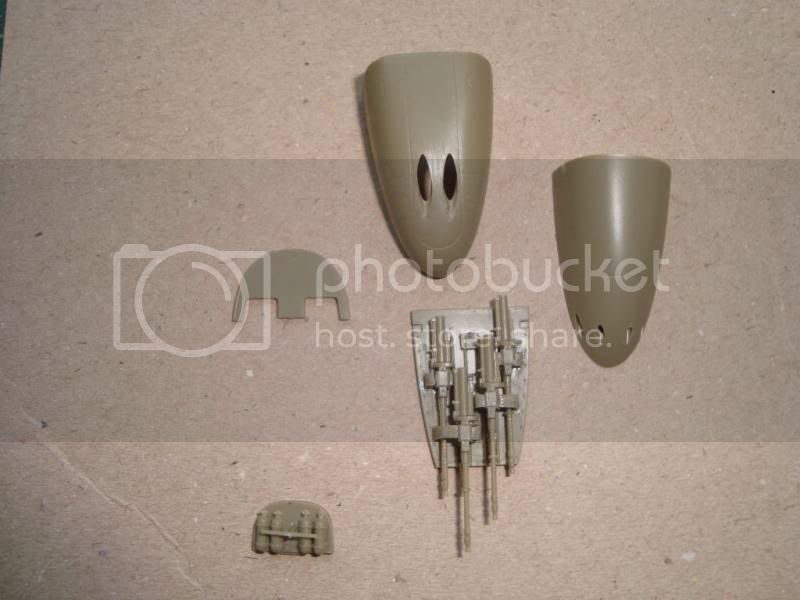
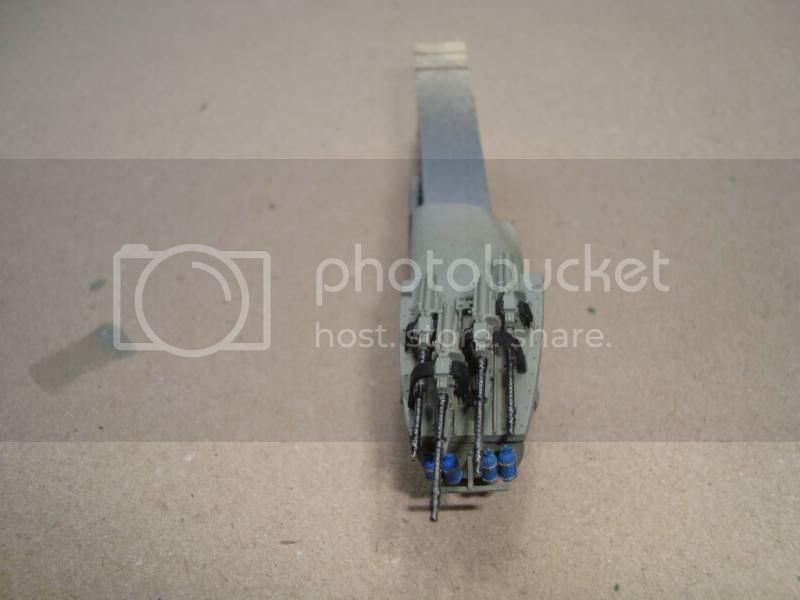
Excellent progress Hermann , will you leave on the gun covers to show the off the detail ?
Florida, United States
Joined: March 01, 2008
KitMaker: 529 posts
AeroScale: 340 posts
Posted: Wednesday, May 20, 2009 - 10:17 AM UTC
Thanks, I'm planning to show the details for the forward guns.
Current projects:
Revell F-15E (1:48)
Alberta, Canada
Joined: January 19, 2008
KitMaker: 6,743 posts
AeroScale: 6,151 posts
Posted: Thursday, May 21, 2009 - 05:55 AM UTC
Cool , the guns have great detail to them and would be almost a shame to cover them up ...looking forward to more progress ...
Ontario, Canada
Joined: May 16, 2003
KitMaker: 250 posts
AeroScale: 207 posts
Posted: Thursday, May 21, 2009 - 06:10 AM UTC
Hermann,
Excellent work so far

I llok forward to seeing it completed.

Ted
Florida, United States
Joined: March 01, 2008
KitMaker: 529 posts
AeroScale: 340 posts
Posted: Thursday, May 21, 2009 - 06:24 AM UTC
Terri and Ted, thanks for the comments. One questions persists: the kit comes along with 2 bombs and I was wondering what's the ideal color to use when painting German ordinance?
Current projects:
Revell F-15E (1:48)
Alberta, Canada
Joined: January 19, 2008
KitMaker: 6,743 posts
AeroScale: 6,151 posts
Posted: Thursday, May 21, 2009 - 06:04 PM UTC
most bombs that I have seen are painted RLM65 . On the other hand I have also seen them paint in a dark gray ? . The RLM 65 sounds to be the best bet to go with but don't hold me on that ............................
Florida, United States
Joined: March 01, 2008
KitMaker: 529 posts
AeroScale: 340 posts
Posted: Tuesday, May 26, 2009 - 03:14 AM UTC
Current projects:
Revell F-15E (1:48)
Germany
Joined: September 07, 2005
KitMaker: 5,609 posts
AeroScale: 5,231 posts
Posted: Tuesday, May 26, 2009 - 04:03 AM UTC
Hello Hermann
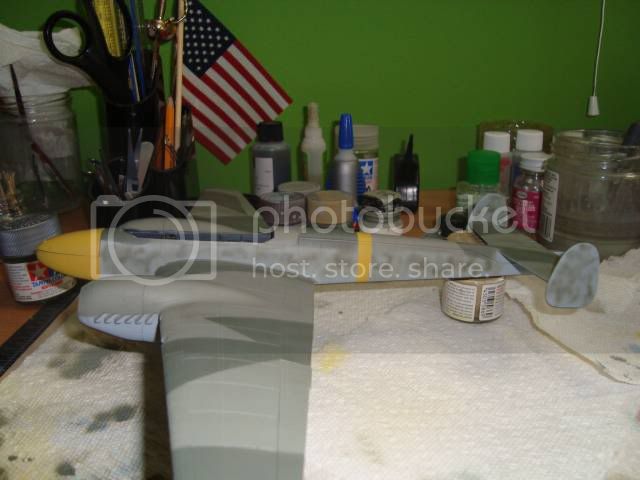
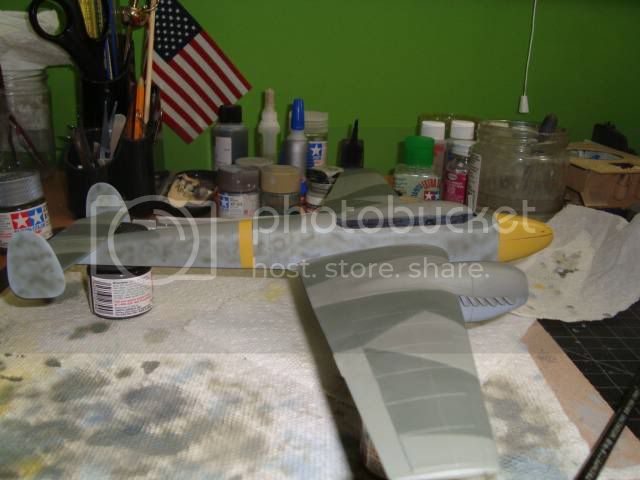
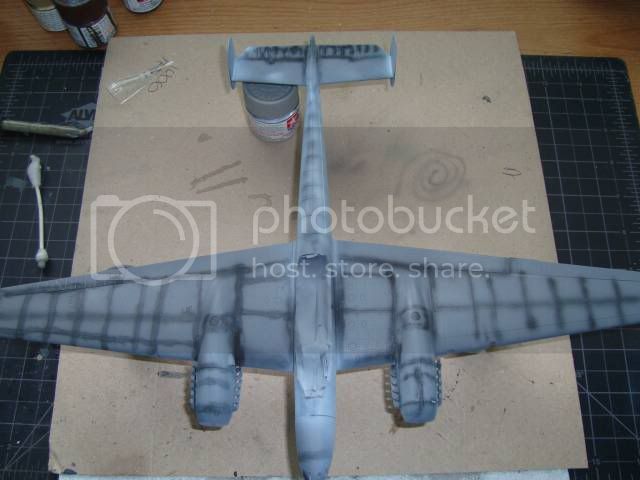
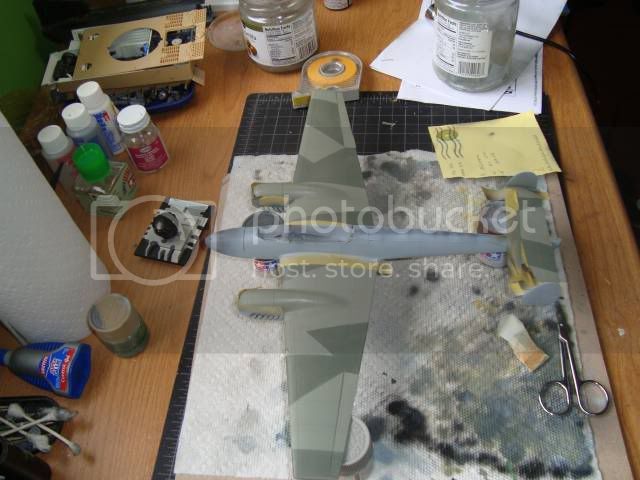
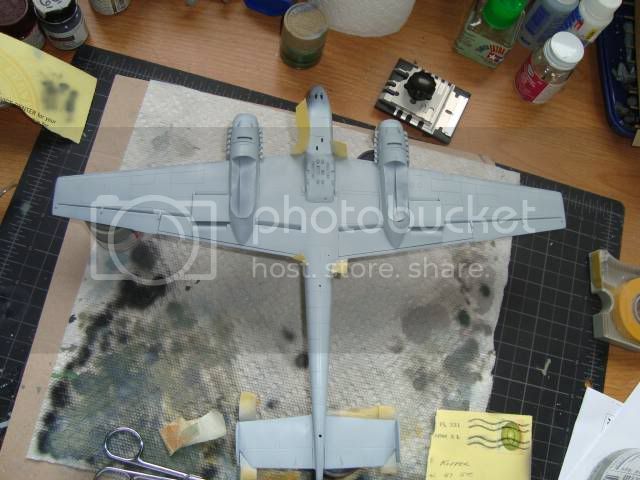
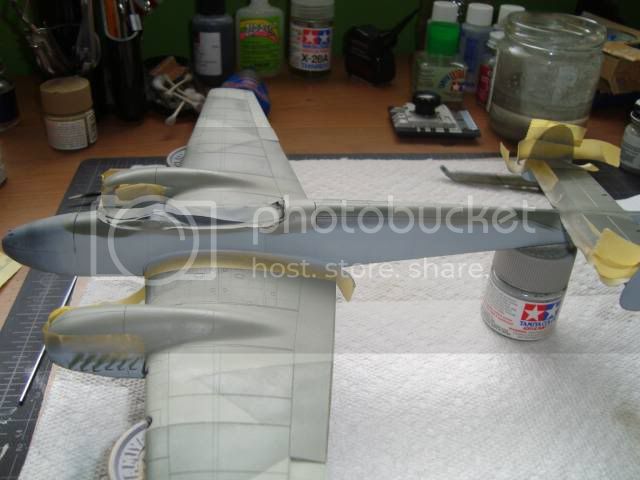
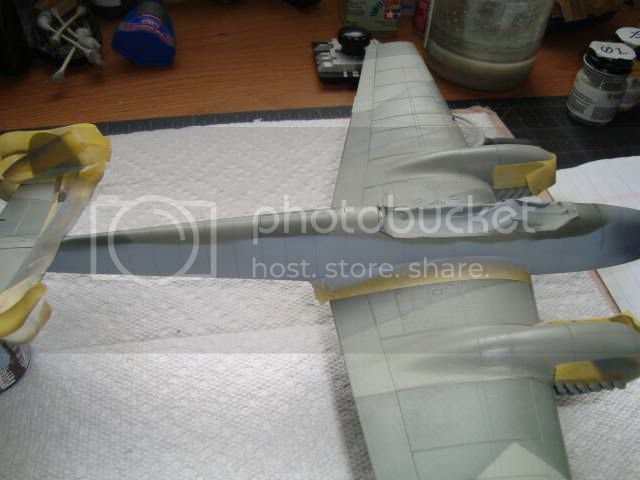
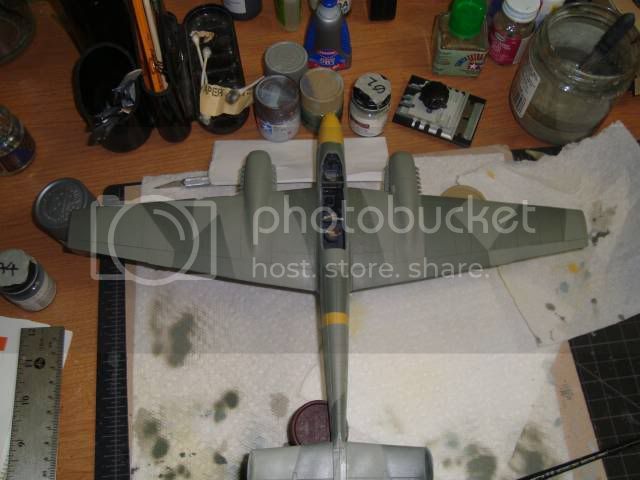
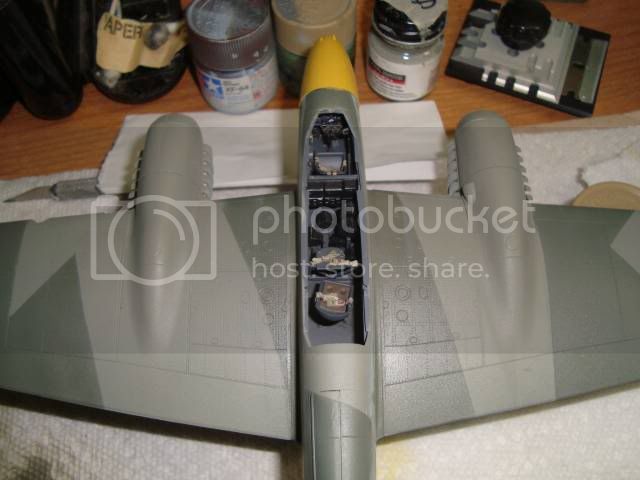
Very nice paint job!!! i like the mottling! Will you add a 2nd colour?
all the best
Steffen
DULCE ET DECORUM EST PRO HOBBY MORI
Alberta, Canada
Joined: January 19, 2008
KitMaker: 6,743 posts
AeroScale: 6,151 posts
Posted: Tuesday, May 26, 2009 - 04:29 AM UTC
Most impressive job on the moltting Hermann , you'r getting really good at it . How did you go about doing it ?
Like Steffen said , will there be another colour added ?
Florida, United States
Joined: March 01, 2008
KitMaker: 529 posts
AeroScale: 340 posts
Posted: Tuesday, May 26, 2009 - 04:33 AM UTC
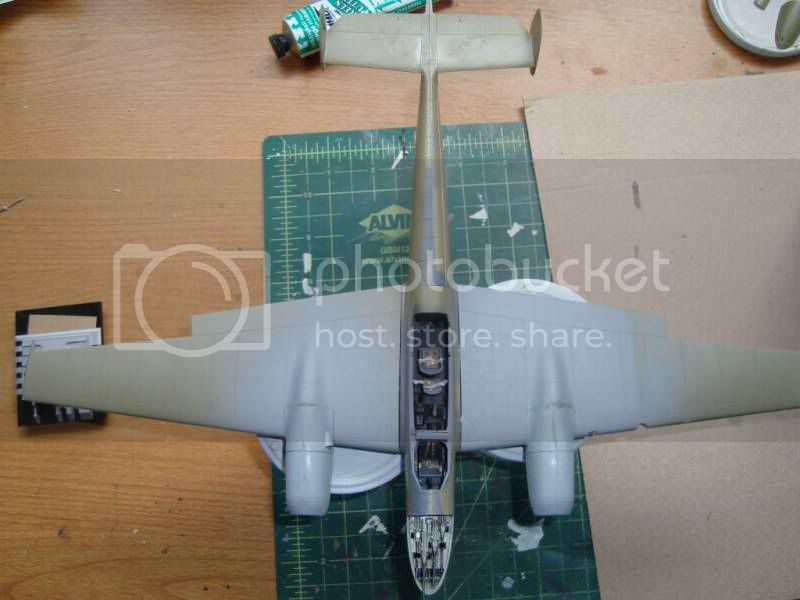
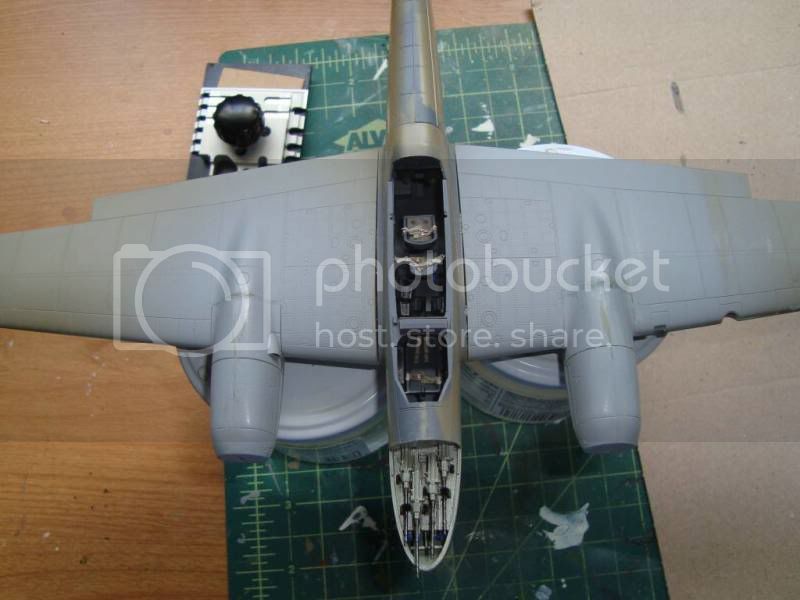
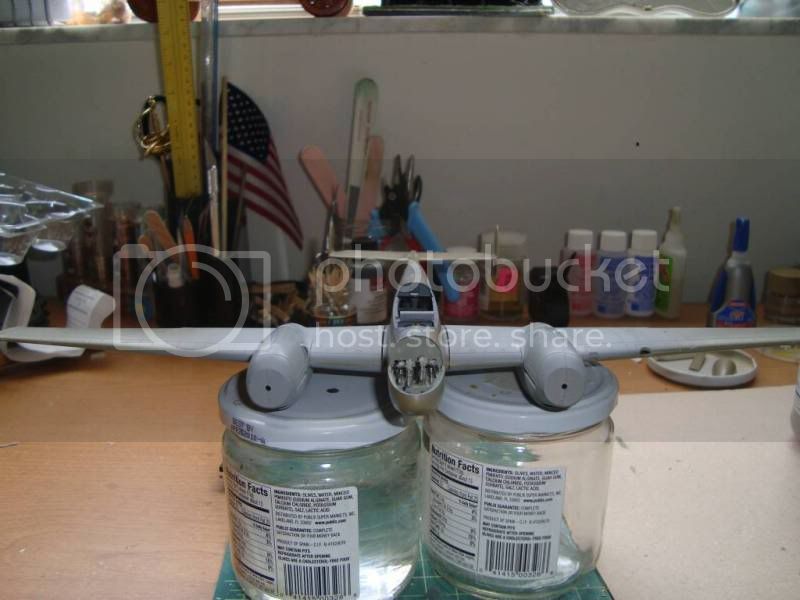
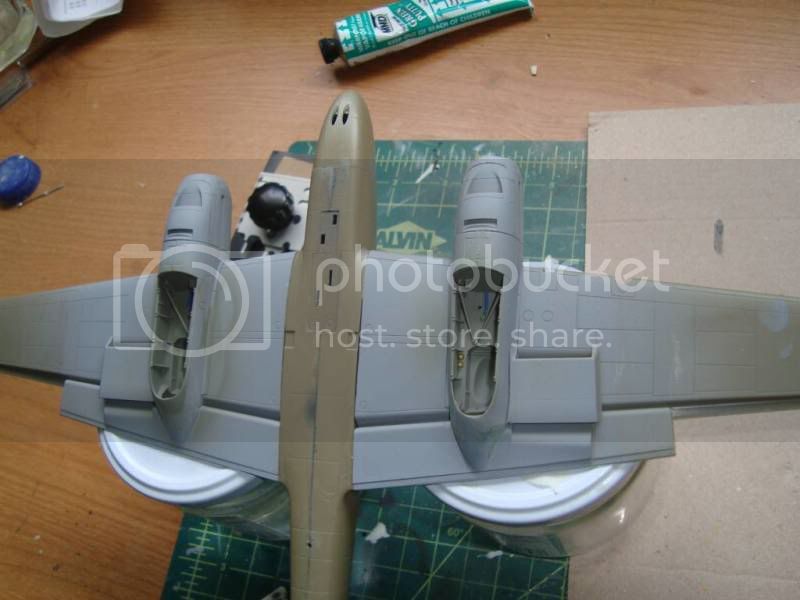
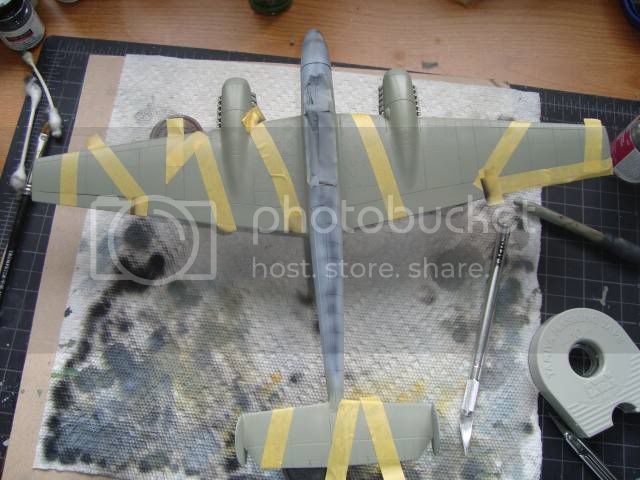
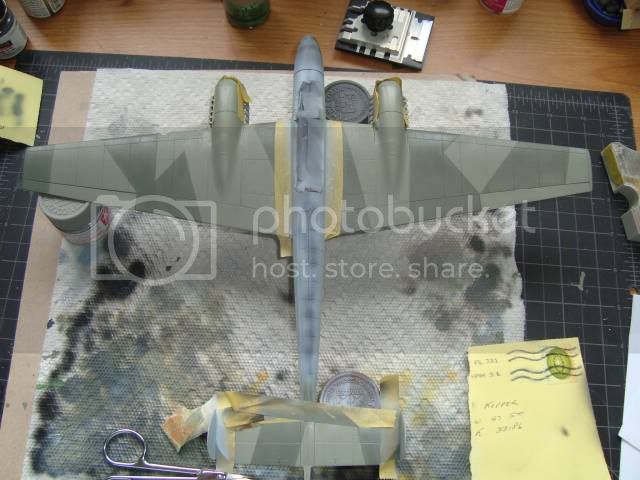
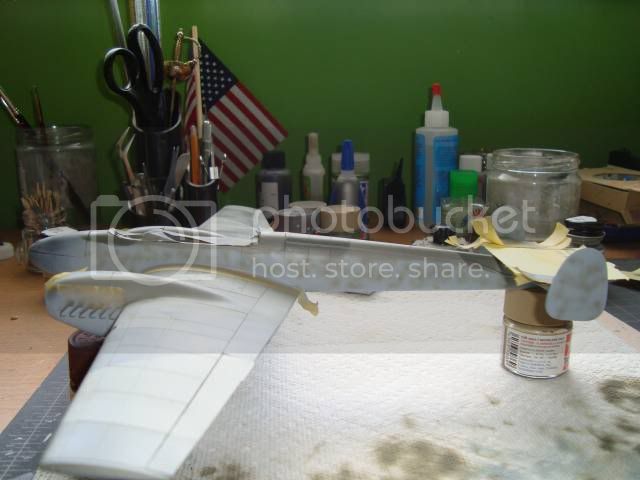
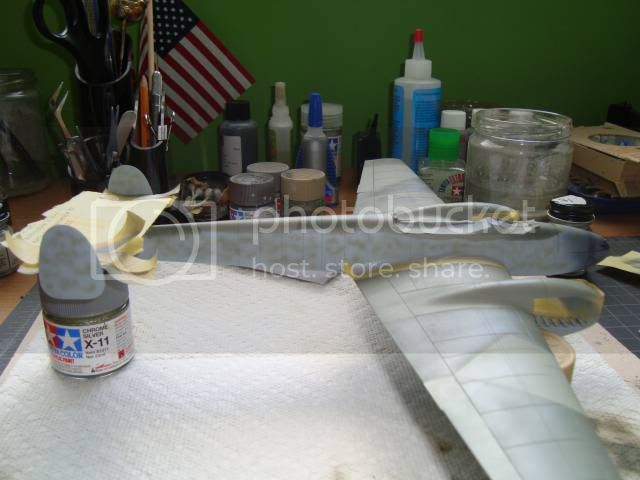
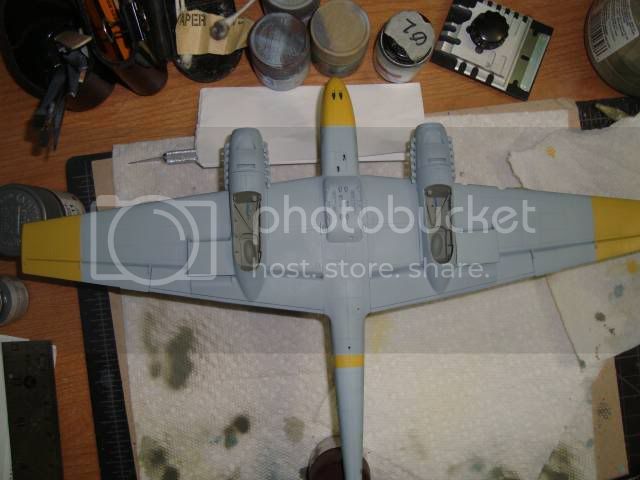
I added the dark green RLM 71 but due to the low PSI I blended with the RLM 02. As a result you can not tell the difference between the 2 colors in the mottle. I'll try with a darker green instead.
Current projects:
Revell F-15E (1:48)
Florida, United States
Joined: March 01, 2008
KitMaker: 529 posts
AeroScale: 340 posts
Posted: Tuesday, May 26, 2009 - 04:39 AM UTC
Thanks Steffen and Terri!! For the mottle I followed the recommendations that were given to me. I use heavily thinned paint (in this case RLM 02 and 71) and control the outflow of paint to a bare mimimum (almost translucent mist). I go over the cammo several times until I get the desired pattern. In the end I do the same but with RLM 76 to blend it all together. I also try to use reference pictures and other builds get a pattern.
Current projects:
Revell F-15E (1:48)
Germany
Joined: September 07, 2005
KitMaker: 5,609 posts
AeroScale: 5,231 posts
Posted: Tuesday, May 26, 2009 - 04:45 AM UTC
Hi Hermann
Yes, I have had the same effect on my 109s. The 02 and 71 blended together and looked like one and the same colour. Next time I will try 02/70 for my mottling.
BTW I worked with the same method ...
all the best
Steffen
DULCE ET DECORUM EST PRO HOBBY MORI
Florida, United States
Joined: March 01, 2008
KitMaker: 529 posts
AeroScale: 340 posts
Posted: Wednesday, May 27, 2009 - 02:02 PM UTC
Current projects:
Revell F-15E (1:48)









 Ted
Ted




 )
)