Florida, United States
Joined: March 01, 2008
KitMaker: 529 posts
AeroScale: 340 posts
Posted: Sunday, April 26, 2009 - 12:16 PM UTC
Current projects:
Revell F-15E (1:48)
Germany
Joined: September 07, 2005
KitMaker: 5,609 posts
AeroScale: 5,231 posts
Posted: Sunday, April 26, 2009 - 09:14 PM UTC
Hello Hermann
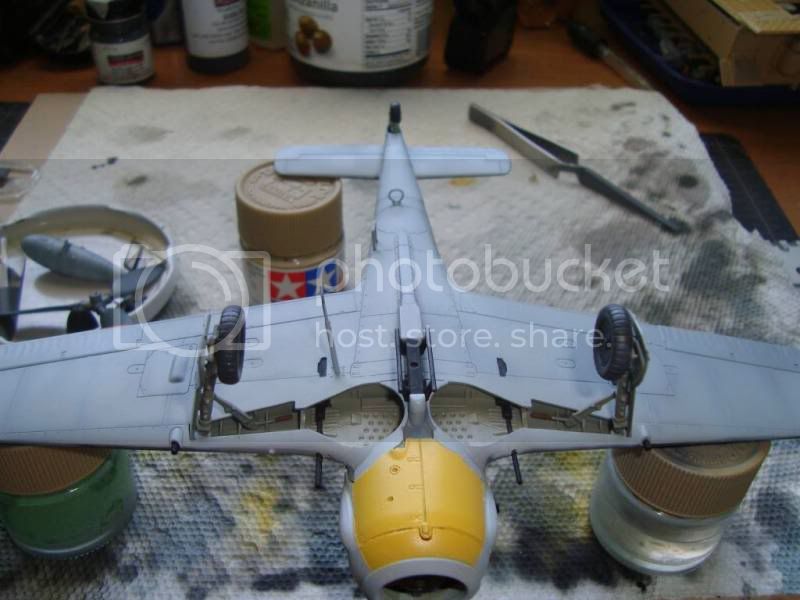
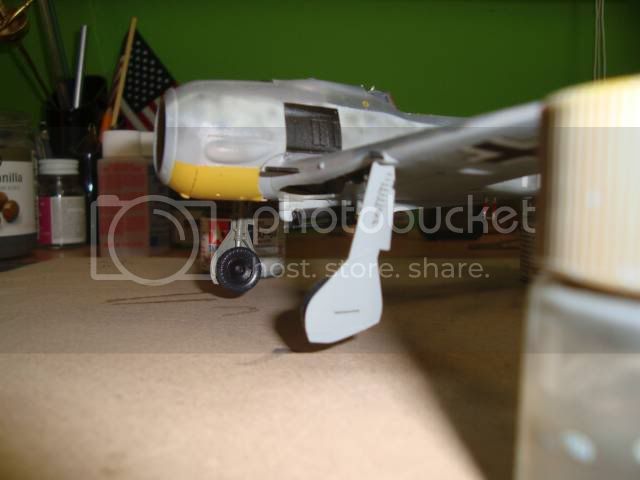
It is looking very nice ... and I think it is a much more rewarding project when entering aircraft modelling than the Eduard kit. Be sure to get some aftermarket wheels as the kit wheels are much too small !!!!
looking forward to your progress!
all the best
Steffen
DULCE ET DECORUM EST PRO HOBBY MORI
Florida, United States
Joined: March 01, 2008
KitMaker: 529 posts
AeroScale: 340 posts
Posted: Sunday, May 03, 2009 - 01:32 AM UTC
Current projects:
Revell F-15E (1:48)
Florida, United States
Joined: March 01, 2008
KitMaker: 529 posts
AeroScale: 340 posts
Posted: Sunday, May 03, 2009 - 03:46 AM UTC
Current projects:
Revell F-15E (1:48)

#041
Kobenhavn, Denmark
Joined: July 20, 2006
KitMaker: 10,069 posts
AeroScale: 3,788 posts
Posted: Monday, May 04, 2009 - 03:29 AM UTC
Campaign'oholic - 252+ campaigns completed
Florida, United States
Joined: March 01, 2008
KitMaker: 529 posts
AeroScale: 340 posts
Posted: Monday, May 04, 2009 - 04:48 AM UTC
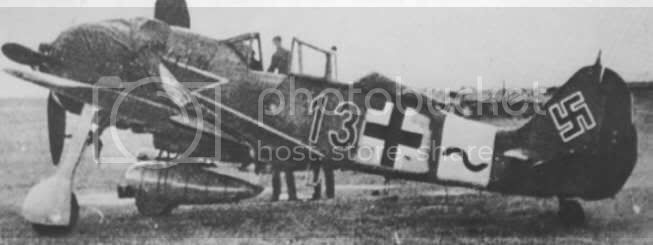
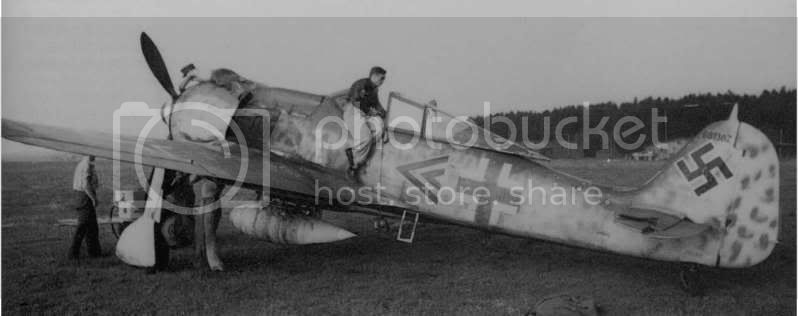
Thanks for the reference photos ..they will definitely come in handy!!!
Current projects:
Revell F-15E (1:48)
England - East Anglia, United Kingdom
Joined: November 09, 2006
KitMaker: 295 posts
AeroScale: 276 posts
Posted: Tuesday, May 05, 2009 - 12:09 AM UTC
Your Wulf is coming on great mate. Although I am by no means an experten in mottle I can tell you the way I do it.
First I thin the paint heavily, around 5-10% actual colour. I then do a few tests on white paper until I can get the right pressure on the the compressor. Then start to build up the mottle lightly (it will take a few passes before you start to see the paint anyway as it's so thin) the beauty is that you can make areas more dense if you want to by going over the areas you want later on. When your happy with your work and the paints dry I normally mix up another heavily thinned coat of the base colour, say RLM76 and lightly dust over the mottled area. I find this just gives the paint a nice feathered look

Hope that can help you.
Howard
Florida, United States
Joined: March 01, 2008
KitMaker: 529 posts
AeroScale: 340 posts
Posted: Tuesday, May 05, 2009 - 03:29 PM UTC
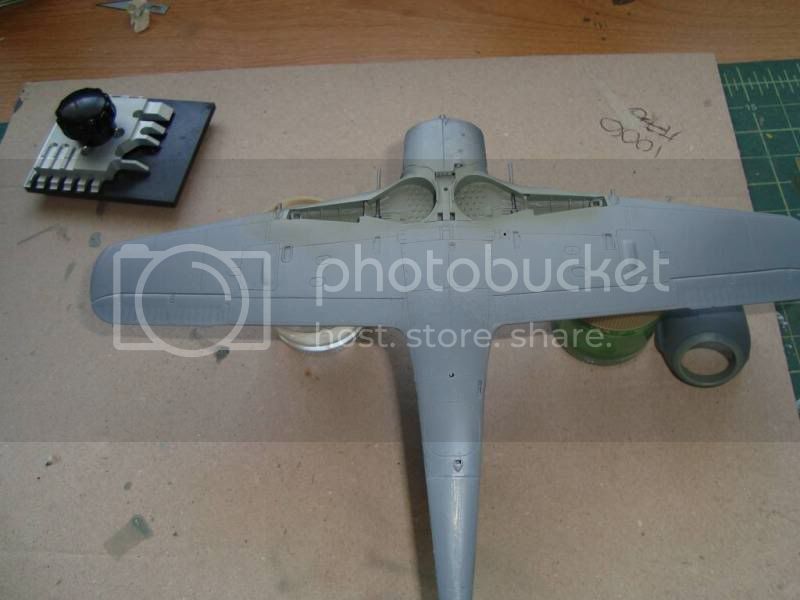
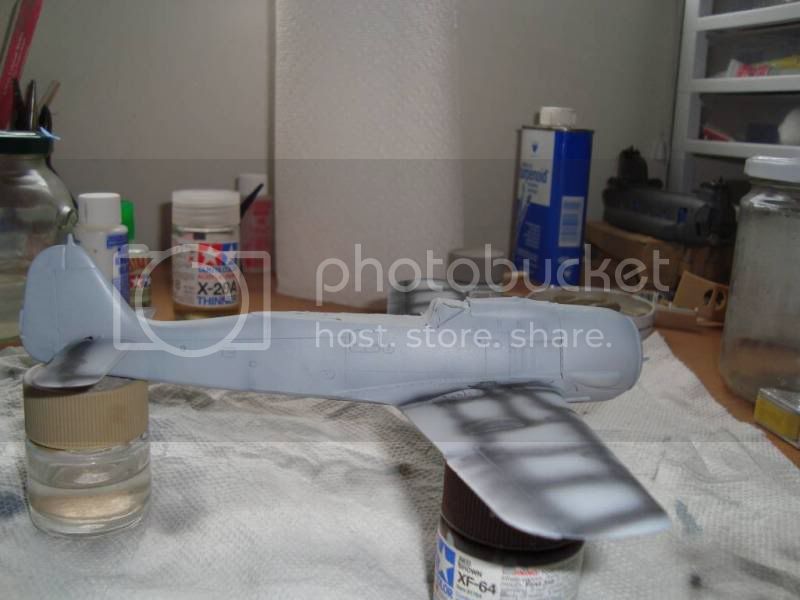
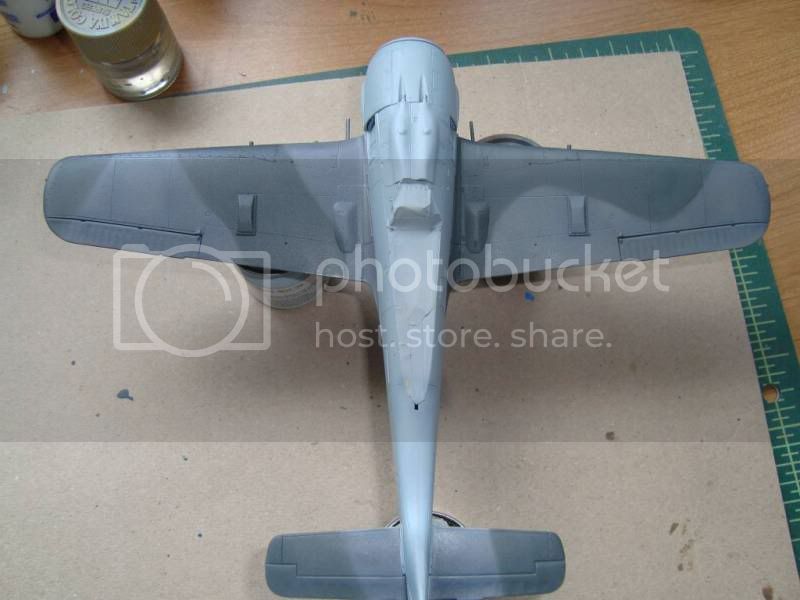
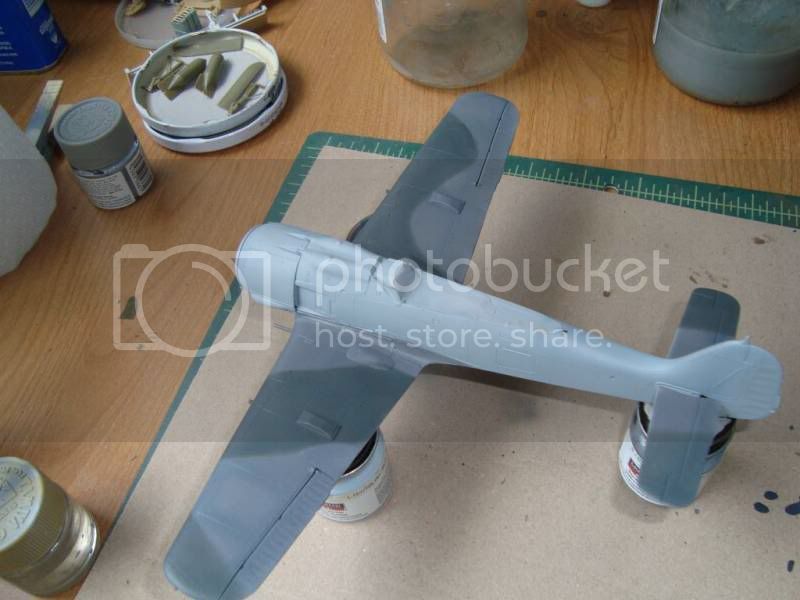
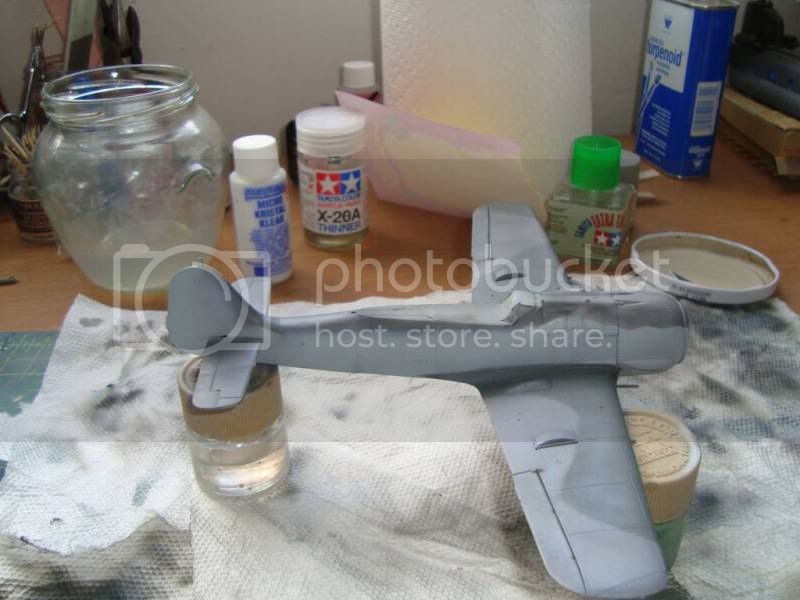
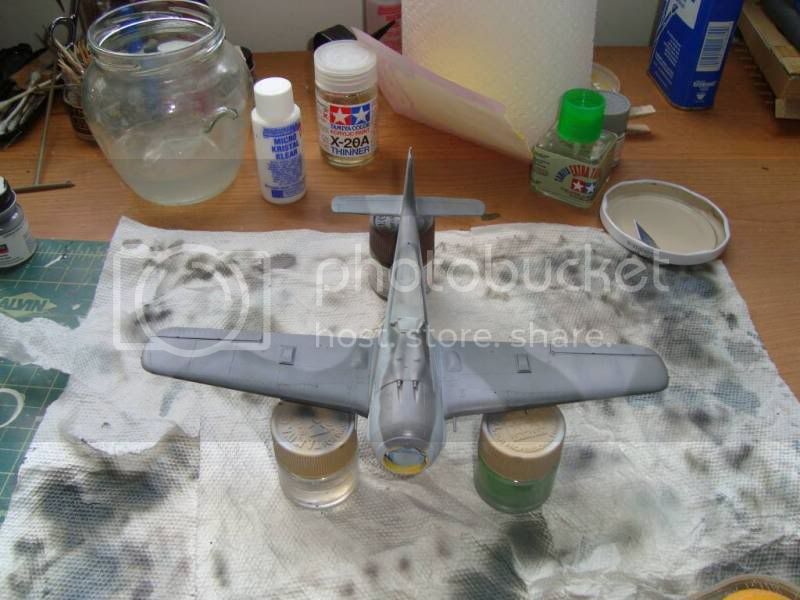
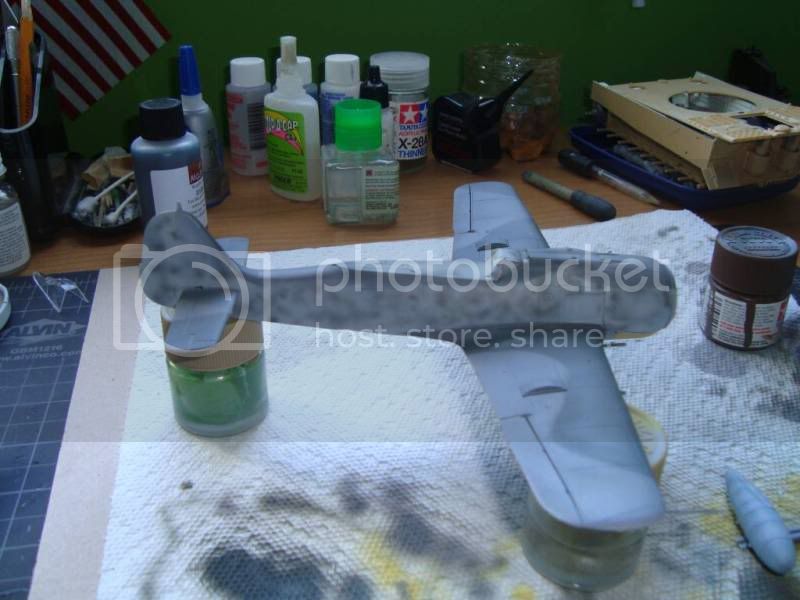
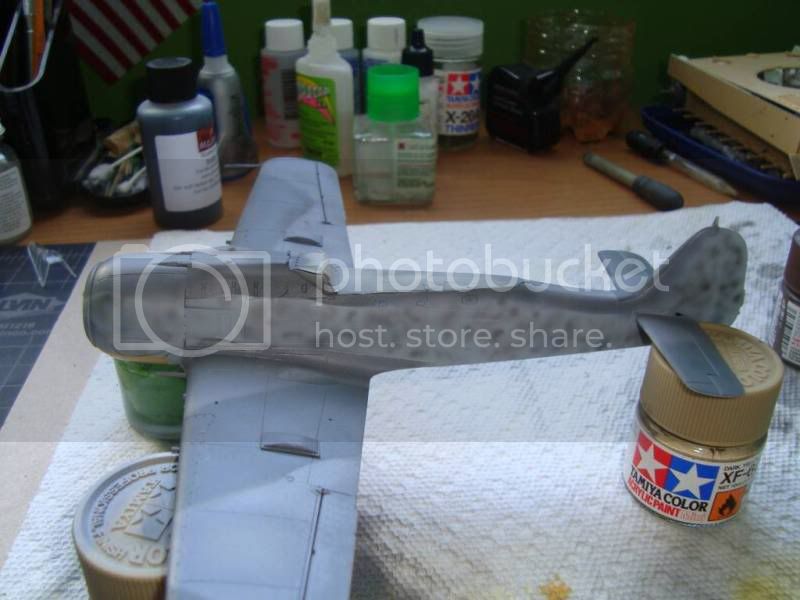
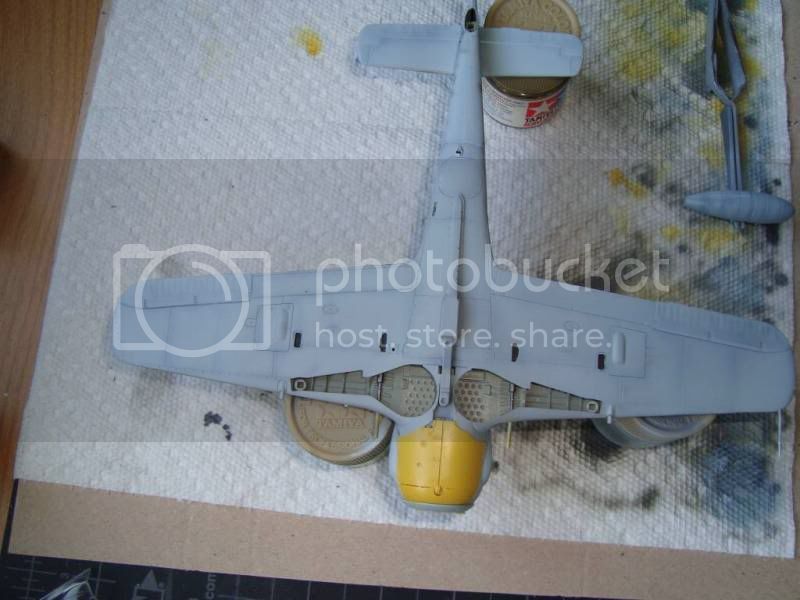
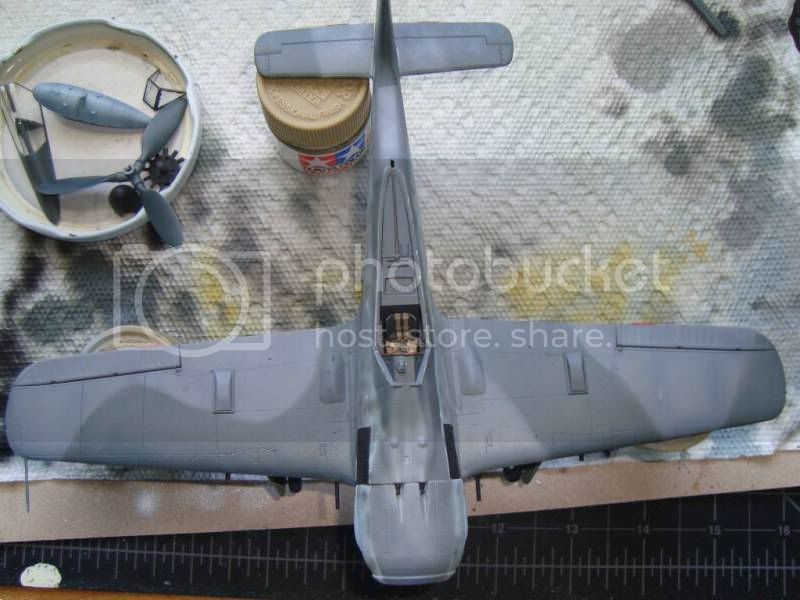
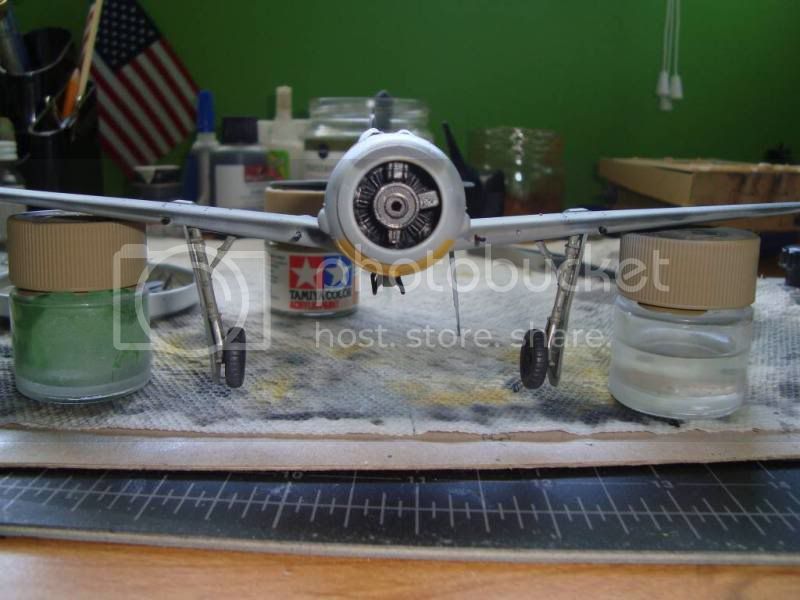
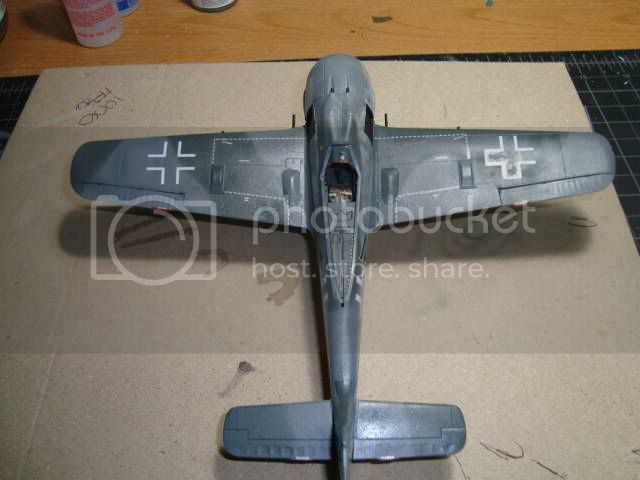
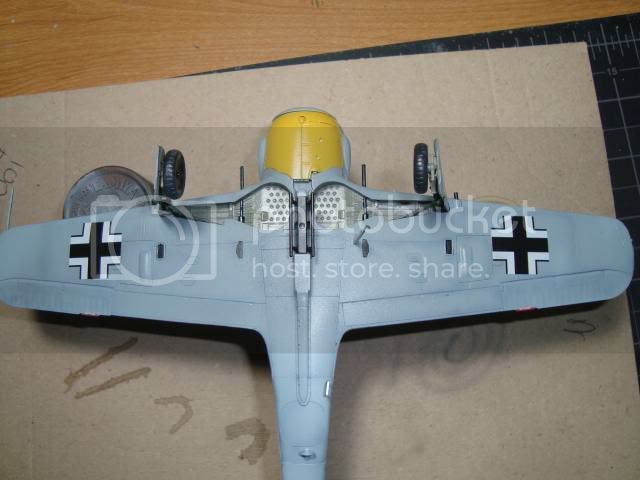
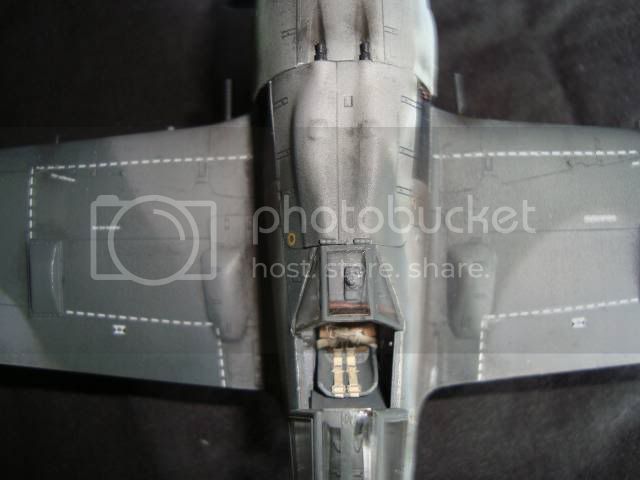
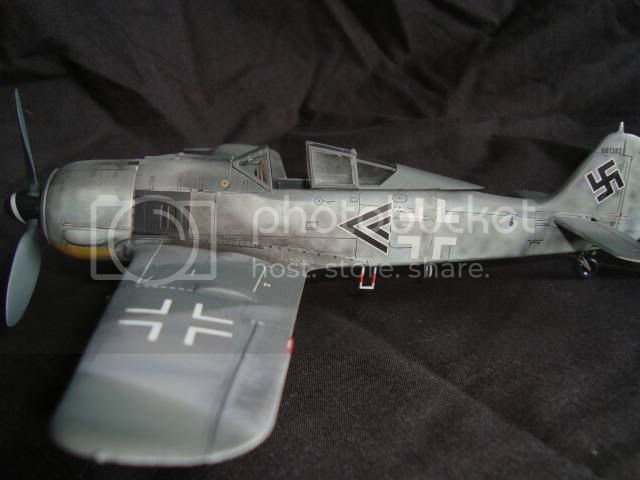
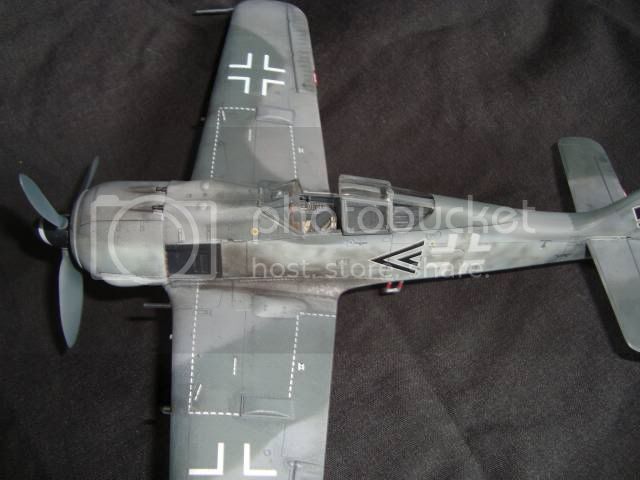
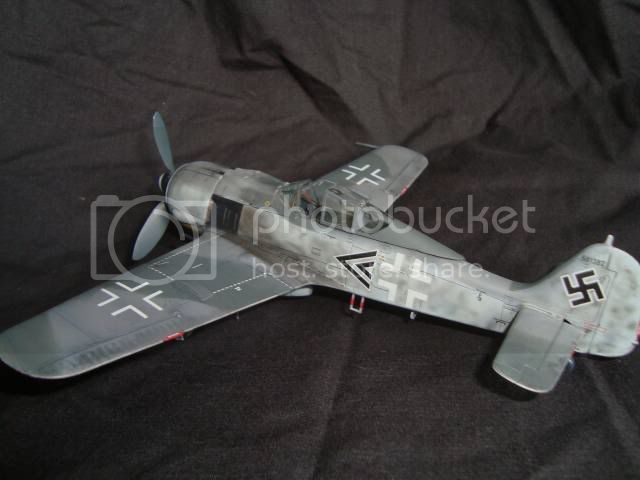
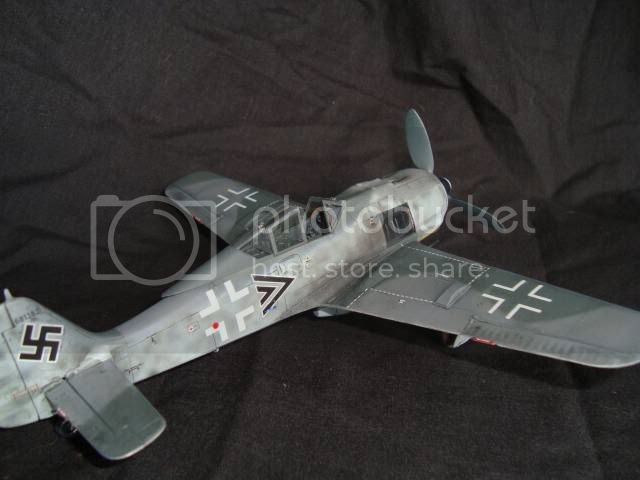
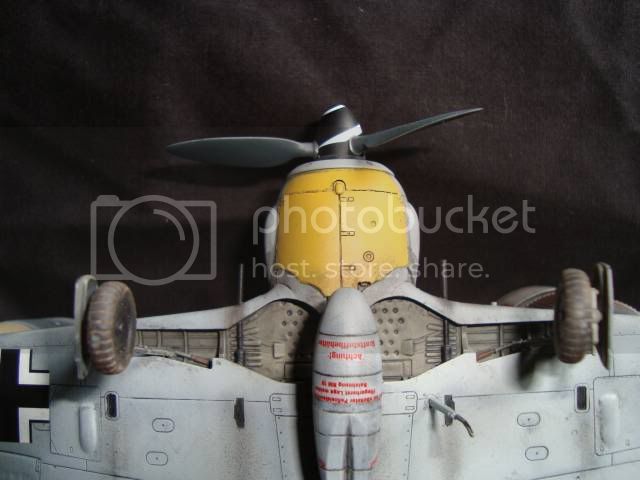
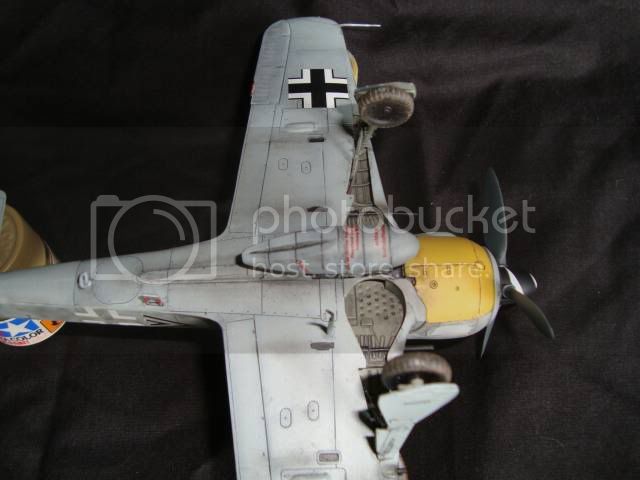
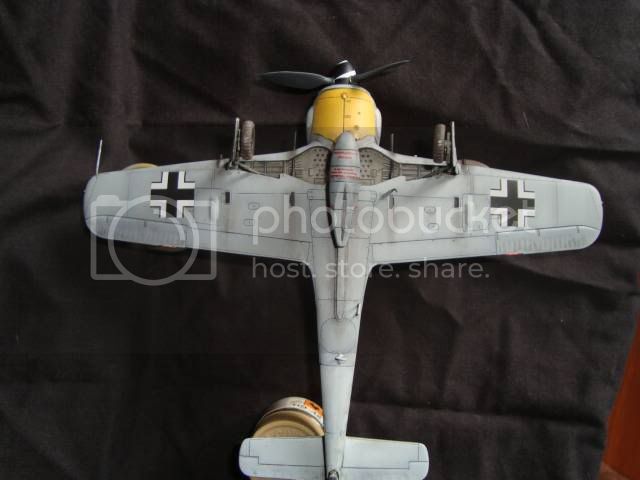
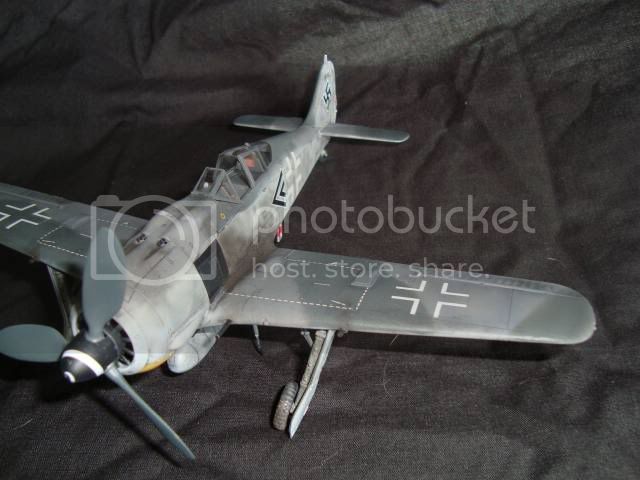
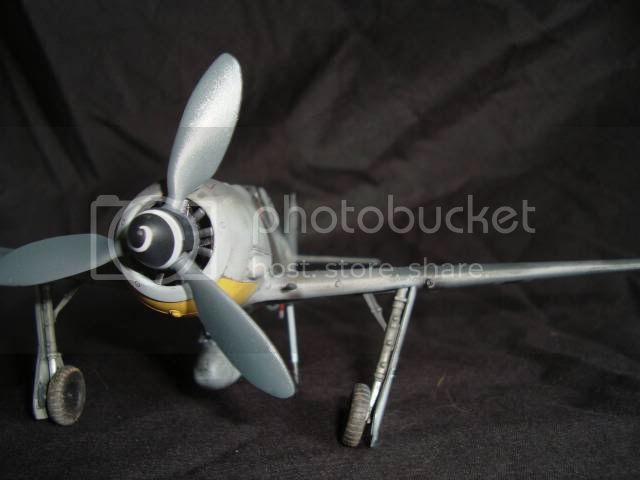
After receiving some good tips, I decided to attempt my mottle. Below are some pics of my attempt. Any criticism or pointers will be greatly appreciated (did I add too much mottle, not enough, ..)
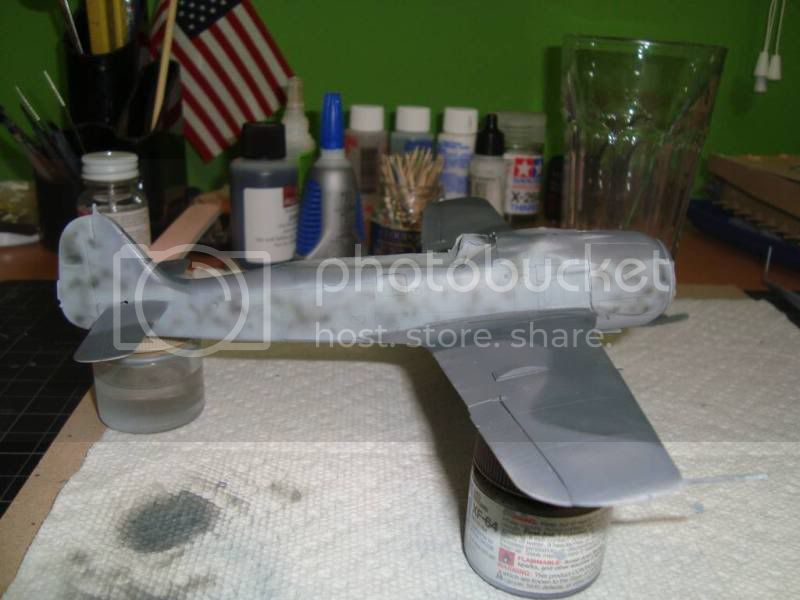
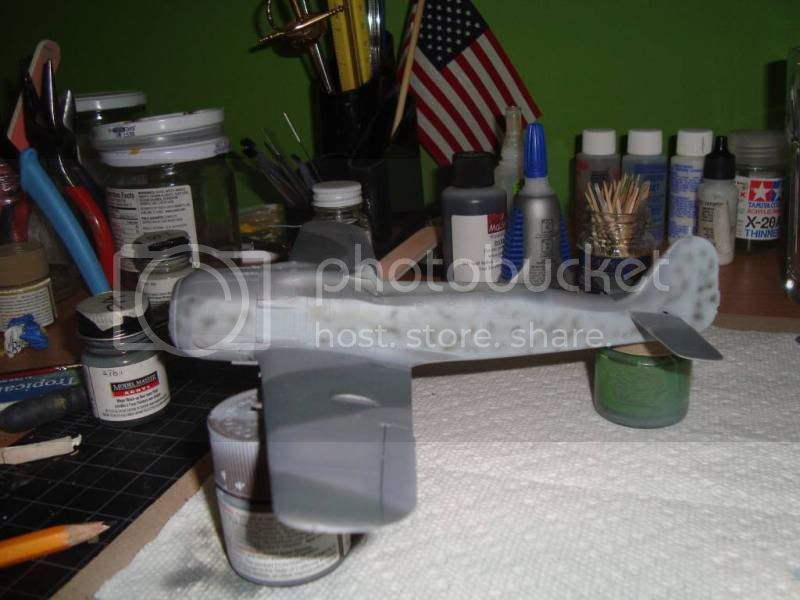
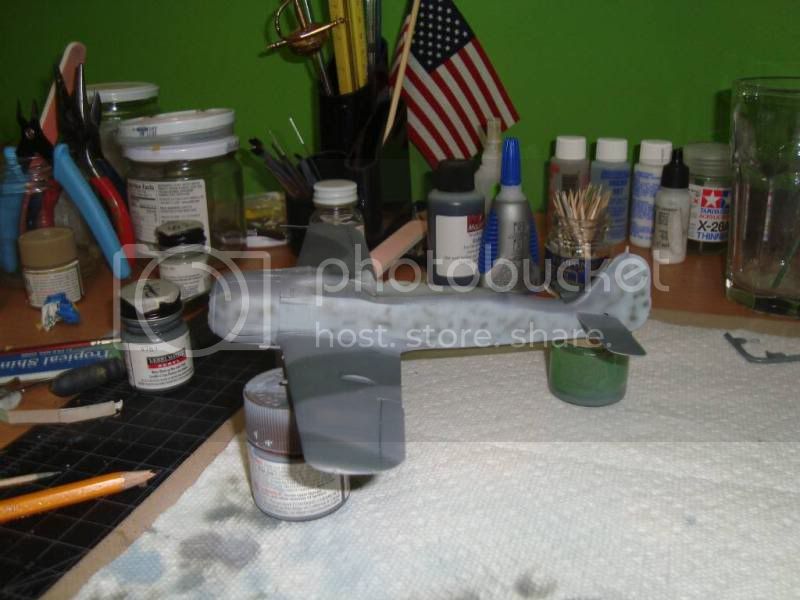
Thanks for watching!!
Current projects:
Revell F-15E (1:48)
California, United States
Joined: April 01, 2002
KitMaker: 4,287 posts
AeroScale: 1,164 posts
Posted: Tuesday, May 05, 2009 - 07:06 PM UTC
You're doing fine. Keep at it. "Q"
"Don't fear the night, fear what hunts at night"
Michigan, United States
Joined: February 11, 2008
KitMaker: 311 posts
AeroScale: 278 posts
Posted: Tuesday, May 05, 2009 - 11:49 PM UTC
I think you have done a great job. It's going to be a great looking 190
Taylor

Current Builds:
FW 190 D (Butcher Bird)
P61A (Night Stalkers)
P47D (CaveTonitrum)
Sea Fury ( Airedale Navy)
S-199 for finish the job again on Armorama
Florida, United States
Joined: March 01, 2008
KitMaker: 529 posts
AeroScale: 340 posts
Posted: Friday, May 08, 2009 - 01:54 AM UTC
Current projects:
Revell F-15E (1:48)
Alberta, Canada
Joined: January 19, 2008
KitMaker: 6,743 posts
AeroScale: 6,151 posts
Posted: Friday, May 08, 2009 - 02:32 AM UTC
Nice job on the mottling and the preshading looks great as well .
Florida, United States
Joined: March 01, 2008
KitMaker: 529 posts
AeroScale: 340 posts
Posted: Friday, May 08, 2009 - 10:00 AM UTC
Thanks Terri!!
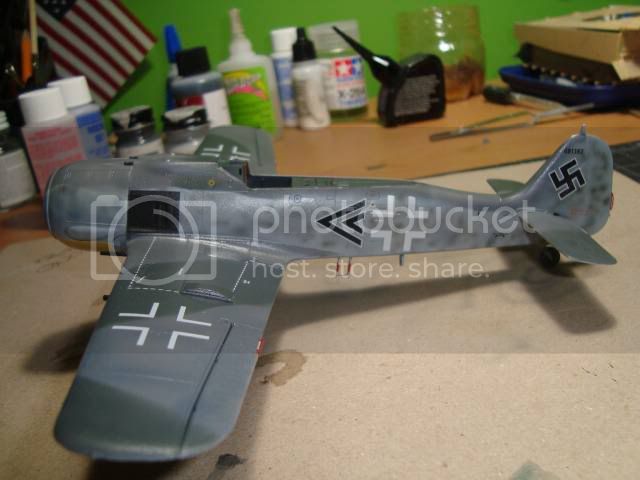
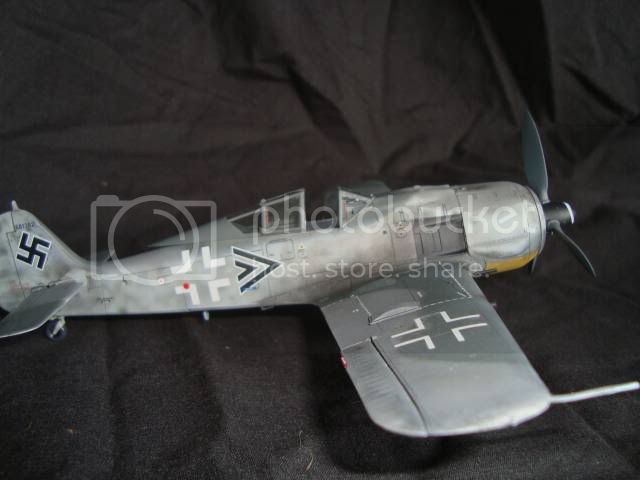
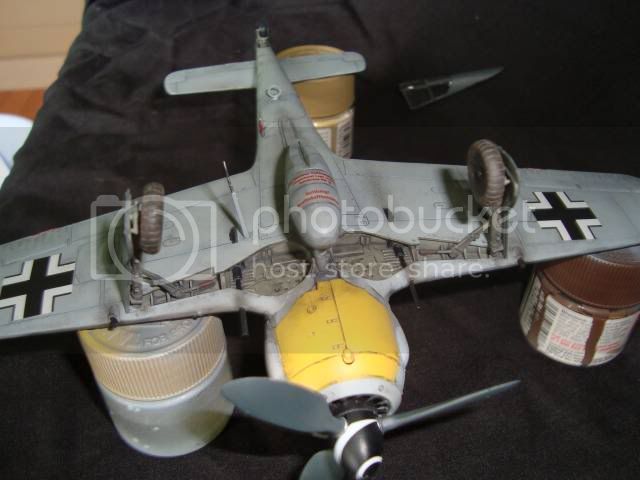
Almost done with the build ..I finally can see the light at the end of the tunnel. I just have to assemble the landing gear, weather, apply decals and attach all of the small pieces. Thanks to all for the valuable advice and words of encouragement!!
Current projects:
Revell F-15E (1:48)
California, United States
Joined: March 18, 2009
KitMaker: 36 posts
AeroScale: 22 posts
Posted: Friday, May 08, 2009 - 10:11 AM UTC
Great job so far hkopper! The mottling looks way much better now! After the weathering i think you gonna have an outstanding Woolf!
Congrats!
Panos
Florida, United States
Joined: March 01, 2008
KitMaker: 529 posts
AeroScale: 340 posts
Posted: Monday, May 11, 2009 - 07:51 AM UTC
Current projects:
Revell F-15E (1:48)
#041
Kobenhavn, Denmark
Joined: July 20, 2006
KitMaker: 10,069 posts
AeroScale: 3,788 posts
Posted: Monday, May 11, 2009 - 08:42 PM UTC
Nice progress, Hermann. The mottling came out excellent as already pointed out by others.
Looking forward to see the final result.

Campaign'oholic - 252+ campaigns completed
Florida, United States
Joined: March 01, 2008
KitMaker: 529 posts
AeroScale: 340 posts
Posted: Wednesday, May 13, 2009 - 01:02 AM UTC
Current projects:
Revell F-15E (1:48)
Florida, United States
Joined: March 01, 2008
KitMaker: 529 posts
AeroScale: 340 posts
Posted: Wednesday, May 13, 2009 - 02:53 AM UTC
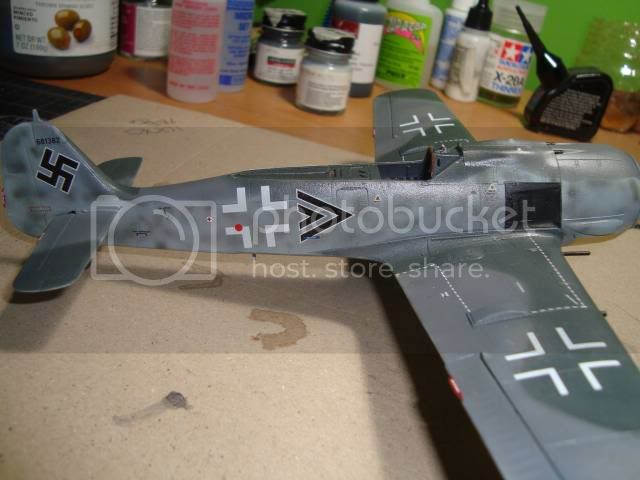
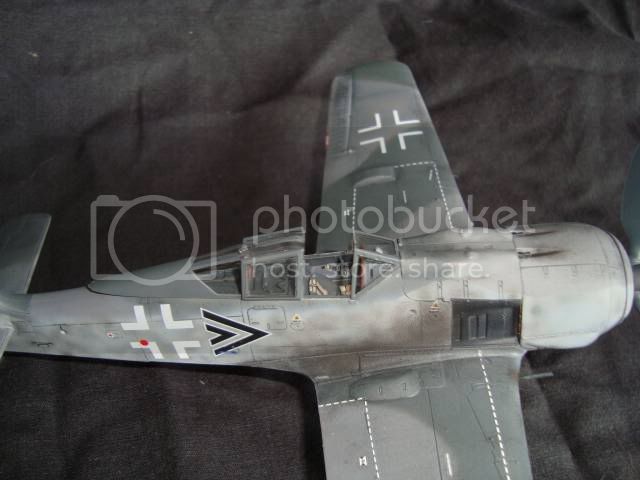
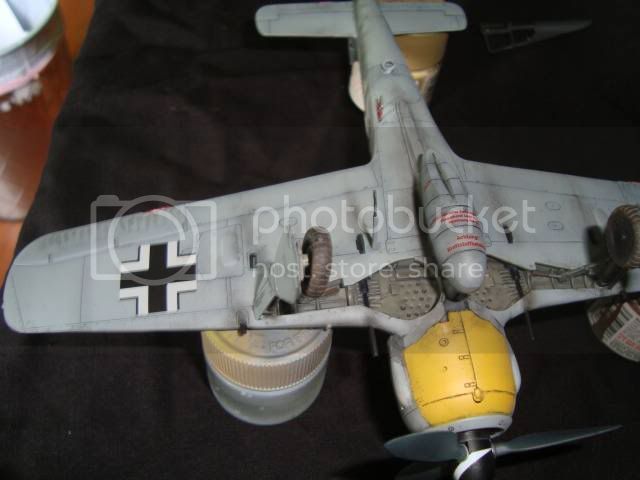
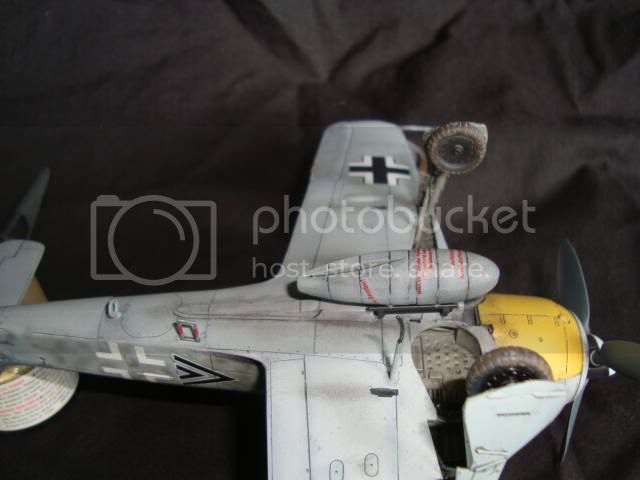
Which medium and colors should I use to recreate the engine's exhaust stains (I recall that this bird was quite a dirty one). The same goes for the stains from the cannon and opennings where the spent rounds were ejected. Thanks in advance
Current projects:
Revell F-15E (1:48)
Alberta, Canada
Joined: January 19, 2008
KitMaker: 6,743 posts
AeroScale: 6,151 posts
Posted: Wednesday, May 13, 2009 - 05:46 AM UTC
Very nice so far Hermann .
For the stainning , I use pastels for this task . I gride up some black , brown and dark brown
with fine sand paper and ( smoke grey for the make-up drawer ) . A base coat of black goes on first followed by brown . Next the dark brown with a light dusting of smoke grey .
For the gun powder I use the smoke grey with a light dusting of the dark brown . You can change this and play with it until you are happy with the finish . If you don't like it can always wash it off and start over again . If you do decide to go this way spray dull coat first . The pastels will stick better to the surface . The Tamiya weathering pastels work alright
For paint I would use Tamiya smoke with over tones of a dark brown . I really never tried this with paint before so your guess is good as my . Other guys will have their own methods.
Florida, United States
Joined: March 01, 2008
KitMaker: 529 posts
AeroScale: 340 posts
Posted: Wednesday, May 13, 2009 - 01:51 PM UTC
How do you get the pastels to stick to the model ..i'm affraid that the pastels will fall off with the handling of the build. Will a coat of matt varnish seal the pastels after they have been applied or will it make a mess?
Current projects:
Revell F-15E (1:48)
Alberta, Canada
Joined: January 19, 2008
KitMaker: 6,743 posts
AeroScale: 6,151 posts
Posted: Wednesday, May 13, 2009 - 06:13 PM UTC
When you spray the dullcoat first this gives the pastels something to stick to and will work it's way in some what . You can over spray with dullcoat afterwards , but it will darken it slightly but not to much . You can lighten the pastels with a little white pastel . just grind it the same way and mix it into the colour you are using . You really don't have to add the dullcoat afterwards , just be careful on how you handle it .
England - South East, United Kingdom
Joined: March 07, 2005
KitMaker: 868 posts
AeroScale: 690 posts
Posted: Thursday, May 14, 2009 - 03:45 AM UTC
Quoted Text
Which medium and colors should I use to recreate the engine's exhaust stains (I recall that this bird was quite a dirty one). The same goes for the stains from the cannon and opennings where the spent rounds were ejected. Thanks in advance
nice looking Würger Hermann..personally I wouldn't overdo the staining...ground crews had specific instructions to scrub engine stains off after every 12 hrs or so of flight time..
Florida, United States
Joined: March 01, 2008
KitMaker: 529 posts
AeroScale: 340 posts
Posted: Thursday, May 14, 2009 - 02:03 PM UTC
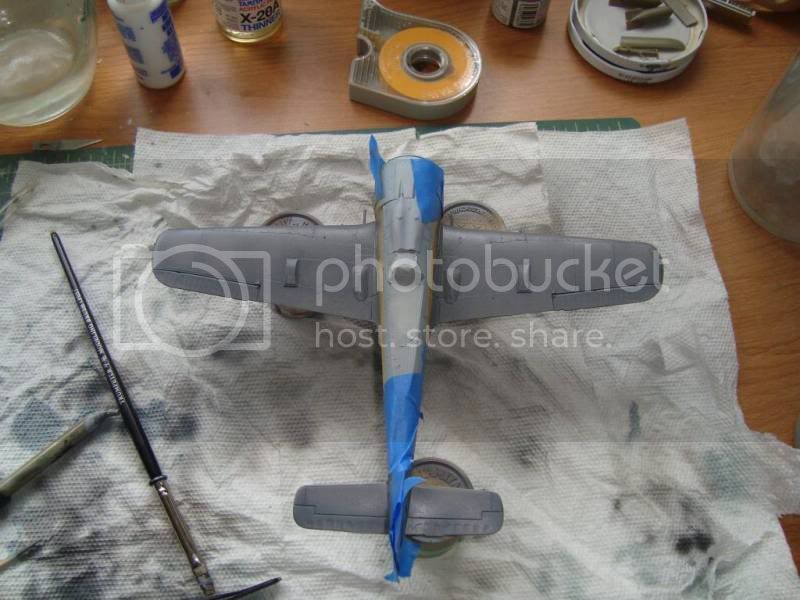
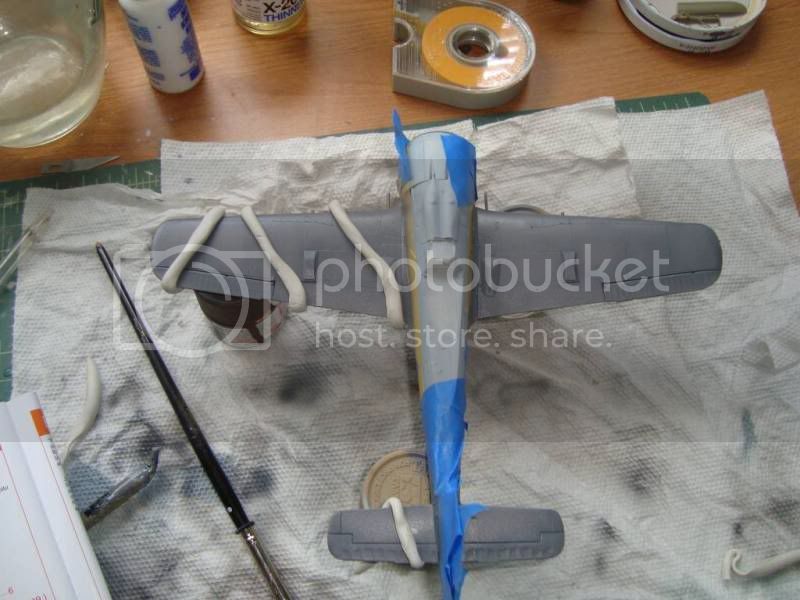
Terri and Neil ..thanks for your suggestions. I did a light wash to bring out the pannel lines a bit. I'll probably keep the stains to a minimum since I'm quite happy with the finish so far and do not want to over do the weathering (I need to keep reminding myself that I'm building a plane and not armor)!! I'll post more pix in the near future since I'm finding less and less time to dedicate to my hobby ..I have a new born on the way who is about to make her debut in July!!
Current projects:
Revell F-15E (1:48)
Florida, United States
Joined: March 01, 2008
KitMaker: 529 posts
AeroScale: 340 posts
Posted: Monday, May 18, 2009 - 01:43 AM UTC
Current projects:
Revell F-15E (1:48)
Germany
Joined: September 07, 2005
KitMaker: 5,609 posts
AeroScale: 5,231 posts
Posted: Monday, May 18, 2009 - 07:11 AM UTC
Hello hermann
Very nice model!! Hope you got enough motivation to tackle the Eduard kit again!
somehow the c&m looks familiar

;)
all the best
Steffen
DULCE ET DECORUM EST PRO HOBBY MORI