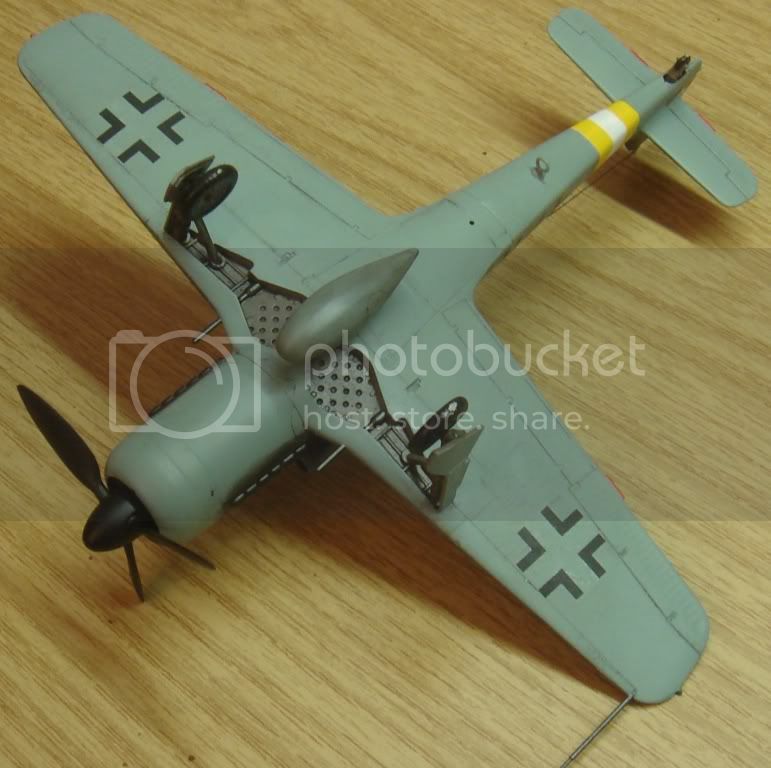
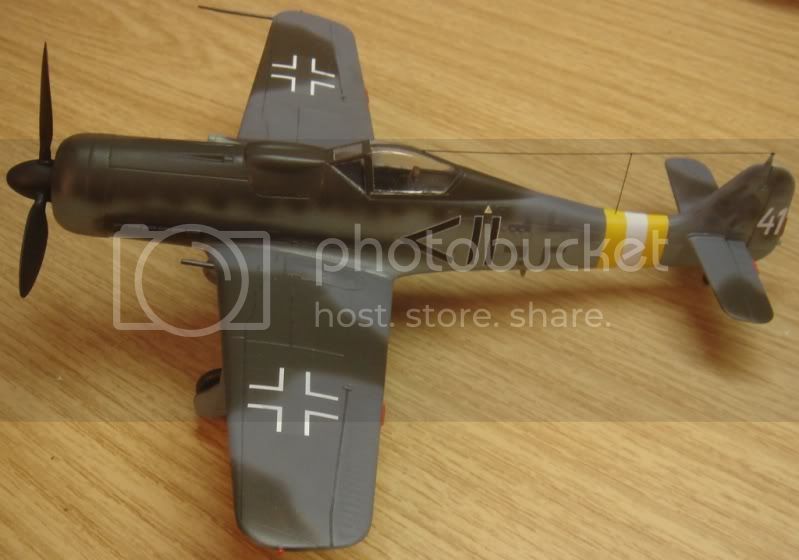
Here is my entry for the Get the job done campaign. For those who has not seen my posts in the campaign tread I am posting the full build here.
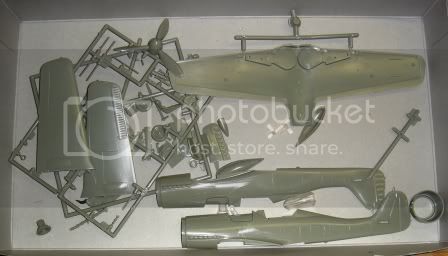
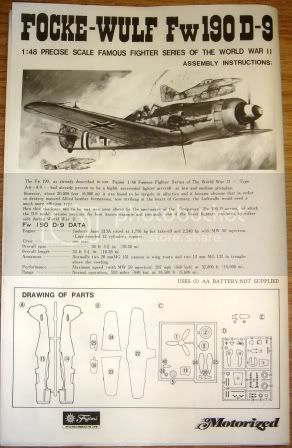
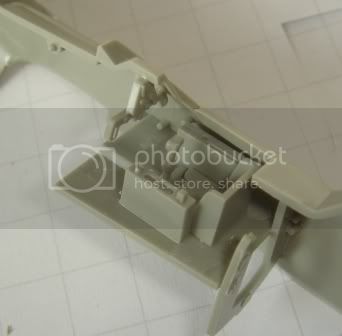
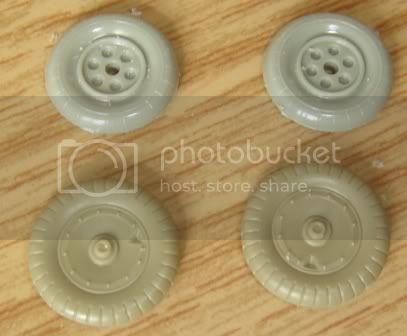
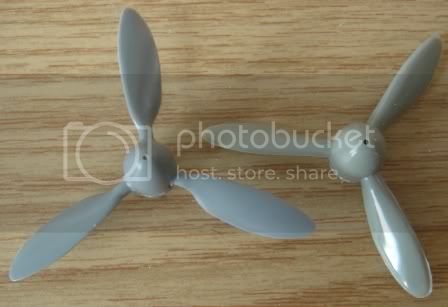
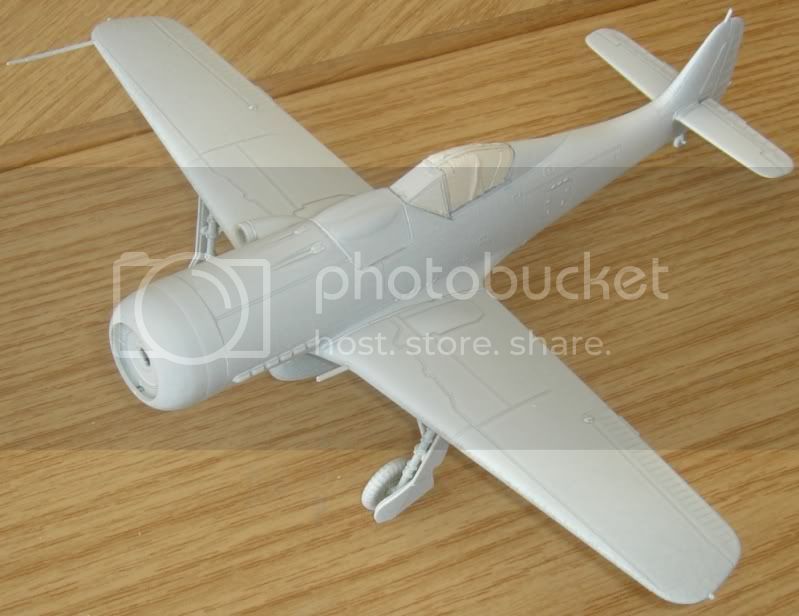
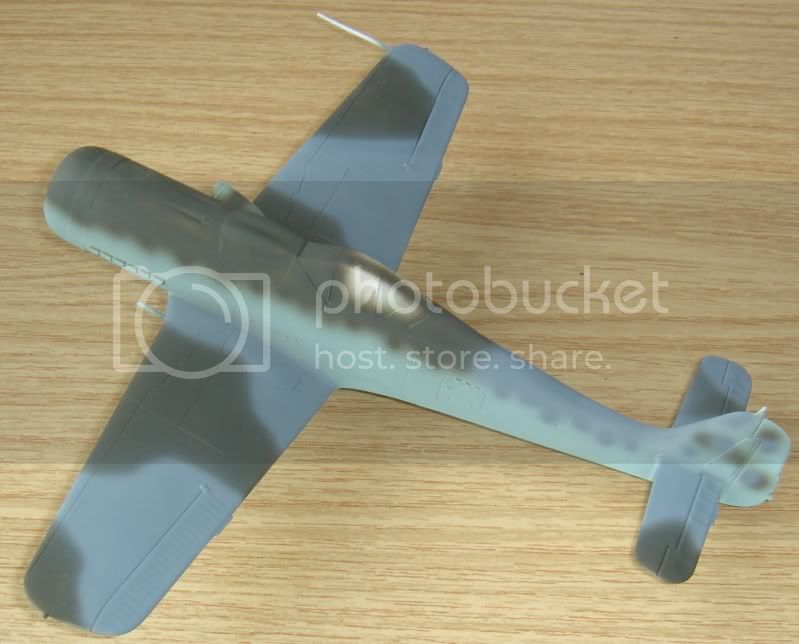
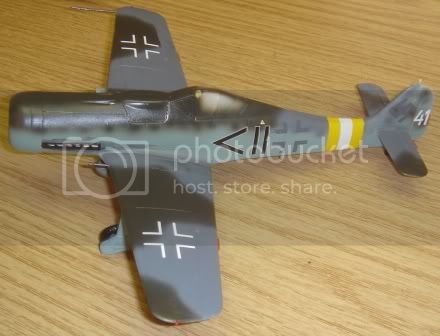
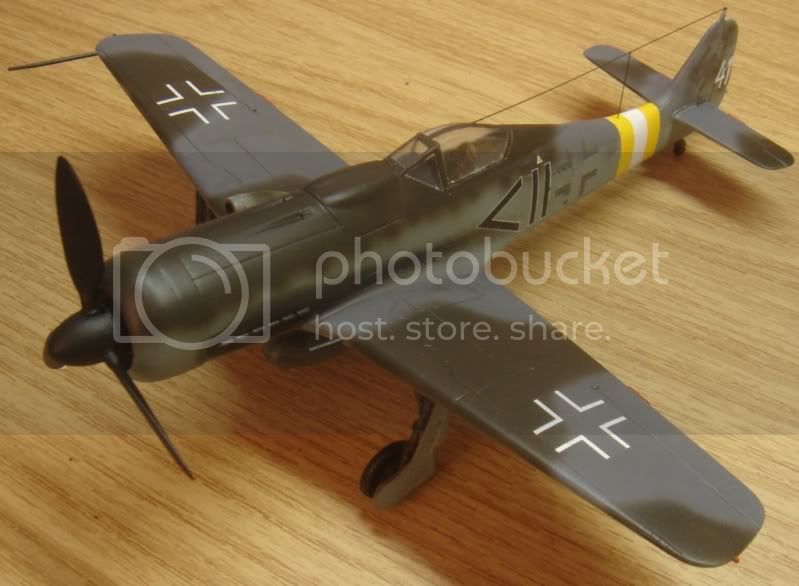
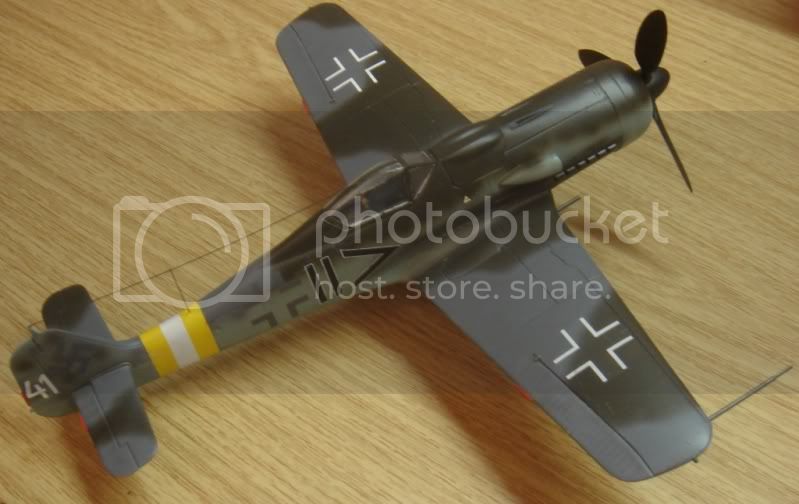
This is the old Fujimi 1/48 FW 190D-9. This is by no means a modern kit and details are soft or altogether lacking. I replaced the wheels with Eduard FW 190 wheels and the propeller with an old Tamiya FW190A8 propeller.
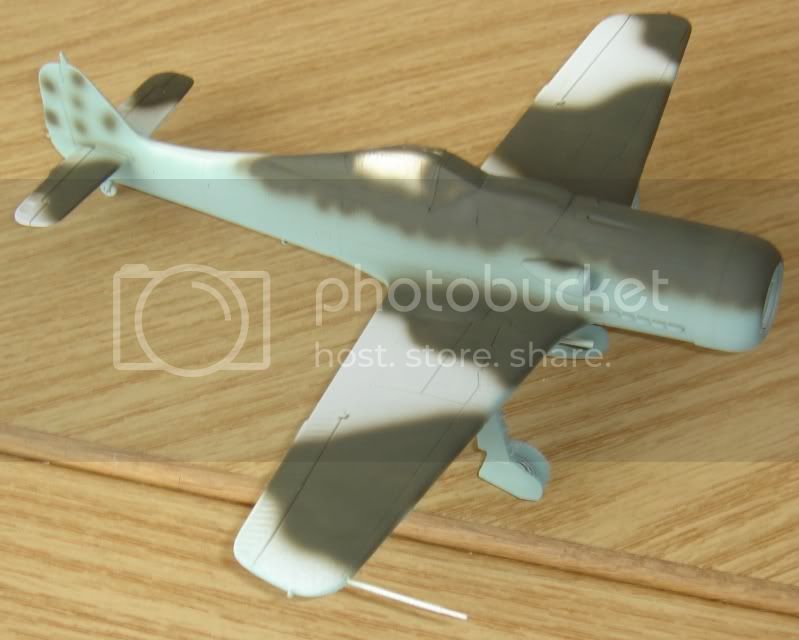
This FW 190D-9 build fought me every step of the way, but especially with the painting. A true "Get the job done" build!
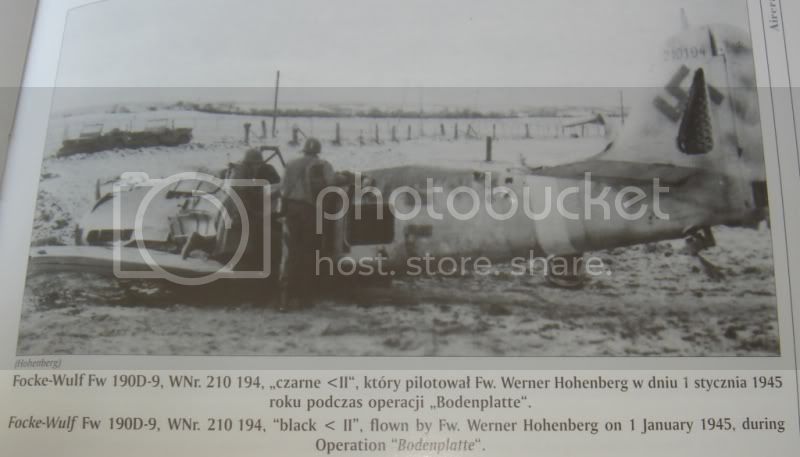
This is the plane Werner Hohenberg was shot down in during Operation Bodenplate in 1945. There is a lot of controversy about the colours and the markings.
Some say RLM 81 for one camouflage colour, other says RLM 82.
Some say it had a white spiral on the spinner, others state a pure black spinner.
Some say the standard camouflage was partly supplemented with brushed on camouflage colours.
The story goes on like that.
Anyway, I went with RLM 81, no spinner spiral, and no brush painted camouflage.
The markings in the AM decal set I used are probably a little oversized when I compare to the picture - especially for the swastika and the chevron double bar.
Finally it is finished and I am happy with the end result, although this is by no means an accurate build it looks good to me.
Comments welcome
Hosted by Rowan Baylis
FW 190D-9 Werner Hohenberg
Posted: Wednesday, May 13, 2009 - 02:51 AM UTC
thegirl
Alberta, Canada
Joined: January 19, 2008
KitMaker: 6,743 posts
AeroScale: 6,151 posts
Joined: January 19, 2008
KitMaker: 6,743 posts
AeroScale: 6,151 posts
Posted: Thursday, May 14, 2009 - 02:57 AM UTC
Not bad at all there Jesper !
FalkeEins
England - South East, United Kingdom
Joined: March 07, 2005
KitMaker: 868 posts
AeroScale: 690 posts
Joined: March 07, 2005
KitMaker: 868 posts
AeroScale: 690 posts
Posted: Thursday, May 14, 2009 - 04:08 AM UTC
..very nice Jesper !
Posted: Thursday, May 14, 2009 - 08:17 PM UTC
Thanks for the comments, Terri and Neil. I appreciate it.
Still a few things I am not satisfied with, the size of the markings is one. The swastika is too big and the RLM81 has too much of a green hue to it.
Anyway, small details and I still have a feeling of satisfaction when looking at the final model.
Still a few things I am not satisfied with, the size of the markings is one. The swastika is too big and the RLM81 has too much of a green hue to it.
Anyway, small details and I still have a feeling of satisfaction when looking at the final model.
CMOT70
Victoria, Australia
Joined: August 23, 2007
KitMaker: 629 posts
AeroScale: 539 posts
Joined: August 23, 2007
KitMaker: 629 posts
AeroScale: 539 posts
Posted: Friday, May 15, 2009 - 05:32 AM UTC
Looks good Jesper. Your airbrushing on the soft fuselage demarkations looks really good.
I'm not sure if it's just the lighting being reflected, but is there a silver line along the canopy glue joins? If so, then i found a tip long ago to prevent that effect when glueing clear parts- sometimes the glue joins reflect through the clear parts- especially if the clear parts are a bit on the thick side.
They way to prevent is: after masking your clear parts, but before glueing it to the model quickly apply some masking tape inside to prevent overspray. Then paint your canopy the cockpit interior colour- around the all the edges to be glued as well as well as the outside canopy frames. Then glue it on like normal. The layer of paint stops the glue join line reflecting through the clear part and even gives the illusion of it being thinner than it is.
I hope that made sense! Lots of people paint the frames in interior colour after glueing the canopy on, the above explanation is why i prefer to do it before.
Of course if it's just something the camera did with lighting then ignore everything i just wrote!
Andrew
PanosT
California, United States
Joined: March 18, 2009
KitMaker: 36 posts
AeroScale: 22 posts
Joined: March 18, 2009
KitMaker: 36 posts
AeroScale: 22 posts
Posted: Friday, May 15, 2009 - 09:24 AM UTC
Nice Job Jesper! I really like it!