Östergötland, Sweden
Joined: April 04, 2006
KitMaker: 1,058 posts
AeroScale: 1,004 posts
Posted: Thursday, June 25, 2009 - 11:55 PM UTC
Hi
I just could not resist getting into this one. The DH-2 was on the top of my list when Roden asked us what we wanted. After finishing Eduards in 48-scale, I told everyone that I did not have any thoughts about building another one. But I'm no better man that I can change my mind.
I must say that Roden getting better and better. They seams to listen to us when we was back talking there's decals. Hopefully this will go on as easy as the DI kit’s decals
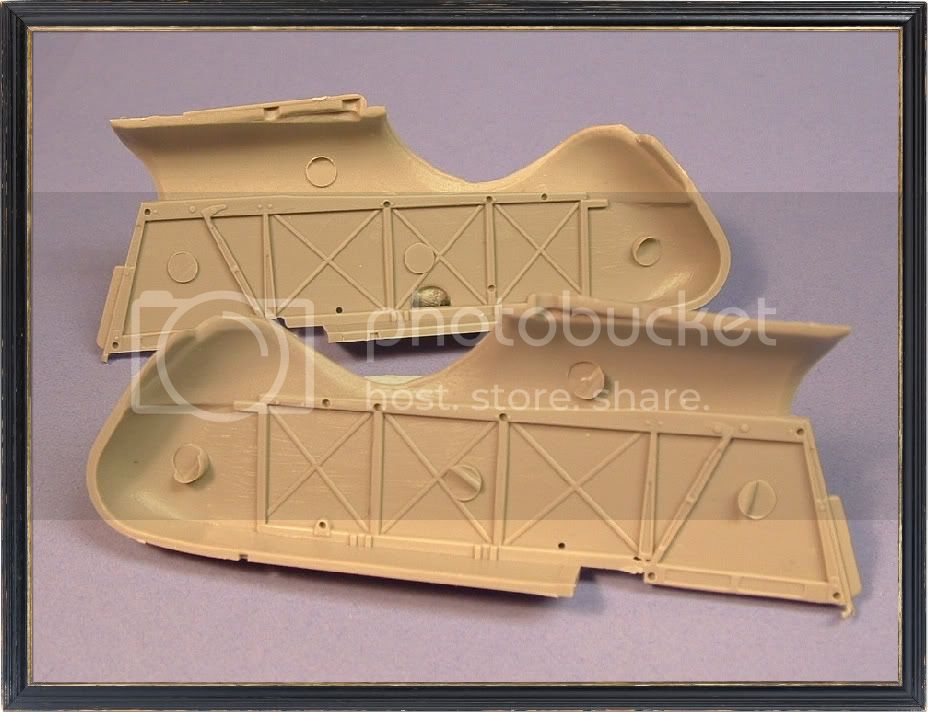
Inside the fuselage halves there's a few big ejector marks, With a Dremel it’s easy to get them off, if you want to replace the wires you don’t have to careful with the Dremel. In my eyes the wires is a little on the thick side, so by replace them gives just more details to cry for.
Östergötland, Sweden
Joined: April 04, 2006
KitMaker: 1,058 posts
AeroScale: 1,004 posts
Posted: Friday, June 26, 2009 - 12:03 AM UTC
On the outside off the fuselage the stitching is somewhat uneven from one side to the other. Replacing them would be the best. Eduard just has listed some stitching in 32-scale (#32228) Easy fix. When you still on the outside I think the linen could use some wrinkles to. This could be fixed with some Milliput or your favourite filler
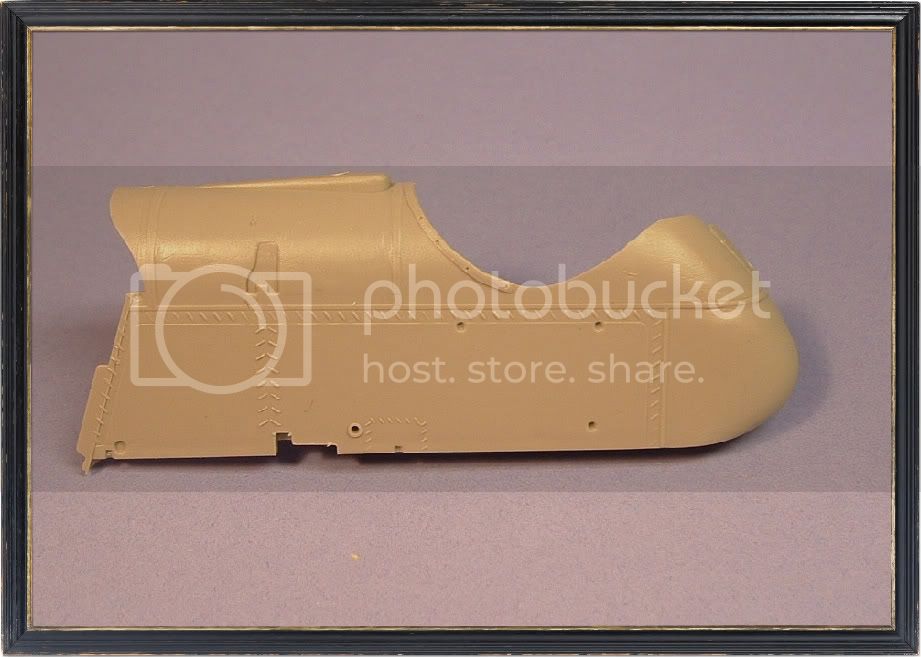
The belts or straps over the cover for the fuel and oil is little shallow in details. This can be fixed with some thin plasticard and some putty will help fixing the belt buckles.
The padding around the cockpit is just a little thin in my eyes, so fixing this detail with some putty would get the new seat that framing that needs.
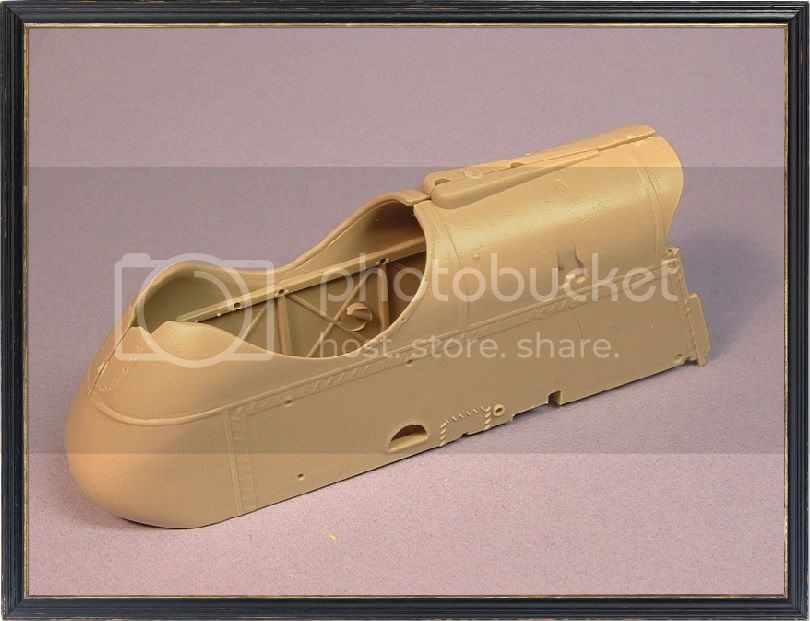
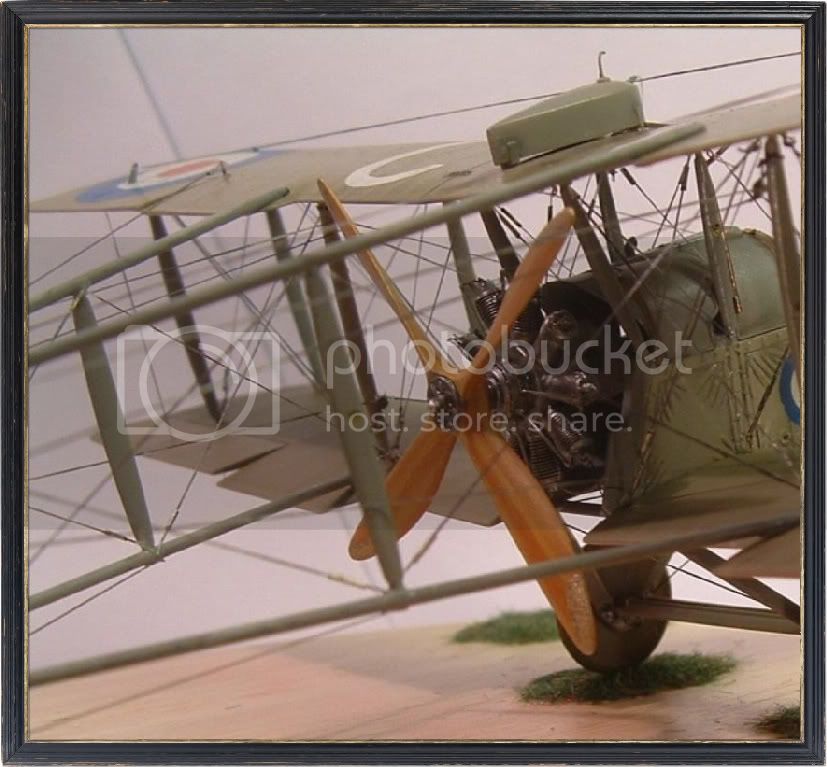
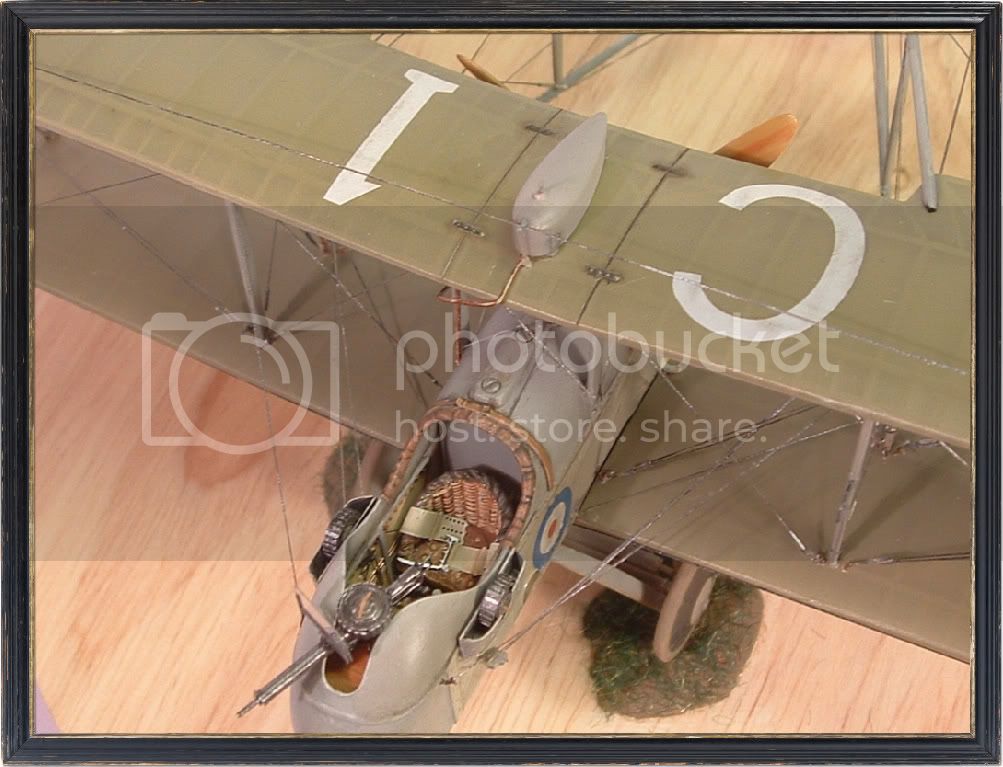
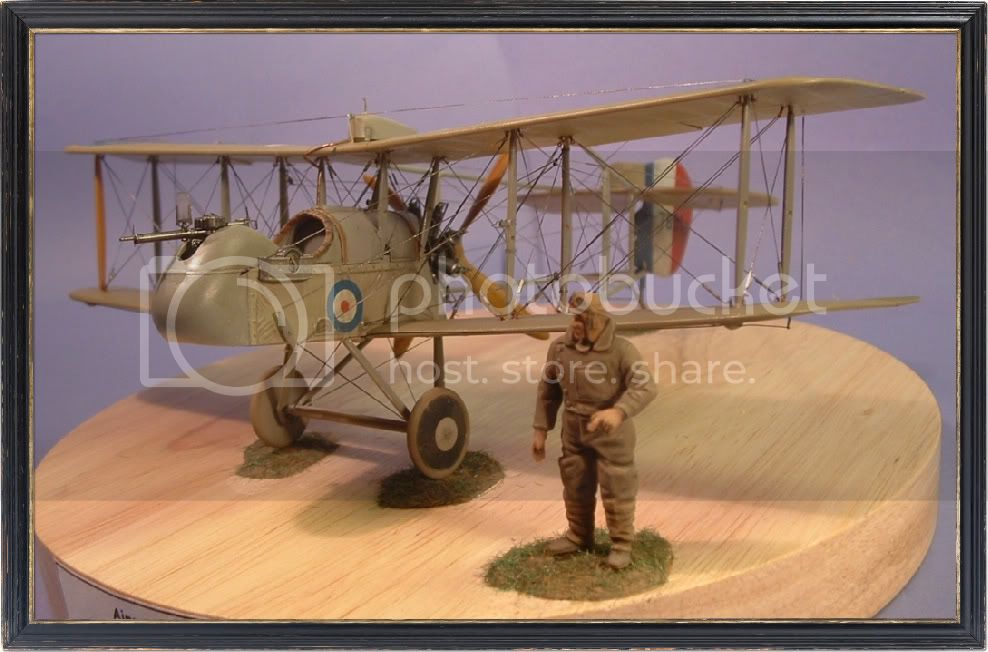
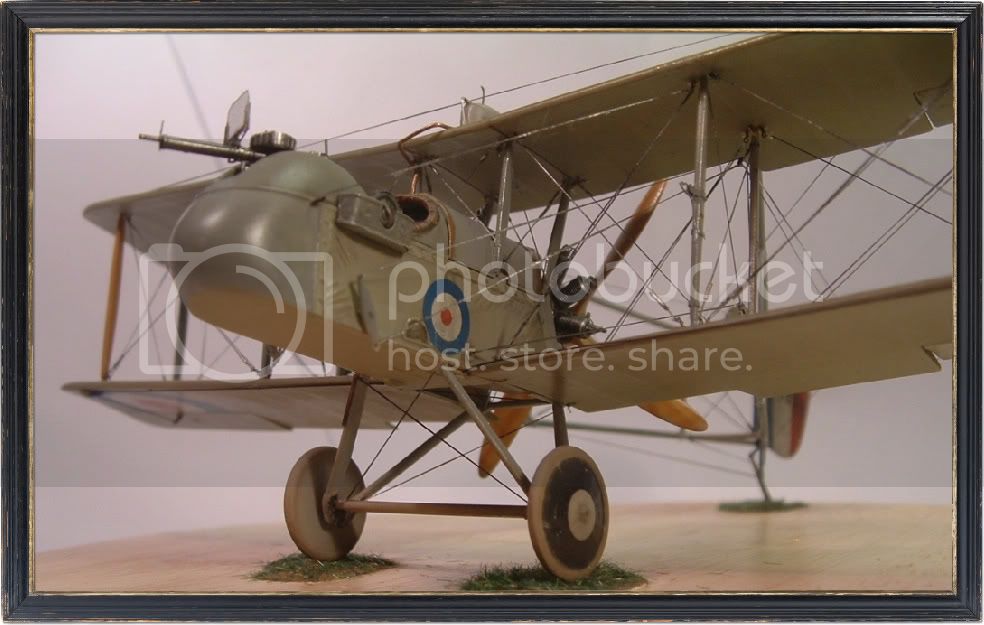
For the references I’ll going to use all that I have on this beautiful bird. Even Eduards 48-scale build.
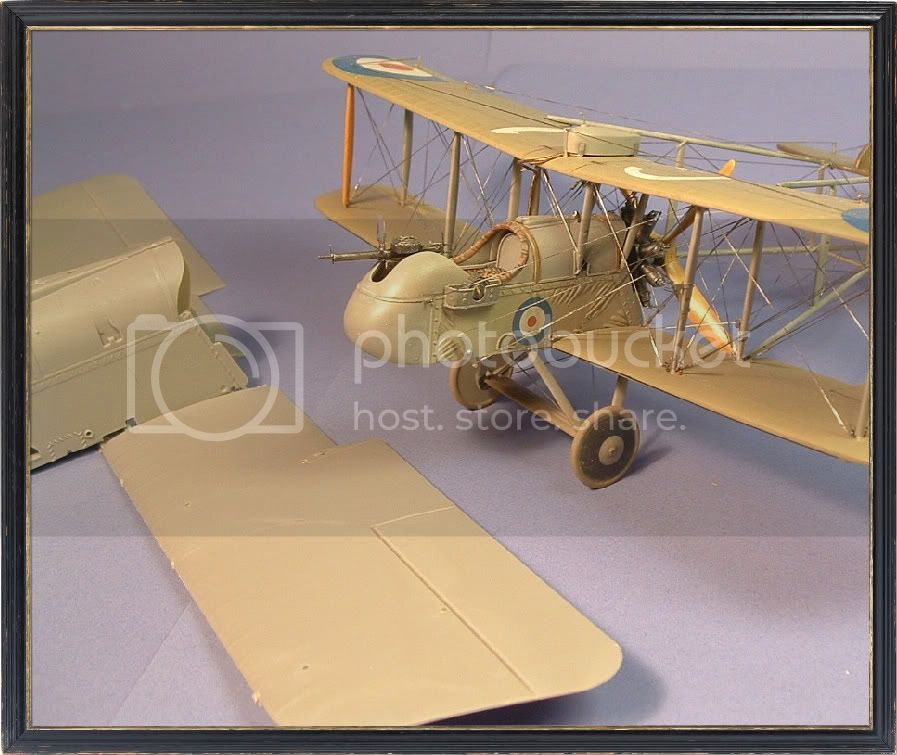
The Eduards have some years on the shelf, but she still hold togehter.
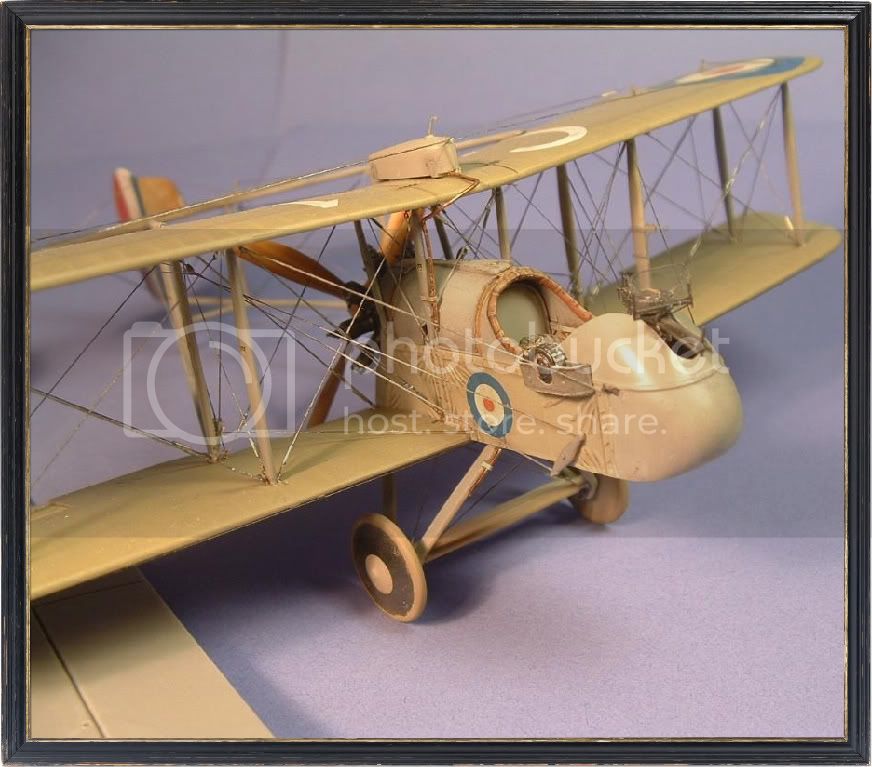
I will be offline for ten days now. I'm leaving my home and garden for Croatia’s sun. So model on until this build will continue.


Larsa Q
Alberta, Canada
Joined: January 19, 2008
KitMaker: 6,743 posts
AeroScale: 6,151 posts
Posted: Friday, June 26, 2009 - 01:49 AM UTC
Looking forward to this build Lars .
The pin marks aren't all that bad I have seen worse before and the support wires in the pit do look over done .
Just waiting for Part to come out with an PE set for this bird .
enjoy your trip and be safe


Östergötland, Sweden
Joined: April 04, 2006
KitMaker: 1,058 posts
AeroScale: 1,004 posts
Posted: Friday, June 26, 2009 - 02:12 AM UTC
Thanks Terri
I will play it safe. for the etch,yea there´s always one after I finished the build. i´ll just mailed Parts, hopefully they read my mail.


Larsa Q
Östergötland, Sweden
Joined: April 04, 2006
KitMaker: 1,058 posts
AeroScale: 1,004 posts
Posted: Friday, June 26, 2009 - 04:09 AM UTC
Colorado, United States
Joined: January 25, 2004
KitMaker: 11,669 posts
AeroScale: 11,011 posts
Posted: Friday, June 26, 2009 - 04:14 AM UTC
Larsa my fellow, enjoy your days at play and send us some images so we can be with you!!
". . .The most important thing is to know why you build and then get the most that you can out of building." via D.D.
Östergötland, Sweden
Joined: April 04, 2006
KitMaker: 1,058 posts
AeroScale: 1,004 posts
Posted: Friday, June 26, 2009 - 04:22 AM UTC
Thanks Stephen I´ve got new batteries (


Terri).Pics comming from the sunny side of tha hangar. Stephen you mentioned the fueltank was covered in fabric?Do you have any pics, or source of reference.

Only hopes you not going to mention Cross&Cocade now again, do I never can find them, and if I do my budget will hit a crises for a long time.
Cheers
Larsa Q
England - South East, United Kingdom
Joined: November 06, 2005
KitMaker: 1,667 posts
AeroScale: 1,551 posts
Posted: Friday, June 26, 2009 - 06:14 AM UTC
All that Rigging.......runs and hides screaming Nooooooooo!
Seriously though, I'm looking forward to see you work *Your Magic* on this one

Keith
Still can't cure the AMS even with sausage finger implants & olde eyes.
Östergötland, Sweden
Joined: April 04, 2006
KitMaker: 1,058 posts
AeroScale: 1,004 posts
Posted: Friday, June 26, 2009 - 06:21 AM UTC
thanks Kieth
Nowadays my Green fingers from the garden still remember the rigging on the Eduard's - three weeks on the rigging and a week for the handmade seat


Keep the faith I will
Larsa Q
Östergötland, Sweden
Joined: April 04, 2006
KitMaker: 1,058 posts
AeroScale: 1,004 posts
Posted: Friday, June 26, 2009 - 07:35 AM UTC
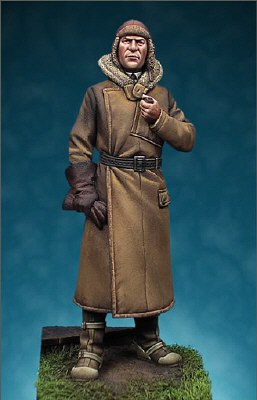
I will order this from Latorre miniatures to give the build that last G
Cheers
Larsa Q
North Carolina, United States
Joined: June 19, 2007
KitMaker: 604 posts
AeroScale: 600 posts
Posted: Saturday, July 04, 2009 - 06:52 AM UTC
Larsa,
I am certainly looking forward to seeing your artistry on this one!
RAGIII
Östergötland, Sweden
Joined: April 04, 2006
KitMaker: 1,058 posts
AeroScale: 1,004 posts
Posted: Sunday, July 05, 2009 - 10:32 PM UTC
Bog ( or Hi )
Back from croatia now, 1700 kilometer by bus thru Denmark, Germany, Austria and Slovenia.What a ride folks, I will not travel to my own town in a bus for a few days


pics comming sone Stephen.
The last thing I did on the DH-2 was to grind down the ejectormarks and the moulded wires on the inside of the fuselge.The filler is now real dry

The sanding is done and now I will turn my attention to the outside on the same fuselge.Replacing the stichings and add some wrincles to the canvas. New belts and buckles, the last will be to fix a better padding around the cockpitssides.Pics off this coming sone my friends.
Keith, the rigging on this is just why I wished this bird from Ukraine


Rick. My feeling is that there will be a DH-2 build from you too

Do skorog videnja! ( see you later)

Larsa Q
England - South East, United Kingdom
Joined: November 06, 2005
KitMaker: 1,667 posts
AeroScale: 1,551 posts
Posted: Monday, July 06, 2009 - 12:55 AM UTC
Lars, now if you were really dumb like me this is the point you would decide to cut out the skin between the frame members and make the outer skin out of beercan or sheet. This would make the framework better scale and the wrinkles easier to....ouch stop hitting me....LOL
Just joking of course
Keith
Still can't cure the AMS even with sausage finger implants & olde eyes.
West Virginia, United States
Joined: December 18, 2006
KitMaker: 1,121 posts
AeroScale: 1,063 posts
Posted: Monday, July 06, 2009 - 01:03 AM UTC
Larsa,
I'm really looking forward to this one, too. I always learn so much from your builds.
Mark
Östergötland, Sweden
Joined: April 04, 2006
KitMaker: 1,058 posts
AeroScale: 1,004 posts
Posted: Monday, July 06, 2009 - 06:04 AM UTC
LOL
Hi Keith
Actually you have a good idea there. I'm thinking off rolling out Milliput paper thin, if you use talcum powder the Milliput could be rolled out real thin and letting the putty dry halfway to semi hard it’s easy to get the wrinkles on both side. You have a point in your thinking my friend. This kit just screams to get detailed, so why not?
The thing that could stop me is just that I'm planning to have this kit finished before Roden realises the Siemens kit.
Mark
I can’t see what I can learn you in this game, I'm trying to follow you mostly.
Cheers
Larsa Q
Alberta, Canada
Joined: January 19, 2008
KitMaker: 6,743 posts
AeroScale: 6,151 posts
Posted: Tuesday, July 07, 2009 - 01:56 AM UTC
Hi Lars , glad you had a safe trip .

I will be looking forward to this build as well . Will be taking notes .
Now if Roden will just release the SSW ..............................................

Östergötland, Sweden
Joined: April 04, 2006
KitMaker: 1,058 posts
AeroScale: 1,004 posts
Posted: Thursday, July 09, 2009 - 04:21 AM UTC
Hi
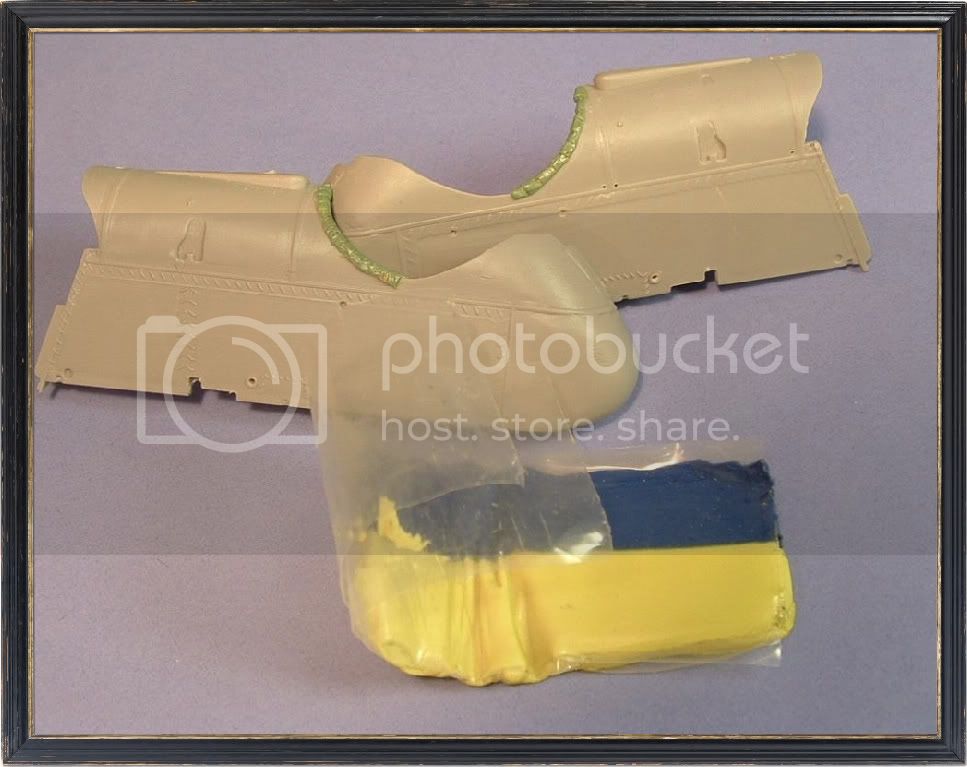
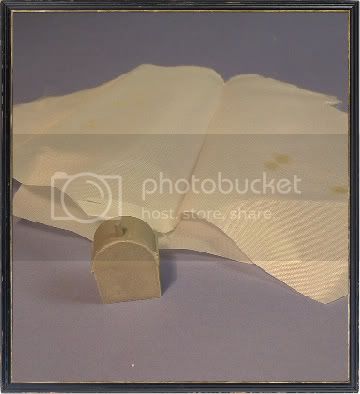
Today I had some hours for the hobby again, so I started on the outside of the fuselage. Most details on the outside are a little bit soft, so for a start I sculpted a new padding for the cockpit. This was done with Gameshop putty. New belts was cut from plasticard and glued in place. The stitching is also something to re do, this will be replaced with hot stretched sprue or etch.
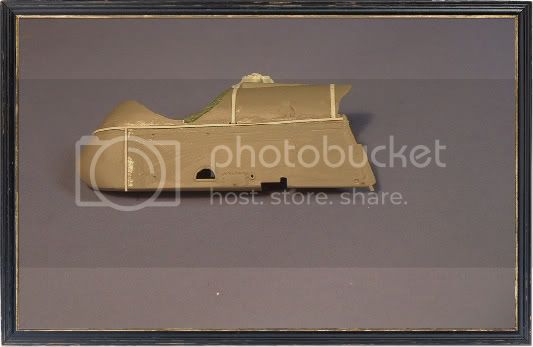
The tank was covered in doped canvas, and to simulate that I glued a peice of Tea filter in silk around the outside.
more to come folks

Larsa Q
Indiana, United States
Joined: May 14, 2007
KitMaker: 3,117 posts
AeroScale: 2,270 posts
Posted: Thursday, July 09, 2009 - 08:02 AM UTC
I just picked this one up myself. I had to open it up and fondle it a little as soon as I got it in the back door. I have been away from the work desk, and key board for over a week because of some pretty serious weed poisoning on my hands. No, it was not poison ivy, I know what that looks like. But my fingers were so swollen and itchy, I could not even type, or golf

. But the back yard looks great. And it is almost done.
I agree with you on all the points you mentioned, Larsa. One thing I think you missed pointing out is that the rigging diagram is probably the worse piece of...art I have ever seen. The kit does look great though. And the Eduard kit has a much, much better rigging diagram. One thing I do have to say, I never get tired of looking at that wonderful build you did on the Eduard kit. That has to be one of my favorite builds, ever.
"Treat 'em Rough", Current Builds--Wingnut Rumpler
I am frequently seen with blood shot eyes from staying up past my nap time to get the right colour scheme on my latest WWI model?
Östergötland, Sweden
Joined: April 04, 2006
KitMaker: 1,058 posts
AeroScale: 1,004 posts
Posted: Thursday, July 09, 2009 - 07:29 PM UTC
Quoted Text
One thing I think you missed pointing out is that the rigging diagram is probably the worse piece of...art I have ever seen. The kit does look great though. And the Eduard kit has a much, much better rigging diagram. One thing I do have to say, I never get tired of looking at that wonderful build you did on the Eduard kit. That has to be one of my favorite builds, ever.
Hi Carl
If I remember the Eduard rigging diagram was/is not correct either.I used every pics I could find to get the rigging almost correct. Certainly I´ve missed a line or two on the Eduard build.
Cheers
Larsa Q
Östergötland, Sweden
Joined: April 04, 2006
KitMaker: 1,058 posts
AeroScale: 1,004 posts
Posted: Sunday, July 12, 2009 - 08:59 PM UTC
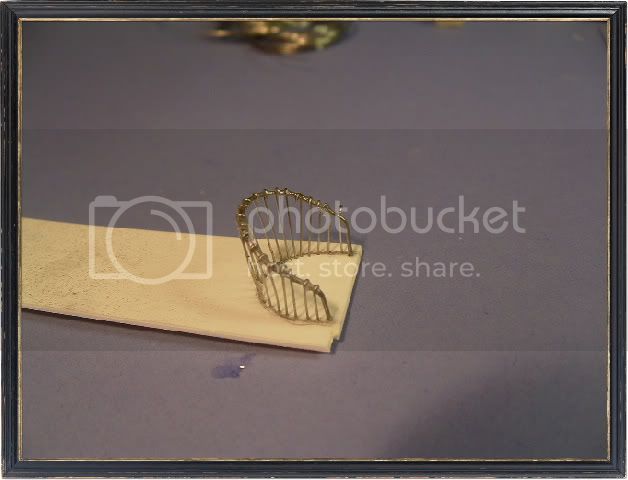
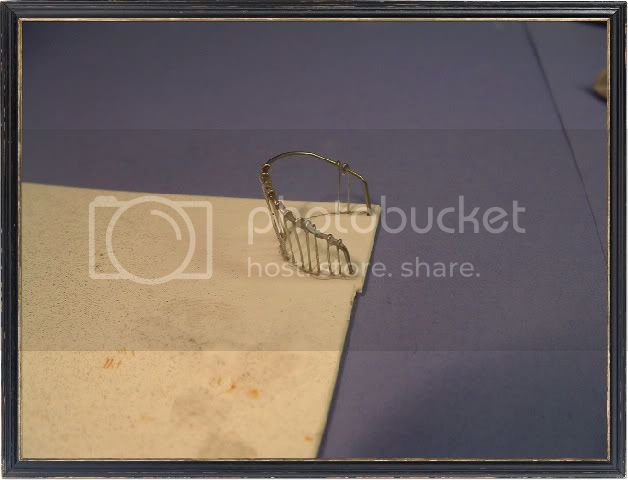
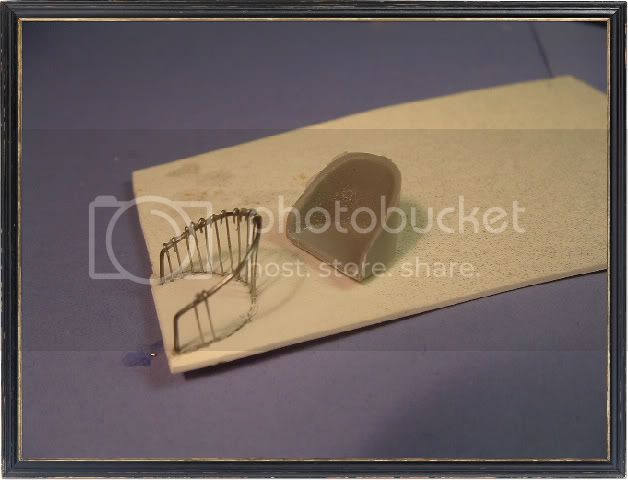
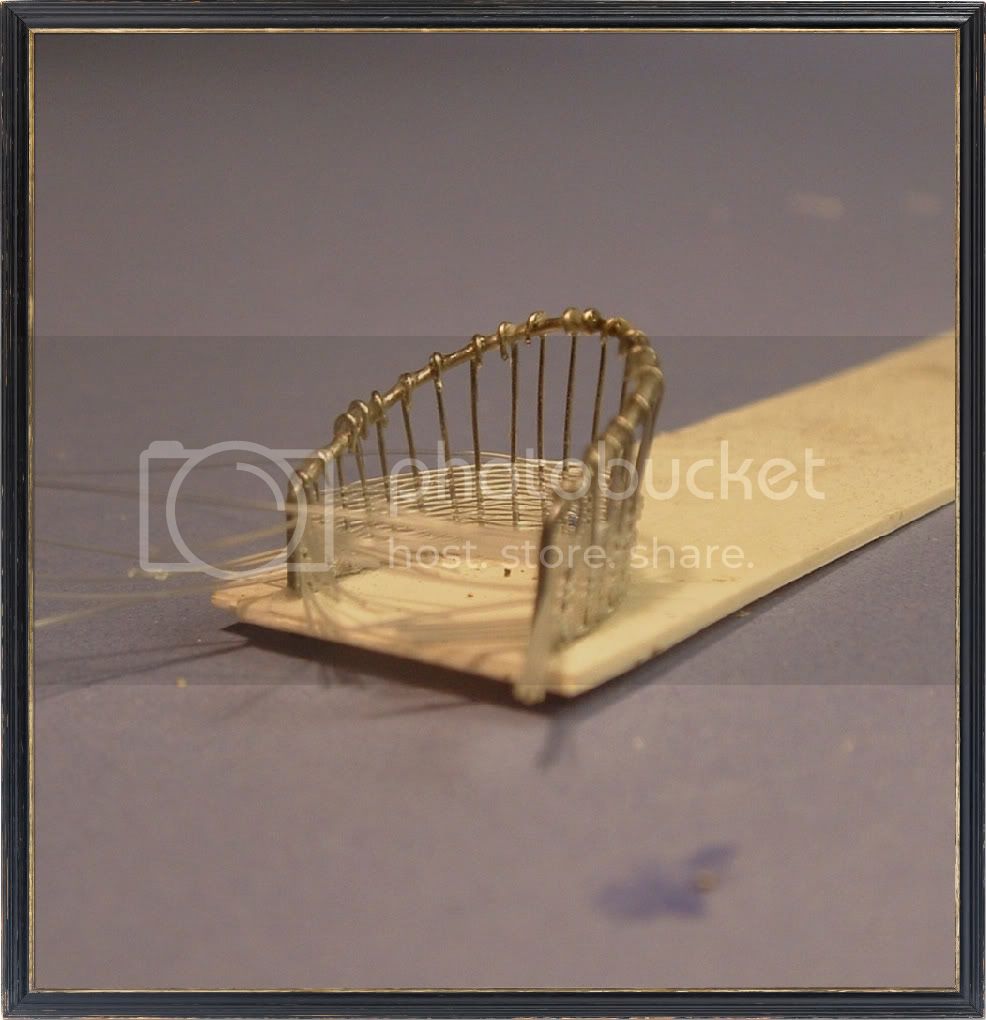
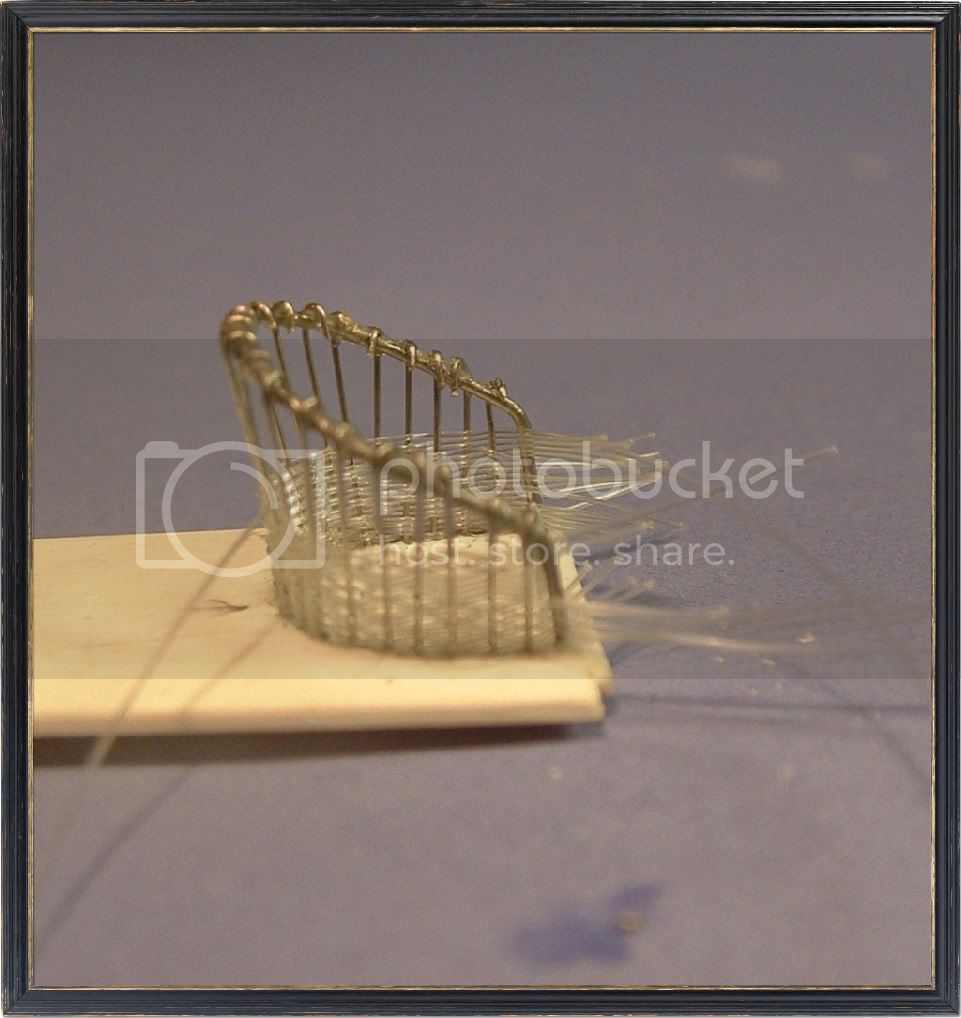
The attention has turned to the seat. You know me, when I’ll always start to make a new seat for a model. The seat is the major thing you often see when looking inside a WW1 model. The kit seat from Roden is not bad, but that’s no Wicker. In my eyes a photoetched seat in Wicker style come close, but all the way. In the Wingnuts Bristol fighter F2b kit the have a real nice moulded seat that almost looks like a wicker if you can paint it carefully
When I was working with Eduard’s 1/48 kit I fabricated a new wicker seat from wires and fishingline. I'm starting with a piece of plasticard and some wires. Bending the wire around the topside off the kit seat, just to get the profile for the back. Using the kit seat as template for the lover part, I do not cut out the seat from the card until the Wicker is completed, just because I need something to hold on to.
This is time consuming but in my mind just worth the effort. The new Wicker seat will give the cockpit what’s needed
Larsa Q
Östergötland, Sweden
Joined: April 04, 2006
KitMaker: 1,058 posts
AeroScale: 1,004 posts
Posted: Friday, July 17, 2009 - 12:27 AM UTC
Hi
The Wicker seat is coming along, now halfway. Taking pics of almost transparent fishingline is not the best thing so the pics quality isn’t the best. This work is not something I recommend for the fast builder, stick to the kit seat 8=) if so.
I will be back with more pics off the seat later. Then I can start modelling the kit again.

Larsa Q
Alberta, Canada
Joined: January 19, 2008
KitMaker: 6,743 posts
AeroScale: 6,151 posts
Posted: Friday, July 17, 2009 - 01:36 AM UTC
Looking neat Lars !
What size of fishing line are you using ?

Östergötland, Sweden
Joined: April 04, 2006
KitMaker: 1,058 posts
AeroScale: 1,004 posts
Posted: Friday, July 17, 2009 - 01:43 AM UTC
Hi Terri
The size of the fishing line is 0,25 mm, I tested with a thinner line but my eyes didn´t cach this line. working under a 110 watt lamp with magnifier.Guessing the years takes it. can´t believe I did this in 48-scale ten years ago

When this seat is done, I´ll have another to make for the Bristol F2b


Larsa Q
Alberta, Canada
Joined: January 19, 2008
KitMaker: 6,743 posts
AeroScale: 6,151 posts
Posted: Saturday, July 18, 2009 - 04:34 AM UTC
I like this method Lars , far better then any PE seat out there . This I will be trying out but in 48 scale .
Still haven't pick up my kit from the hobbyshop yet

but the Eduard kit keeps calling my name ...........
The Bristol seat is different so it will be great to see how you do that one . Will you be making your own seatbelts ?
Östergötland, Sweden
Joined: April 04, 2006
KitMaker: 1,058 posts
AeroScale: 1,004 posts
Posted: Saturday, July 18, 2009 - 04:57 AM UTC
Hi Terri
Eduards have a set of etch for the british birds in 32-scale. I don´t know if I can use anything from this set. The plan is to make my own belts from thin leadfoil. The set from Eduard is ordered so I come back with some info about that when I have it home.
Larsa Q


