_GOTOBOTTOM
Rotary Wing
Discuss helicopters and other rotary wing aircraft from any era.
Aussie Mi-24 "Kangaroo"
grubbyfingers
_VISITCOMMUNITY
Victoria, Australia
Joined: September 07, 2007
KitMaker: 404 posts
AeroScale: 339 posts
Posted: Monday, July 06, 2009 - 12:45 AM UTC
I was fortunate enough to be given this mammoth kit as a leaving present from my last job. I can only think they were really happy to see me go! I've been researching colour and marking schemes since. I found many schemes, but none that I found attractive. I'm a visual kinda guy and I knew I wouldn't be able to do the kit, and the thought behind the present, justice if my heart wasn't in it.
Then the final flight of the Australian Army Hueys was announced and it got me thinking: What if the Tiger hadn't been selected as a replacement, but we bought some Mi-24s instead? Bingo. All the pieces fell into place and the decision was made. I'd build the Mi-24 as a second-generation Bushranger gunship. The colour scheme would be taken directly from the Army Black Hawk and the weapons and some of the systems would be Westernised. A name for this beast? Looking at the shape, it just had to be "Kangaroo".


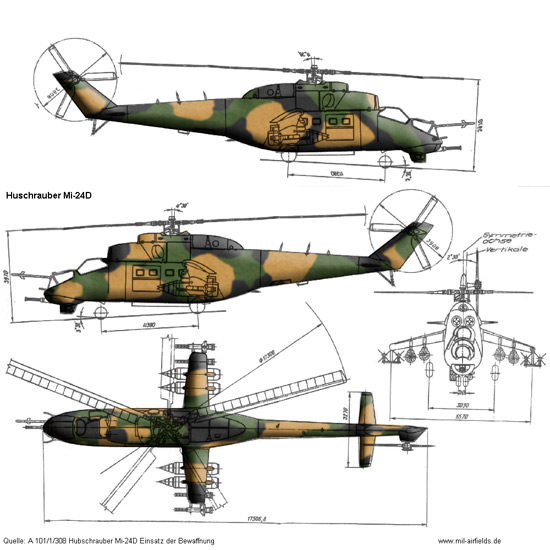
Mi-24K "Kangaroo" colour scheme

The Kit


I'm sure most of you would be aware of the existence of this kit. It caused quite a stir when it was released in 2005 and has proven very popular with many examples appearing in model comps and website builds.

Cybermodeler's review can be found here. There are pics of the sprues etc there, so I won't reproduce them here. There's also a build thread in the Large Scale Planes forum where one guy has really gone to town to correct the small erros in the kit's shape. More power to him! You can see his work here.

My point of view is that the kit is close enough to keep me VERY happy, and seeing as I'm doing a "What-if?" build anyway, it hardly seems relevant.

Modifications

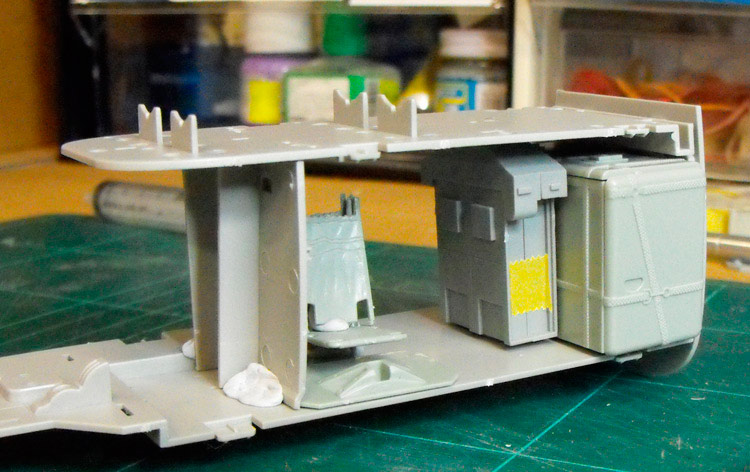
So, time to raid the spares box and see what I have lying around to Westernise this Rhino. The R.A.A.F. Bushranger Huey gunships had seven-tube rocket pods and 7.62mm miniguns on the racks and two pairs of M60s on pintle mounts. In keeping with the spirit of the original, I'm thinking guns and rockets as primary weapons are the go. A pair of floor-mounted Miniguns poking out the doors would be nice. I can get these from the Dragon UH-1N kit, along with their ammo bin.


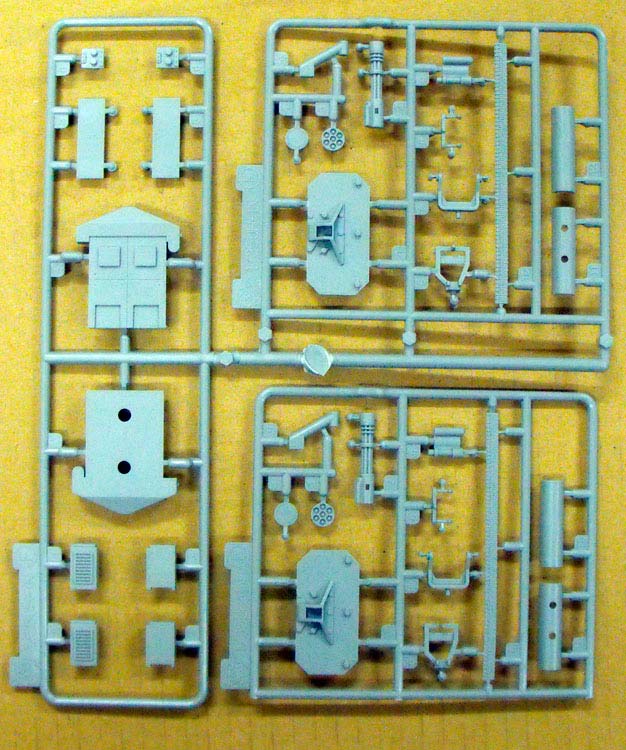
Under the wings, a pair of 14 tube launchers from the Black Hawk DAP kit and the canon pods from the Hind should work well. For the wingtips, what could be better than a full complement of four Hellfires under each tip. These are from the MRC AH-1W.


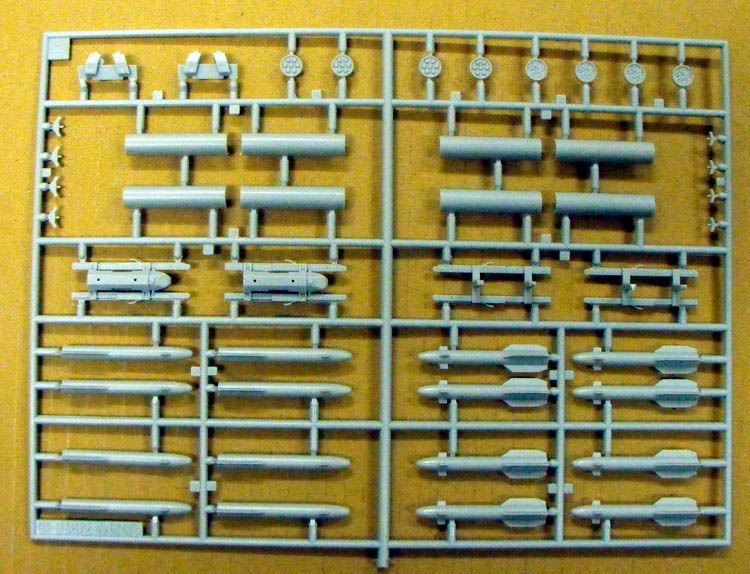
For defence against air attack a pair of Sidewinders mounted over the wings, or on the outer ends, will be added too. I can scrounge these from a Revell 1:32 Phantom II I have in Pandora's Box (the garage).

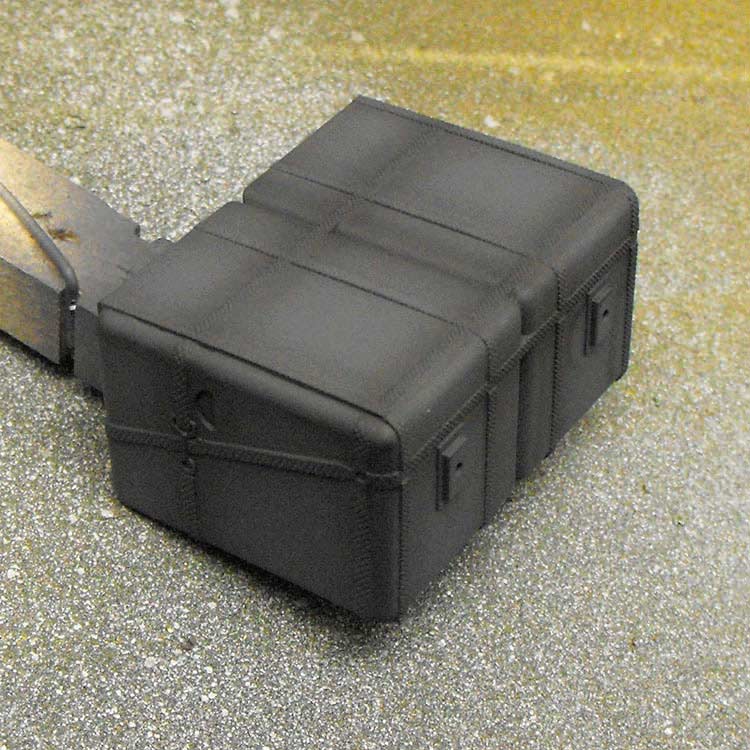
Under the nose, replacing the Russian gun with a Bushmaster chain gun would seem most appropriate. I may have to scratch that one up, based on the Tiger unit. Or see if I can get one from an Apache. An internal fuel tank, ala DAP Black Hawk, would be good too. That particular part is way too wide for the Hind, so I'll use something else.

The list of intended mods includes:

- Refuelling Probe from DAP Black Hawk

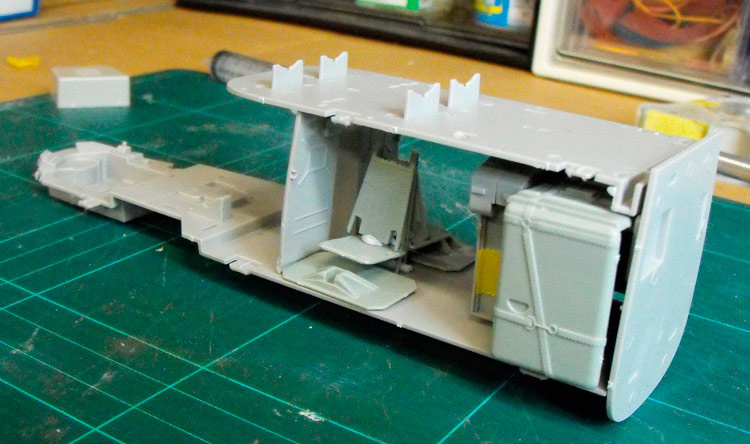
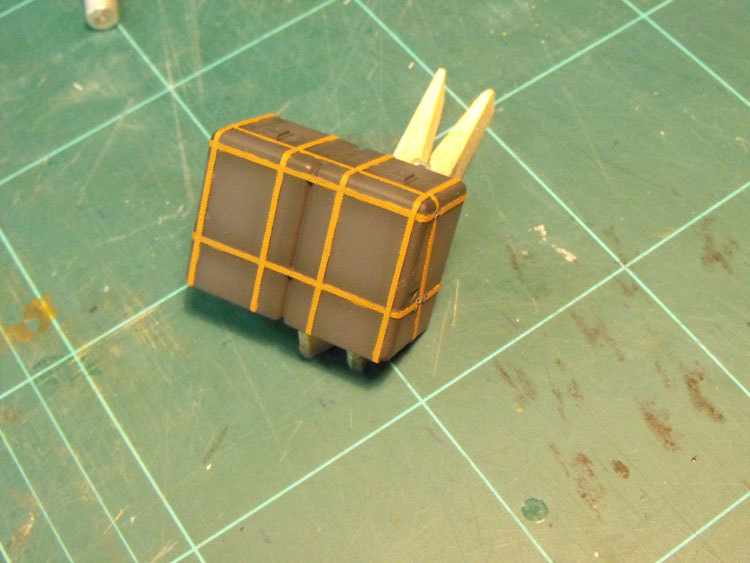
- Internal fuel tank in cabin

- Miniguns firing out cabin doors

- 14-tube rocket launchers, cannon pods, Hellfire missiles and Sidewinders on, under and around the wings

- Bushmaster chain gun under nose

- IR beacon from AH-1W

- Aerial suite as per the ADF Tigers

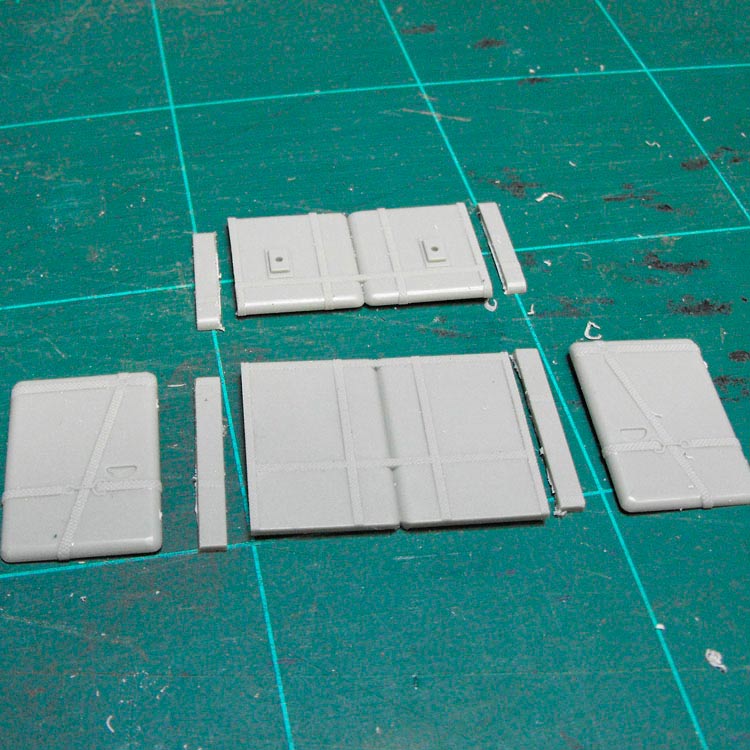
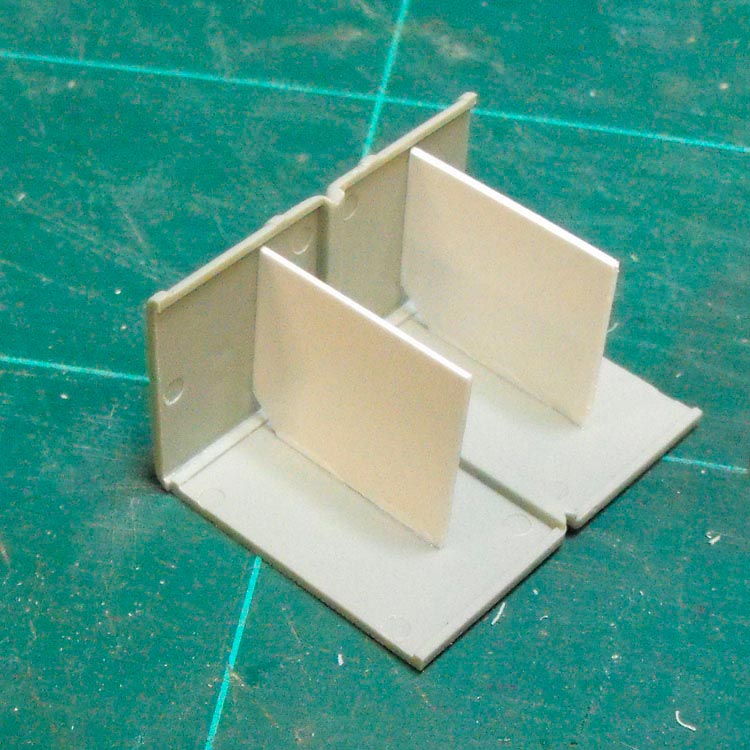
- Other bits and pieces like steps, tie-downs, Black Hawk seats, cabin interior walls etc.


The Build Begins
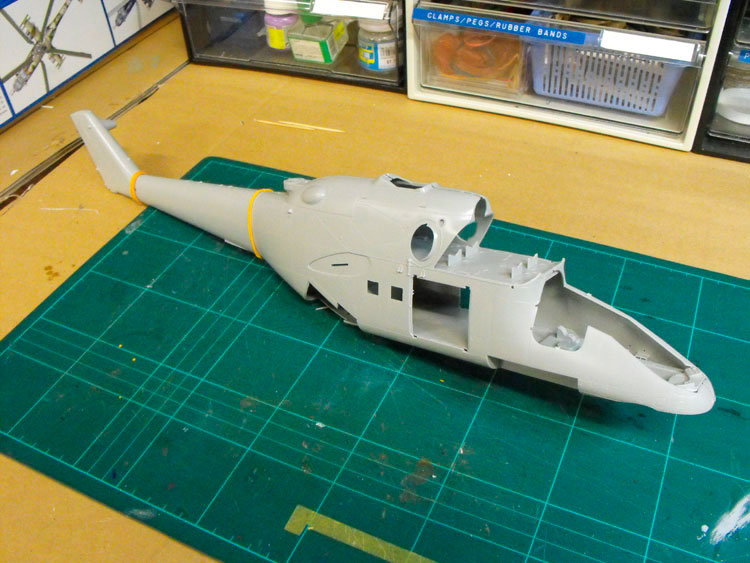
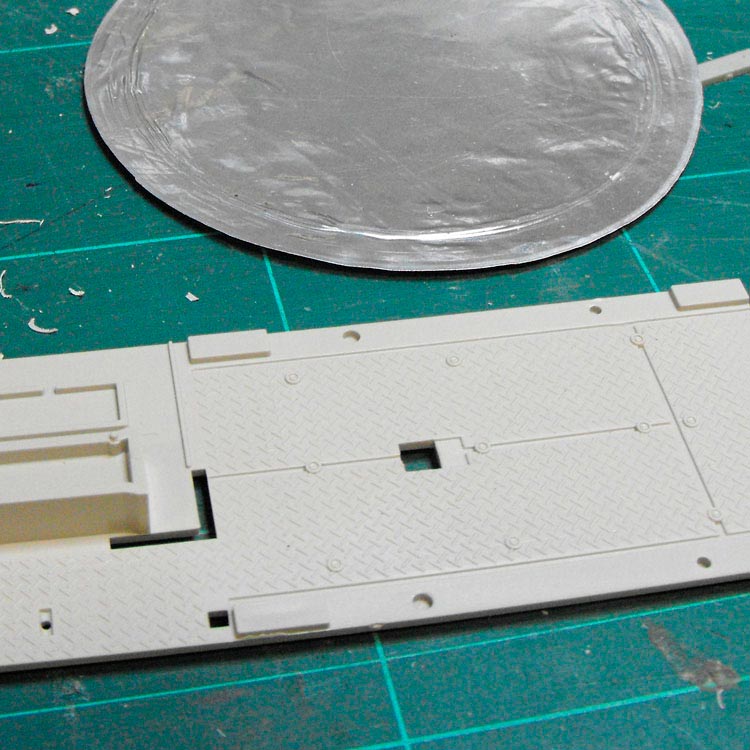
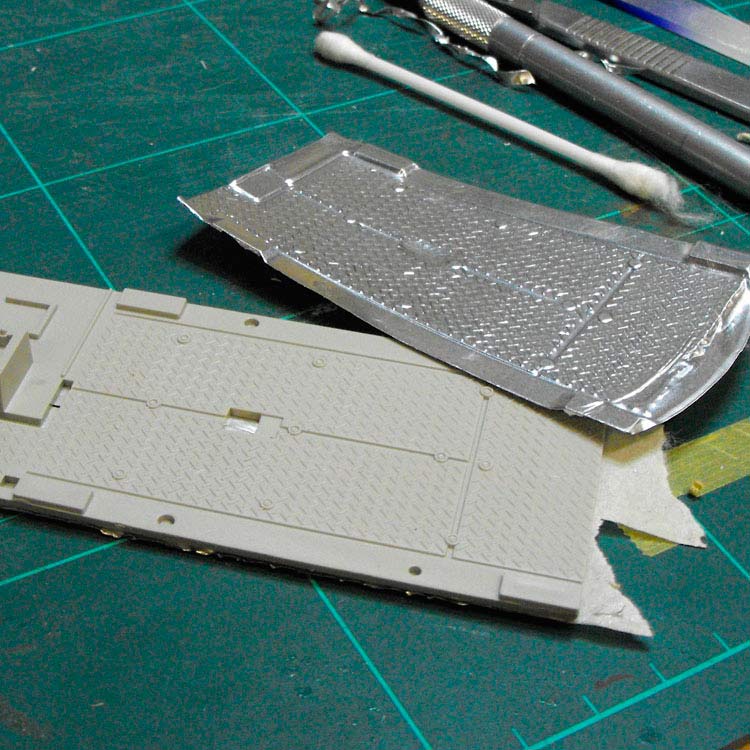
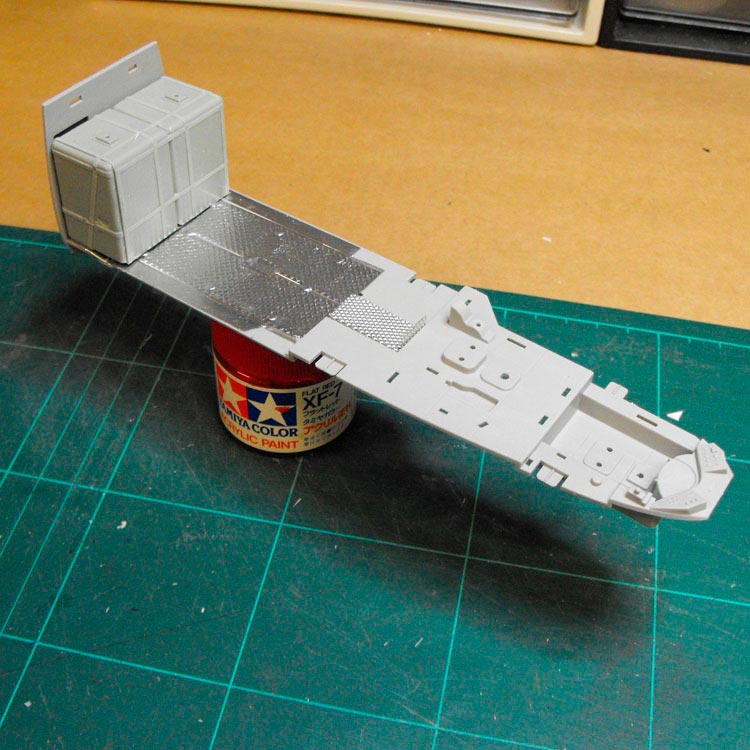
First thing is to plan where all the different new bits are going to fit in the interior. So the fuselage and main interior bits are dry assembled so the real planning can begin (Has horrible thought: What if none of this stuff actually fits?)

We shall see!


Avus
_VISITCOMMUNITY
Roma, Italy
Joined: March 10, 2006
KitMaker: 302 posts
AeroScale: 112 posts
Posted: Monday, July 06, 2009 - 01:47 AM UTC
This promises to be one interesting "what-if" project.
I'll be following with interest.
armouredcharmer
_VISITCOMMUNITY
England - East Anglia, United Kingdom
Joined: June 09, 2009
KitMaker: 670 posts
AeroScale: 175 posts
Posted: Monday, July 06, 2009 - 07:32 AM UTC
G`Day Mate,i`ll be watching this one with interest.I`ve started to drift into the what-if zone as an alternative to the everyday hum-drum builds,she`s lookin` sweet already.
Blueheeler
_VISITCOMMUNITY
New South Wales, Australia
Joined: March 18, 2008
KitMaker: 347 posts
AeroScale: 223 posts
Posted: Monday, July 06, 2009 - 10:36 PM UTC
Always said we should gone for the Mi-24! Cant wait to see how this one comes out, looking great so far
SGTJKJ
#041
_VISITCOMMUNITY
Kobenhavn, Denmark
Joined: July 20, 2006
KitMaker: 10,069 posts
AeroScale: 3,788 posts
Posted: Monday, July 06, 2009 - 11:22 PM UTC
Very interesting project. It will be nice to see the Mi-24 in a different camouflage and with a new weapons load.

Looking forward to see more
AussieReg
Staff MemberAssociate Editor
AUTOMODELER
#007
_VISITCOMMUNITY
Victoria, Australia
Joined: June 09, 2009
KitMaker: 8,156 posts
AeroScale: 3,756 posts
Posted: Tuesday, July 07, 2009 - 08:28 PM UTC
Graeme, the only thing you have left out is the Photo-Etched kitchen sink and slide-out outhouse. Or perhaps an underslung water tank to join "Elvis" on the bushfire runs. Excellent concept and I am watching with much anticipation for progress shots.

Cheers mate
grubbyfingers
_VISITCOMMUNITY
Victoria, Australia
Joined: September 07, 2007
KitMaker: 404 posts
AeroScale: 339 posts
Posted: Thursday, July 09, 2009 - 11:09 PM UTC
I've snipped off a few of the critical interior parts and put them together in a bit of a dry run to see if the whole thing will actually fit.


It looks like I can shorten the fuel tank back to the outside straps and that should then fit within the fuselage. That's good. The ammo bins sit nicely in front of the tank, that's good too. I can see the ammo belts being run along the ceiling and dropping down to the guns.

I found the minigun base plates from the Dragon UH-1N were very large, and that the Black Hawk had similar mounts, but considerably smaller. With space at a premium, the smaller ones have been dropped in with some Black Hawk seats behind. It is all looking a bit squishy. I may need to shorten the squabs on the gunner's seats. I'll decide that once the guns are positioned. It appears that sometimes the gunners didn't have seats and stood or crouched behind the miniguns. The miniguns and seats may need to be slid backward so they match up with the door openings. This would also facilitate access to the avionics area.
HeavyArty
_VISITCOMMUNITY
Florida, United States
Joined: May 16, 2002
KitMaker: 17,694 posts
AeroScale: 1,728 posts
Posted: Friday, July 10, 2009 - 01:14 AM UTC
A very cool-looking project. I will keep an eye on this one. Good luck.
Thatguy
_VISITCOMMUNITY
Virginia, United States
Joined: November 09, 2008
KitMaker: 487 posts
AeroScale: 36 posts
Posted: Saturday, July 11, 2009 - 03:46 AM UTC

Quoted Text

I found the minigun base plates from the Dragon UH-1N were very large, and that the Black Hawk had similar mounts, but considerably smaller. With space at a premium, the smaller ones have been dropped in with some Black Hawk seats behind. It is all looking a bit squishy. I may need to shorten the squabs on the gunner's seats. I'll decide that once the guns are positioned. It appears that sometimes the gunners didn't have seats and stood or crouched behind the miniguns. The miniguns and seats may need to be slid backward so they match up with the door openings. This would also facilitate access to the avionics area.


Gunners using the XM93 subsystem would never have had any seats from which they could have used the gun to its full potential. The subsystem was intended for long fuselage UH-1s and with the system mounted to the floor the only seats readily available would have been the ones up against the engine compartment. The A/A49E-3 was designed to use an external drum-and-rod setup similar to the M23, but I can't seem to find any pictures of it actually in service. The A/A49E-9 DAS, currently used by the USMC, is also basically mounted in this position, again no doubt to take advantage of the seats on the side of the engine compartment and make ingress and egress from the main cabin easier.

The same would have been true of floor mounts on the UH-60/S-70 as well, though the seats are more readily configurable to give the option. No doubt this would have also affected ingress and egress and would probably have not be installed. I've heard of floor mounts being used with UH-60s in the DAP configuration, but I've never seen pictures. Definitely not an indication of it not existing, but I'm unclear as to the configuration. The crew chief windows where the standard M144 system was mounted were no doubt a reaction during the design process to wanting to provide flank coverage, but get it out of the way of the main cabin. I'm not sure whether there are seats at these positions.

On a side note, the current mounting system for the miniguns on the Army's UH-60s in that position is definitely not the M144 either, and is more akin to the mounting hardware used by the US Navy's Mk 44 deck mounted system, and probably acquired from the same source. Its the mount currently being used with the M240D/H as well. The Air Force on the other hand has designed 2 new mounts that are completely external and are attached to the top of the forward landing gear sponsons.
grubbyfingers
_VISITCOMMUNITY
Victoria, Australia
Joined: September 07, 2007
KitMaker: 404 posts
AeroScale: 339 posts
Posted: Saturday, July 11, 2009 - 05:35 PM UTC
Hi Joe,

Thanks for that info. I looked at the UH-60 DAP kit instructions and the mount is actually the door mount for the M2 .50 cal gun. It doesn't appear to have any seats associated with it, so I might leave them out or move them down the cabin, maybe facing forward.

Qatch this space!

Grubby.
Czarny
_VISITCOMMUNITY
Krakow, Poland
Joined: April 16, 2009
KitMaker: 68 posts
AeroScale: 62 posts
Posted: Sunday, July 12, 2009 - 08:09 AM UTC
Graeme as far as I knew those photos shows Hind's mounts for MG, maybe it will help.


MLD
_VISITCOMMUNITY
Vermont, United States
Joined: July 21, 2002
KitMaker: 3,569 posts
AeroScale: 419 posts
Posted: Sunday, July 12, 2009 - 08:29 AM UTC
For what it is worth, those gun crutch parts are in the Eduard interior set for the Hind, but they will still need some additional bits to bring them up to that level of detail.

Mike
grubbyfingers
_VISITCOMMUNITY
Victoria, Australia
Joined: September 07, 2007
KitMaker: 404 posts
AeroScale: 339 posts
Posted: Sunday, July 12, 2009 - 11:50 AM UTC
Thanks, Guys.
Very nice pics, Czarny, thanks. They'll be very helpful. I won't be poking the miniguns out the window, though, as the ammo bin will be smack in front of it!

Grubby.
Avus
_VISITCOMMUNITY
Roma, Italy
Joined: March 10, 2006
KitMaker: 302 posts
AeroScale: 112 posts
Posted: Sunday, July 12, 2009 - 07:08 PM UTC
Looks great so far!

Since many suggestions have been made, let me toss in my two euro-cents: the Hind has the possibility of fitting external auxiliary fuel tanks. Being space in the cargo hold a problem, my suggestion is to remove the internal tank, place the ammo dispenser on the rear bulkhead and the seats close to the dispenser facing forward.

How about putting a minigun on one side and a .50 on the other one like the USMC UH-1N configuration?
grubbyfingers
_VISITCOMMUNITY
Victoria, Australia
Joined: September 07, 2007
KitMaker: 404 posts
AeroScale: 339 posts
Posted: Sunday, July 12, 2009 - 10:28 PM UTC
Hi Avus, Even though this is a what-if build, I just can't bring myself to put fuel tanks in the line of fire of miniguns!
nzgunnie
_VISITCOMMUNITY
Auckland, New Zealand
Joined: October 15, 2004
KitMaker: 371 posts
AeroScale: 12 posts
Posted: Sunday, July 19, 2009 - 08:31 PM UTC
Here's a bit of info about a real Aussie Hind.

I was in Tindal in 1997 and they had a Hind and (I think) a Hip secured there that had been confiscated from a Mercenary company. The Company (might have been Sandline?) was trying to take them to PNG.

It was all very hush hush at the time. The hangar they were both kept in was the one we normally used for maintenance when we were visiting, but we were told we couldn't use it on this particular trip. Being typical nosey Kiwis as soon as our Aussie hosts turned their backs we were snooping around to see what was inside!

I have no idea what happened to it - a few days after we arrived the RAAF towed it away to somewhere on the other side of the base.

They certainly are a big machine.

grubbyfingers
_VISITCOMMUNITY
Victoria, Australia
Joined: September 07, 2007
KitMaker: 404 posts
AeroScale: 339 posts
Posted: Thursday, July 23, 2009 - 01:47 AM UTC


The straps on the tank proved to be ideal guides to cut down the tank. show is the tank top and front with the edges removed.


The tank top and front were glued together with some braces from scrap sheet styrene to ensure they sat at 90°.


The kit cabin floor is simply flat plastic and looks rather dull. I thought about different ways to introduce some texture without adding too much thickness. I dug out a floor from an unbuilt Tamiya M113 APC kit. The size and texture were just what I was looking for, but simply glueing this over the original floor would add about 10 scale cm to the height of the floor. I could cut the M113 part into the Mi-24 floor, replacing a section of the kit floor, but then I lose the M113 interior. Then I thought of making a rubbing of the M113 floor using that wonderful thin aluminium sheet you get in the top of drink powder tins like Milo or coffee.


One of these sheets was stretched over the donor floor part and secured at the back with masking tape.


The aluminium was then rubbed down over the surface detail of the M113 floor with a cotton budto transfer the detail onto the metal.


I then used a toothpick to bring up more detail and push the metal right into the recesses and crevices.


Once I was happy I'd got most of the detail I wanted, I trimmed the aluminium away from the donor floor.


This metal relief was then glued to the helicopter floor and we ended up with a helo floor now with texture. Here it is with the trimmed down fuel tank in place on the floor. Notice that I have reversed the rear bulkhead so the moulded-on detail doesn't interfere with the positioning of the fuel tank. The bulkhead will be all but invisible behind the tank, so the detail won't be missed. You can see here I have bent up a rectangle of scale expanded mesh to act as a walkway in the avionics bay.
HeavyArty
_VISITCOMMUNITY
Florida, United States
Joined: May 16, 2002
KitMaker: 17,694 posts
AeroScale: 1,728 posts
Posted: Thursday, July 23, 2009 - 11:17 AM UTC
Looking great Graeme. Good idea with the aluminum fllor imprint. Keep up the good work.
Avus
_VISITCOMMUNITY
Roma, Italy
Joined: March 10, 2006
KitMaker: 302 posts
AeroScale: 112 posts
Posted: Thursday, July 23, 2009 - 07:13 PM UTC
Great idea on copying the roof on the floor!
This will be one interesting build!
grubbyfingers
_VISITCOMMUNITY
Victoria, Australia
Joined: September 07, 2007
KitMaker: 404 posts
AeroScale: 339 posts
Posted: Saturday, August 08, 2009 - 01:45 AM UTC


The straps on the tank proved to be ideal guides to cut down the tank. Shown is the tank top and front with the edges removed. The tank will now fit snugly inside the fuselage. It even actually fits through the side door.


The tank top and front were glued together with some braces from scrap sheet styrene to ensure they sat at 90°.


The tank was then sprayed with a dark matt grey.


Pre-shading was added in the form of dark airbrushed stripes of black around the strapping.


And the strapping itself was picked out by hand with a nice contrasting brown colour.
ShawnM
_VISITCOMMUNITY
Missouri, United States
Joined: November 24, 2008
KitMaker: 564 posts
AeroScale: 510 posts
Posted: Saturday, August 08, 2009 - 02:59 AM UTC
great idea, neat build.
Narn08
_VISITCOMMUNITY
Kobenhavn, Denmark
Joined: April 13, 2007
KitMaker: 44 posts
AeroScale: 30 posts
Posted: Saturday, August 08, 2009 - 05:36 AM UTC
that foil is a good idea
Avus
_VISITCOMMUNITY
Roma, Italy
Joined: March 10, 2006
KitMaker: 302 posts
AeroScale: 112 posts
Posted: Sunday, August 09, 2009 - 07:20 PM UTC
That aux-tank looks great!
JanusAust
_VISITCOMMUNITY
Victoria, Australia
Joined: August 17, 2009
KitMaker: 190 posts
AeroScale: 1 posts
Posted: Saturday, August 22, 2009 - 10:41 AM UTC
Just joined the website, and love the idea of one of my favourite cold war beasts in Auscam!!!

Brilliant!!

looking forward to seeing more of this progress......

thanks for the other links, I have one in the stash, waiting for when I am more settled in moving


Cheers

Jamie
PanzerMike
_VISITCOMMUNITY
Hamilton, New Zealand
Joined: May 09, 2007
KitMaker: 298 posts
AeroScale: 120 posts
Posted: Saturday, August 22, 2009 - 02:03 PM UTC
Great looking build so far
 _GOTOTOP