Hi Guys
I'm after some guidance please?
A couple of my local(sic) hobby stores have had a couple of 109s on sale which I bought.
1.Hasegawa 109f-4 Trop (1/48)
2.Tamiya 109E 4/7 Trop (1/72nd)
I'm looking for some ideas to add detail to these kits without resorting to purchasing resin or PE which generally costs an arm and a leg here in NZ, and the range is just about nil.
I will be adding brake lines but any other ideas would be appreciated.
I'll also be posting a similar post on P-47 Heaven as I also got the Tamiya 1/72nd Razorback.
Cheers
Chris
Hosted by Rowan Baylis
Updating a Bf 109 without PE or Resin?
chris1
Auckland, New Zealand
Joined: October 25, 2005
KitMaker: 949 posts
AeroScale: 493 posts
Joined: October 25, 2005
KitMaker: 949 posts
AeroScale: 493 posts
Posted: Thursday, July 23, 2009 - 06:45 PM UTC
jaypee
Scotland, United Kingdom
Joined: February 07, 2008
KitMaker: 1,699 posts
AeroScale: 1,384 posts
Joined: February 07, 2008
KitMaker: 1,699 posts
AeroScale: 1,384 posts
Posted: Thursday, July 23, 2009 - 10:21 PM UTC
flaps made from coke tins/sheet styrene. free the leading edge slats. free all control surfaces.
replace guns with hypo needles. replace control rods with stretched sprue or brass pins.
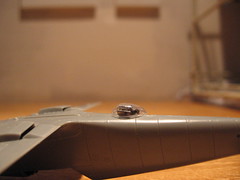
Detail the cockpit with wires and acetate squares.
Drill out the instrument panel, sand it wafer thin and install the instrument decal behind it. drops of gloss varnish in the faces.
I did the 1/72 tamiya 109e and there were details to be added there if you felt like it, I didn't.
The oxygen filter was a bit basic I recall.
I scratched a radar and housing and printed custom decals to make it as a night fighter.
Smash mold a canopy. The world is your lobster.
Radar and extended rudder.
Posted: Friday, July 24, 2009 - 11:25 AM UTC
Hi Chris
Where to start? You've identified the brake lines, but there's a lot you can add to refine a kit without resorting to aftermarket extras...
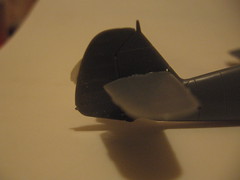
Make sure you thin down the trailing edges of the wings etc.
Add seat harnesses
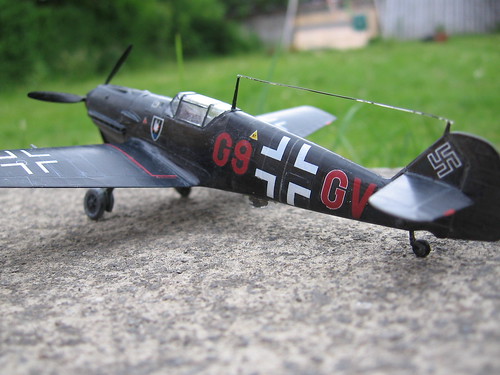
With the Bf 109, add a restraining line if you pose the canopy open
Thin the canopy edges to a more realistic thickness if you open it (or mould a new one as JP suggests)
Add aerials
Separate the control sufaces, drop the flaps and slats (where appropriate - check pics of the real thing)
Propeller blades usually benefit from thinning down
Drill out the gun barrels
The possibilities are endless - it's a question of patience (and skill). Just don't set your sights so high that you end up totally frustrated. The main thing is to enjoy yourself!
All the best
Rowan
chris1
Auckland, New Zealand
Joined: October 25, 2005
KitMaker: 949 posts
AeroScale: 493 posts
Joined: October 25, 2005
KitMaker: 949 posts
AeroScale: 493 posts
Posted: Saturday, July 25, 2009 - 11:49 AM UTC
Hi John-Paul & Rowan,
Thanks for the replies,
I'm at a stage for the Thunderbolt GB where I can start to consider my next project and after seeing builds by Chuck & Steffen I figured that I can do that(sort of) but I wasn't sure where to start,so its given me some ideas, I think a blog might be in order, for feedback at each stage.
Puts thinking cap on...
Where to start?
Cheers
Chris
Moeggo
Wellington, New Zealand
Joined: March 15, 2005
KitMaker: 169 posts
AeroScale: 132 posts
Joined: March 15, 2005
KitMaker: 169 posts
AeroScale: 132 posts
Posted: Monday, July 27, 2009 - 11:31 AM UTC
Quoted Text
I'm looking for some ideas to add detail to these kits without resorting to purchasing resin or PE which generally costs an arm and a leg here in NZ, and the range is just about nil.
Hi Chris,
I feel your pain about prices of aftermarket items here in NZ. There is not much selection and the prices are high due to the shipping cost to order items in.
Would you go down the resin and PE road if you could get them cheap?
Have you had a look at [url=www.Luckymodel.comLucky Model[/url]? They are based in Hong Kong and they offer free shipping on some items like Aires.. You can pick up a Aires 1/48 Bf 109 Cockpit for USD$16.99 (NZD$25) with free shipping and the they are pretty quick to deliver .
Dave