Hei guys!
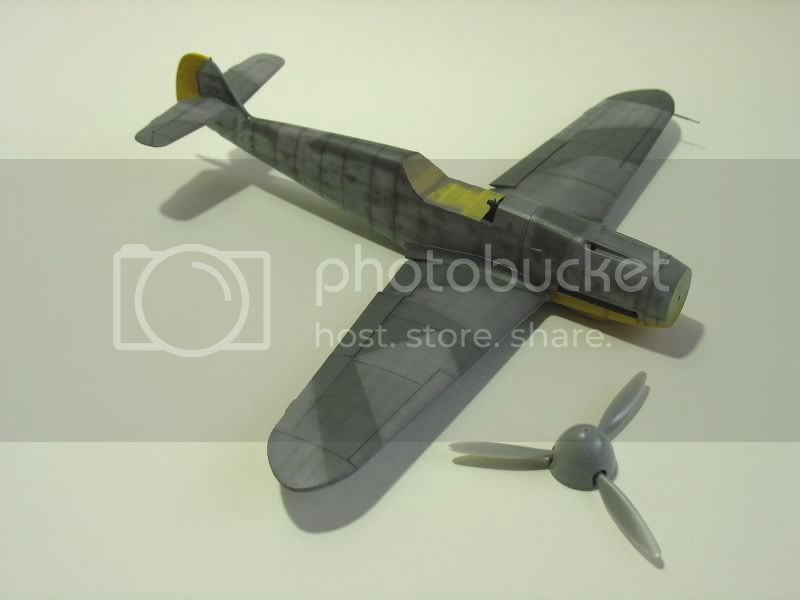
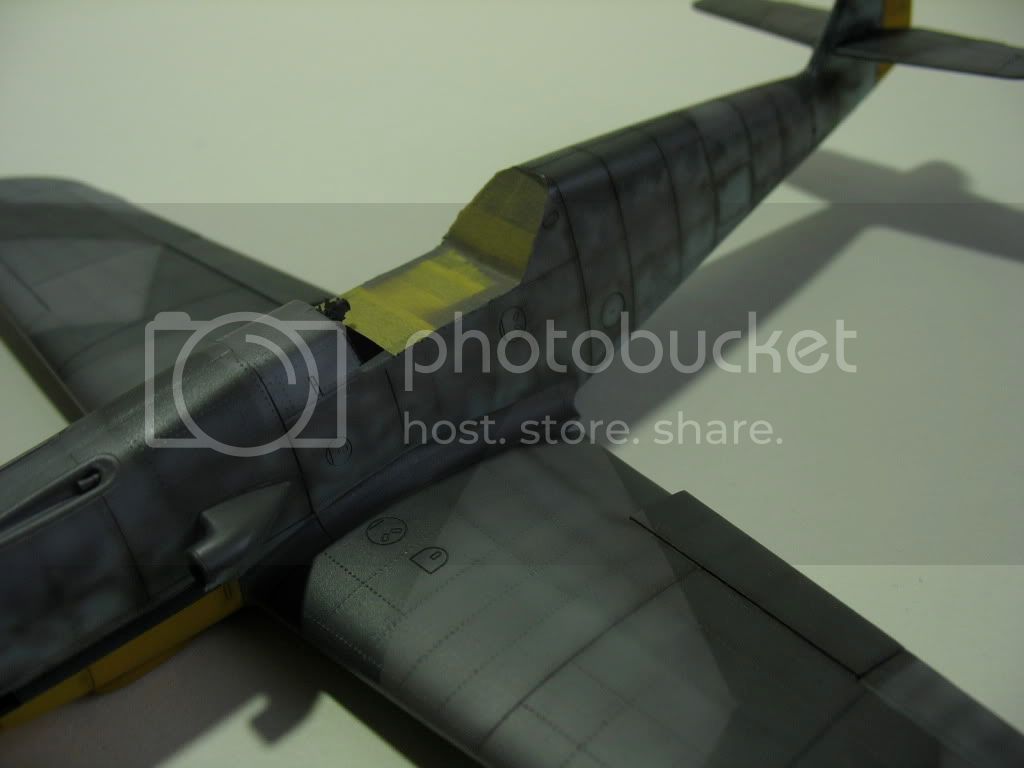
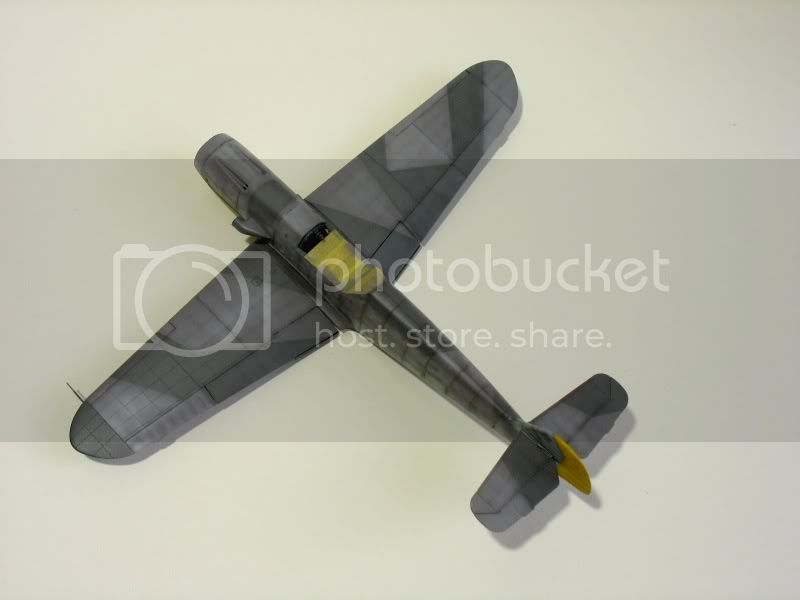
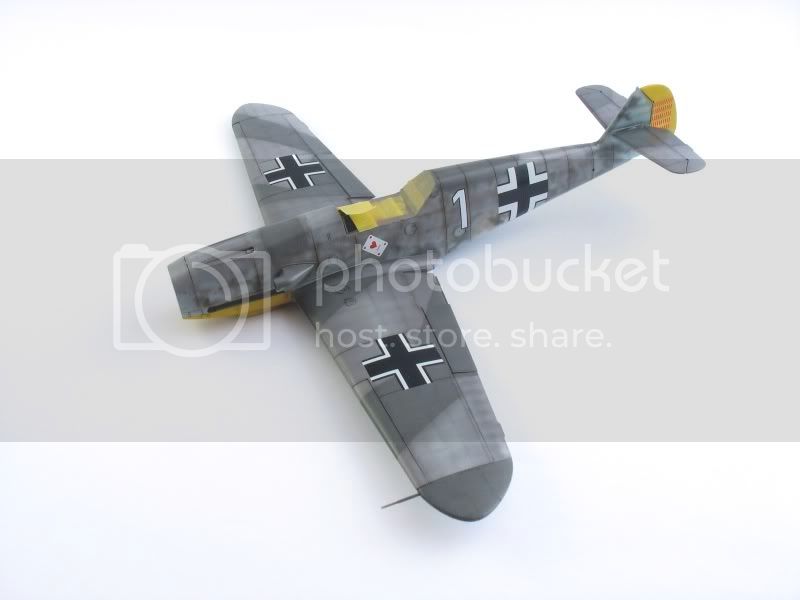
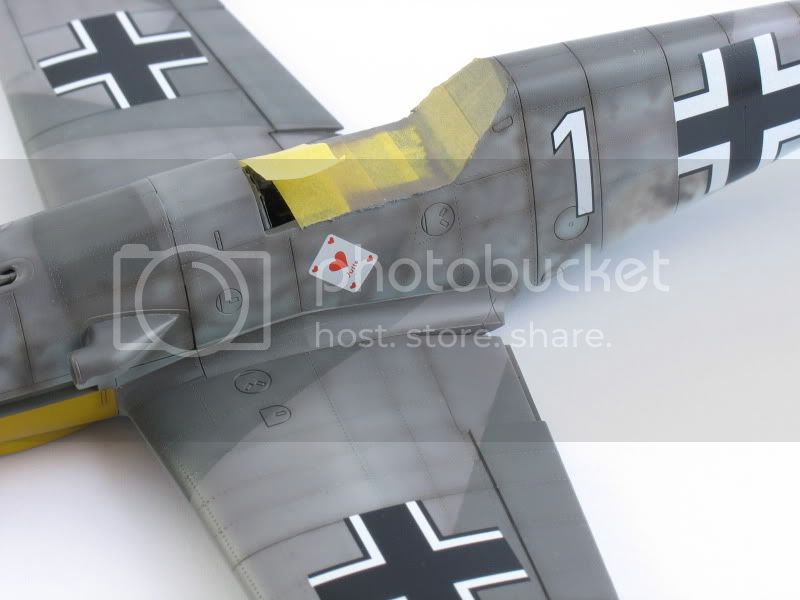
I know, now you have to think: not another one started...! But I had to try ou the motling with the airbrush. It was pretty difficult to get the right paint ratio and alcohol. I used Gunze and Tamiya acrylics. In my opinion the colors didn't mix very well in the jar... Perhaps because of the glossy and flat acrylics?!
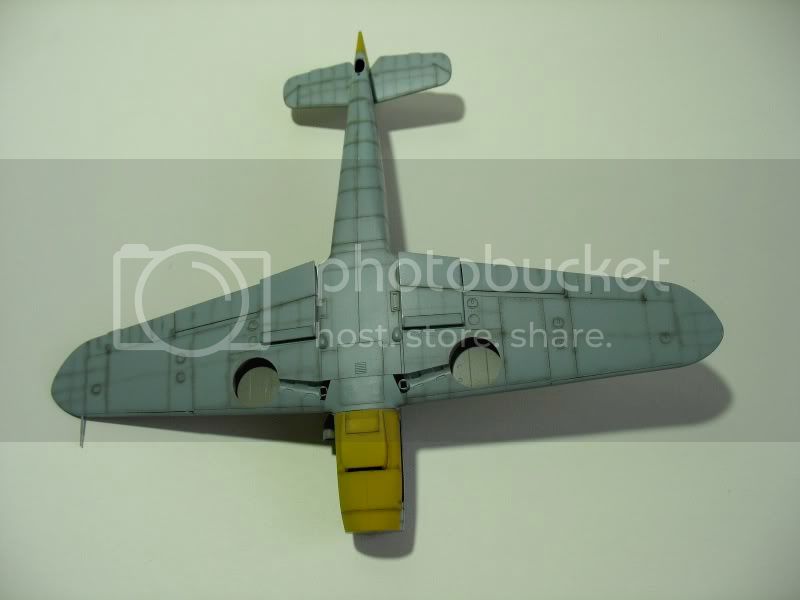
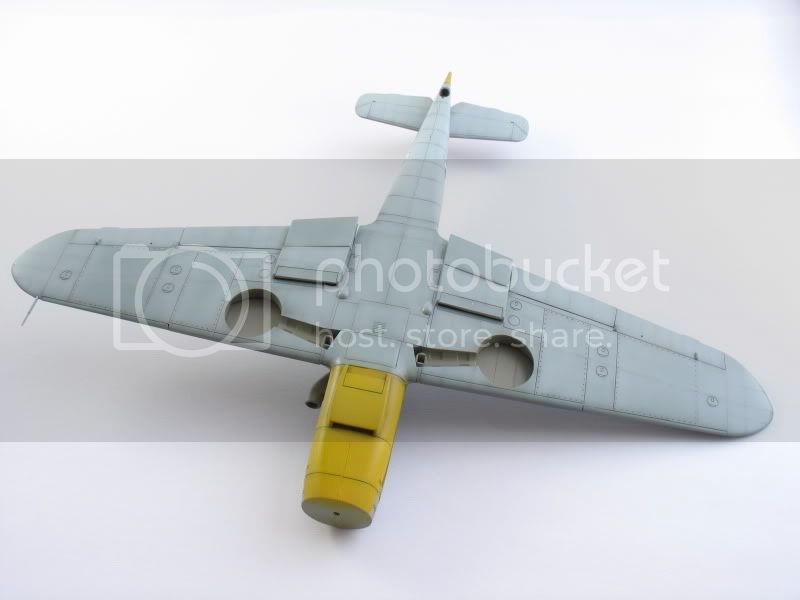
Nevermind... First the base colors and mottling, second step was shading with dark brown, this step mixing the base color with lighter tones like grey, buff, white... and spraying them very thinned over the panels. I tried to use post it's to highlight the panels in different variations. Yellow and light blue parts are not finished yet. And I don't know how to deal with the motling.
Criticism very welcome! Cheers guys!
Pre-Flight Check
Constructive critique of your finished or in-progress photos.
Hosted by Jim Starkweather
Bf 109 'Priller' another started model...
hellvetier
Bern, Switzerland
Joined: April 17, 2008
KitMaker: 264 posts
AeroScale: 88 posts
Joined: April 17, 2008
KitMaker: 264 posts
AeroScale: 88 posts
Posted: Tuesday, July 28, 2009 - 09:02 AM UTC
Siderius
Tennessee, United States
Joined: September 20, 2005
KitMaker: 1,747 posts
AeroScale: 1,673 posts
Joined: September 20, 2005
KitMaker: 1,747 posts
AeroScale: 1,673 posts
Posted: Tuesday, July 28, 2009 - 11:30 AM UTC
I like it, looks good. That splinter camo always looks good on the German aircraft. Will look forward to seeing more. Russell
Posted: Tuesday, July 28, 2009 - 08:17 PM UTC
Hallo A.W.
your model looks beautiful. the effects are outstanding!!!!
... but somehow it looks strange to me. I might well be wrong here but IMO you used a 70/71 or 02/71 camo scheme with 74/75 colours. of course there were variations but as I wrote I am not sure and it is just a feeling.
I just had a look in Merricks Luftwaffe Camouflage and Markings Vol.1 and your camo matches diagram 7g on pg. 79 pretty well. According to the caption it was introduced in 1943 for Bf 109 G-6 ..so I was wrong, but your Bf 109 is also no G-6 ... best is to have a few pix of the original aircraft you want to represent ...
all the best
Steffen
hellvetier
Bern, Switzerland
Joined: April 17, 2008
KitMaker: 264 posts
AeroScale: 88 posts
Joined: April 17, 2008
KitMaker: 264 posts
AeroScale: 88 posts
Posted: Friday, July 31, 2009 - 03:51 AM UTC
@ Russell: Thanks for your comment! I like the splinter camo too, especially on the ju-87.
@ Steffen: Thanks for looking up the camo scheme in the book. I checked it too and was surprised, that it was only used for the G-6 Version. But I painted the camo from the Hasegawa box art and painting instructions. Didn't think that they can be wrong in a special Priller Bf 109 edition... But I didn't find any pics of this plane on the net and not in any of my material. So it's a little bit strange.
I just wanted to show you guys some pictures made with my DIY Lightbox. What do you think? I used one lamp from left and daylight from above and right. I have to buy better paper for the background.
Gloss coat and the big decals are on and sealed.
From my start at modelling I was always afraid of putting on the decals, every softener I used wasn't very good, one time it even destroyed a US Insignia! . But this time I used Micro Set and Micro Sol. Wonderful products! No problems a with putting them on, though the setter makes the decal stick on the surface very fast and it's a little bit difficult to move it in place. And the softener put the decal very good on to the surface. I'm curious how the rivets and panel lines will be visible after enhancing them.
Comments like always welcome!
Posted: Friday, July 31, 2009 - 04:17 AM UTC
Hi A.W.
I only found a pic in Caldwell's JG 26 photographic history pg.59 sadly not much of a help here... maybe there is more in the war diary or the original Geschwader history ...
The lighting in your box is very good!!! but I personally do not lik a white background to put the model on ..
all the best
Steffen