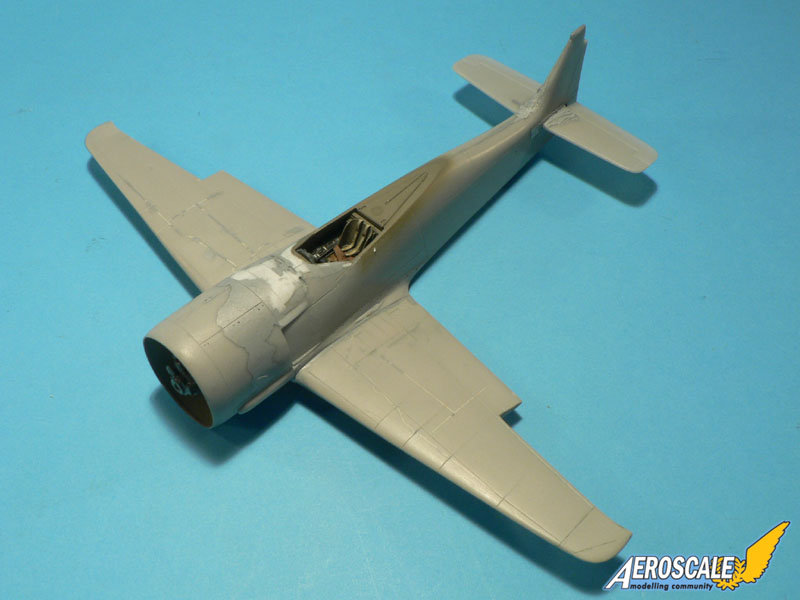
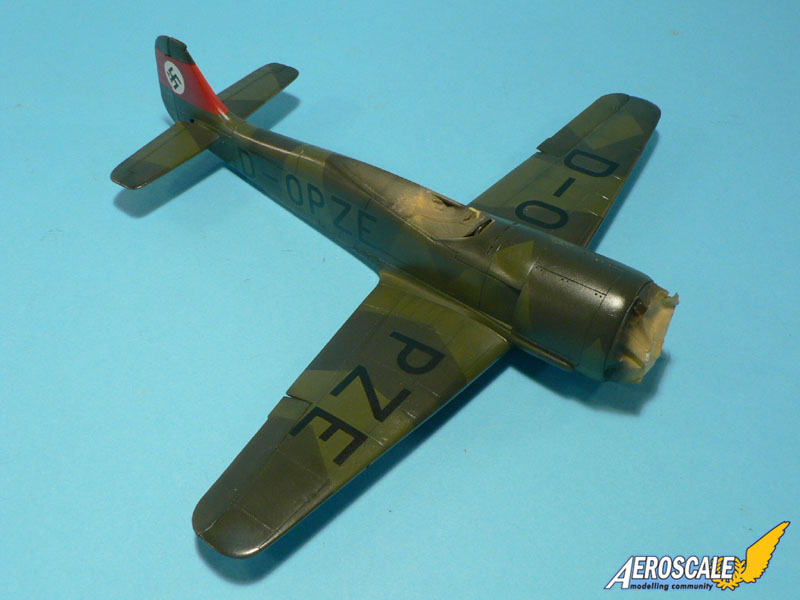
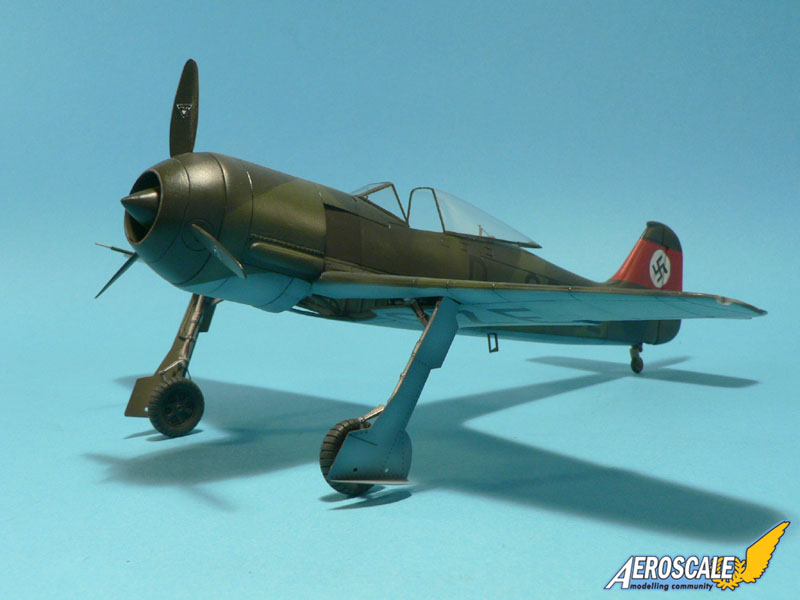
The Butcherbird campaign is over, so I decided to start a separate blog to present the model I'm working on. It's Legato's 1:48 scale Fw 190 V1 in resin. A review can be found here. I was a little be too much optimistic while rating the kit (85%)...

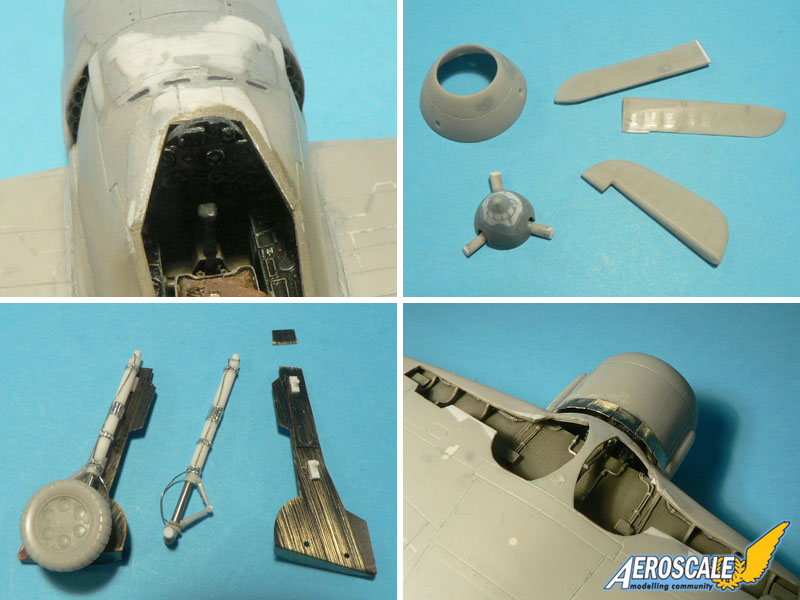
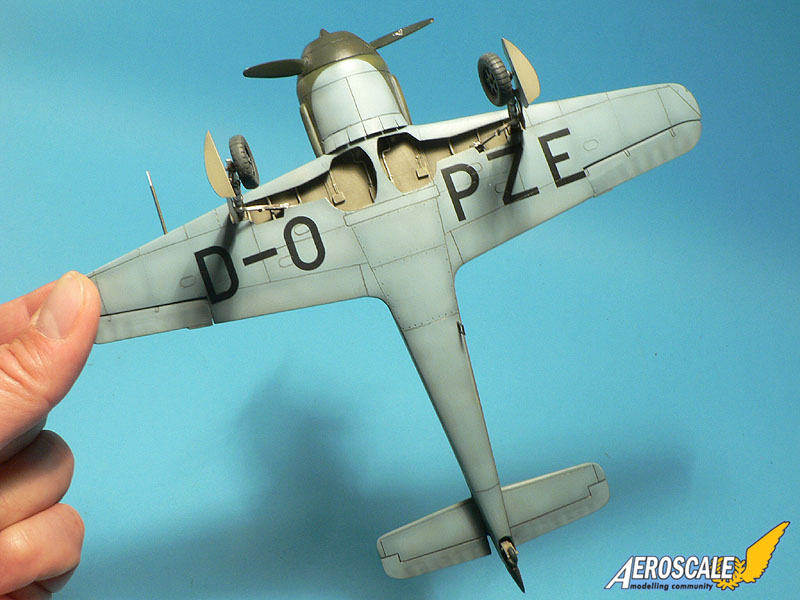
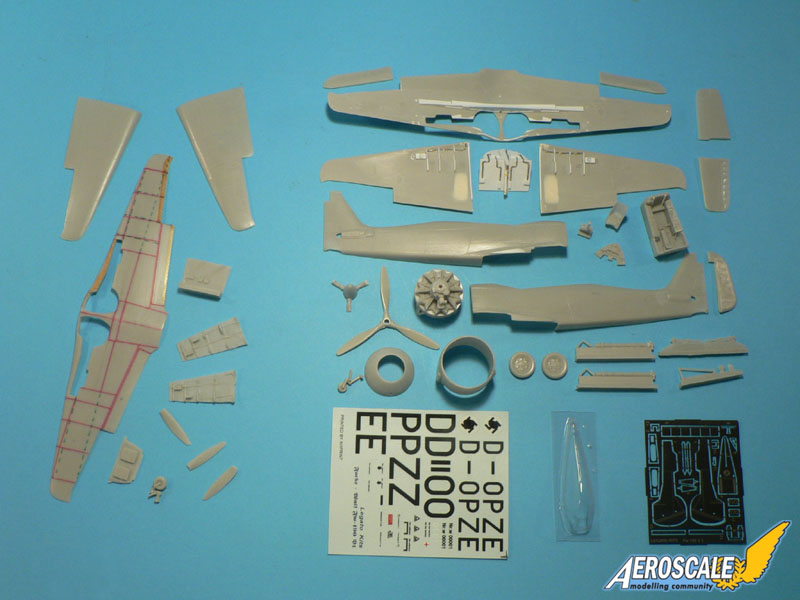
On the first picture you will notice that I've eliminated some parts of the model (on the left). The wings because they are not symetrical. Especially the underwing and the landing gear openings are pretty bad. I've decided to make new wings, including the internal structure, out of the parts of a Fujimi Fw 190 A6/9 kit and plasticard. I won't use the tailwheel neither because it is way too big for the prototype aircraft. Here as well I will use the part from the Fujimi kit which is undersized for a production aircraft. The propeller blades will be replaced too because there are some nasty bubbles at their tips... fortunately, the rest of the kit is usable!

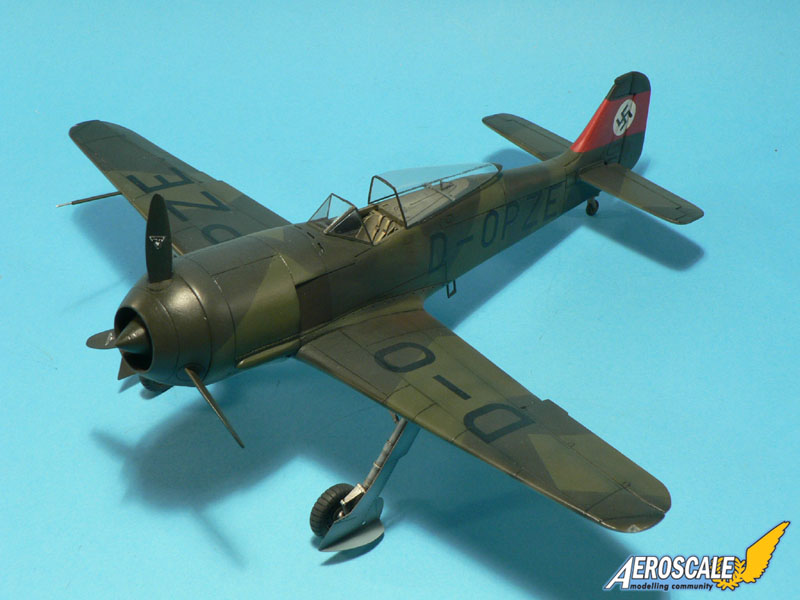
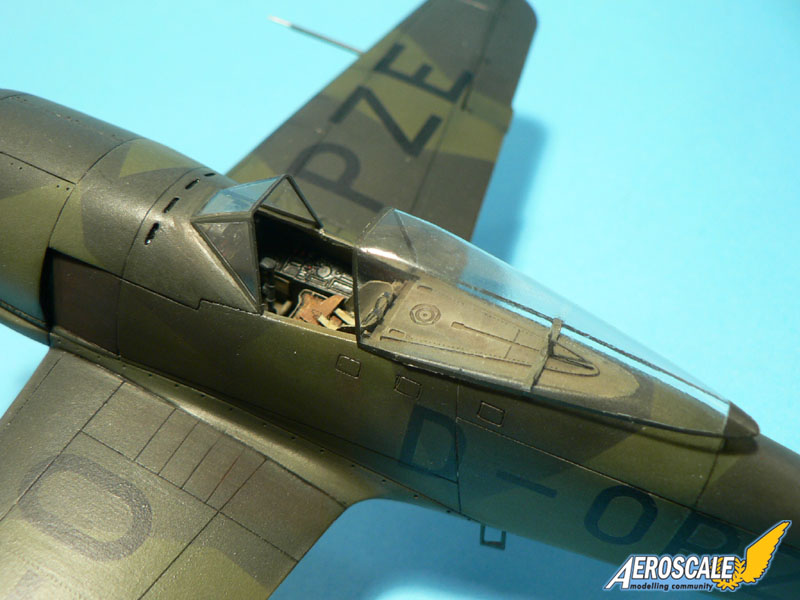
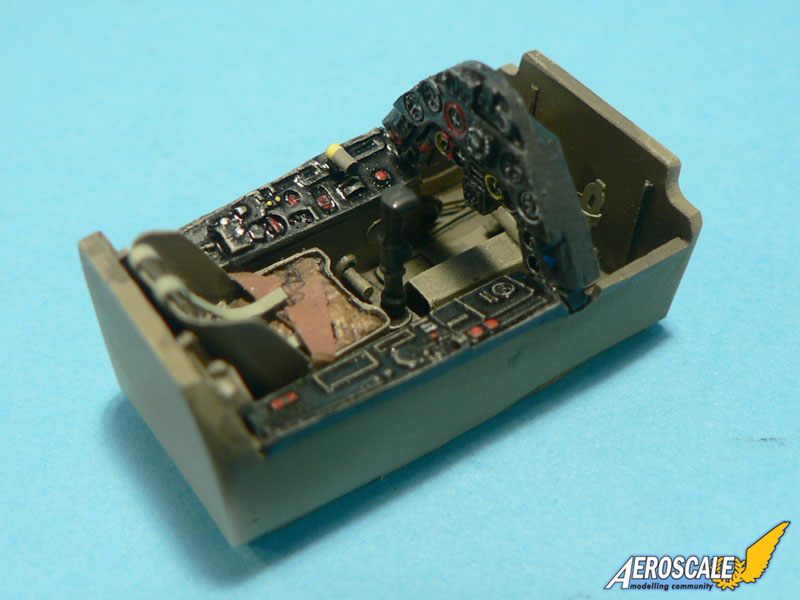
The cockpit is very nice indeed with detailled resin parts and some PE seatbelts. If the cockpit layout is appropriate for the V1 is open to debate though...
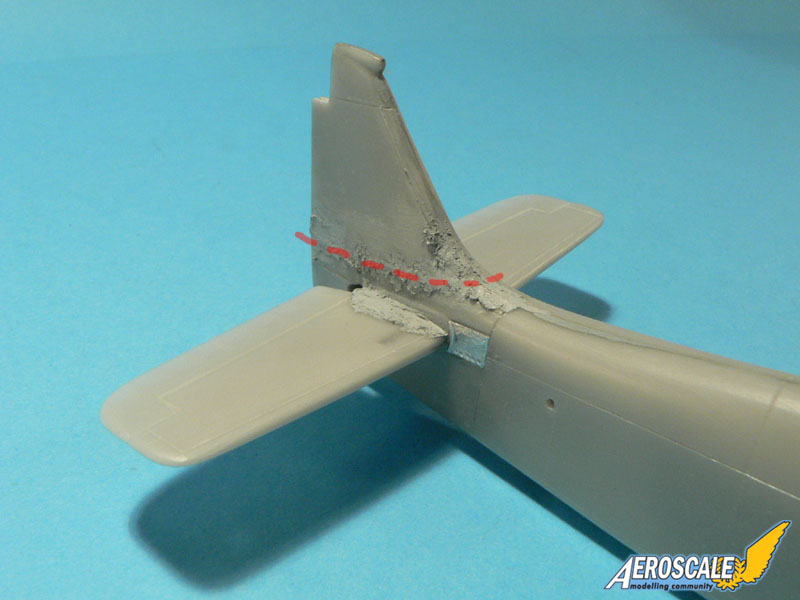
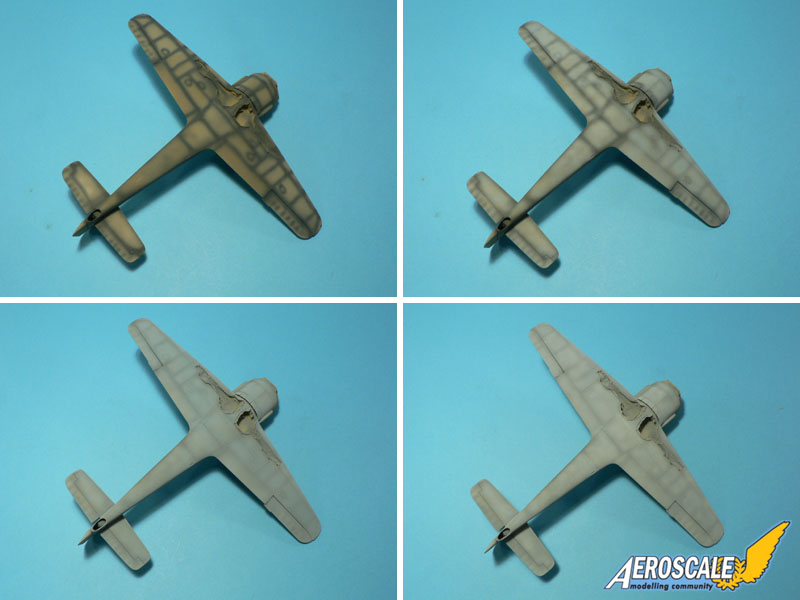
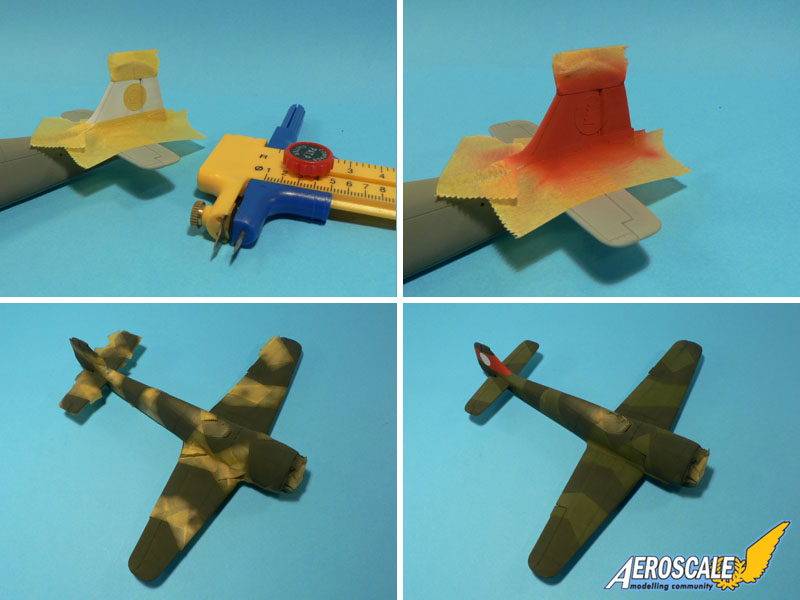
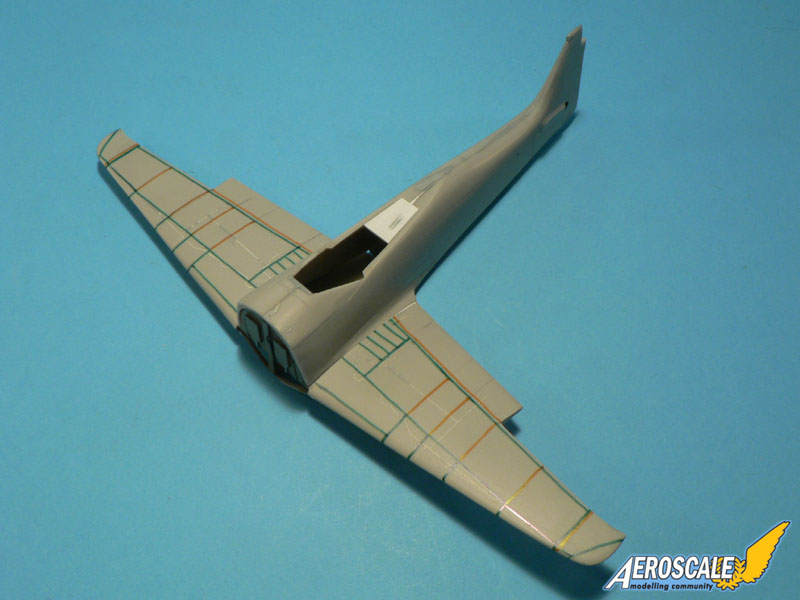
I had to engrave the kit anew. To do this I filled the original panel lines of the Fujimi kit and draw some lines with color felts: green = panel lines, grange = rivet lines. I've used the model's wings as template...
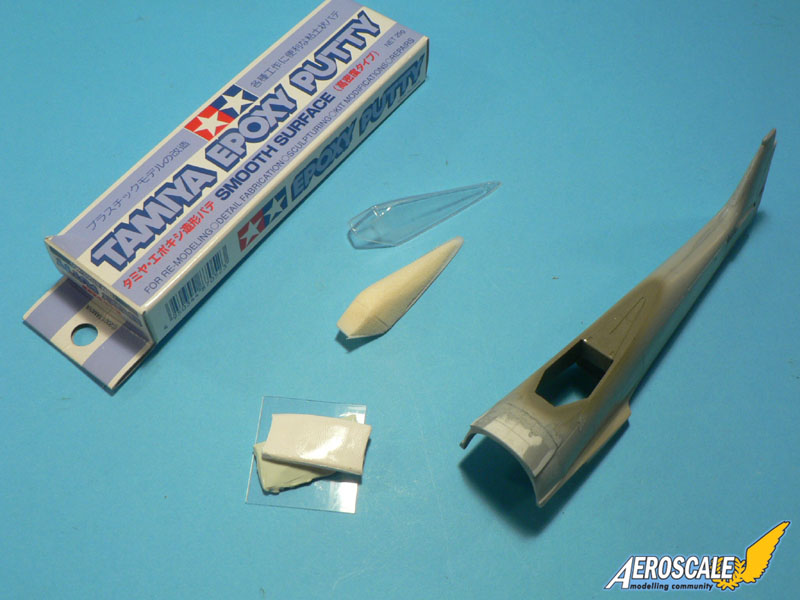
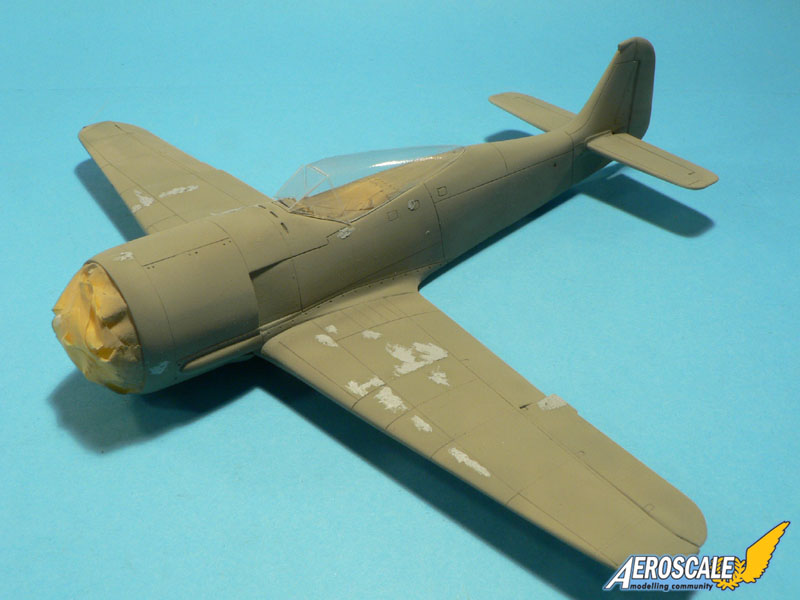
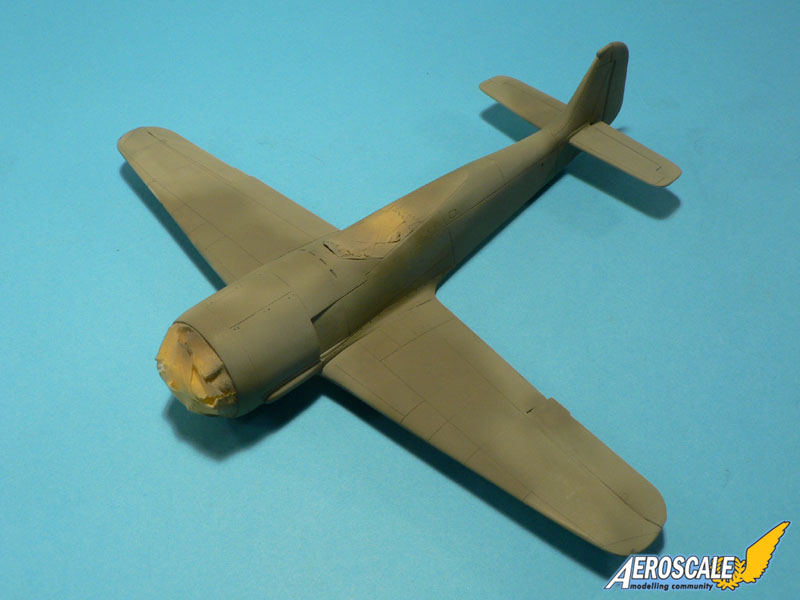
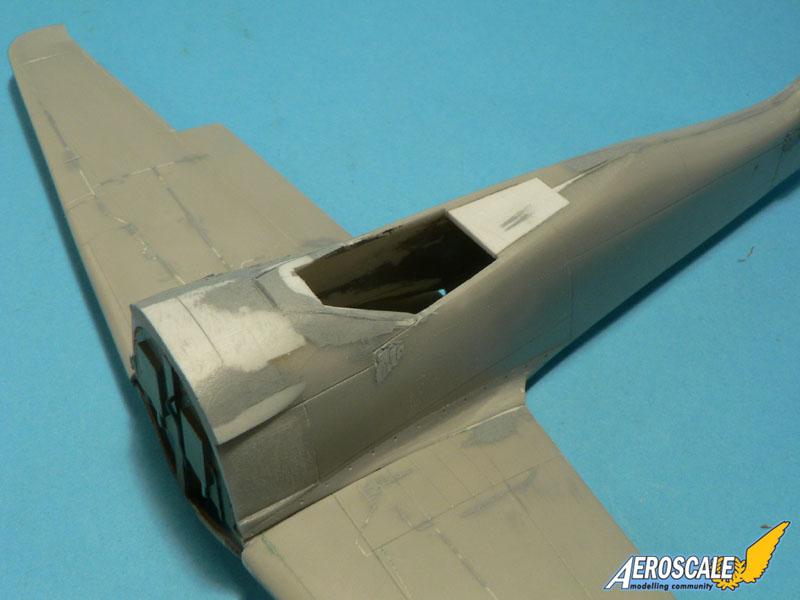
Below is a photo showing the amount of plasticard and filler needed to obtain a better fit between the forward fuselage and the round engine cowling. Note also the work needed to adjust the opening of the cockpit...
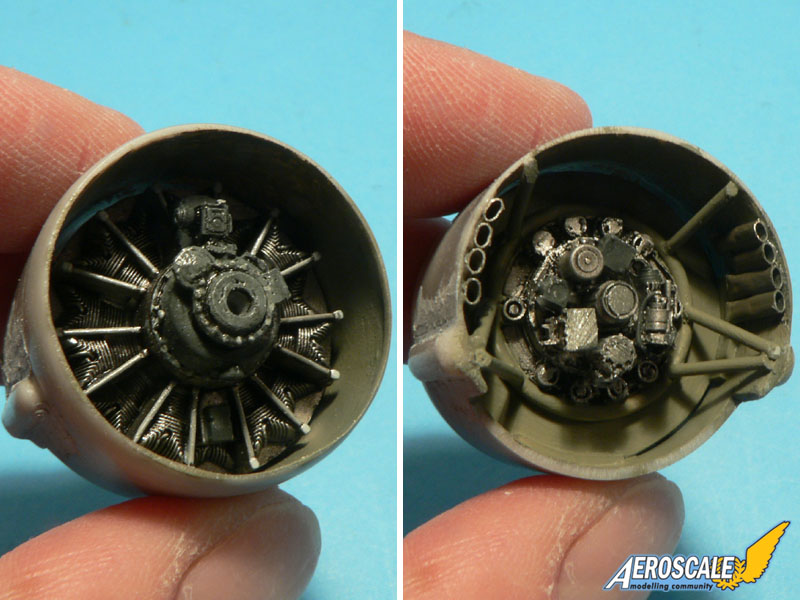
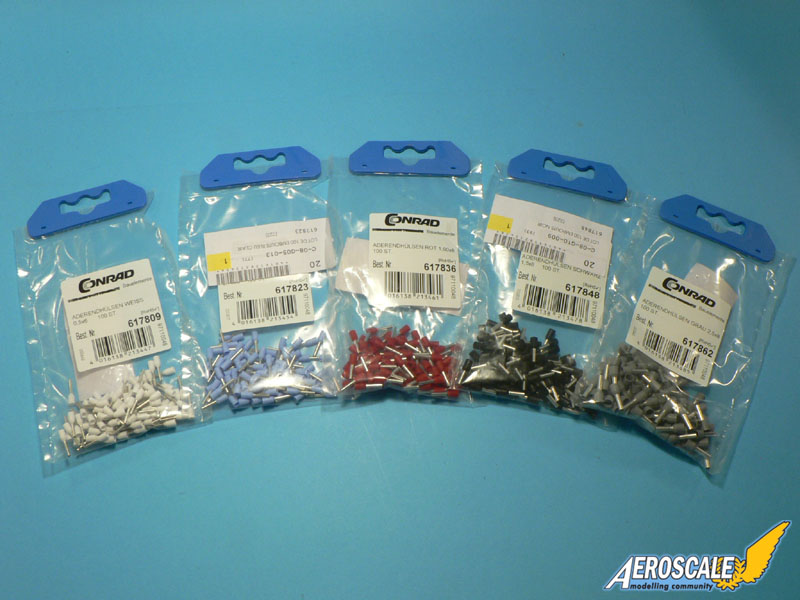
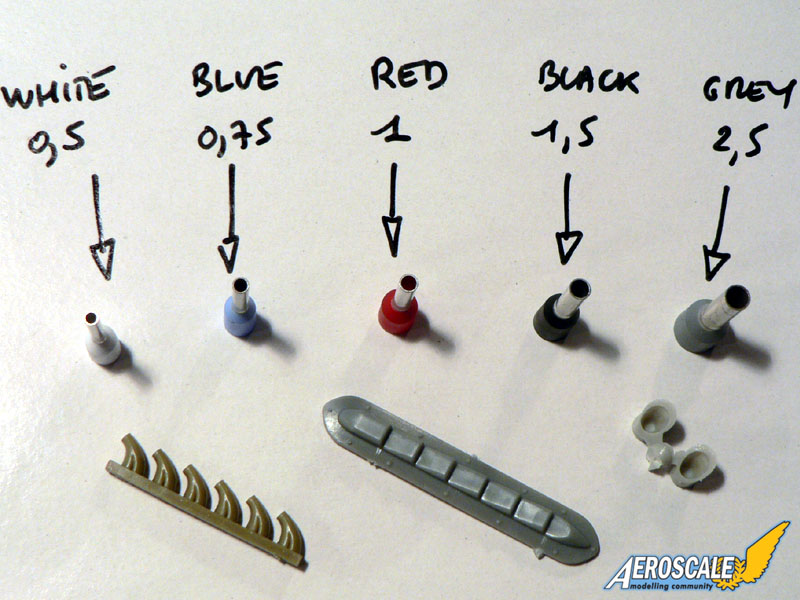
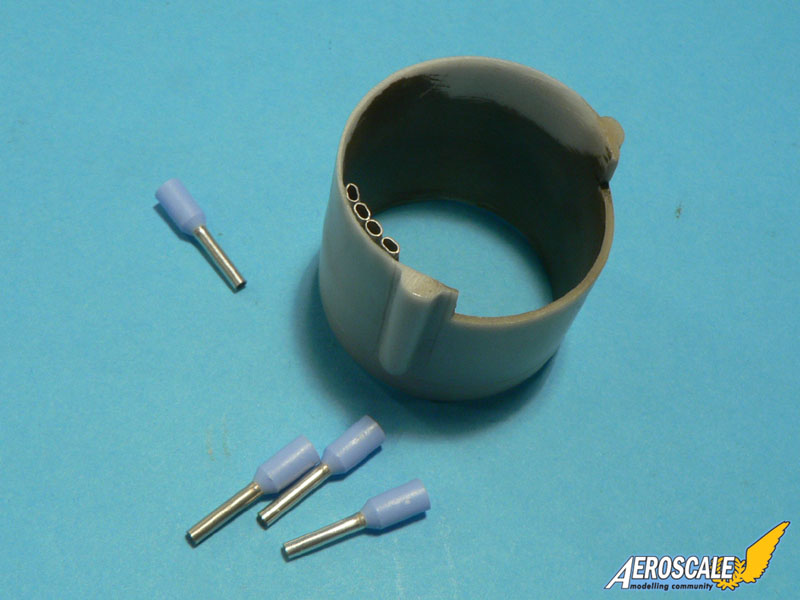
To do the exhaust stacks on the side of the fuselage, I used small electrical components which I've crushed a little bit to make them oval. This stuff is available in various sizes, costs almost nothing and is easy to use...
All the best,
Jean-Luc