_GOTOBOTTOM
Early Aviation
Discuss World War I and the early years of aviation thru 1934.
Hasagawa Boeing P-12E WIP
MerlinV
_VISITCOMMUNITY
Victoria, Australia
Joined: November 26, 2006
KitMaker: 608 posts
AeroScale: 602 posts
Posted: Saturday, August 08, 2009 - 06:40 PM UTC
Greetings.
It occured to me that we don't see a lot of between the wars subjects on the Early Aviation thread. So I thought maybe it was time we did.
I need a short break from WWI, rigging, wood panelling and PC10... so I opened the wardrobe of doom as picked out the kit at the top of the non-WWI pile.

It turned out to be this.


I picked this up second hand at an IPMS meeting a year or so ago. I'm not sure when this series was released; Sometime around the mid Eighties I'd say (other may know more). The others in the series were the Boeing F4B-4, the Curtis BF2C-1 and the P-26A Peashooter.

It is moulded in Dark Green and Grey Styrene... Fairly brittle. And the decals are a little yellowed after all this time. It remains to see whether they will be useable.

Anyway, I have started (Contrary to the instructions, such as they are) by assembling the wings.


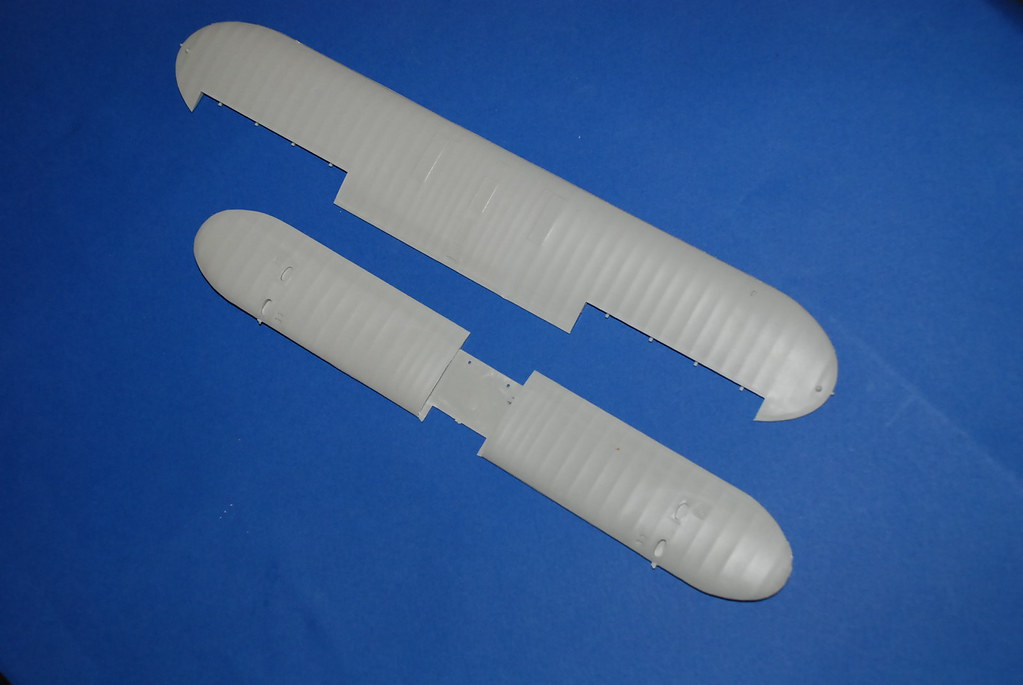
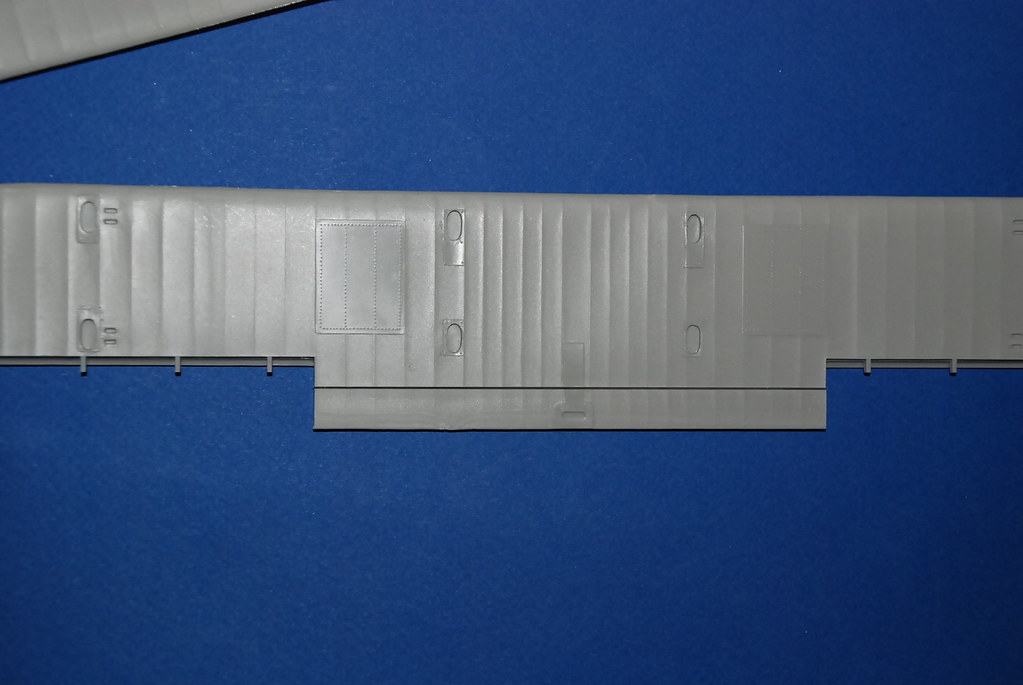
The upper main plane is in two "halves" top and bottom. There is a really quite inconvenient join about 6mm in from the trailing edge on the underside.
I will have to fill this somehow.


Anyway, I'm looking forward to a nice easy and quick build here... I am going to try to resist the temptation to detail the cockpit at all... Yeah, Right!

Cheers,

Hugh
Kornbeef
_VISITCOMMUNITY
England - South East, United Kingdom
Joined: November 06, 2005
KitMaker: 1,667 posts
AeroScale: 1,551 posts
Posted: Saturday, August 08, 2009 - 08:26 PM UTC
Interesting kit, I have a vague recollection of these kits coming out but very vague. But not being *conflict* craft I didnt buy though I love some of the gaudy US paint schemes of the day.

A daymare of a seam to fix if the surfaces are slightly mis aligned. Maybe careful use of milliput ot magisculpt but I suppose Hasegawa took the view it was in the most least likely to be seen place rather than mould the wings thinn edged.

It will be nice to see how the rest of this old codger looks as you progress

Keith

thegirl
_VISITCOMMUNITY
Alberta, Canada
Joined: January 19, 2008
KitMaker: 6,743 posts
AeroScale: 6,151 posts
Posted: Sunday, August 09, 2009 - 05:22 AM UTC
Nice to see something different in the early pages being built Hugh !

Mark has an excellent tec on using Tamiya Putty and ( acetone ) ? in the dual build . I use a diffent method but really the same . I used Valljeo putty and Tamiya thinner . Not sure if this is the way you want to go but I do hope in some way it helps you out on finding a soluiton for it .

Looking forward to your progress Hugh , it has been very lame around here of late . Just have to love those summer months !
Hatter50
_VISITCOMMUNITY
North Carolina, United States
Joined: June 17, 2006
KitMaker: 478 posts
AeroScale: 391 posts
Posted: Sunday, August 09, 2009 - 11:35 AM UTC
Hey Hugh,

Long time no chat.............this ought to be a fun build. I have the F4B-4 in my stash and have been contemplating. Got the Engines and Things "Engine" (not the greatest) and the Yellowings Navy?Marine decals. It's been a long time since I built my last one of these. The cockpit looks like a new build to me.

I'll keep an eye on ya........have fun!!

Regards
Steve
TedMamere
_VISITCOMMUNITY
Moselle, France
Joined: May 15, 2005
KitMaker: 5,653 posts
AeroScale: 4,347 posts
Posted: Sunday, August 09, 2009 - 07:28 PM UTC
Hi Hugh,

Very interesting model. I will be watching your progress with great interest...

Jean-Luc
MerlinV
_VISITCOMMUNITY
Victoria, Australia
Joined: November 26, 2006
KitMaker: 608 posts
AeroScale: 602 posts
Posted: Sunday, August 16, 2009 - 12:20 AM UTC
Well, it turned out that the gap in the wing was easier to fill than anticipated. The gap was almost exactly 20 though wide, so I just gave a length of .020" square Evergreen strip a scrape with a number 11 blade to thin it a litte and pushed it into the gap with my thumb nail. Then I ran a bead of Styrene solvent over the strip and the plastic either side of it and left it to dry.
Then, simply scraped the excess away with a sharp knife and sanded smooth with Wet-n-dry.
I lost the re-enforcing section on the trailing edge there, so you can see the replacement cut from ten though sheet.


The wings are now ready for a coat or three of paint.


I couldn't resist a bit of a dry fit...


More soon.

Cheers,

Hugh
JackFlash
_VISITCOMMUNITY
Colorado, United States
Joined: January 25, 2004
KitMaker: 11,669 posts
AeroScale: 11,011 posts
Posted: Sunday, August 16, 2009 - 09:02 AM UTC
Excellent Hugh. Well begun is half done!
 _GOTOTOP