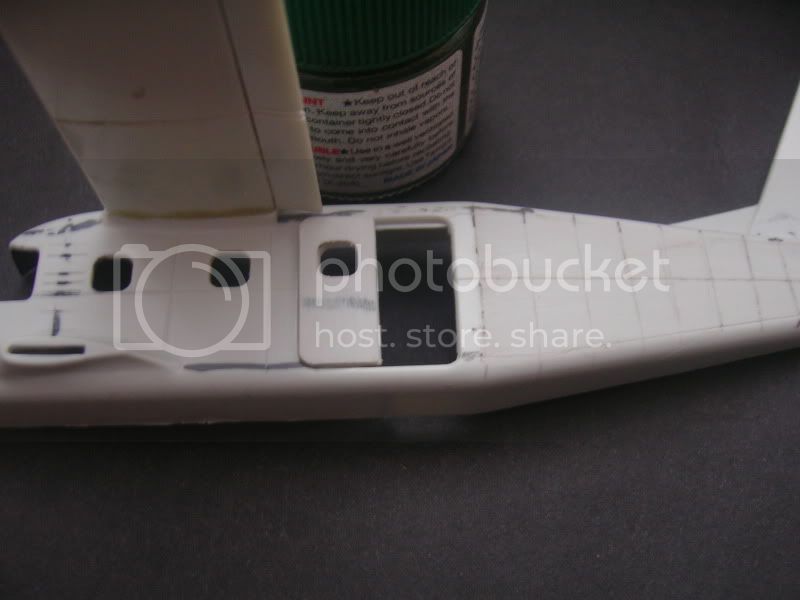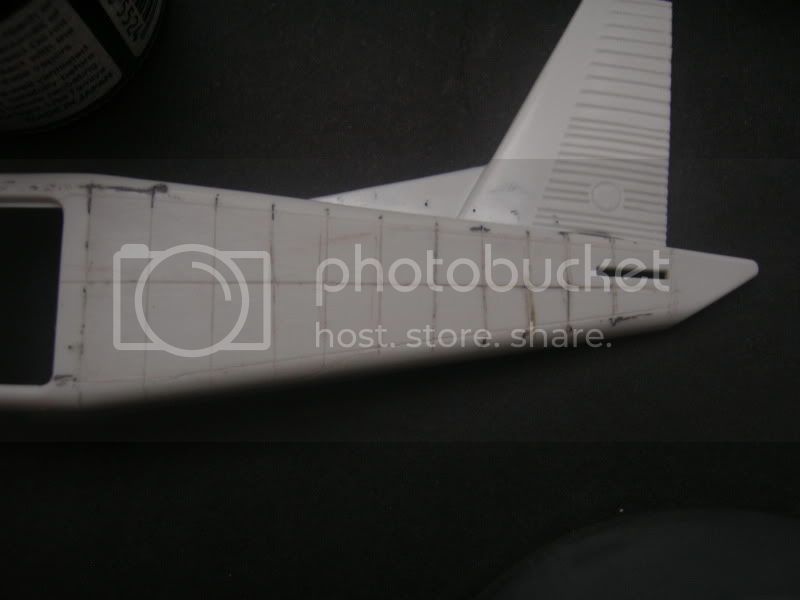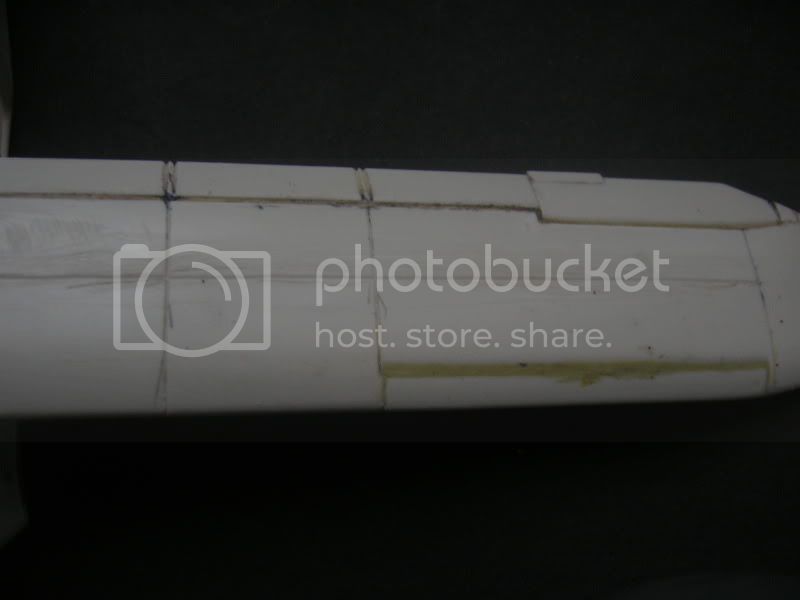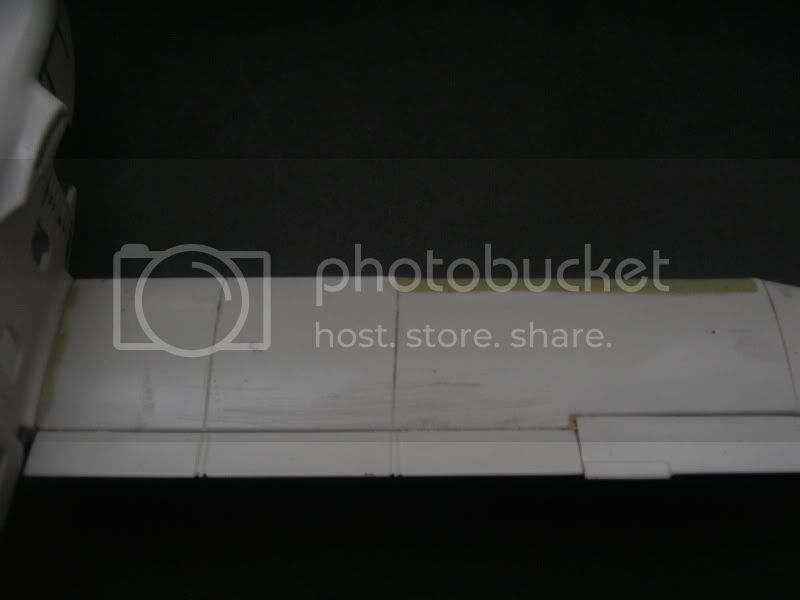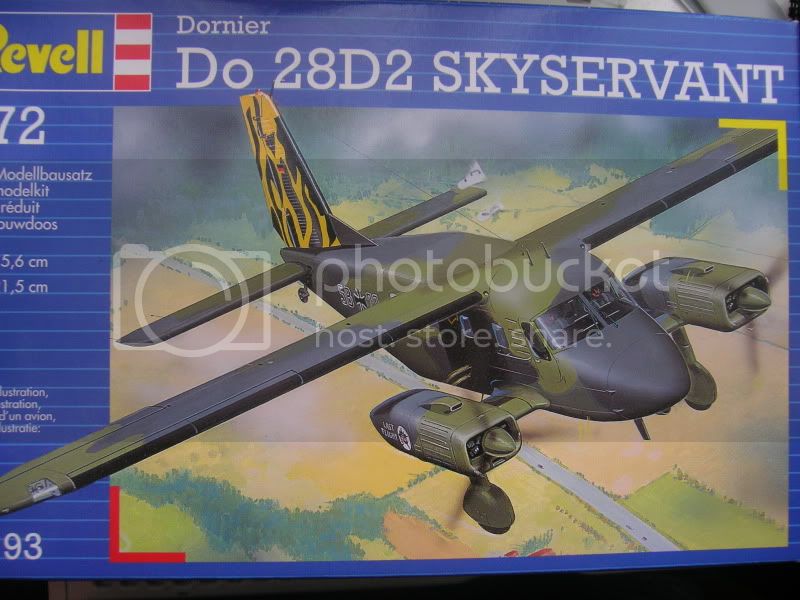
hey guys , my first dapple in Aircraft for a while, now i bought this kit thinking, oh wow , a Revell 2008 release.
oh how i was wrong.
it appears to be an old matchbox kit, reboxed, and re reissued by revell, in my opinion. the Transfers Wreck the kit for detail and quality,
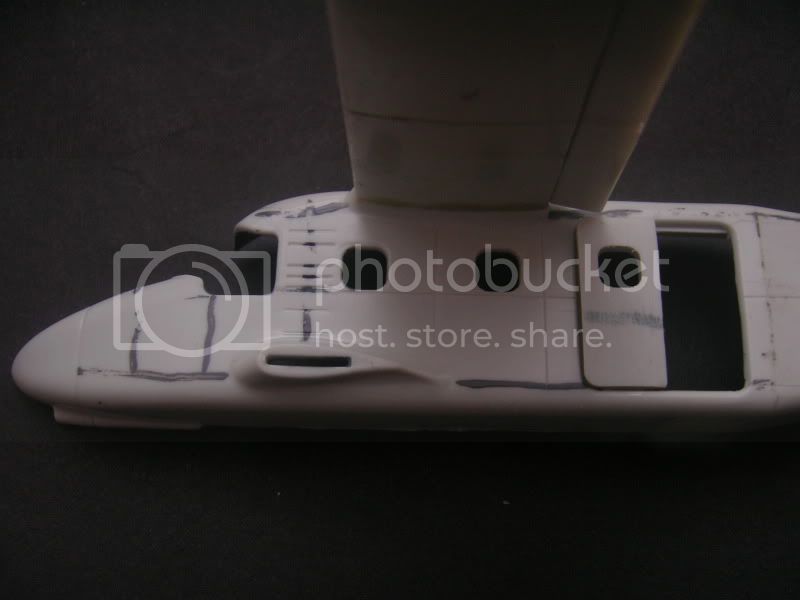
i have never scribed panel lines, and dont really ahve the appropriate tools, but i had to do something to this, this ... this TOY!!!
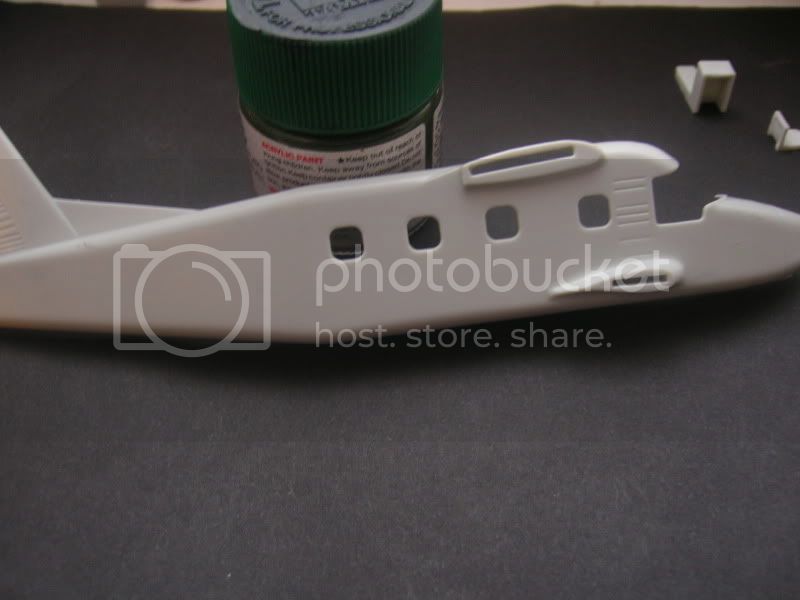
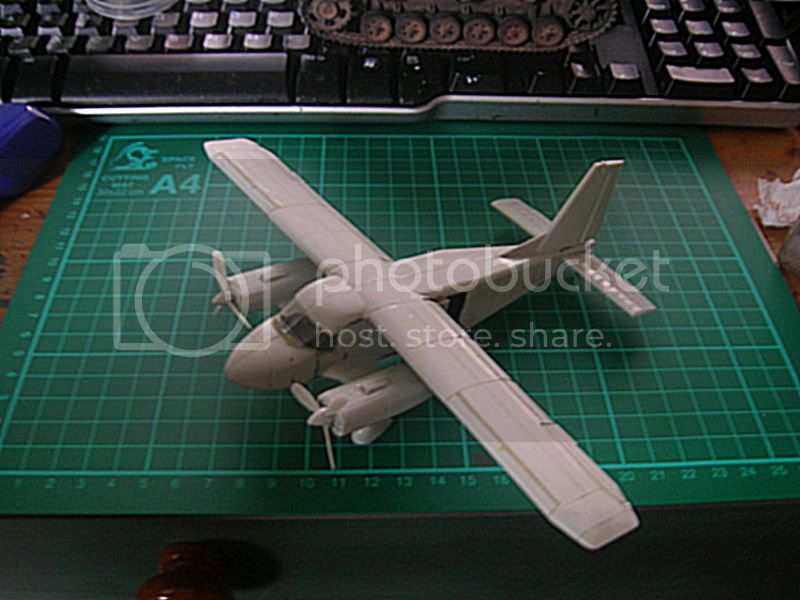
So i have scribed around 1/3 so far, using a plan i found as a rough guide. thankfully the plastic is easy to work with.
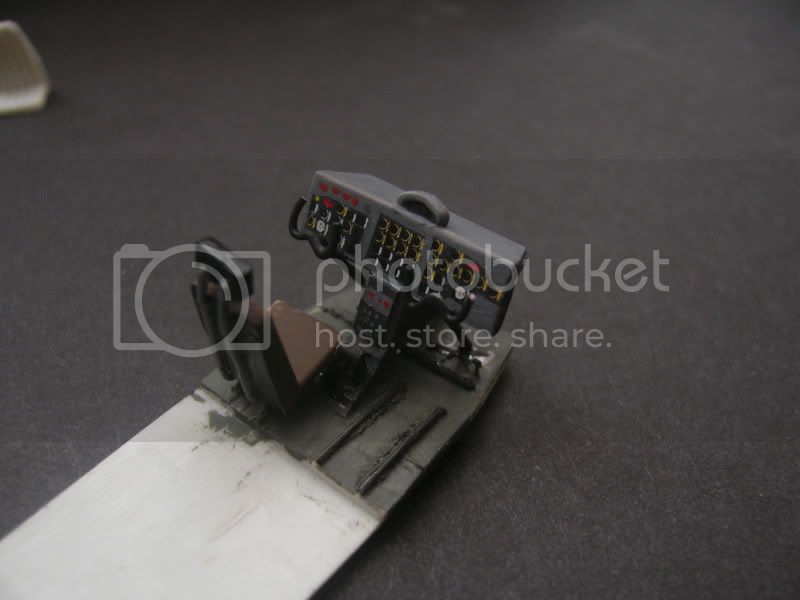
the most sickening thing i ahve seen is the flap for the trailing edge, compared with pictures it looked nothing like it should, so i filled it in, (more scribing later) the paint scheme and interior detailing is all fantasy so far, the chairs inside are Gross, so i ahve to modify those, (if i was a plastic 1/72 pilot, i'd much rather sit in the chair I constructed)
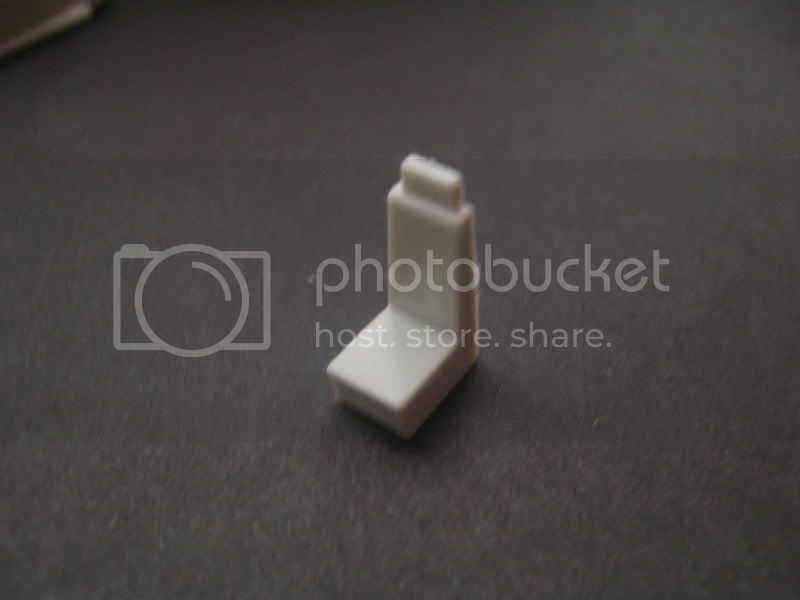
a question. what woudl be a good polishing sandpaper, to make it look like plastic again?
Modern (1975-today)
Discuss the modern aircraft age from 1975 thru today.
Hosted by Jim Starkweather
Revell 1/72 Skyservant
lespauljames
England - South West, United Kingdom
Joined: January 06, 2007
KitMaker: 3,661 posts
AeroScale: 369 posts
Joined: January 06, 2007
KitMaker: 3,661 posts
AeroScale: 369 posts
Posted: Sunday, September 06, 2009 - 06:41 AM UTC
soerennybo
Bornholm, Denmark
Joined: September 23, 2008
KitMaker: 2 posts
AeroScale: 1 posts
Joined: September 23, 2008
KitMaker: 2 posts
AeroScale: 1 posts
Posted: Sunday, September 06, 2009 - 11:18 AM UTC
Wet and dry sandpaper grain #400, then 600 and finaly grain 1200. That should do the job and provide You with a silky surface, ready for paint.
FalkeEins
England - South East, United Kingdom
Joined: March 07, 2005
KitMaker: 868 posts
AeroScale: 690 posts
Joined: March 07, 2005
KitMaker: 868 posts
AeroScale: 690 posts
Posted: Friday, September 11, 2009 - 08:30 AM UTC
Hi James,
..keep us updated with your progress ..got this sitting on the bench waiting for the new Airfix Hawk to progress off it...
spaarndammer
Noord-Holland, Netherlands
Joined: January 28, 2007
KitMaker: 1,945 posts
AeroScale: 388 posts
Joined: January 28, 2007
KitMaker: 1,945 posts
AeroScale: 388 posts
Posted: Friday, September 11, 2009 - 09:04 AM UTC
Hi James,
too bad that it lacks such an obvious detail. You did a nice job adding it. Your instrumentpanel looks very nice.
Jelger
too bad that it lacks such an obvious detail. You did a nice job adding it. Your instrumentpanel looks very nice.
Jelger
lespauljames
England - South West, United Kingdom
Joined: January 06, 2007
KitMaker: 3,661 posts
AeroScale: 369 posts
Joined: January 06, 2007
KitMaker: 3,661 posts
AeroScale: 369 posts
Posted: Saturday, September 12, 2009 - 07:49 AM UTC
Hey guys, Very little progress has been made, and i have filled in a mistake
( too many vertical panel lines) some of them are actually supposed to be rivet lines. so they have been filled. progress is slow ,its sort of my " long term " build lol.
Tango-India-Mike
Western Australia, Australia
Joined: August 31, 2009
KitMaker: 88 posts
AeroScale: 79 posts
Joined: August 31, 2009
KitMaker: 88 posts
AeroScale: 79 posts
Posted: Monday, September 14, 2009 - 05:37 AM UTC
Hello James, this is interesting.It's the first good look I've had at this kit, although I've considered getting one at times. Sure it's pretty simple, but it'll most likely go together pretty easily, and actually you're pretty lucky that Lesney's resident trench digger was remarkably restrained on the tooling for this one. Probably a good idea to fill those scribed panel lines and start again...I'd be inclined not to scribe at all except for doors, removable panels, cowlings and that sort of thing...but that's not to say that you shouldn't. The cockpit interior looks good...I hope the transparencies aren't coke bottle thickness! I'm sure they'll be okay though.
I'll look forward to seeing it take shape...and I'll get one for myself before it disappears off the market again, as seems to happen with some of these new releases by Revell.
All the best,
Tim.
I'll look forward to seeing it take shape...and I'll get one for myself before it disappears off the market again, as seems to happen with some of these new releases by Revell.
All the best,
Tim.
lespauljames
England - South West, United Kingdom
Joined: January 06, 2007
KitMaker: 3,661 posts
AeroScale: 369 posts
Joined: January 06, 2007
KitMaker: 3,661 posts
AeroScale: 369 posts
Posted: Monday, September 14, 2009 - 08:40 AM UTC
hey TIM, the windows were replaces with packaging, as they were horrid, now i have lost the canopy
i have filled the rivet lines, and the normal lines are still there
thanks for dropping in!
*message to anyone knowlegeable on the p-40 and its lesser variants, please check out my thread in *ww2* and enlighten me with your wisdom*
i have filled the rivet lines, and the normal lines are still there
thanks for dropping in!
*message to anyone knowlegeable on the p-40 and its lesser variants, please check out my thread in *ww2* and enlighten me with your wisdom*
lespauljames
England - South West, United Kingdom
Joined: January 06, 2007
KitMaker: 3,661 posts
AeroScale: 369 posts
Joined: January 06, 2007
KitMaker: 3,661 posts
AeroScale: 369 posts
Posted: Tuesday, September 15, 2009 - 12:02 AM UTC
one picture, sharpened a lot on photobucket!
here is my progress
here is my progress
armouredcharmer
England - East Anglia, United Kingdom
Joined: June 09, 2009
KitMaker: 670 posts
AeroScale: 175 posts
Joined: June 09, 2009
KitMaker: 670 posts
AeroScale: 175 posts
Posted: Tuesday, September 29, 2009 - 06:54 AM UTC
way to go there mate,i bought one of these donkey`s years ago and ended up using it to practice on - you`re too kind calling it a toy !