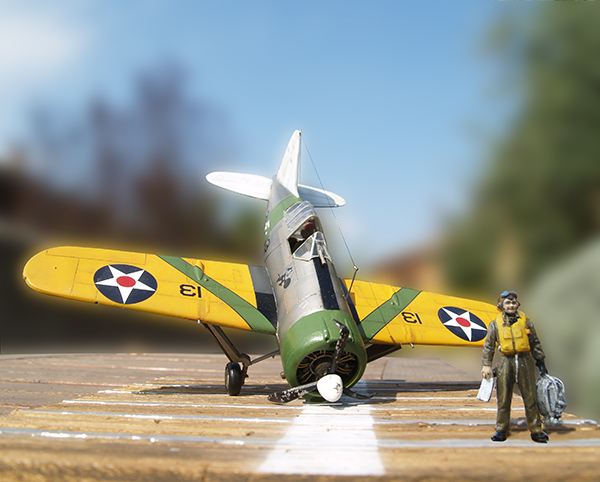
Hi folks!
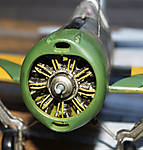
Back when I was a kid, there was a modelling contest in my neighborough and I submitted a Buffalo in 1:72 scale: though it was supposed to be it white overall it had a “strange” hue of color: as I used a black dirty paintbrush, it had hues and strikes of gray!
Nevertheless I was fond of that plane: the Felix Cat carrying the bomb, the “fatty” look of the plane (if compared to the slim profile of a Spitfire or of a Messerschmitt), made the Buffalo almost cartoonish to my eyes.
Many years have gone by since then and I am back to modelling again.
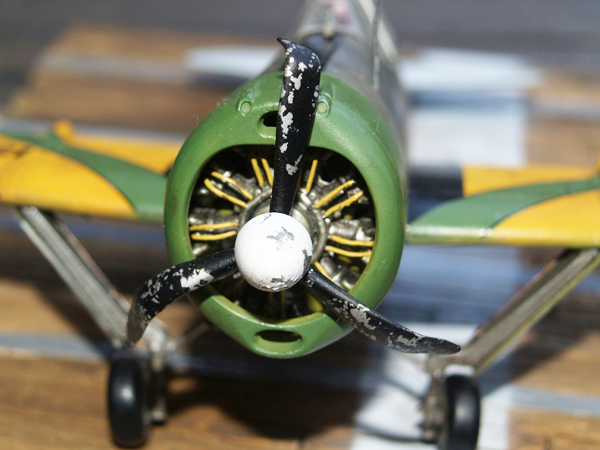
I tried the Buffalo again, this time a Classic Airframes 1:48.
What pushed me was, as I said, the memory of my youth, but what entangled me was the following picture I found on Wikipedia wile searching some reference for my build.
As you can see the cartoonish aura of the Buffalo lives on!
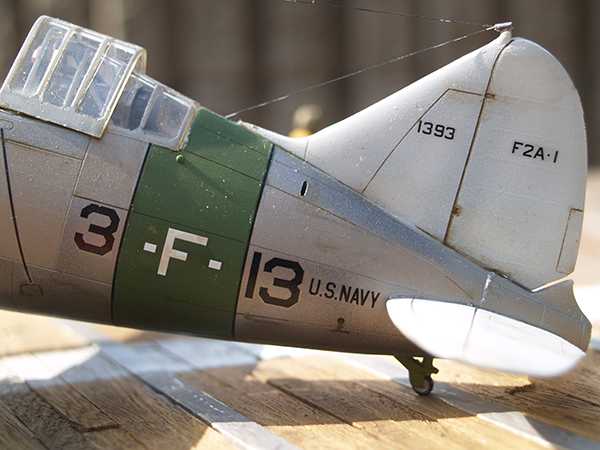
So here are some pictures of my build. I hope to have improved since last time (and if I did, a big “thank you” goes to to this site and to you fellow modellers!) but I fear that I still made a lot of mistakes, so please any comment is very welcome!
One last world: even though I consider myself a good photograper, I'm not used to digital photograpy and Photoshop post production.
I tried to simulate a more natural setting, but I fear to heve messed up
Anyway, maybe you can help me ot even on this subject!
As always, any comment is most welcome!
Ciao
Edo
World War II
Discuss WWII and the era directly before and after the war from 1935-1949.
Hosted by Rowan Baylis
Unluky 13
edoardo
Milano, Italy
Joined: November 30, 2007
KitMaker: 642 posts
AeroScale: 382 posts
Joined: November 30, 2007
KitMaker: 642 posts
AeroScale: 382 posts
Posted: Friday, October 09, 2009 - 02:45 AM UTC
vanize
Texas, United States
Joined: January 30, 2006
KitMaker: 1,954 posts
AeroScale: 1,163 posts
Joined: January 30, 2006
KitMaker: 1,954 posts
AeroScale: 1,163 posts
Posted: Friday, October 09, 2009 - 03:51 AM UTC
very nice! the whole piece is quite well done and tells a story very succinctly.
NickZour
Attica, Greece / Ελλάδα
Joined: May 01, 2008
KitMaker: 1,437 posts
AeroScale: 1,241 posts
Joined: May 01, 2008
KitMaker: 1,437 posts
AeroScale: 1,241 posts
Posted: Friday, October 09, 2009 - 09:18 AM UTC
Wow, very nice!!
Cheers Nick
Cheers Nick
Posted: Friday, October 09, 2009 - 11:56 AM UTC
Hi Edo,
great job, as stated by the other guys, it tells the story very well. Some nice detailing as well.
Cheers, D
great job, as stated by the other guys, it tells the story very well. Some nice detailing as well.
Cheers, D
Posted: Friday, October 09, 2009 - 07:29 PM UTC
Hi Edoardo,
That's a fantastic piece of diorama!
Would it be possible to you to shoot more pictures and to tell us how you did the carrier deck? We could publish your work as a feature for Aeroscale...
Jean-Luc
That's a fantastic piece of diorama!
Would it be possible to you to shoot more pictures and to tell us how you did the carrier deck? We could publish your work as a feature for Aeroscale...
Jean-Luc
edoardo
Milano, Italy
Joined: November 30, 2007
KitMaker: 642 posts
AeroScale: 382 posts
Joined: November 30, 2007
KitMaker: 642 posts
AeroScale: 382 posts
Posted: Sunday, October 11, 2009 - 09:45 PM UTC
Hi all!
many thanks to all for the kind worlds!
Jean-Luc: you are too gentle!
I don't think to be that good as to post a feature... thank you for the idea, anyway!
As for the airdeck: it is really quite simple.
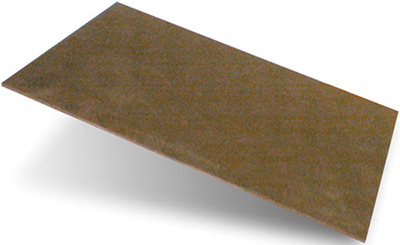
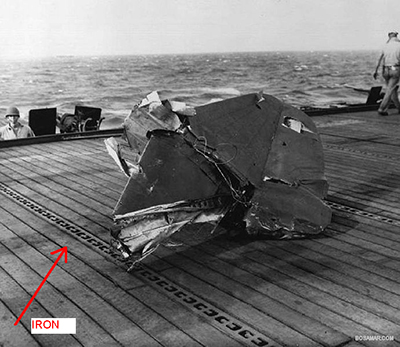
I found at one of the local Brico (a do it yourself retailer) some wood strips of about 0,5x0,5x100 cm. I cut them with a razor saw at different leghts and glued them on a piece of "masonite" (I don't know an English translation, anyway it is the stuff you find on the back of a framework) which is quite flat and very cheap (see picture 1).
Picture 1 - masonite
That would settle the wooden part of the deck, but, studying some pictures, I found that every given wood plank there was one in iron. This was the real difficult part as it had
" ] [ " like cut into it which I was not able to replicate (see picture 2). So I settled for covering one of the wood pieces in aluminium foil.
Picture 2 - particular of carrier deck
The painting process was quite simple: I diliuted some raw umber oil which enhanced the natural texture of the wood, and since aluminium foil was too shiny, I painted it with diluted gray oil paint (so that some patches of shiny aluminium could still be visible).
Then I used blue tac to hold a paper mask 2-3 mm over the wood and spraied with diluted flat white (I use Tamyia acrilic paint) to give a feded bundary.
I think that the results are not bad, but could be better. Infact, I fear that the wood is too thik for 1:48 scale and also the iron part has to be improved in order to look realistic...
ciao
Edo
drabslab
European Union
Joined: September 28, 2004
KitMaker: 2,186 posts
AeroScale: 1,587 posts
Joined: September 28, 2004
KitMaker: 2,186 posts
AeroScale: 1,587 posts
Posted: Sunday, October 11, 2009 - 10:03 PM UTC
Quoted Text
I think that the results are not bad, but could be better. Infact, I fear that the wood is too thik for 1:48 scale and also the iron part has to be improved in order to look realistic...
ciao
Edo
Hai, you are right, this can be improved just like any model can always be imporved.
Still, this is a really nice diorama and your trick with the aluminium foil is noted
The p^lane itself is also very good.
quite impressive
tornado64
England - North West, United Kingdom
Joined: August 15, 2009
KitMaker: 203 posts
AeroScale: 57 posts
Joined: August 15, 2009
KitMaker: 203 posts
AeroScale: 57 posts
Posted: Tuesday, October 13, 2009 - 07:05 AM UTC
come stai edoardo !! i did some photoshop editing on your first photo
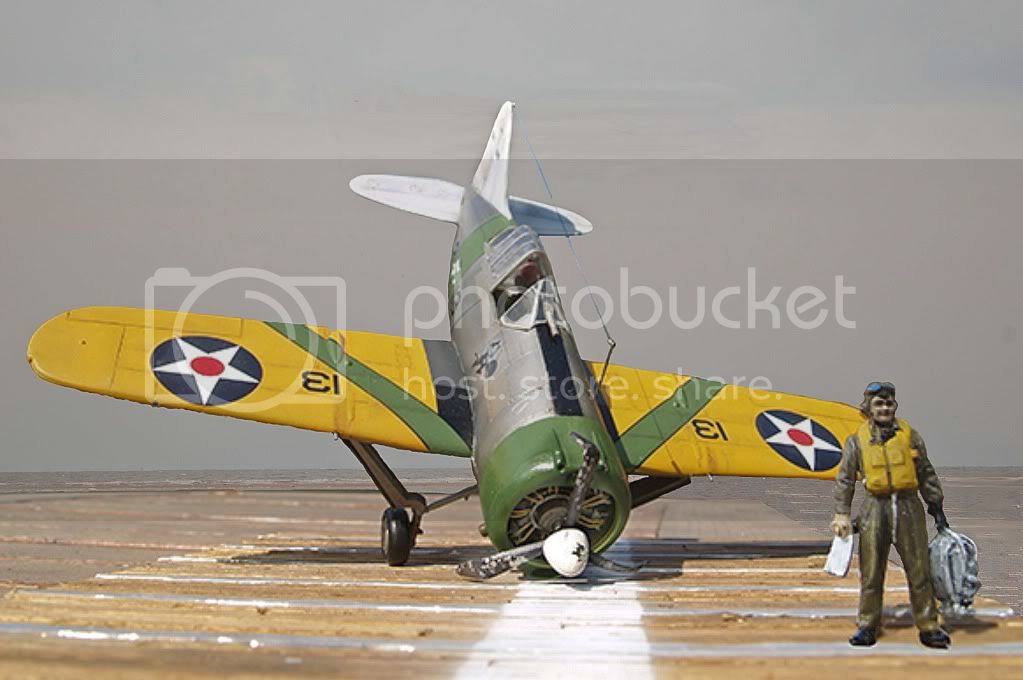
hope you like !!
hope you like !!
erwin_rommel
Brest, Belarus
Joined: July 20, 2009
KitMaker: 105 posts
AeroScale: 76 posts
Joined: July 20, 2009
KitMaker: 105 posts
AeroScale: 76 posts
Posted: Tuesday, October 13, 2009 - 07:28 AM UTC
I guess the deck is too new after such crash
but anyway, the work done is exellent
edoardo
Milano, Italy
Joined: November 30, 2007
KitMaker: 642 posts
AeroScale: 382 posts
Joined: November 30, 2007
KitMaker: 642 posts
AeroScale: 382 posts
Posted: Tuesday, October 13, 2009 - 08:53 PM UTC
Hi Paul!
your editing is quite good! Bravo ! I tried myself something of the kind, but the results were awful!
To tell the truth, in this picture the figure is also edited. In fact, in the original, it was out of focus, so I cut and paste from another picture. Did you spot the trick?
Aleksey,
I'm not completely with you. From the original picture the deck doesn't seem to be too damaged. To me the plane had landed safely an then, for some reason, just flipped tail up when almost at full stop (otherwise it should have exploded, I think).
The caption on the picture (which I found on Wikipedia) says: "Lieutenant. John S. Thach tipped this F2A-1 (BuNo 1393) onto its nose on Saratoga in March 1940" ; which implies also that the deck must have been in wood (even if it soesn't seem so looking at the picture).
tornado64
England - North West, United Kingdom
Joined: August 15, 2009
KitMaker: 203 posts
AeroScale: 57 posts
Joined: August 15, 2009
KitMaker: 203 posts
AeroScale: 57 posts
Posted: Tuesday, October 13, 2009 - 09:56 PM UTC
Quoted Text
Hi Paul!
your editing is quite good! Bravo ! I tried myself something of the kind, but the results were awful!
To tell the truth, in this picture the figure is also edited. In fact, in the original, it was out of focus, so I cut and paste from another picture. Did you spot the trick?
picture).
it was well done , i had a feeling something was difrent but didn't spot what !!
for your refrence i worked with two pictures yours and one i took of a private plane taking off on a beach last week
if you look close at the background there is smudging where i removed the aircraft by cloning the sky around it then using smudge to soften the area !!
next i lined them up in layers with your photo as the top layer
i then used the eraser tool to erase all the un natural background to show my selected background on the layer below , once this was done i saved the picture thus combining the layers
then for final toutches i cloned in areas of the sea on the bottom right etc that had shown up as beach on the edit
lastly i cropped to give a tidier border after the edit
paul !!
erwin_rommel
Brest, Belarus
Joined: July 20, 2009
KitMaker: 105 posts
AeroScale: 76 posts
Joined: July 20, 2009
KitMaker: 105 posts
AeroScale: 76 posts
Posted: Wednesday, October 14, 2009 - 05:03 AM UTC
Quoted Text
Hi Paul!
Aleksey,
I'm not completely with you. From the original picture the deck doesn't seem to be too damaged. To me the plane had landed safely an then, for some reason, just flipped tail up when almost at full stop (otherwise it should have exploded, I think).
The caption on the picture (which I found on Wikipedia) says: "Lieutenant. John S. Thach tipped this F2A-1 (BuNo 1393) onto its nose on Saratoga in March 1940" ; which implies also that the deck must have been in wood (even if it soesn't seem so looking at the picture).
well, it`s okay then