


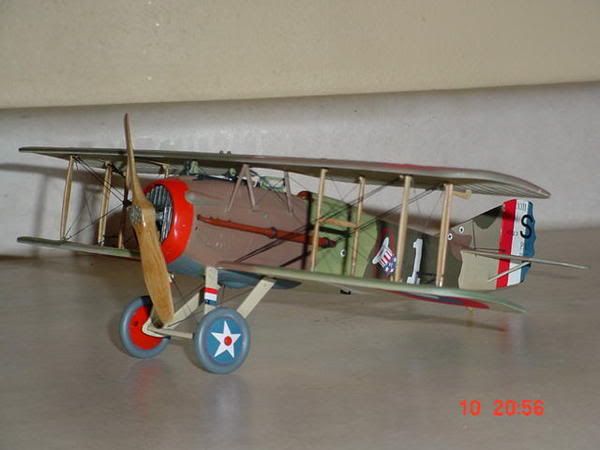
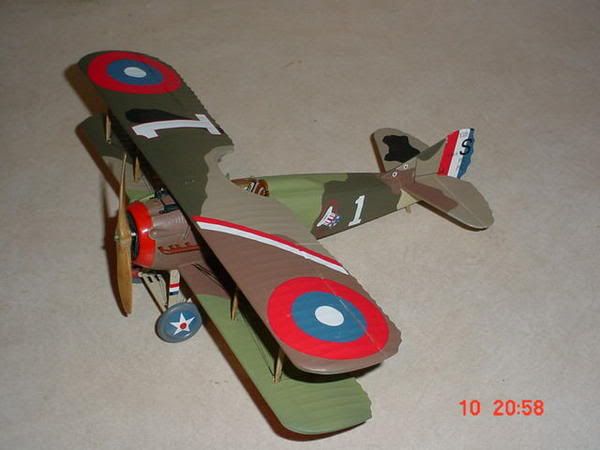
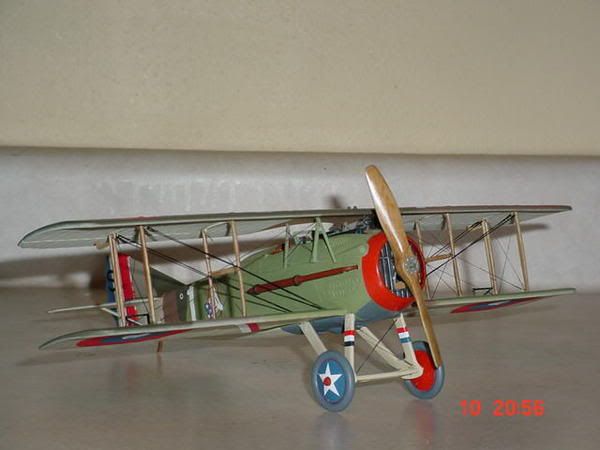
This is the Revell 1/28 SPAD XIII In Rickenbackers Markings. I have had this kit for over 25 years. I got it from a friend who was moving and it was partially assembled. This past Christmas our Twin Cities Aero Historians Club president issued a build challenge for the January Meeting, (9 Jan 10). So I dug this out and went to work. It is basically an OOB build but the key word is 'Build".
I used Model Master Paints throughout, and Copper State Models Decals for the Rickenbacker a/c representing 4523. My reference material was sketchy and as I wanted to build it in a timely manner, I painted the undersides CDL and under the engine compartment Grey.

I used EZ Line Heavy and light for the rigging. I think the heavy replicates the flat wire used by the Brits to good effect. For turnbuckles I used brass wire twisted around a drill bit per Terri's blog. I ran the EZ Line through the turnbuckle, turned it back on itself and gave it 3 or 4 twists and set it with CA Glue.

The cockpit is totally stock OOB, save I used thin masking tape for the seat belts just to fill it out better.
I had some left over PE from Copper State Models for the Revell 1/28 Camel so I used the control horns on the horizontal stabilizer as there was nothing there.

So there you have it folks. Anyone who has ever built this kit, knows it is a challenge. There are fit problems throughout, but given the age of the molds, this is the 1981 release, it turns out alright. One has to do some surgery on the engine to get it to fit properly, the cocpit begs for detailing, but it turns out alright.
I am finding out more and more that I enjoy using EZ line. It doesn't require a lot of stretching as it is stretchy and a little pull makes it taught, great for PE control horns. It is forgiving, if you screw up, you can cut it and stretch it. It is a bit fiddly, but working with it more and more I use it exclusively.
Thanks for looking
Mark


