C.A.C 12 Boomerang, Special Hobby 1/48
Hi all!
Heres an build feature on my CAC-12 Boomerang from Special Hobby in 1/48!
The Boomerang is not a particular well-known aircraft, but it was Australias first fighter!
It was a stop-gap fighter as Australia badly needed aircrafts, but neither Great Britain nor America could deliver any fighters at the time.
But Australia needed a modern fighter, and they needed it now!
As Australia already built trainer aircrafts on licence from North American, they had the capability to modify the two-seat CAC-9 Wirraway trainer (SNJ/Harvard/AT-6) into, what became the CAC-12 Boomerang.
The Boomerang got good flying capabilities and an adequate armament.
Many years ago I did build the Airfix 1/72nd scale model, and I immediately fell in love with this little chubby but charismatic fighter!
But, this was an aircraft I thought Id never see in my favourite scale, 1/48th!
When Special Hobby advertised that they would do not only the Boomerang, but also the Wirraway in 1/48, I was a very happy modeller!
The wait was long, but finally it arrived!
Not a cheap kit, but not excessively expensive for a small short-run fighter!
The outstanding and imaginative box art really makes you feeling the forces in your stomach!
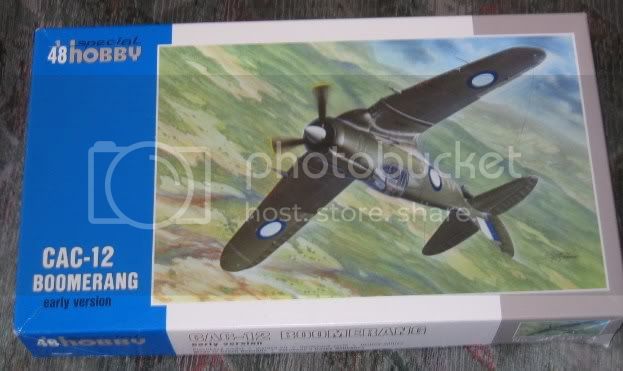
The standard seize box are not very large but rather hefty, more suited for a 1/72nd scale model, actually!
But its well filled with parts, theres 120+ plastic parts, one etched fret and a rather large bag with resin parts, theres also two well-printed decal sheet, one for the insignias and code-letters and one smaller sheet for the stencils.
Every sprue separately bagged, and those are bagged in another big bag!
The sturdy top-opening box, stunning box art, and the overall packaging make this a high quality product from Special Hobby.
Good job, this is how it should be done!
All plastic parts are well moulded, with crisp and very fine surface details, and theres no flash.
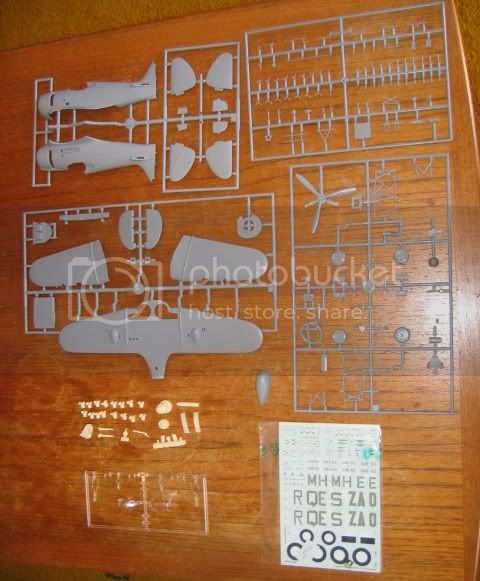


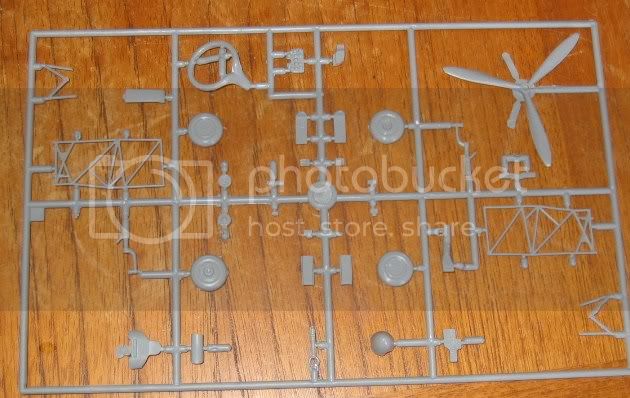
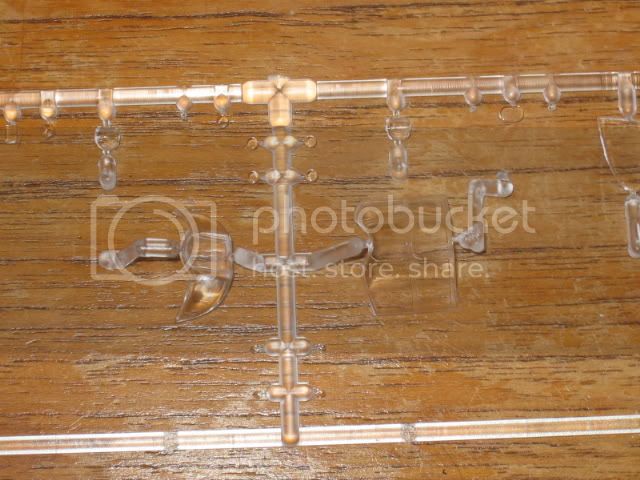
The clear parts are very clear, free from scratches, very thin with hardly any distortion, excellent!

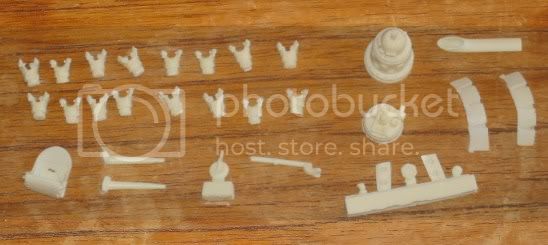
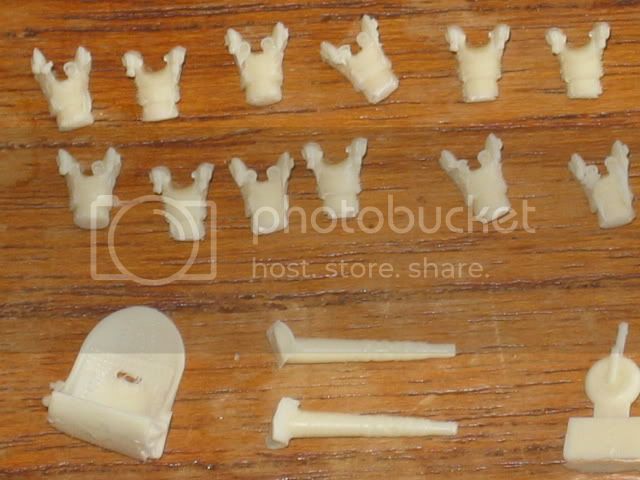
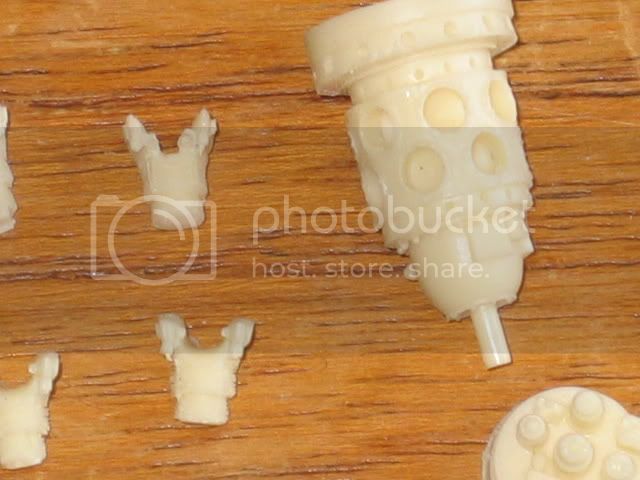
The resin parts (about 30 parts) are well moulded with nice and crisp details.
Here I have already cut off the moulding plugs and cleaned them up.
The decals are top-notch, printed in perfect register and extremely thin!
All stencils are supplied on a separate sheet.

The etched fret is made by Eduard, so no doubt about the quality and it supplies about 30 parts as seat-belts, instrument panel (with acetate backing), intakes and levers plus several small parts.
This is a high-quality kit well worth the asking price, even if its not a cheap kit!
With this Special Hobby is on the verge to be a mainstream manufacturer!
Lets go on with the build!
As usual Ill start with gluing all parts together before Ill have to paint!
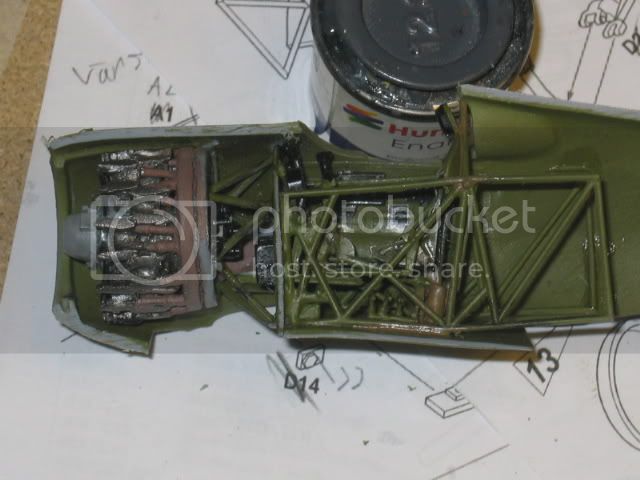
The Interior of this model is complete, all the way from the rear cockpit bulkhead to the engine and spinner
The most interesting feature with this approach will be to see if it all fits as intended?
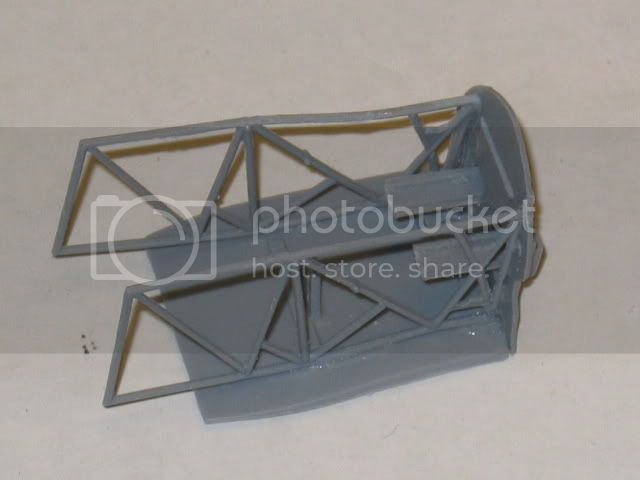
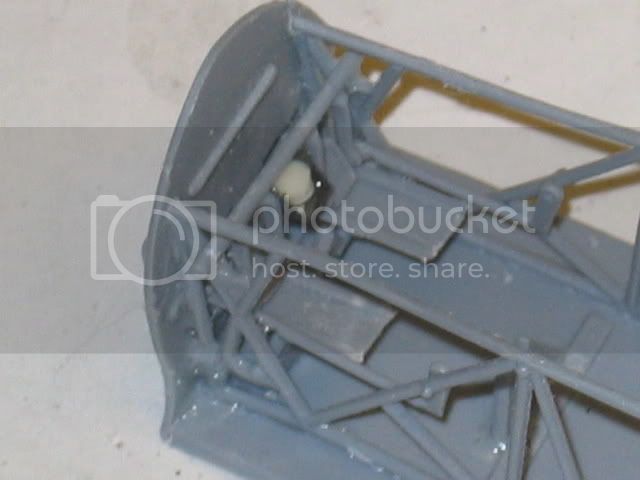
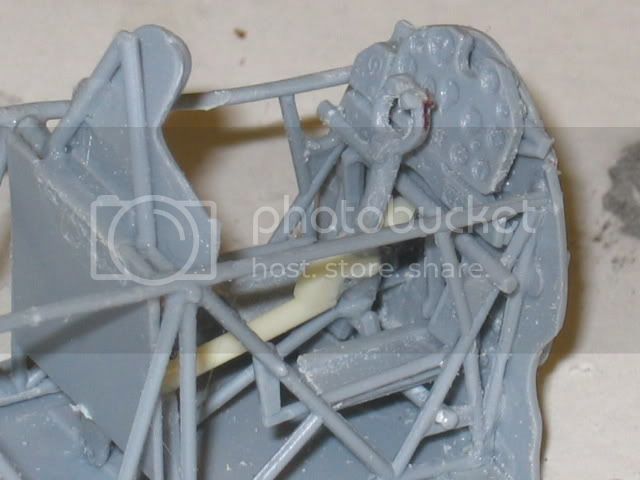
As almost usual, the build starts with the cockpit!
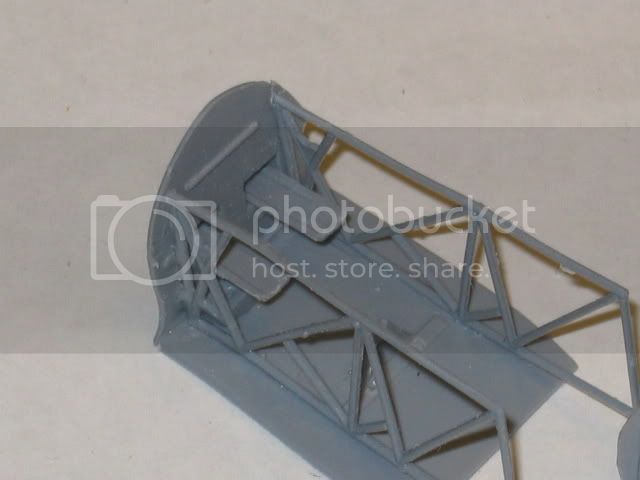
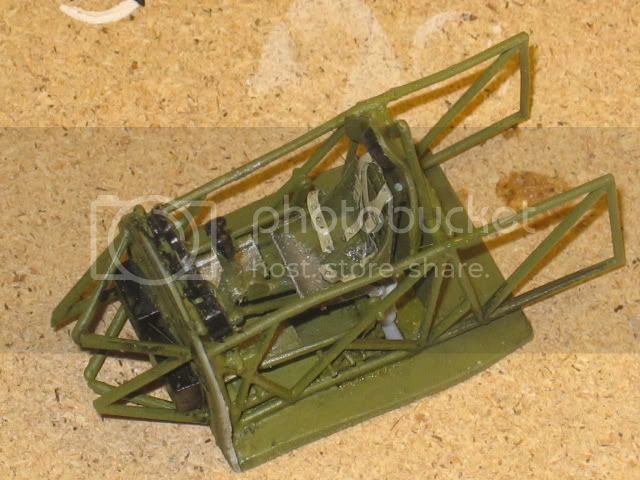
First the cockpit cage and the floor is glued together.
The Boomerang does not have as floor as such; its really the bottom of the hull!
The pilot is suspended on his seat and theres a pair of footboards where he can rest his feet!
Note that the footboard MUST butt-join, just under the foot troughs, and NOT as I have assembled them here!
If you assemble them as I have done here, they will interfere with the rudder-pedal- and compass assembly (step2)!
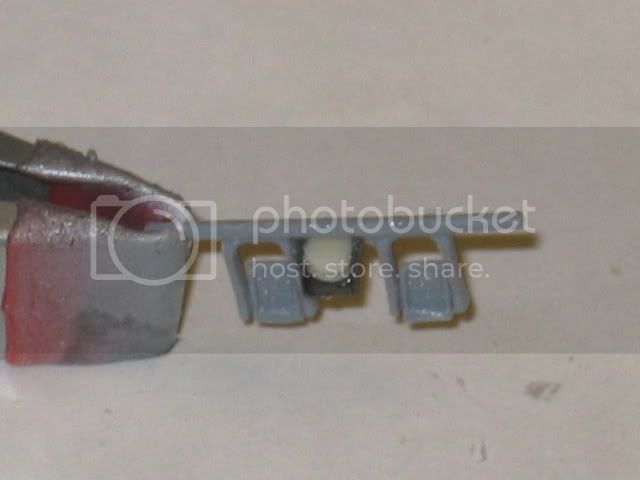
Here are the pedals and the compass assembled a lovely combination of plastic, resin and metal!
A word of Caution to whoever attempts to build this kit!
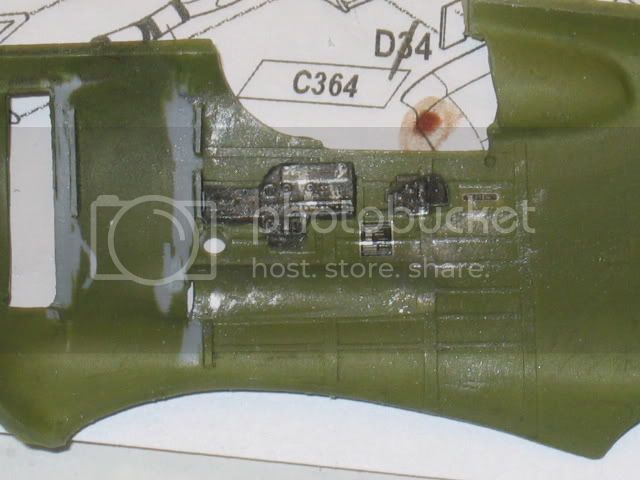
The Parts-Number on the fuselage halves does NOT correspond to the numbers on the drawing!
Part A1 is the LEFT fuselage half, but its labelled A2 on the instructions!
As follows, part A2 is the RIGHT fuselage half but its marked as A1 on the the sprue-plans!
This caused some confusion, as theres quite a lot of parts on each fuselage side!
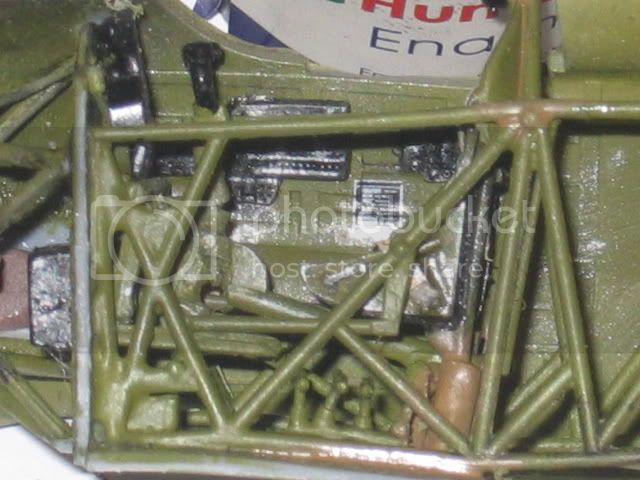
On the fuselage sides there are small shelves, full of different details, almost 20 parts on this little shelf only!!

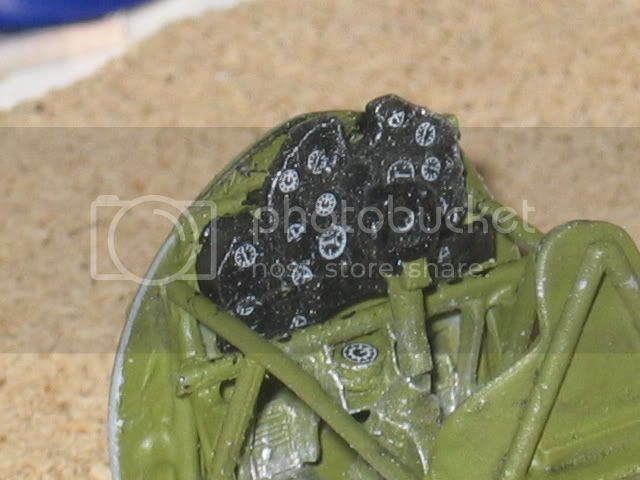
The instrument panel consists of 4 different panels that are assembled to form the complete IP.
In my kit I could not find part C6, I could simply not find it anywhere on the sprues!
I have read several build-reports whereas this part is missing, so its a possible (and known) error in the moulding process.
You have to make one yourself, or do as I did, just ignore it!
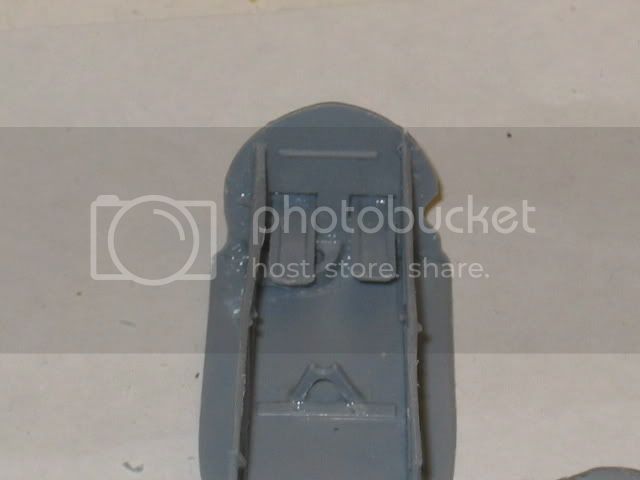
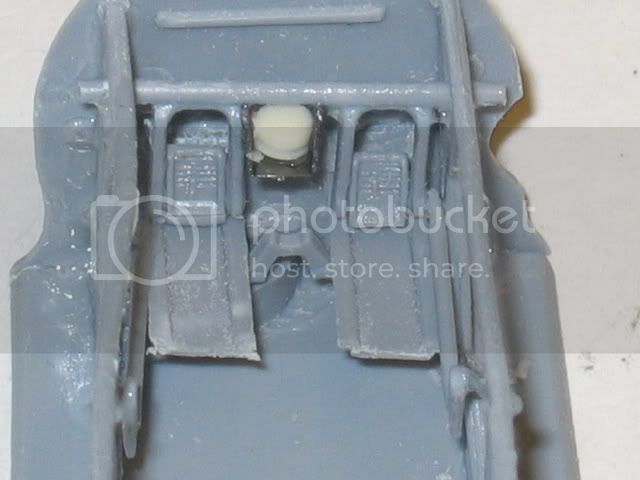
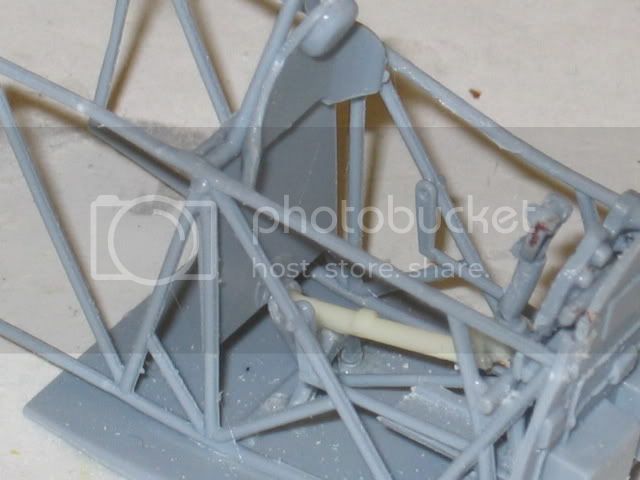
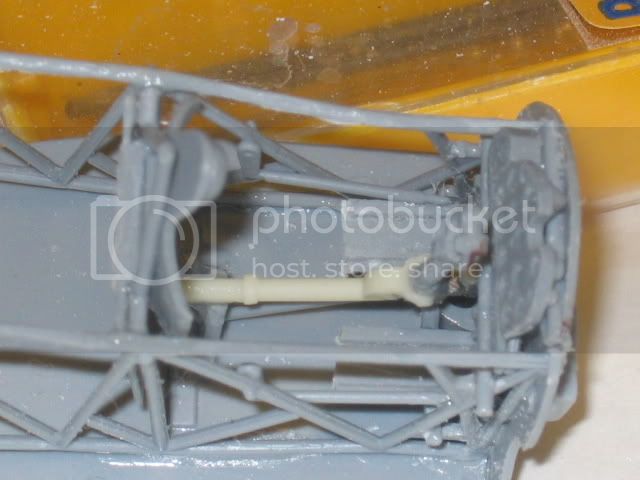
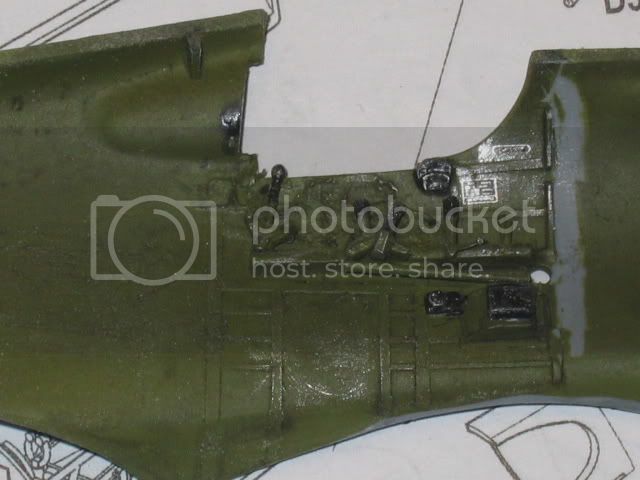
When the parts from step2 are dry they can be glued to the cockpit cage.
They fit just fine in the cage, but they are hanging a bit low (1-2mm) so be a bit cautious here!
Here you can also see the foot-boards in their CORRECT position!
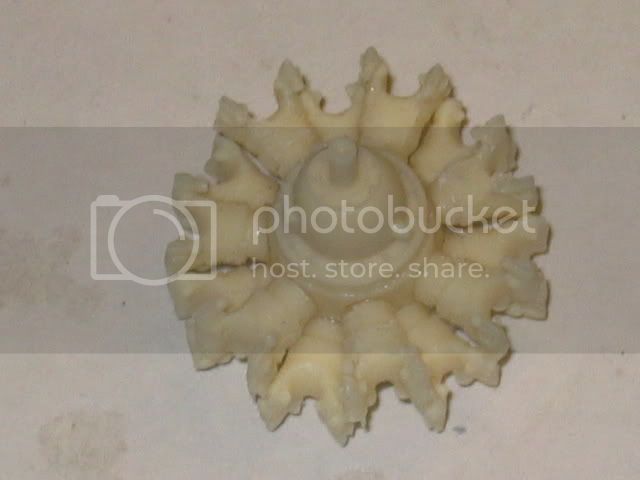
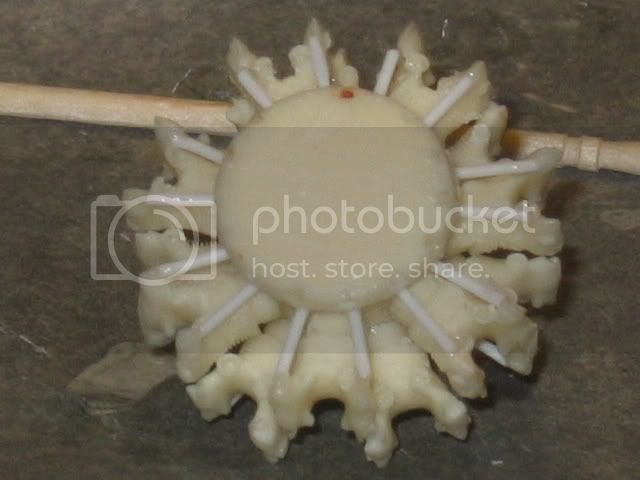
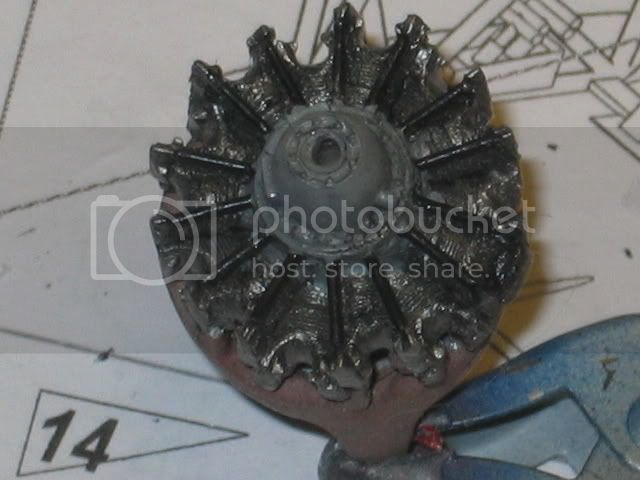
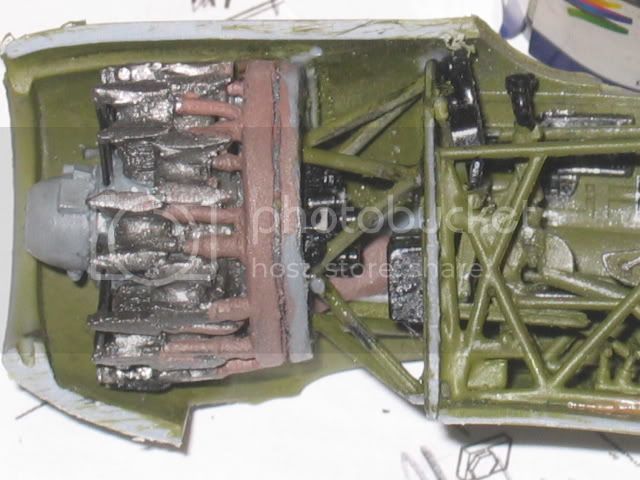
Now its time to get the little engine together!
This is a highly detailed little jewel, very much a kit in itself!
It comprises more then 75 parts, of which you have to make 28 (the rocker arms) yourself.
It took me several days to put the engine together, but its well worth the effort!
All parts fit together very well so no problems here!
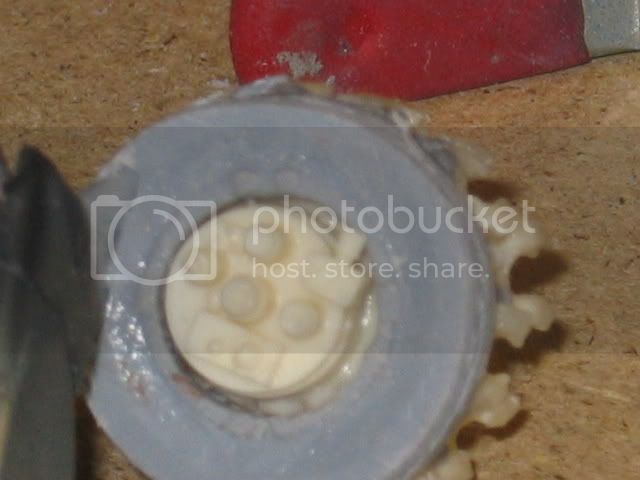
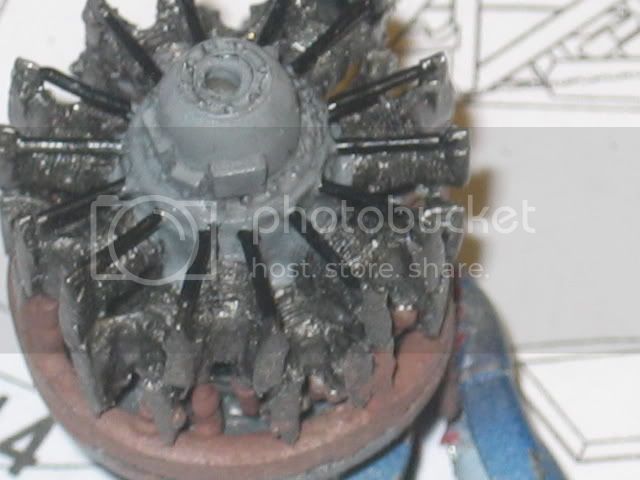
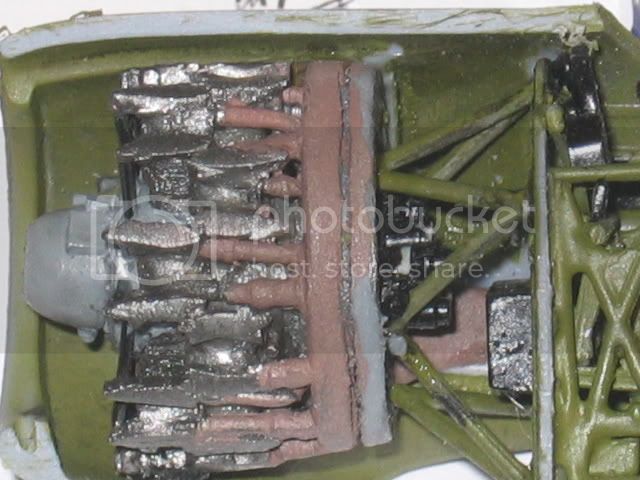
First a look at the crankcase and cylinders, you have to be very careful removing the cylinders from the casting blocks, so all cylinders get exactly (!) the same length!
As this is resin parts, Ill use Locktite in the small bottles with a black cap.
Only drawback is that the glue sticks immediately, so you have to be sure the parts is correctly assembled the first time!
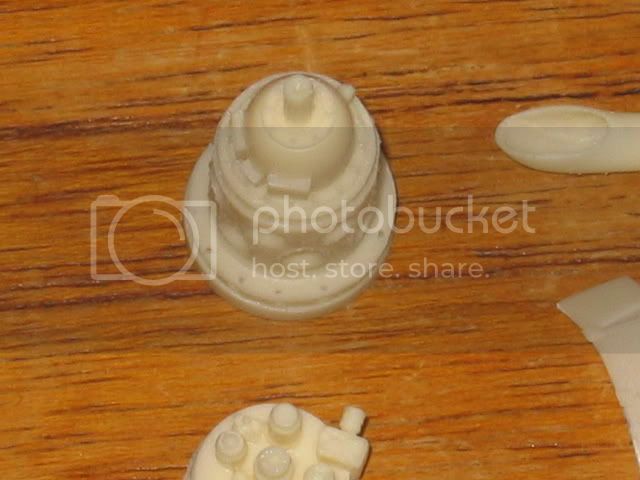
All cylinders fit in their mounting holes perfectly, and the engine gets a really tight look!
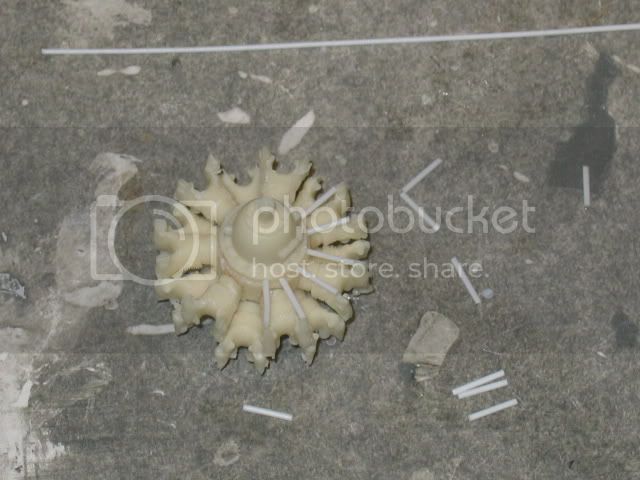
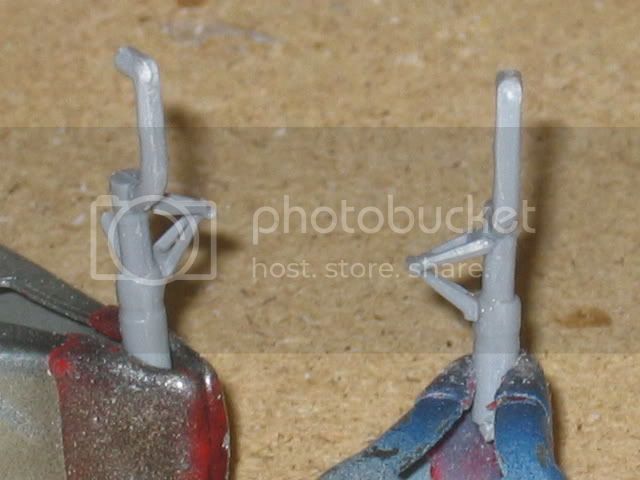
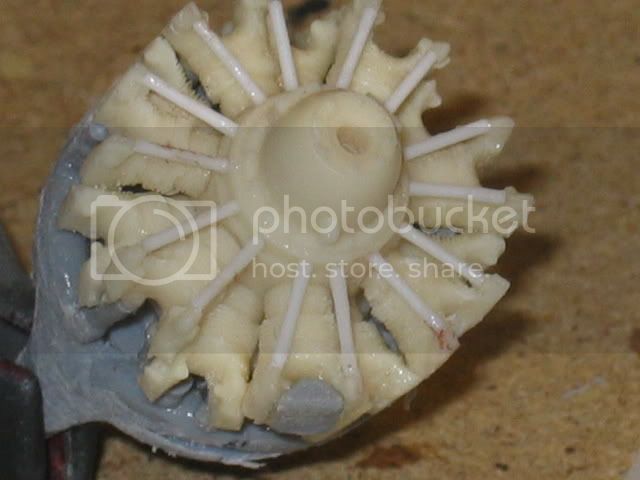
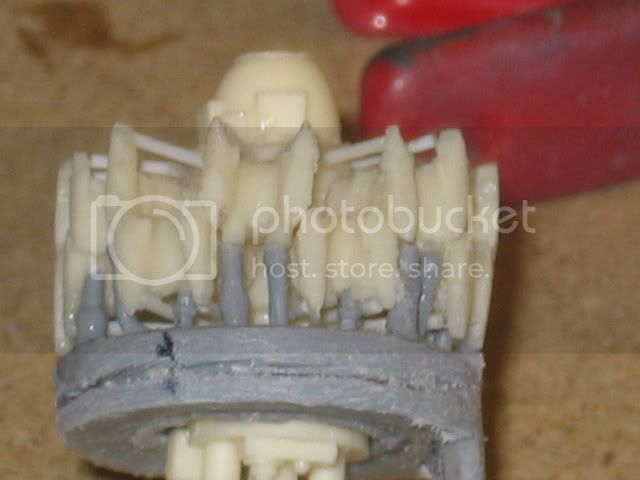
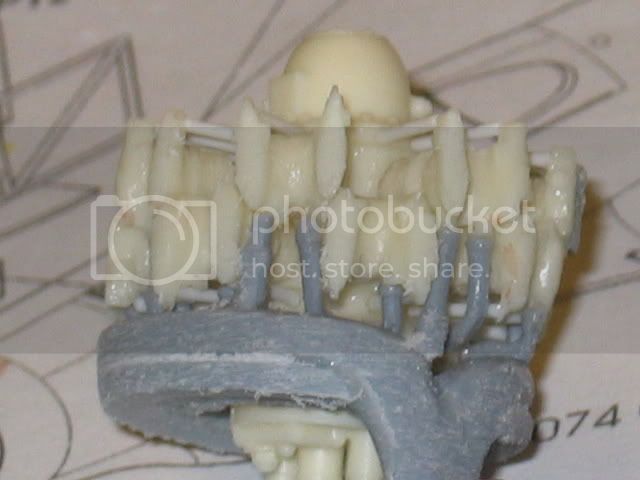
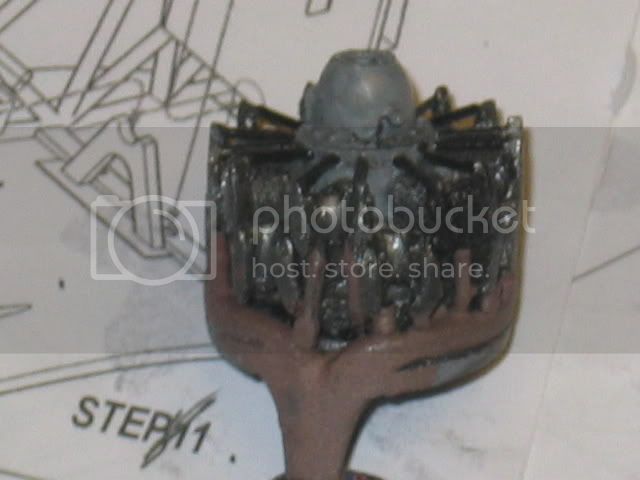
Then its time to get all the rocker-arms in place, there are 14 cylinders with 2 rocker-arms each, thats 28 parts!
I used a small plastic sprue from Evergreeen with 0.25mm diameter.
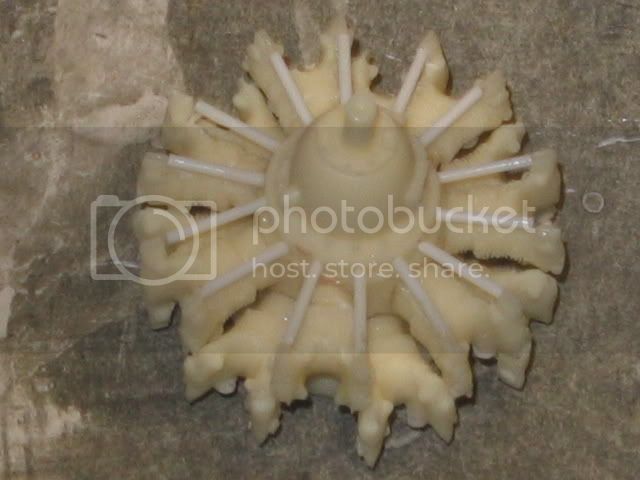
and this is how the engine looks with all rocker arms assembled;
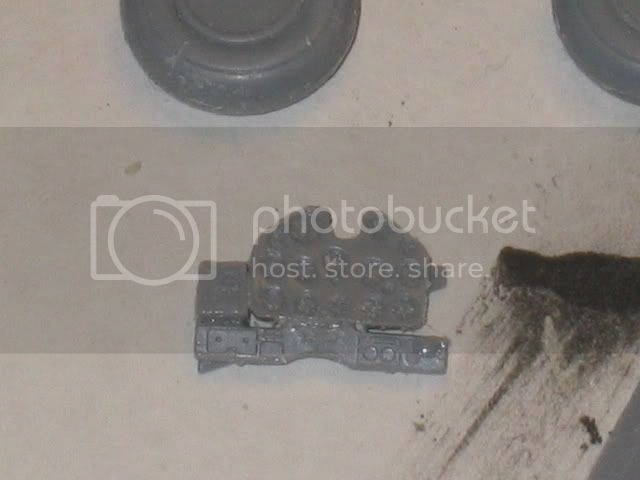
Assembling the instrument panel and the wheels was a breeze as they are made ofordinary plastic!
Due to errors in the instructions, I had to remove some wrongly placed parts, so I ended up with a marred inside!
The landing gears and the scissor links;
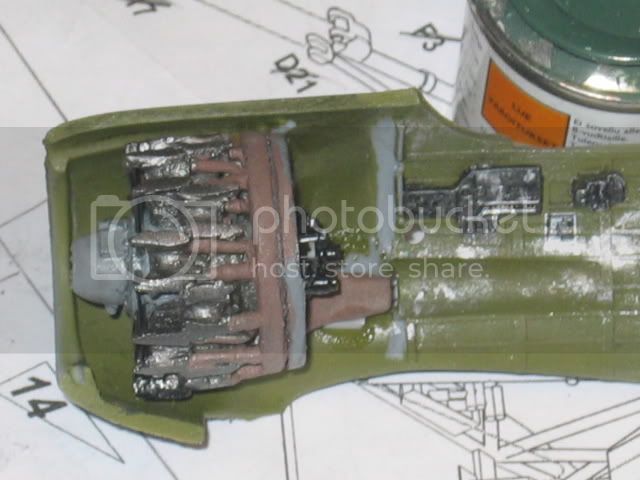
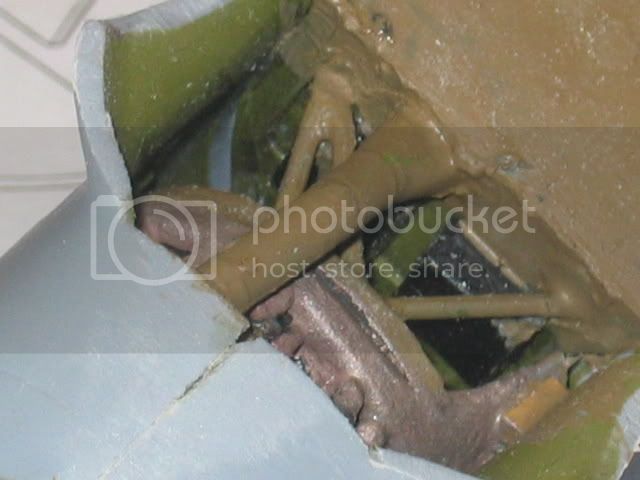
Back to the Engine!
Now I could glue the engine to the forward bulkhead and assemble the exhausts and the mountings!
The rear part of the engine glued in place.;
Then I could glue all the exhaust stubs in place!
When I dry-fitted the engine I discovered that the engine fitted just fine, but the bulkhead it was mounted on was way too large!
I had to sand both the bulkhead and the exhaust ring to get a good fit.
I had to sand down the cylinder-heads too, as they were just a tad too long!
After a lot of fettling around, I got it all to fit just fine!
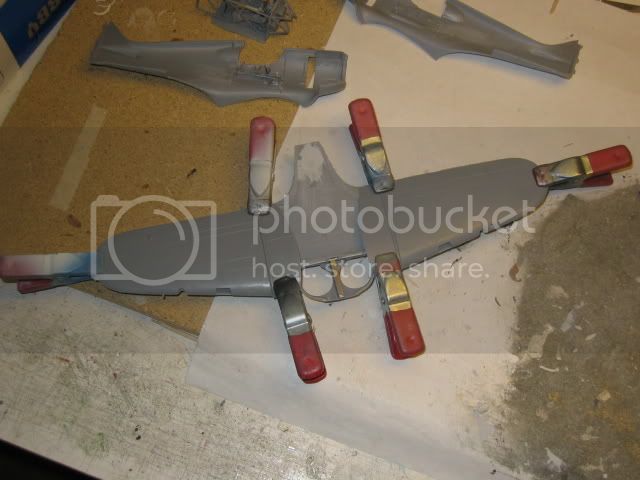
Over to the wings and the wheel wells!
Here everything was a very good fit.
But the rear beam (Part B9) is about 3mm too high and interferes with the front edge of the cockpit floor (Part B7).
I would recommend cutting/sanding it down (wing to wing) BEFORE you assemble the details in the gear wells!
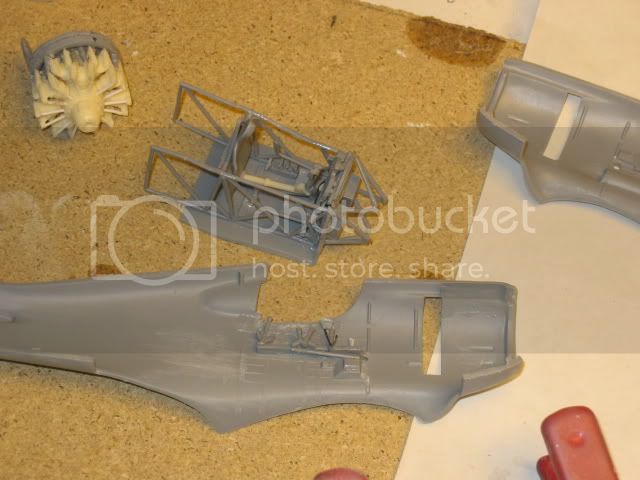
The cockpit looks really crowded and very much like the real deal when all parts are assembled!

Here are all parts for the fuselage;
.and the wings
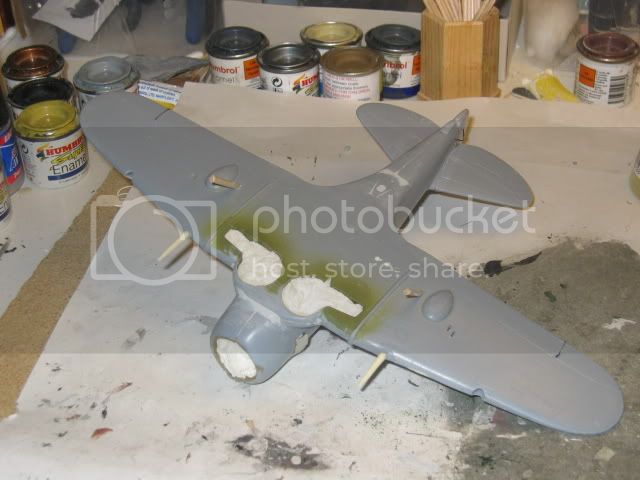
Now its finally time to get some paint on the plastic!
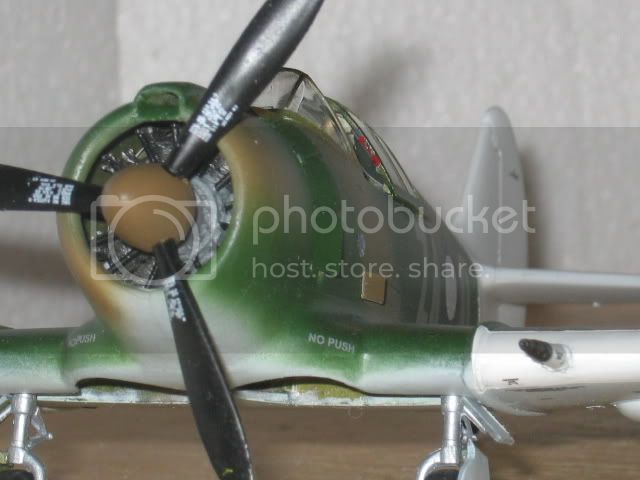
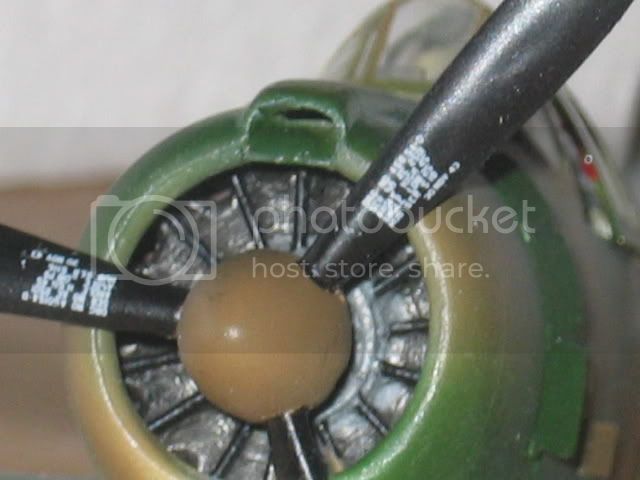
I started with Alclad steel on the cylinders, the rocker arms gloss black (Hu21), and the crankcase a light blue-grey (Hu127).
The exhaust ring and stubs got a mix of Hu56 Aluminium, Hu70 Hull Red and Hu171 Antique Bronze.
Finally a black wash to bring out the details, and the engine was done.
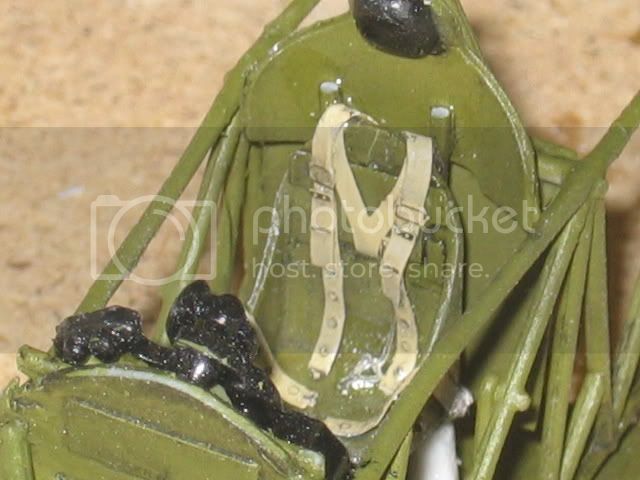
I painted all of the Interior with White Ensign Colorcoates (WEM) RAAF (Royal Australian Air Force) Interior Green, all panels was painted satin black (Hu85), then a dry-brush with silver to bring out details and finally a black wash.
I used some of Mike Grants beautiful instrument decals!


I painted the seatbelts with Hu121 Pale Stone, I dont know how correct this is, but it really looks good to my eye!

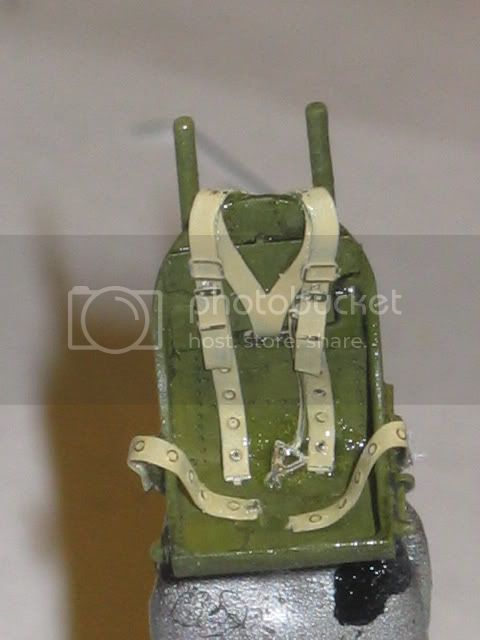
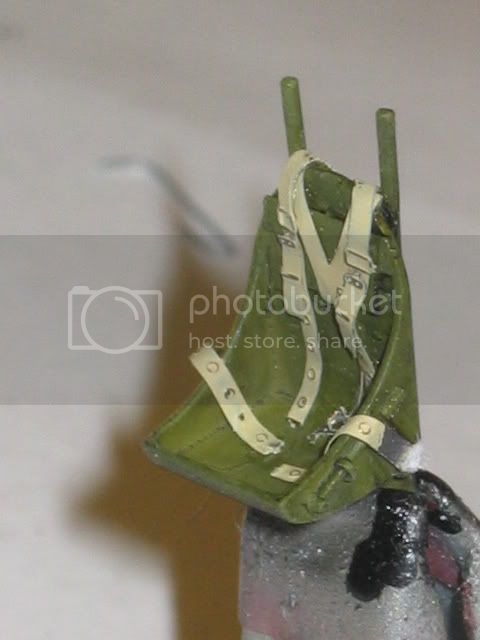
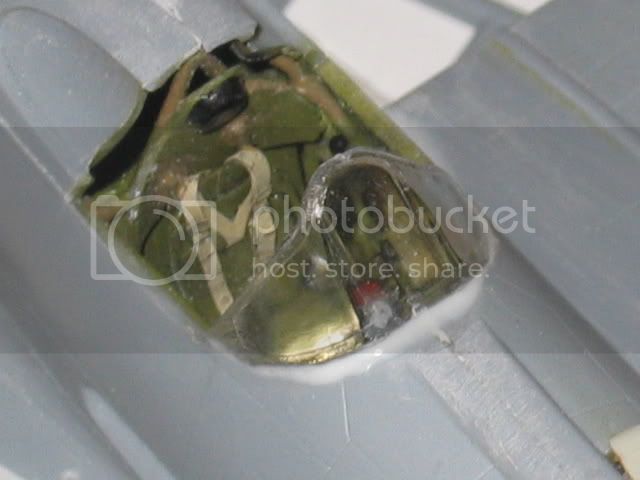
This is how the completed cockpit looks when done!
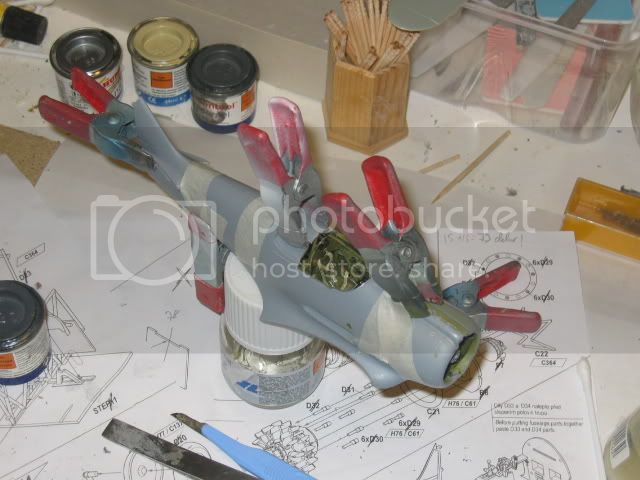
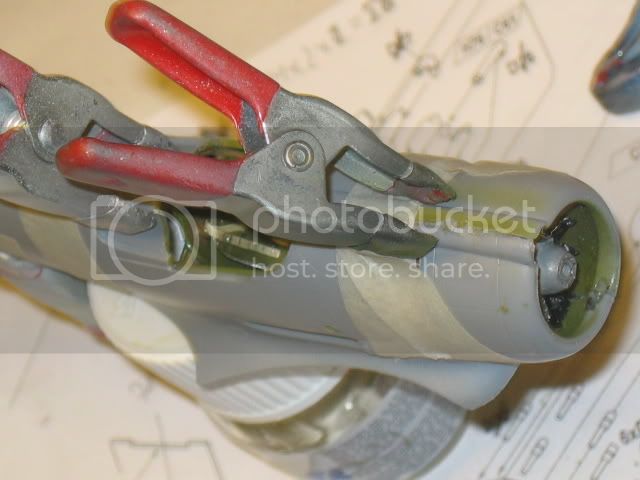
With all components done, I could start assembling the complete innards!
This will look as a stuffed turkey as its so much between the fuselage halves!
I started with the engine.
When I made a dry-fit I found out that the engine bulkhead was about 1mm too large in diameter!
I had to grind/sand away a great deal of plastic, but finally I could glue the engine in place.
I had to use some strong clamps and lots of tape to hold it all together.
Remember, there are no pins, holes to help you with the alignment!
This is a short-run kit; alignment is up to you as a builder!
But everything fitted surprisingly well; I only had to do some small adjustments!
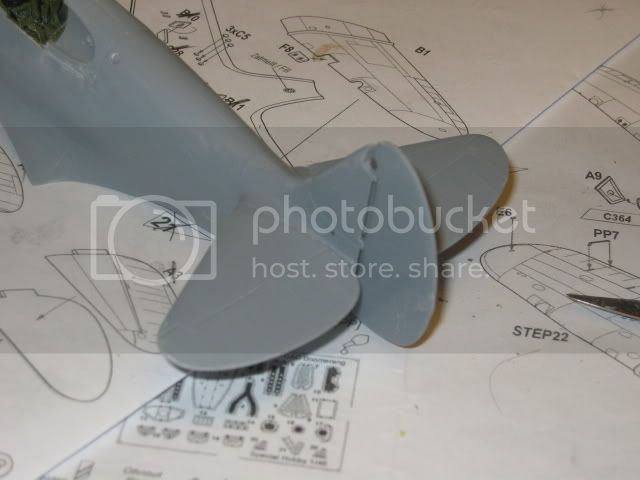
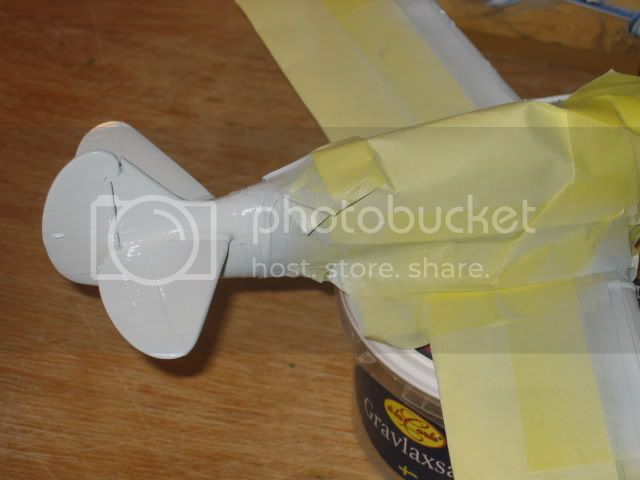
Stabiliser and rudder was a near-perfect fit, only a swipe or two with a sanding paper and the parts fell into place!
Some sanding of all joints and edges made the tail smooth and ready for paint.
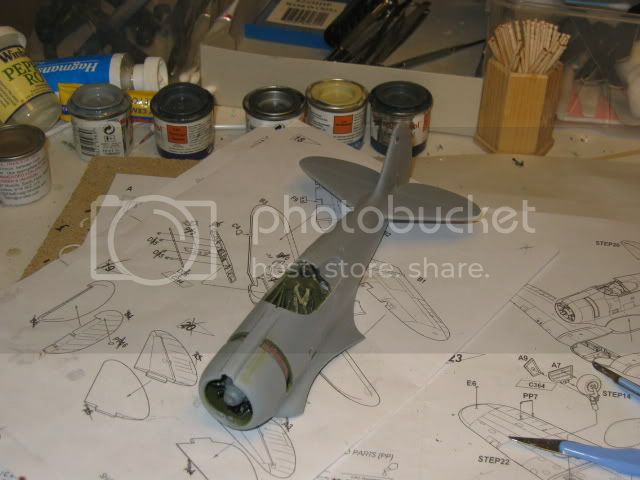
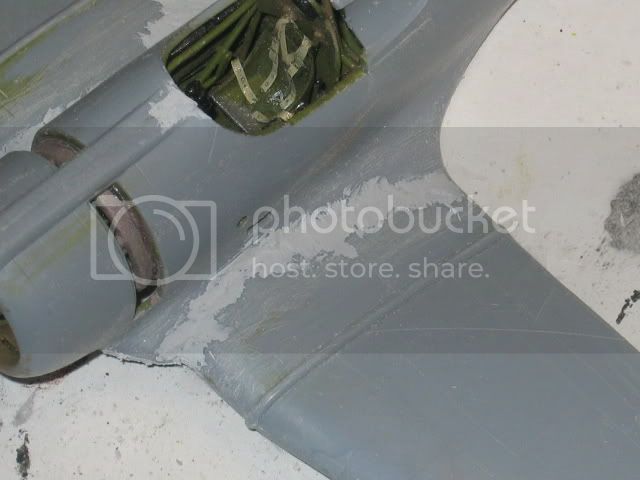
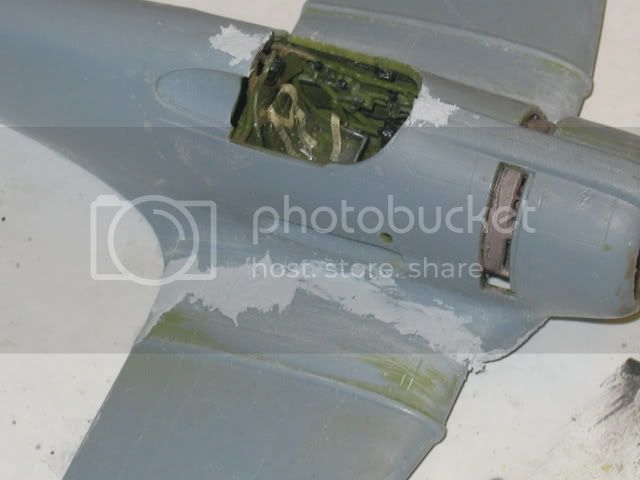
With the fuselage and wings done, it was time to marry them together!
Here I encountered real problems!
I couldnt get them together properly!
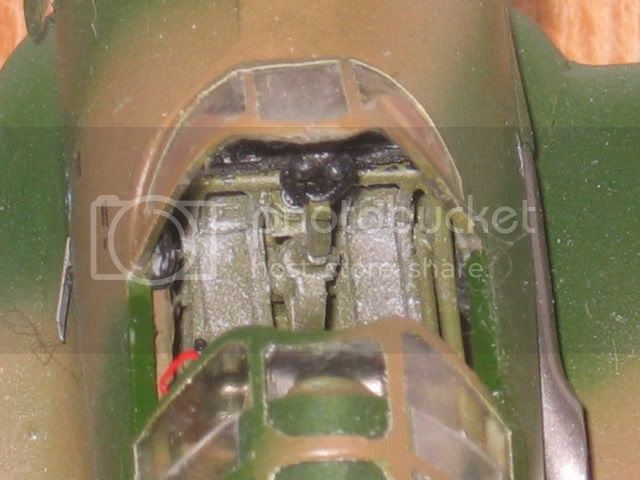
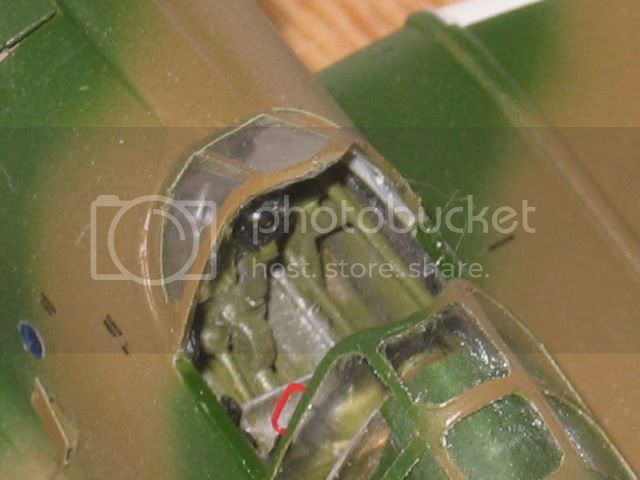
No matter what I did, the wings sat 3-4mm too high and would simply not fit!
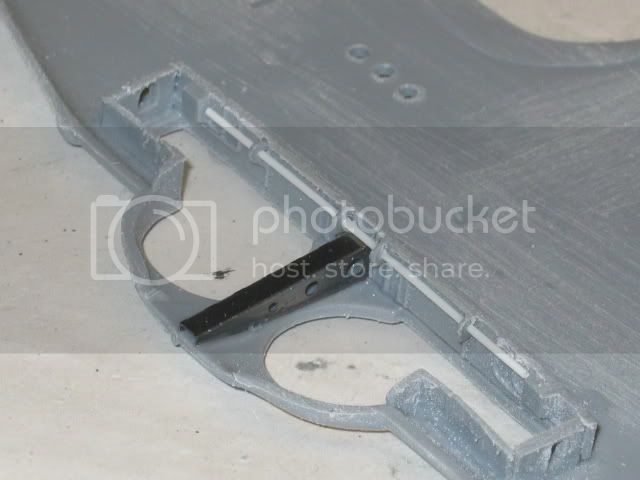
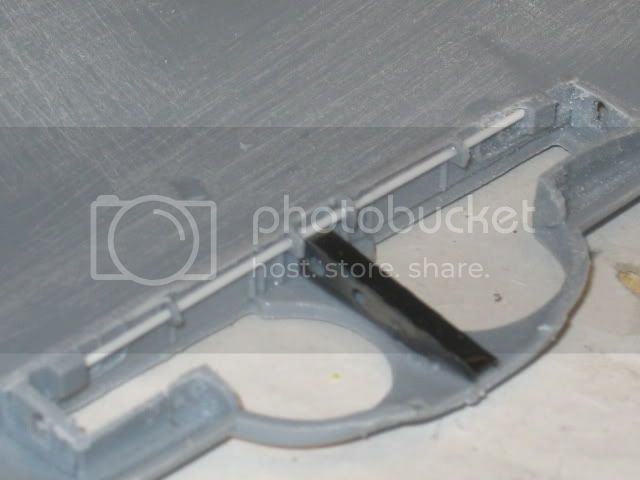
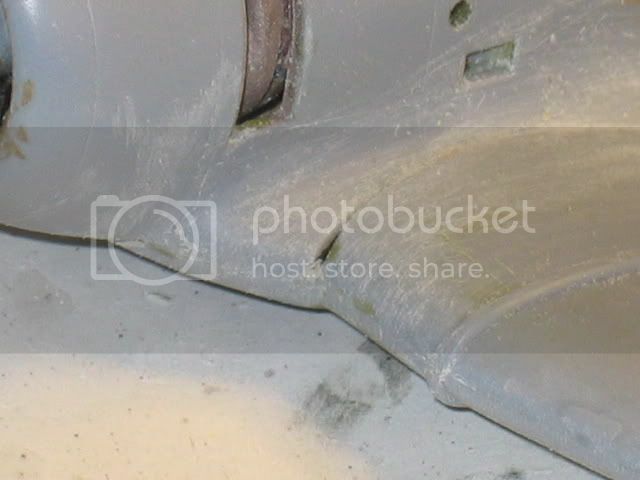
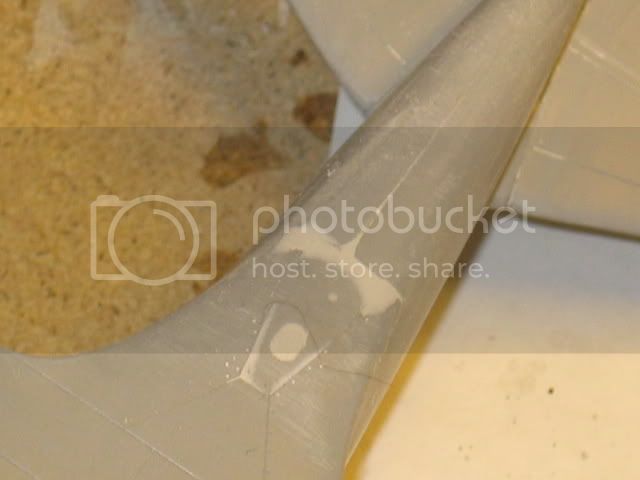
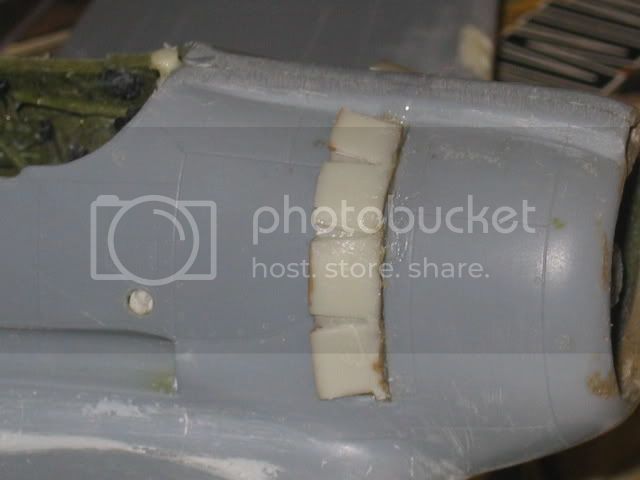
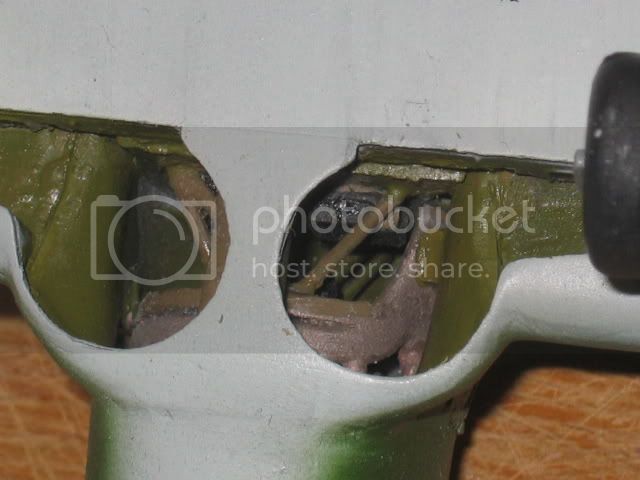
The problem was that the front edge of the floor, part D19 (which is the wings top-side) interfered with the wing spar, (which is the back wall of the wheel wells)!
I have marked where it interfered;
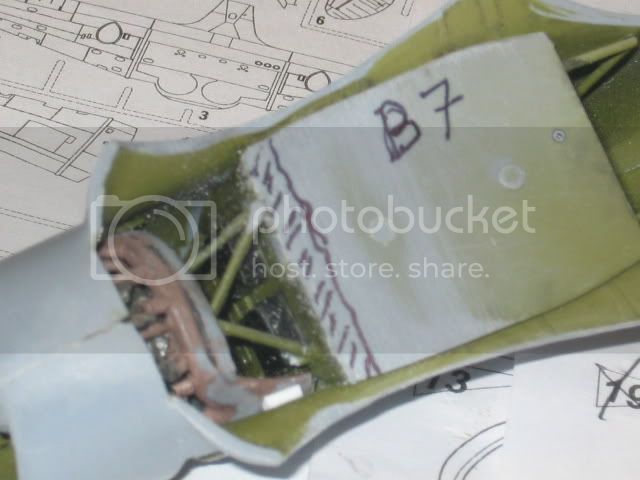
The wing spar (part B9) must be cut down by 3mm, all the way between the wings!
This means it MUST be done BEFORE the wheel wells are detailed or all details will be lost!
Dont ask me how I know
You cant cut the floor short as there are details that mount on the topside and the engine bearers mount on the bulkhead!
You CAN NOT mount the cockpit higher as there are details that will sit too high!
ONLY way to solve this is to cut down the wing spar!
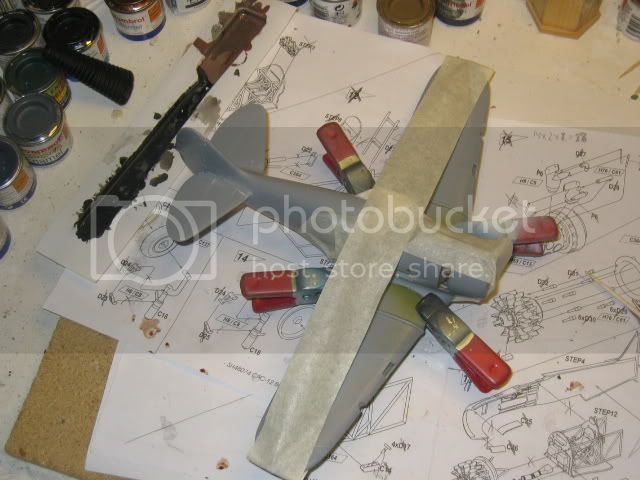
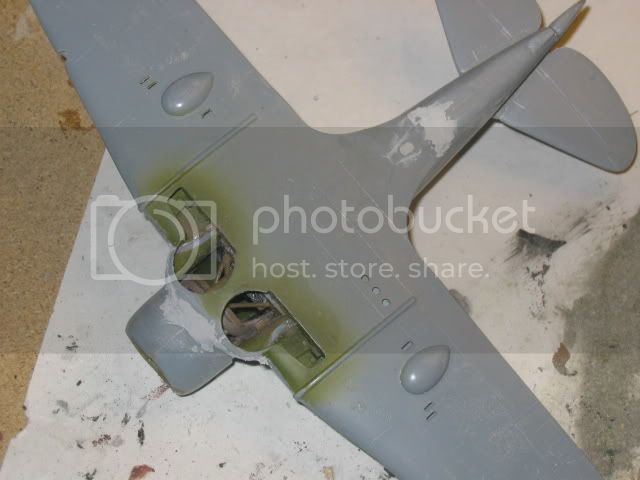
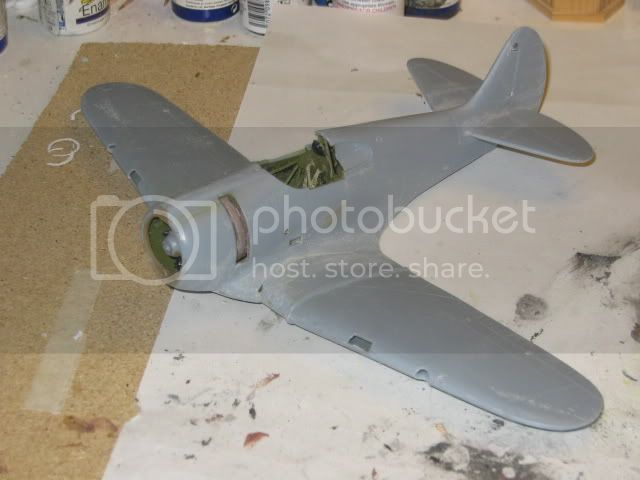
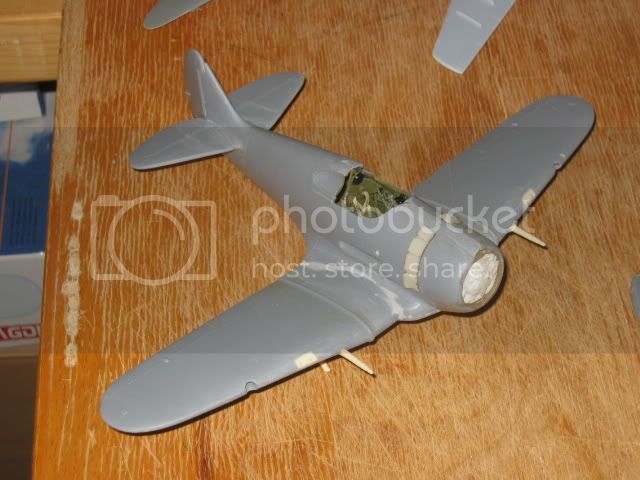
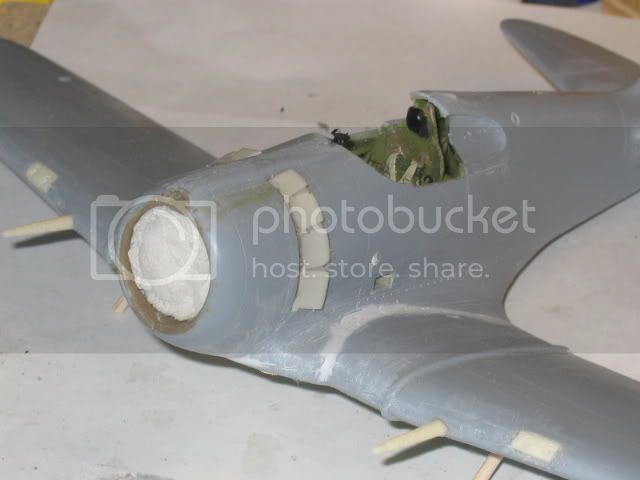
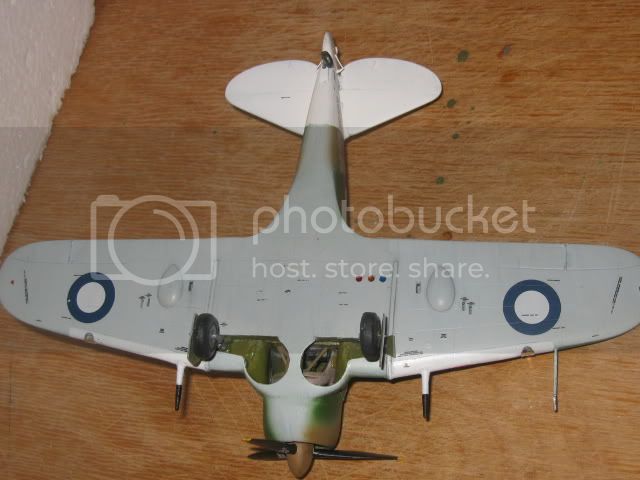
Here are some pics with all parts assembled and painted;

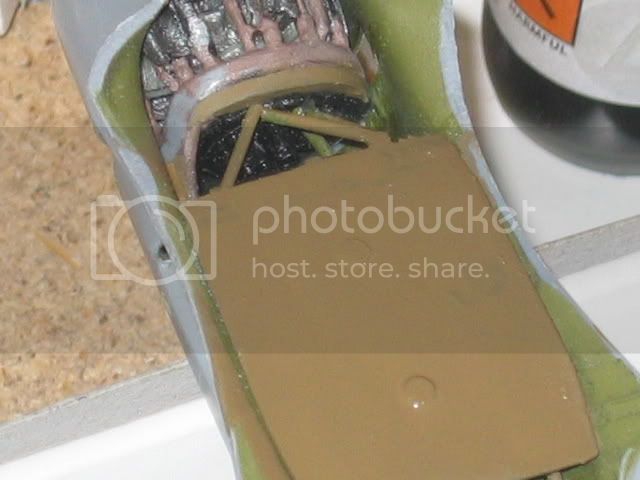
Dont forget to paint the underside of the cockpit floor, it can be seen trough the wheel wells!
With lots of clamps and tape, I could finally marry together the fuselage and wings!
I glued the front window to the cockpit-edge with some white glue.
Its white in the bottle, but dries hard and clear.
Those etched rudder horns are small and fiddly!
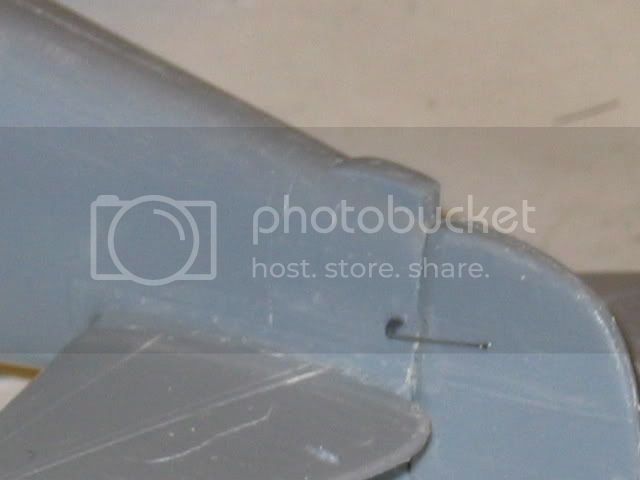
The joints between the wings and fuselage turned out to be much better then expected!
But I had to fill them anyway!
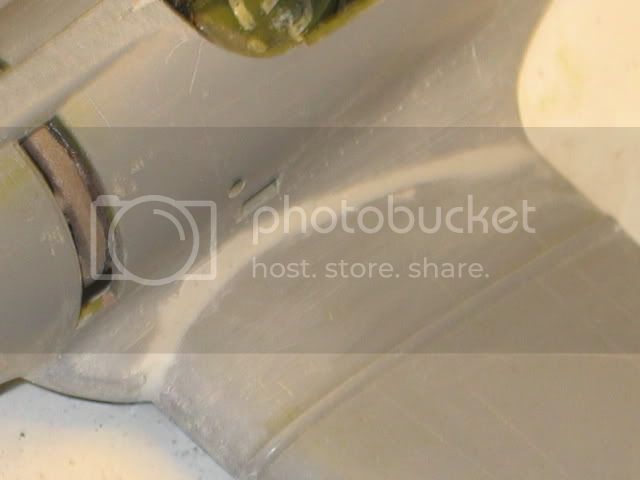
Same procedure on the bottom too
After sanding down;
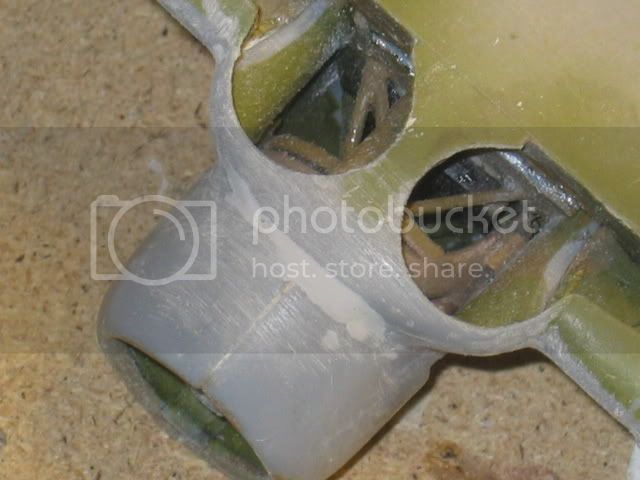
Then I had to do some nice small-jobs as gluing the gun ports;
The resin cooling flaps, extremely thin and fragile, was glued in place.
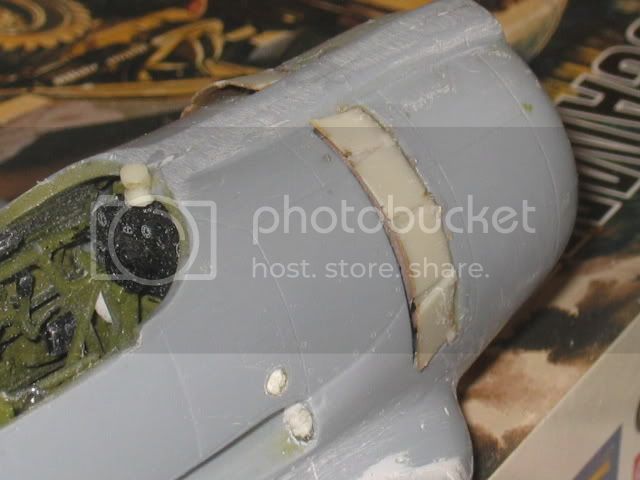
Finally, the 20mm cannons, one in each wing.
I often use some tissue paper as a mask before painting.
If I have to, Ill dip or moisten it with a little water, and the paper will conform to every nook and cranny.
This makes an excellent mask during painting!
You have to remember to stuff paper in every hole and crack, and then its off to the paint booth!
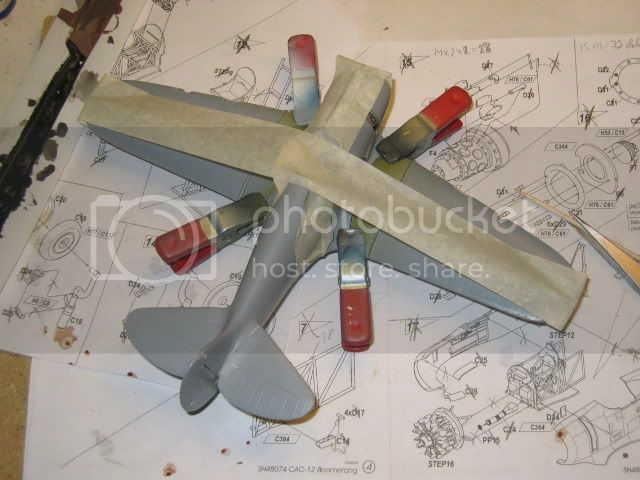
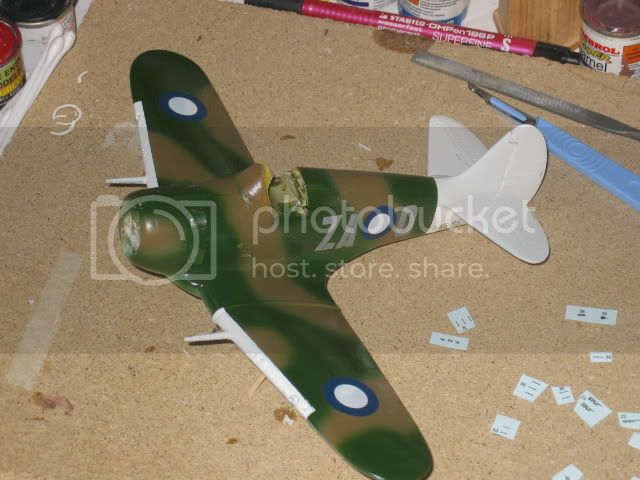
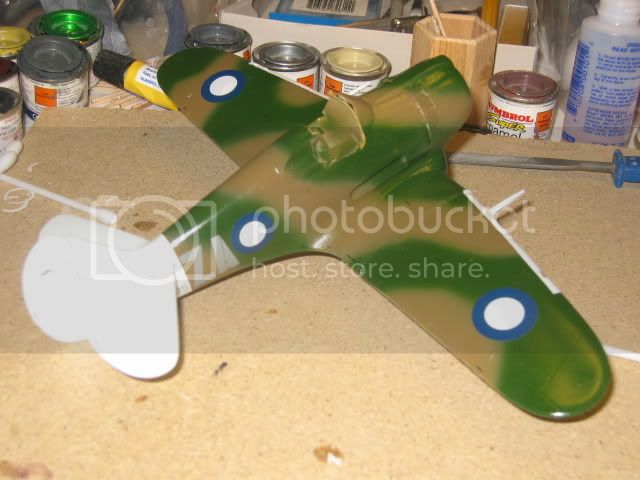
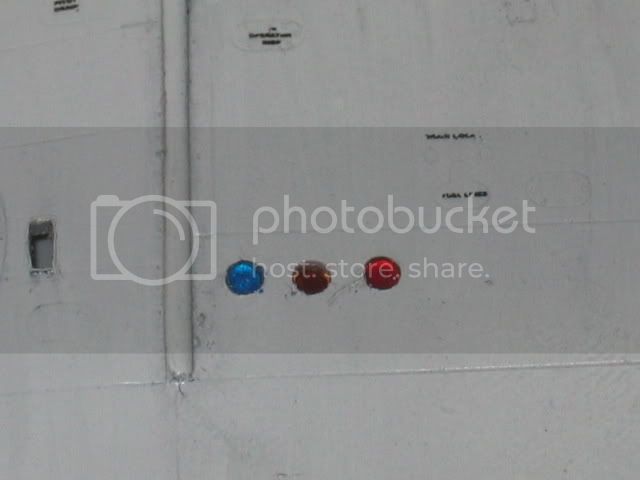
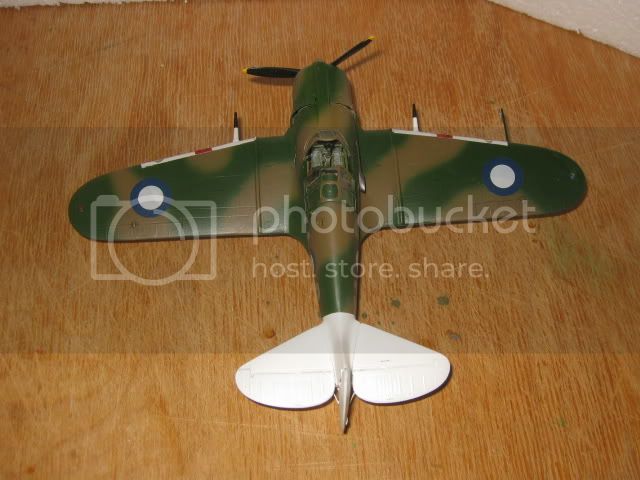
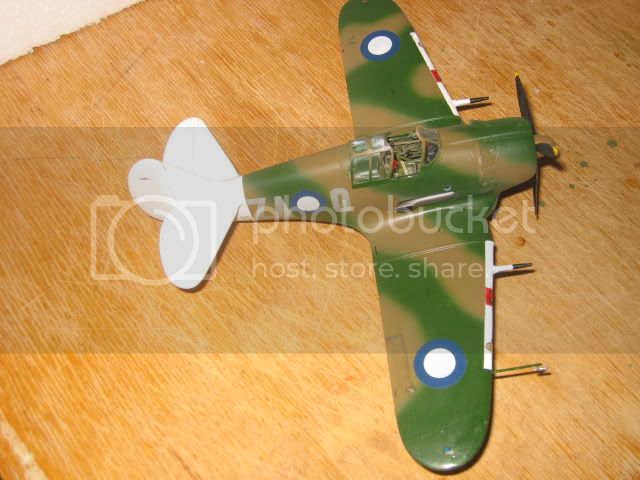
I started with RAAF Sky Blue.
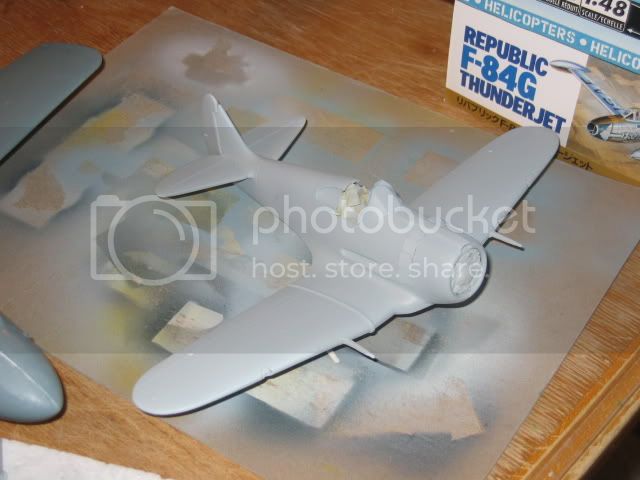
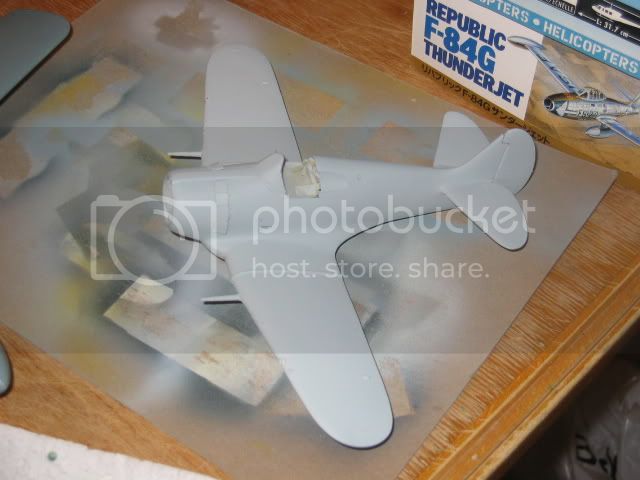
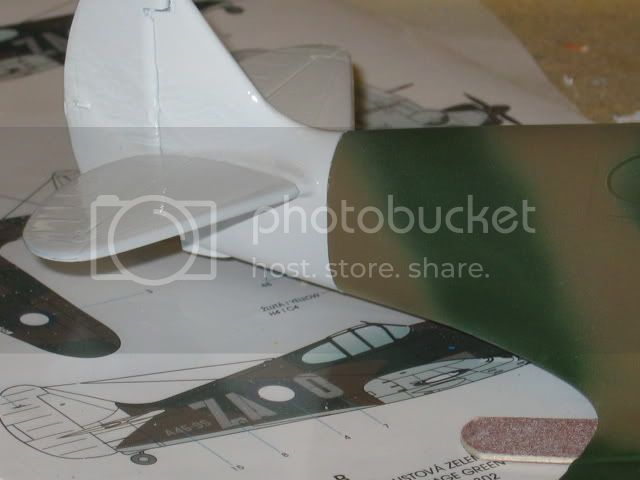
Next step was to paint the leading edges of the wings and the entire tail section Hu 22 Gloss White.
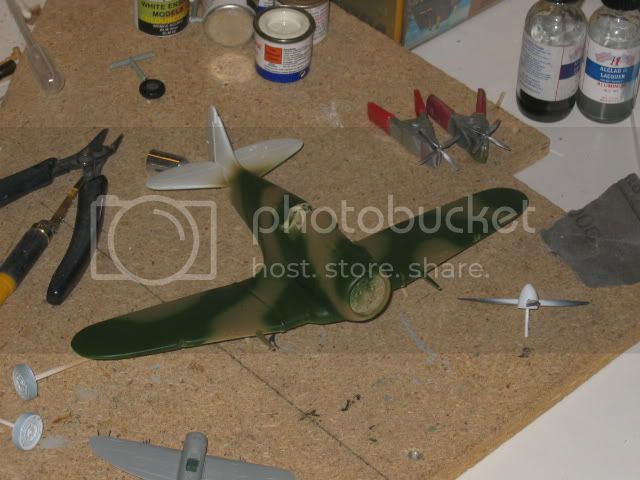
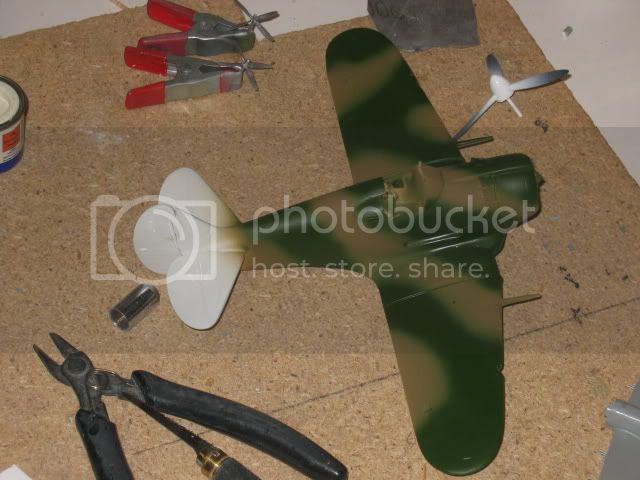
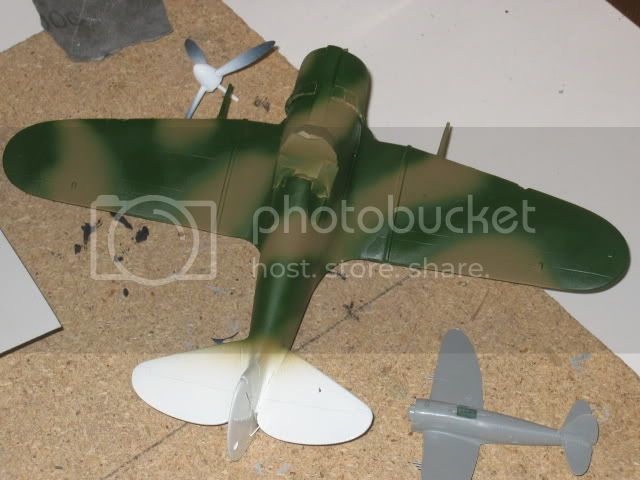
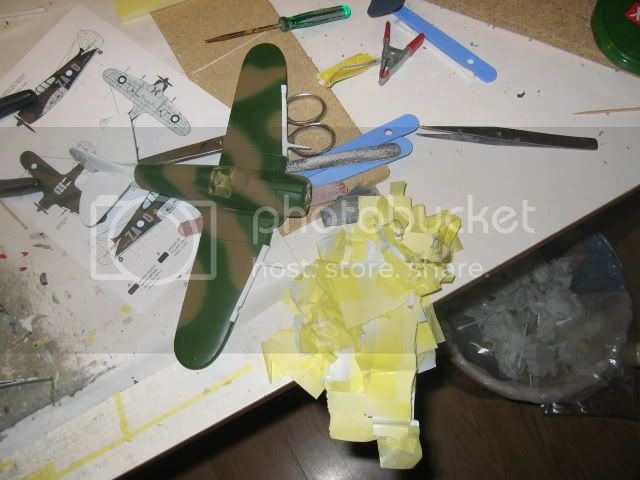
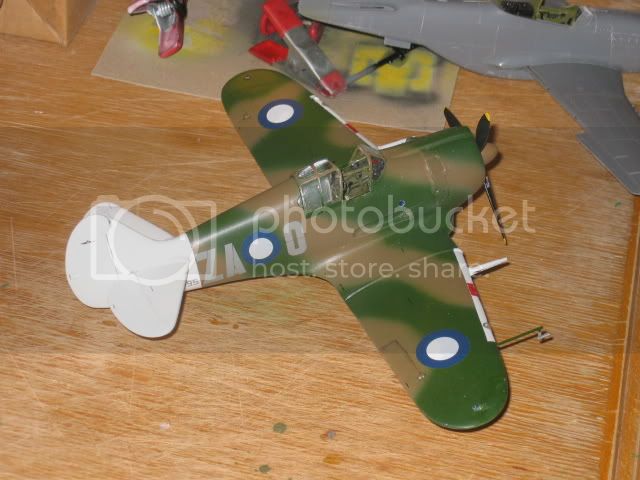
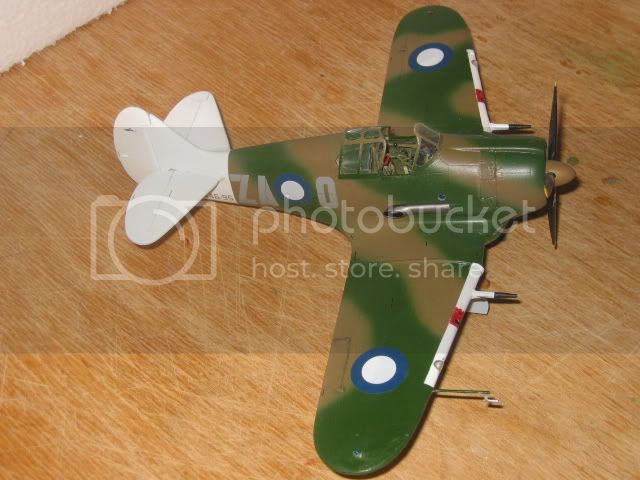
Next came the upper side camouflage pattern in RAAF Earth Brown, followed by RAAF Foliage Green.
I freehanded the entire pattern as I think it looks better then masking!
Then I had a LOT of masking to do!
Only part of the leading edges and the tail section was bare!
First, a coat of light grey (Hu127), acting as a primer for the white!
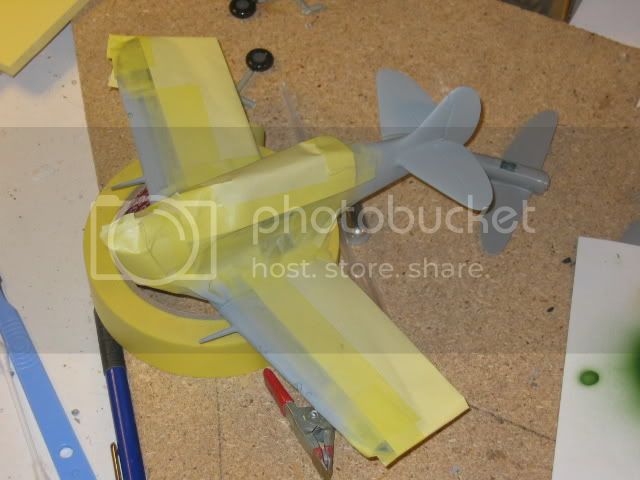
One More Coat of Hu22 Gloss White followed;
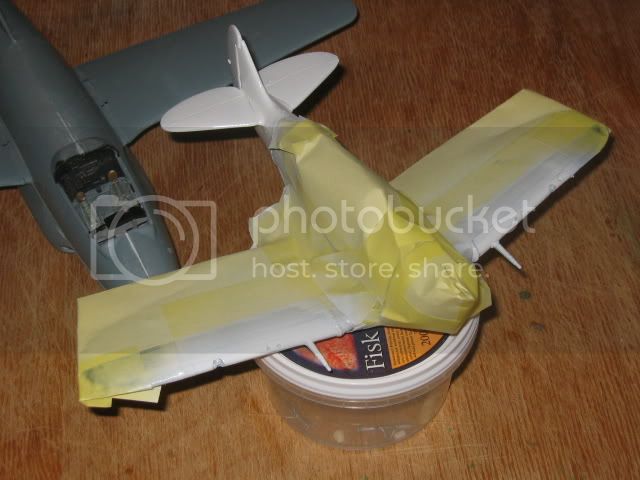
I ended up with a large heap of masking tape, but it was worth all the hard work!
Clear coated, glossy and nice!
Finally, time for my favourite moment on every build, the decals!
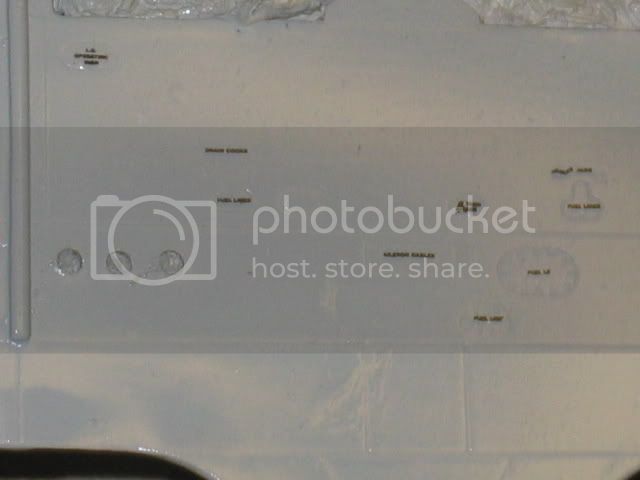
I started with the small stencils.
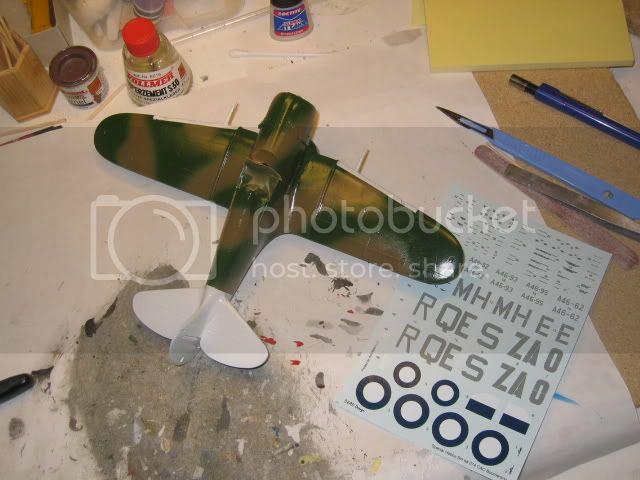
These are tiny, but fully readable under a magnifying glass, and theres lot of them!
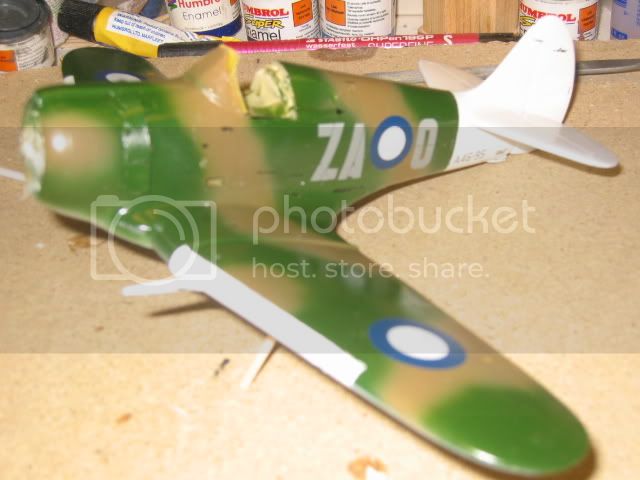
The national insignias and the codes make a lot to enhance the visuals!
Even tough they are few and not very colourful.
Everything went well, the decals behaved perfectly well, although they are extremely thin and tears easily.
No silvering appeared.
These decals are super thin but easy to use and I did not need anything but water and some micro-set.
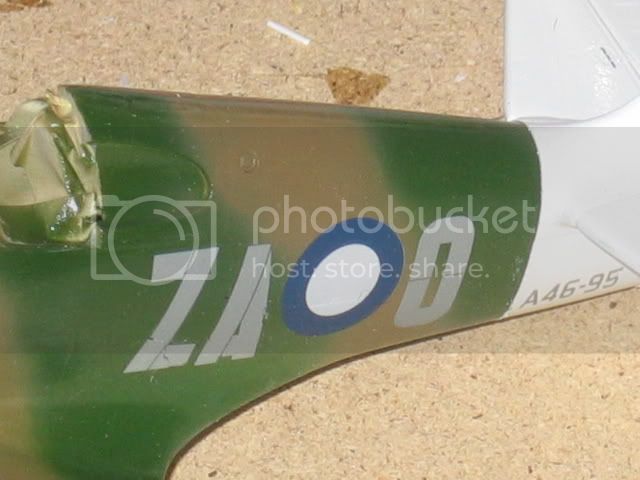
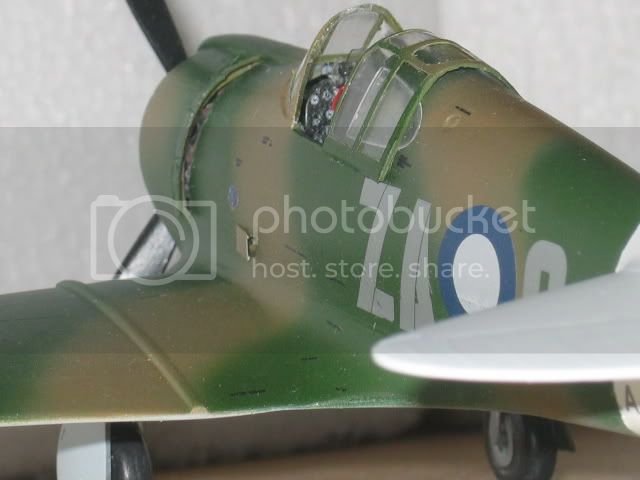
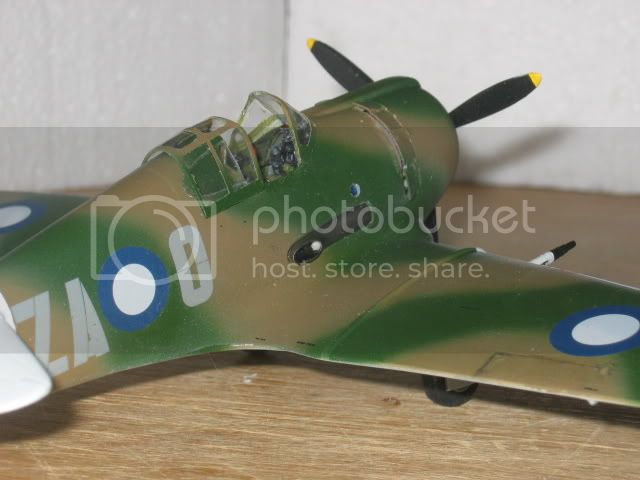
Then the disaster hit!
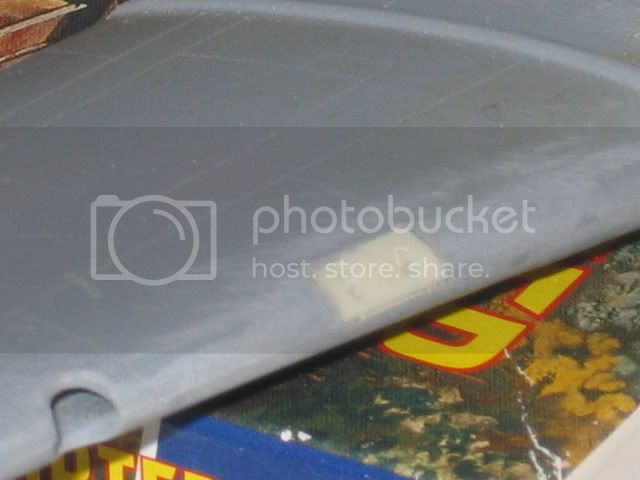
When I was going to apply the very last code letter, O, it folded up and before I could untangle it, it sheared and became a mess!
I cant say now what I said then ., but I ALMOST gave the model a short flight in the nearest wall!
Heres a pic on the missing decal!
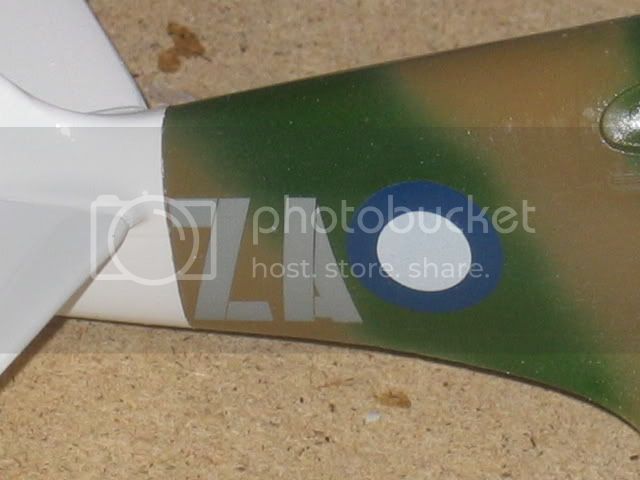
OK;Shit Happens, I can still show the other side!
Later that night, when I had calmed down, I ordered a new Early CAC-12 Boomerang (along with one CAC-9 Wirraway 1/48, one Fokker D.XXI 1/48, one Canberra B.Mk20/Mk.62 1/144 and one An-2 Colt i 1/144) from my favourite short-run dealer in the Czech republic, Modelimex.
Ill get a new kit and new decals, and this kit was such a nice build, that I want to build another one soon anyway!
That my friends, is the best rating I can give to a kit!
Doesnt happen very often, and especially not with short-run kits!
Finally, after almost two weeks, I received my second Boomerang kit!
I eagerly opened the box, grabbed the decals, cut out the offending decal and applied it to the model, not a hitch this time!
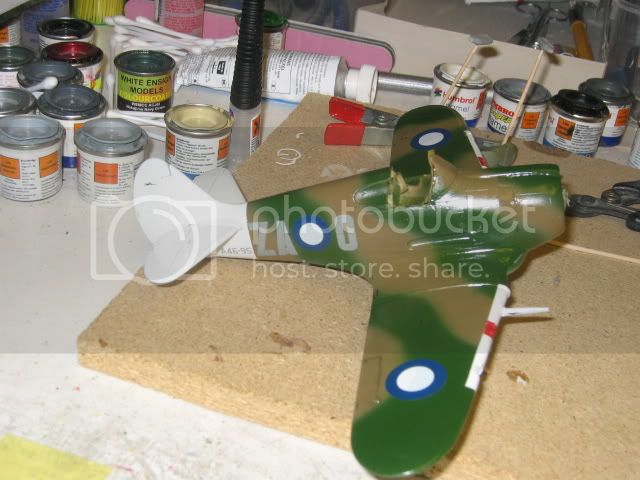
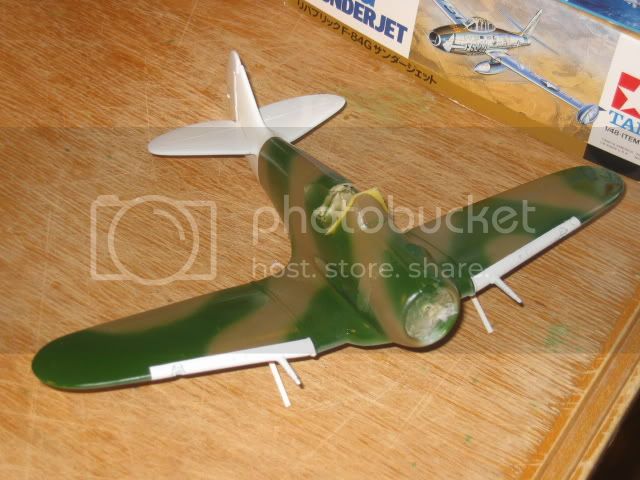
Then I could give the model the final satin clear-coat and when dry, remove all masking.
Next step was to apply all those dangly bits like pitots, landing gear and covers, tail wheel and all those other small parts.

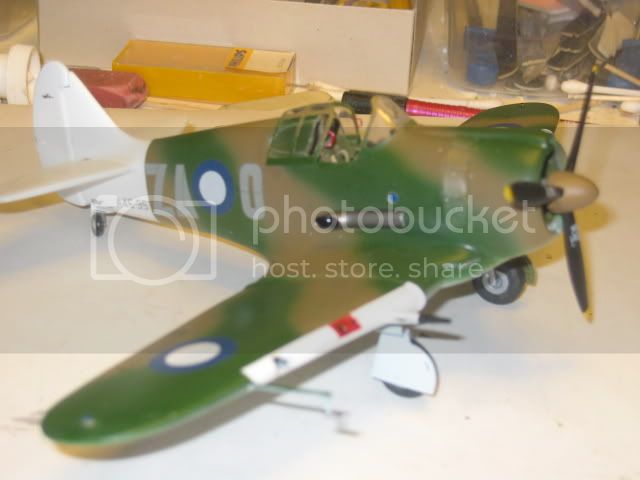


This kit have some pit-falls and I can only recommend it to experienced modellers, used to limited short-run kits.
But If you are up to the challenge, It´s a fun and very rewarding build!
I already plan to build my next Boomerang, and that´s the best grade I give any kit!
Cheers!
Stefan E