_GOTOBOTTOM
World War II: Japan
Aircraft of Japan in WWII.
Hosted by Rowan Baylis
Tamiya Ki84A Hataye old dog, new tricks?
Grenadier37
_VISITCOMMUNITY
Texas, United States
Joined: June 02, 2008
KitMaker: 232 posts
AeroScale: 155 posts
Posted: Tuesday, February 02, 2010 - 09:24 AM UTC
Some time back, I bought the old 1/48 Tamiya Ki84A Hayate. The kit was missing the instructions, decals and instrument panel, but it was cheap. I've always wanted to build a heavily weathered Japanese fighter, and this kit seemed to be the way to go. Here are some pictures of my progress.


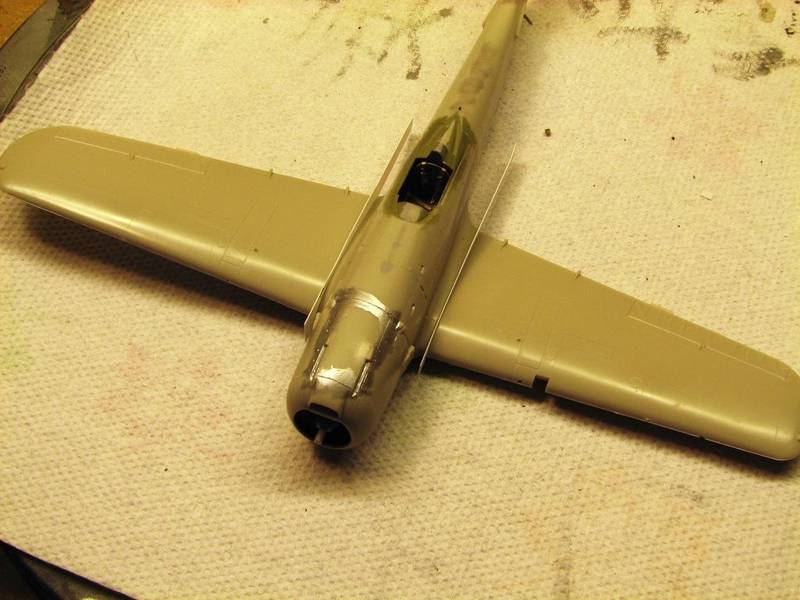
A little detail added, but not much since most of it won't be seen once the fuselage is glued together.


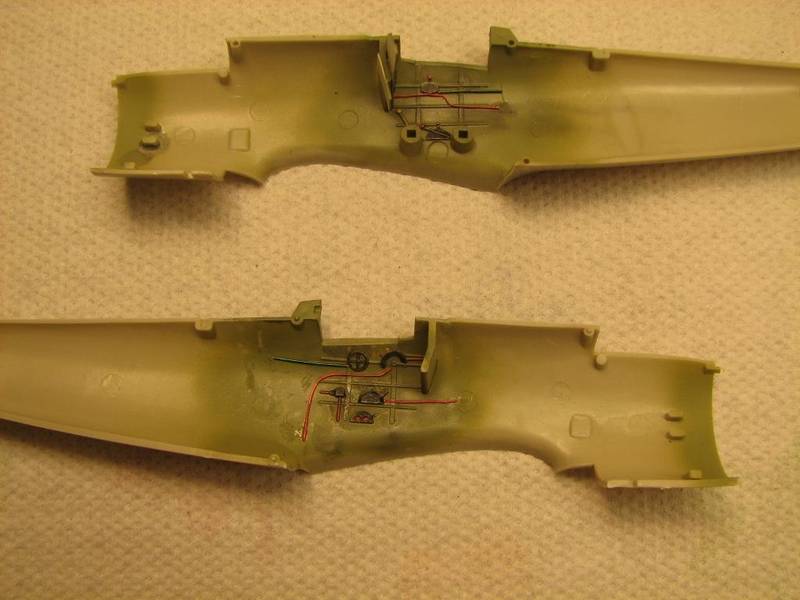
Scratch built seat with harness made from masking tape and wire.


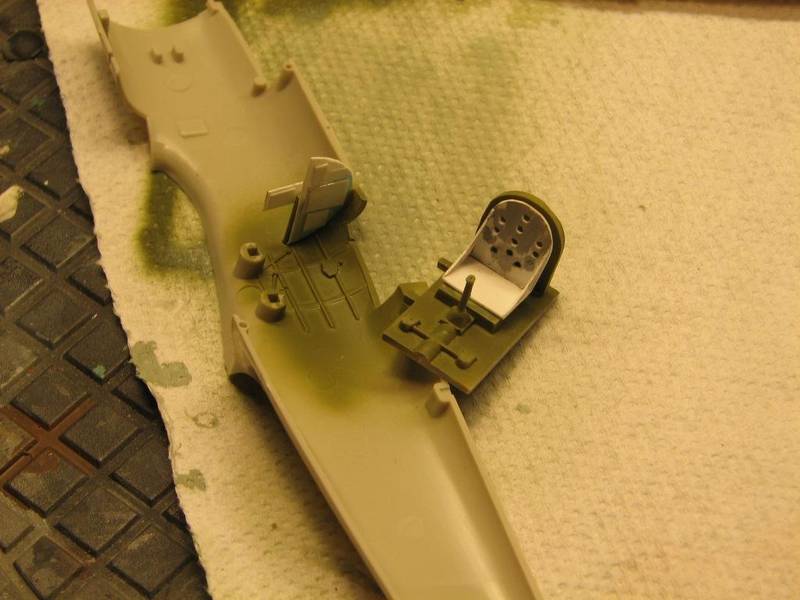
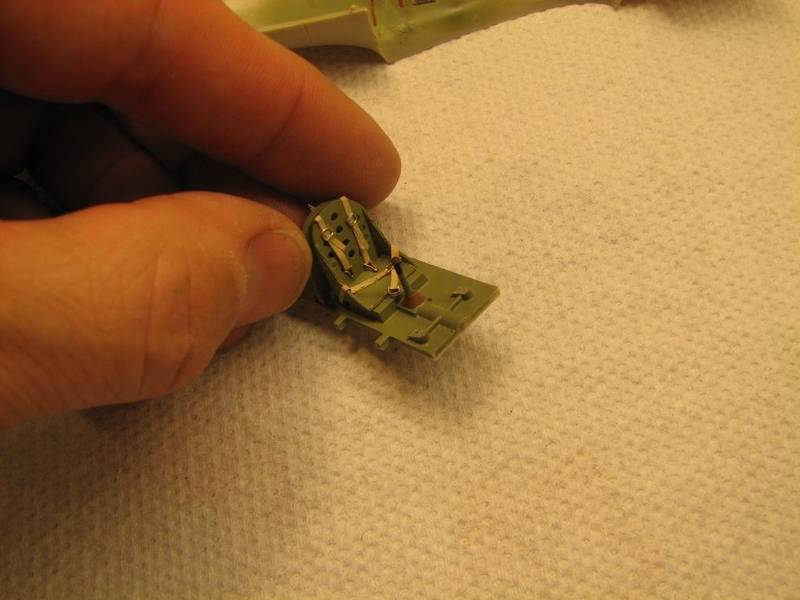
I decided to leave the 30+ year old engine alone. Most of it will be hidden behind the cowl and prop anyway.

More to come in the very near future.
Grenadier37
_VISITCOMMUNITY
Texas, United States
Joined: June 02, 2008
KitMaker: 232 posts
AeroScale: 155 posts
Posted: Wednesday, February 03, 2010 - 05:27 AM UTC
Wing to fuselage, and upper engine cowling fit...not so good.

thegirl
_VISITCOMMUNITY
Alberta, Canada
Joined: January 19, 2008
KitMaker: 6,743 posts
AeroScale: 6,151 posts
Posted: Wednesday, February 03, 2010 - 05:01 PM UTC
Very nice effect with the painting in the cockpit and the engine looks super


What soups have you cooked up now ?
Grenadier37
_VISITCOMMUNITY
Texas, United States
Joined: June 02, 2008
KitMaker: 232 posts
AeroScale: 155 posts
Posted: Thursday, February 04, 2010 - 05:27 AM UTC
Thanks Terri!

Actaully, I've been traveling a lot lately, so no soup. In fact, no food in the fridge.

I've got to get back to my Pfalz D III as well...
ShawnM
_VISITCOMMUNITY
Missouri, United States
Joined: November 24, 2008
KitMaker: 564 posts
AeroScale: 510 posts
Posted: Thursday, February 04, 2010 - 09:19 AM UTC
nice work, looks great thus far
SGTJKJ
#041
_VISITCOMMUNITY
Kobenhavn, Denmark
Joined: July 20, 2006
KitMaker: 10,069 posts
AeroScale: 3,788 posts
Posted: Friday, February 05, 2010 - 12:40 AM UTC
Nice start. I agree the heavily weathered Japanese camouflage schemes are attractive. Some really nice effects can be tried and it is difficult to overdo it.

Looking forward to see more.
Grenadier37
_VISITCOMMUNITY
Texas, United States
Joined: June 02, 2008
KitMaker: 232 posts
AeroScale: 155 posts
Posted: Friday, February 05, 2010 - 05:51 AM UTC
Thanks everyone for the kind words.

With exception of the engine cowling and wing to fuselage fit, she went together like a dream, but it is a Tamiya kit after all. So after filling the trench on the upper engine cowling/gun cover and trimming the sheet styrene at the wing gaps this beauty was ready to prime and paint. I started with thin coat of Mr. Surfacer 1200, then sprayed Alclad aluminum and polished aluminum. It almost seems a shame to cover it with IJA green.

JPTRR
Staff MemberManaging Editor
RAILROAD MODELING
#051
_VISITCOMMUNITY
Tennessee, United States
Joined: December 21, 2002
KitMaker: 7,772 posts
AeroScale: 3,175 posts
Posted: Saturday, February 06, 2010 - 03:43 AM UTC

Quoted Text

It almost seems a shame to cover it with IJA green.


Concur! Of course, just after shooting on the green you could always serverly distress the paint with masking tape--best of both worlds!
Grenadier37
_VISITCOMMUNITY
Texas, United States
Joined: June 02, 2008
KitMaker: 232 posts
AeroScale: 155 posts
Posted: Monday, February 08, 2010 - 08:49 AM UTC
Here is a my Ki84 after painting, "chipping" and some weathering. I applied Elmer's glue where I wanted to remove the IJA green paint, let it dry, sprayed the green, then the black. Weathered the model then removed the glue using masking tape.


I think the results are OK.
Grenadier37
_VISITCOMMUNITY
Texas, United States
Joined: June 02, 2008
KitMaker: 232 posts
AeroScale: 155 posts
Posted: Friday, February 12, 2010 - 09:19 AM UTC
Alright, here it is in all it's glory. It needs some exhaust stains and I haven't sealed the decals, but for all intense and purposes, it's done. If I was going to do it again, I'd be more precise where I put the white glue and pay more attention to decal placement in that regard.

The best part about this build is the ease at which the kit went together (can anyone say Tamiya?). The worst part was filling the gap at the top of the cowl.

It was painted with Alclad metalizers and Testors ModelMaster enamels. Weathering was done with ModelMaster acrylics thinned with alcohol. The decals are aftermarket, Eagle Strike if memeory serves right.


litespeed
Staff MemberNews Reporter
AEROSCALE
_VISITCOMMUNITY
England - North West, United Kingdom
Joined: October 15, 2009
KitMaker: 1,976 posts
AeroScale: 1,789 posts
Posted: Friday, February 12, 2010 - 11:23 AM UTC
That looks absolutely superb, model of the month material. Very well done.
tim
buggalugs
_VISITCOMMUNITY
Australian Capital Territory, Australia
Joined: June 06, 2007
KitMaker: 135 posts
AeroScale: 115 posts
Posted: Friday, February 12, 2010 - 11:42 PM UTC
I agree with litespeed, that looks fantastic. I love the weathering, don't worry about whether you've overdone it or not. I have the kit in the stash and was wondering whether it was worth building, given how old it is and (apparently) how good the newer Hasegawa kit is, but your build has answered that question! Now all I have to do is decide on a scheme....

cheers Brad
NickZour
_VISITCOMMUNITY
Attica, Greece / Ελλάδα
Joined: May 01, 2008
KitMaker: 1,437 posts
AeroScale: 1,241 posts
Posted: Saturday, February 13, 2010 - 02:31 AM UTC
History in scale


Cheers Nick
Grenadier37
_VISITCOMMUNITY
Texas, United States
Joined: June 02, 2008
KitMaker: 232 posts
AeroScale: 155 posts
Posted: Monday, February 15, 2010 - 09:48 AM UTC
Thanks guys for the kind words. I’m not so sure I deserve them, but I’ll take them just the same!

This kit is definitely worth building. It required just a little filler and went together very well. If you’re like me and build for the enjoyment of the hobby, not to count rivets, I think you’ll enjoy this kit.
 _GOTOTOP