_GOTOBOTTOM
Early Aviation
Discuss World War I and the early years of aviation thru 1934.
If Voss had flown a D,V
lalanagas
_VISITCOMMUNITY
Tabasco, Mexico
Joined: November 26, 2007
KitMaker: 31 posts
AeroScale: 26 posts
Posted: Monday, February 15, 2010 - 06:46 PM UTC
this it is my first attempt in a foreign forum
excuses by my spelling.
I am from Tabasco Mexico

the kit ist very very Old, a casting from the early sixtys or seventyns
it is going much to be scratch, and but that I am going to use a Set from Eduard.
the spadaun in 1/72 scale
this its the box.

all the parts i have, the tail skyd is missing, i goin to build a new one.

the propeler has a news blades, the others was skiny.
well this is the first of many
i hope to dont disappoint
edoardo
_VISITCOMMUNITY
Milano, Italy
Joined: November 30, 2007
KitMaker: 642 posts
AeroScale: 382 posts
Posted: Monday, February 15, 2010 - 11:43 PM UTC
Hi Luis and welcome to the forum!
You are facing a great challange... too spicy for my taste!!
I look forward to your build!

ciao
Edo
james84
_VISITCOMMUNITY
Roma, Italy
Joined: January 28, 2006
KitMaker: 1,368 posts
AeroScale: 377 posts
Posted: Tuesday, February 16, 2010 - 12:47 AM UTC
Welcome!
thegirl
_VISITCOMMUNITY
Alberta, Canada
Joined: January 19, 2008
KitMaker: 6,743 posts
AeroScale: 6,151 posts
Posted: Tuesday, February 16, 2010 - 01:39 AM UTC
Will be an interesting build to watch . Look forward to your progress on this little bird .
lalanagas
_VISITCOMMUNITY
Tabasco, Mexico
Joined: November 26, 2007
KitMaker: 31 posts
AeroScale: 26 posts
Posted: Tuesday, February 16, 2010 - 02:02 AM UTC
well continuing with the advances.
these are my references


i had a lot of information.

this its plans, that helpme to do the interior.

first scracht around the two halves, to make more espace.
the aply styrene strip to make the arquit. (larguero)

foward y make the interior parts of the both sides.

left side.

and the right side.
the engine dont convince. so i going to make a new one.

the kit part, and my scracht engine.


the tyning pipes are made of electronical soldering.

all de fuel inyector.

and the cockpit.

that is everything at the moment.
i hope to make more translate to foward the build
greetings
thegirl
_VISITCOMMUNITY
Alberta, Canada
Joined: January 19, 2008
KitMaker: 6,743 posts
AeroScale: 6,151 posts
Posted: Tuesday, February 16, 2010 - 02:13 AM UTC
Nice work so far , the blue prints which you posted above are copy righted you know and can't be posted from my understanding , but I could be wrong on that .
CaptainA
_VISITCOMMUNITY
Indiana, United States
Joined: May 14, 2007
KitMaker: 3,117 posts
AeroScale: 2,270 posts
Posted: Tuesday, February 16, 2010 - 04:34 AM UTC
That is real good work in 1/72nd scale. Way to small for my older eyes. If yo feel uncomfortable in English, you can use the Google Translator. It is not perfect, but it works well enough. I think your English is just fine. So, even though you have been a member for over two years, welcome.

Esa es la verdadera buena labor en la escala 1/72nd. Forma de pequeño para mi edad ojos. Si yo se sienten incómodos en Inglés, puede utilizar el traductor de Google. No es perfecto, pero funciona bastante bien. Creo que tu Inglés está bien. Así que, aunque ha sido miembro durante más de dos años, bienvenido.
lalanagas
_VISITCOMMUNITY
Tabasco, Mexico
Joined: November 26, 2007
KitMaker: 31 posts
AeroScale: 26 posts
Posted: Tuesday, February 16, 2010 - 02:12 PM UTC
following with this model.
it comes from factory with many fit problems.
since I repeat to them is a very old mold

this is the complete cockpit, the belt are made of laminate brass.
other parts are made of wire.

sorry i had problems wiht internet.
in a few moments y solve, an restar de uploud
thegirl
_VISITCOMMUNITY
Alberta, Canada
Joined: January 19, 2008
KitMaker: 6,743 posts
AeroScale: 6,151 posts
Posted: Tuesday, February 16, 2010 - 02:59 PM UTC
Nicely done , working in 72 scale can be tricky on the eye's at times working with small parts .

Your framing is nice on the fuselage side . What size did you use ? It seems to be a little on the big side .......... I like though - looks neat !

lalanagas
_VISITCOMMUNITY
Tabasco, Mexico
Joined: November 26, 2007
KitMaker: 31 posts
AeroScale: 26 posts
Posted: Tuesday, February 16, 2010 - 07:04 PM UTC
continuing whit the little Voss Plane.
fynaly y solve my internet problems.

soooo.

i cut parts from the front of the fuselage to give capacity to the new engine.

this is my new engine completed


from both sides, they are finished whit, laminated brass, an bits from my spare parts box.

I am going to paint the cabin, and to preasembly the components. before close the fuselage.

well again sorry if my English is bad
y try but ist dificult for me.
Merlin
Staff MemberSenior Editor
AEROSCALE
#017
_VISITCOMMUNITY
United Kingdom
Joined: June 11, 2003
KitMaker: 17,582 posts
AeroScale: 12,795 posts
Posted: Wednesday, February 17, 2010 - 03:13 AM UTC
Hi Luis

Great work so far - this is a very interesting thread. One point (and this applies to everyone) - do please be careful about scanning copyright material. I think the Windsock plans above are just about safe, as they are very low-res and hopefully serve as an encouragement to others to buy the book. "Fair use" is always a thorny subject - and seems to be something of a legal minefield with differing interpretations depending who you ask. As a rule, be on the safe side - if possible, obtain permission to use pics that aren't your own. Otherwise, keep them low res and always credit the publisher.

All the best

Rowan
Removed by original poster on 02/17/10 - 17:14:52 (GMT).
Mgunns
_VISITCOMMUNITY
Arizona, United States
Joined: December 12, 2008
KitMaker: 1,423 posts
AeroScale: 1,319 posts
Posted: Wednesday, February 17, 2010 - 12:10 PM UTC
Welcome Luis:

You are making good progress and I am enjoying watching what you are doing in 1/72nd scale. Too small for my eyes, but I find it interesting what people can do in that small scale.
Looking forward to the next installment.

Mark
JackFlash
_VISITCOMMUNITY
Colorado, United States
Joined: January 25, 2004
KitMaker: 11,669 posts
AeroScale: 11,011 posts
Posted: Wednesday, February 17, 2010 - 02:00 PM UTC

Quoted Text

Hi Luis

Great work so far - this is a very interesting thread. One point (and this applies to everyone) - do please be careful about scanning copyright material. I think the Windsock plans above are just about safe, as they are very low-res and hopefully serve as an encouragement to others to buy the book. "Fair use" is always a thorny subject - and seems to be something of a legal minefield with differing interpretations depending who you ask. As a rule, be on the safe side - if possible, obtain permission to use pics that aren't your own. Otherwise, keep them low res and always credit the publisher.

All the best

Rowan


Yea and verily.
lalanagas
_VISITCOMMUNITY
Tabasco, Mexico
Joined: November 26, 2007
KitMaker: 31 posts
AeroScale: 26 posts
Posted: Wednesday, February 17, 2010 - 06:22 PM UTC
following with the model and the build.
i star whit the painting.
i like the flat finish, soo i goin to paint whit acrylic, everything its hand brush.
again sorry about my spelling.

use a hairdryer to accelerate a the process. most of my paints are tamiya, and pollys, and a mexican brand. called politec.

one side of the fuselage.

an the other side, in this side in particular, already glued, part of the instruments, and the dial of the speedometer.

with this brand, I am going to help, to give more realism to the model, I hope that they arent problems also to show the brand.

and whit this we passed.......

to this. its very dificult considering the size.
i have to uses a spagueti rod, number 3 to roll, the cooling jackets.
but I had left well, a small stick is but great that one of my machine guns.

i glued the rest of the cockpit,

another view.

and a fit test, of both halves. its sad, all the tings i make the are going to get buried inside, wen close te fuselage. but y now everything its inside.

that is everything at the moment. I need to sand until being able, to close fuselage. and to continue with the process.

greetings we were written soon.
lalanagas
_VISITCOMMUNITY
Tabasco, Mexico
Joined: November 26, 2007
KitMaker: 31 posts
AeroScale: 26 posts
Posted: Thursday, February 18, 2010 - 07:22 AM UTC
again continuing with the model
during the night the parts weld well
now is time to begin to give form to the plane.

all the fuselage glueed. i glued a bit of styrene, to hold the machine guns.

from above, it looks like, i am going to sand a lot, to vanish that seams.

i macht the lower wing, and a great problem is seen. the poor fit needs to be solved.
i tell you, its a very very old model.


engine finished, and painted.
and now, to solve the problem.

this..

and this......its going to be solve whit...

nothing that putty cannot solve. the grenn and white, its a mexican brand.
called platiloca, a relative of crazy glue. its nasty and sticky. it leaves many chunks.
for that reason i buy tamiya puttty, in my town, its very hard to find.
soo y buy in internet, and whait 2 weeks, to arrive, its like gold to me...

it is not much what I have advanced.
and I hope to be able to posting more advances soon
greetings from Tabasco Mexico.
lalanagas
_VISITCOMMUNITY
Tabasco, Mexico
Joined: November 26, 2007
KitMaker: 31 posts
AeroScale: 26 posts
Posted: Monday, February 22, 2010 - 05:34 AM UTC
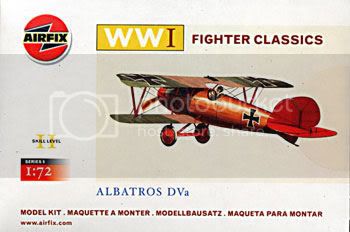
continuing with buil. of the Little Werner Bird.

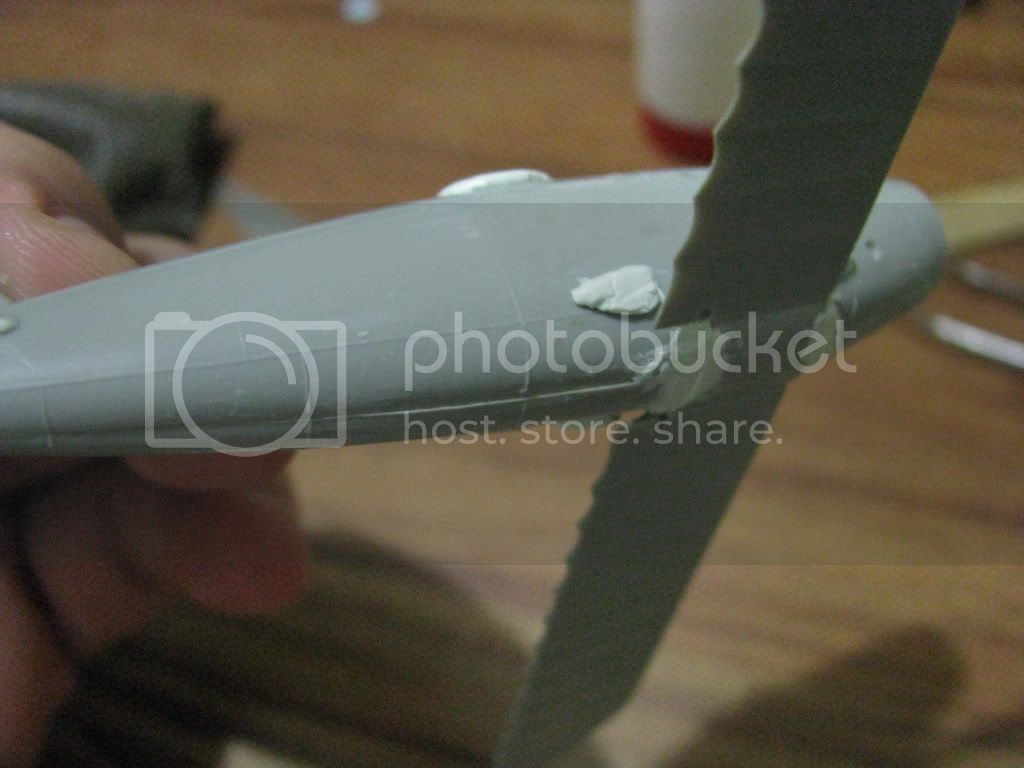
already after working with the putty, we filled up the spaces and we sanding all the surpluses.

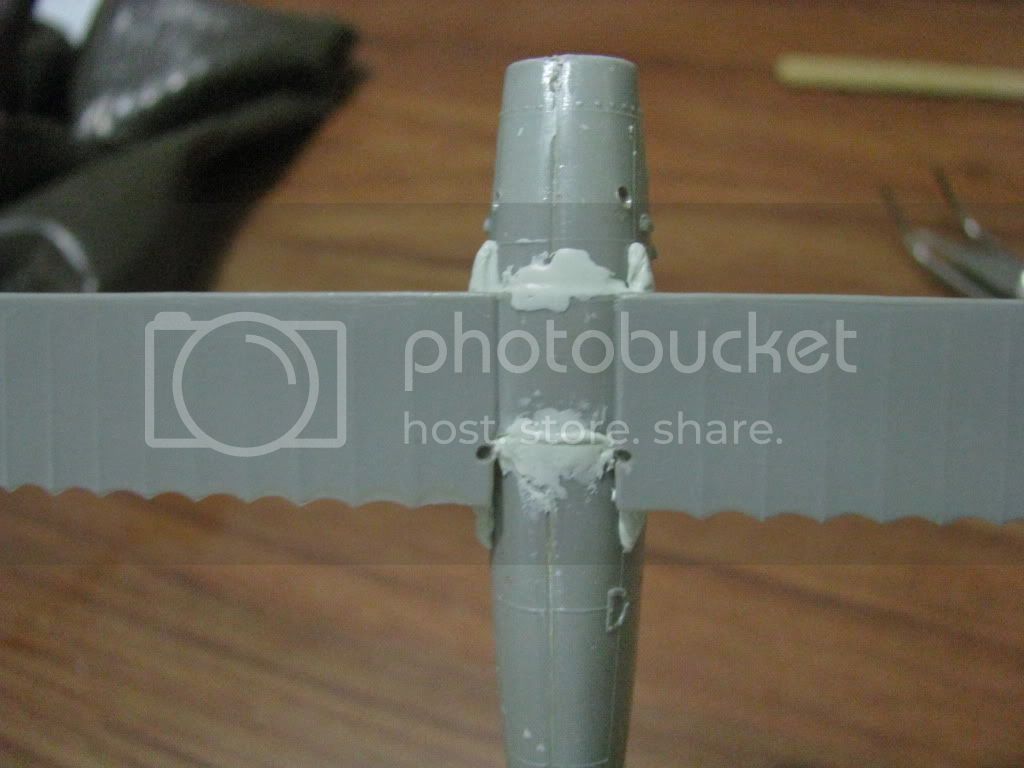
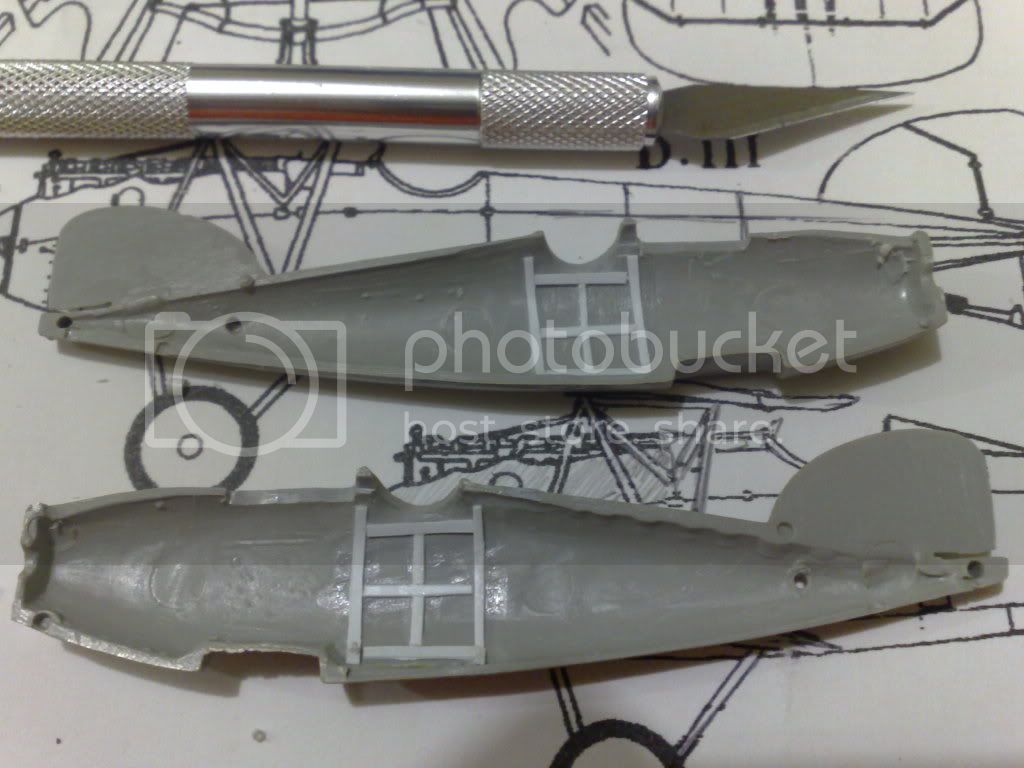
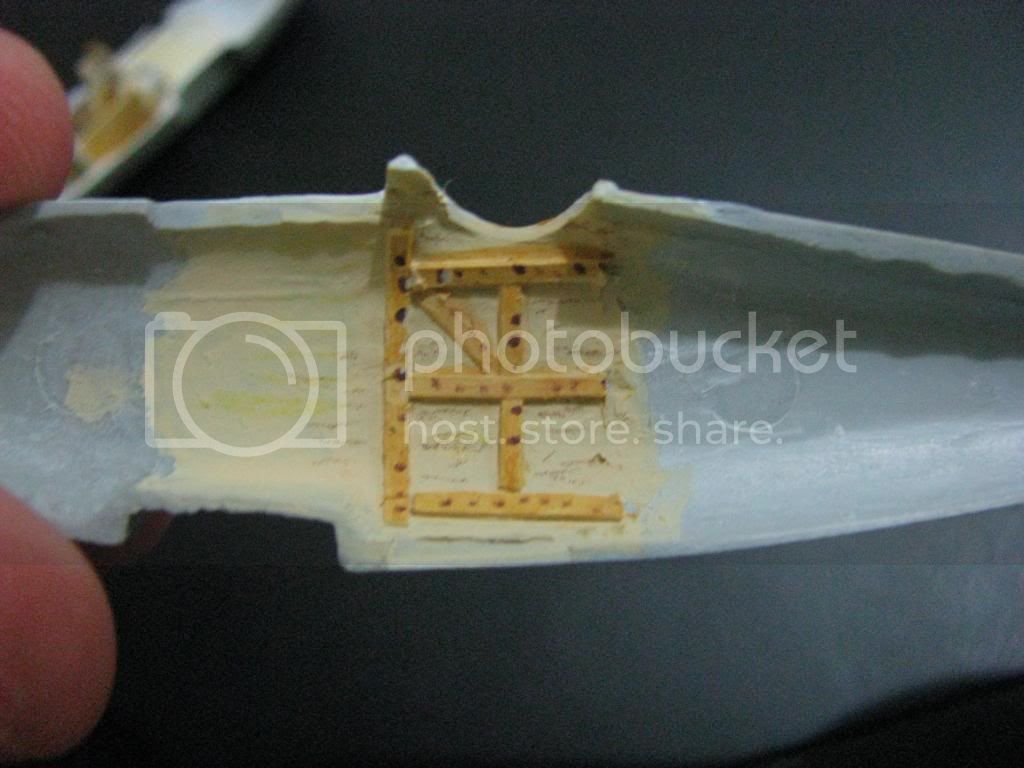
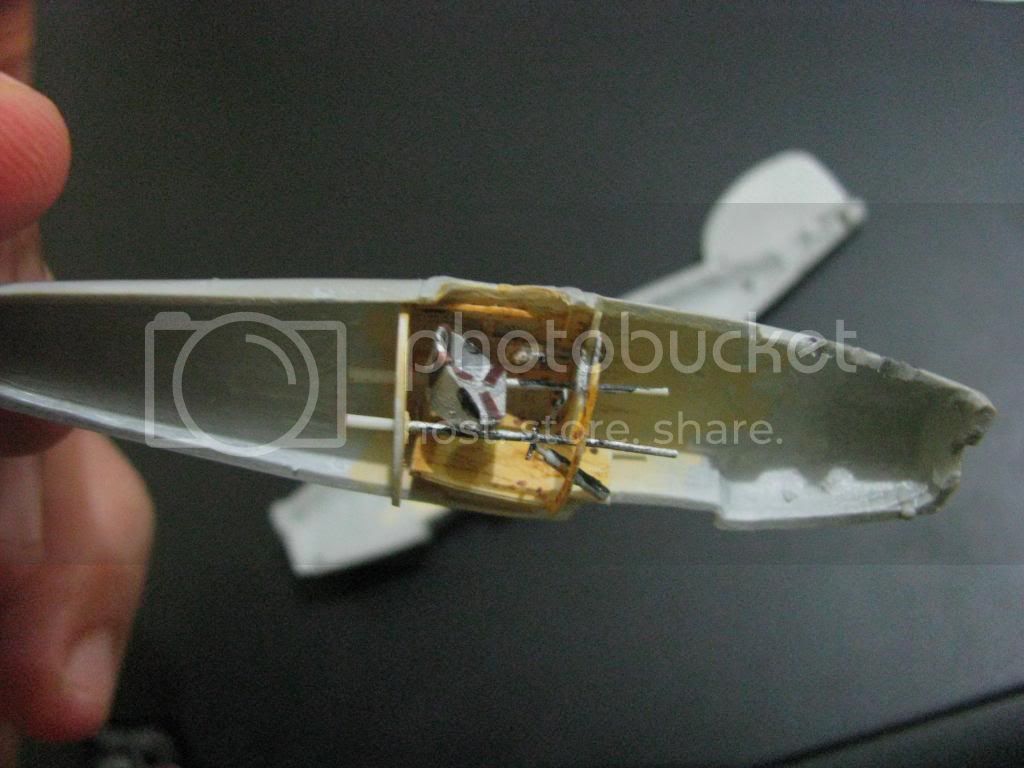
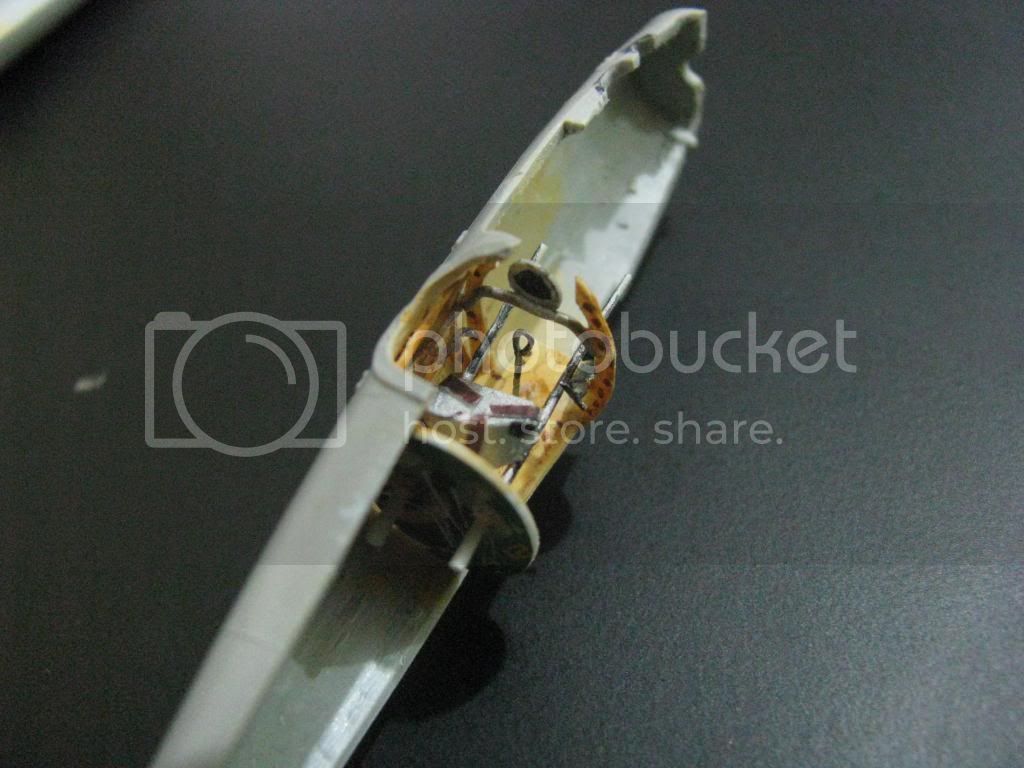
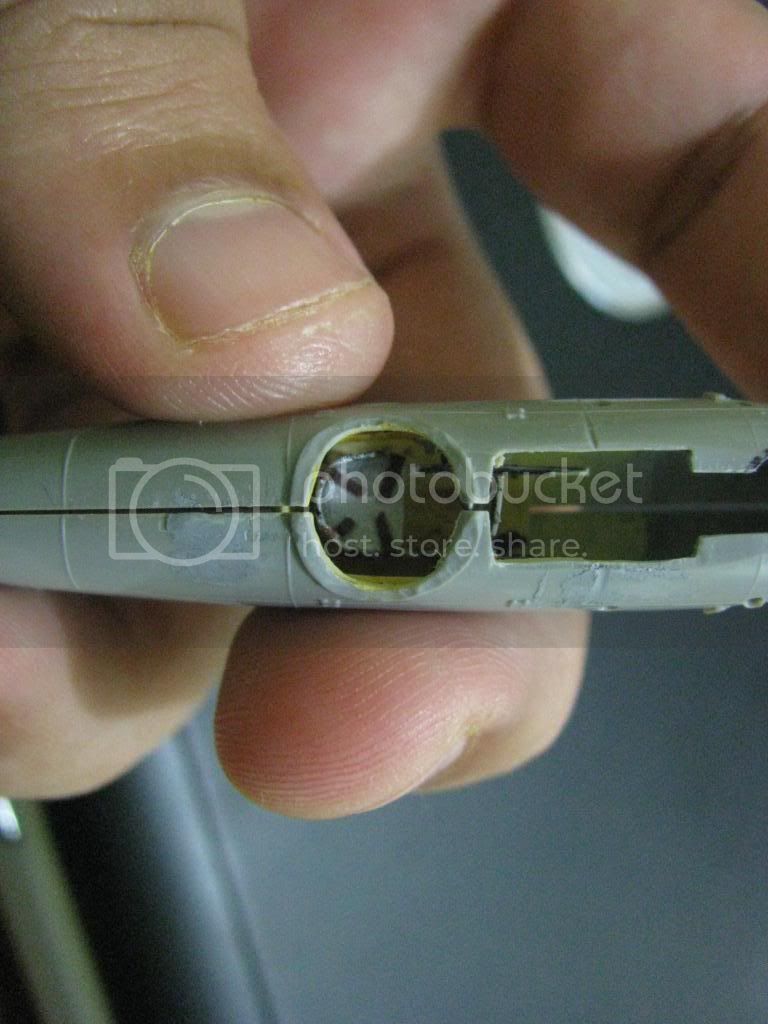
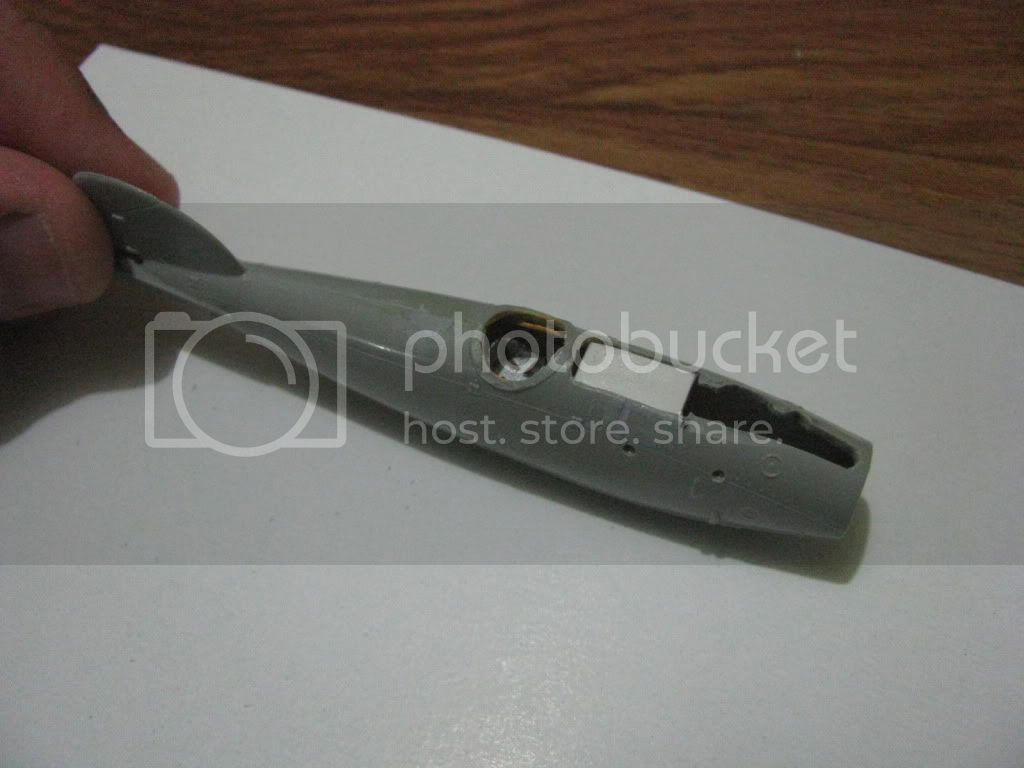
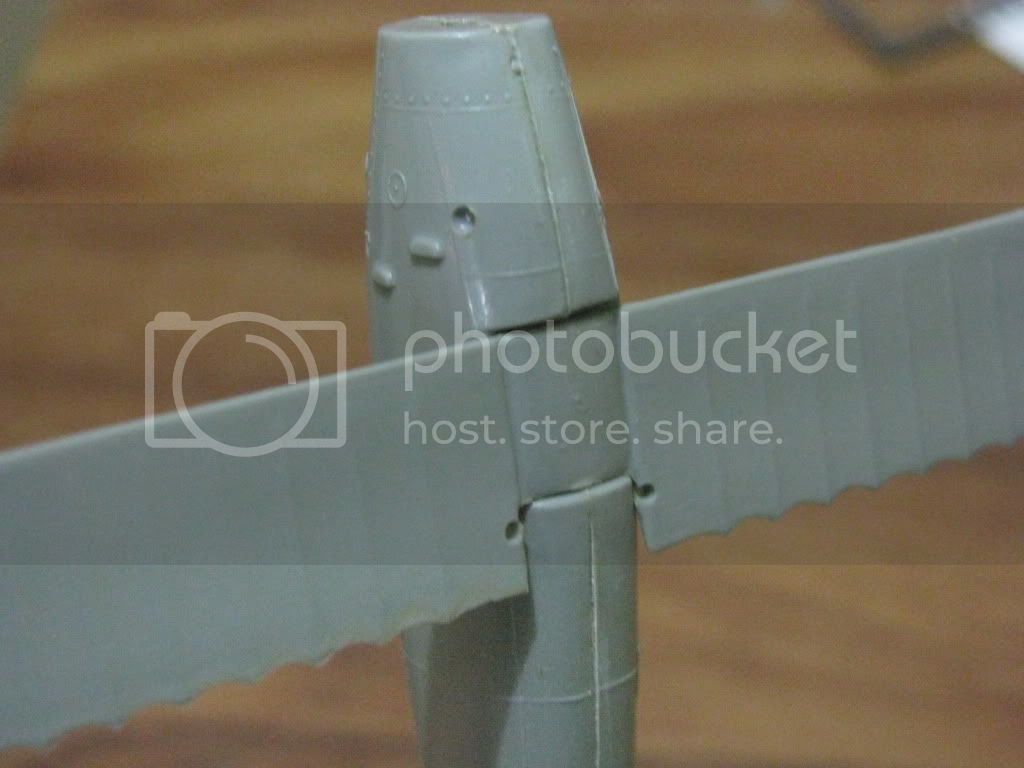
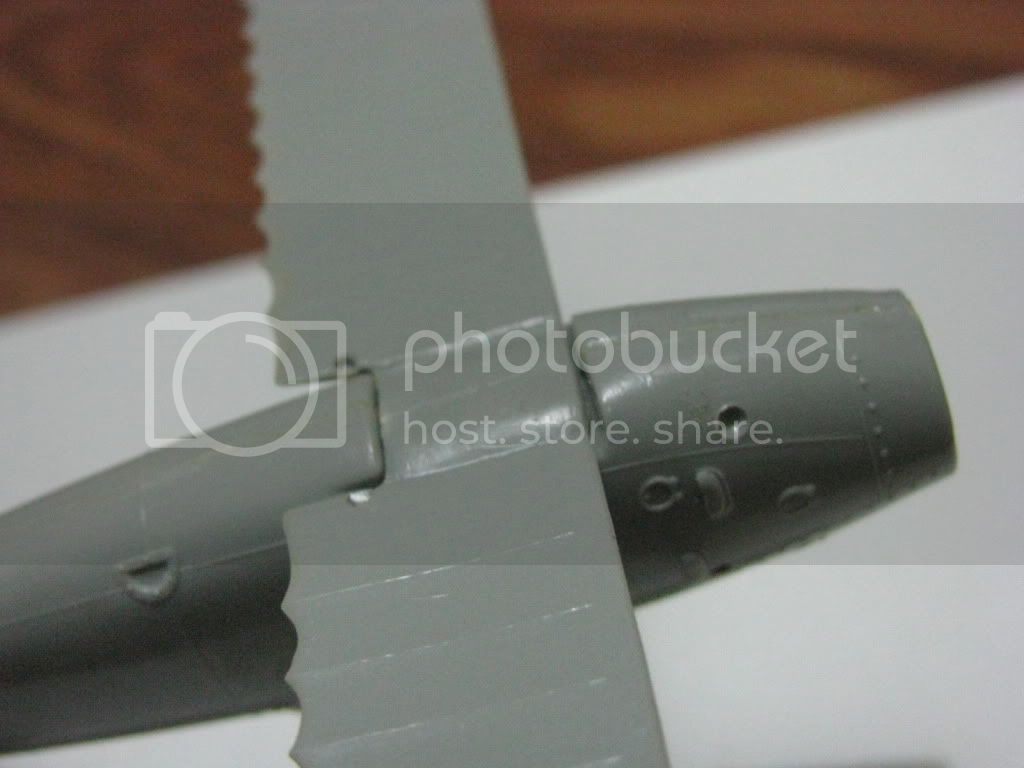
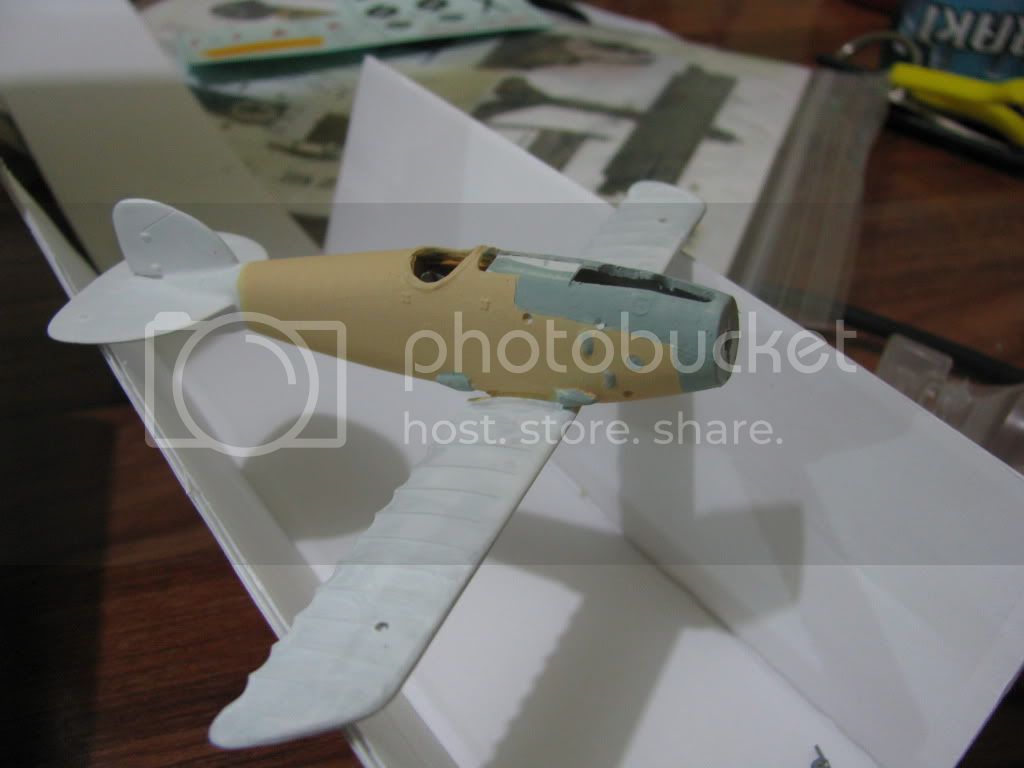
under wing atachmet fixed.

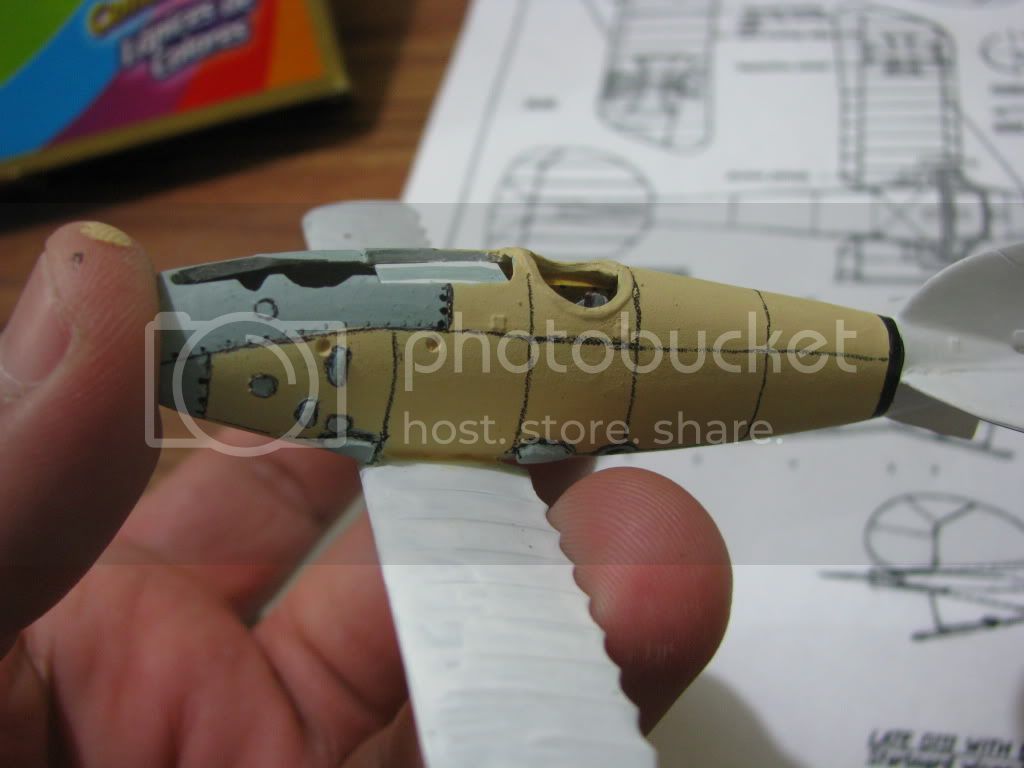
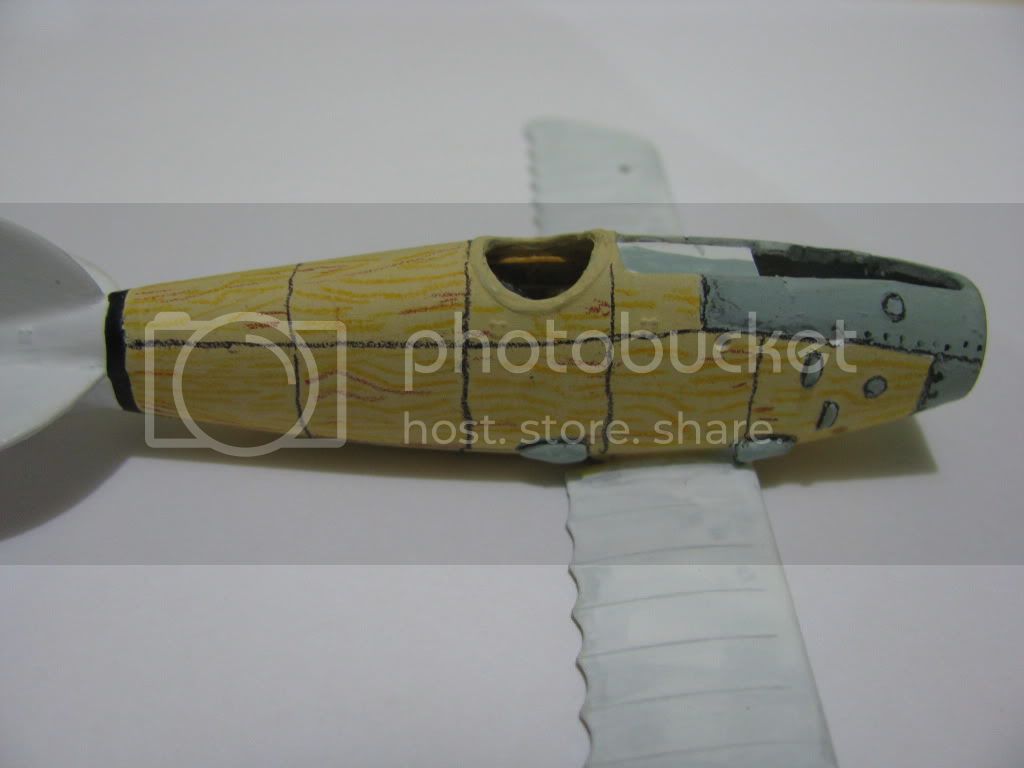
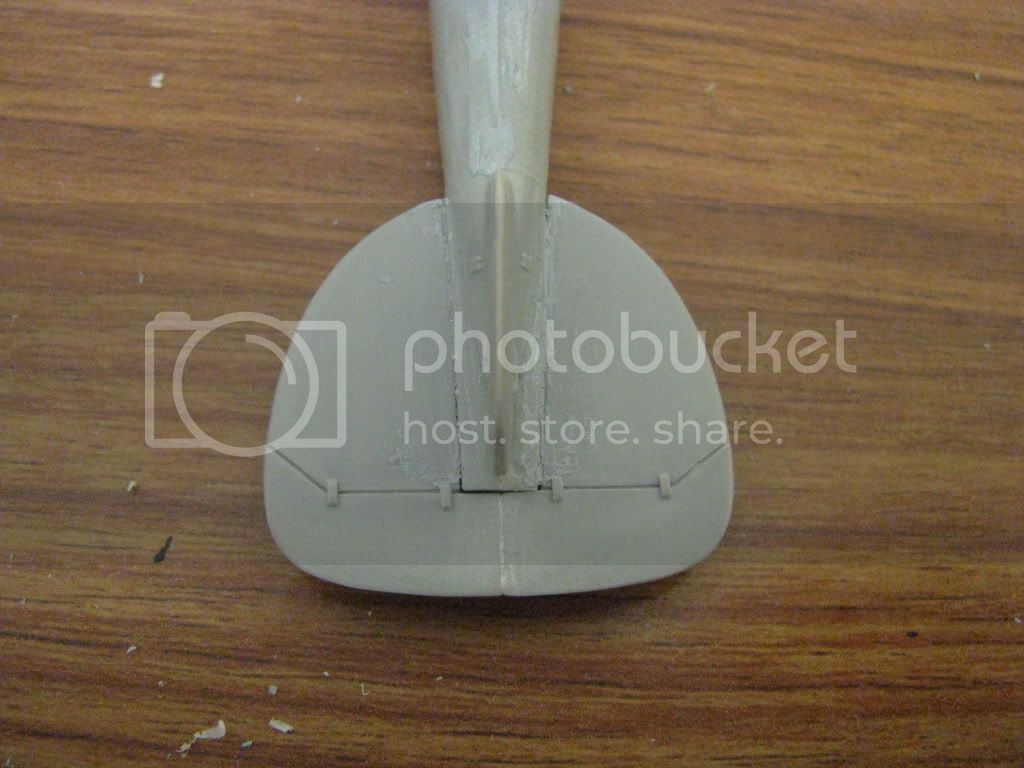
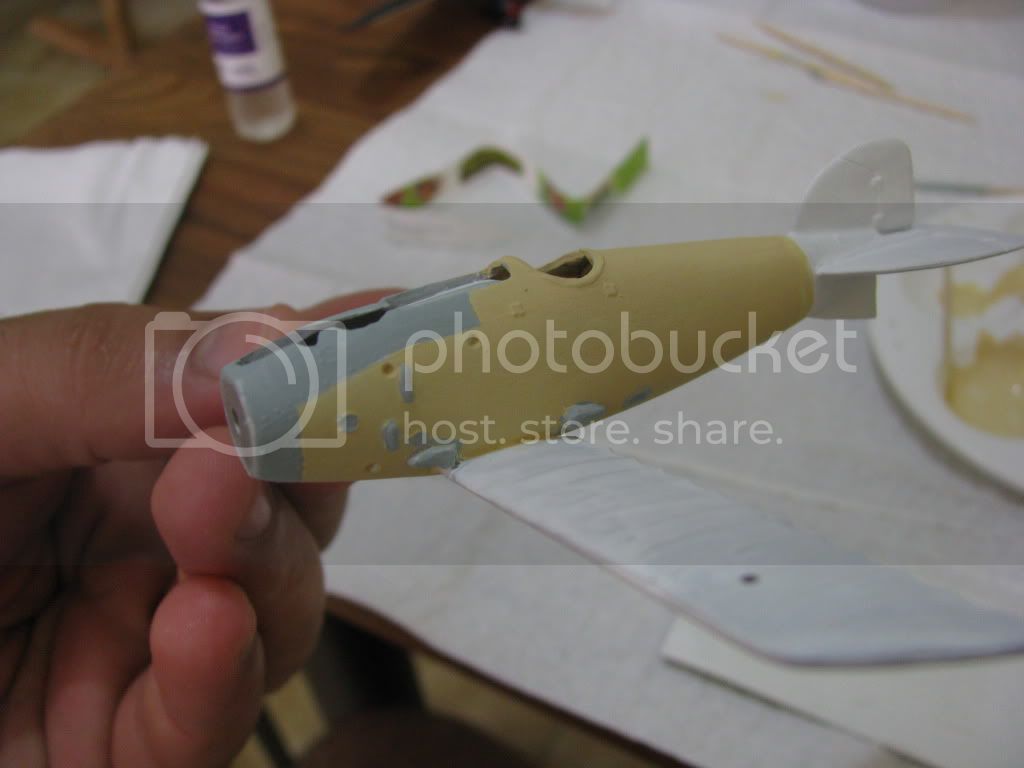
i put a littles bits of putty in the both sides, to molding the metal fairing, thats the DIII had. the model, dont showed.

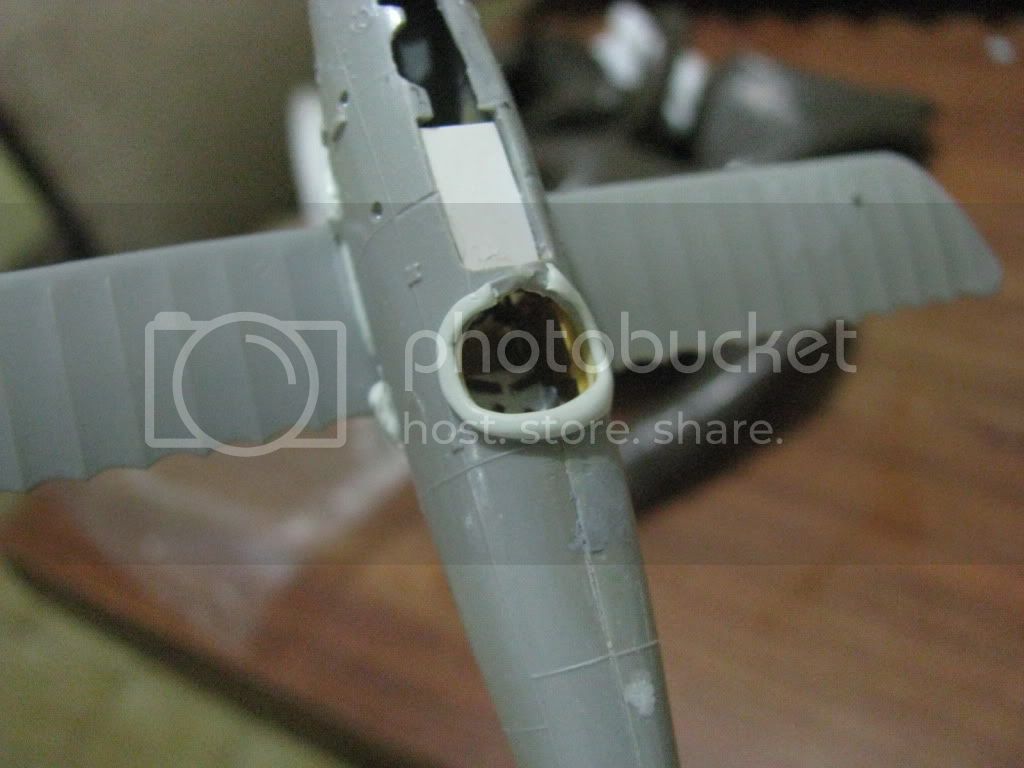
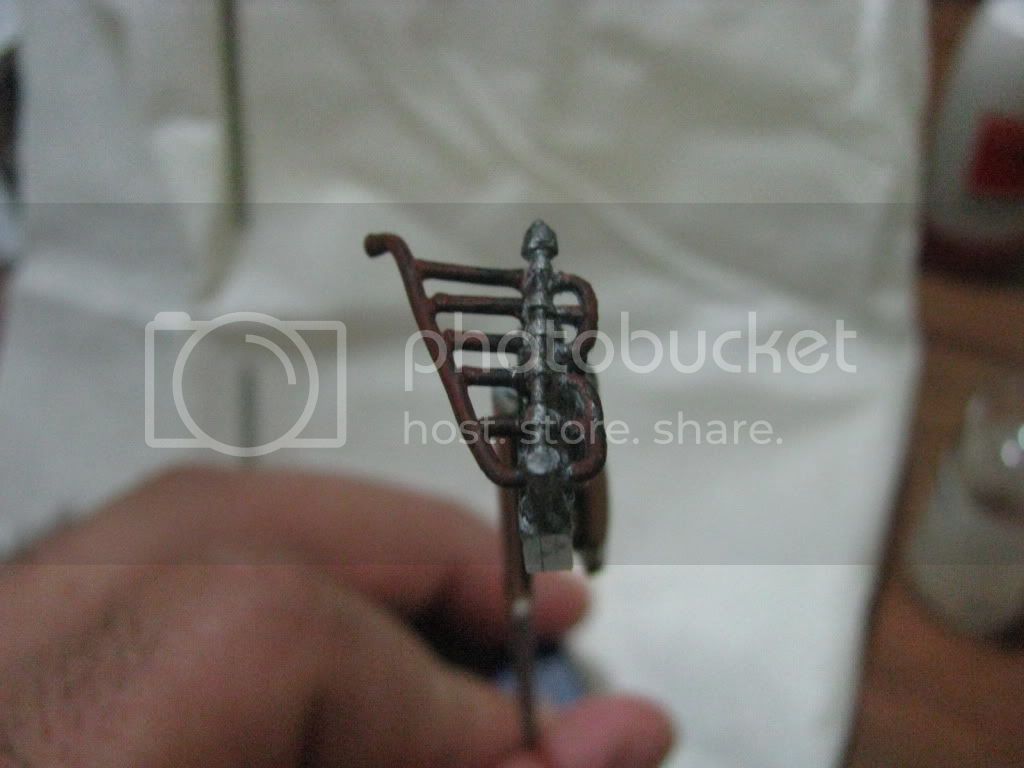
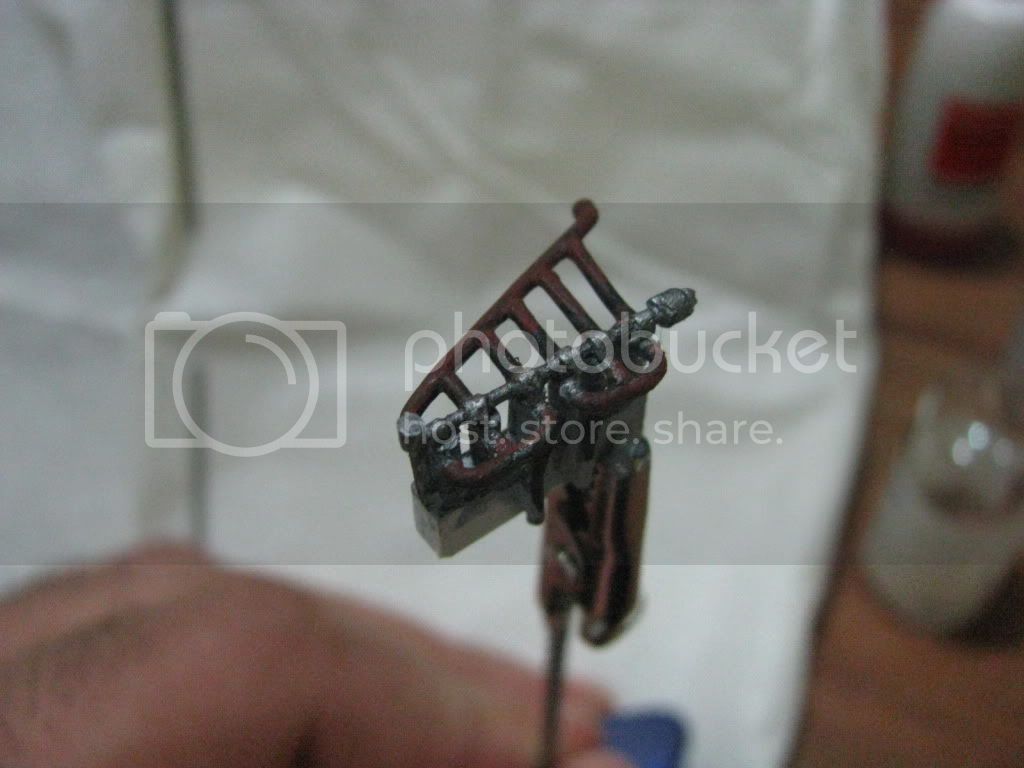
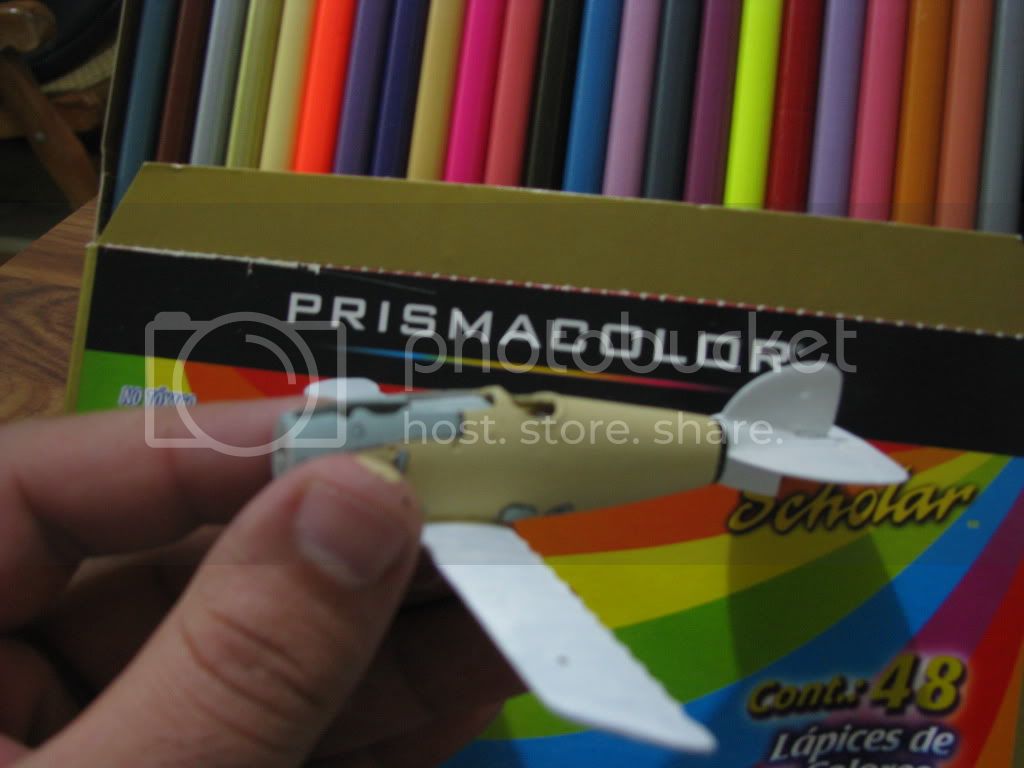
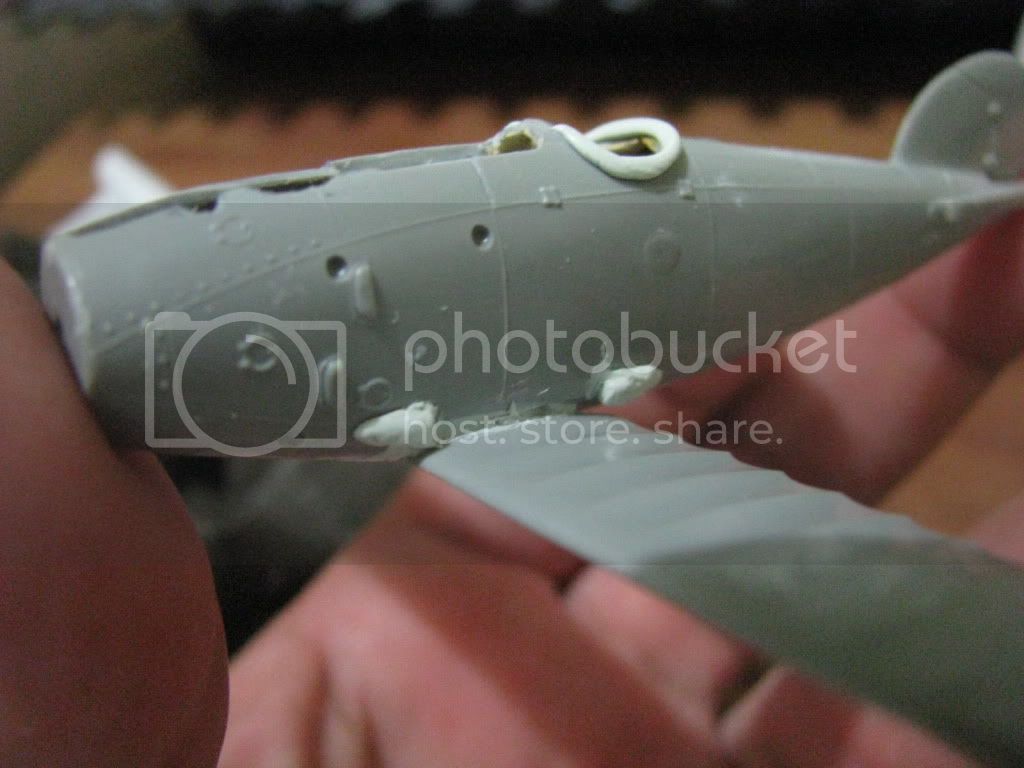
i put a new head protector, but comes over-sized, so i removed.

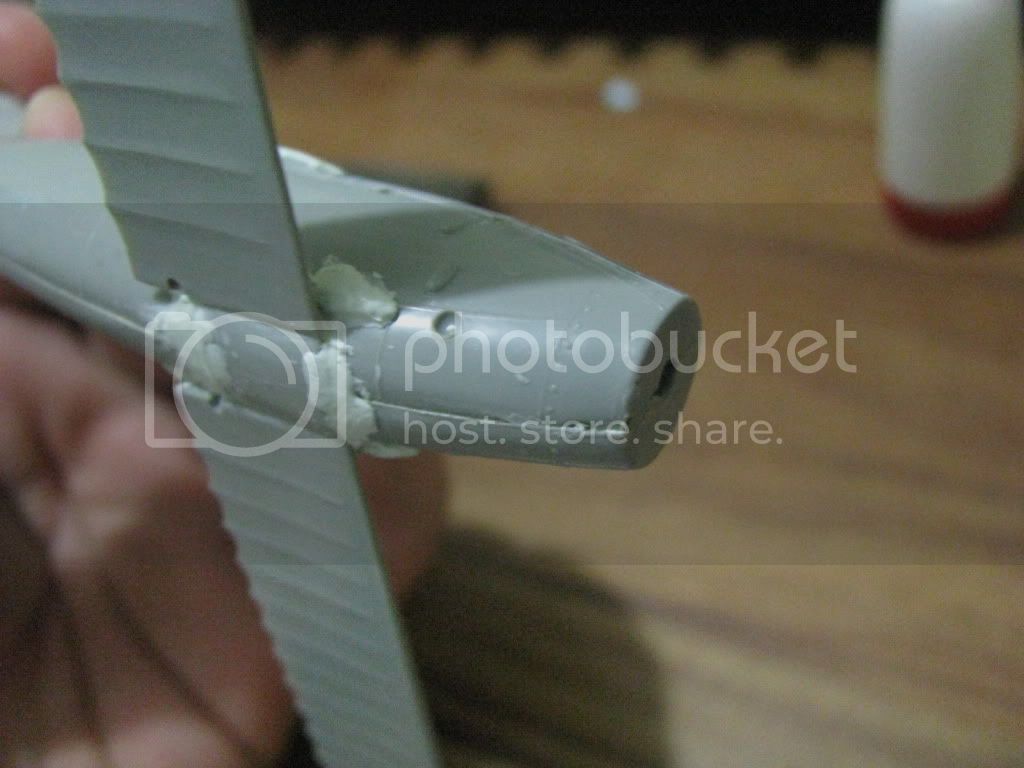
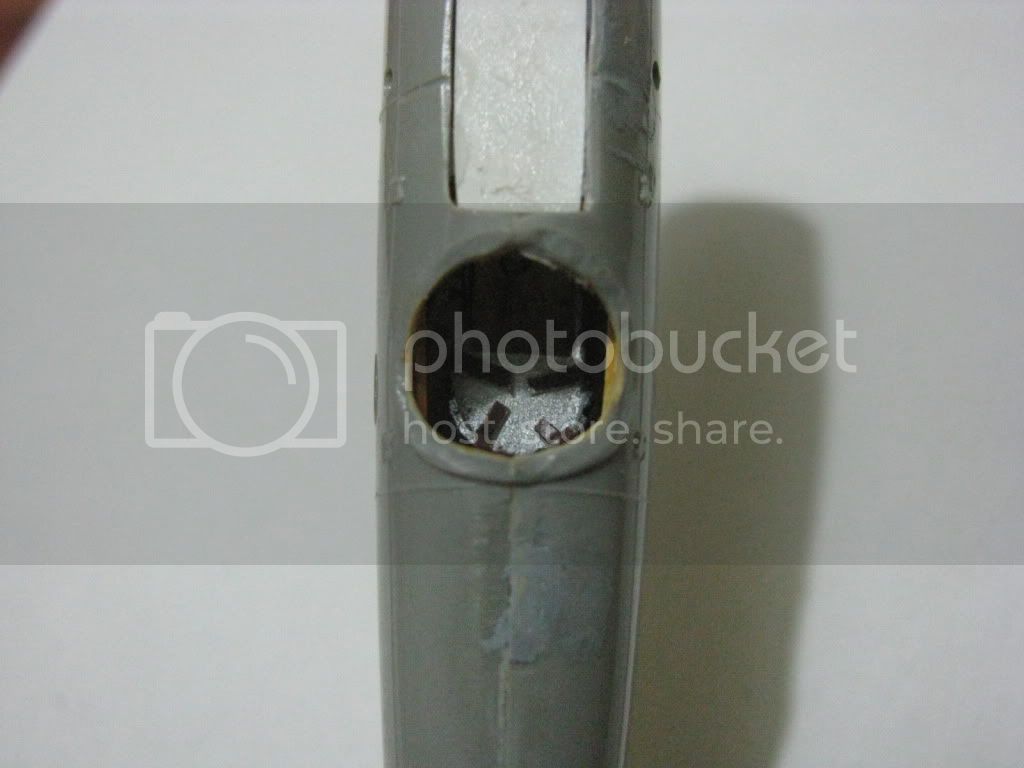
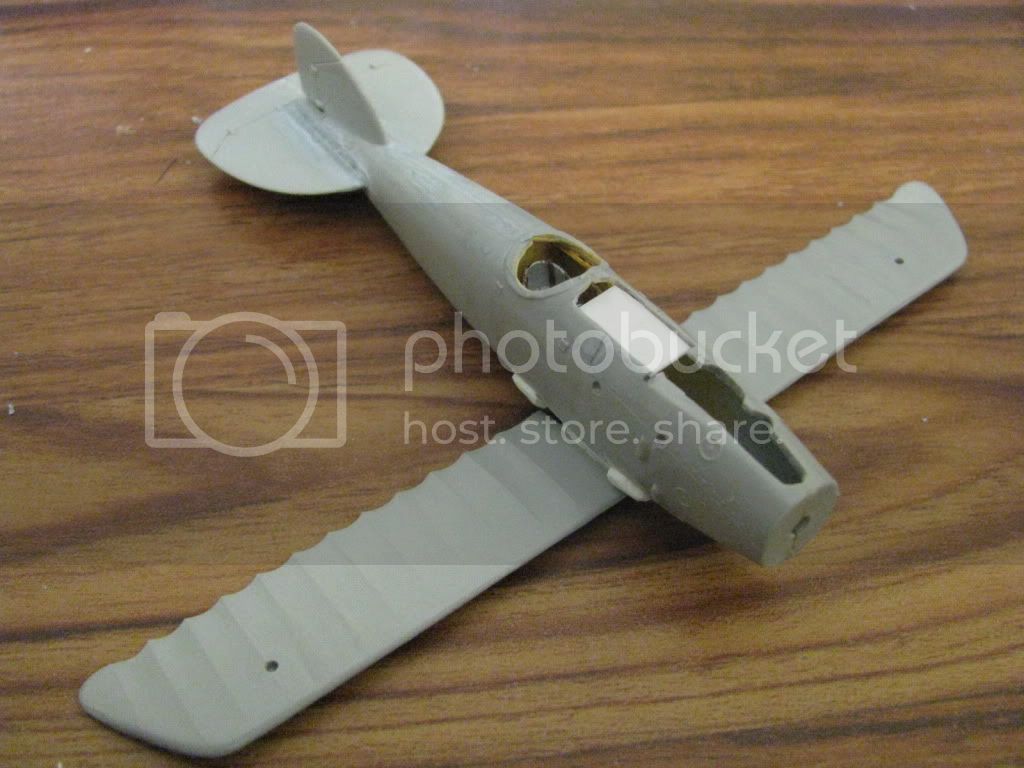
all unions has this nasty seams,


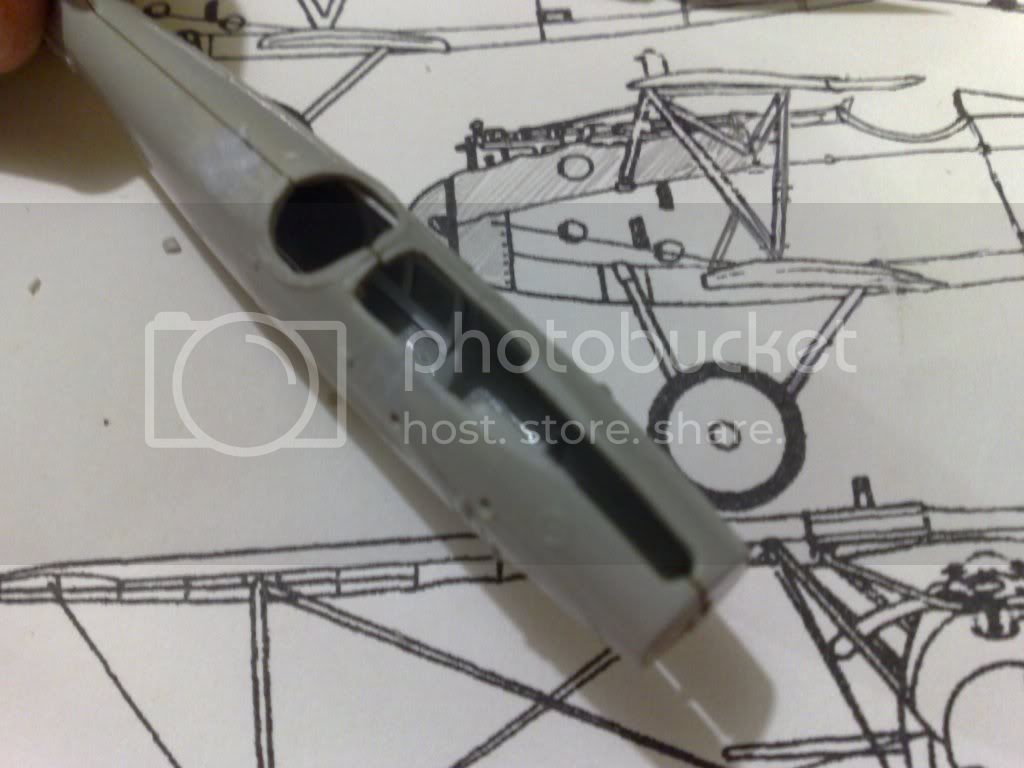
below, an uper of the fuselage so heres comes the sanding work,
i hate sanding|:(

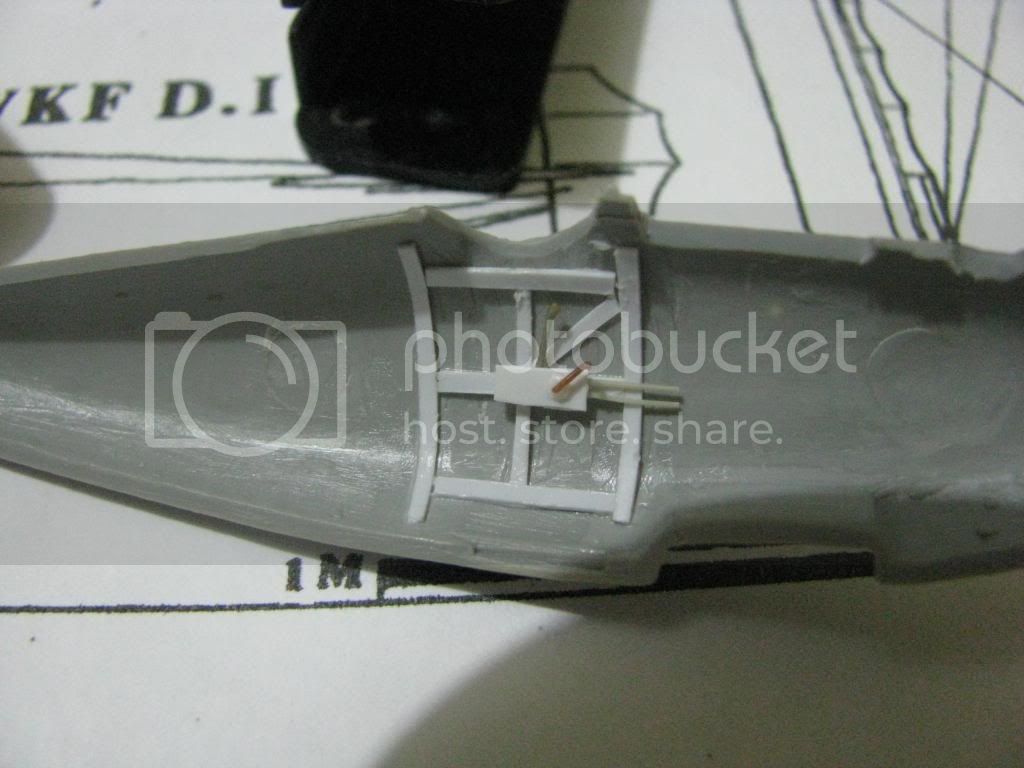
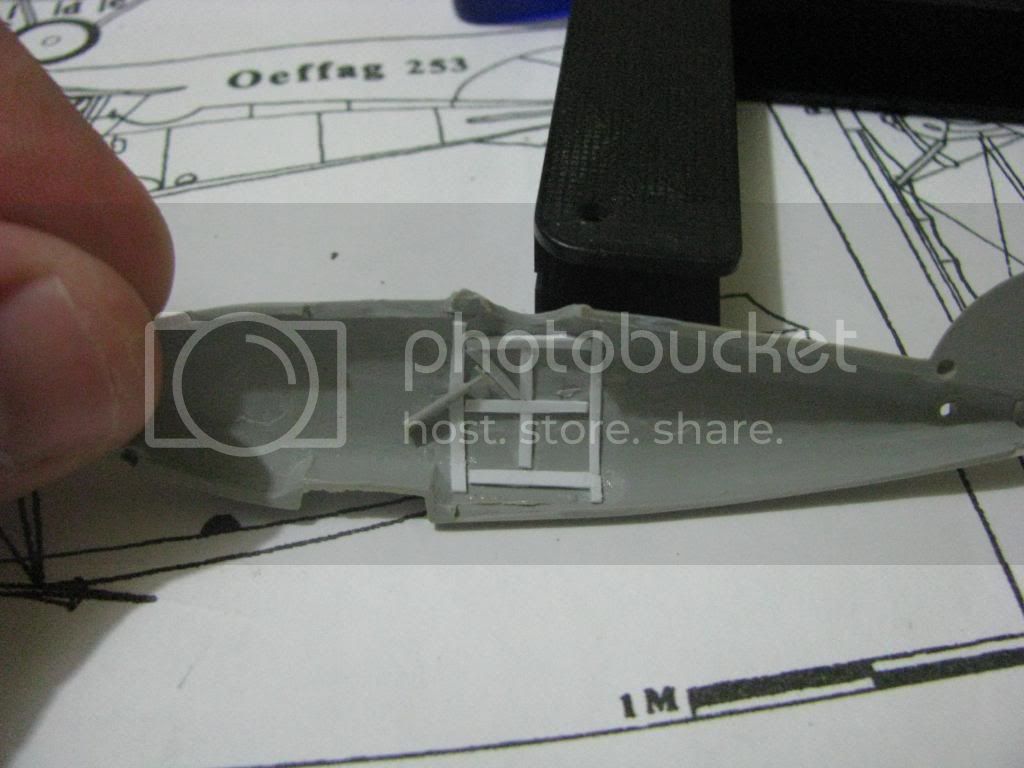
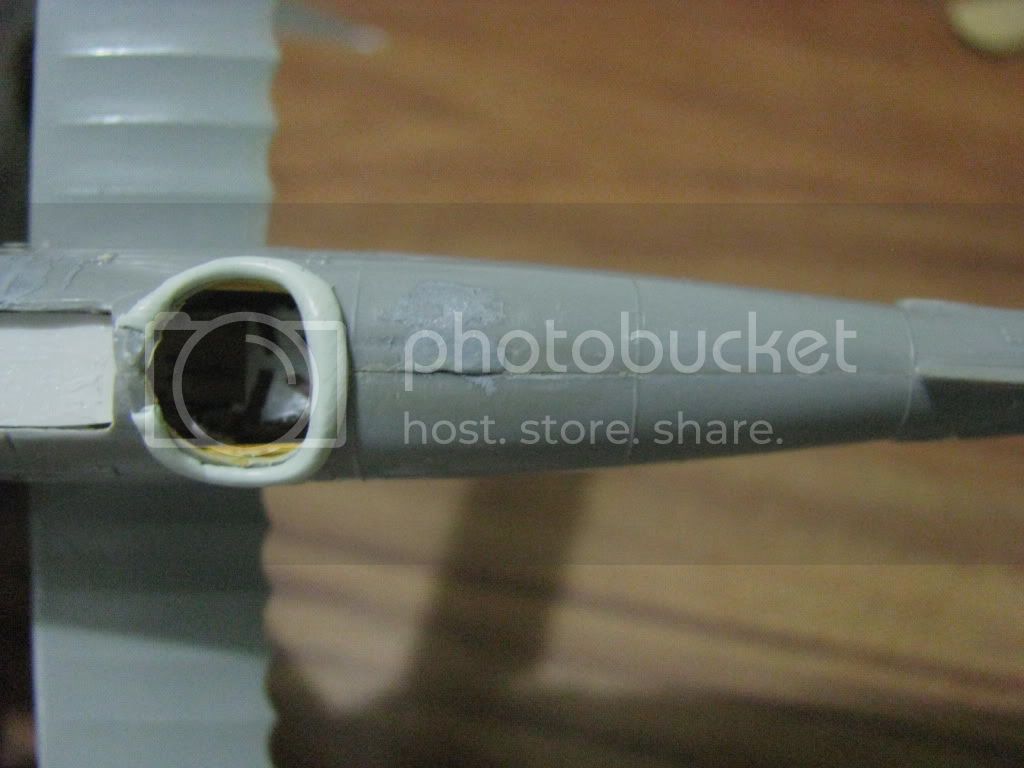
the elevator, whitout seams, and an the big holes to be cure.

ready for the primer.

i used tamiya spray white. like a primer. but my bottle was to old, something wrong hapend.

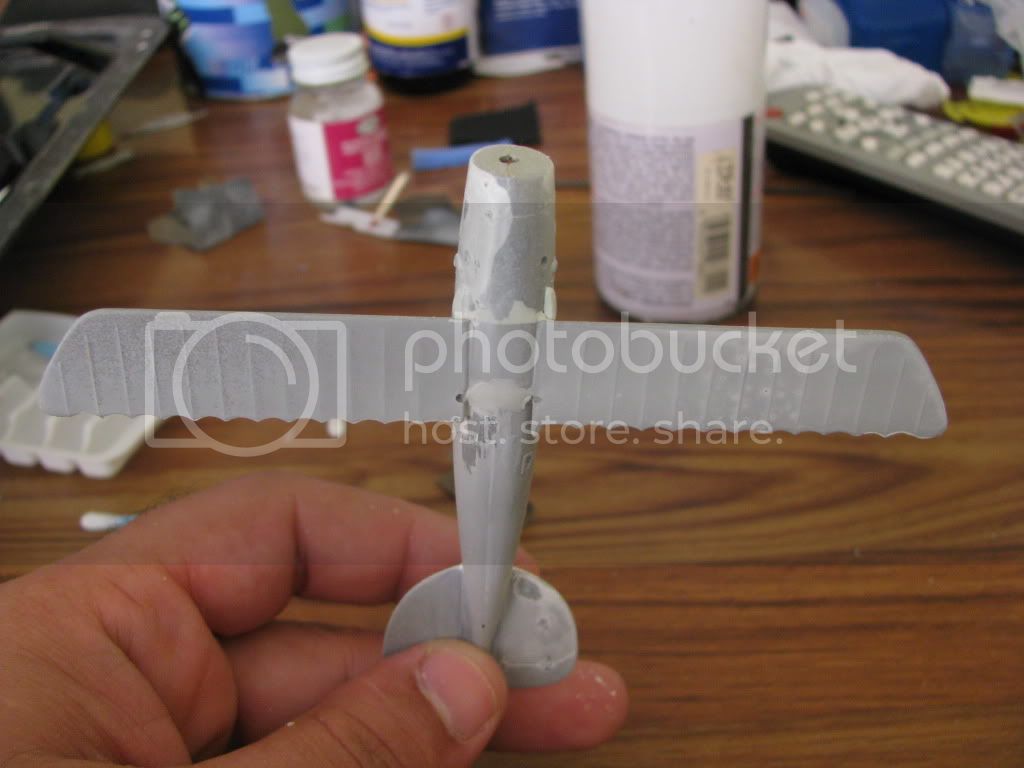
the spray was to heavy thickness, and spit whole drops,
soo cleaned again, and make to the olf fashion.
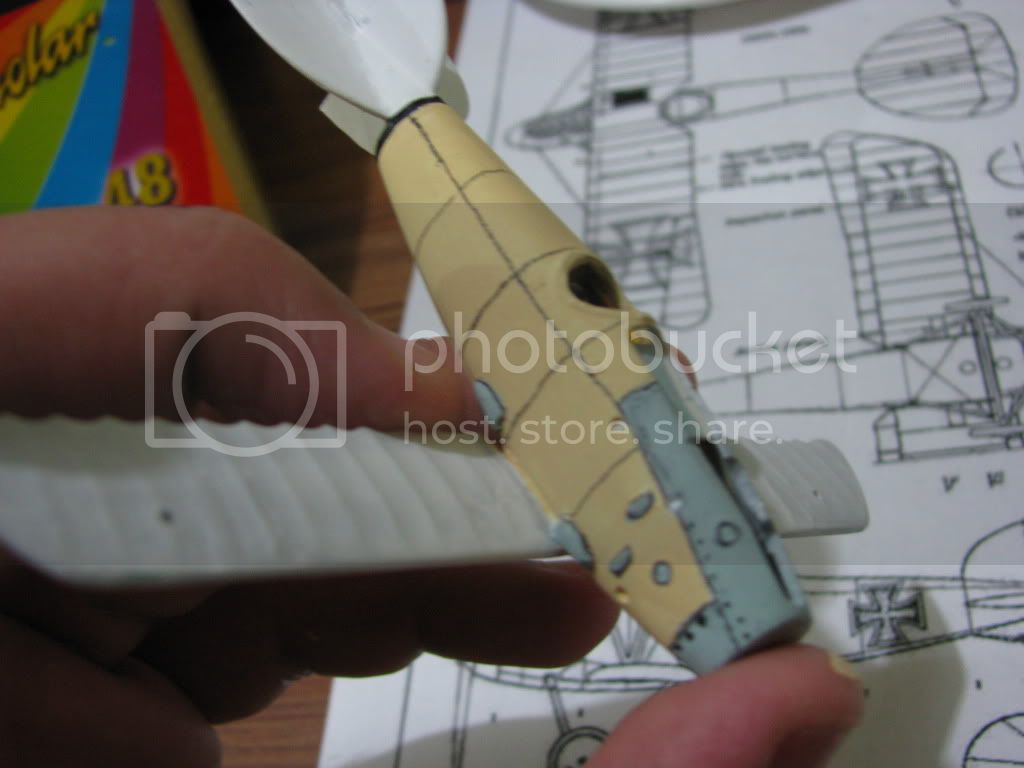
hand brused primer. i forget, i clean all the engraved detail, because, the first plane dont have any
line in they fuselage.


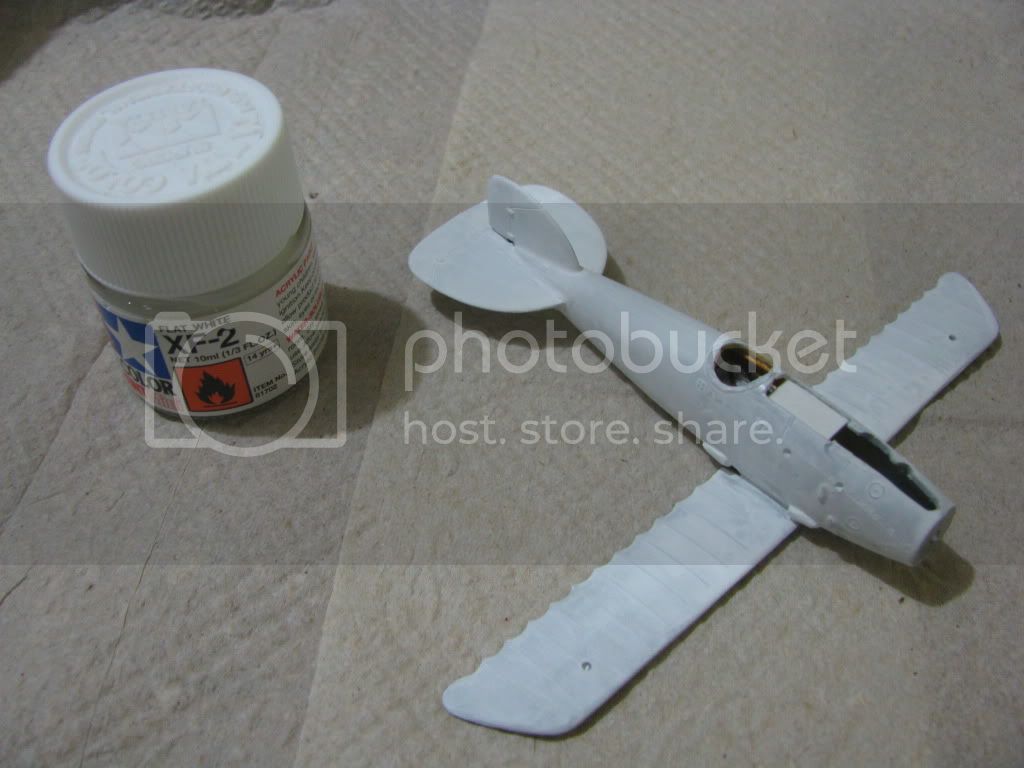
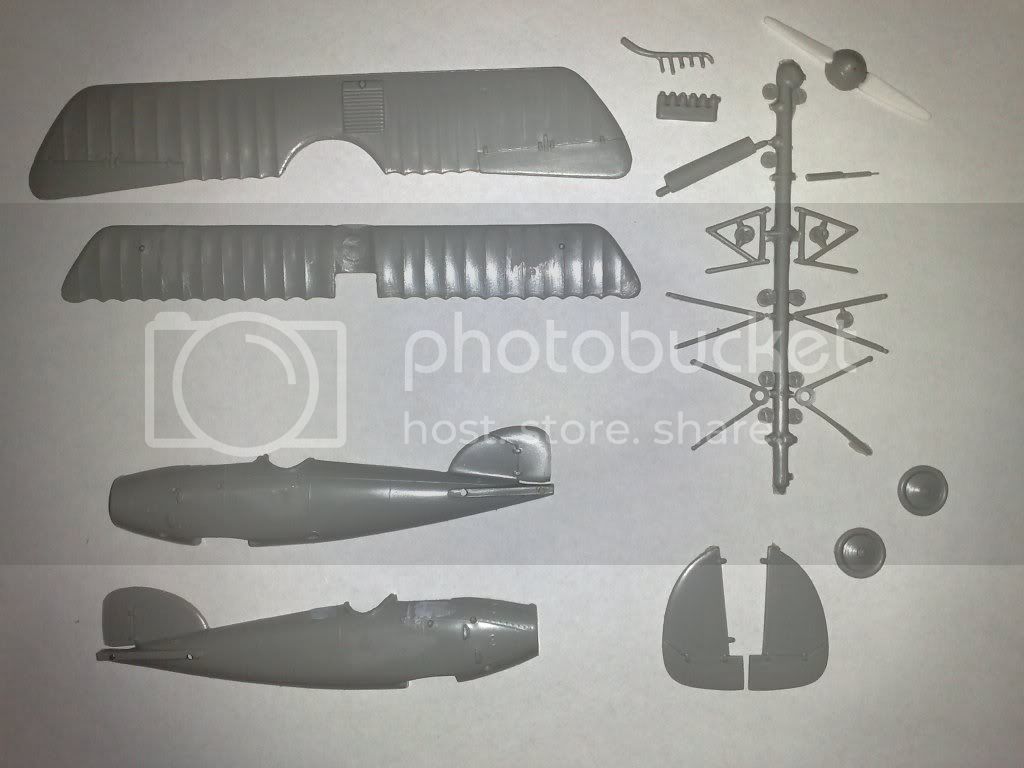
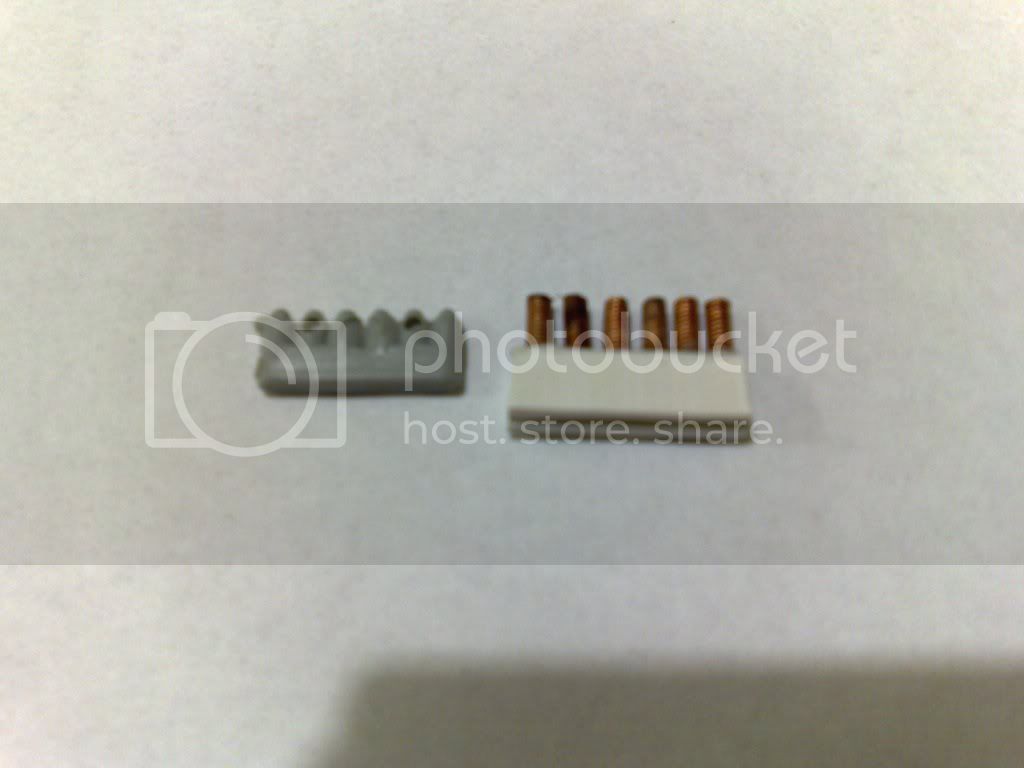
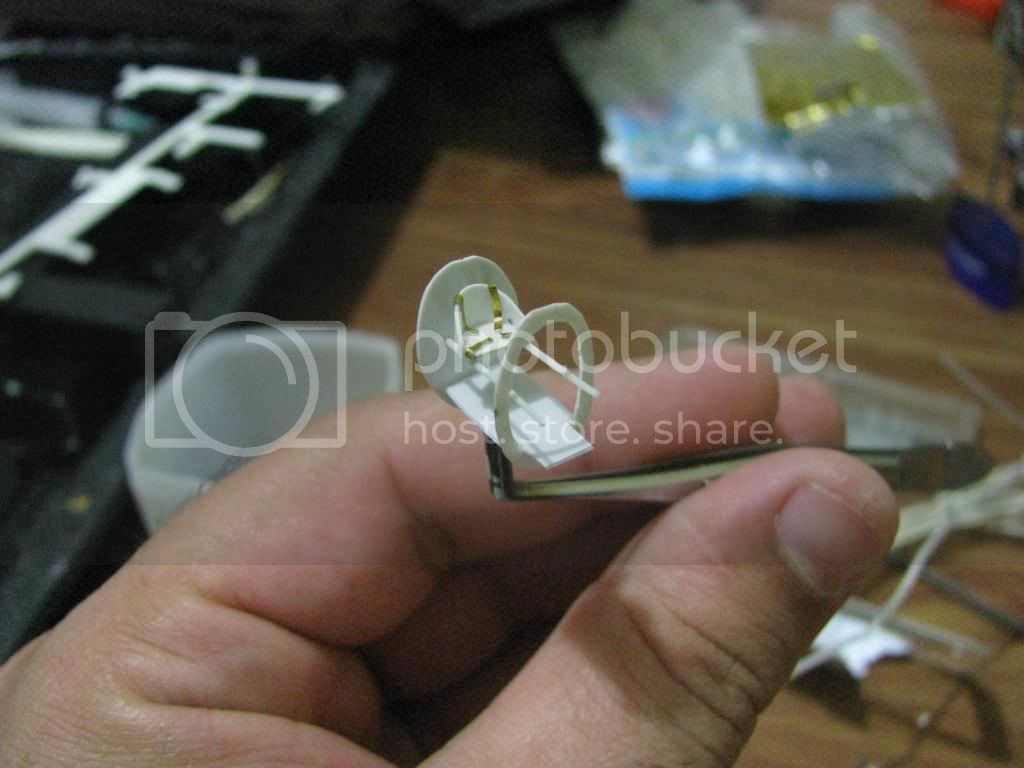
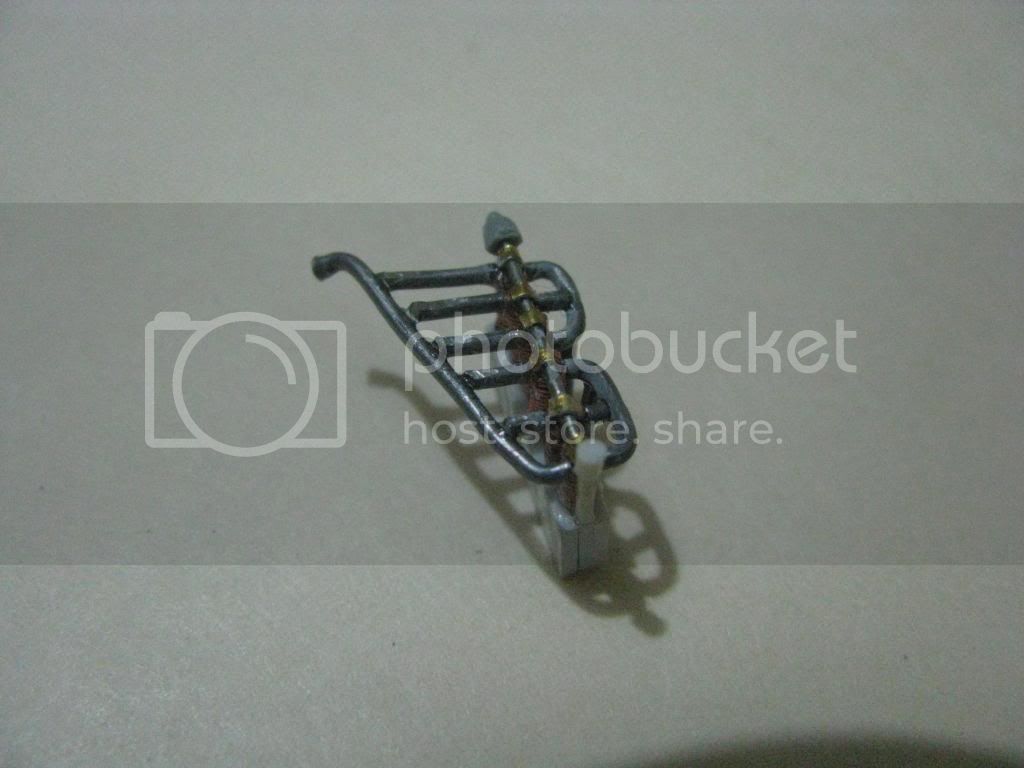
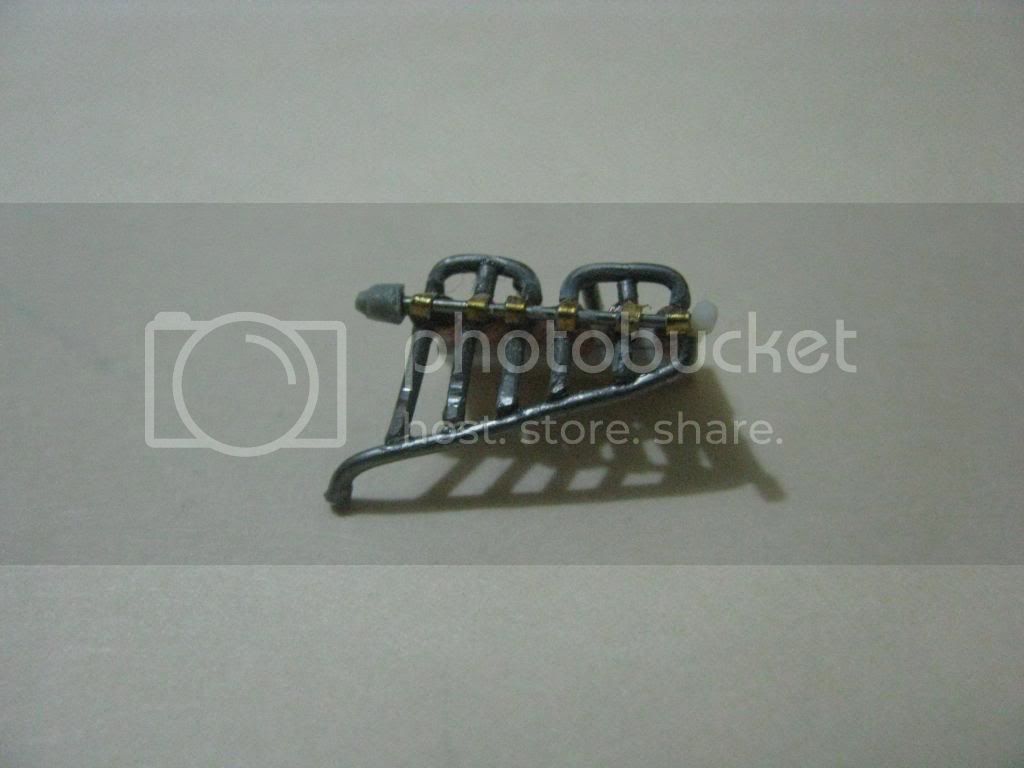
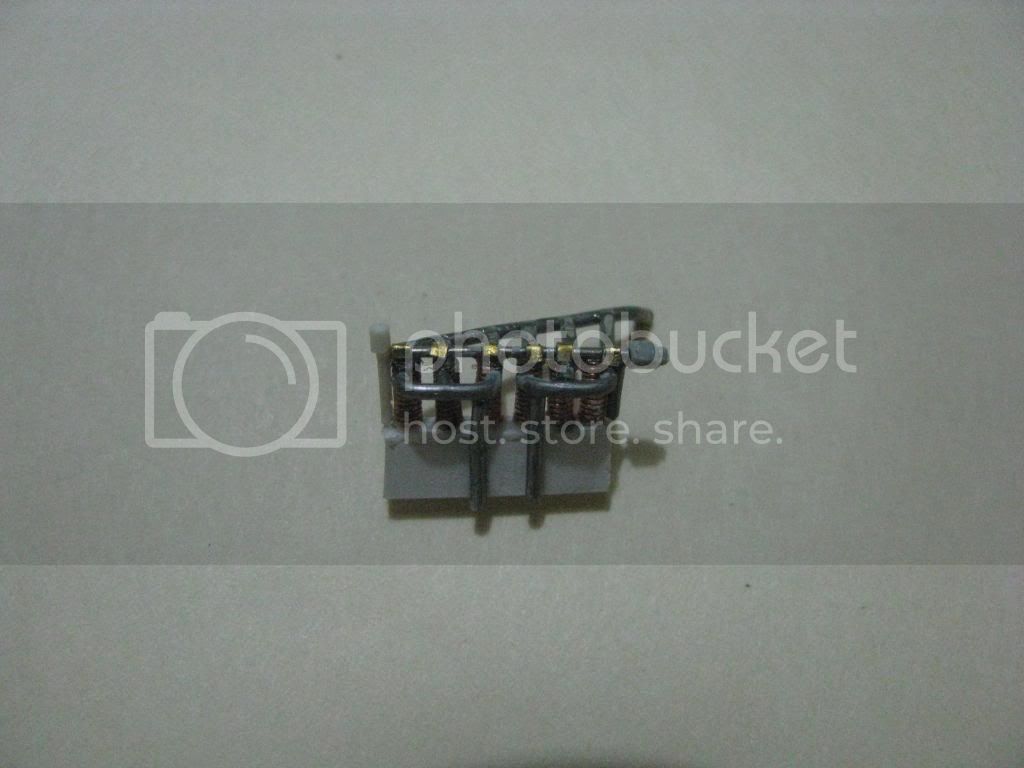
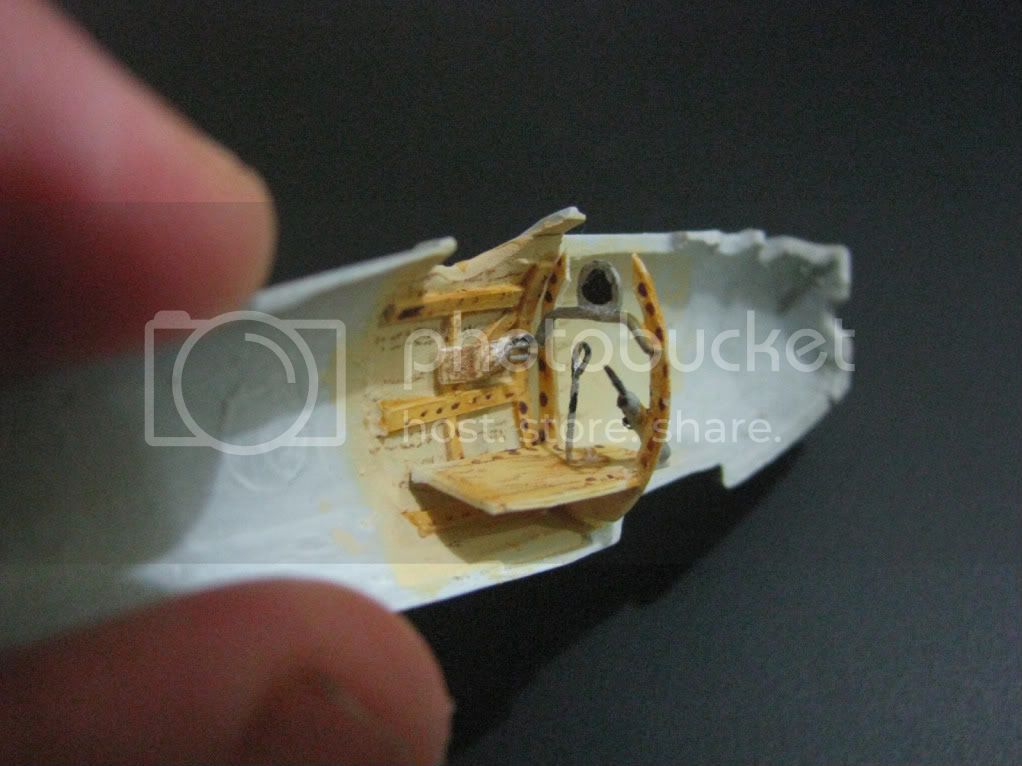
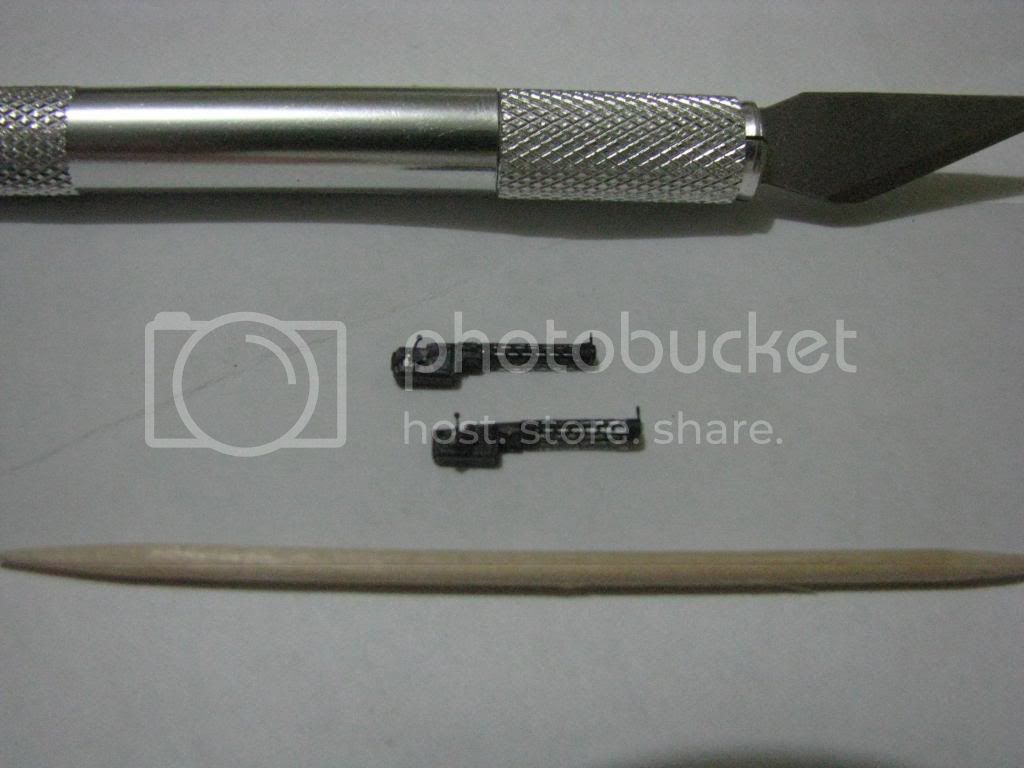
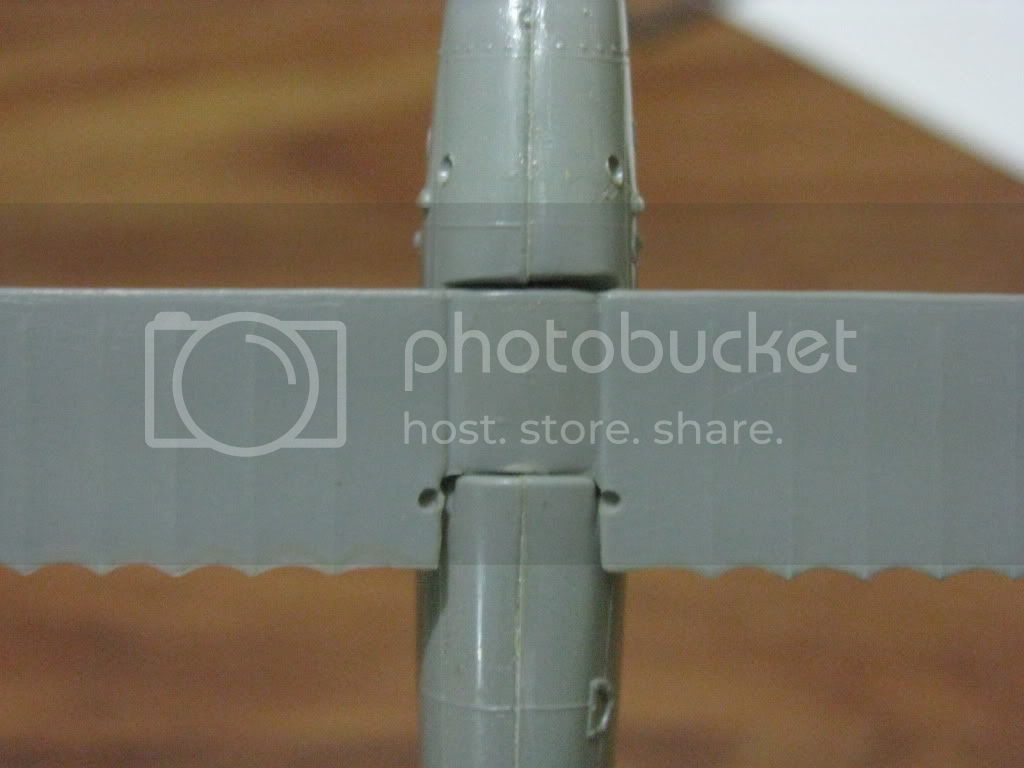
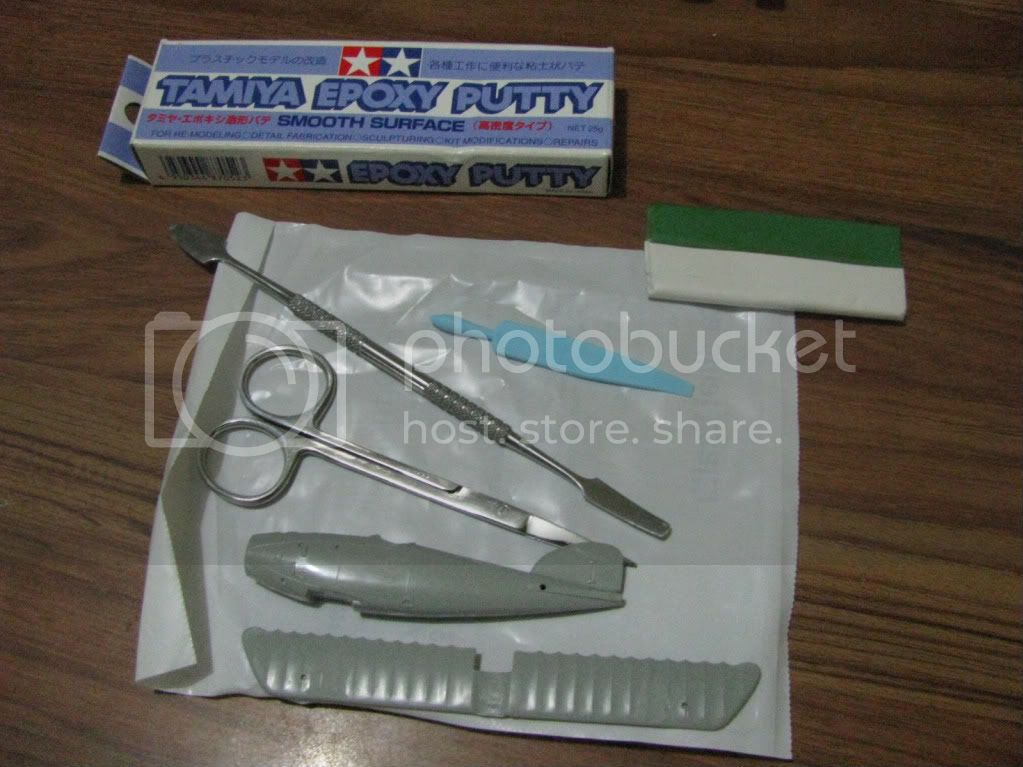
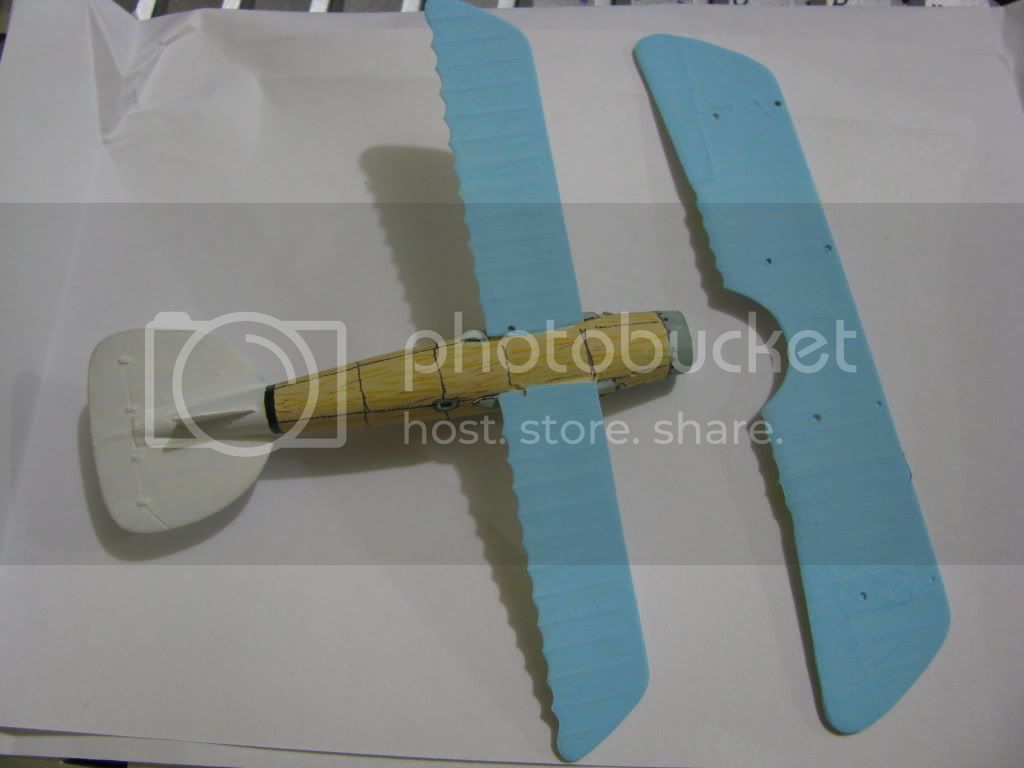
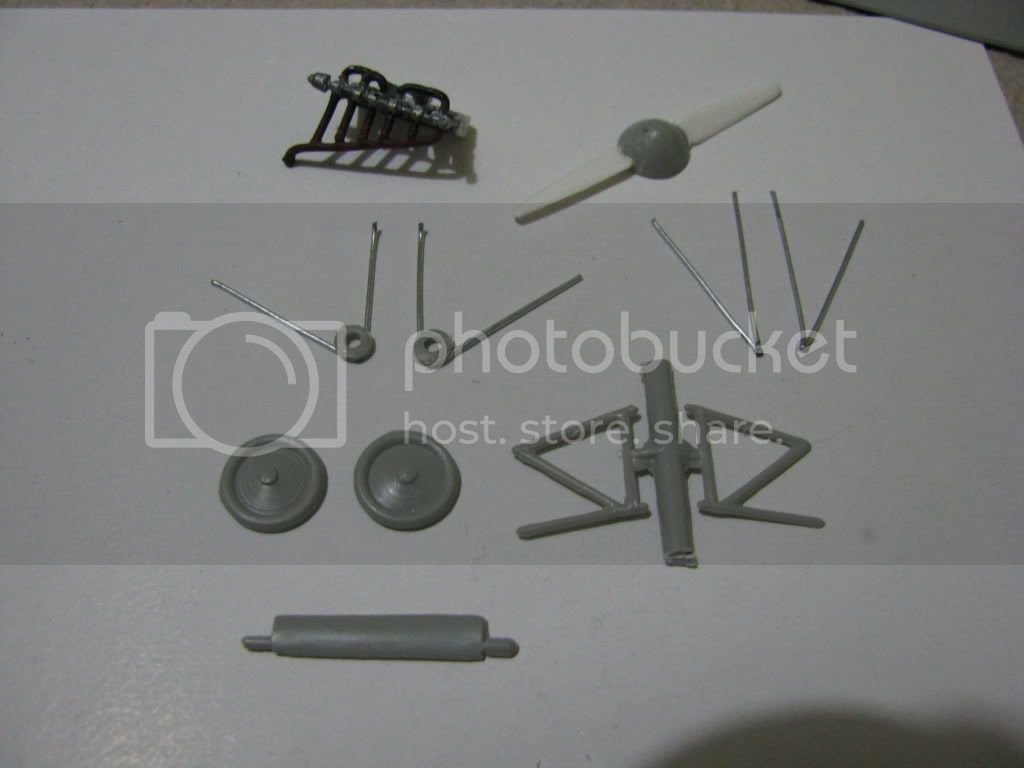
from here. the majority of the modeled one, is only to paint. but by the older of kit. i chose to make my own pieces. since those that bring the kit are very fragile.
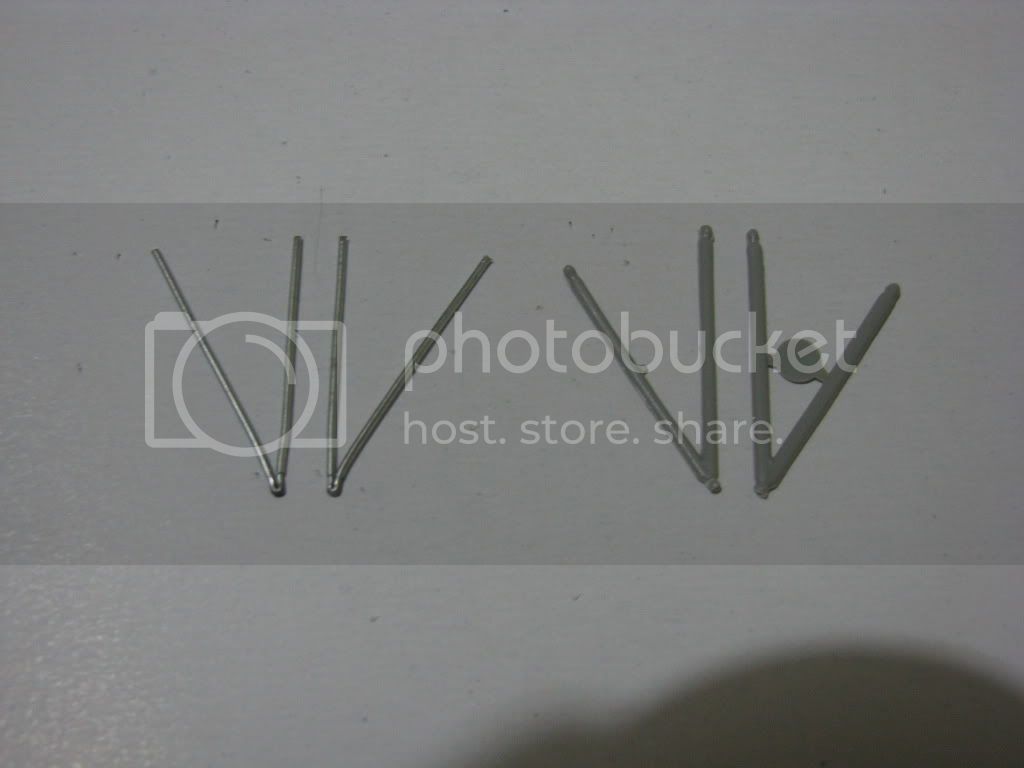
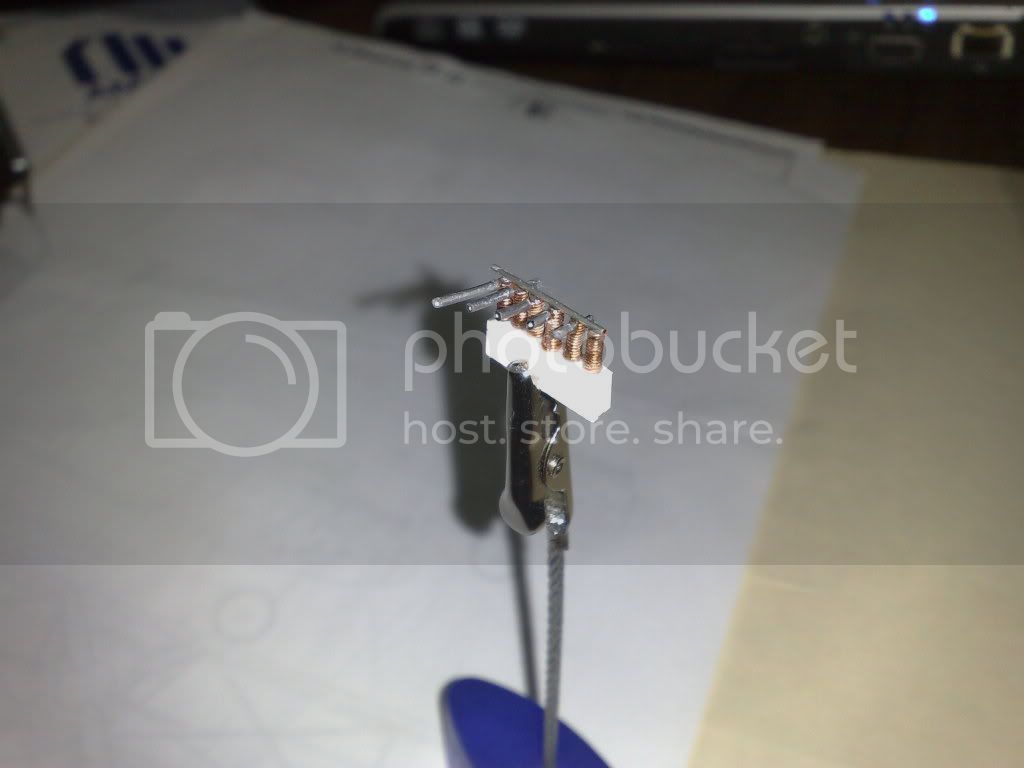
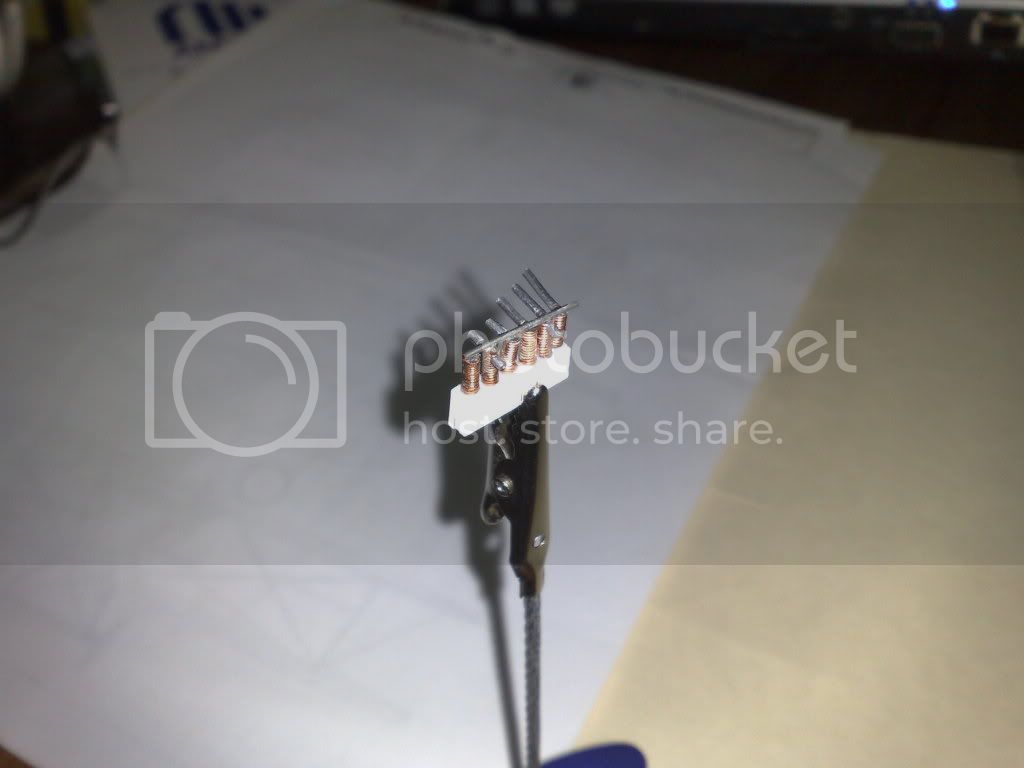
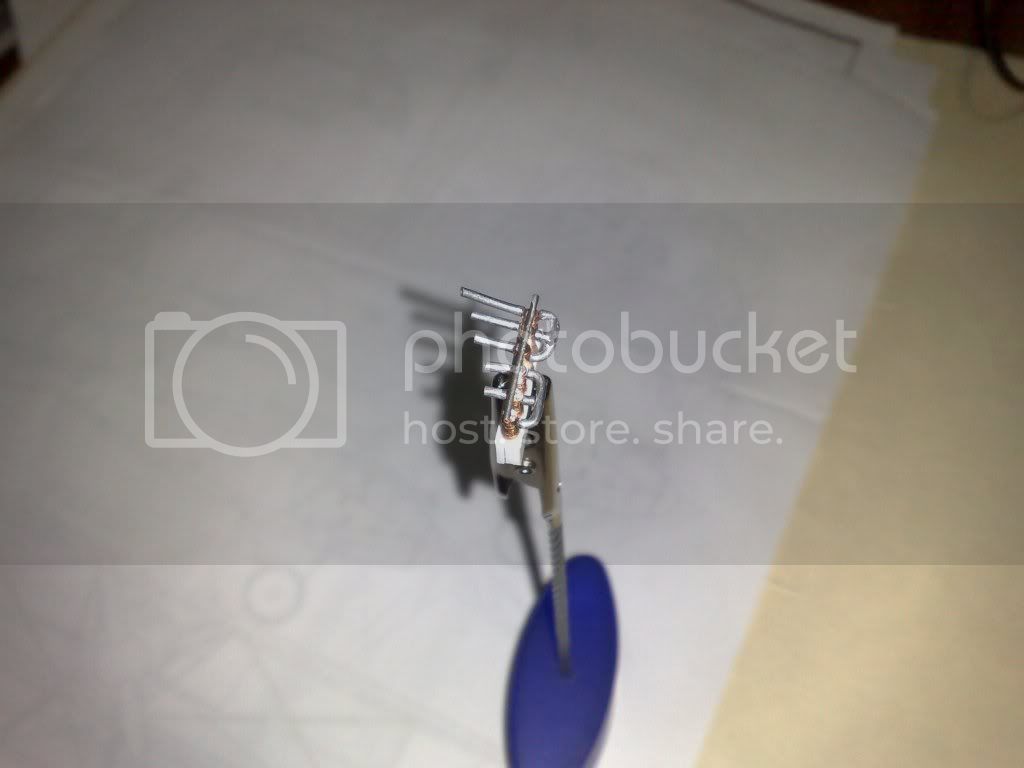
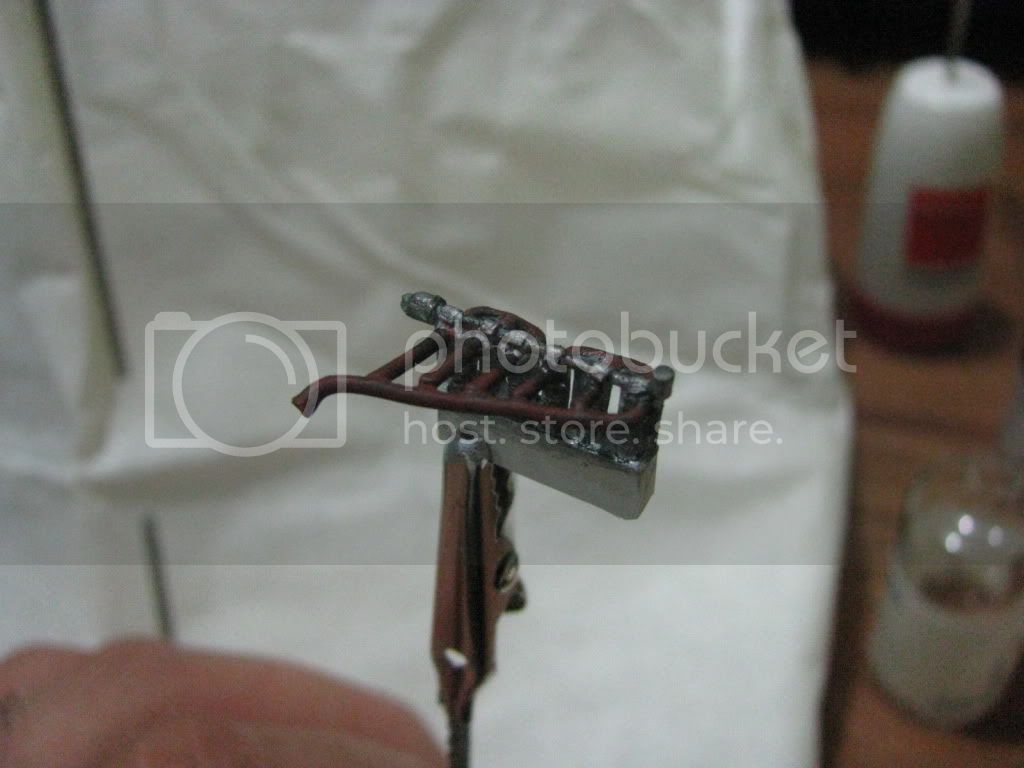
the new struts

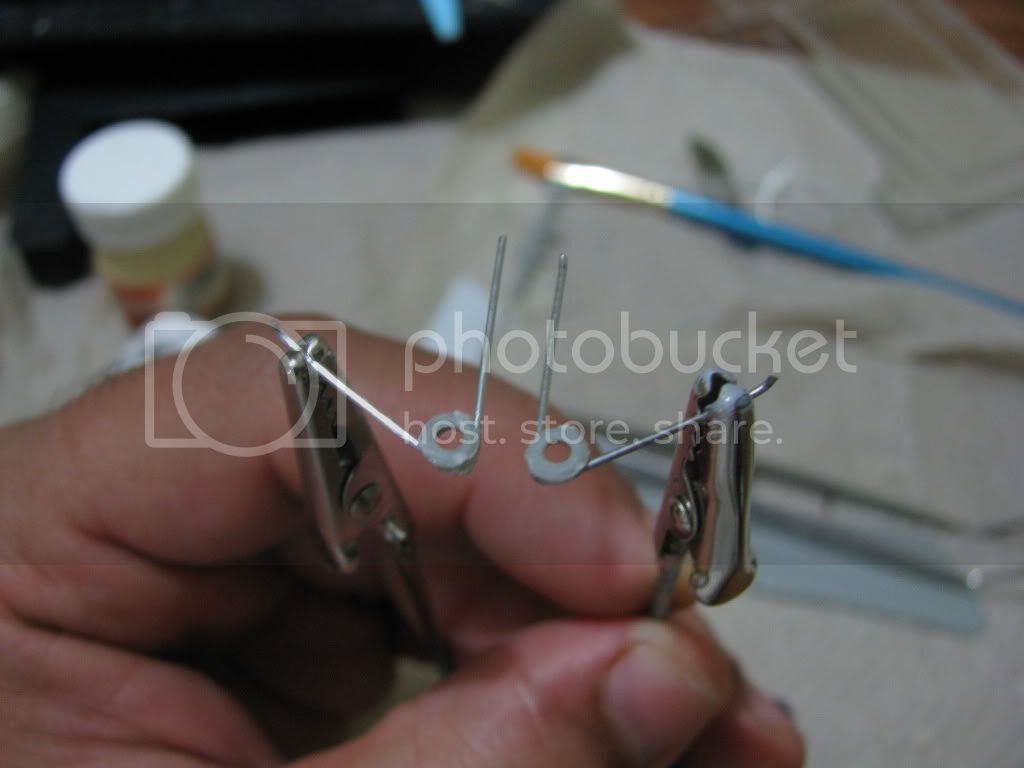
th new landing gear.
and oll teh components, the internal strus, i gonig to reinforce whit a skin of cyanocrilate, to make more strong,


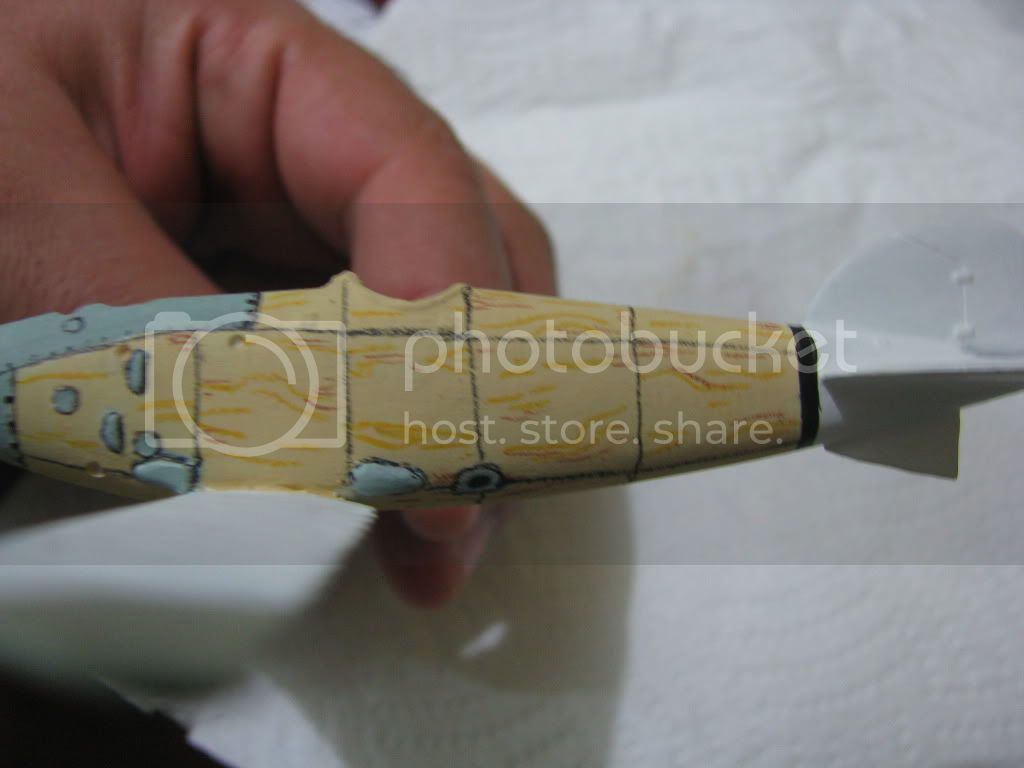
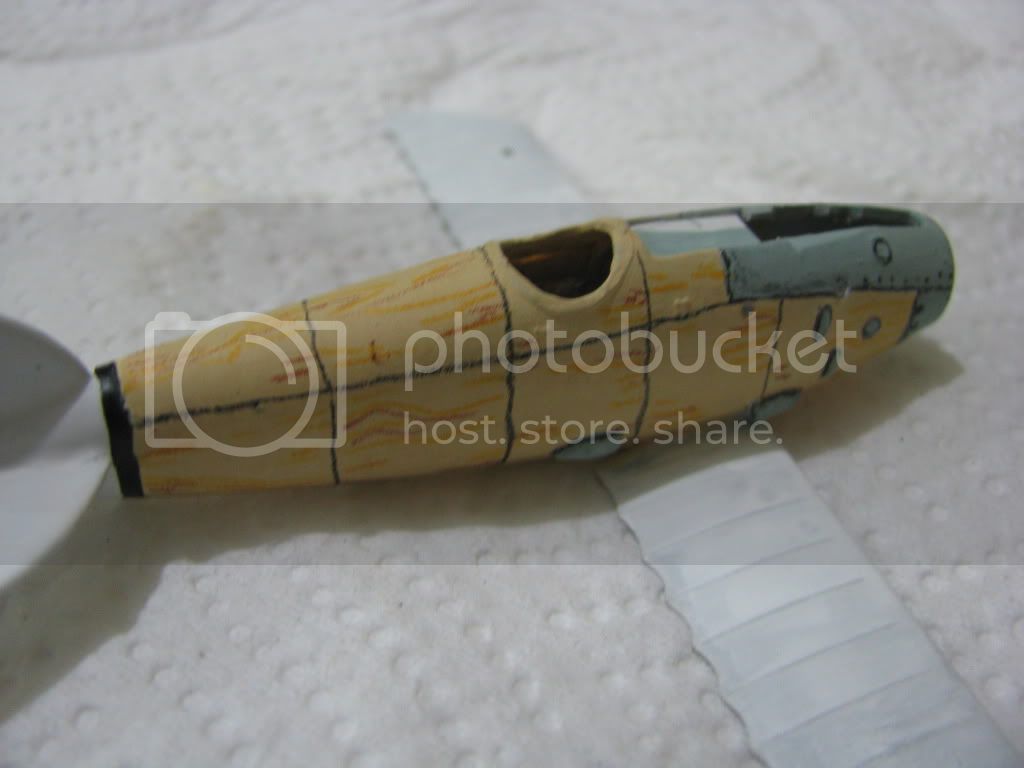
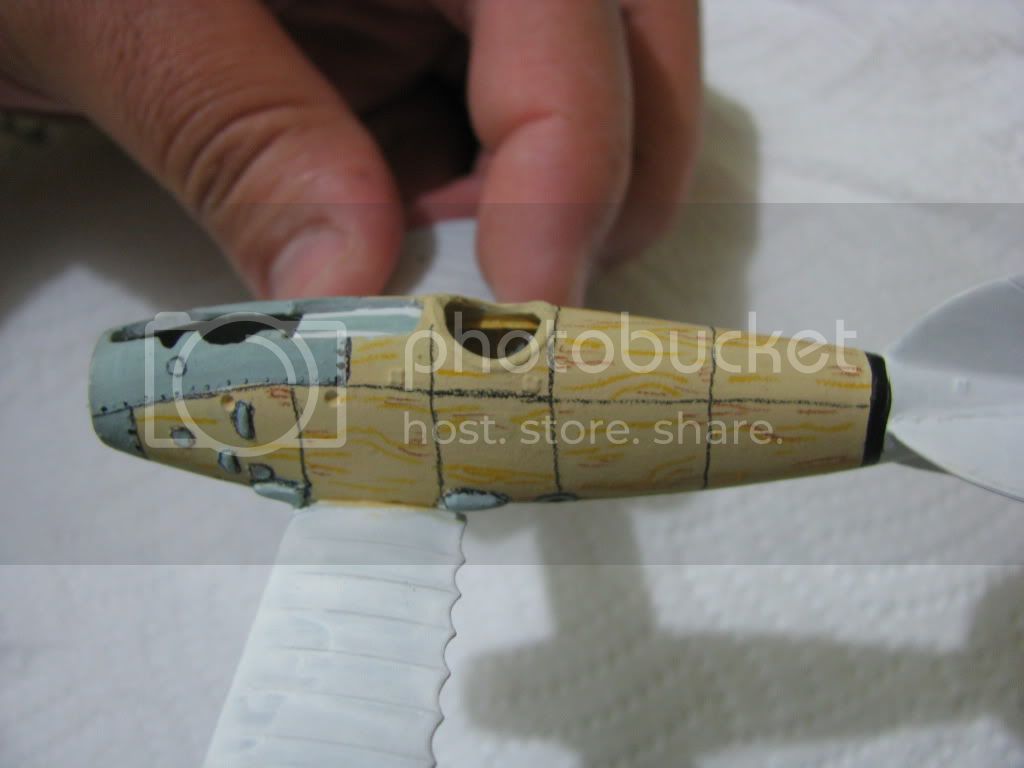
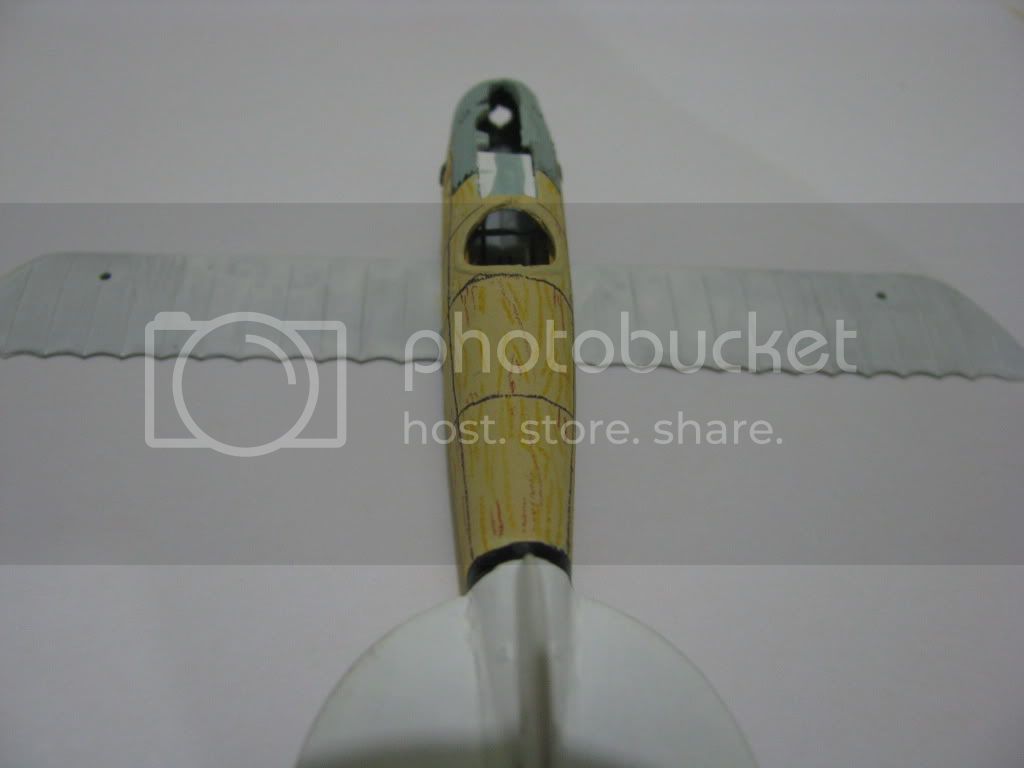
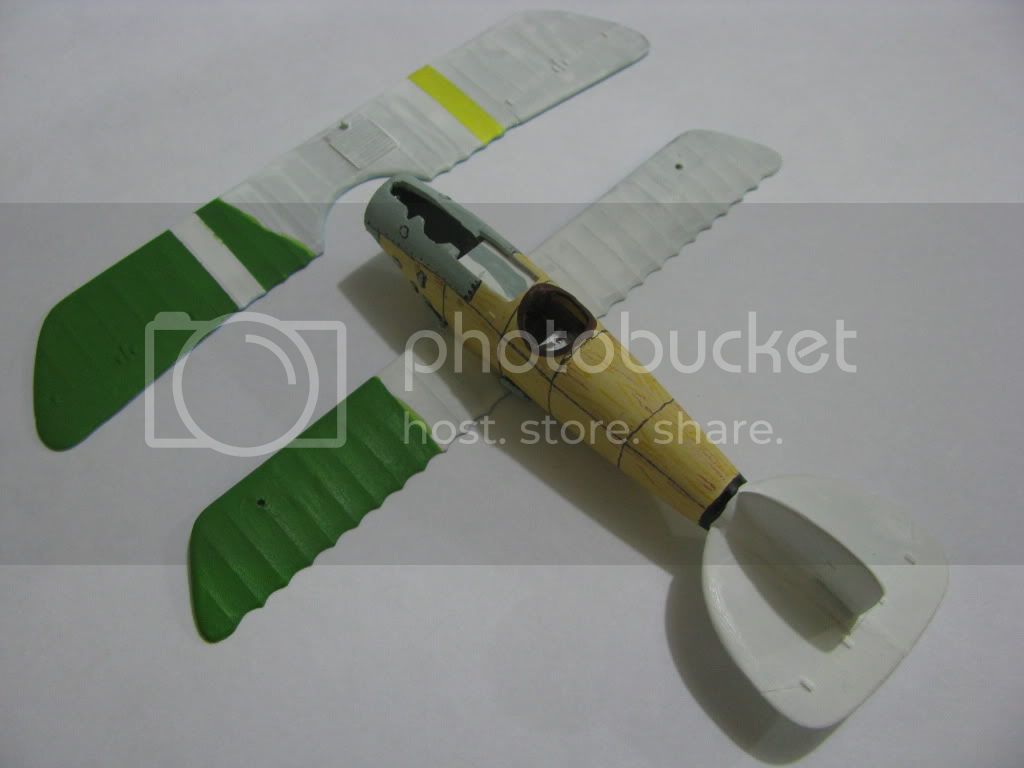
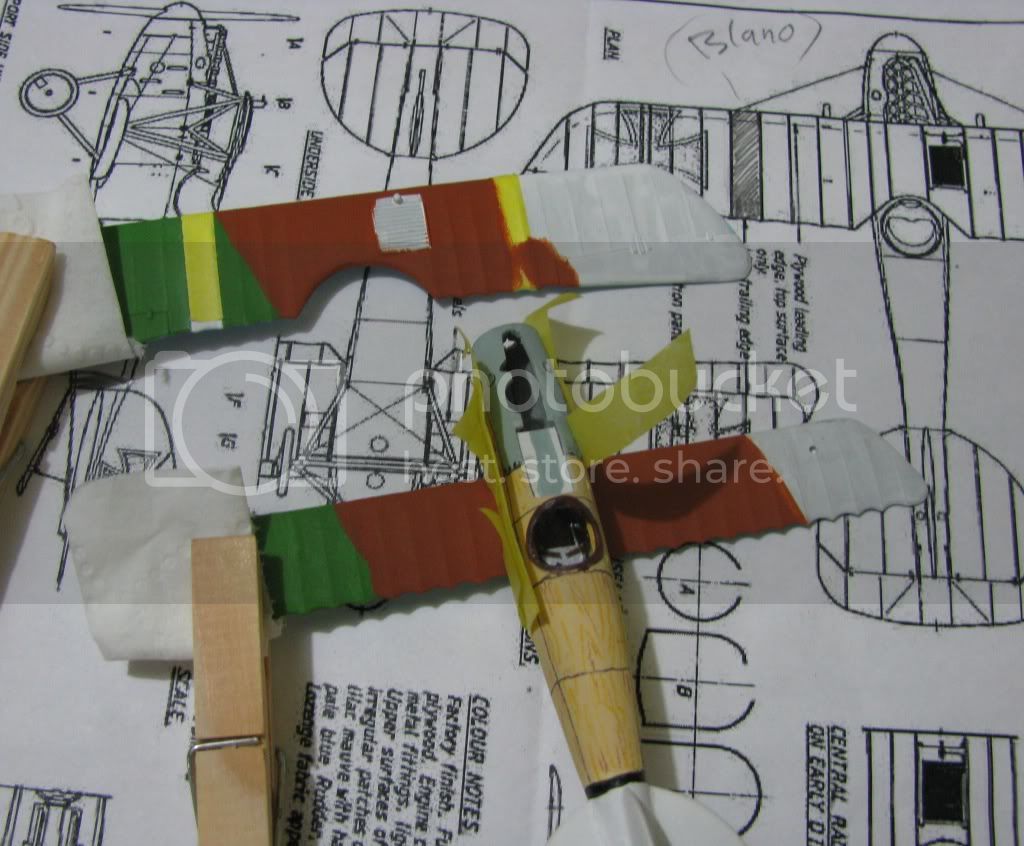
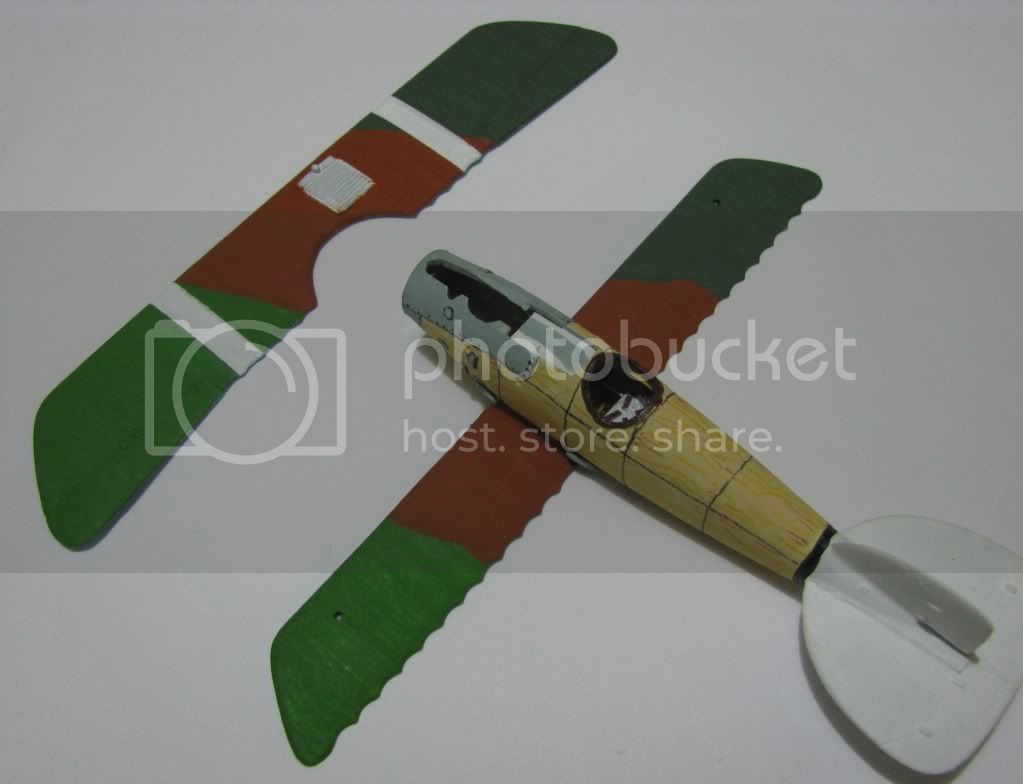
the fisrt tones, and they are going tu uses a simple technique, to imitate the wood grain.

but first its time to whait, for the dried paint.

next post, Wooden grain, colors cammo

se you soon
Luis Antonio..............................
JackFlash
_VISITCOMMUNITY
Colorado, United States
Joined: January 25, 2004
KitMaker: 11,669 posts
AeroScale: 11,011 posts
Posted: Monday, February 22, 2010 - 06:26 AM UTC
So you are using an Alb. D.V model to apply Voss' markings from an Alb. D.III?
lalanagas
_VISITCOMMUNITY
Tabasco, Mexico
Joined: November 26, 2007
KitMaker: 31 posts
AeroScale: 26 posts
Posted: Monday, February 22, 2010 - 06:58 AM UTC
Yes, in my town, its the model most close as I can get. It comes with the rounded rudder, but i make it square.

The trouble is, the model is a relic. and in my town there is no hobby shop. I bought this model in Veracruz

Luis Antonio
JackFlash
_VISITCOMMUNITY
Colorado, United States
Joined: January 25, 2004
KitMaker: 11,669 posts
AeroScale: 11,011 posts
Posted: Monday, February 22, 2010 - 04:37 PM UTC
I understand your situation.
jaypee
_VISITCOMMUNITY
Scotland, United Kingdom
Joined: February 07, 2008
KitMaker: 1,699 posts
AeroScale: 1,384 posts
Posted: Tuesday, February 23, 2010 - 02:35 AM UTC
Good stuff, this is the element of the hobby.

Before Wingnut Wings came and ruined it all by giving us exactly what we wanted

I like the scratch built engine. What other things will you need to do to make it
the right aeroplane? Are the markings going to be homemade?

Although I like WWII aeroplanes better, I like building WWI ones better.
Mgunns
_VISITCOMMUNITY
Arizona, United States
Joined: December 12, 2008
KitMaker: 1,423 posts
AeroScale: 1,319 posts
Posted: Tuesday, February 23, 2010 - 03:30 AM UTC

Quoted Text

Yes, in my town, its the model most close as I can get. It comes with the rounded rudder, but i make it square.

The trouble is, the model is a relic. and in my town there is no hobby shop. I bought this model in Veracruz


Necessity is the mother of invention. I am looking forward to more pictures as you progress.
gajouette
_VISITCOMMUNITY
Texas, United States
Joined: February 01, 2007
KitMaker: 365 posts
AeroScale: 356 posts
Posted: Tuesday, February 23, 2010 - 11:46 AM UTC
Luis,
Great build my friend.I'm always amazed at the level of detail that can be included in such a small scale.I gave up the ghost on 1/72 scale years ago due to failing eye sight,it great anytime to see these small scale wonders in the works.Thanks for posting and I look forward to your next update.
Regards,
Gregory Jouette
thegirl
_VISITCOMMUNITY
Alberta, Canada
Joined: January 19, 2008
KitMaker: 6,743 posts
AeroScale: 6,151 posts
Posted: Tuesday, February 23, 2010 - 02:10 PM UTC
Nice job so far Luis
lalanagas
_VISITCOMMUNITY
Tabasco, Mexico
Joined: November 26, 2007
KitMaker: 31 posts
AeroScale: 26 posts
Posted: Friday, February 26, 2010 - 04:59 AM UTC
updating the Werner Voss D III

weel since I have mentioned, the great majority now is painting.
already with the tones of the fuselage, defined well, we began to detail the same.

I use prismacolor pencils, to be able to delineate the details.

we need one. very sharpened end pencil, and pulse of surgeon.
maracas players to abstain.


maybe are not the best lines, but is the best pulse than I have. next Time, will use a flexible guide.

now the wood grain, is the same procedure that the delineated one, that with but only taking care of and applying the basic forms of the wood, the color pecil help a lot.

more grain..

and more grain..

the design, and the forms go according to the pleasure….

I am satisfied with the final result. perhaps he is a little exaggerated, but he is attractive at sight.


now the colors of the wings.

light blue under wings.

and the three tones of camouflage

first tone, pale green, this its the most close i can faound.
the uper wing had the two white strip maskig,

second tone.

and the third tone, an the cammo is finished.

he is everything at the moment. now I must work already in the final asembly for the rest of the componets.

greetings .....

PD: commentaries and criticisms, are well received.
 _GOTOTOP