_GOTOBOTTOM
World War II: Great Britain
Aircraft of Great Britain in WWII.
Hosted by Rowan Baylis
Dirks Wooden Wonder, 1/72 Airfix Mosquito
Dirkpitt289
_VISITCOMMUNITY
New Jersey, United States
Joined: May 24, 2008
KitMaker: 346 posts
AeroScale: 307 posts
Posted: Friday, March 05, 2010 - 10:38 AM UTC
Well today i was finally able to get my hands on my D H Mosquito and its time to fire up this build log.

[u]History[/u]

The Mosquito excelled in a variety of roles during World War II, including as day or night fighter, strike fighter-bomber, photo-reconnaissance, pathfinder, intruder, maritime strike, and surprisingly, a few BOAC mailplane variants flew regular nightly services over Nazi-occupied Europe!

It was conceived as a fast twin engined day bomber that could outrun all contemporary fighters.
With no heavy defensive armament to man, the crew was reduced to pilot and navigator so the aircraft was lighter, faster and overall more efficient. de Havilland chose a radical construction technique initially developed for their earlier Comet racer - by utilising a laminated ply and balsa skin formed in concrete moulds by civilian craftsmen, the Mosquito was extremely strong, light, and flexible, yet placed minimal drain on essential materials and skilled-labour during Britain's 'darkest hour' in 1940 - 1941.

[u]The model[/u]

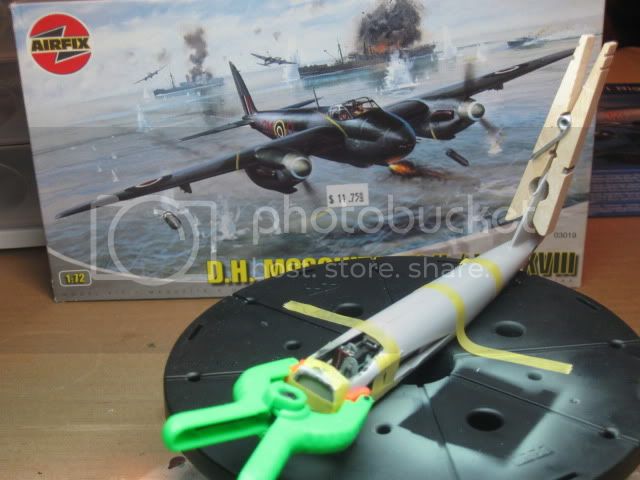
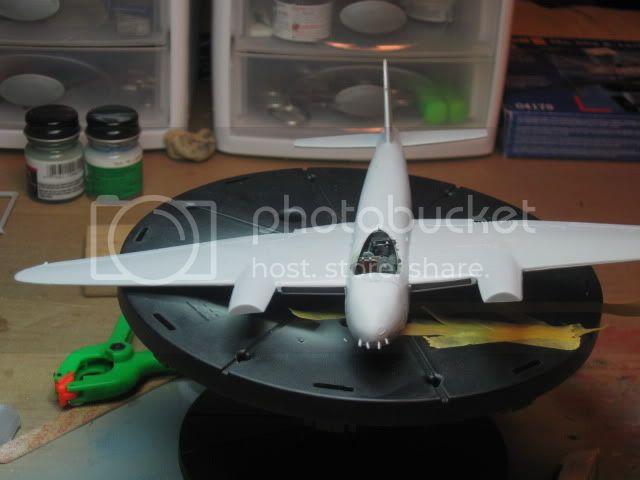
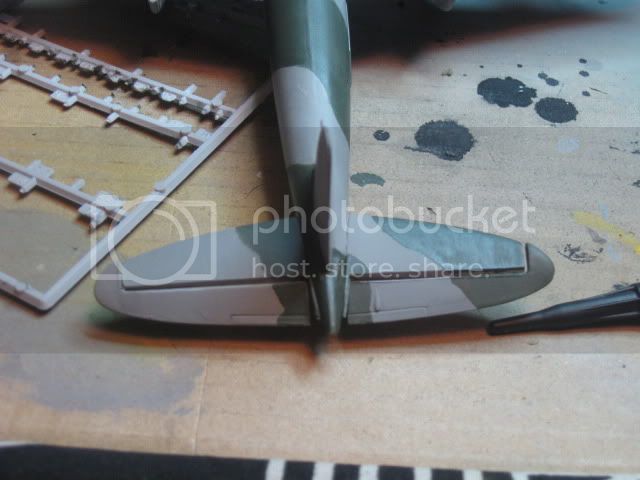
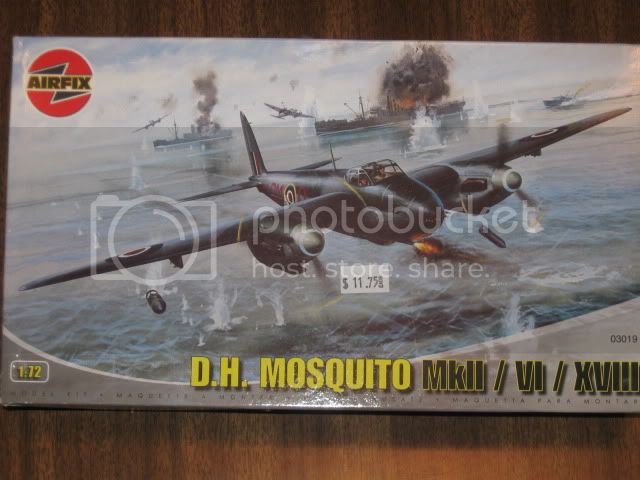
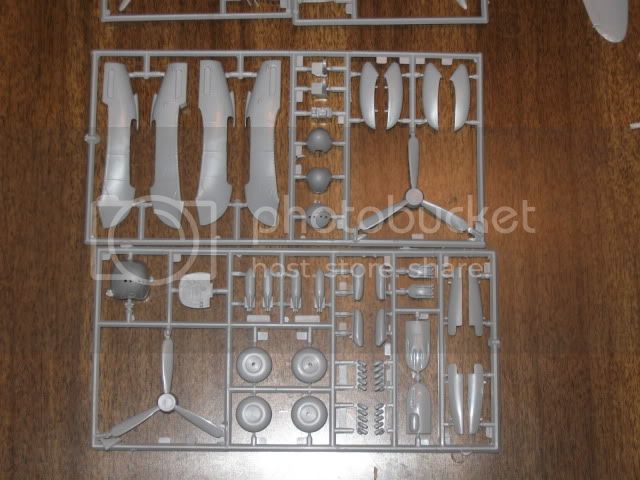
As far as Airfix kits go this one seems to be the best quality of the lot that I've seen. There is some excess flash but a lot less then some other Airfix kits such as the Blenheim. the smaller parts also seem less clunky. I look forward to building this one.


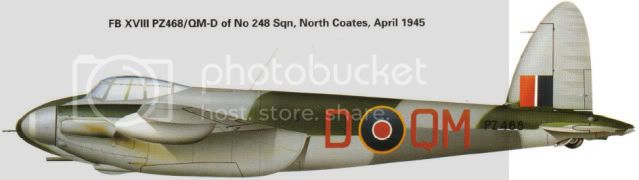
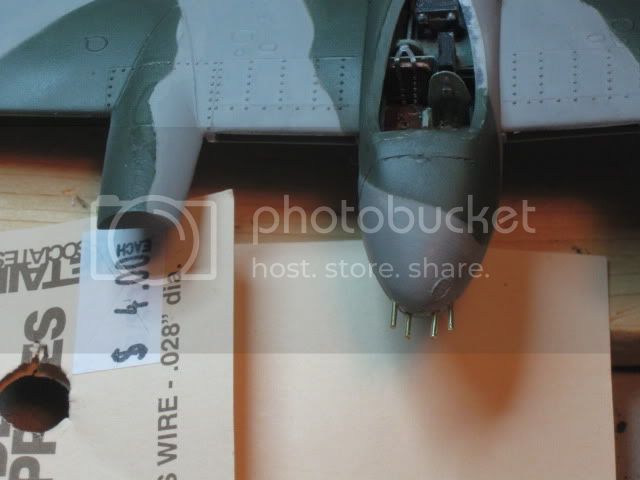
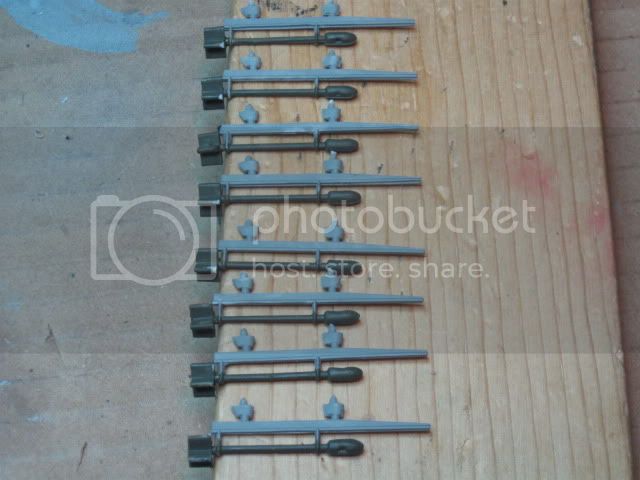
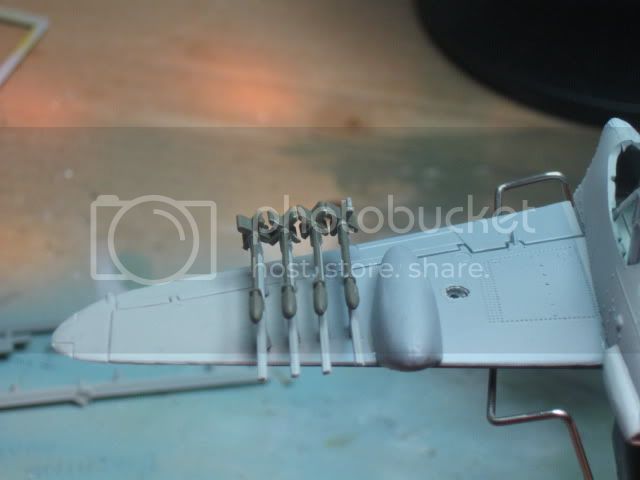
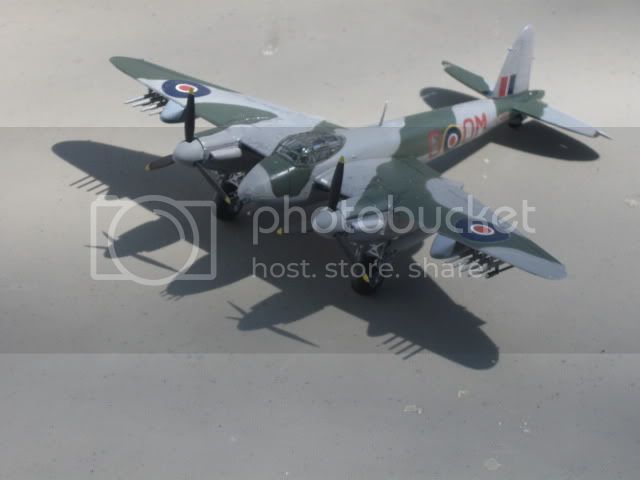
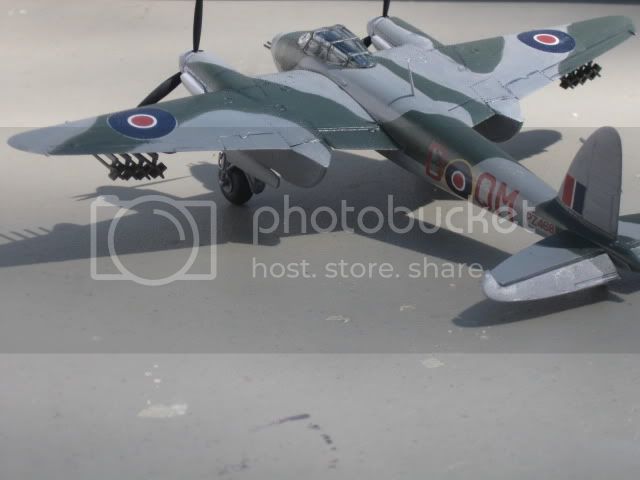
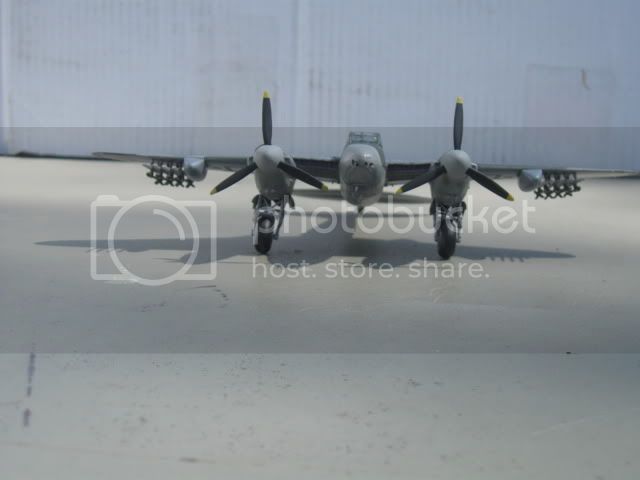
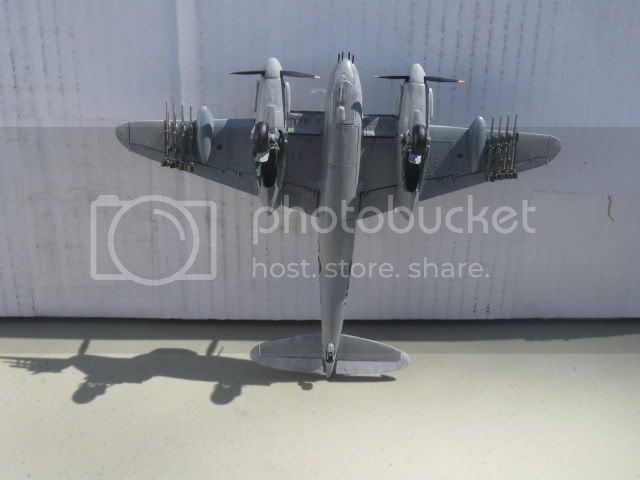
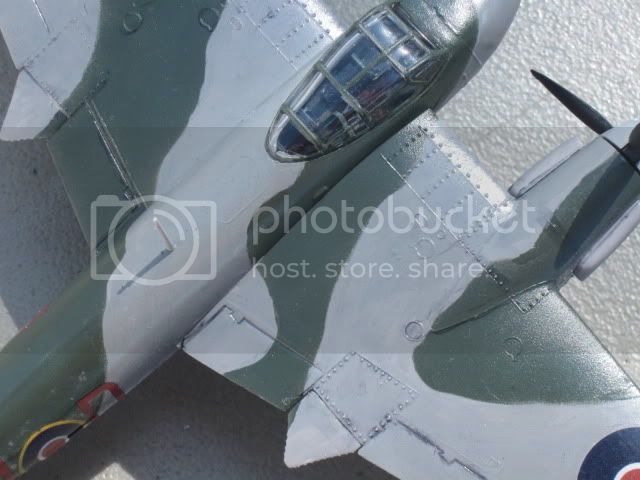
I'm not sure yet but I believe I will be building this as the Mk XVIII. Guns, cannon and rockets going after shipping. Gotta love it.

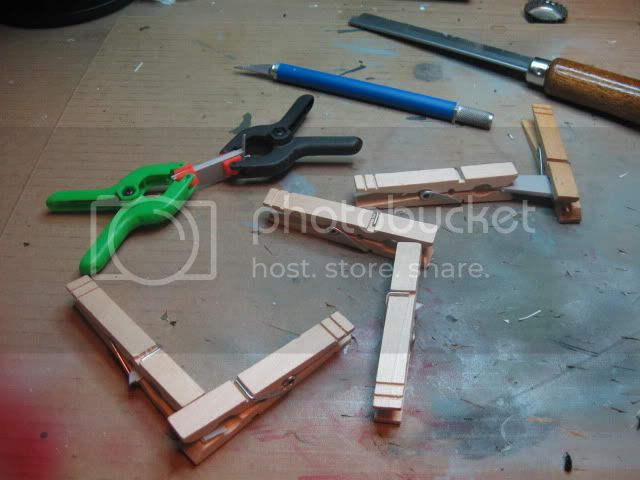
I feel like i'm on a roll After the Blenheim Cockpit so that's where I will start this one to.

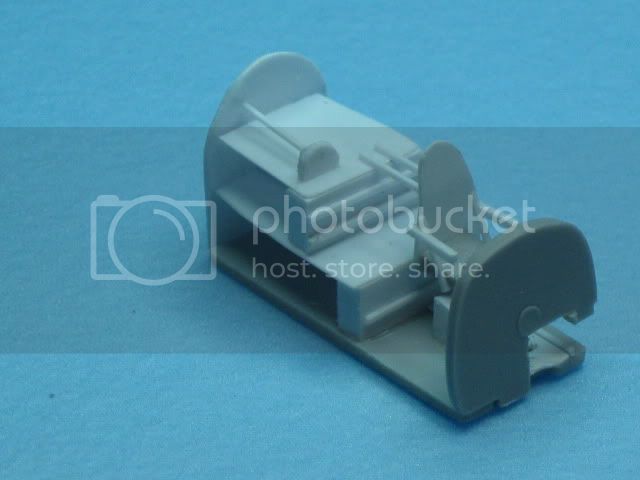
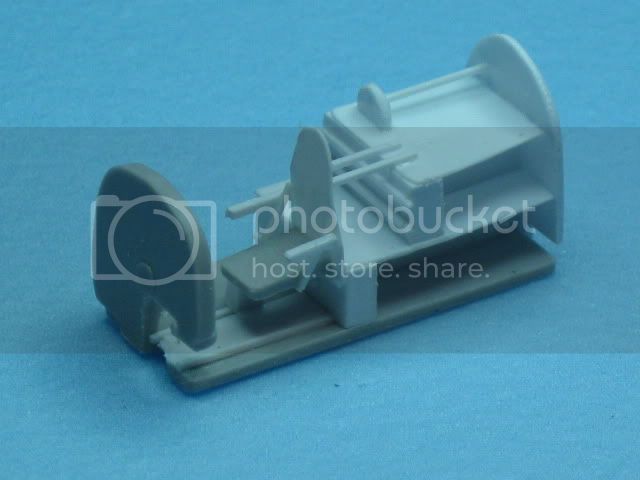
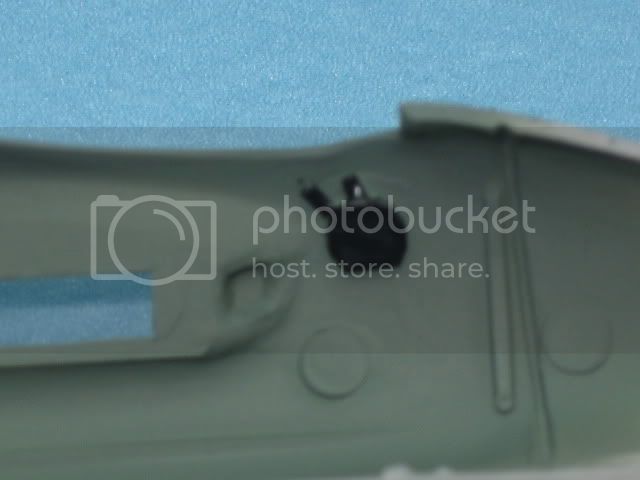
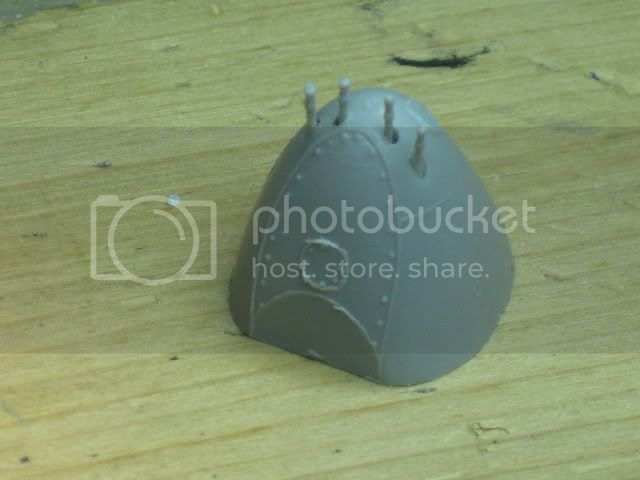
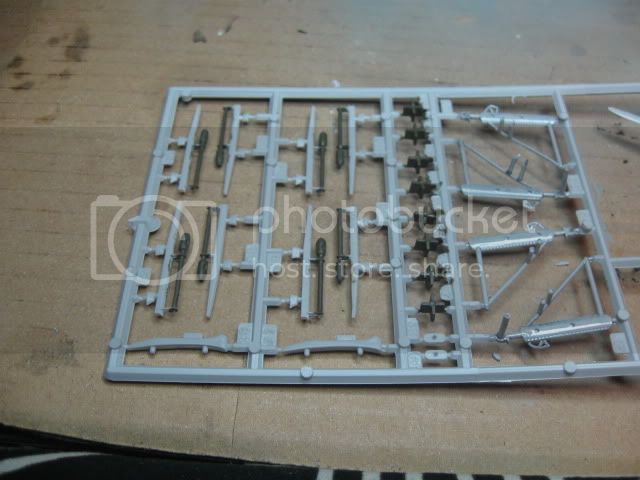
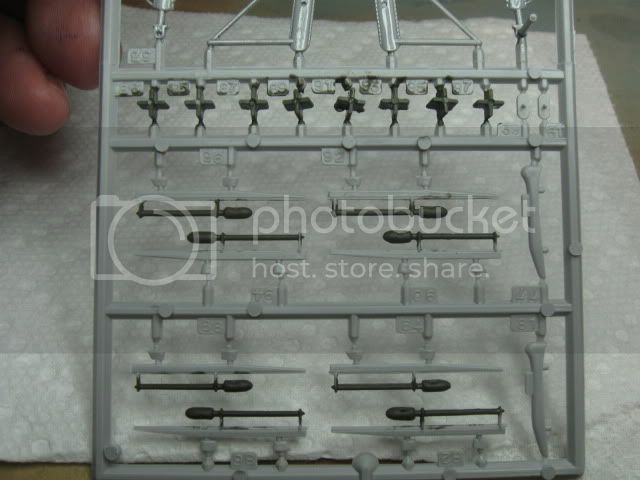
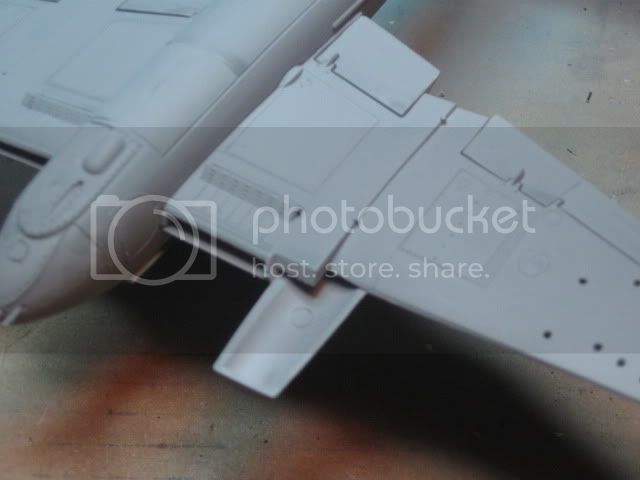
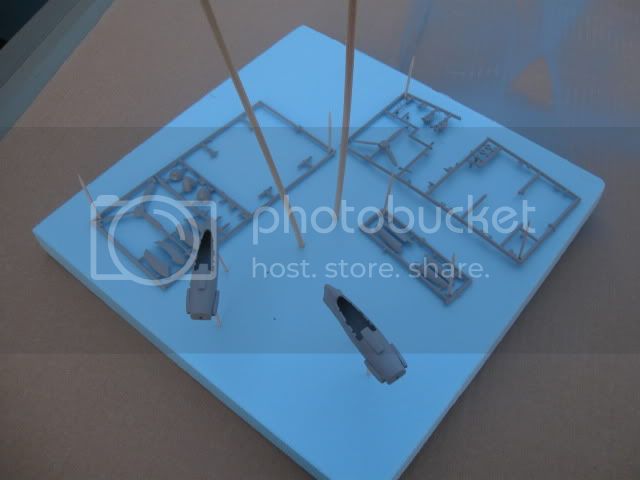
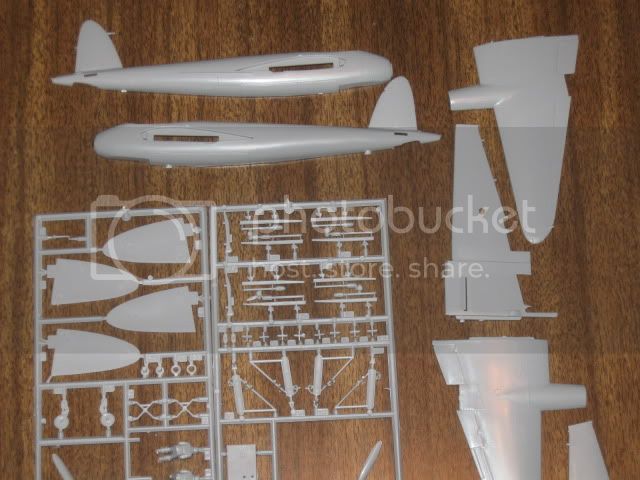
Here we see what Arifix gave us to work with


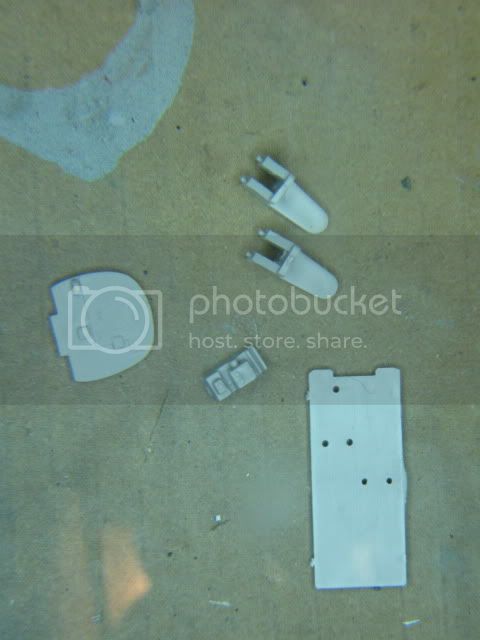
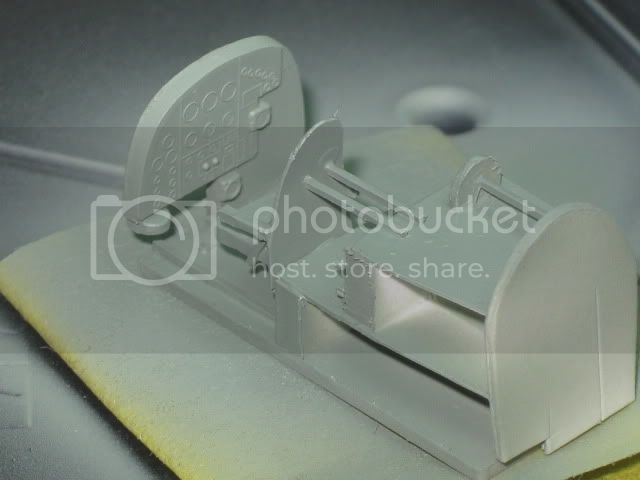
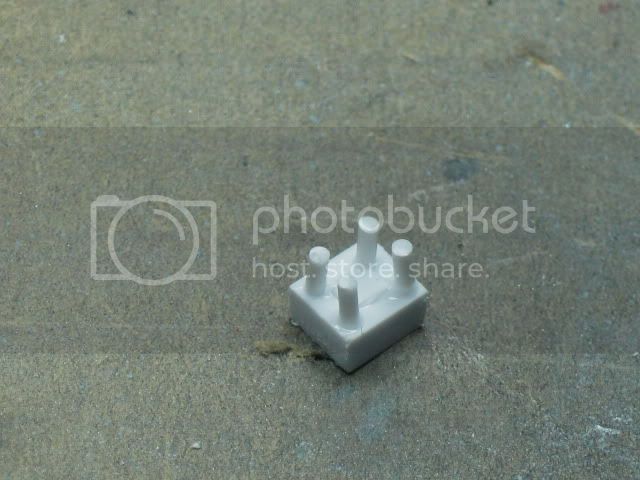
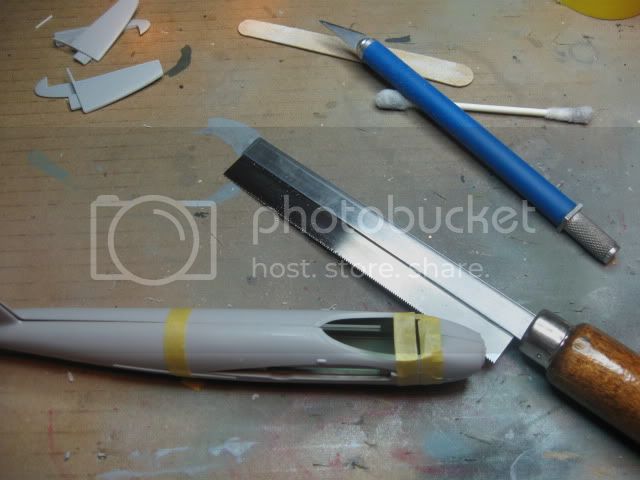
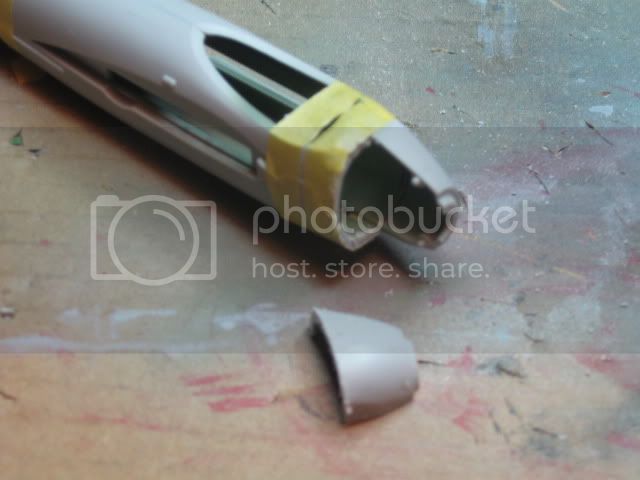
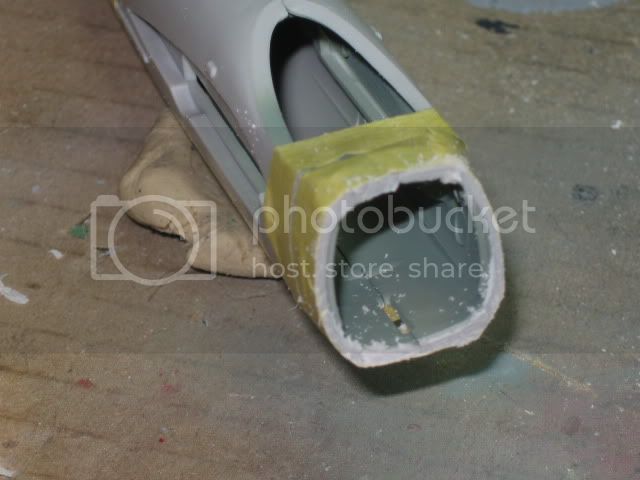
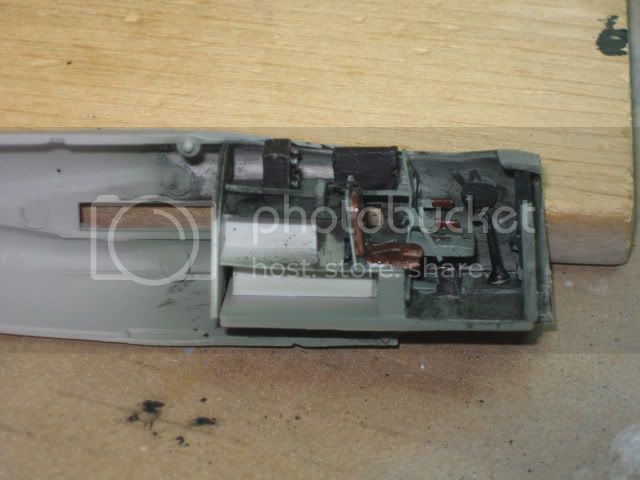
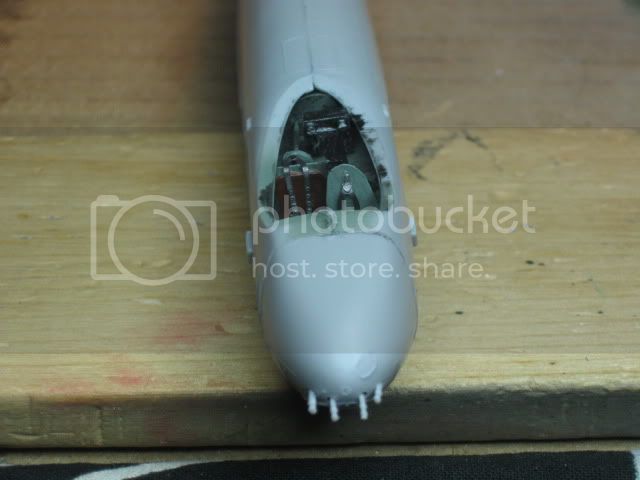
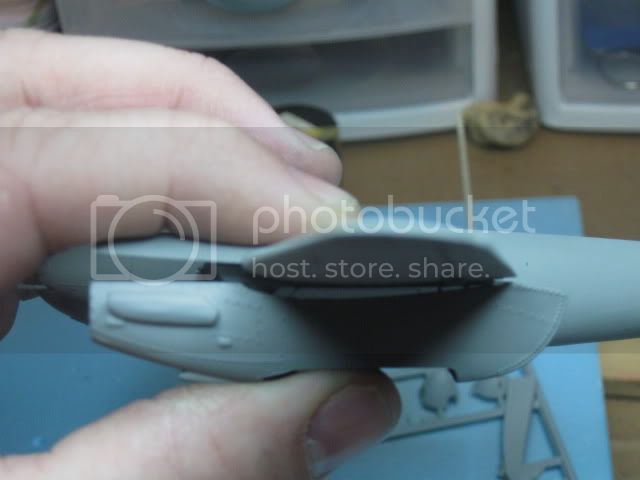
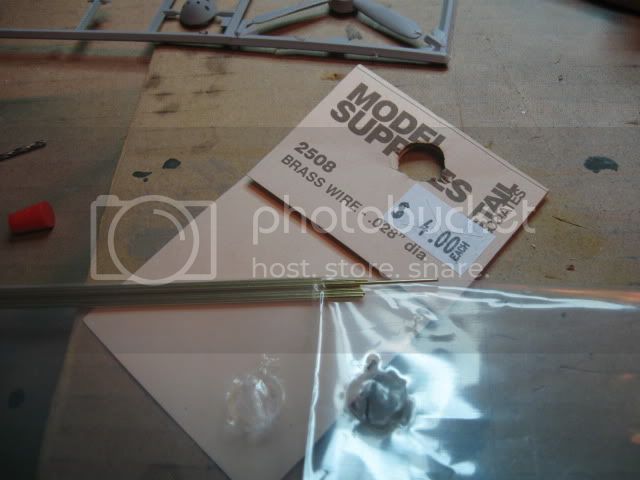
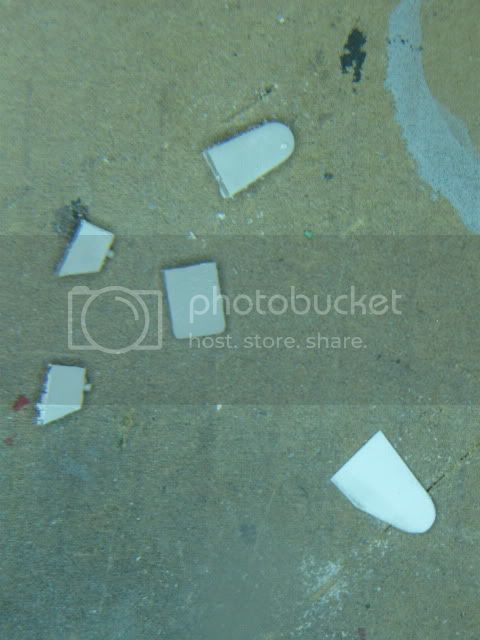
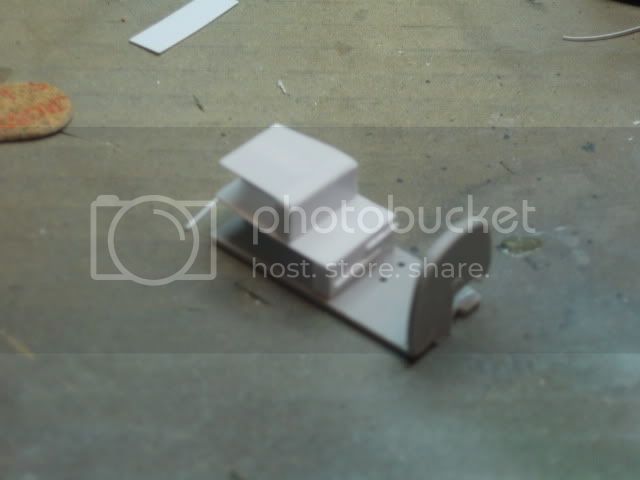
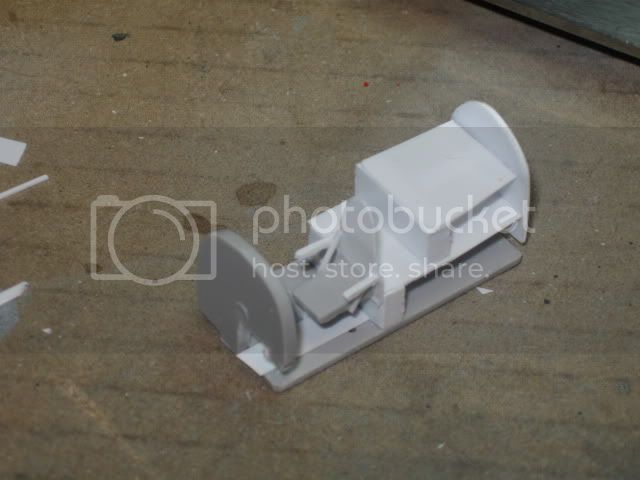
i'm not so thrilled with with the seats given with this kit. While they are not bad they don't look like Mosquito seats. So its time to break out the knife, saw and styrene. The operation begins with the dissection of the original seat.


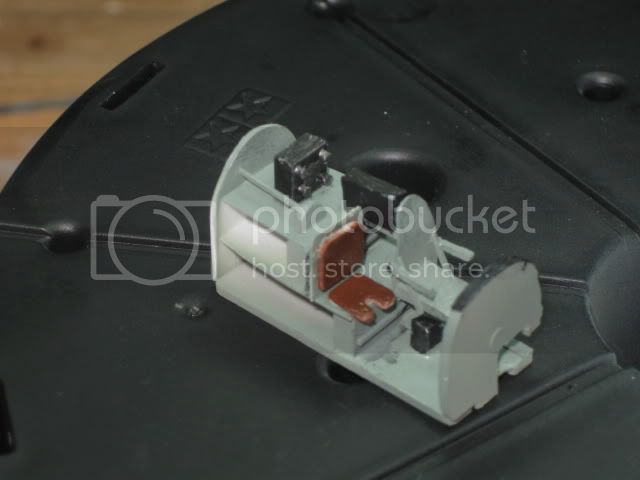
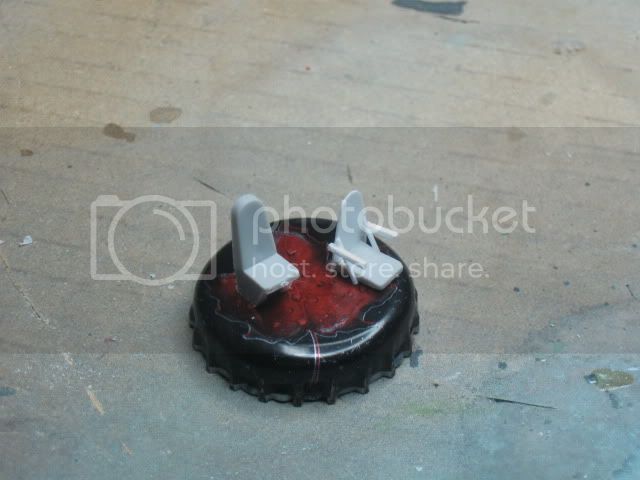
Here is a comparison of the kit seat and the seat I made. I used a great photo of the pilots seat from the Squadron Mosquito Walk Around. The only original piece left is the bottom seat. I scratch built the armored seat back and the support braces. I also added arm rests.


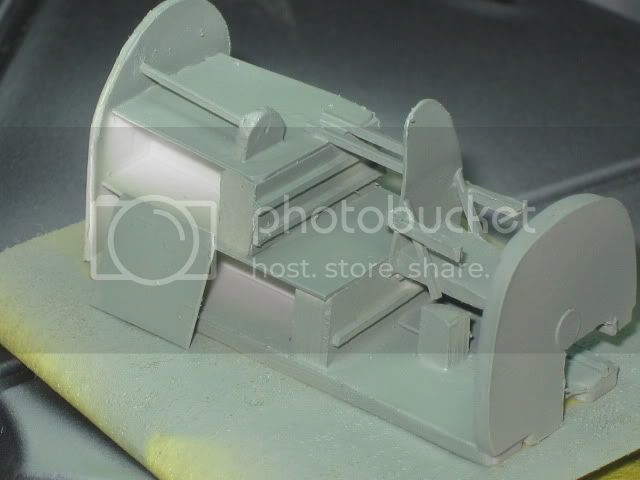
Tonight I hope to add the second seat, radios, some bits to the cockpit walls and maybe even the links to the control stick. Unlike the Blenheim there are plenty of photos online of the cockpit to work with.

Thanks for looking.
Siderius
_VISITCOMMUNITY
Tennessee, United States
Joined: September 20, 2005
KitMaker: 1,747 posts
AeroScale: 1,673 posts
Posted: Friday, March 05, 2010 - 11:41 AM UTC
Another interesting build, good to see it under way. Russell
Dirkpitt289
_VISITCOMMUNITY
New Jersey, United States
Joined: May 24, 2008
KitMaker: 346 posts
AeroScale: 307 posts
Posted: Friday, March 05, 2010 - 05:31 PM UTC
Time to get back to the Mosquito's office tonight. I started by adding some minor details such more bracing for both seats, seat belt anchor and bracing for the radio that goes behind the pilot.


next the interior color was added


While that dried I tried to add some detail to the cockpit walls.


I admit I should have taken care of the ejector marks on the interior walls but I was just to darn lazy.


I apologize for the negativity but again I felt that Airfix fell short on the radio detail so its time to make my own. Believe it or not this hunk of plastic will be the aircraft's radio.


Next i attached a very small bit of styrene to the center of the block. Then using styrene rod I made knobs. After the glue drys they will be trimmed down and painted.


Here you can see the "almost" finished cockpit with the #2 seat in place and the radios.


Next I need seat belts...

Thanks for looking.
Siderius
_VISITCOMMUNITY
Tennessee, United States
Joined: September 20, 2005
KitMaker: 1,747 posts
AeroScale: 1,673 posts
Posted: Monday, March 08, 2010 - 01:54 PM UTC
I wouldn't worry about the injector marks, I would of probably left them too. No one is going to be able to easily see them anyway. Russell
Dirkpitt289
_VISITCOMMUNITY
New Jersey, United States
Joined: May 24, 2008
KitMaker: 346 posts
AeroScale: 307 posts
Posted: Tuesday, March 09, 2010 - 11:44 AM UTC
Not a lot of progress to show but I do have a little.


Next I started the nose job. Cutting off a large piece of the fuselage had me a bit nervous.


Next I moved to the vent covers on the underside of the wings. When I first saw these clunky covers I thought I'd replace them with some PE strips I had but then I realized I would loose the detail on the originals. So I decided I would just file down the originals and save the detail. These Airfix kits don't have a lot of detail to begin with so I feel its our duty to say as much as we can. :lol:


Thanks for looking
Dirkpitt289
_VISITCOMMUNITY
New Jersey, United States
Joined: May 24, 2008
KitMaker: 346 posts
AeroScale: 307 posts
Posted: Monday, March 15, 2010 - 04:37 AM UTC
I was able to get a little farther on the Mosquito tonight.

First earlier this weekend I picked up Edwards Photoetch RAF harnesses.


I installed the harnesses, weathered the cockpit a bit and put the cockpit in place.


Closed up the fuselage


Thanks for looking
Dirkpitt289
_VISITCOMMUNITY
New Jersey, United States
Joined: May 24, 2008
KitMaker: 346 posts
AeroScale: 307 posts
Posted: Sunday, April 04, 2010 - 04:02 PM UTC
I started the night off by attaching the new nose. I was surprised how well it fit. Very little filler will be needed.


Next the wings were built up


More filling and sanding. UGH!!!!!


These dimples remind me of a Playboy Bunny's... back side. :mrgreen:
Not that big a deal. It just means more filling and sanding. UGH!!


I would have liked to build up the landing gear area but I don't feel there would be enough time so....

I got tired of filling and sanding so I decided to start painting some of the fiddly stuff like the landing gear and the under wing rockets. SWEET!


Next I attached the wings to the main fuselage.


Oh, I should mention that while filling and sanding (UGH!!) I dropped the fuselage and it landed right on the nose busting the guns. UGH!!! DAMN YOU MURPHY!

In case you were wondering Murphy is the guy who wrote some laws. Murphy's Laws.

Well that's all for now. Till next time
NickZour
_VISITCOMMUNITY
Attica, Greece / Ελλάδα
Joined: May 01, 2008
KitMaker: 1,437 posts
AeroScale: 1,241 posts
Posted: Sunday, April 04, 2010 - 09:42 PM UTC
I like it a lot but I think that you have to clean the cockpit a little bit


Cheers Nick
Dirkpitt289
_VISITCOMMUNITY
New Jersey, United States
Joined: May 24, 2008
KitMaker: 346 posts
AeroScale: 307 posts
Posted: Wednesday, April 21, 2010 - 05:53 AM UTC
Looks like we have another setback.


I tried to fit the engine nacelles in place and here is what I found.


You can see the cause of the problem here. Looking at the wing and the directions they don't match. It looks like my wing has more plastic after the intake vent where as the photo in the directions has less.


Last we left I befungled the engine nacelles after assembling, filling and lots and lots of sanding.


Well the nacelles were ripped apart and reassembled correctly.As it turns out I had assembled the incorrect engine halfs together. Next I got ready to started with the painting.

here is the bird I'm building D.QM of the 248 Sqn


Priming the beast


Medium Sea gray


Here we masked off the area for the application of Dark Sea Gray. This was to indicate the painting over of the Invasion stripes


Next the landing gear. What the heck!???


Not the greatest repair job but it works.


Attaching the engine nacelles to the wings


Next I decided to address the 4 broken nose guns. Normally I bore my gun barrels but due to the time constraints I chose To do this with .028 dia brass wire. After installing the guns I painted them gunmetal


here are two of my six excuses for not getting in a lot of building. They are Beckett and Delaney my 2 year old twins.


next I started the Rockets


Those are some thick gear doors, eh? If I had time I'd thin them out or make replacements from a beer can. Again time is too short.


Here are the reattached Elevators


Top view of the paint job. This paint job gave me fits. After spraying the Dark Green I had to go over all the Medium Sea Gray again with a brush. This was my first attempt at a "normal" camo scheme.


Thanks for taking the time to look at my build
Dirkpitt289
_VISITCOMMUNITY
New Jersey, United States
Joined: May 24, 2008
KitMaker: 346 posts
AeroScale: 307 posts
Posted: Wednesday, April 21, 2010 - 05:55 AM UTC
Here is my finished mosquito from the build thread. As some of you may have noticed in the past I've been rather hard on Airfix products. This one is really no different if you followed the thread but that being said I must admit I enjoyed this one a lot. So much in fact i plan to build another one real soon. These Airfix kits give you a lot of room to practice your scratch building. :lol:


Siderius
_VISITCOMMUNITY
Tennessee, United States
Joined: September 20, 2005
KitMaker: 1,747 posts
AeroScale: 1,673 posts
Posted: Wednesday, April 21, 2010 - 10:55 AM UTC
Looking good Dirk! Your kids are cute too! That Mosquito is a great looking machine, one of the best produced by British industry I think. Again, good job. Russell
Dirkpitt289
_VISITCOMMUNITY
New Jersey, United States
Joined: May 24, 2008
KitMaker: 346 posts
AeroScale: 307 posts
Posted: Thursday, April 22, 2010 - 12:54 AM UTC
Thank you Russell
FalkeEins
_VISITCOMMUNITY
England - South East, United Kingdom
Joined: March 07, 2005
KitMaker: 868 posts
AeroScale: 690 posts
Posted: Thursday, April 22, 2010 - 07:26 AM UTC

Quoted Text

Looking good Dirk! Your kids are cute too! That Mosquito is a great looking machine, one of the best produced by British industry I think. Again, good job. Russell


yep, neat work all round

the Mossie was a fantastic machine - could carry a heavier bomb load than a B-17 all the way to Berlin and then (usually) out-run the Bf 109s and Fw 190s on the way home.. only relatively few were lost to the Luftwaffe over Germany..
 _GOTOTOP