_GOTOBOTTOM
Start Here (for Beginners)
This forum is for younger modelers or people just starting out in the hobby.
Favorite Methods for Building up Landing Gear
md72
#439
_VISITCOMMUNITY
Washington, United States
Joined: November 05, 2005
KitMaker: 4,950 posts
AeroScale: 3,192 posts
Posted: Saturday, March 06, 2010 - 04:06 PM UTC
I doubt that there is one perfect way to clean-up and paint landing gear. But I'd like to find out some good alternatives.

I'm working on a set of modern jet gear. My first idea was to just paint them white still on the sprue. But I'm thinking that then Ive got to cut them off and trim and repaint them anyway. Am I better off clipping them free, cleaning them up and then finding some way to hold and paint them?

Thanks
pigsty
_VISITCOMMUNITY
United Kingdom
Joined: January 16, 2007
KitMaker: 1,226 posts
AeroScale: 640 posts
Posted: Sunday, March 07, 2010 - 05:07 AM UTC
I'm afraid you get my standard reply: it depends. Sorry!

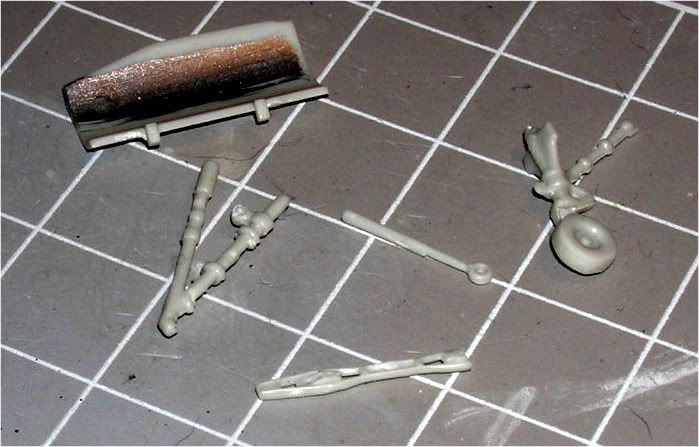
Some aircraft have fantastically complex undercarriage; with others, it's little more than a stick with a wheel on the end. And that wheel is an added complication. Plus, there's the question of how strong the parts are - will they hold the model off the deck without help?

What I generally do is this. I paint the undercarriage bay on the airframe (unless it has undercuts, in which case I paint it before installation) and assemble and paint the undercarriage itself before I install it. If it has complex geometry that would make it tricky to paint it last, I see if there are sub-assemblies that can be painted first. If not, it has to painted one piece at a time and then assembled. (If you use an airbrush, this is less likely to be a problem.) In either of the latter two, I leave the mating surfaces unpainted or use superglue to assemble it - which I choose depends on how large the contact points are (and thus how strong they'll be). I always leave off the wheels, but paint and weather them before assembly.

Painting such small items will be problematic but they help you by almost always having a locating lug at the upper end. Insert this into the business end of a pair of Helping Hands and you can paint to your heart's content.

Then, at the best point in the build, I install the undercarriage legs but not the wheels, and weather the legs and bays in situ. This way the two are tied in and I don't have to worry about touching in afterwards. Choice of glue again depends on strength of join.

Finally, as close to the very end as possible, I attach the wheels. I always file flats or use pre-flattened wheels, so I always check-fit first. A piece of stiff plastic card is handy for this - it gives a flat surface without bowing and yet is light enough not to shift the wheels, so it acts as an upside-down "ground" and allows me to rotate the wheels til they're sitting right. As a rule I use slow-curing glue for this, again depending on how strong it needs to be. Multi-wheeled aircraft are handy because you can align the wheels using only one on each leg, then add their counterparts afterwards without needing to set them separately.

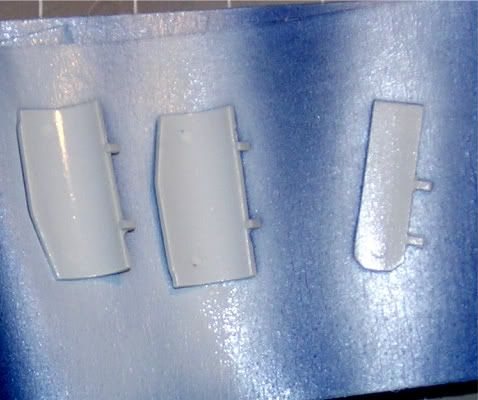
Alternatively, there's gear-up. Which is when you discover that no model company provides scale-thickness undercarriage doors ...
md72
#439
_VISITCOMMUNITY
Washington, United States
Joined: November 05, 2005
KitMaker: 4,950 posts
AeroScale: 3,192 posts
Posted: Sunday, March 07, 2010 - 07:02 AM UTC
Looks like I'm firmly in the depends camp on this one myself.

I had wanted to just airbrush the white on the gear parts while they were still on the sprue. The molder convinced me otherwise. There's about a .5mm offset between the mold halves, so everything is off set. I've got to cut them all off and clean them up before I can paint. The NLG has the wheel integral to the mechanism, so I'm just going to try to clean it up, found off the square corners, paint it white and then try to paint the tire.

The main gera bay is already assembled into the fuselage so I'll just mask and paint it.
pigsty
_VISITCOMMUNITY
United Kingdom
Joined: January 16, 2007
KitMaker: 1,226 posts
AeroScale: 640 posts
Posted: Sunday, March 07, 2010 - 09:19 PM UTC
I forgot the oleo strut. Nearly all modern aircraft have at least one, often in an inaccessible location. Masking and spraying around that will only add to your woes, I'm afraid. This is one of the many reasons why I stick with brushes. And sometimes to brushes.
md72
#439
_VISITCOMMUNITY
Washington, United States
Joined: November 05, 2005
KitMaker: 4,950 posts
AeroScale: 3,192 posts
Posted: Monday, March 08, 2010 - 06:20 AM UTC
It gets worser and worser... I clipped the port gear off of the sprue. Tried to do some test fits, of course, the molded part doesn't match the assembly diagram. The diagram shows 2 rectangular blocks at the V of the two main struts. The oleo(?) strut has a matching notch that mates with the block. As molded, the block is on the opposite side of the gear. In addition the diagram shows a pin near the base of the inboard strut that the actuator is supposed to attach to. Again, no pin, and the central frame has a hole for the pin on the other end of the actuator, but the mating feature on the actuator is missing For added good measure ther are two .08 ejector pins inside the door. They at lease clean up easy enough.


Making me consider if building it gear up is easier..
james84
_VISITCOMMUNITY
Roma, Italy
Joined: January 28, 2006
KitMaker: 1,368 posts
AeroScale: 377 posts
Posted: Monday, March 08, 2010 - 06:30 AM UTC
A question, if you allow, without hi-jacking the thread: how do you spray flat white?
Which thinning ratio exactly?
So far, I only sprayed silver on my Hunter's gear (my ONLY model finished so far), and have several aircrafts which require white on the undercarriage...
The only attempt I carried out resulted in flat white sprayed out of the airbrush with some thinner, but it ended up being a bit semi gloss and perhaps transparent. Any idea?
md72
#439
_VISITCOMMUNITY
Washington, United States
Joined: November 05, 2005
KitMaker: 4,950 posts
AeroScale: 3,192 posts
Posted: Monday, March 08, 2010 - 06:49 AM UTC
Hmm, may not be too much help here. Modern USAF anti-corrosion white is gloss, helps to spot leaks. I have a ton of trouble shootig gloss white. So, this is a large challenge.

Last time I sprayed flat white I think I used 1/3 thinner, 2/3 paint. Something like 20 drops FW and 10 drops thinner. Whites in general are going to have coverage problems over darker colors and plastics, you migh try a light grey primer coat or just go with 2 shots of FW.

Good luck

armouredcharmer
_VISITCOMMUNITY
England - East Anglia, United Kingdom
Joined: June 09, 2009
KitMaker: 670 posts
AeroScale: 175 posts
Posted: Tuesday, March 16, 2010 - 07:55 AM UTC
My Two Cents,I do my aviation modelling in 1/32 or 1/35 scale and i tend to find it`s easier if i build landing gear ON the sprue where possible.This allows me to clean up any mess AND paint it without too much fuss,
As for getting white onto any colour of sprue,i brush paint Humbrol 34 straight on at least 3 or 4 times,using a more thinned out coat each time,finally using a thinned out Humbrol 22 to put a shine on it - it has`nt let me down yet !!
md72
#439
_VISITCOMMUNITY
Washington, United States
Joined: November 05, 2005
KitMaker: 4,950 posts
AeroScale: 3,192 posts
Posted: Tuesday, March 16, 2010 - 08:20 AM UTC
These gears were so poorly molded I had to take them off the sprue, clean them up, re-engineer them and hand paint.

Paint on these is Tamiya acrylic white, it may be a bit thick. I had trouble spraying it because I didn't have any Tamiya acrylic thinner. So I used plain old Testors gloss white 2/3 paint, 1/3 thinner and shot the doors and bay.

 _GOTOTOP