_GOTOBOTTOM
Pre-Flight Check
Constructive critique of your finished or in-progress photos.
RAAF 'Hi-Viz' C 47 Dakota WIP
29Foxtrot
_VISITCOMMUNITY
Victoria, Australia
Joined: September 19, 2003
KitMaker: 708 posts
AeroScale: 674 posts
Posted: Thursday, March 11, 2010 - 03:57 AM UTC
Hi all,

I started this Trumpeter 48 scale kit, almost a year ago, but due to pressing consignment builds I had to but it aside untill a few days ago.

This particular tooled kit, (which makes the older Monogram Offering, look like a Snaptite offering), also contains a PE set (pilot and co pilot harnesses, troop seat belts, cargo restraint, jerry can bracket, oil cooler screens and a troop boarding ladder), I elected to build the troop seats in my subject complete with there PE lap belts, as I intended to do the RAAF's Hi Viz scheme of the mid '60's, as per the colour subject pic.

Using an old OOP Roodecal sheet which covers the following subjects of the RAAF's C 47 Dakota's.
A65-120 - in Olive Drab over Neutral Grey as an Air Ambulance in 1945.
A65- 73, A65-105, and A65-71 in the BMF with a White roof line 1947.
A65-118 1962 era in the Hi-Viz scheme.
A65-114, A65-78 and A65-95 as ARDU subjects also in the Hi Viz schemes.


My reference pic of A65-119.


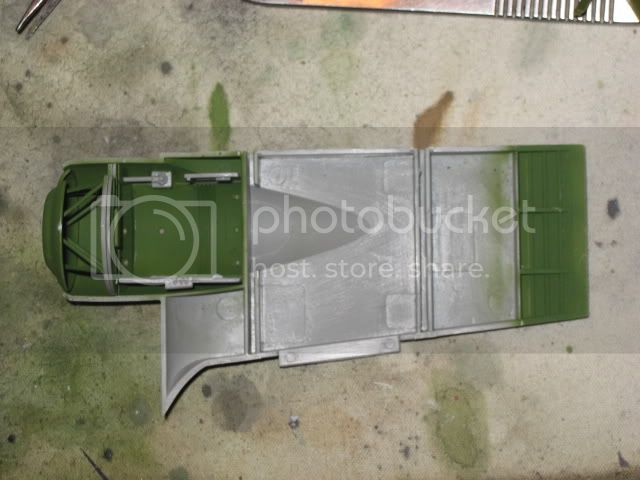
Cargo Floor.


Cockpit and Navigators section.
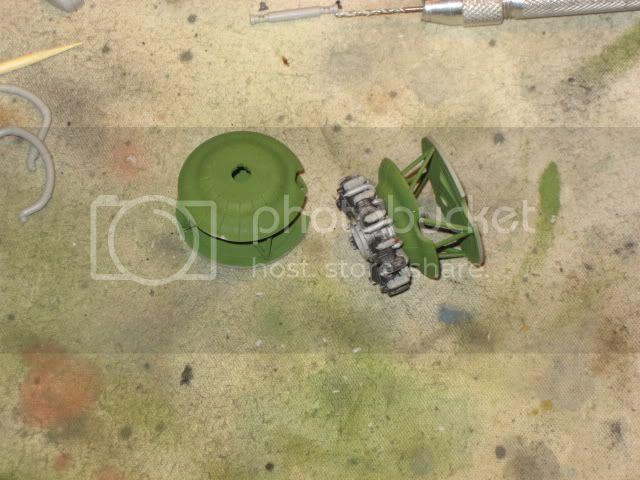
One of the Engine Mounts.
Fitted into the wing centre half.
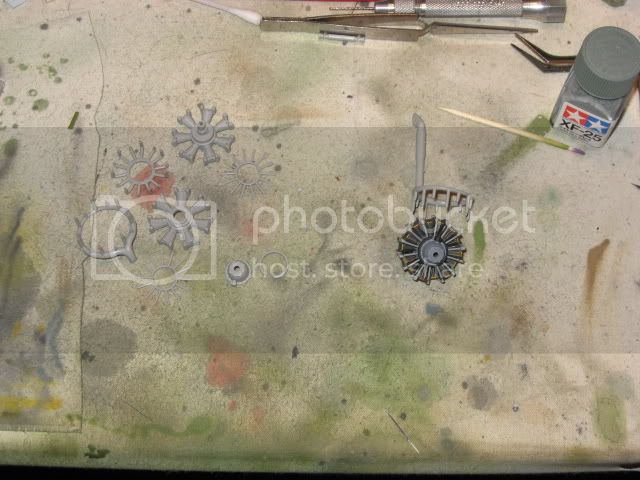
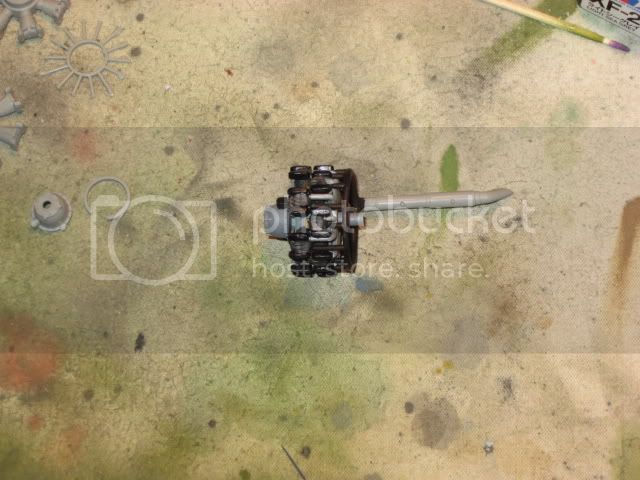
Engine components and a competed engine.
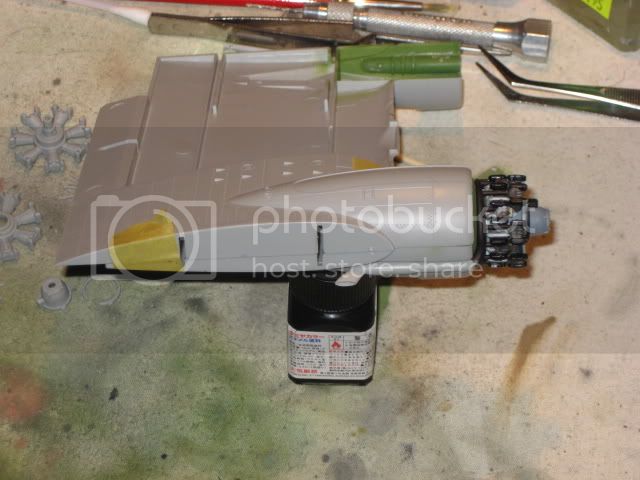
Wing Centre.

Inside the undercarriage wells.
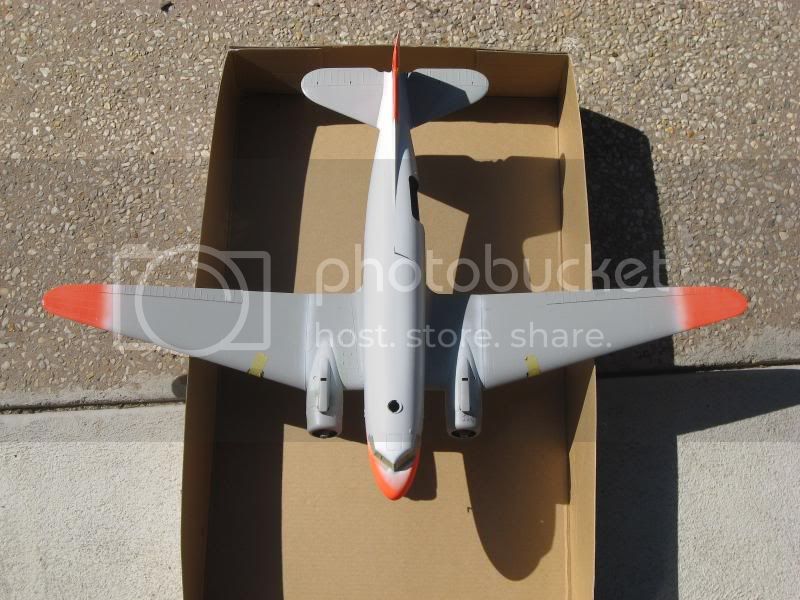
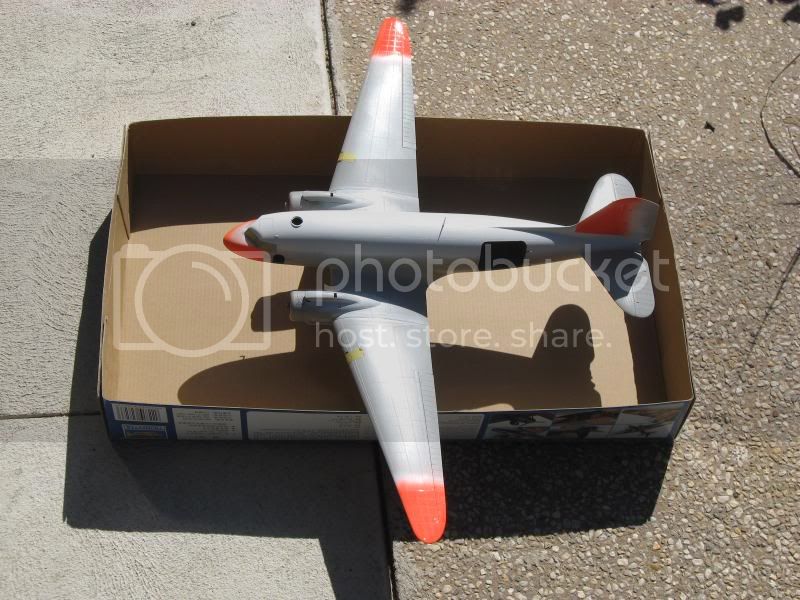
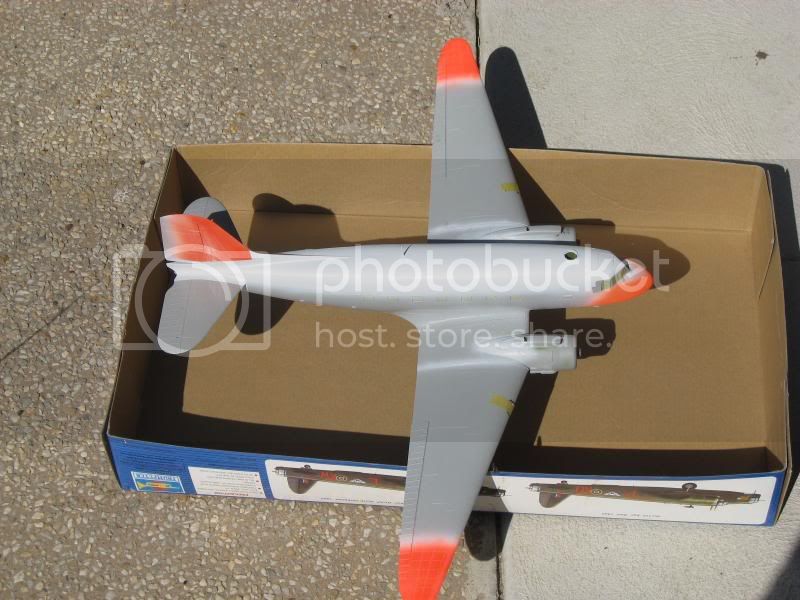
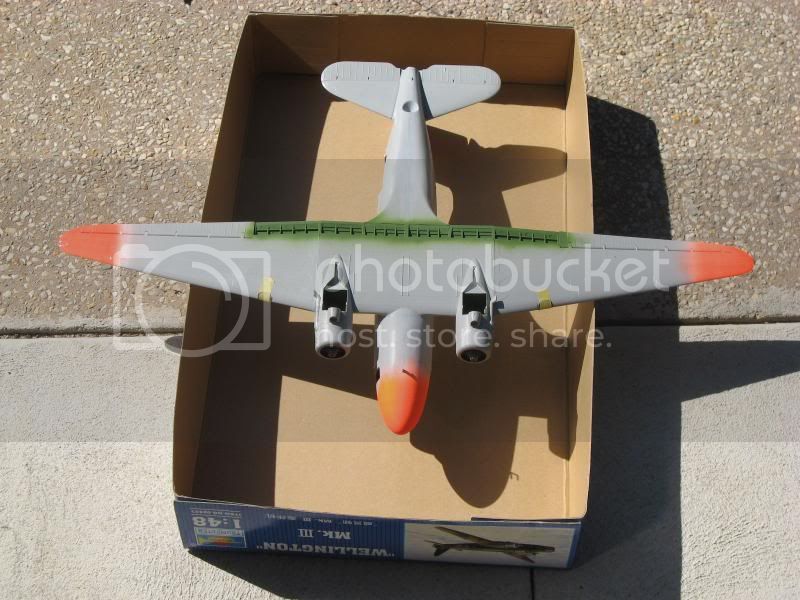
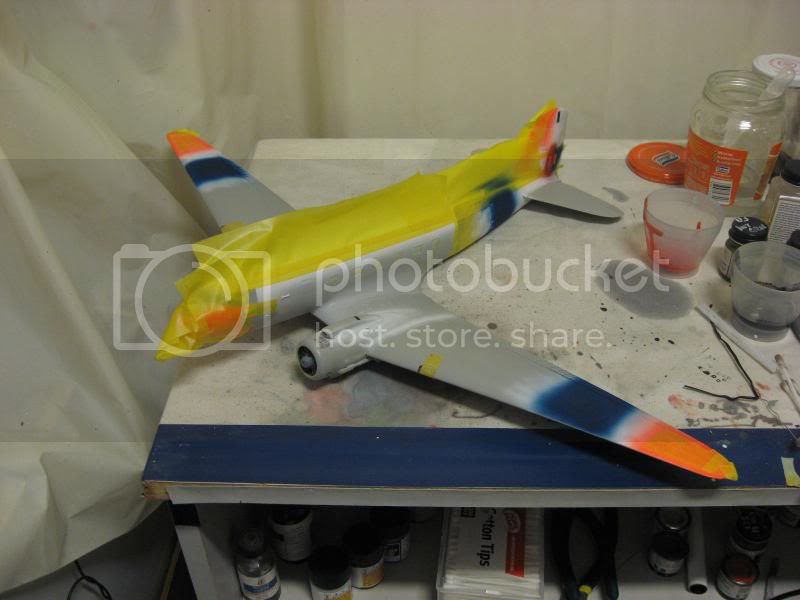
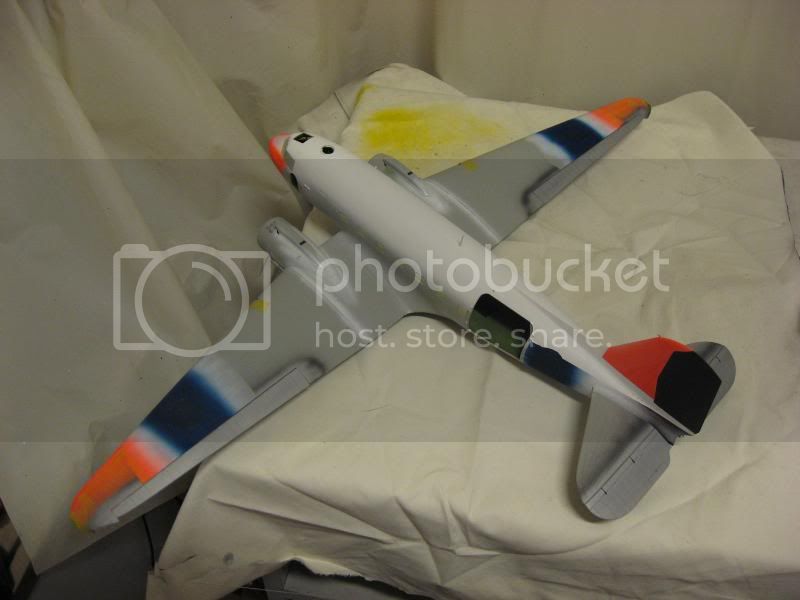
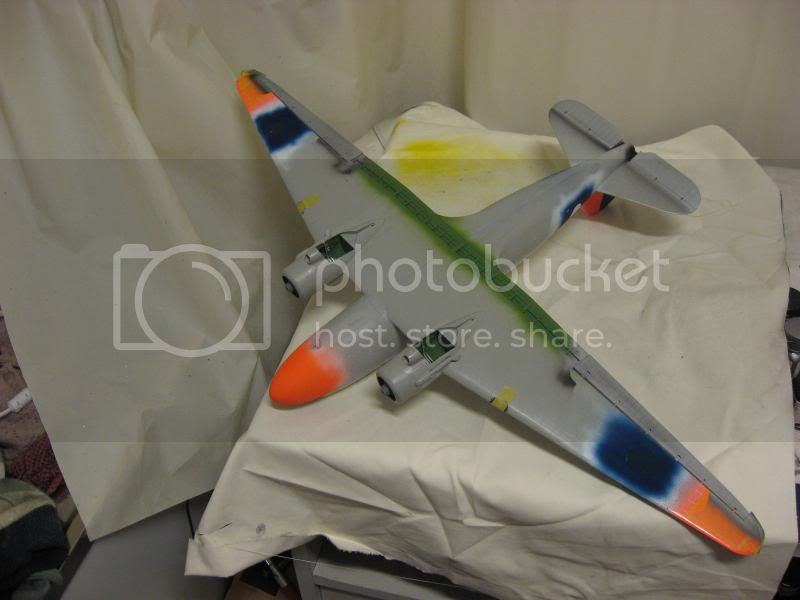
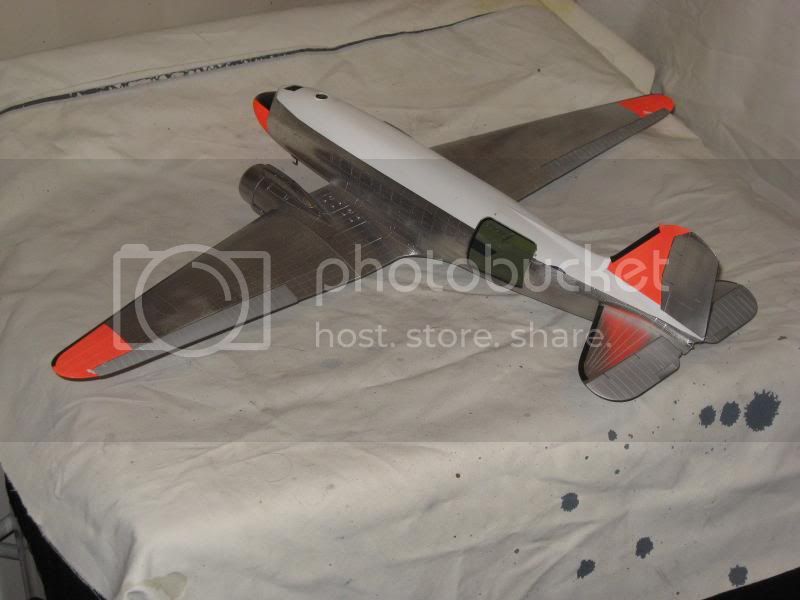
The painting in parts, Model Master 'Insignia White' and Humbrol #209 Fluorescent Orange, (on the rudder post and wing tips), Model Master Fluorescent Orange on the nose section.


Note: The Model Master Fluorescent Orange is a Mat coat, the Humbrol Fluorescent Orange is a gloss coat and both are Translucent.
AussieReg
Staff MemberAssociate Editor
AUTOMODELER
#007
_VISITCOMMUNITY
Victoria, Australia
Joined: June 09, 2009
KitMaker: 8,156 posts
AeroScale: 3,756 posts
Posted: Thursday, March 11, 2010 - 11:16 AM UTC
Great subject Rob, and really nice work so far.

Cheers, D
md72
#439
_VISITCOMMUNITY
Washington, United States
Joined: November 05, 2005
KitMaker: 4,950 posts
AeroScale: 3,192 posts
Posted: Thursday, March 11, 2010 - 12:14 PM UTC
Looking good!
29Foxtrot
_VISITCOMMUNITY
Victoria, Australia
Joined: September 19, 2003
KitMaker: 708 posts
AeroScale: 674 posts
Posted: Thursday, March 11, 2010 - 11:33 PM UTC
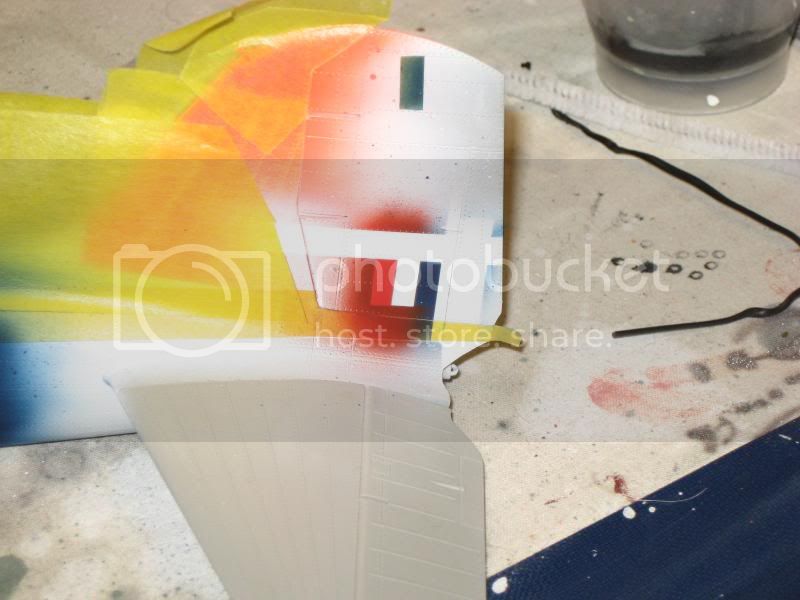
A little more progress on this bird, having decided to paint the RAAF's roundals and fin flashes on this subject, after painting all area's in Model Master 'Insignia White, then cutting the masking tape (with a compass cutter), measuring the width and height of the tri-tone fin flashes, the blue areas are Model Master Insignia Blue the red on the fin flash is Tamiya Flat Red.
Now the next step is cutting the outer roundal masks and masking the fin flashes ready for the flat black undercoat to the Aluminium surfaces.


Fin flash maskings removed, these measure 10mm x 4mm each.

More later.
PanzerMike
_VISITCOMMUNITY
Hamilton, New Zealand
Joined: May 09, 2007
KitMaker: 298 posts
AeroScale: 120 posts
Posted: Saturday, March 20, 2010 - 10:23 AM UTC
Great build so far and choice of subject
29Foxtrot
_VISITCOMMUNITY
Victoria, Australia
Joined: September 19, 2003
KitMaker: 708 posts
AeroScale: 674 posts
Posted: Sunday, March 28, 2010 - 09:42 AM UTC
Hi all,

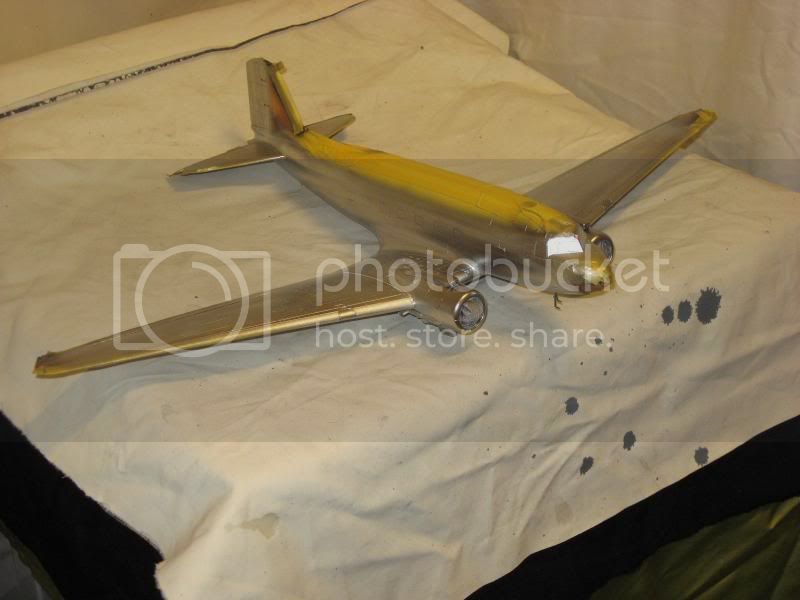
The Aluminium Doped area's have been painted in Tamiya Aluminium (XF-16) enamel and are ready to be masked off, along with the 'dayglo' rudder post, undercarriage wells, nose cone, Insignia Blue area of the roundals ready for the Alclad II primmer, which I intend to use as the 'de-icing boots and anti glare panel on the upper section of the nose.
I have a couple of spots to touch up on the Insignia White roof line, around the tail posts and cargo door area, before a large amount of Tamiya masking tape will be applied.


Note: Aluminium Painted control surfaces.
29Foxtrot
_VISITCOMMUNITY
Victoria, Australia
Joined: September 19, 2003
KitMaker: 708 posts
AeroScale: 674 posts
Posted: Tuesday, June 01, 2010 - 02:13 AM UTC
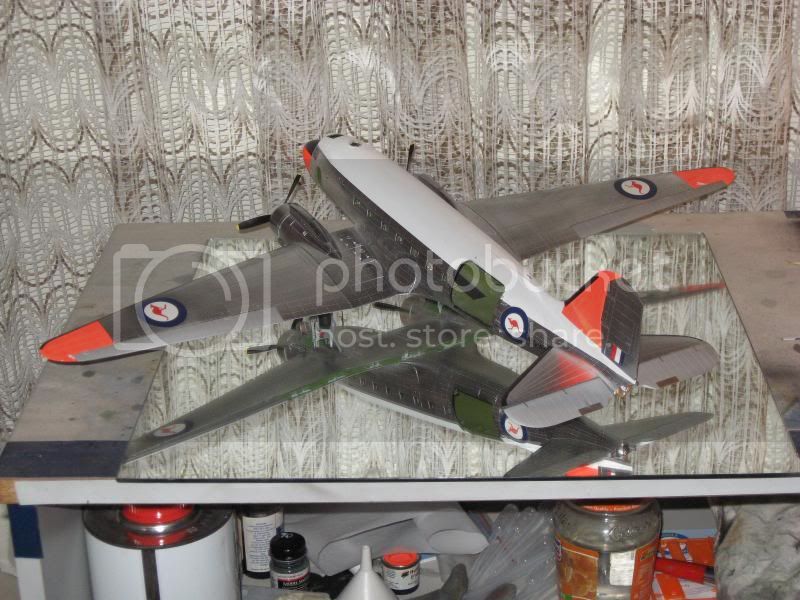
I finally got the Alclad II 'Polished Aluminium' to put the finish on this RAAF Hi Viz scheme.


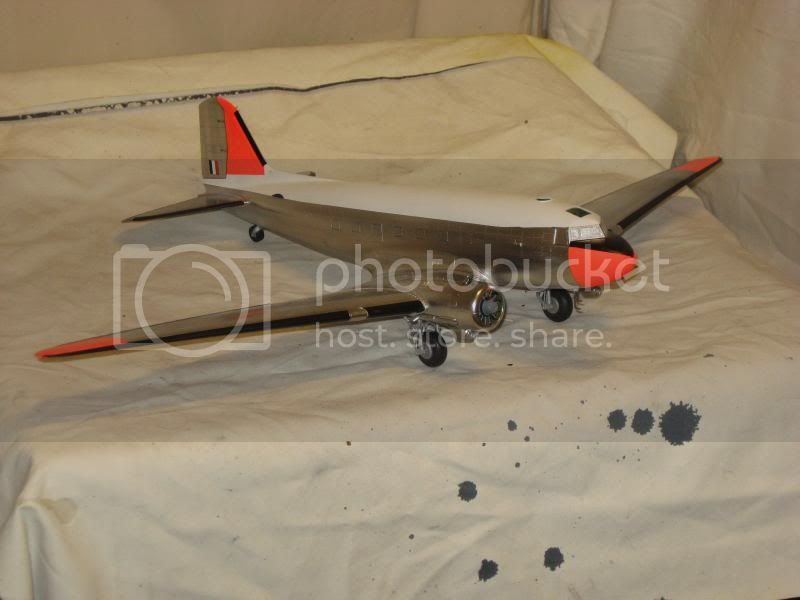
After removing the masking tape:


And sitting on it's undercarriage:


Sadly it has to sit in this state untill I return from Adelaide.

Note: The Tri-Colour fin flash is painted, in Flat Red, Insignia White and Insignia Blue, both the red and blue have a white base coat.
There are a couple of places where I have to touch up the paint work, damaged by the masking tape removal.
Dirkpitt289
_VISITCOMMUNITY
New Jersey, United States
Joined: May 24, 2008
KitMaker: 346 posts
AeroScale: 307 posts
Posted: Wednesday, June 09, 2010 - 06:38 AM UTC
Well that is definately a Hi Vis Dakota put bold text here Looks great. I love the interior work but I wish you had taken photos of the cargo area with the PE belts in place. I bet that looks sharp.

I'm currently building a 1/72 C-47 in invasion stripes. I can't wait to see more of your progress.
29Foxtrot
_VISITCOMMUNITY
Victoria, Australia
Joined: September 19, 2003
KitMaker: 708 posts
AeroScale: 674 posts
Posted: Thursday, March 03, 2011 - 01:32 AM UTC
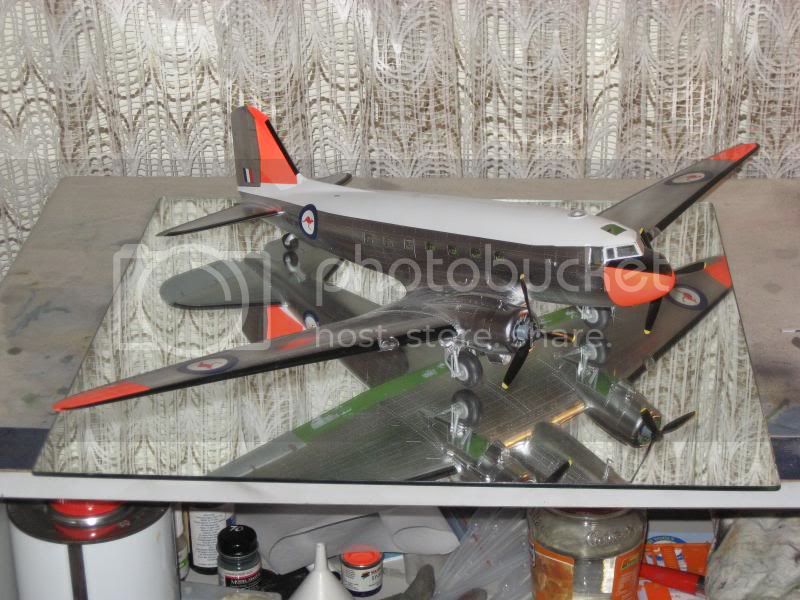
After being a 'STALLED' project for so long, using an AM decal sheet that is over 40 years old on this bird, I managed to add the roundels complete with 'Skippy', the roundels attached easily without grenading when in the water, 'Skippy broke up on 3 of the 6 points along with the A65-118 serial number that turned into a series of individual pieces.


A few short comings when the masking tape was removed, that need to be patched up, the blue tac needs removing to secure the flaps in there lowered position.

Note: The remaining decals grenaded in water, so now it's locate another sheet, or convince a local decal manufacturer to re produce the sheet, so I can finish up this build.

Dirk,

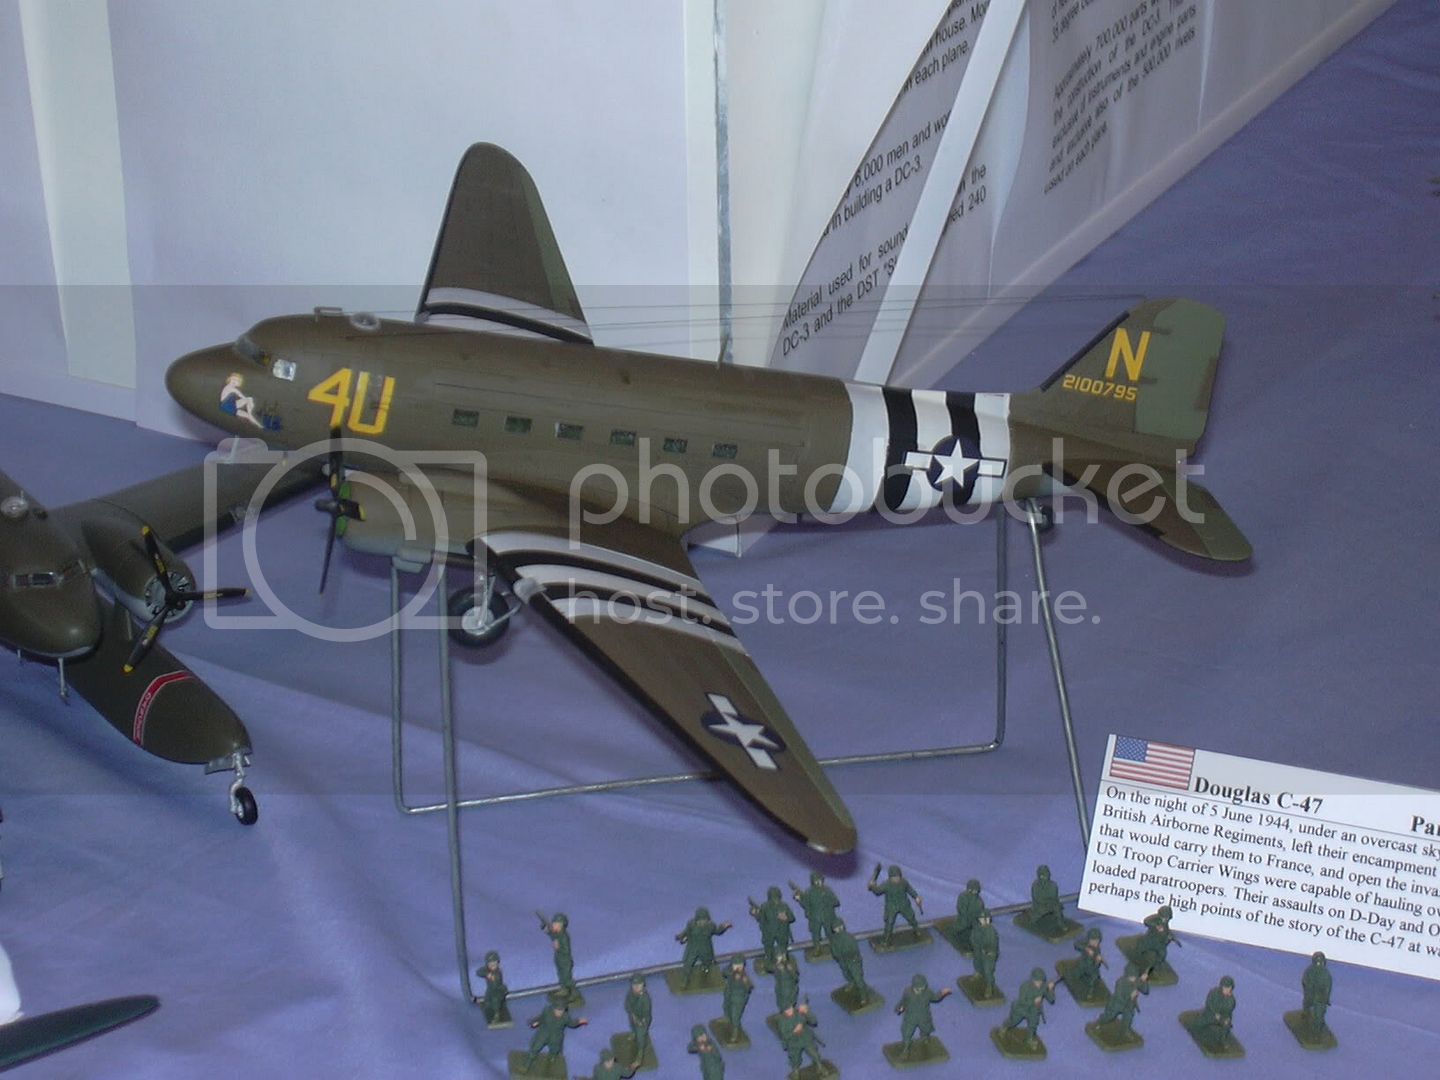
I built the 72 scale Italeri kit for a friend some years back that had the Eagle Strike AM decal sheet, I used both a white and black decal sheet to make the AEAF Bands on the bird, shown below.
 _GOTOTOP