_GOTOBOTTOM
Pre-Flight Check
Constructive critique of your finished or in-progress photos.
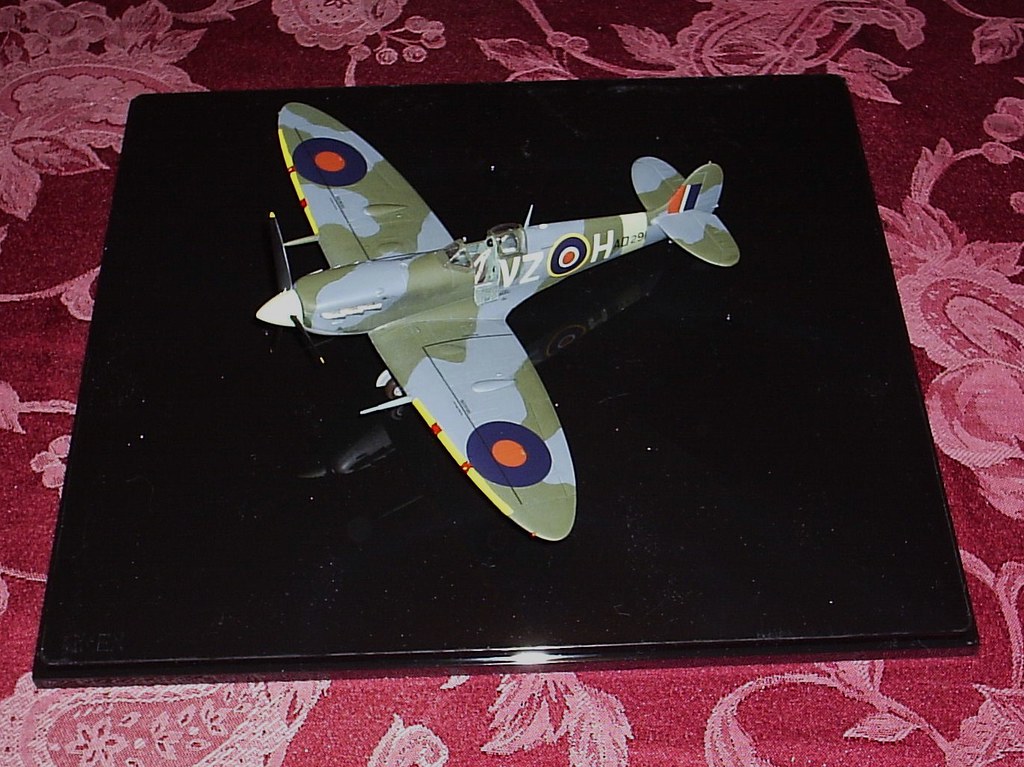
John Gillespie Magee Spitfire Mk Vb
bdanie6
_VISITCOMMUNITY
New Hampshire, United States
Joined: November 09, 2008
KitMaker: 615 posts
AeroScale: 459 posts
Posted: Monday, March 29, 2010 - 02:27 AM UTC
As I was growing up in Buffalo NY, in the days long before cable, TV stations actually stopped broadcasting at 11:00 PM. As channel 4 signed off for the night they ran a short film of a Thunderstreak flying thru the clouds with a voice over of John Gillespie Magee's "HIGH FLIGHT.
Ever since then, any kind of engine noise in the sky makes me stop and look until I find it.
The advent of the internet finally allowed me to find the information about the poem that had so effected me as a child. The Wikpedia bio on Magee is very informative, if somewhat dry. Better the dozens of sites that are dedicated to the poem, at least one of which has copies of all those old films of planes flying to the poem. (and yes, I did see the old one that I first watched 50 years ago)

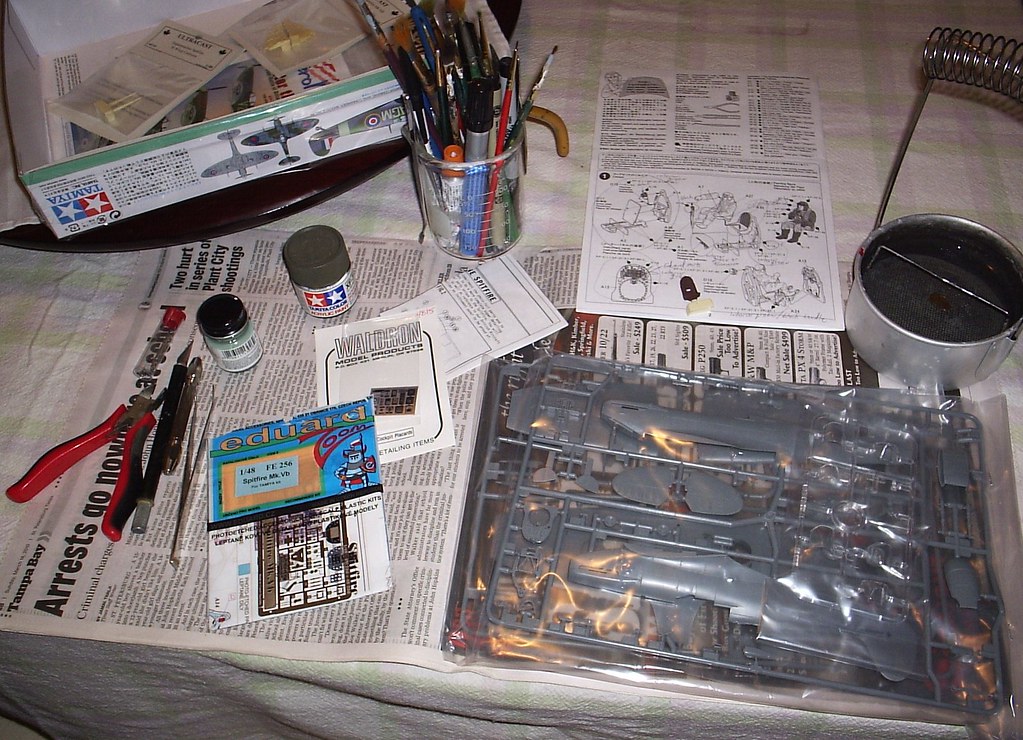
For this build I am using the Tamyia 1/48 scale Spitfire Mk Vb (#61033), Ultra Cast seat (without harness), Ultra Cast 20mm cannon set, Ultra Cast Mk V exhaust set, Eduard Zoom set, Waldron placard set, and AeroMaster Decals set # 48-681 "After the Battle Pt 1.
A word on the decal sheet. Magee was killed in a mid-air collision while assigned to 412 Squadron in Mk Vb. The plane was coded VZ*H serial number AD-291. The decal sheet has a plane for 412 Sq (the VZ) and it also has a plane with the ID code (H) both in the same font and correct colour (sky).

Camouflage colours is the real problem, which I am still researching. The only reference I have found online is a drawing of a generic Spitfire with the correct coding in Temperate Land scheme (green and brown over sky), but by December 1941 this had been modified to dark green and Ocean Grey over Med Sea Grey. So the question for me is, had his plane been repainted by the time of the accident?

So, that is the idea...on with the show
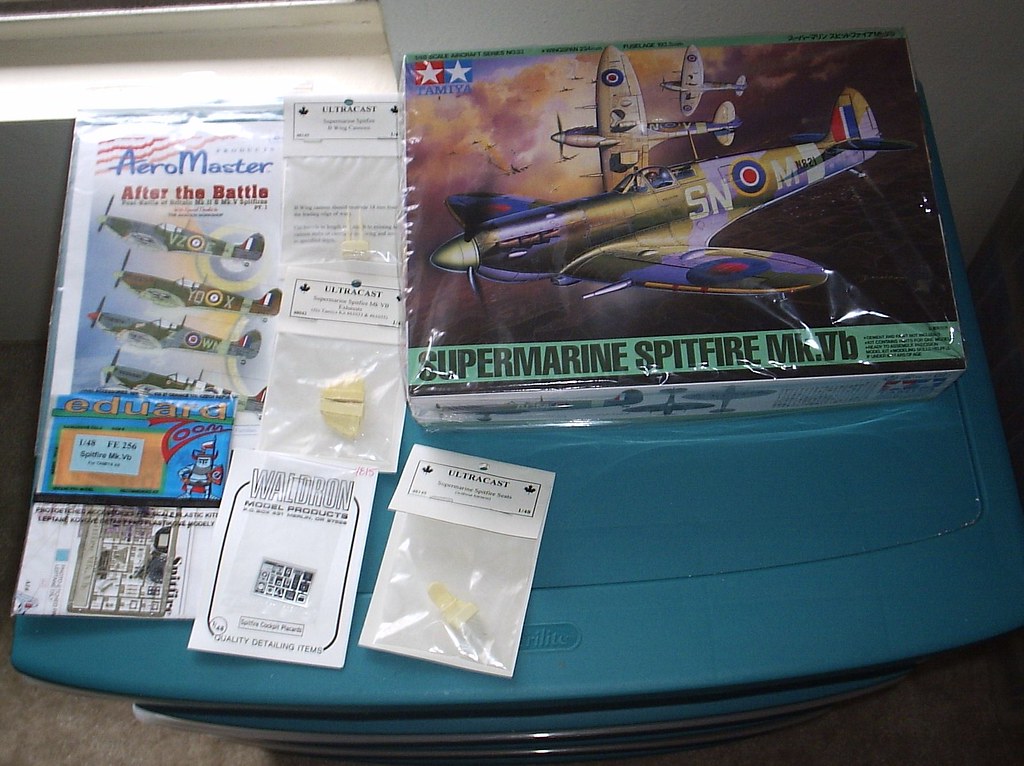


Everything I will need, I hope


Work space all set up, and yes it is the dining room table
My wife just loves me hobby

More to come, and I promise not as long winded
mtnflyer
_VISITCOMMUNITY
Alberta, Canada
Joined: March 08, 2009
KitMaker: 394 posts
AeroScale: 360 posts
Posted: Monday, March 29, 2010 - 03:31 AM UTC
Hi Bruce

I refer you to the Robert Braken books, "Spitfire, The Canadians" and "Spitfire II,The Canadians".
In Spitfire II, there is a photo of Vb BL259, VZ-B, reportedly taken in December, 1941. Although a B/W photo, it is obviously in the tones of ocean grey/dark green over med. sea grey.
In the first volume, there is an artist rendition of MkII P7856, VZ-E, shown in those same colors. It is reported that Mcgee flew this aircraft in October 1941.
I would suggest that once the order was given for the new temperate scheme, the aircraft were repainted very quickly. I would go with the later temperate scheme.
Just my 2-cents though.
bdanie6
_VISITCOMMUNITY
New Hampshire, United States
Joined: November 09, 2008
KitMaker: 615 posts
AeroScale: 459 posts
Posted: Monday, March 29, 2010 - 04:02 AM UTC
Hello Guy,

Thank you for the timely input Green and Ocean over Med Sea it is!
bdanie6
_VISITCOMMUNITY
New Hampshire, United States
Joined: November 09, 2008
KitMaker: 615 posts
AeroScale: 459 posts
Posted: Tuesday, March 30, 2010 - 01:35 AM UTC
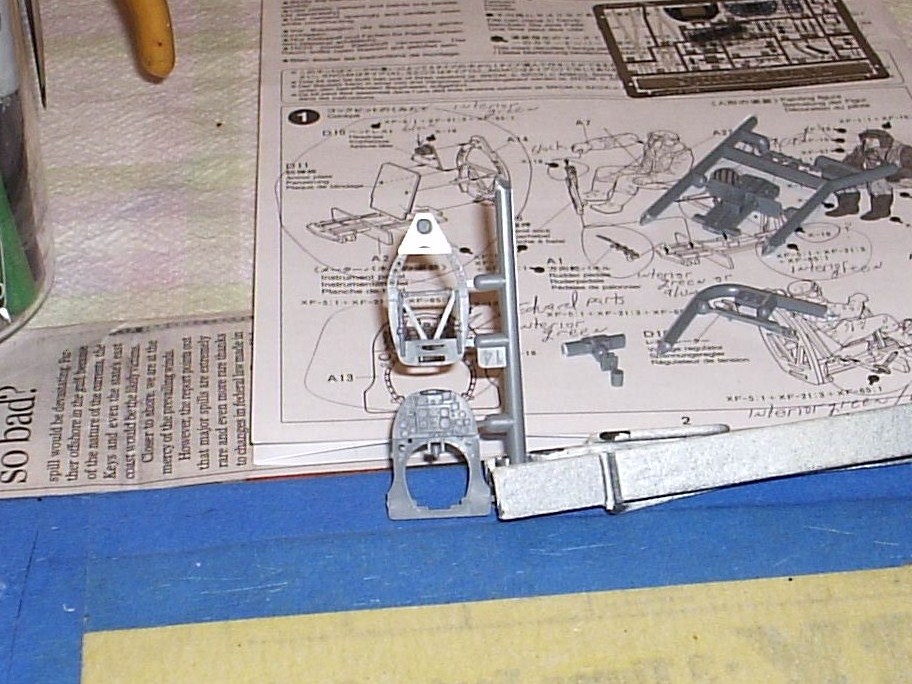
I went thru the instruction sheet and made notes to myself as to paint and construction changes. Then started on using the Eduards Zoom set in the cockpit area.


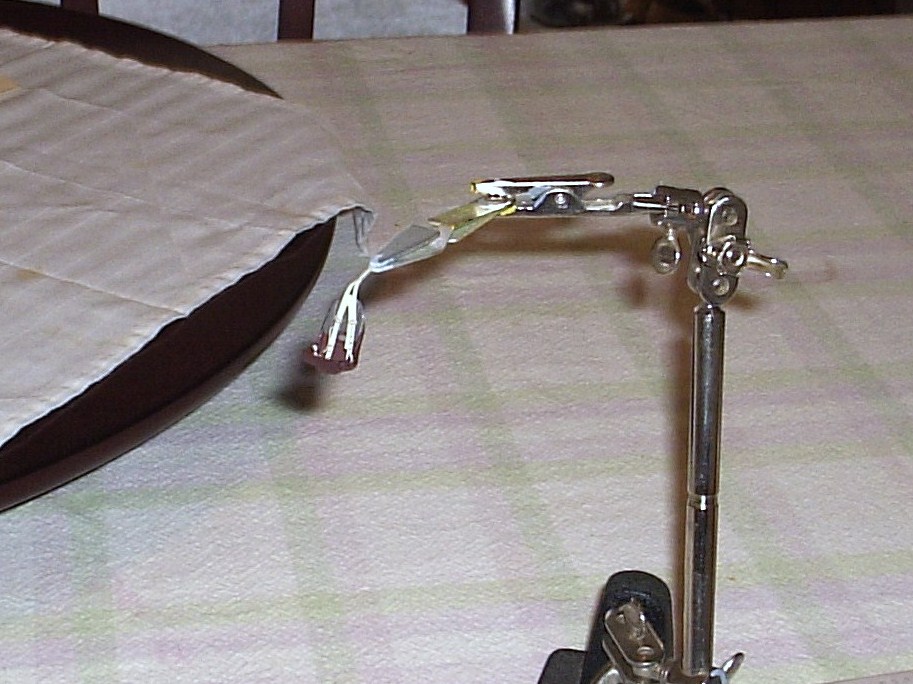
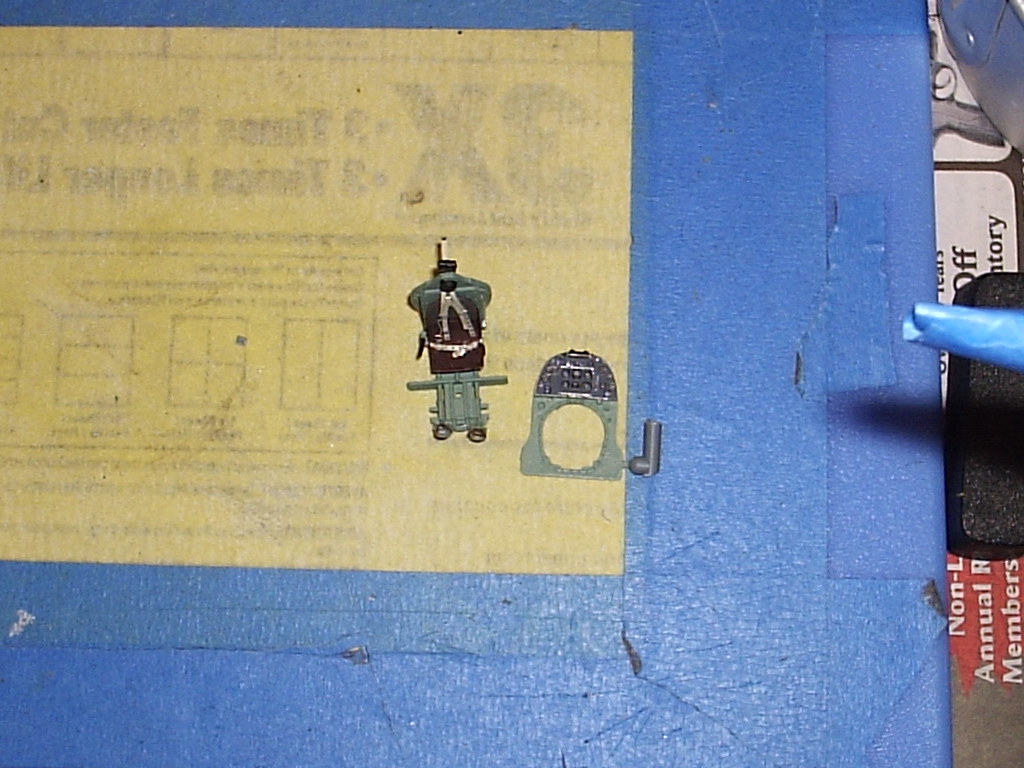
And the Ultra Cast seat with the Eduard seat belts....


Finally, the interior pieces, almost done, just waiting on the compass housing.


Once the compass is in place, it's on to the the cockpit side walls. One thing I noticed as I was going thru this process is that most of the Waldron Placard set is included inthe Eduard Zoom kit. This set might be going back in the accessories box.

Later
bdanie6
_VISITCOMMUNITY
New Hampshire, United States
Joined: November 09, 2008
KitMaker: 615 posts
AeroScale: 459 posts
Posted: Monday, April 05, 2010 - 12:44 PM UTC
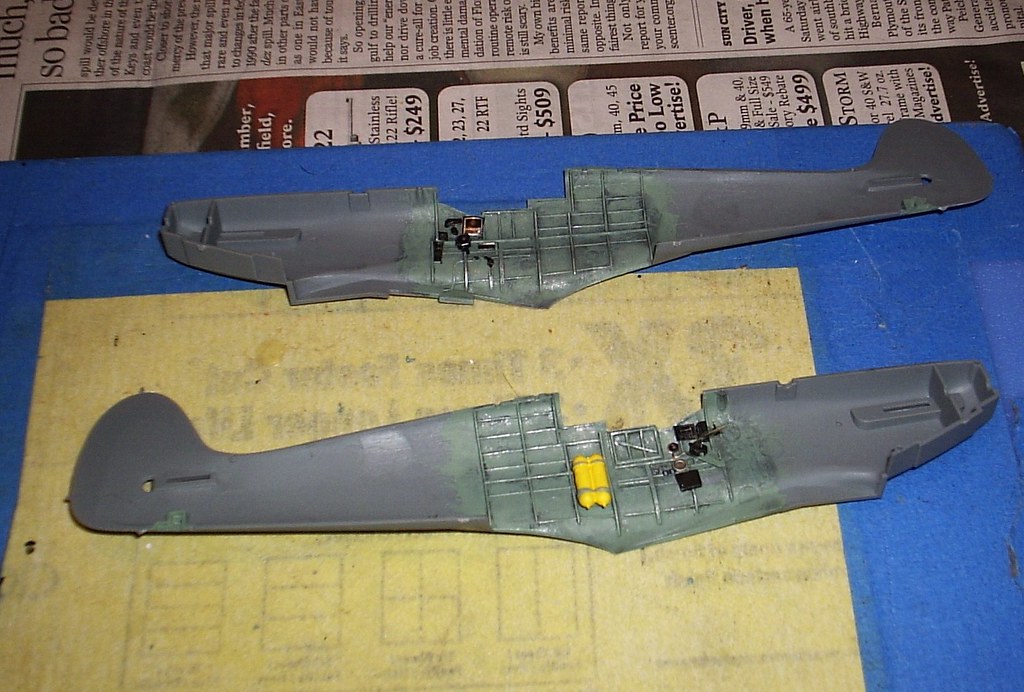
I painted the cockpit with MM Acrylic RAF Interior Green.

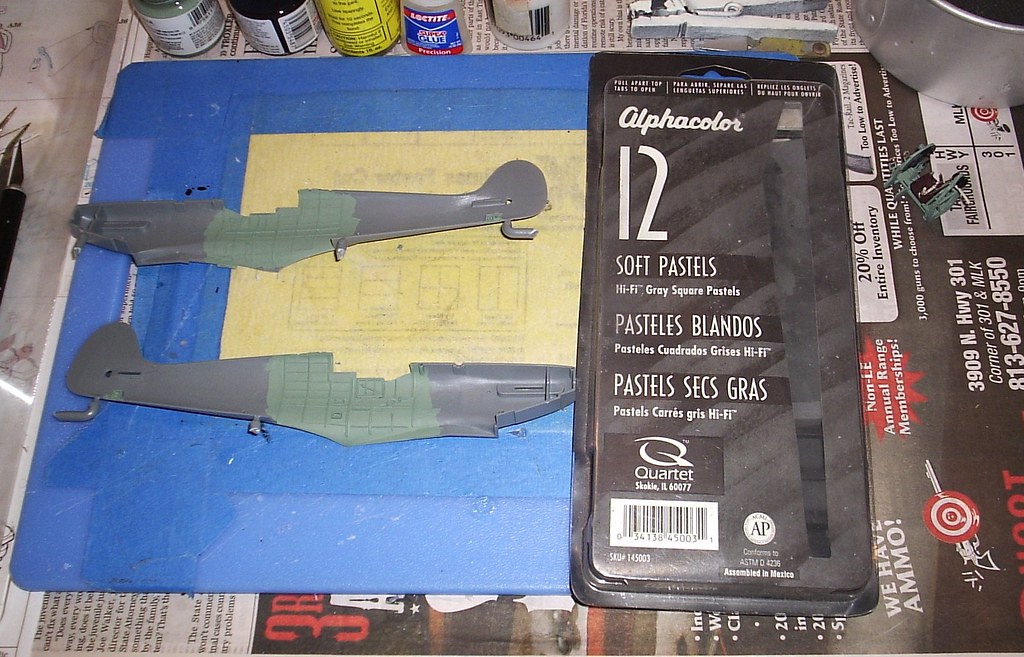
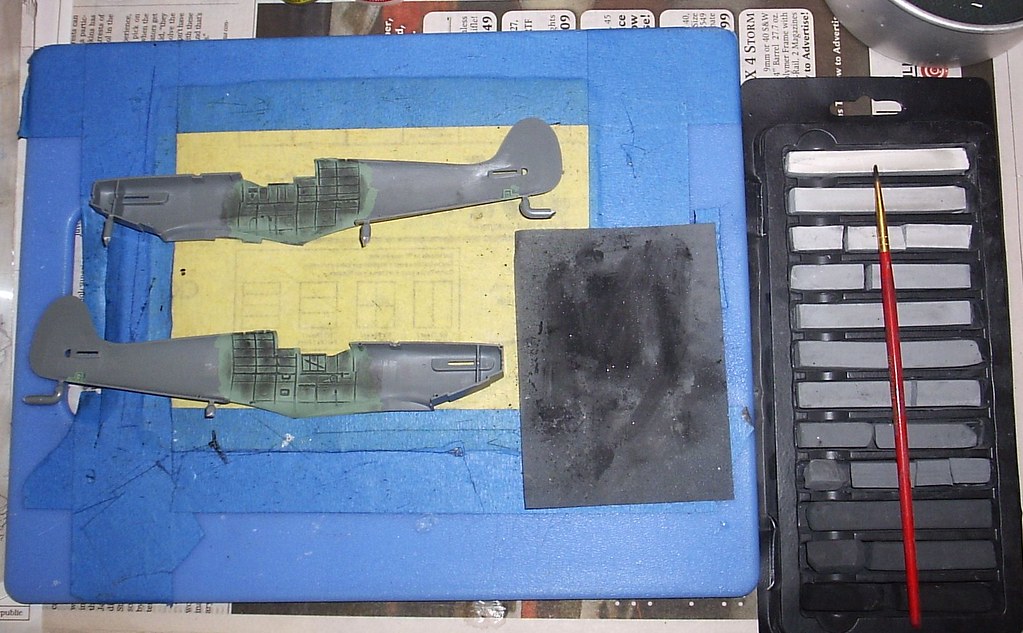
After that I used pastel chalk, black mixed with medium gray powder to add the dirt to the cockpit. Once that was sufficiently awful looking I shot it with Testors Dullcote from a rattle can.


Then with a bit of RAF Green dry brushing and some silver added to it I was ready to start on the cockpit side walls.
After finishing off the Eduard photo-etch, I decided to use the Waldron placards as well. All done now, the fuselage halves look like this.


And that's it...so far

more to come,
Merlin
Staff MemberSenior Editor
AEROSCALE
#017
_VISITCOMMUNITY
United Kingdom
Joined: June 11, 2003
KitMaker: 17,582 posts
AeroScale: 12,795 posts
Posted: Tuesday, April 06, 2010 - 10:51 AM UTC
Hi Bruce

Neat work! I have to say I've never seen a set of pastels running from black through to white like yours before. Very useful! - I'm definitely going to go pester my local art-shop to see if they can stock something like them.

All the best

Rowan
bdanie6
_VISITCOMMUNITY
New Hampshire, United States
Joined: November 09, 2008
KitMaker: 615 posts
AeroScale: 459 posts
Posted: Tuesday, April 06, 2010 - 03:44 PM UTC
Thank you Rowan

I found those in the art section of an arts and crafts chain called MICHAELS here in the states. I've had it for about 4 years now. I started doing light exterior weathering with it and now use it for just about everything!

Later
bdanie6
_VISITCOMMUNITY
New Hampshire, United States
Joined: November 09, 2008
KitMaker: 615 posts
AeroScale: 459 posts
Posted: Tuesday, April 20, 2010 - 02:11 AM UTC
Sorry about the time between posts. Florida just finished with their appliance Stimulus and I was spending some long hours setting up for it and working during. And of course, the batteris in my camera died while I was at FOF.

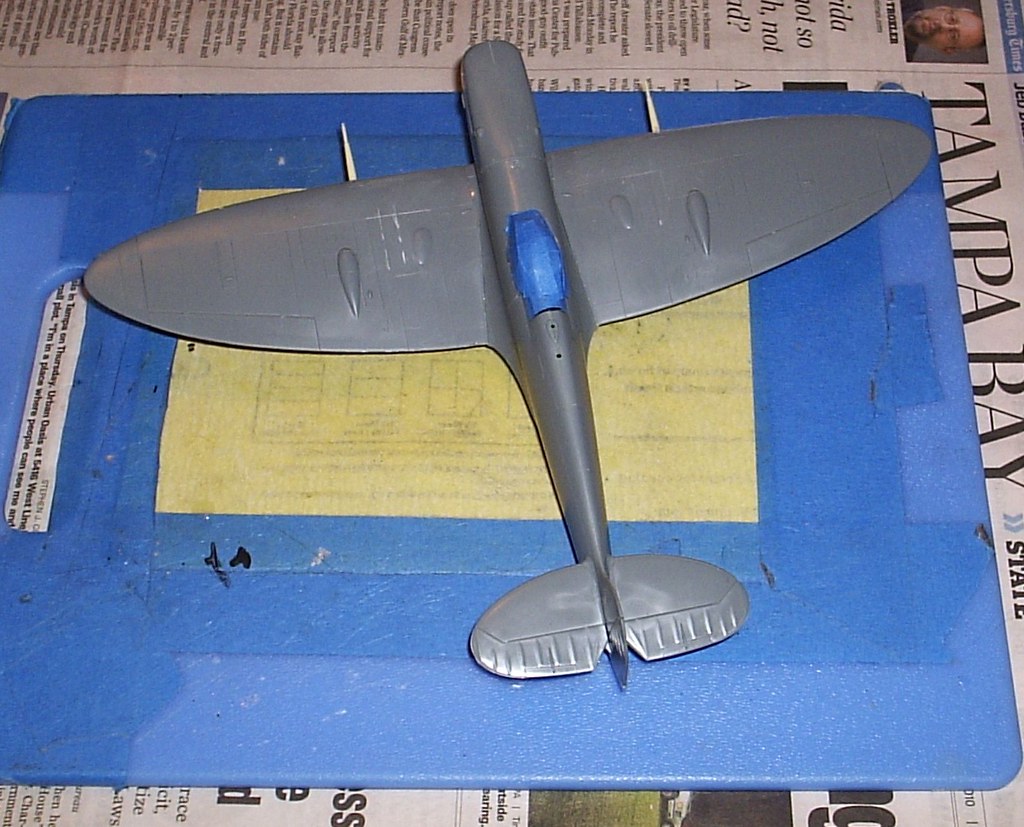
So, this is as far as I have gotten. All assembled except for the fiddely bits. Cockpit masked and UltraCast replacement 20mm barrels installed.


Later
bdanie6
_VISITCOMMUNITY
New Hampshire, United States
Joined: November 09, 2008
KitMaker: 615 posts
AeroScale: 459 posts
Posted: Thursday, April 22, 2010 - 01:56 AM UTC
Hi

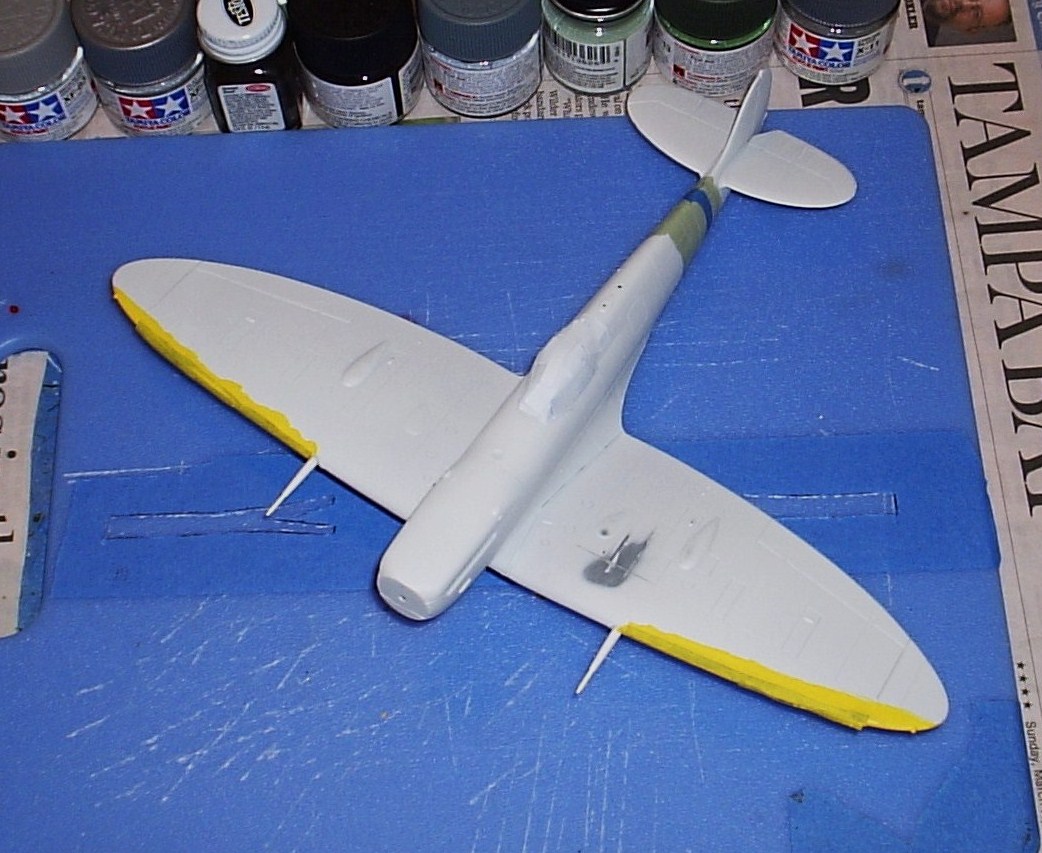
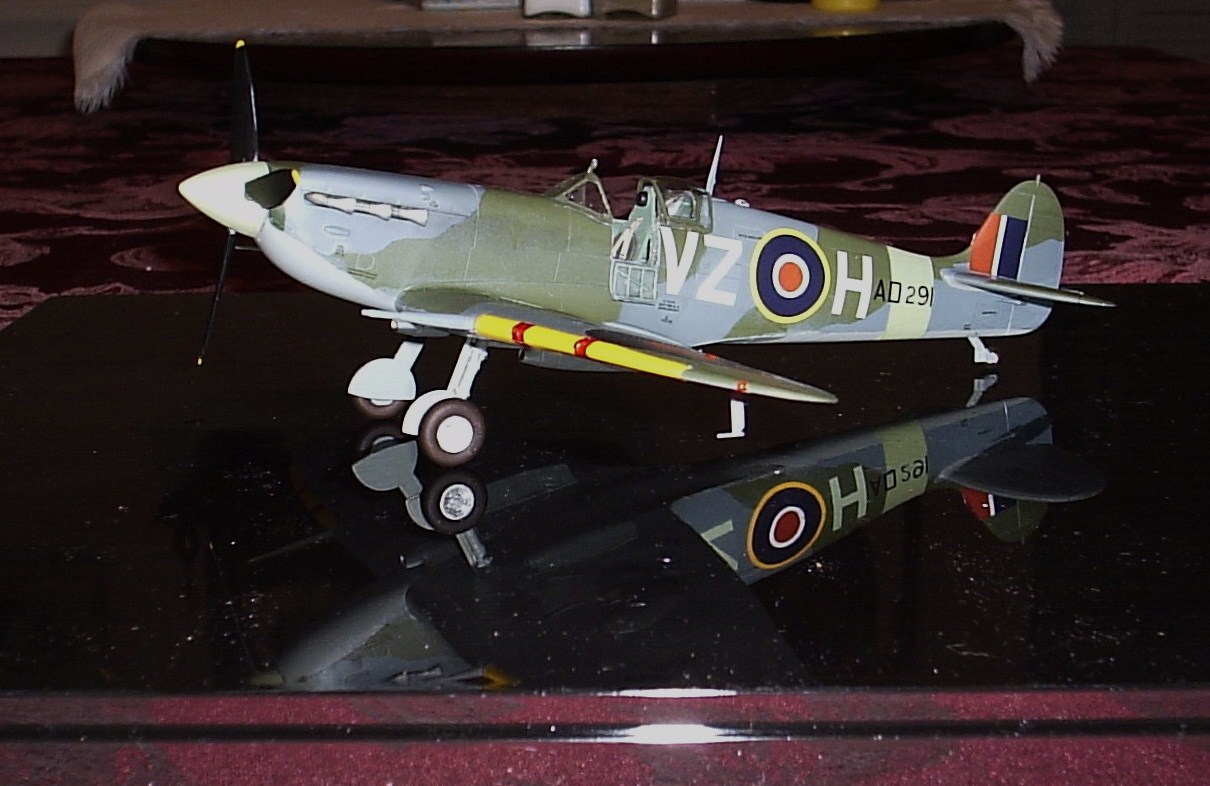
Okay, so, I have the Spit primed, resanded and puttied and primed and resanded. The heck with the last primer coat. I then painted the wing ID bands yellow and the fuselage band Sky. Then I taped those off. (I use regular 3M painters tape because it is low tack and because it is cheap...I mean inexpensive It's the Scot in me coming out). Once that is done I brush coat the tape to seal the edges. This prevents paint creep under the edges. So now she is ready for the colour coats.


Later
bdanie6
_VISITCOMMUNITY
New Hampshire, United States
Joined: November 09, 2008
KitMaker: 615 posts
AeroScale: 459 posts
Posted: Monday, April 26, 2010 - 03:20 AM UTC
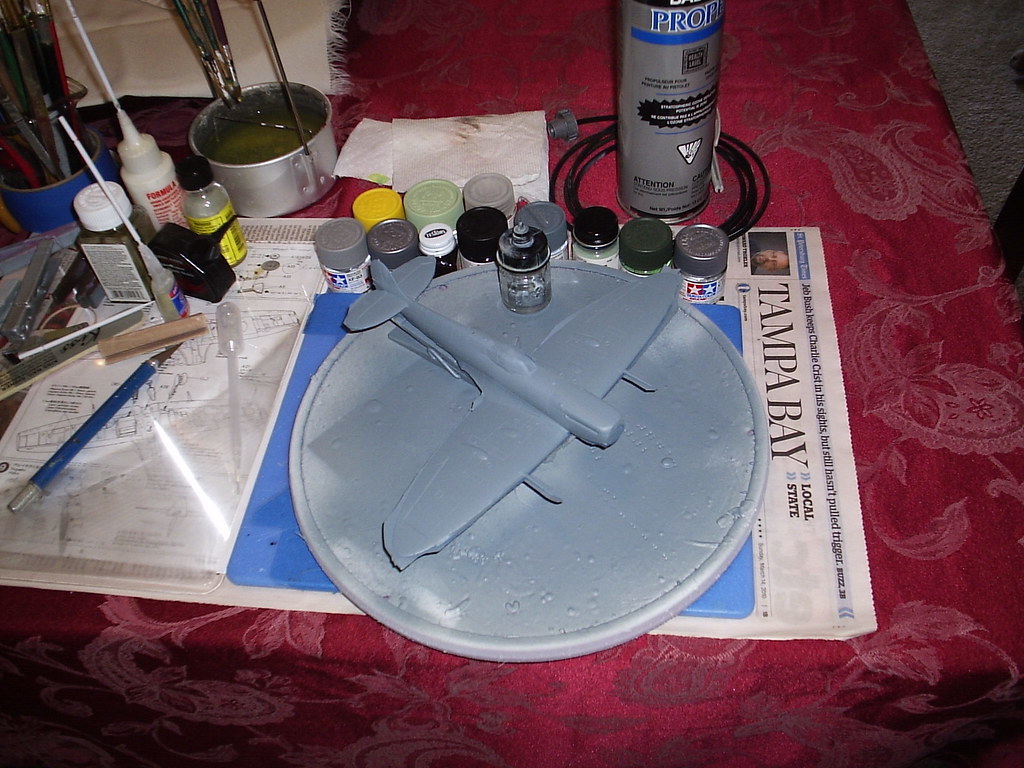
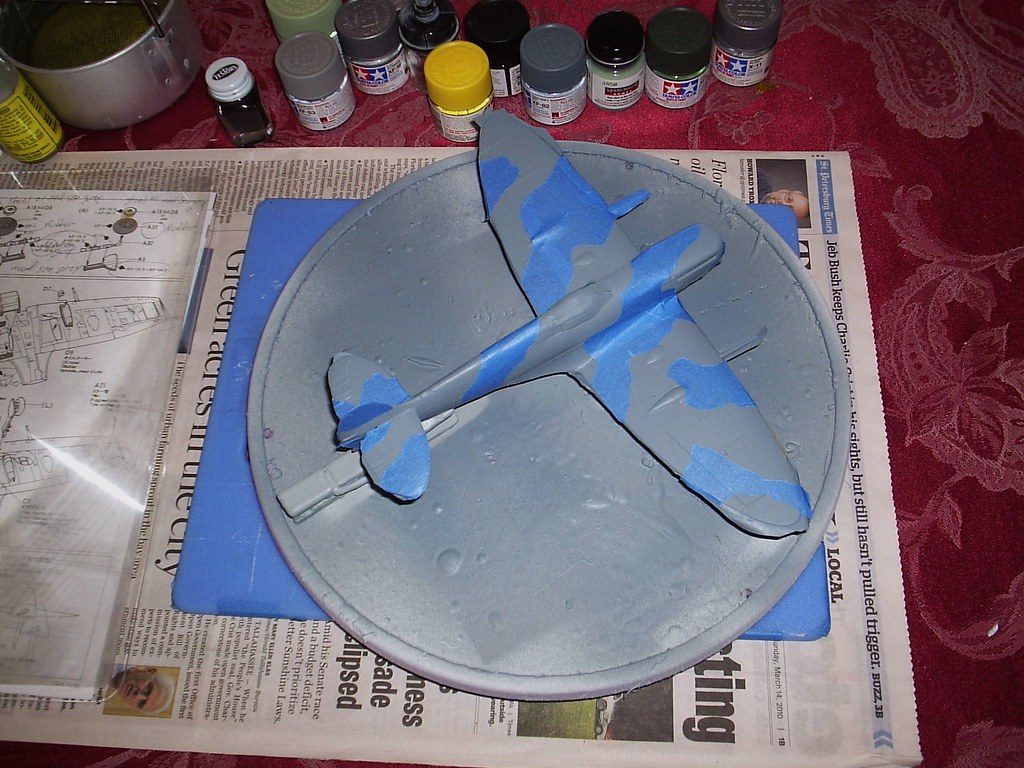
After priming, it was time to put the first of the colour coats on. I moved the Spit into my paint booth (which for me is the great outdoors....at least I don't have to worry about space limitations )
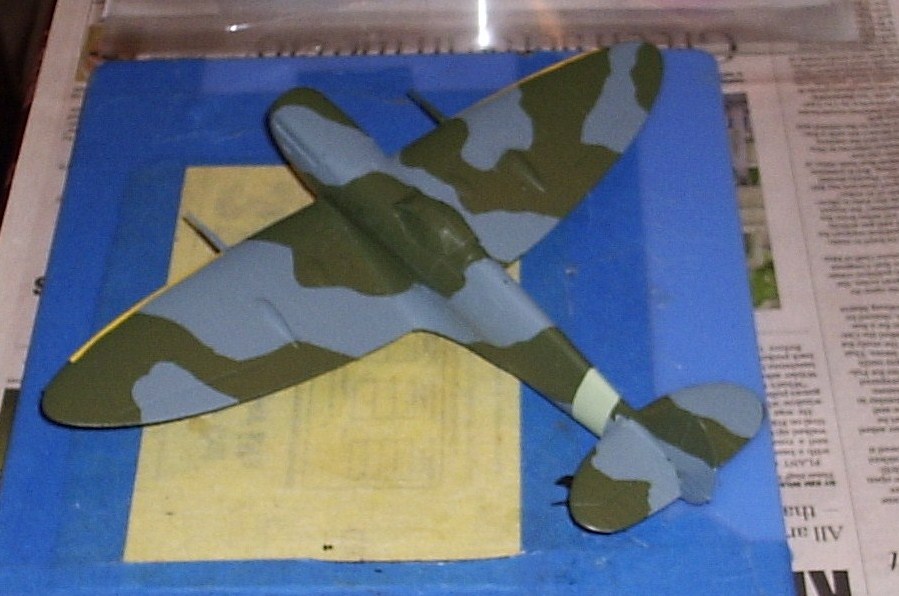
I sprayed the bottom and sides with Tamyia's Med Sea Grey XF-83. After letting it dry over night I taped off the bottom and then sprayed the top with Tamyia Ocean Grey XF-82.


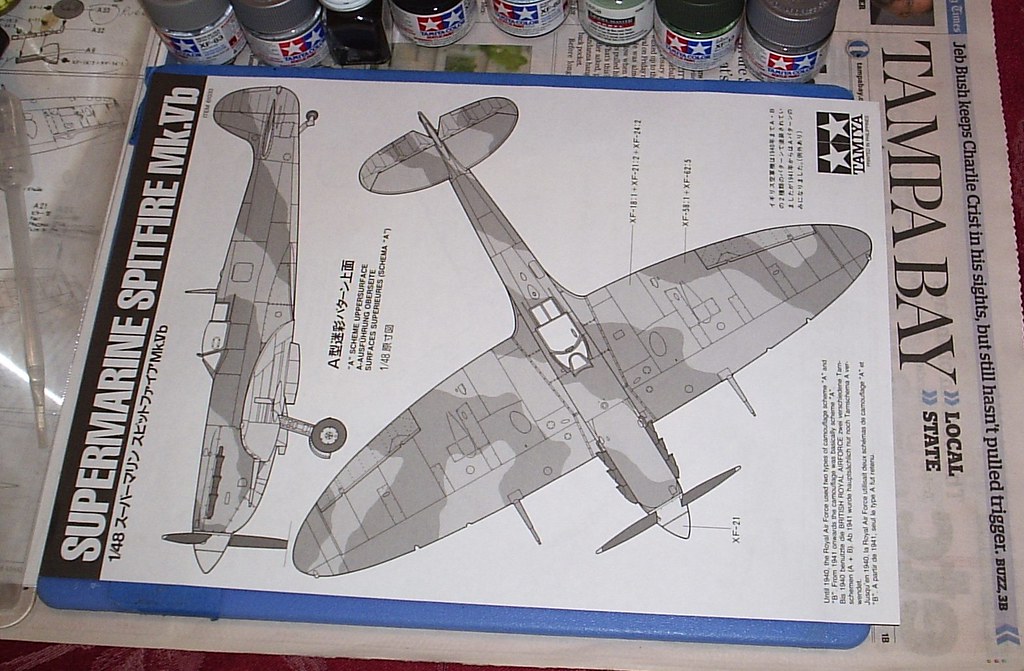
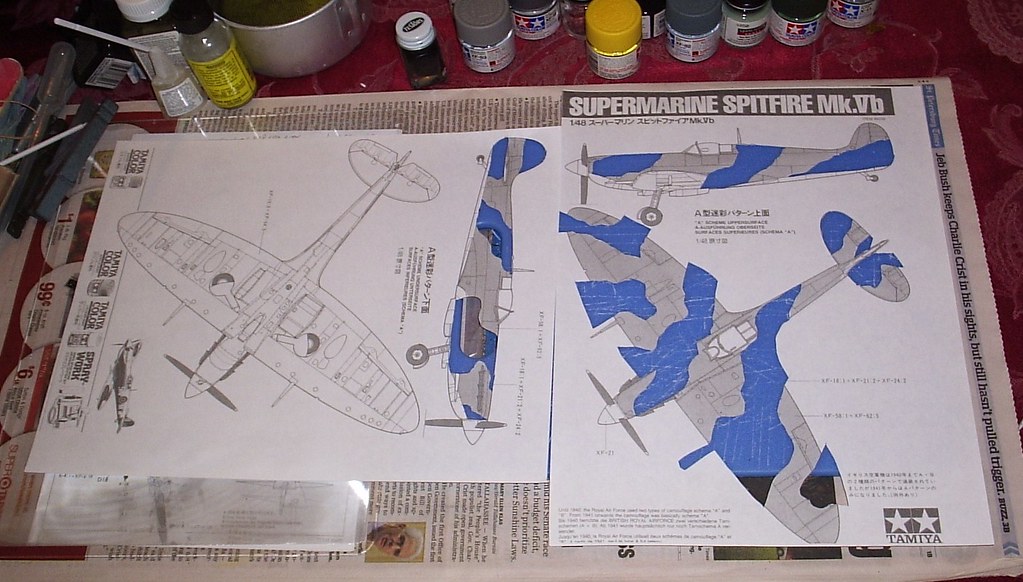
While that was drying I took the camoflage sheet that Tamyia includes with the kit and ran it thru my scanner and made copies of the front and back


Then, using the copies I cut out the parts that need to stay Ocean Grey and used those pieces to cut out my own masks


Apply masks to model and there it is! All ready for the final colour.


The only thing let to do now, is seal the mask edges with Ocean Grey to prevent creep and make sure I cut out the right pieces for the masks!

I've been known to get it backwards before!

Later
rjhaas
_VISITCOMMUNITY
United States
Joined: May 05, 2010
KitMaker: 2 posts
AeroScale: 1 posts
Posted: Wednesday, May 05, 2010 - 03:01 AM UTC
Excellent job, Bruce!

You might want to fix your signature line for the sake of accuracy (Magee was a Pilot Officer, btw, not a Flight Lieutenant).

I appreciate the effort you have gone through to get the correct markings and colorings for your MK VB. I am going through the same thing as I put together the details for the movie I'm producing based on the life of John Magee (www.highflightproductions.com).

Another significant Spitfire in the life of John Magee was a Spitfire MKI that he flew while at #53 OTU (Operational Training Unit). On Magee's seventh flight in a Spitfire, he flew up to 33,000 feet, where apparently he was inspired to write High Flight. That particular Spitfire was flown during the Battle of Britain, 610 Squadron (County of Chester), markings DW-A.


Removed by original poster on 05/09/10 - 12:40:03 (GMT).
bdanie6
_VISITCOMMUNITY
New Hampshire, United States
Joined: November 09, 2008
KitMaker: 615 posts
AeroScale: 459 posts
Posted: Sunday, May 09, 2010 - 02:03 AM UTC
Ray, Thank you for the correction I knew that, just an oversight on my part


Once I laid down the dark green (Tamyia spray AS-9) I waited about 2 hours and then--carefully-- removed all the masking

With that done I brushed on a coat of Future. Make sure you use a wide thick CLEAN brush Future is self leveling, but very unforgiving of any contaminates

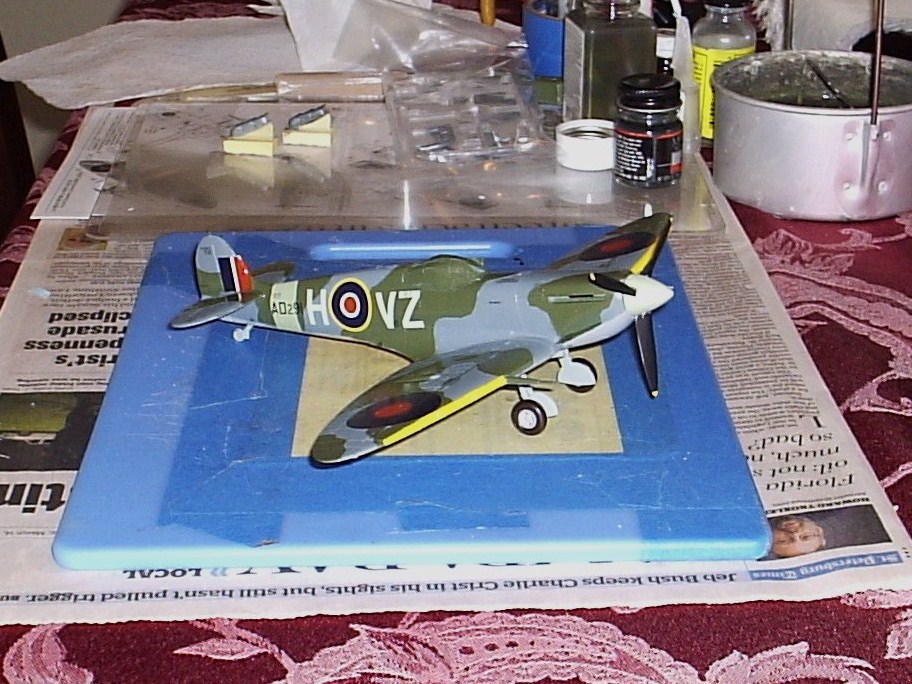
I then added the landing gear and doors and spinner
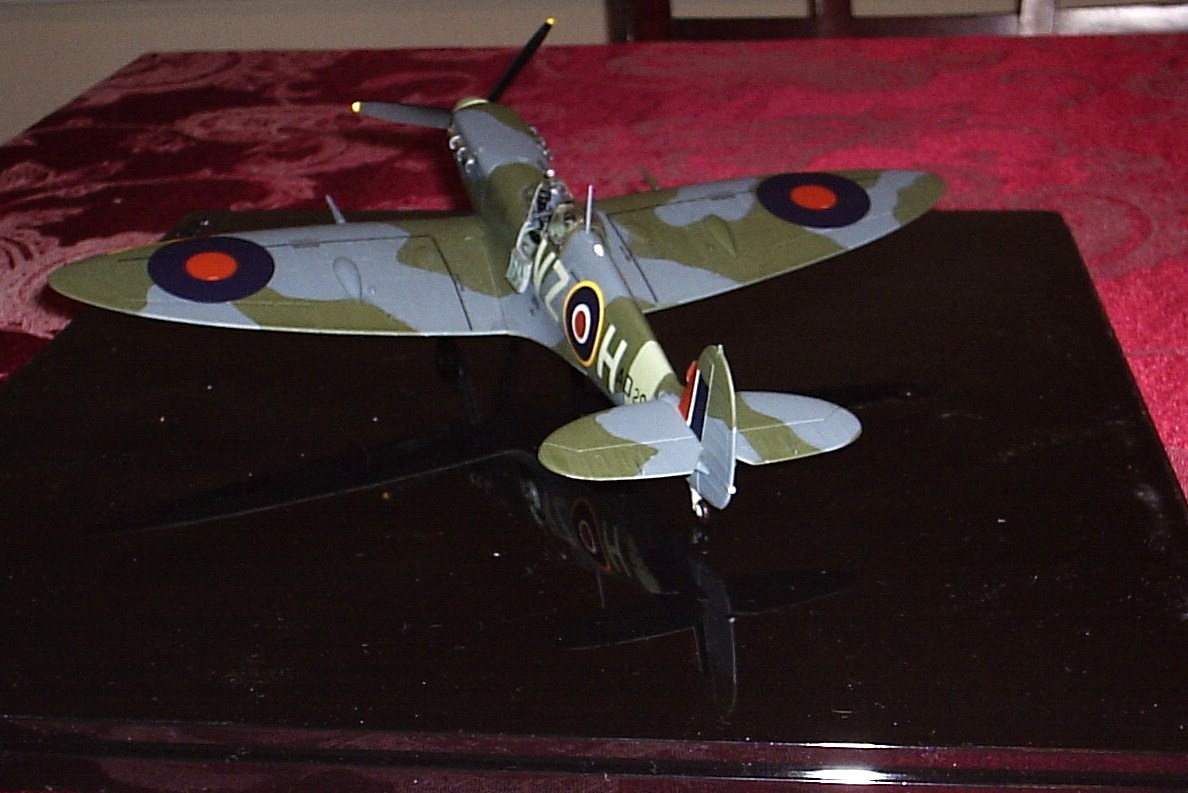

In the back ground you can see the Ultra Cast resin exhaust stubbs painted with MM Metalizer Stainless Steel


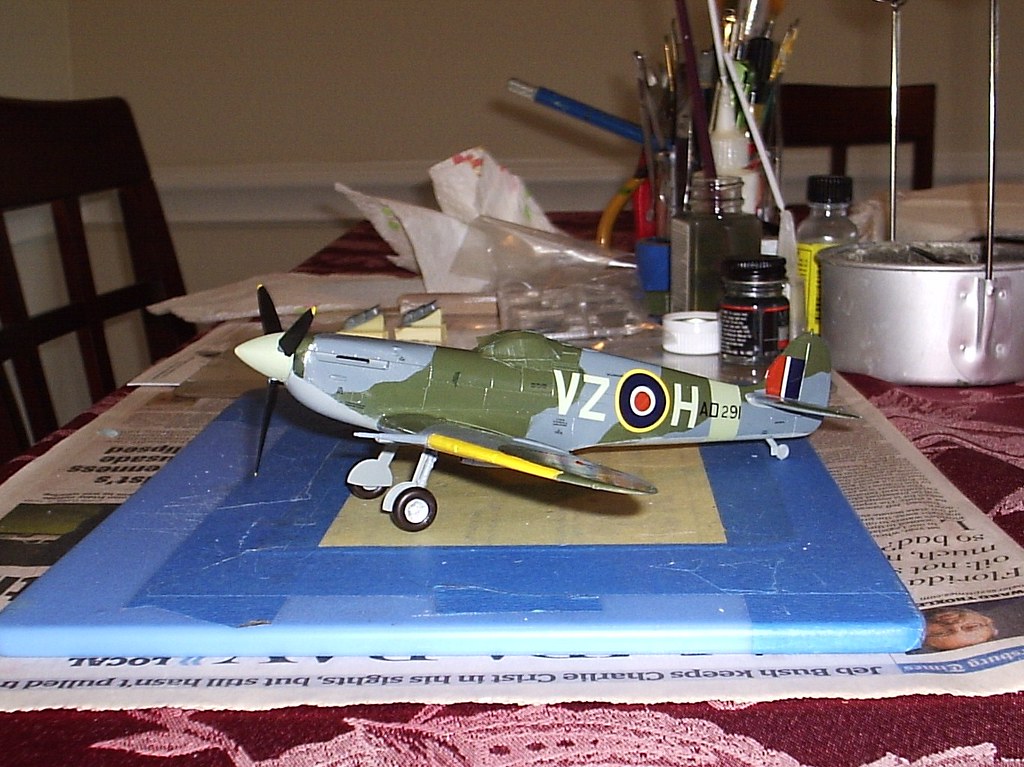
With the decals finished I sprayed the plane with Testors DullCote Laquer. After the first coat I did some very light weathering. This is, after all, supposed to be a memorial, not an operational fighter
After that was done I re-sprayed with DullCote, put on the fiddly bits and called it done.


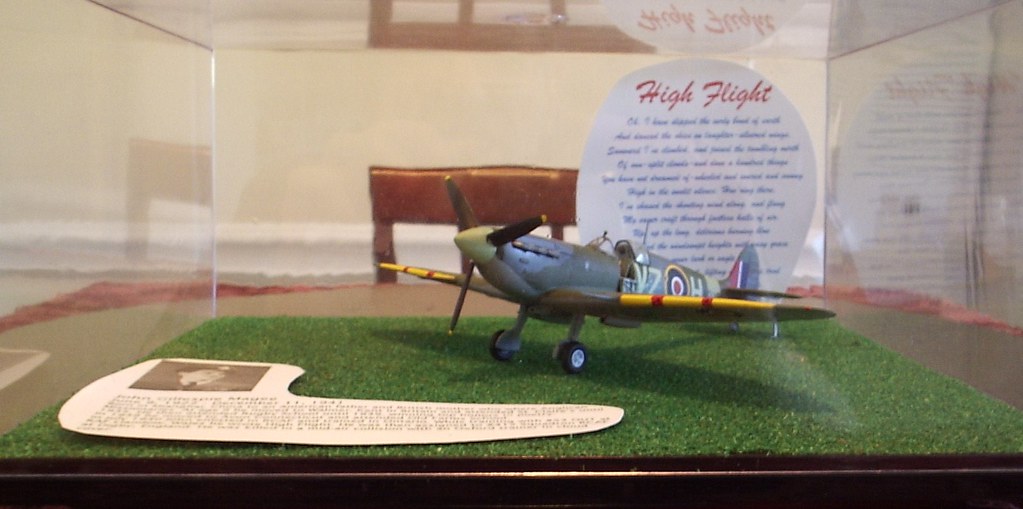
Of course, since this going to be on display I have to finish a display case for it

So...more to come.

Later
bdanie6
_VISITCOMMUNITY
New Hampshire, United States
Joined: November 09, 2008
KitMaker: 615 posts
AeroScale: 459 posts
Posted: Wednesday, May 26, 2010 - 03:01 AM UTC
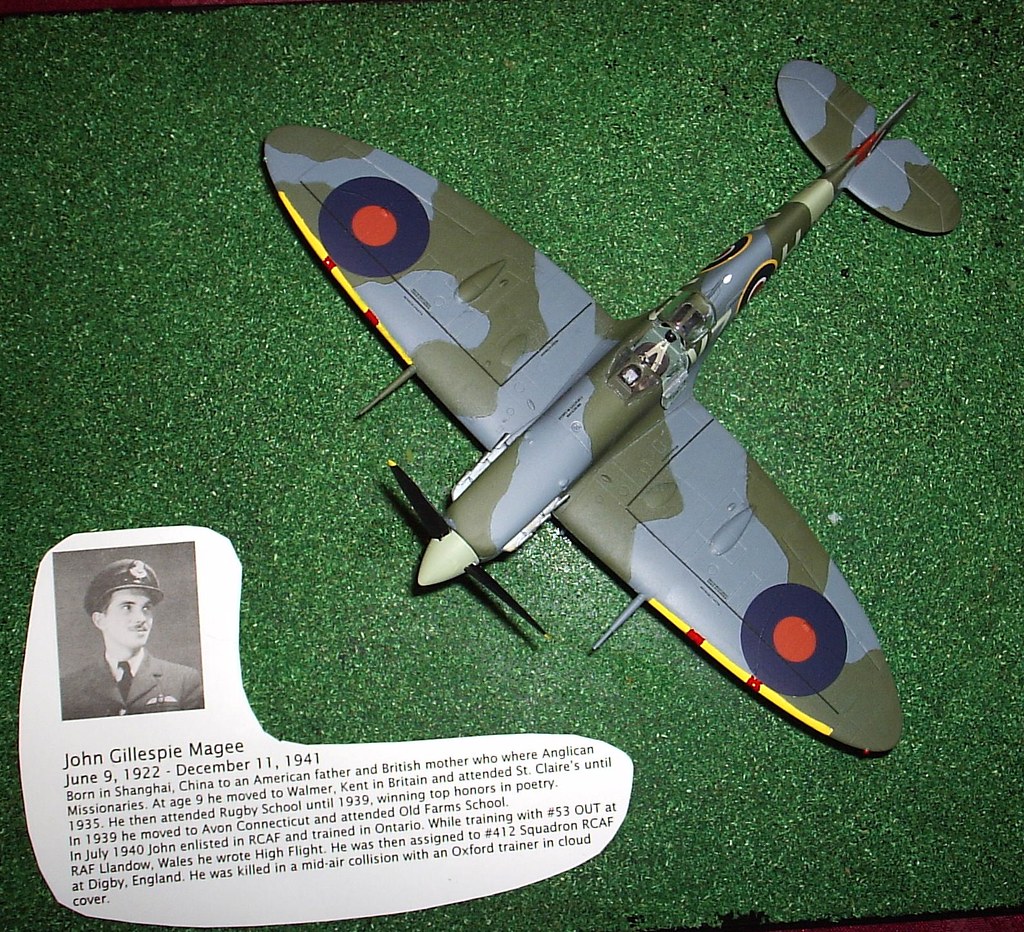
First off I want to apologise for taking so long to post these photos of the results of this memorial build. Unfortunatly life seems to intrude on my work bench time once in awhile.

I did not want to do a fancy diorama scene for this since I want people to look at the bio and read the poem as well as look at the Spitfire.


From the top you can see the short bio I used, thank you Wiki


Thank you for looking and any comments or critiques are most welcome

Later
 _GOTOTOP