_GOTOBOTTOM
World War II: Japan
Aircraft of Japan in WWII.
Hosted by Rowan Baylis
Build-Review: 1:32 Ki-61 68th Flt Regiment
JPTRR
Staff MemberManaging Editor
RAILROAD MODELING
#051
_VISITCOMMUNITY
Tennessee, United States
Joined: December 21, 2002
KitMaker: 7,772 posts
AeroScale: 3,175 posts
Posted: Tuesday, March 30, 2010 - 06:10 PM UTC
ADDENDUM: I am preparing a build-feature for this model. I'll post the link to it here when it is finsihed.

An embarrassingly long time ago I received Hasegawa's 1/32 Kawasaki Ki61-I Hien (Tony) ‘68th Flight Regiment’, and reviewed it here: Ki-61 68th Flight Regiment.

After moving across the country and starting a new job and family, I have finally gotten to a point where I can start building models again. It has been 3 years since my last model, with the exception of two railcars I built for the Stop, Look & Listen campaign.

Wish me luck, I can barely remember which end of the X-acto to hold... My first submissions:

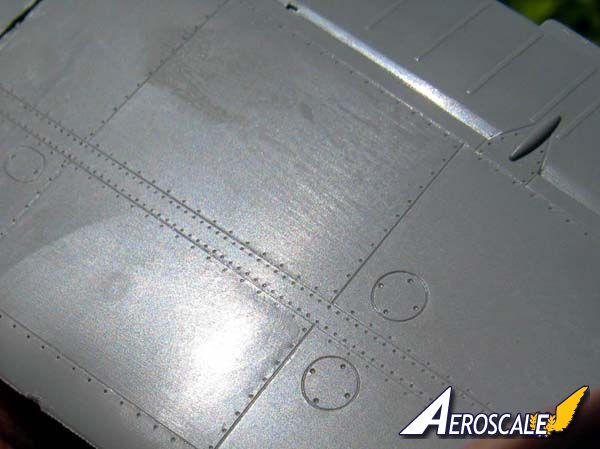
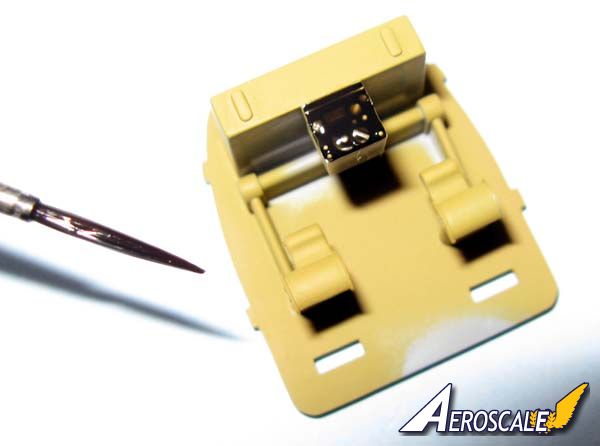
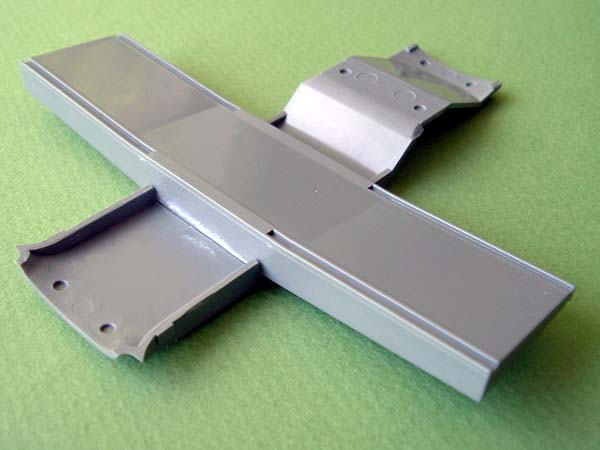
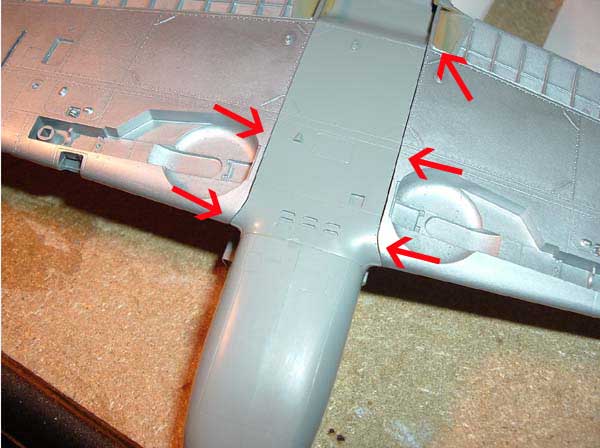
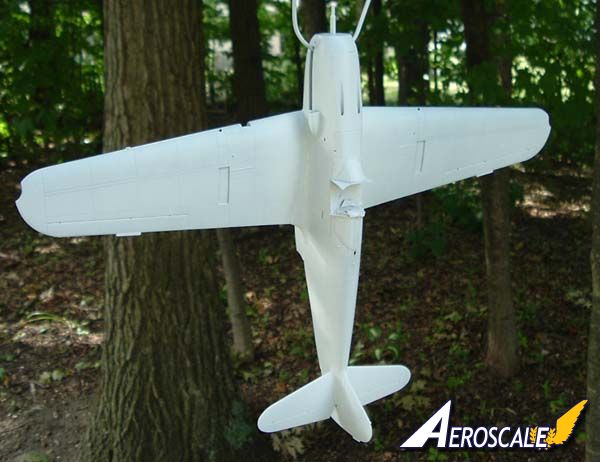
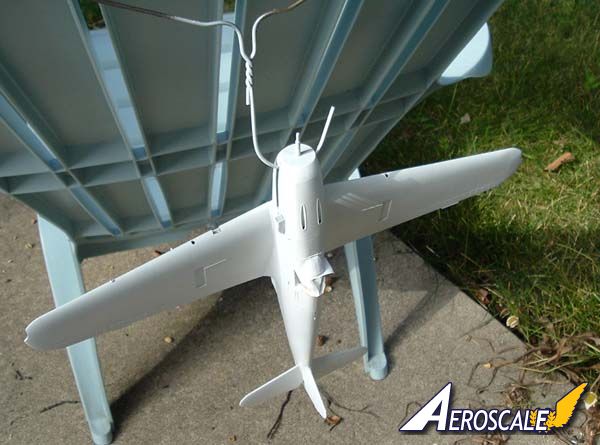
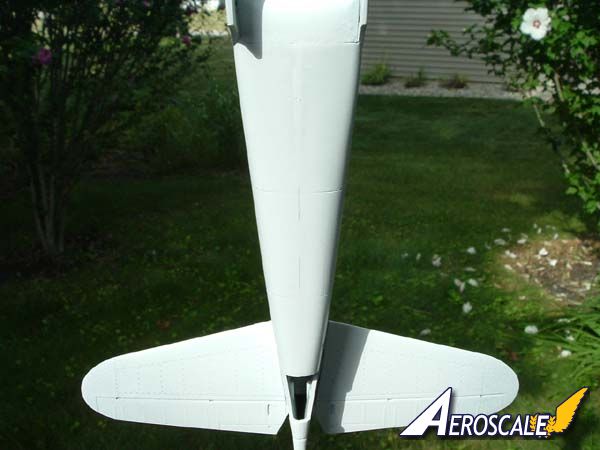
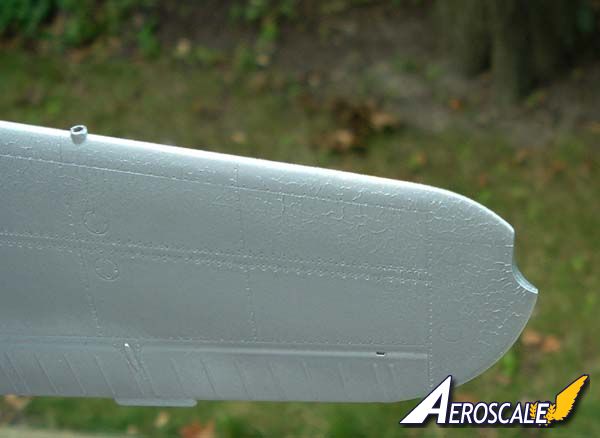
The horizontal stabilizers fit so well that tube glue (can't find my liquid glue yet) bonded the halves without a seam!


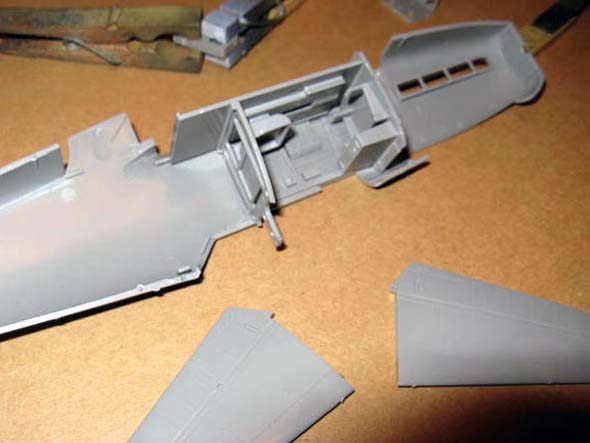
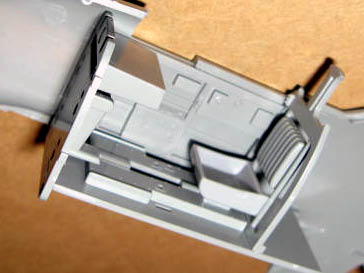
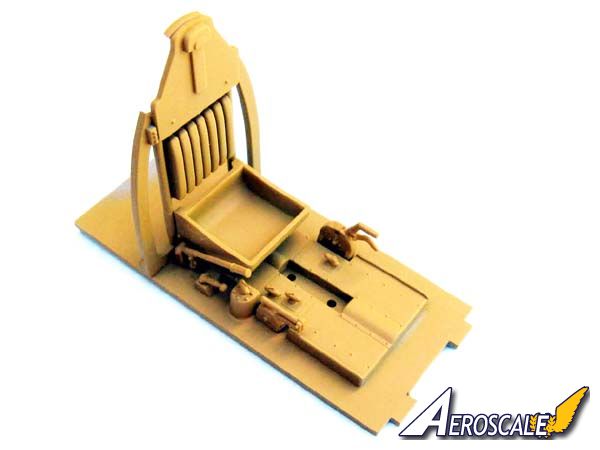
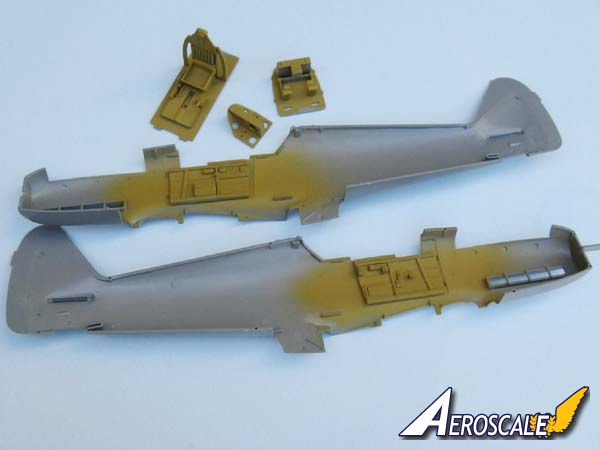
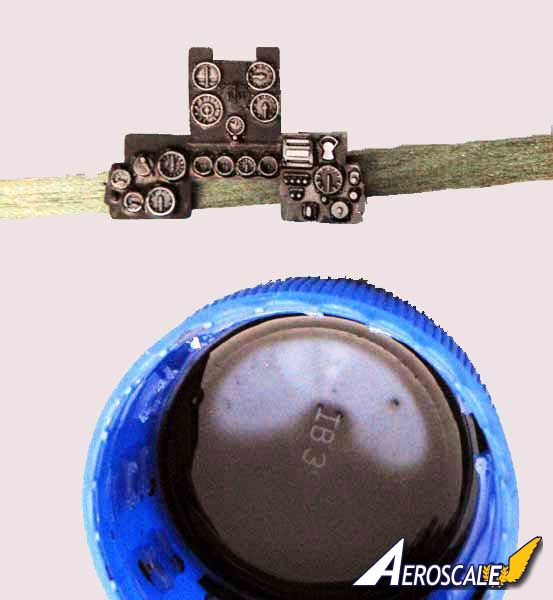
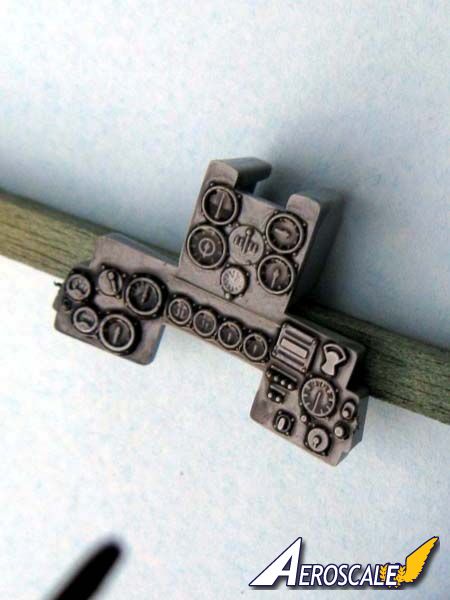
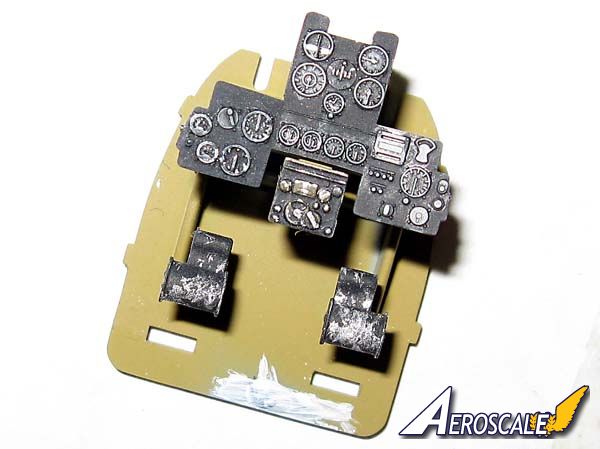
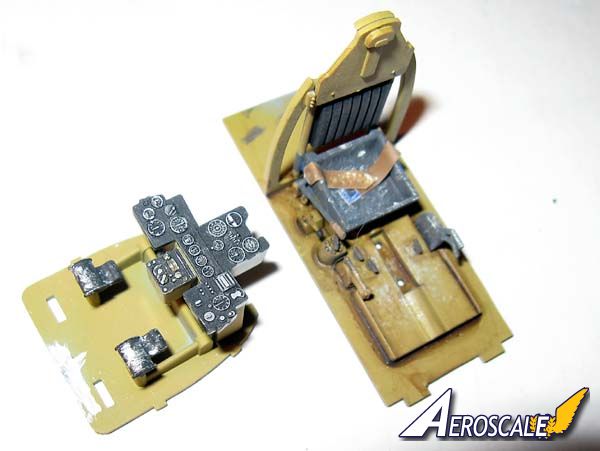
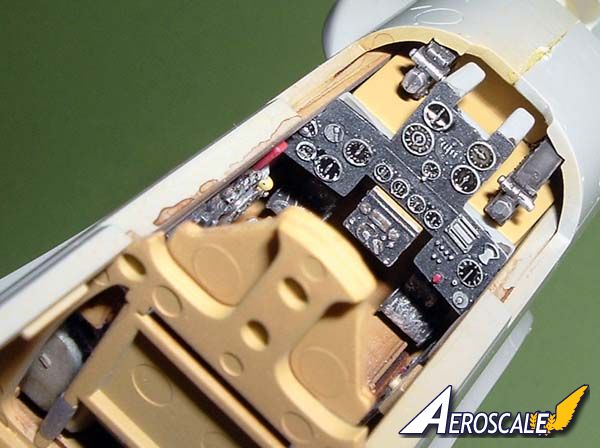
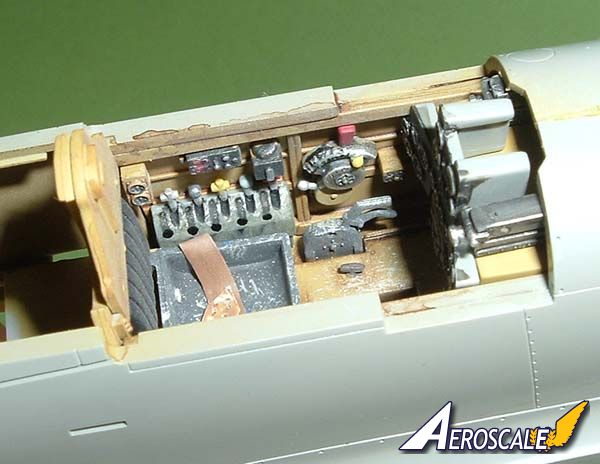
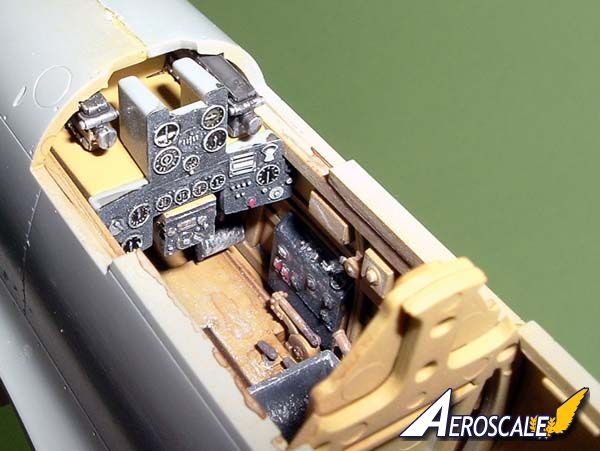
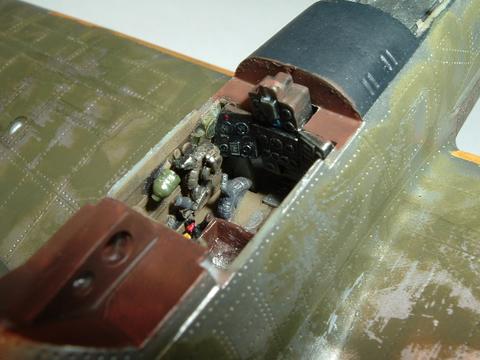
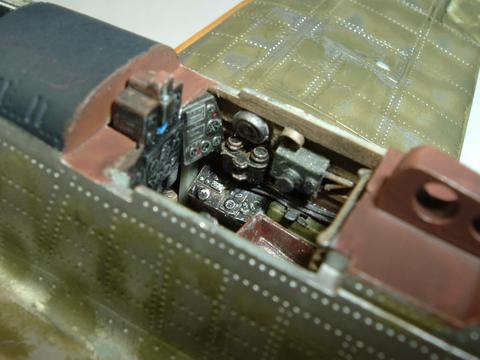
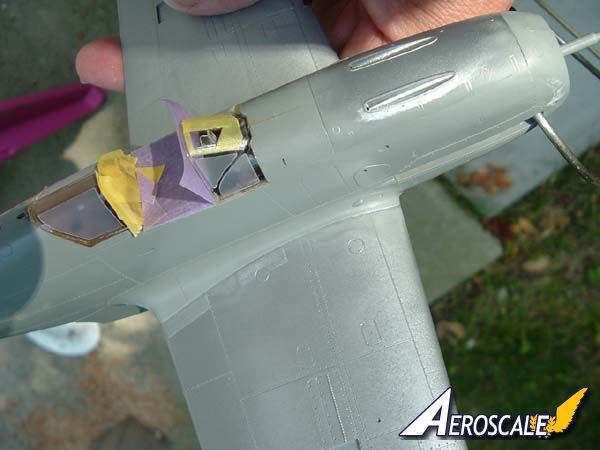
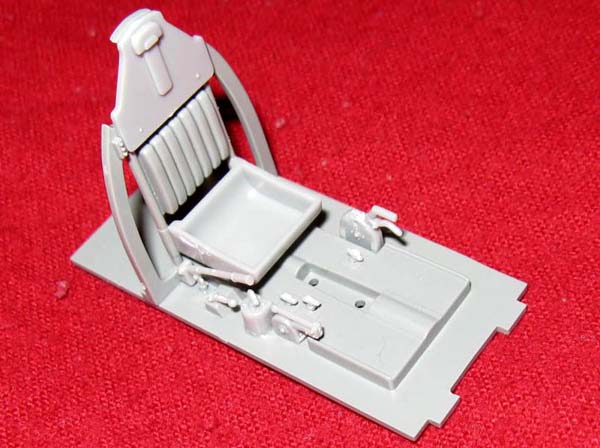
The cockpit is shaping up...


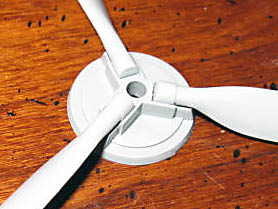
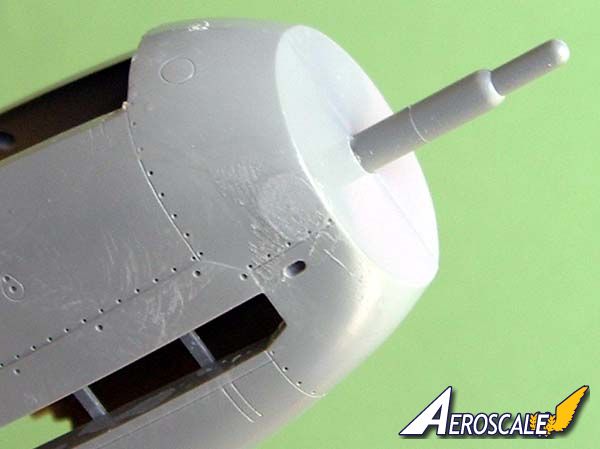
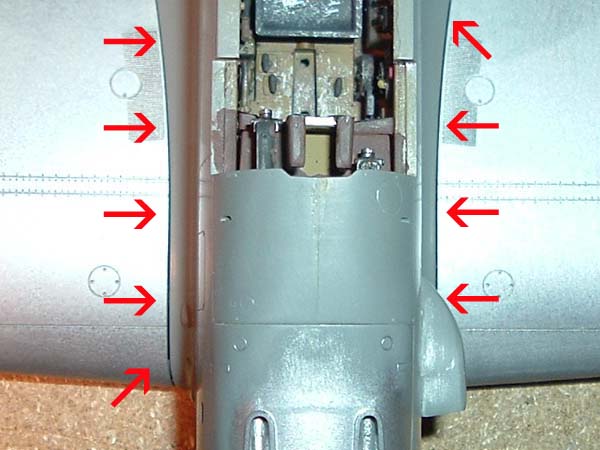
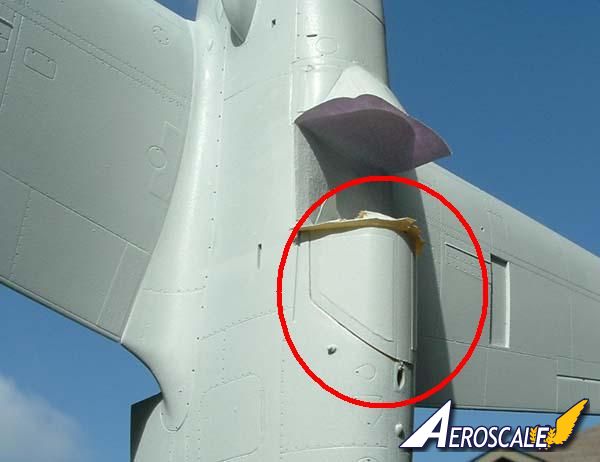
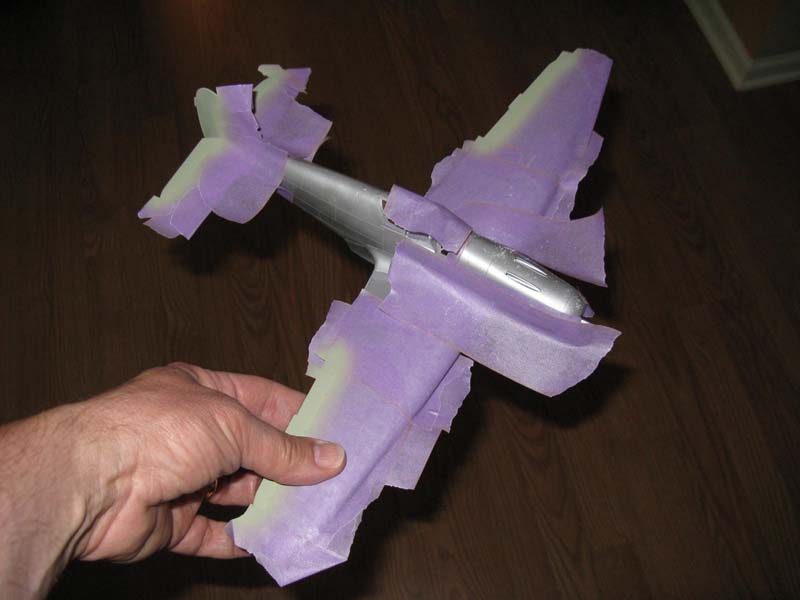
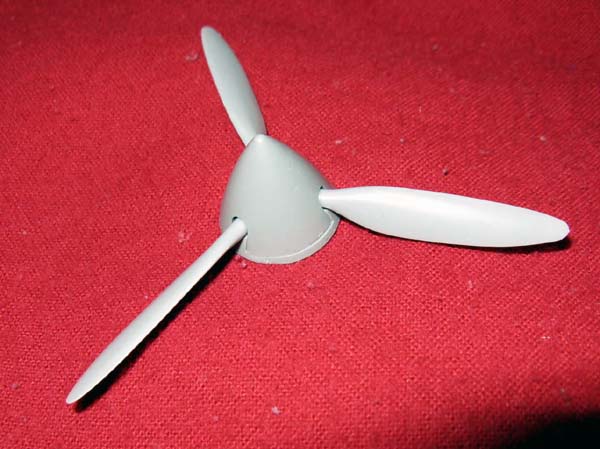
The spinner over the back plate will need some TLC.


Stay tuned, more on the way!


Merlin
Staff MemberSenior Editor
AEROSCALE
#017
_VISITCOMMUNITY
United Kingdom
Joined: June 11, 2003
KitMaker: 17,582 posts
AeroScale: 12,795 posts
Posted: Tuesday, March 30, 2010 - 07:54 PM UTC
Nice one Fred

I was planning to build this a while ago up in London - it's such a beautiful kit! I really hope I managed to bring all the bits with me safely when I moved, because it's one I definitely want to come back to one day...

All the best

Rowan
Siderius
_VISITCOMMUNITY
Tennessee, United States
Joined: September 20, 2005
KitMaker: 1,747 posts
AeroScale: 1,673 posts
Posted: Sunday, April 04, 2010 - 12:50 PM UTC
Yeah! Fred is building models again!! It's been two and a half years but I think he's back this time!? Russell
Removed by original poster on 07/25/10 - 05:21:29 (GMT).
JPTRR
Staff MemberManaging Editor
RAILROAD MODELING
#051
_VISITCOMMUNITY
Tennessee, United States
Joined: December 21, 2002
KitMaker: 7,772 posts
AeroScale: 3,175 posts
Posted: Saturday, July 10, 2010 - 02:48 PM UTC
Howdy all,

New pic's! Good ones next but first, the results of not building models for three years. Glue boo-boos!

First, extra thin superglue leakage:


Next, getting Tamiya extra thin plastic glue on my finger, then on the wing....
JPTRR
Staff MemberManaging Editor
RAILROAD MODELING
#051
_VISITCOMMUNITY
Tennessee, United States
Joined: December 21, 2002
KitMaker: 7,772 posts
AeroScale: 3,175 posts
Posted: Saturday, July 10, 2010 - 03:06 PM UTC
But now for the good stuff, the cockpit, assembled and primed.


Firsts, I painted the instrument panel with my wash technique:
-prime the panel with a thin coat of white or silver.
-then flood it with a wash of highly diluted black (I used acrylic paint diluted with water and Future). The wash flows easily and settles onto the surface, yet settles below the raised dial features of the instruments.


This same technique works to paint the face of the radio selection panel.


Looks scary, all that deep wash, but here's how it dries.


The result, the full (well, except for the gunsight) cockpit encased in the fuselage.


Just for fun, here is the cockpit I created for the sparsely detailed Otaki 1/48 Ki-61, out of spare parts and scratchbuilt "gizmology."

JPTRR
Staff MemberManaging Editor
RAILROAD MODELING
#051
_VISITCOMMUNITY
Tennessee, United States
Joined: December 21, 2002
KitMaker: 7,772 posts
AeroScale: 3,175 posts
Posted: Sunday, July 11, 2010 - 07:19 PM UTC
Note the fascinating camoflage on the background Hien!

JPTRR
Staff MemberManaging Editor
RAILROAD MODELING
#051
_VISITCOMMUNITY
Tennessee, United States
Joined: December 21, 2002
KitMaker: 7,772 posts
AeroScale: 3,175 posts
Posted: Saturday, July 17, 2010 - 03:29 PM UTC
Sigh. My Swallow is causing me to swallow my pride. Nobody else in the world seems to have had any trouble with this model but its fit is giving me fits! My wing/fuselage joints are all catywhumpas.

I test-fit over and over; shaved a bit here, nibbled a tad there, just can't get the wings to mate flush. I even filed the spar on both sides:

Here's what I have:


Maybe I ruined the wings when I departed from my never-modify-the-model dicta and cut open the flaps (a mistake I'll go into later):
Siderius
_VISITCOMMUNITY
Tennessee, United States
Joined: September 20, 2005
KitMaker: 1,747 posts
AeroScale: 1,673 posts
Posted: Sunday, July 18, 2010 - 03:35 PM UTC
Fred, chill out man! I think when you put some camo on the aircraft and build it up some more you will be much happier with it than you think you would be. Just my opinion. Russell

P.S. Great photos of the Swallows!
JPTRR
Staff MemberManaging Editor
RAILROAD MODELING
#051
_VISITCOMMUNITY
Tennessee, United States
Joined: December 21, 2002
KitMaker: 7,772 posts
AeroScale: 3,175 posts
Posted: Saturday, July 24, 2010 - 02:53 PM UTC
Hello again,

Well, Tony's airframe has been completed. The canopy masked (man, I forgot how much I hate masking canopies; too bad my brush painting skills are so rusty).


Inspected for flaws, and ready for primer:


The primer revealed a disappointment...


...and some seams that need a little more TLC:


The primer dries overnight and here comes my first use of Tamiya AS-12 Spray Bare Metal Silver synthetic lacquer:


The paint looks good but apparently is pretty "hot", crazing the surface:

Update: I believe the problem was that the primer did not cure long enough. Reapplications did not cause crazing.


As I write this the Hein is drip-drying following a serious wet sanding of the paint flaws.

I am preparing a build-feature for this model. I'll post the link to it above when it is finished.

Stay tuned...
Siderius
_VISITCOMMUNITY
Tennessee, United States
Joined: September 20, 2005
KitMaker: 1,747 posts
AeroScale: 1,673 posts
Posted: Saturday, July 24, 2010 - 03:04 PM UTC
Keep the faith Fred. You have the skills to make this a good looking kit no matter what problems you are having right now. Russell
Merlin
Staff MemberSenior Editor
AEROSCALE
#017
_VISITCOMMUNITY
United Kingdom
Joined: June 11, 2003
KitMaker: 17,582 posts
AeroScale: 12,795 posts
Posted: Saturday, July 24, 2010 - 08:25 PM UTC
Hi Fred

It looks like the Tamiya aerosol paint has attacked the primer. What type of paint was the base-coat?

All the best

Rowan
JPTRR
Staff MemberManaging Editor
RAILROAD MODELING
#051
_VISITCOMMUNITY
Tennessee, United States
Joined: December 21, 2002
KitMaker: 7,772 posts
AeroScale: 3,175 posts
Posted: Tuesday, August 10, 2010 - 06:20 PM UTC

Quoted Text

What type of paint was the base-coat?


Hi Merlin,

It is Krylon Fusion gloss white, the same type I used on my NMF P-47N.

UPDATE : the second try did not attack the undercoat. New pix ASAP!
JPTRR
Staff MemberManaging Editor
RAILROAD MODELING
#051
_VISITCOMMUNITY
Tennessee, United States
Joined: December 21, 2002
KitMaker: 7,772 posts
AeroScale: 3,175 posts
Posted: Sunday, August 28, 2011 - 05:25 AM UTC
After a too-long pause I have resumed work on Tony:


The fabric control surfaces and the anti-glare have been painted. Next, decals, then the camouflage.
matrixone
_VISITCOMMUNITY
Oregon, United States
Joined: February 07, 2004
KitMaker: 869 posts
AeroScale: 862 posts
Posted: Sunday, August 28, 2011 - 06:40 AM UTC
Thats looking good Fred!

What a cool aircraft and camo scheme to go along with it.

Matrixone
 _GOTOTOP