_GOTOBOTTOM
Pre-Flight Check
Constructive critique of your finished or in-progress photos.
Eduard 1/48 I-16 Type 10
Harpy207
_VISITCOMMUNITY
United States
Joined: April 28, 2010
KitMaker: 3 posts
AeroScale: 1 posts
Posted: Tuesday, May 18, 2010 - 07:33 AM UTC
Greetings all,

I am a new aircraft builder and thought I'd post post this build in hopes to get some guidence during the build. Thought I'd start with Eduard I-16 as it seems to be a fairly simple aircraft.


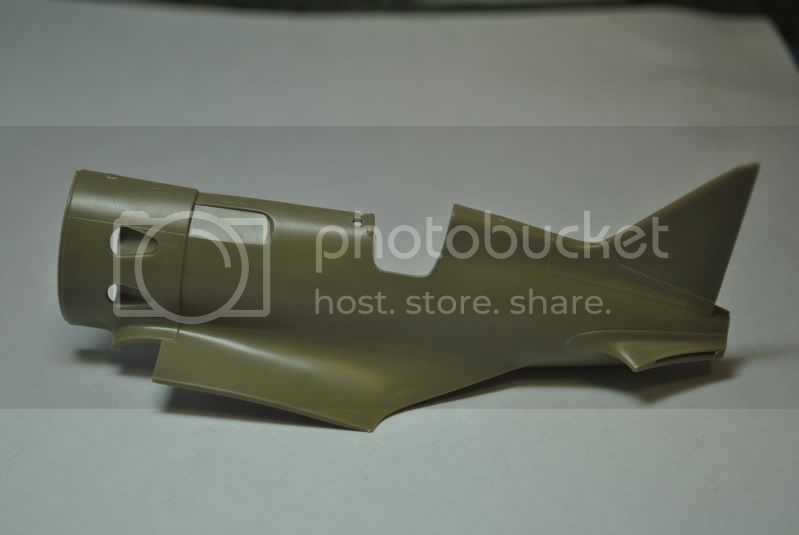
Door cut out and lighting hole drilled.


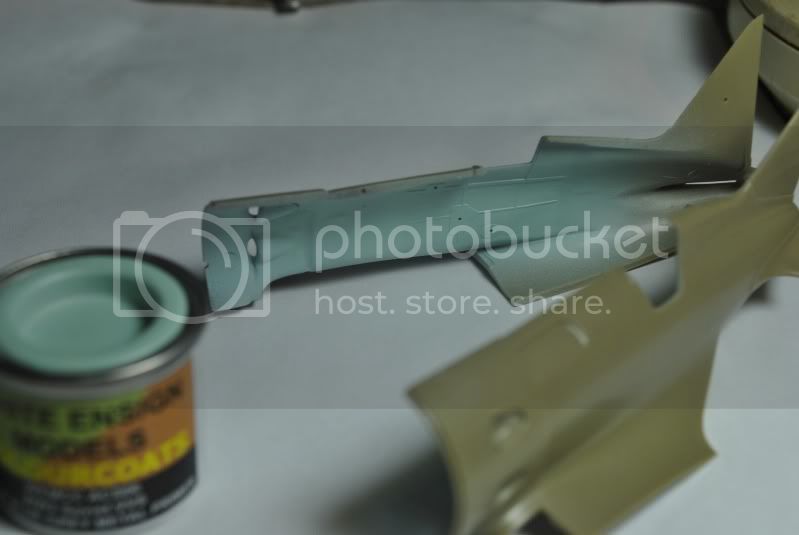
Just going to go by instruction for color guide. Was planning to use WEM for paint.

Side detail added with a Burnt Umber wash


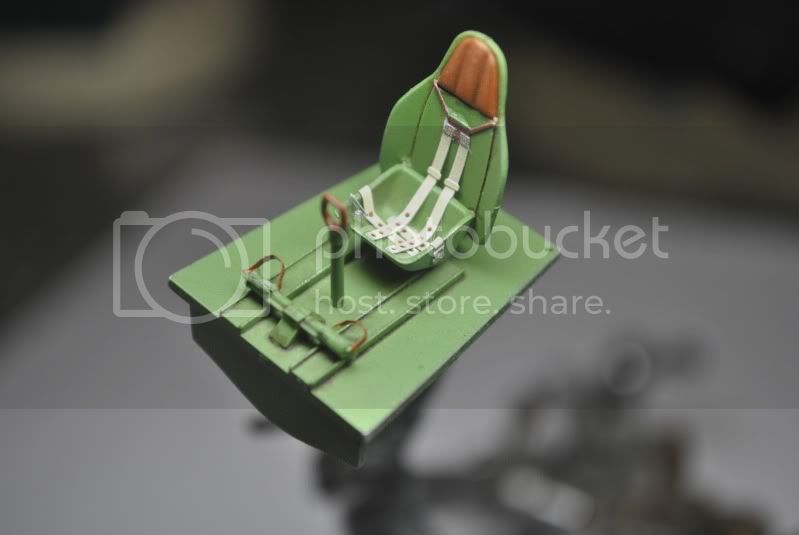
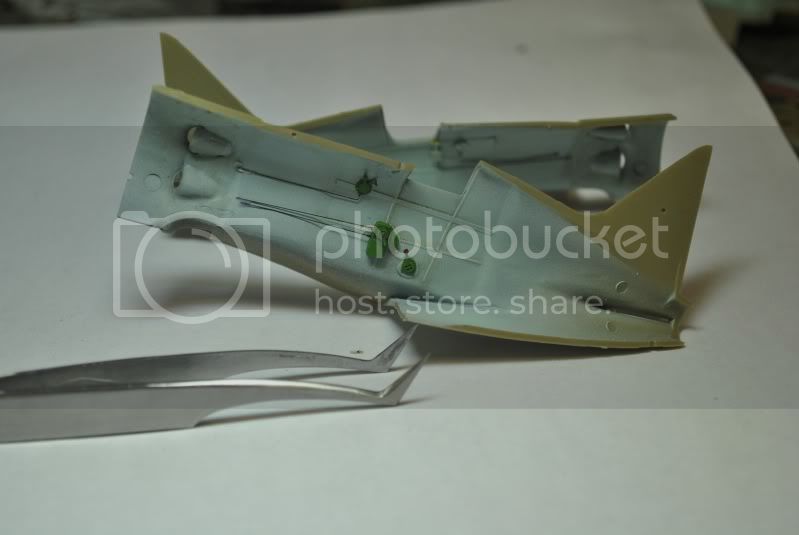
Cockpit - Managed to slop super glue on harness top. Next I have to glue together which scares me from a seam standpoint. I am going to try Tamiya Extra Thin Cement.


CanDid
_VISITCOMMUNITY
Stockholm, Sweden
Joined: May 03, 2010
KitMaker: 123 posts
AeroScale: 98 posts
Posted: Wednesday, June 16, 2010 - 09:44 AM UTC
Hallo Jim!

Cool aircraft choice for a first build! The Polikarpov comes in many quite cool features, what have you planned?

Looks good so far I think. Perhaps you should crease the seatbelts a little?

I'm a beginner myself so I'm not really in the position to give any real tips but I use a mix of glues when I glue big parts together. On one end I place a small drop of Cyanoacrylate glue to really attach the parts to each other. Then I use the normal plastic glue for the rest of the seam.

Good luck and keep posting

/Freddie
md72
#439
_VISITCOMMUNITY
Washington, United States
Joined: November 05, 2005
KitMaker: 4,950 posts
AeroScale: 3,192 posts
Posted: Wednesday, June 16, 2010 - 01:23 PM UTC
Welcome aboard!

Lots of helpful folks around here.

My U$.02 on the gluing the halves together. Line the halves up first. Sometimes the locator pins are off. Using rubber bands or tape or clamps, hold the two halves in place. Using a small brush or pin (I use an old ruling pen) apply a small of glue to the seam, capillary action will pull the glue into the seam and start the welding action. Hold it together for a while and when the glue sets, you can release whatever is holding it together.

Check out the Start Here http://aeroscale.kitmaker.net/modules.php?op=modload&name=SquawkBox&file=index&req=viewforum&forum_id=112&page=1 threads for Reading the Seams. It's a great tutorial on how to do it right.

Good luck!
 _GOTOTOP