

World War II
Discuss WWII and the era directly before and after the war from 1935-1949.
Discuss WWII and the era directly before and after the war from 1935-1949.
Hosted by Rowan Baylis
1/72 Contrail Handley Page HP-42

philo426

Joined: April 18, 2009
KitMaker: 88 posts
AeroScale: 82 posts
Posted: Sunday, June 27, 2010 - 04:43 PM UTC
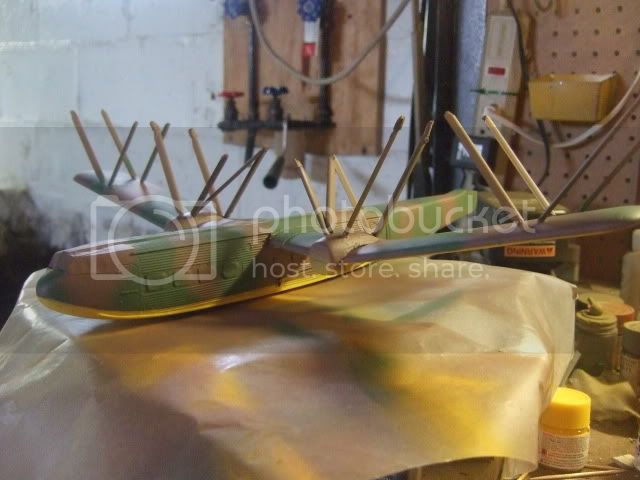
Here is my Vac Form HP-42 in progress!

Merlin

#017


Joined: June 11, 2003
KitMaker: 17,582 posts
AeroScale: 12,795 posts

Posted: Wednesday, June 30, 2010 - 04:48 AM UTC
Hi Phillip
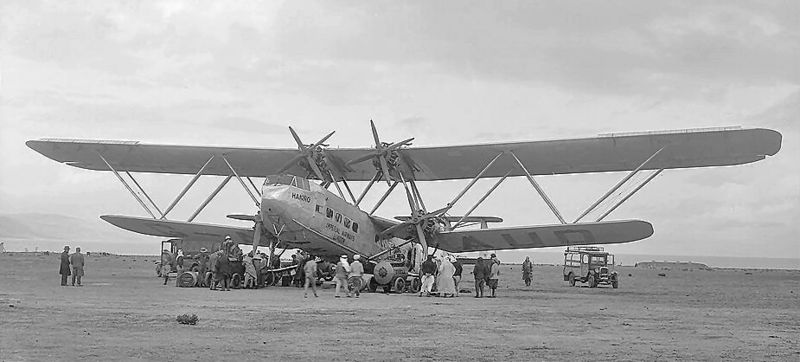
That's a really interesting subject! I hate to say it, but I hope you haven't got the lower wings cemented on firmly yet, because it looks like there should be a lot more anhedral on the inboard sections, and a lot less dihedral on the outer panels. As it is, I'm afraid you're going to hit enormous problems when it's time to fit the top wing...
This picure is from Wikipedia:
All the best
Rowan

philo426
Joined: April 18, 2009
KitMaker: 88 posts
AeroScale: 82 posts
Posted: Wednesday, June 30, 2010 - 05:52 AM UTC
Woops!I'm not breaking the wings off so it will have to do!AS for the upper wing it will be tricky but not too bad. 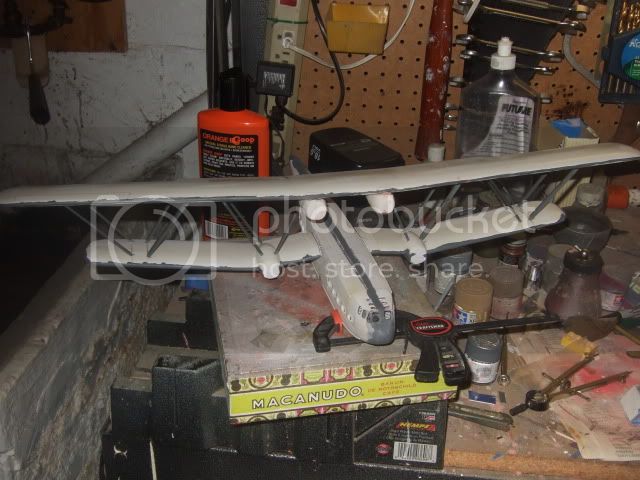
LuckyBlunder
Joined: February 02, 2006
KitMaker: 273 posts
AeroScale: 163 posts
Posted: Wednesday, June 30, 2010 - 10:02 PM UTC
Hi Phillip
I'd be interested to know how you aligned the struts so well.
I'd be interested to know how you aligned the struts so well.
Merlin
#017
Joined: June 11, 2003
KitMaker: 17,582 posts
AeroScale: 12,795 posts
Posted: Wednesday, June 30, 2010 - 11:13 PM UTC
Hi Phillip
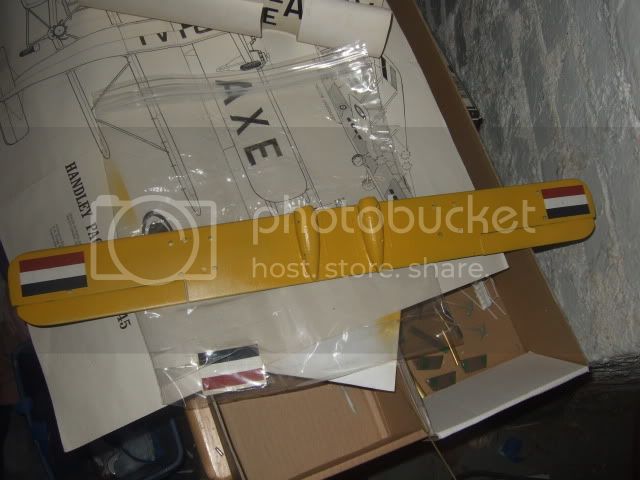
That's a relief! The angles actually look very different in your second shot. The first picture must be very deceptive, because it makes it look like the top wing would need to be banana-shaped to fit.
All the best
Rowan
That's a relief! The angles actually look very different in your second shot. The first picture must be very deceptive, because it makes it look like the top wing would need to be banana-shaped to fit.
All the best
Rowan
philo426
Joined: April 18, 2009
KitMaker: 88 posts
AeroScale: 82 posts
Posted: Thursday, July 01, 2010 - 02:34 AM UTC
Well I took the angles from the plans and made a jig to set the angles while the CA dried!Not perfect but if I do one side at a time it should be all-right! 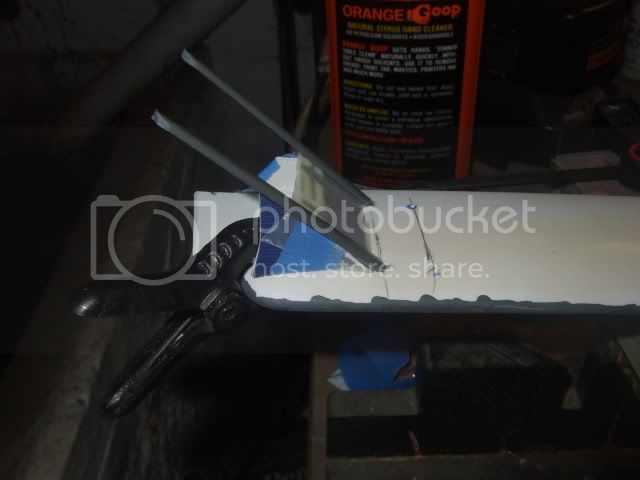

jaypee

Joined: February 07, 2008
KitMaker: 1,699 posts
AeroScale: 1,384 posts

Posted: Thursday, July 01, 2010 - 03:26 AM UTC
What happened to the camo in the 1st pic? Looks good in those trainer colours.

philo426
Joined: April 18, 2009
KitMaker: 88 posts
AeroScale: 82 posts
Posted: Thursday, July 01, 2010 - 03:35 AM UTC
The cammo is fine! That was just an in-progress shot from before I painted it!
philo426
Joined: April 18, 2009
KitMaker: 88 posts
AeroScale: 82 posts
Posted: Thursday, July 01, 2010 - 04:47 PM UTC
added decals to the top wing.luckily they are still good! 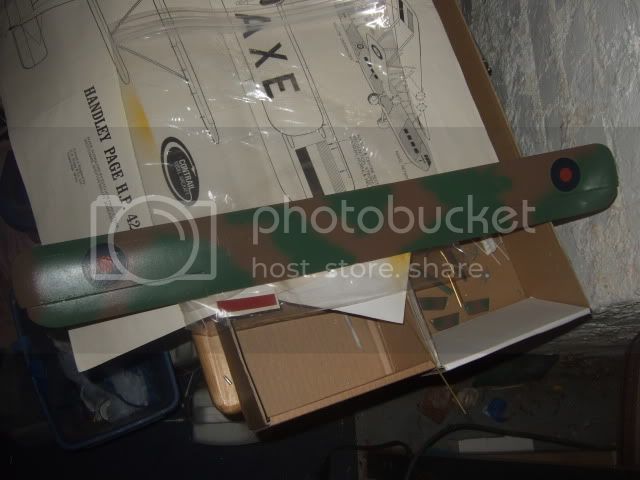
philo426
Joined: April 18, 2009
KitMaker: 88 posts
AeroScale: 82 posts
Posted: Friday, July 02, 2010 - 07:54 AM UTC
added a couple more decals.Decided to call it Heracules! 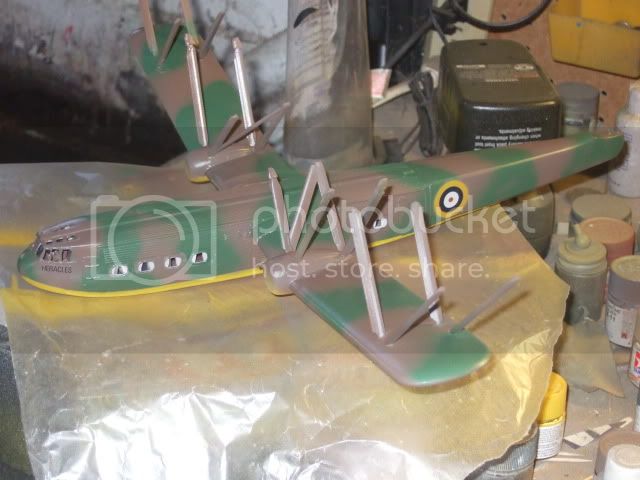
philo426
Joined: April 18, 2009
KitMaker: 88 posts
AeroScale: 82 posts
Posted: Sunday, July 11, 2010 - 01:42 PM UTC
Today I began the process of attaching the top wing.I used 2-part epoxy to attach the outer wing struts and engine to lower wing struts.i have to get more strut material to custom fit the engine to fuselage struts as well as fabricate extensions for some of the lower struts which failed to meet the top wing.Here is a pic. 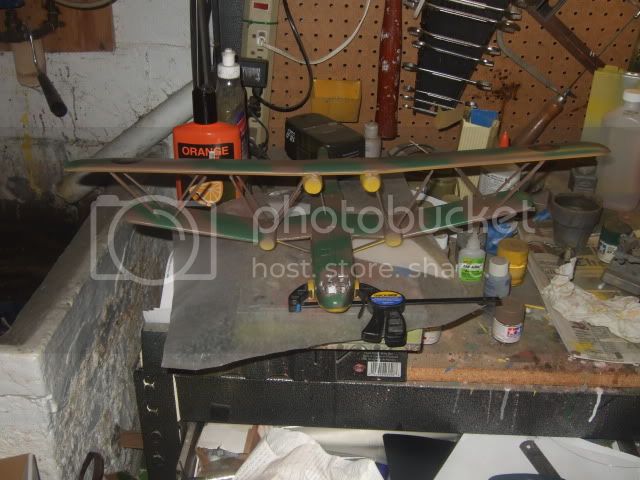
philo426
Joined: April 18, 2009
KitMaker: 88 posts
AeroScale: 82 posts
Posted: Tuesday, July 13, 2010 - 02:21 PM UTC
This thing has 20 struts! The top wing is rock solid! 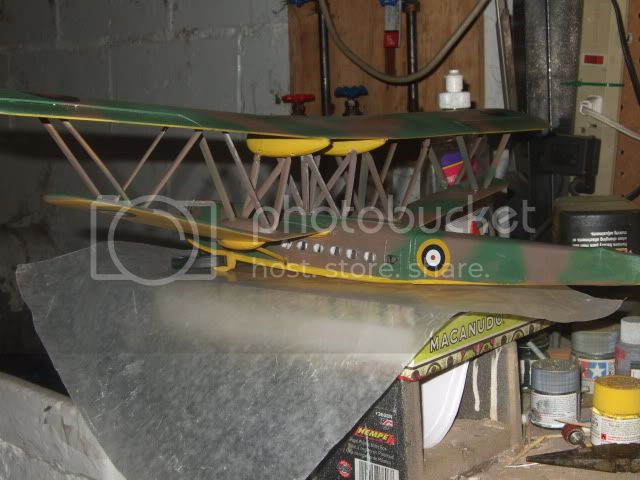
philo426
Joined: April 18, 2009
KitMaker: 88 posts
AeroScale: 82 posts
Posted: Monday, August 02, 2010 - 04:40 PM UTC
Okay after a long delay I re-started this project.I painted and black-washed the engines and painted the props to represent mahogany. 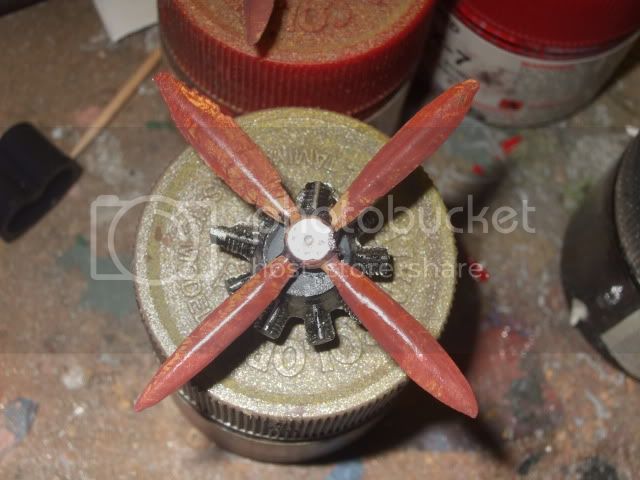
philo426
Joined: April 18, 2009
KitMaker: 88 posts
AeroScale: 82 posts
Posted: Thursday, August 05, 2010 - 11:02 AM UTC
I decide to use heavy gauge solid core wire for my exhaust pipes.The wire is the correct diameter and after I stripped the insulation off of the end it fit into the holes I drilled into the engine block.I painted them Model Mater Rust followed by Burnt Metal Metallizer. 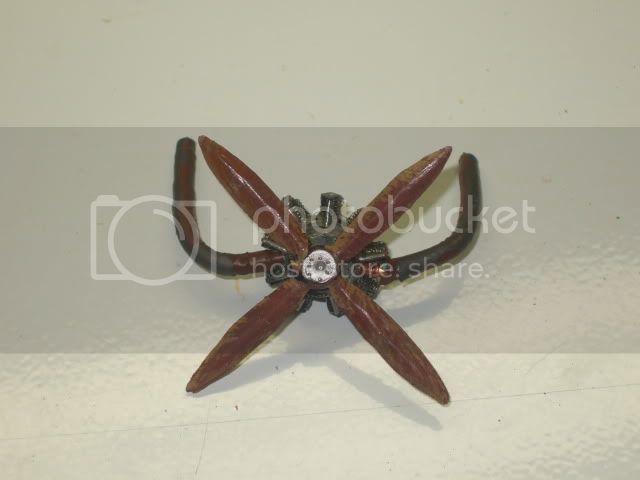
philo426
Joined: April 18, 2009
KitMaker: 88 posts
AeroScale: 82 posts
Posted: Tuesday, August 10, 2010 - 05:59 PM UTC
I had to make,primer and paint 2 more braces for the landing gear out of brass tubing.i swear Handley-Page built this thing like a tank! 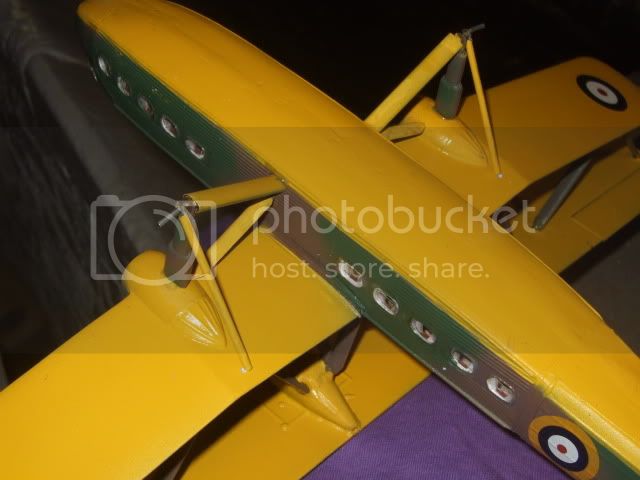
philo426
Joined: April 18, 2009
KitMaker: 88 posts
AeroScale: 82 posts
Posted: Wednesday, August 11, 2010 - 01:30 PM UTC
I still have to make the fender mounts but I stuck on the wheels and propped it up with a Lego block. Lookin' good! 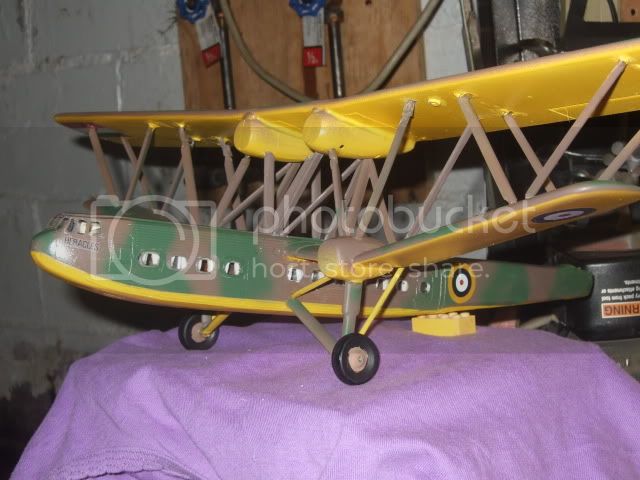
philo426
Joined: April 18, 2009
KitMaker: 88 posts
AeroScale: 82 posts
Posted: Thursday, August 12, 2010 - 04:51 PM UTC
I had to make the fender braces from thin brass strip. Came out pretty well. 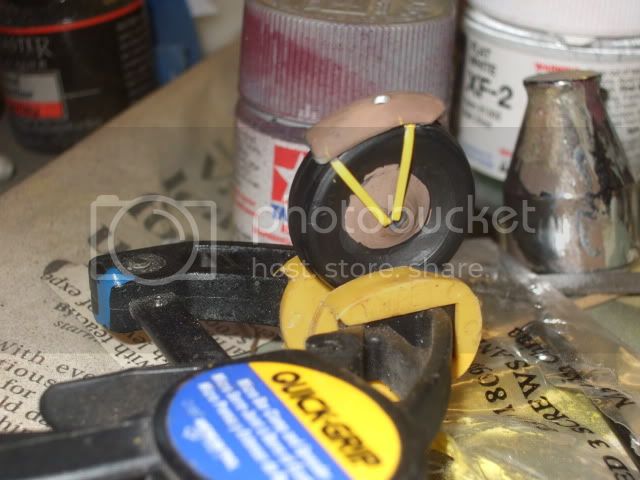
philo426
Joined: April 18, 2009
KitMaker: 88 posts
AeroScale: 82 posts
Posted: Monday, September 13, 2010 - 11:12 AM UTC
Added the engines and props.i still have to glaze in the nose and add some aerials but she is nearly complete. 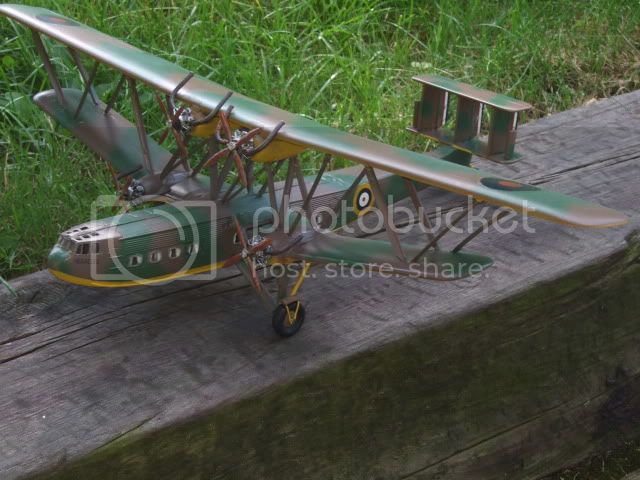
 |

WEB HOSTING BY


Copyright ©2021 AeroScale and Kitmaker Network, a subsidiary of Silver Star Enterprises
All Rights Reserved. Please read our Conditions of Use and Privacy Policy.
All Rights Reserved. Please read our Conditions of Use and Privacy Policy.