_GOTOBOTTOM
World War II: Soviet Union
Russian aircraft of WWII
Hosted by Rowan Baylis
Eduard Yak-3 in 1/48
IronMark
_VISITCOMMUNITY
Texas, United States
Joined: December 27, 2009
KitMaker: 71 posts
AeroScale: 69 posts
Posted: Thursday, July 22, 2010 - 01:06 PM UTC
Greetings everyone,

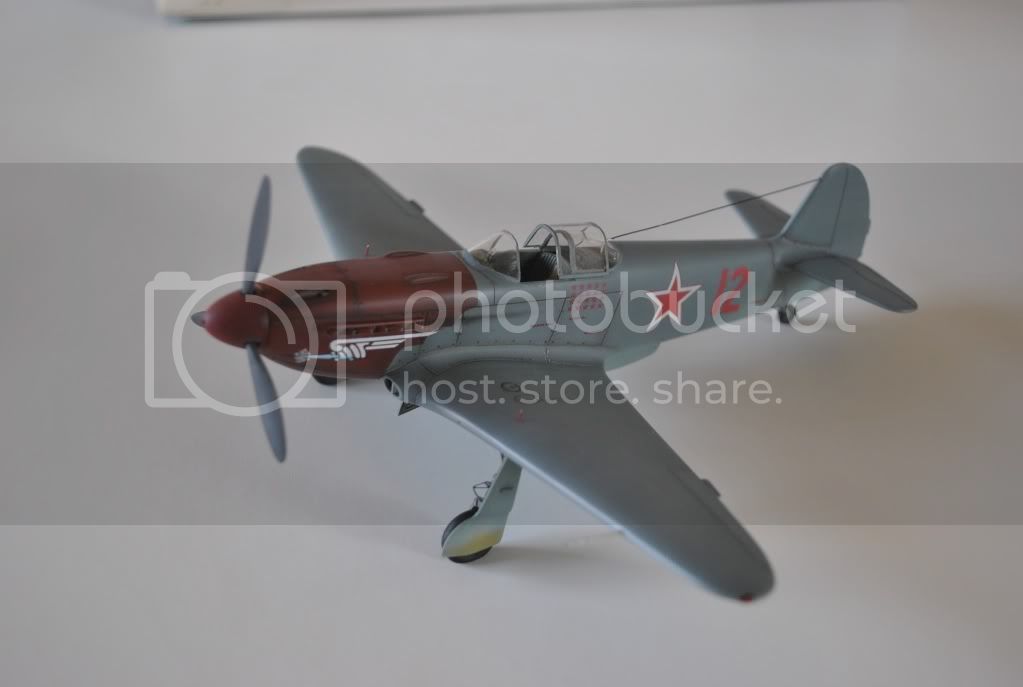
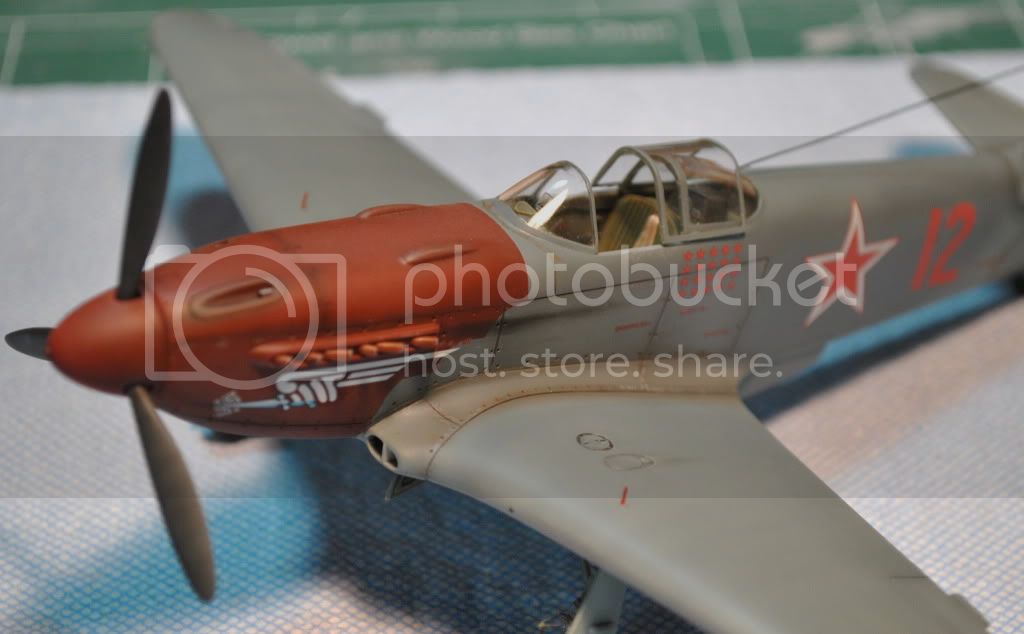
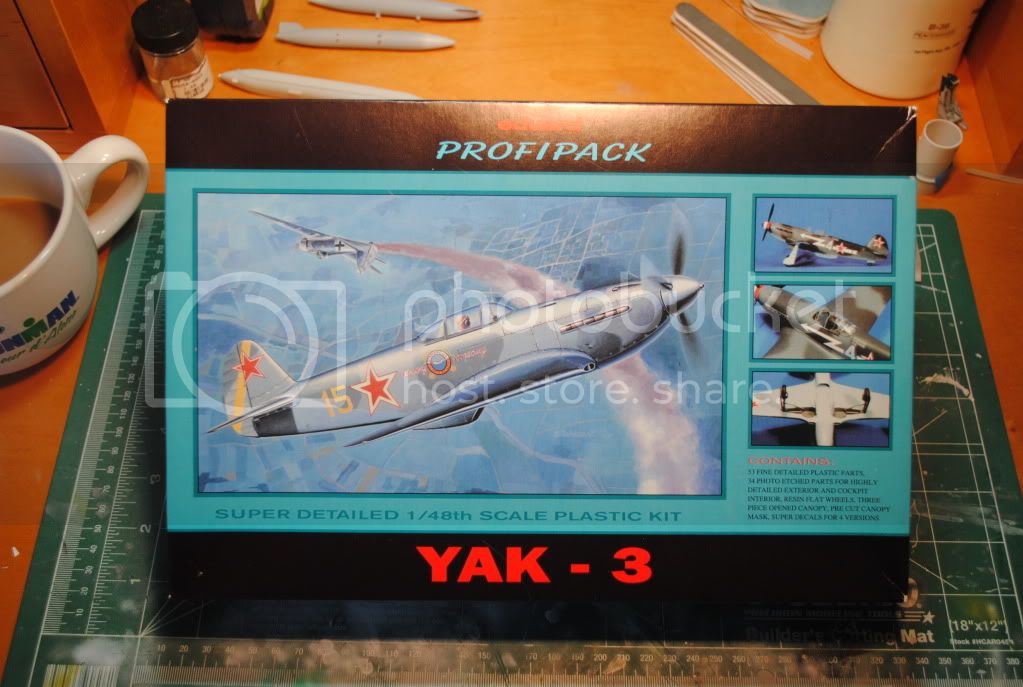
I have long been a fan of Soviet aircraft and have endeavored to build a representative collection that spans from WWII through today's modern jets. In this sprit, I humbly present the wonderful Yak-3 in 1/48 scale by Eduard. I will keep this relatively straightforward with only minor scratch built additions and will finish it in the markings of "Red 12" piloted by S.W. Nosov, Hero of the Soviet Union flying with the 150 Guard Fighter regiment, late 1944.

In the beginning:


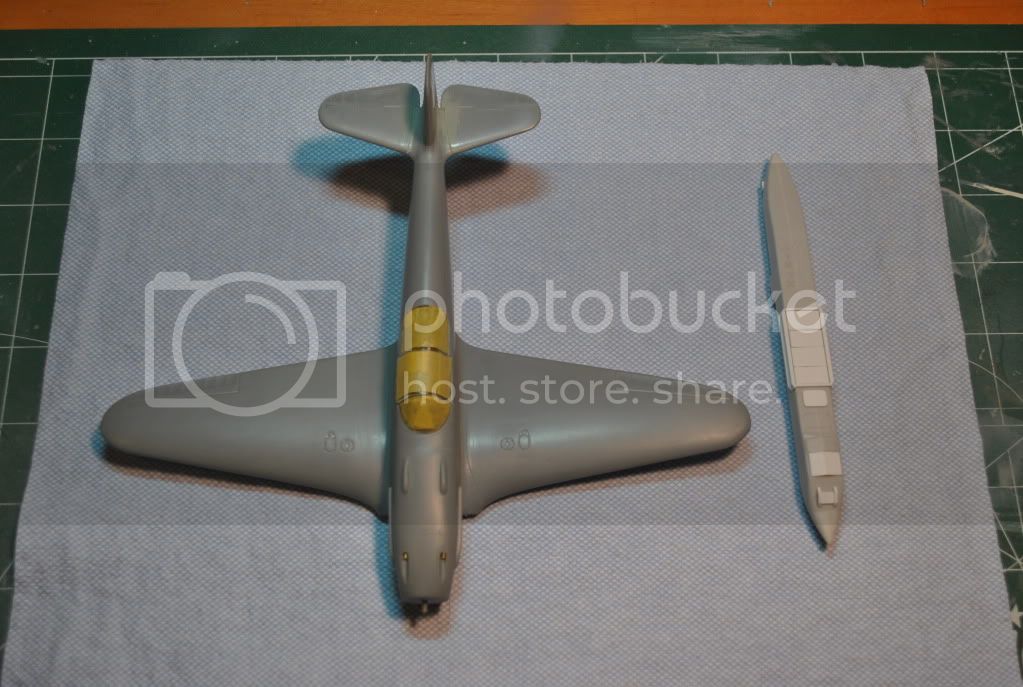
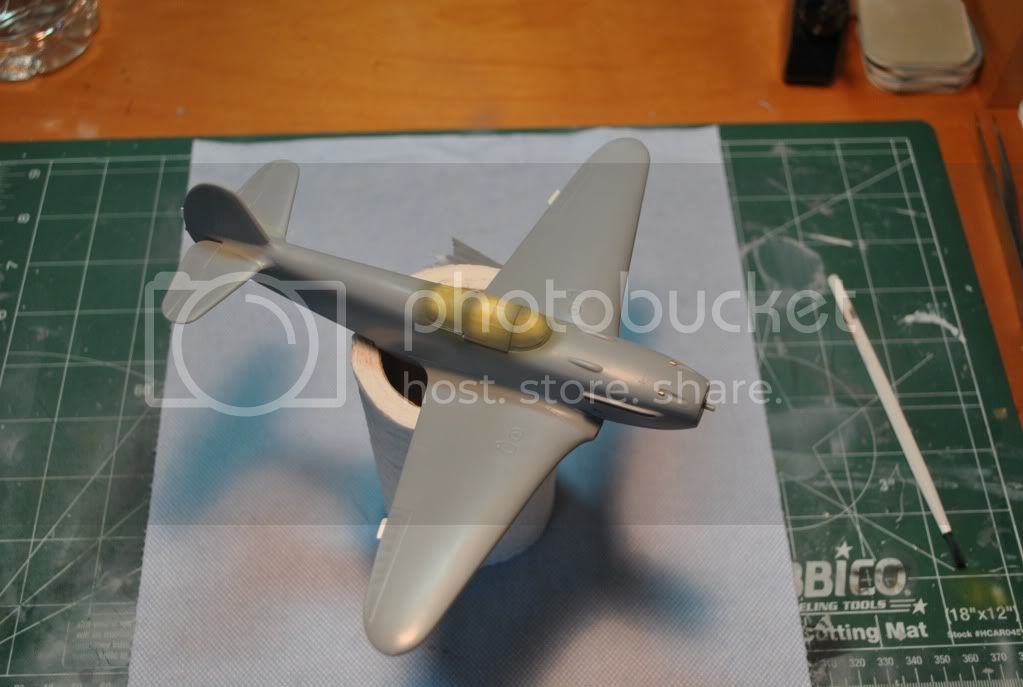
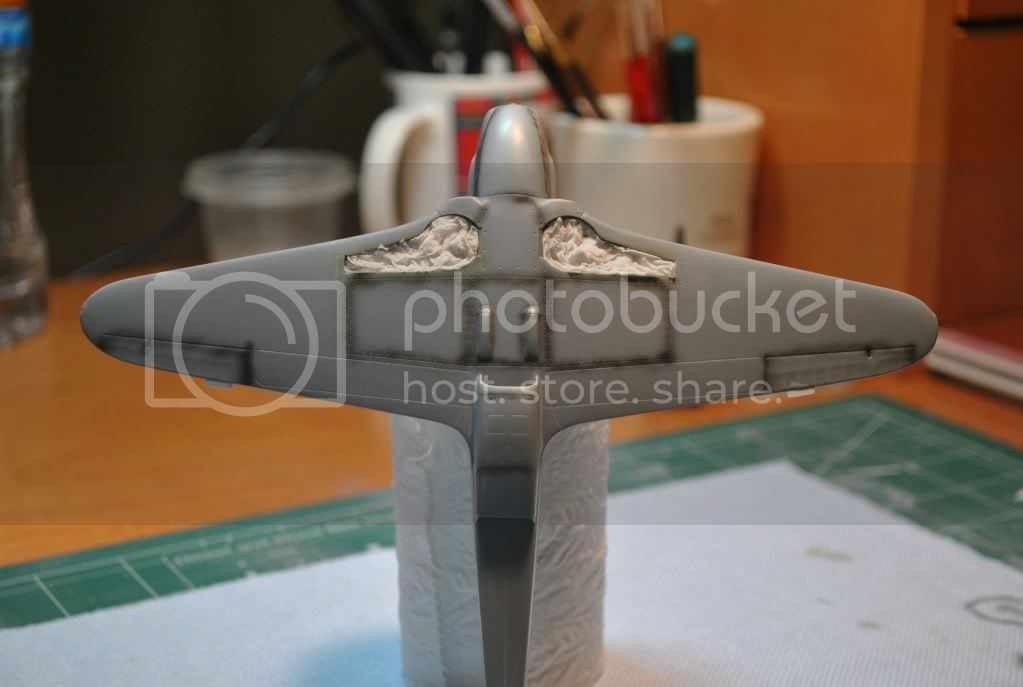
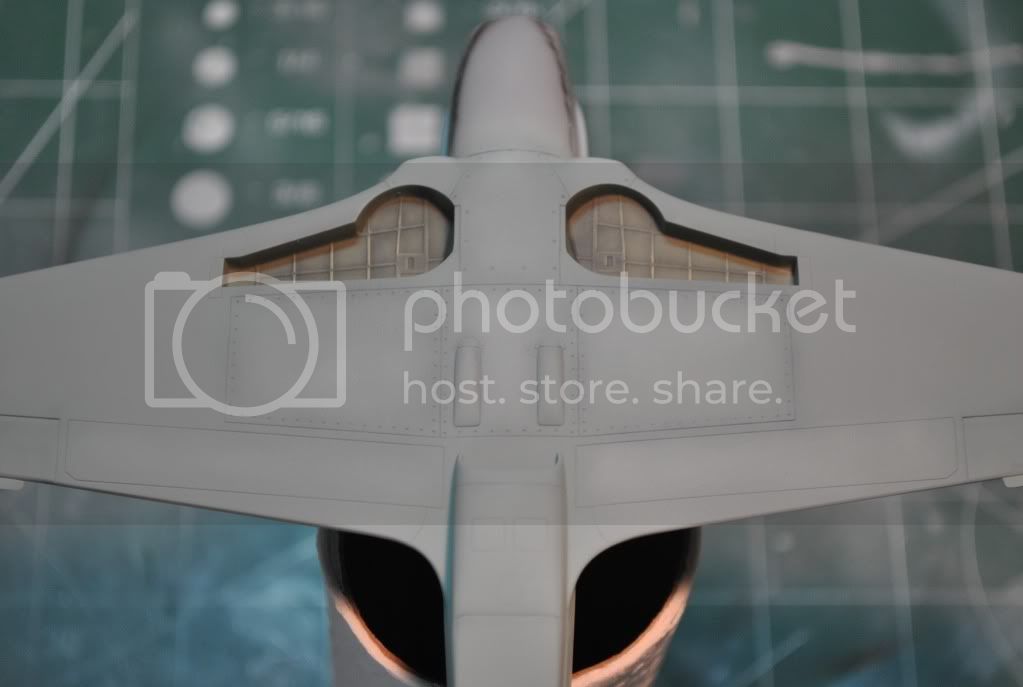
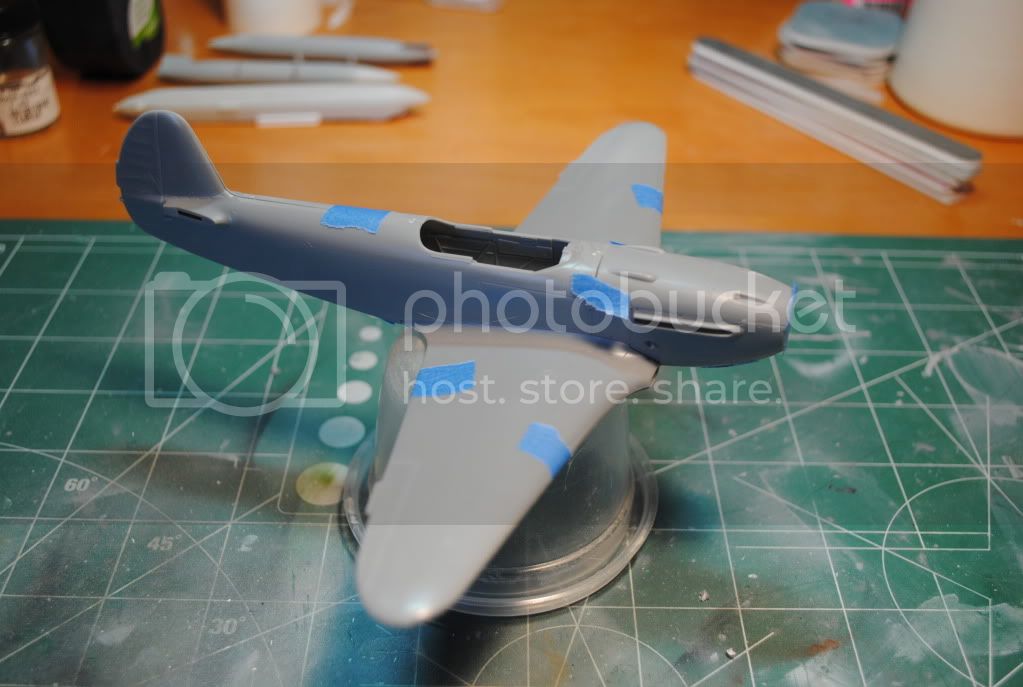
Dry fitting the major structures reveals a nice fit:


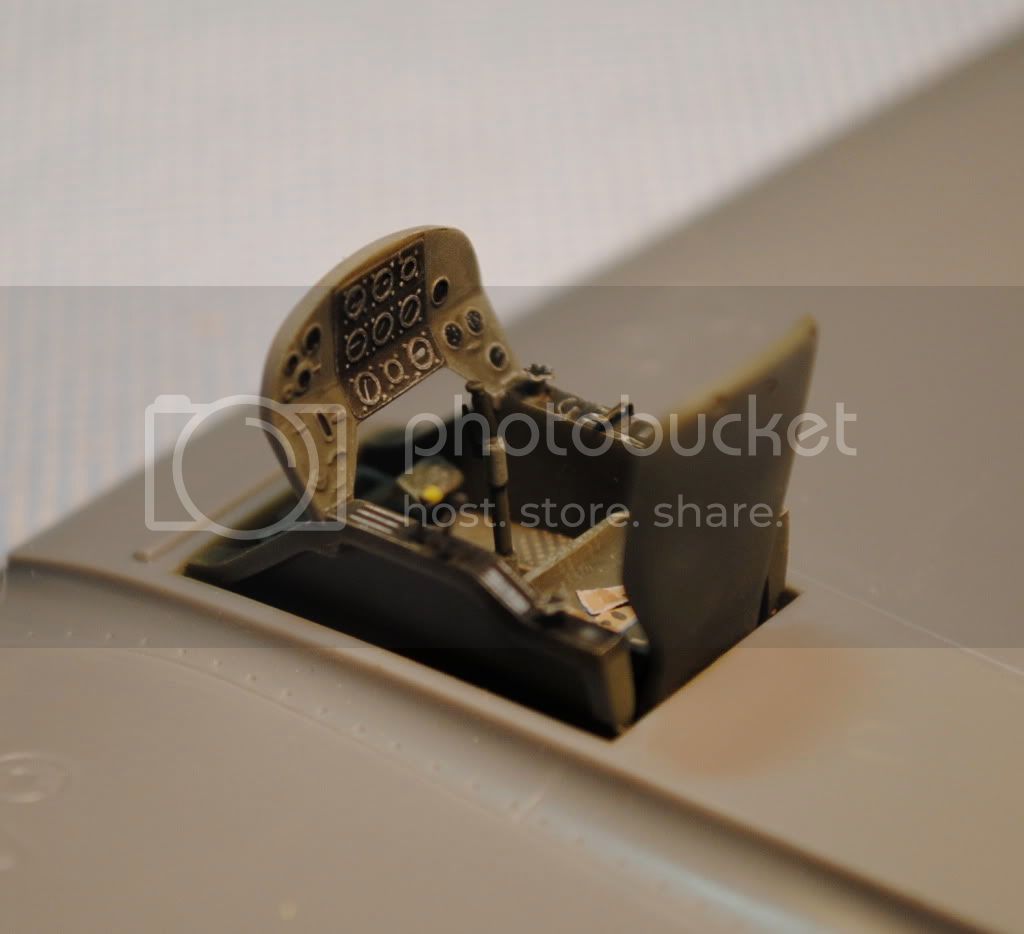
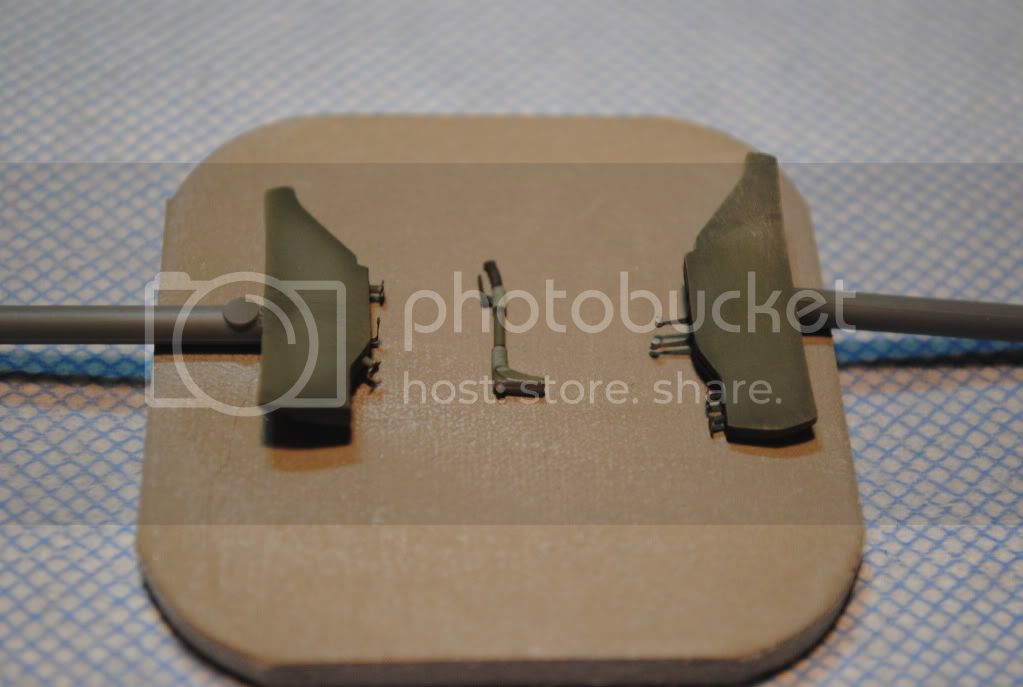
Progress in the cockpit; in this case the side consoles and control stick:


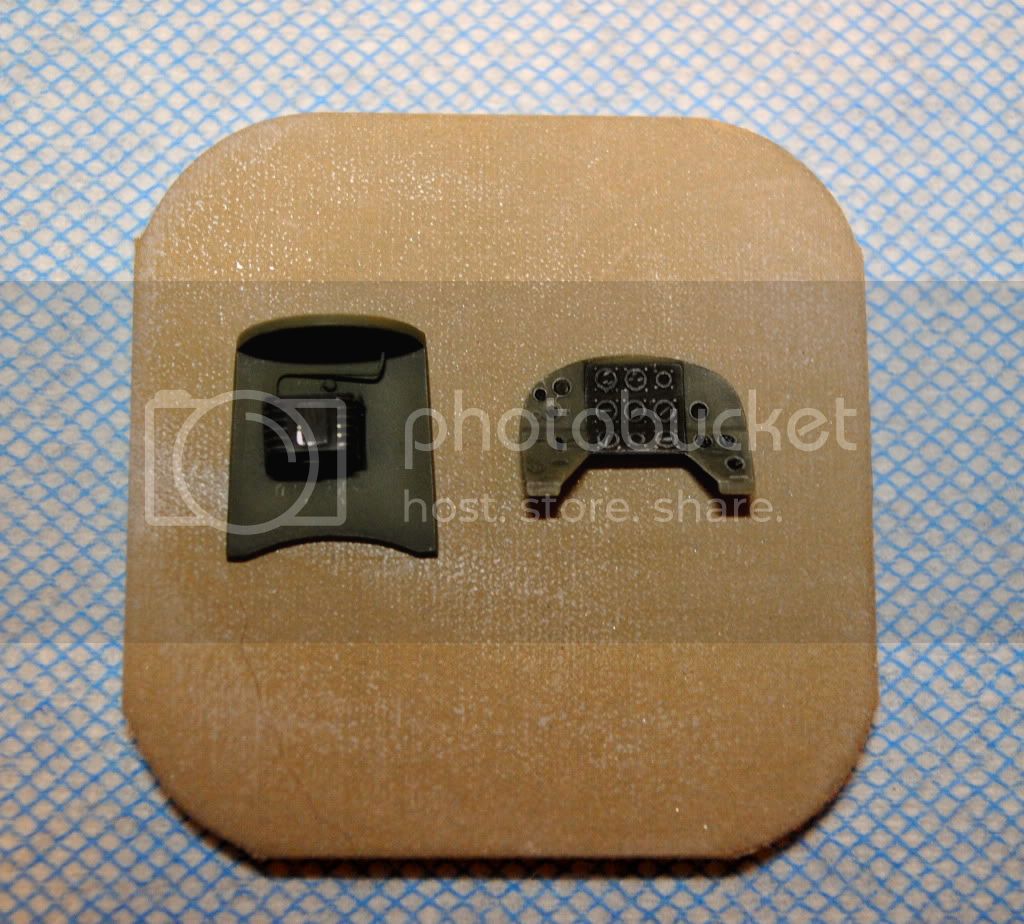
Instrument panel and aft cockpit deck with radio:


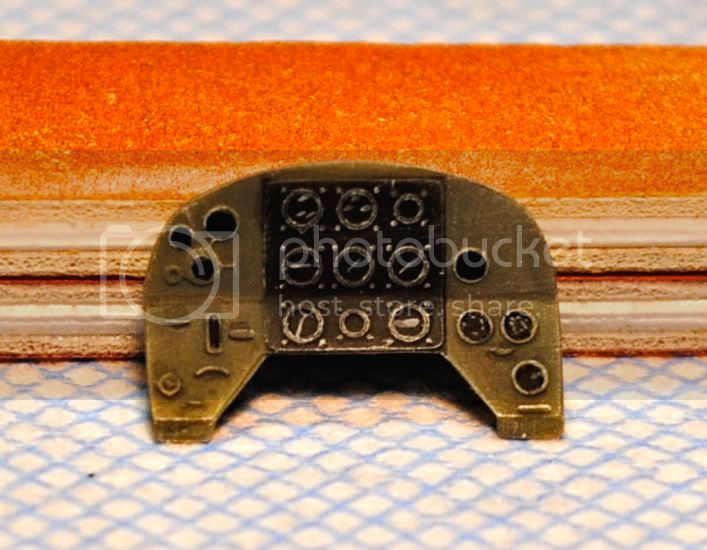
A close-up of the instrument panel:


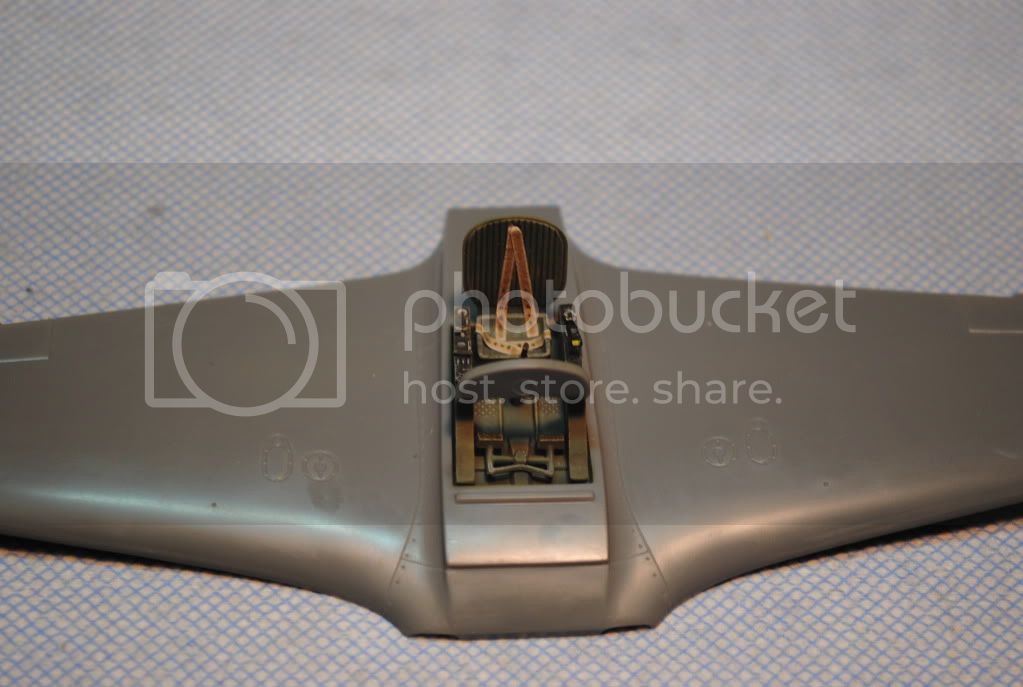
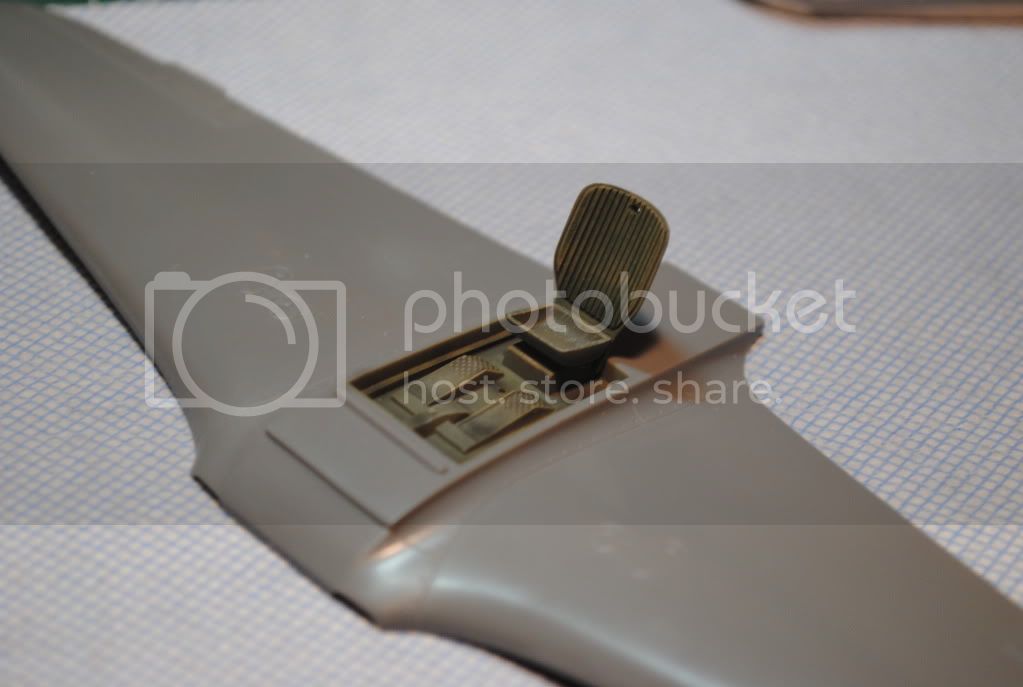
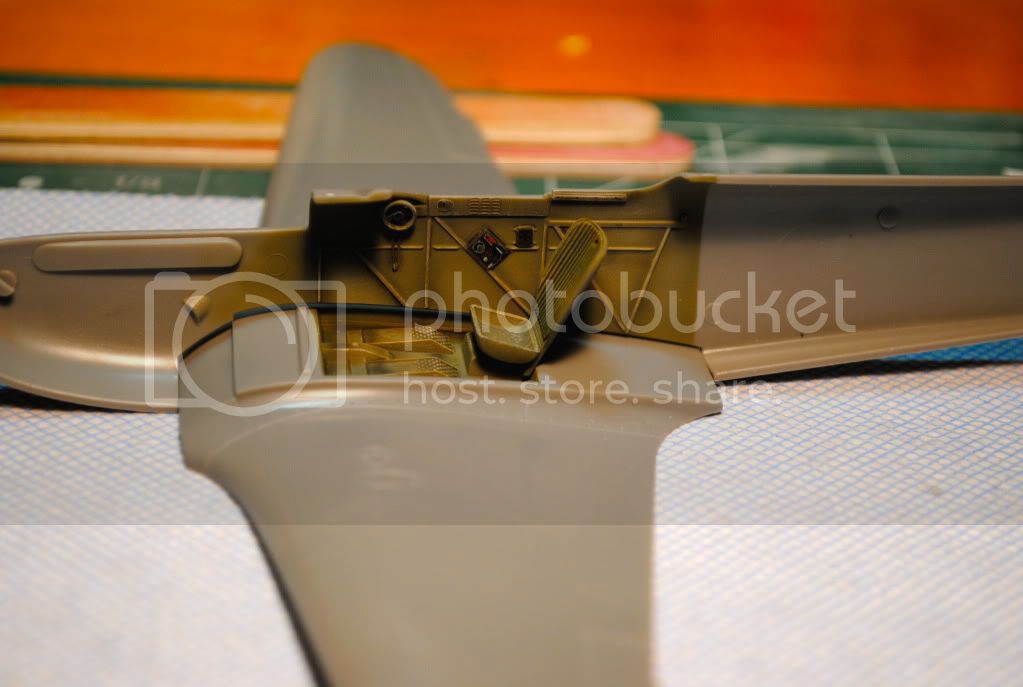
The seat and cockpit floor are cleverly affixed to the wing:


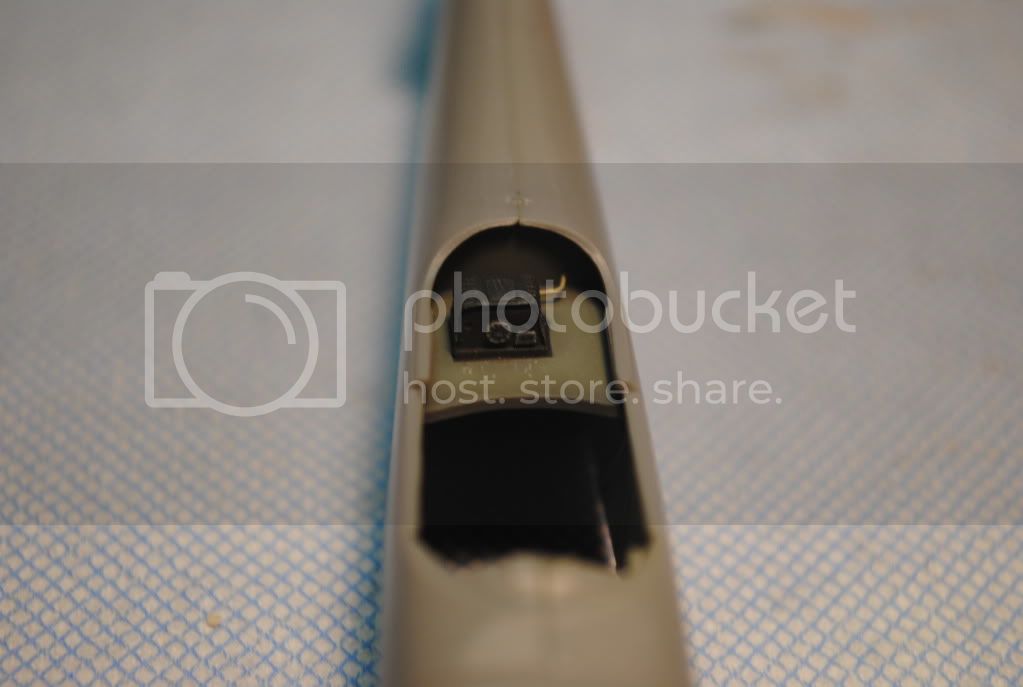
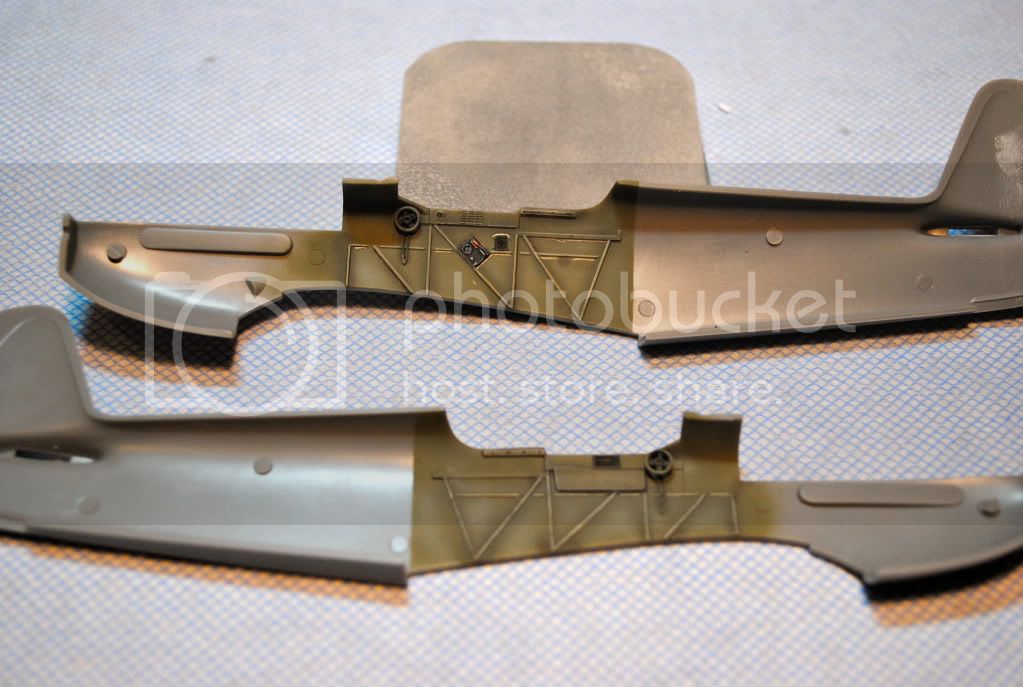
The finished cockpit sides:


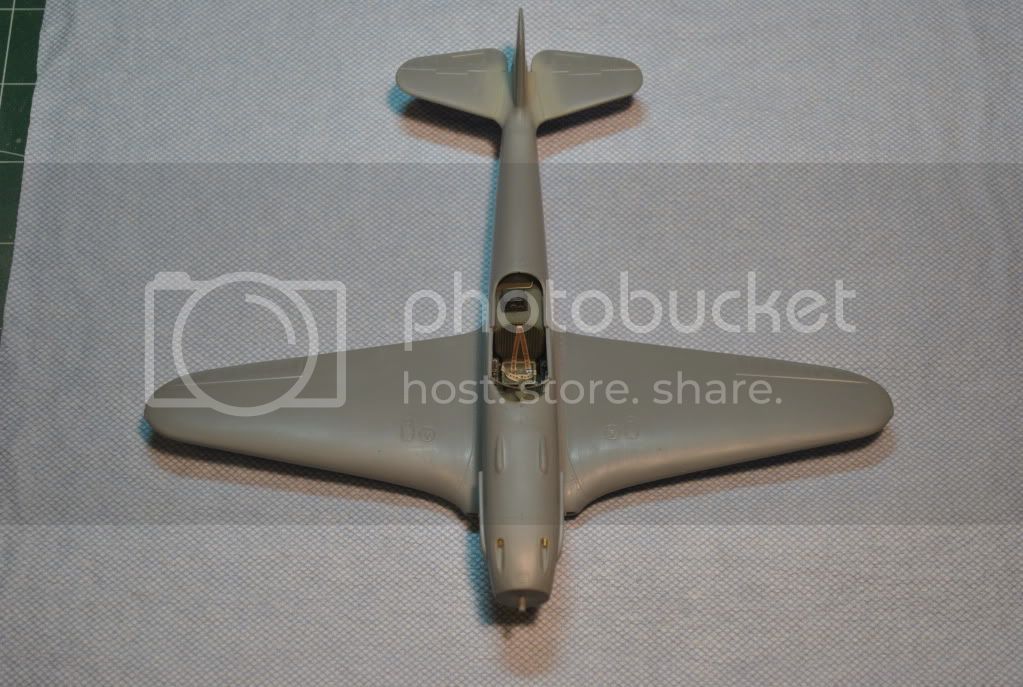
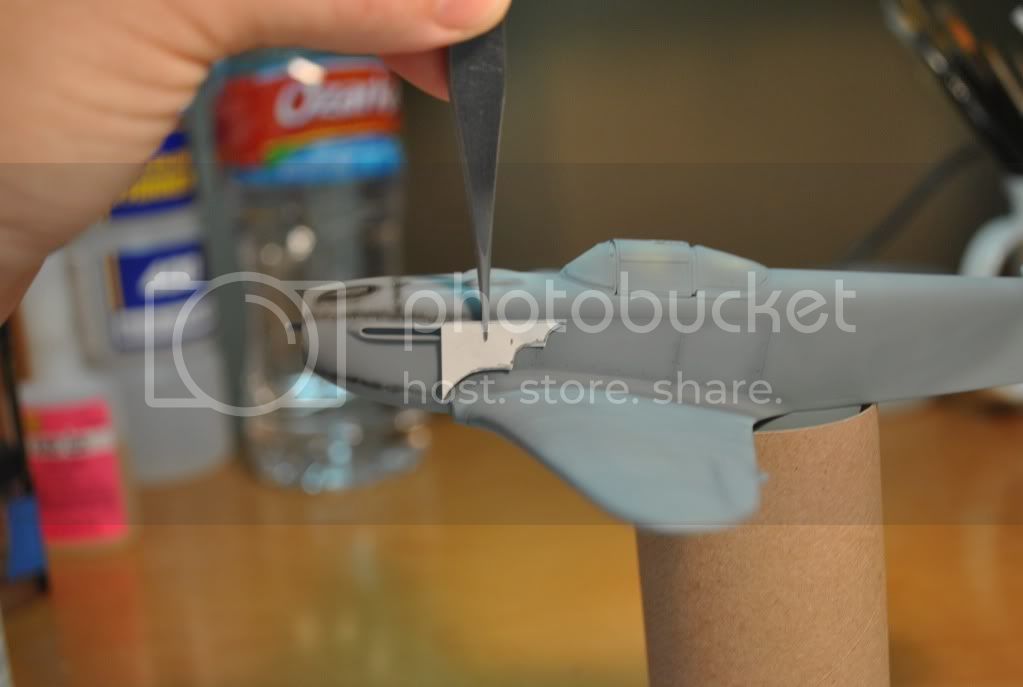
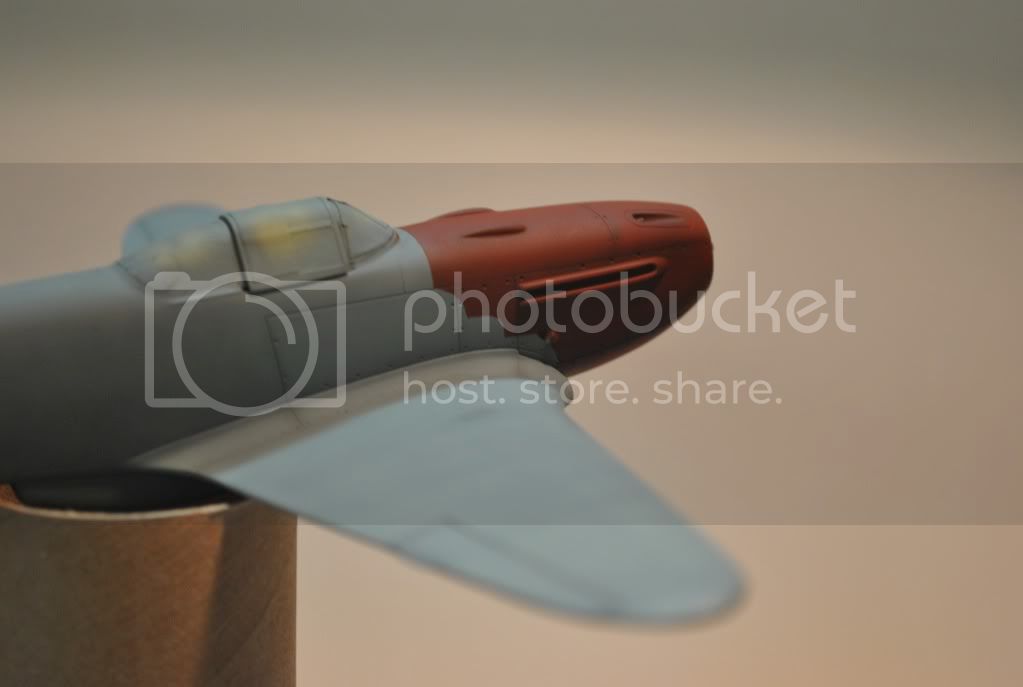
And finally, a test-fitting of the entire lot prior to fuselage assembly:


Many thanks for checking us out!
Mark
NickZour
_VISITCOMMUNITY
Attica, Greece / Ελλάδα
Joined: May 01, 2008
KitMaker: 1,437 posts
AeroScale: 1,241 posts
Posted: Thursday, July 22, 2010 - 01:18 PM UTC
The cockpit is awesome until now
Keep going Mr. Mark


Cheers Nick
litespeed
Staff MemberNews Reporter
AEROSCALE
_VISITCOMMUNITY
England - North West, United Kingdom
Joined: October 15, 2009
KitMaker: 1,976 posts
AeroScale: 1,789 posts
Posted: Thursday, July 22, 2010 - 01:21 PM UTC
Hi Mark
Great choice of subject. I saw three of these at a recent airshow at Duxford, UK and was really taken with the pale blue camouflage of one of them. Will be checking this build with great interest, Enjoy.
tim
robot_
_VISITCOMMUNITY
United Kingdom
Joined: March 08, 2009
KitMaker: 719 posts
AeroScale: 691 posts
Posted: Thursday, July 22, 2010 - 08:30 PM UTC
Looking great so far! These late war Soviet aircraft look very nice. Is the upper wing a single piece? Is the lower wing a single piece too? Unusual for a 1/48 model.
IronMark
_VISITCOMMUNITY
Texas, United States
Joined: December 27, 2009
KitMaker: 71 posts
AeroScale: 69 posts
Posted: Friday, July 23, 2010 - 02:58 PM UTC
I appreciate the kind words.

I must applaud Eduard for doing such a great job on the model. The parts fit very well up to this point and the photo-etch items are a nice touch.

Ben - Your observation is correct; the wings are molded in upper and lower halves. At first I was concerned this would result in fit issues at the wing root/ fuselage joint. However, the seam line is logically situated and, based on my dry fitting experiments, will hardly require any filler. Bravo Eduard!

Thanks again everyone,
Mark
IronMark
_VISITCOMMUNITY
Texas, United States
Joined: December 27, 2009
KitMaker: 71 posts
AeroScale: 69 posts
Posted: Sunday, July 25, 2010 - 12:10 PM UTC
Happy Sunday everyone,

A bit of progress to report this weekend. The cockpit assembly is complete and a few photo's of the finished work follow:


From the top: the seat harness was fashioned from strips of Scotch blue masking tape, painted with Vallejo acrylics.


The radio deck aft of the pilot:


And finally, the fuselage buttoned-up and attached to the wings. The Yak-3 has a beautifully balanced plan view, shown here to good effect.


Thanks again for checking us out.

Happy Modeling,
Mark
IronMark
_VISITCOMMUNITY
Texas, United States
Joined: December 27, 2009
KitMaker: 71 posts
AeroScale: 69 posts
Posted: Thursday, July 29, 2010 - 12:47 PM UTC
Good day everyone,

Back again with more updates on the "Good ol Yak":

Additions to the fuselage continue apace. First, a close-up view of the splitter plates I've added to the intakes and brass tube used to simulate gun barrels:


Next up, a shot of my photogenic "Production Supervisor" and her handy work. Her fur inevitably ends up under a decal:


Next, to place some perspective on the size of the Yak-3, I have set beside it a KKR-1 recon pod from the KP Su-22 (this is a side project at the moment).


Next up is a trip to the paint booth!! Thanks for checking us out!
Mark
NickZour
_VISITCOMMUNITY
Attica, Greece / Ελλάδα
Joined: May 01, 2008
KitMaker: 1,437 posts
AeroScale: 1,241 posts
Posted: Thursday, July 29, 2010 - 06:53 PM UTC
Very nice

Keep going

The cat is very nice too


Cheers Nick
IronMark
_VISITCOMMUNITY
Texas, United States
Joined: December 27, 2009
KitMaker: 71 posts
AeroScale: 69 posts
Posted: Wednesday, August 04, 2010 - 01:37 PM UTC
Hello again everyone,

Nick, thank you for the kind words!

The fun continues on the Yak....this time, preparation for paint!

The first step is to apply the interior color to the exterior of the canopy. While it is not perfectly accurate, it is less work than masking the interior of the canopy and the effect is believable in this scale:


Preshading various panel lines and control surfaces on the ventral side:


The completed ventral side of the aircraft, complete with modulated shades of grey:


It was now time to prepare masks for the red portion of the forward fuselage:


Here is the template next to the fuselage. I will transfer this shape to strips of Tamiya tape and attach it to the model:


The forward fuselage masked, painted and weathered. I achieved this particular shade of red by applying a base coat of Tamiya XF-9, Hull Red and following it with several light, highly diluted applications of Tamiya XF-7 Flat Red:


And the finished result:


Next up, decals!

Thanks for stopping by.
Cheers, Mark
robot_
_VISITCOMMUNITY
United Kingdom
Joined: March 08, 2009
KitMaker: 719 posts
AeroScale: 691 posts
Posted: Wednesday, August 04, 2010 - 07:09 PM UTC
Your painting is really tidy Mark- you have excellent control of the airbrush. Looking forward to the next stages. Great work.
KrisMax
_VISITCOMMUNITY
Queensland, Australia
Joined: January 23, 2010
KitMaker: 156 posts
AeroScale: 139 posts
Posted: Sunday, August 08, 2010 - 10:58 PM UTC
Great modelling Mark, looking forward to seeing how it turns out.


Simon
NickZour
_VISITCOMMUNITY
Attica, Greece / Ελλάδα
Joined: May 01, 2008
KitMaker: 1,437 posts
AeroScale: 1,241 posts
Posted: Monday, August 09, 2010 - 12:41 AM UTC
That's a great painting result


Cheers Nick
Yoni_Lev
_VISITCOMMUNITY
Washington, United States
Joined: September 20, 2007
KitMaker: 861 posts
AeroScale: 111 posts
Posted: Monday, August 09, 2010 - 06:51 PM UTC
I don't know how I missed this, but the Yak looks great. The paintwork is really well done, with subtle shading. I like it.

-YL
IronMark
_VISITCOMMUNITY
Texas, United States
Joined: December 27, 2009
KitMaker: 71 posts
AeroScale: 69 posts
Posted: Friday, August 13, 2010 - 02:36 PM UTC
Ben, Simon, Nick and Yoni, I certainly appreciate your kind comments.

I won't blabber on about the sweltering heat that has me spending a good part of the daylight hours indoors but suffice it to say I'm taking the opportunity to dedicate more time to the modeling bench. And to this end, I present the finished Yak-3:

Here is our lovely lady in all her weathered glory:


The underside:


A close-up of the undercarriage details. This view also shows the scratch built intake splitter plates:


Another side view:


And finally, a close-up under different lighting:


To recap,
I completed the model using the kit supplied parts and decals, with scratch built items limited to the radio, wing-root intakes, main gear (fluid lines and attachment straps), trim tabs and landing gear extension indicators. I finished it using a mix of Vallejo and Tamiya acrylic paints in the style (my best interpretation) of Sr. Daniel Zamarbide. The kit was a blast to build and gave me very few problems. Bravo Eduard!

Thanks again for following and I wish you Happy Modeling!
Mark
NickZour
_VISITCOMMUNITY
Attica, Greece / Ελλάδα
Joined: May 01, 2008
KitMaker: 1,437 posts
AeroScale: 1,241 posts
Posted: Friday, August 13, 2010 - 09:56 PM UTC
Well, I have to say that is is an AWESOME little gem
Congratulations Mr. Mark

A mistake I can see is the antenna, is thick


Cheers Nick
IronMark
_VISITCOMMUNITY
Texas, United States
Joined: December 27, 2009
KitMaker: 71 posts
AeroScale: 69 posts
Posted: Saturday, August 14, 2010 - 03:20 AM UTC
Cheers Nick

I appreciate the kind compliments. Your observation about the antenna is spot-on correct. I used fine-gauge copper wire to represent the antenna and agree it came out a bit too thick. I'm experimenting with various types of thread at the moment and will give it a go next time around.

Have a great day and once again, thanks for your feedback!
Mark

NickZour
_VISITCOMMUNITY
Attica, Greece / Ελλάδα
Joined: May 01, 2008
KitMaker: 1,437 posts
AeroScale: 1,241 posts
Posted: Saturday, August 14, 2010 - 03:31 AM UTC
The best technique to represent wires under scale (this is how I rigged my Eduard Bristol F.2b (a lot of rigging ) )

http://www.youtube.com/watch?v=pw0fv6Ot7eQ


Cheers Nick
 _GOTOTOP