not sure a Blog is suitable for such work. If not, please remove that flag Rowan!
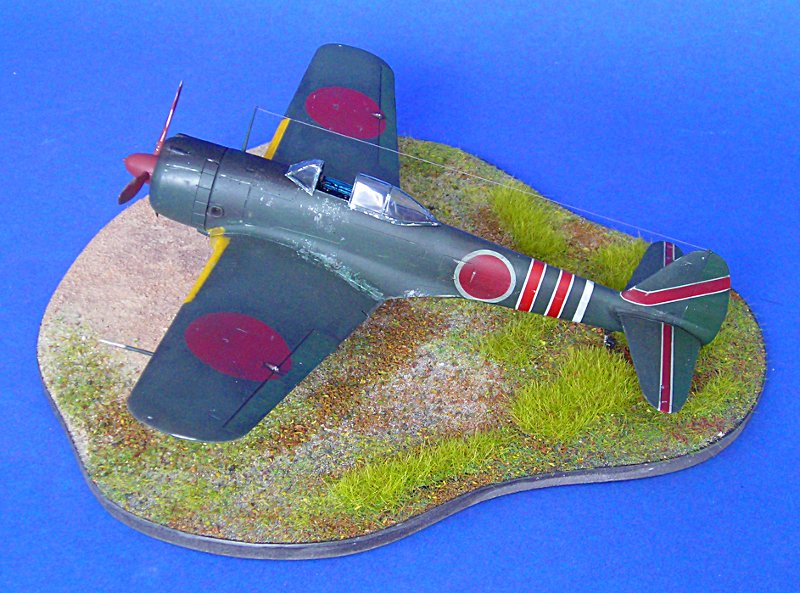
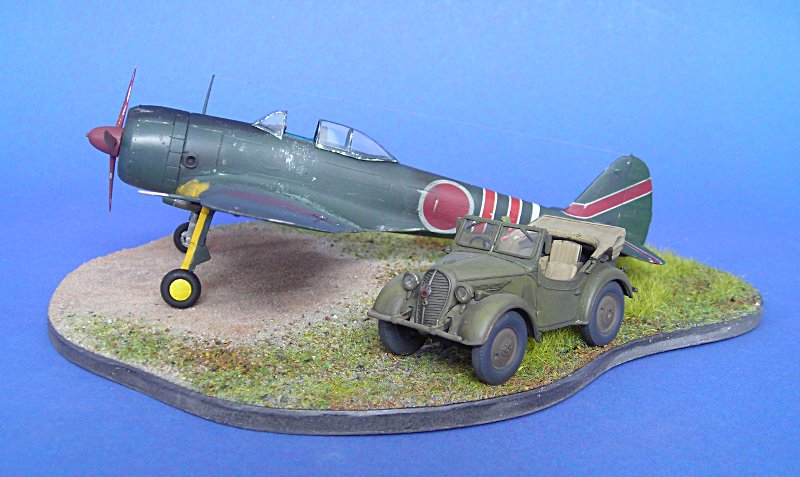
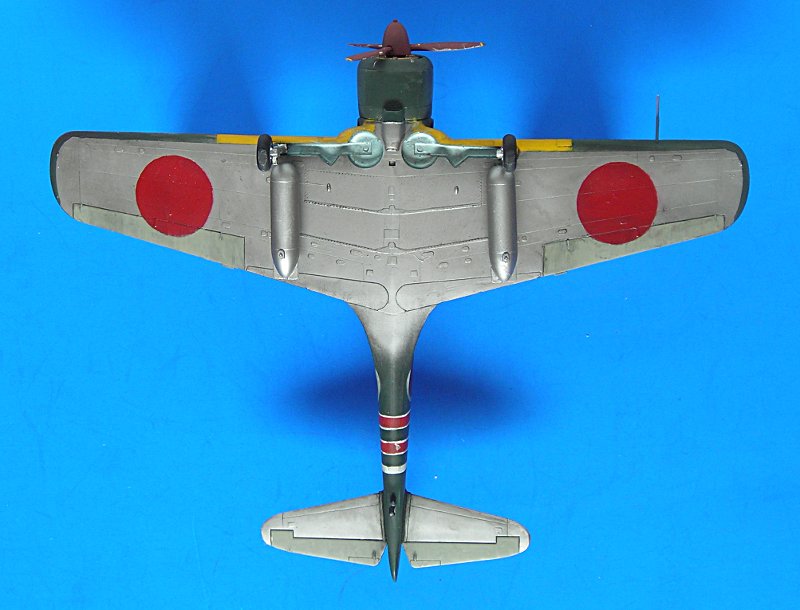
When I met with Jean-Luc and Marc last monday I took my 10 year old Fine Molds Ki43 with me to take a few pictures to spice up an old article where I just had 2 small ones (see here for the new pix)

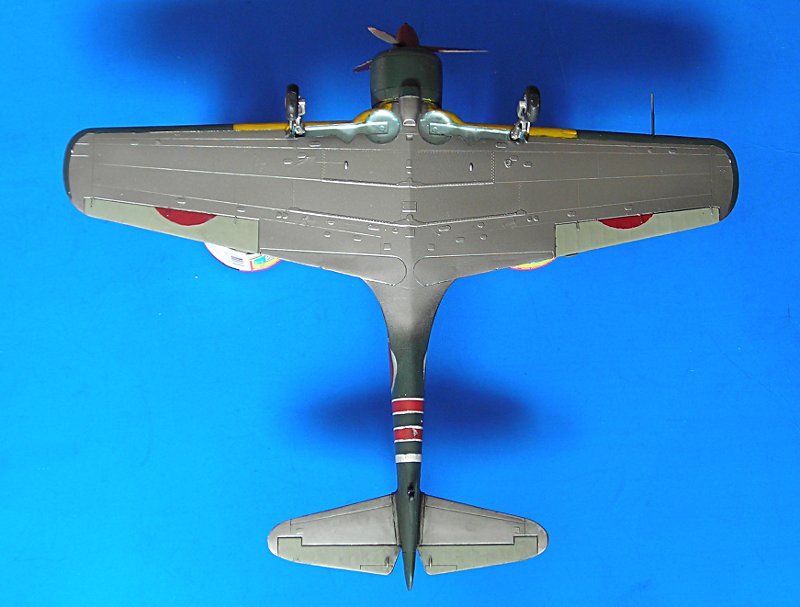
During the photo session I noticed the strange angle of the u/c legs. Easy thing, I broke these off, drilled holes in legs and wing, inserted pieces of hypodermic needle and reglued them to my liking.

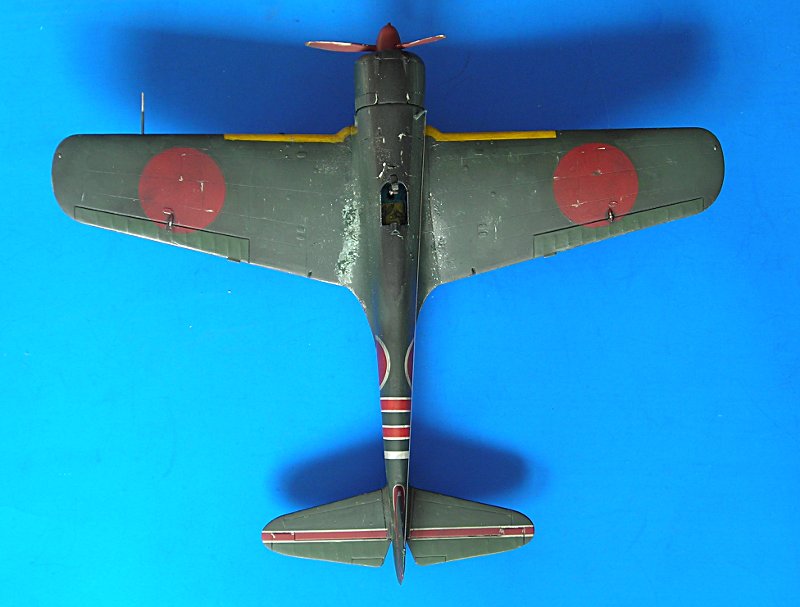
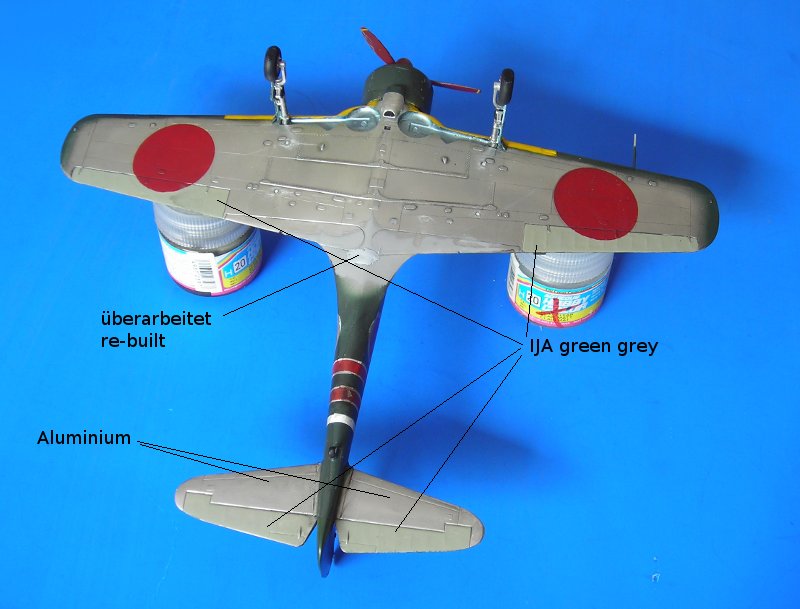
When doing this I noticed that I did not work very well on the leading edge and sanded some imperfections away. Then I thought the fabric control surfaces should be Army green grey rather then silver and repainted that too ... you see I ran from a small correction into a rebuild ... I did not like the flow marks showing through the silver ath the elevators and repainted that Alu. Also I found a biiig step at the rear wing to fuselage joint. I cut this with a PE saw and softened the area with Tamiya extra thin cement. Then I reglued it with some pressure apllied to get a nice smooth transition The rest was sanded and a bit of Mr. Surfacer 500 will do the rest.
Turning to the upper side I did not like the style of wear and tear (just some silver brush strokes) and decided to cover it up with army dark green. Of course I did not match the paint I used then (also I do no longer know what I used) but the Klear coat highlights the freshly applied paint. A wash plus flat coat will even that out a bit and will leave a slight colour variation.
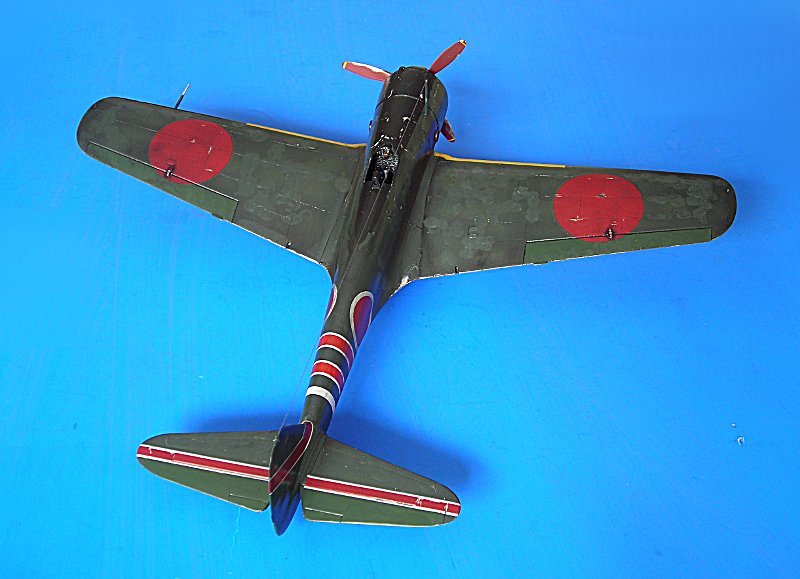
This measures will not bring this model up to my current style, but I can take this model to a show again ...
all the best
Steffen
P.S. if you read this when I just posted the topic. Do not wonder the inet ate 95 % of my first try because I made a mistake (not sure which though)