_GOTOBOTTOM
Cold War (1950-1974)
Discuss the aircraft modeling subjects during the Cold War period.
Hosted by Tim Hatton
1/72 Revell SR-71 Blackbird "Rapid Rabbit"
Dirkpitt289
_VISITCOMMUNITY
New Jersey, United States
Joined: May 24, 2008
KitMaker: 346 posts
AeroScale: 307 posts
Posted: Sunday, August 15, 2010 - 04:32 AM UTC
To Keep The Peace They Flew Alone...Unarmed

"Reconnaissance in a Class of One"


This is a build I'm doing for a Cold War group build that I thought I'd share with you. The build is just about completed.

History

When I think of the Cold War I can't help but think of high flying spy planes.

In 1957, plans were drawn up for a high flying reconnaissance spy plane, The CIA was the backer behind the project. They wanted something that could reach anywhere in the world in a matter of hours and have the photos lying on someone's desk by lunch.

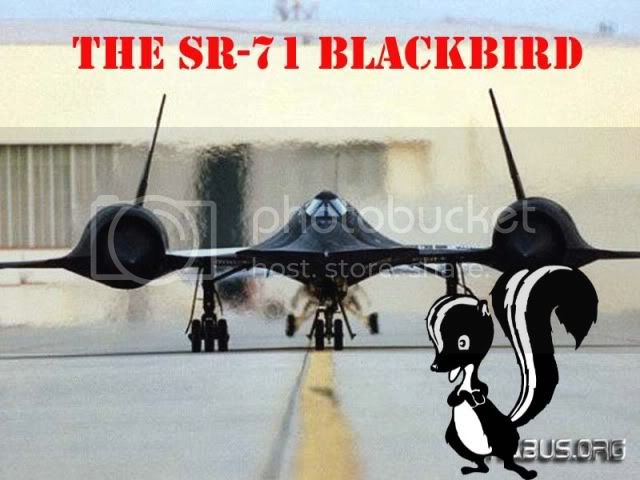
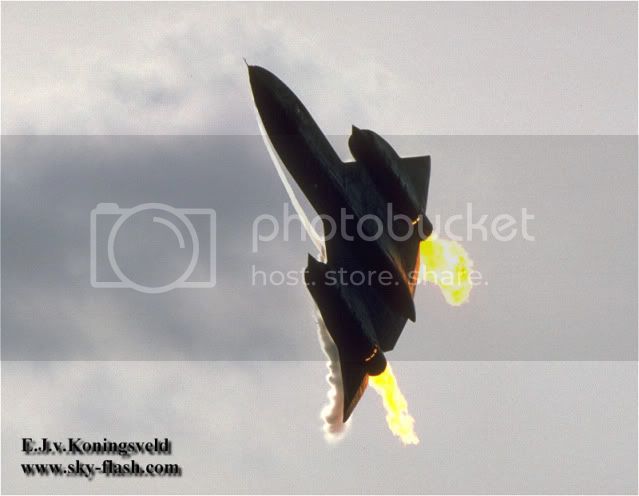
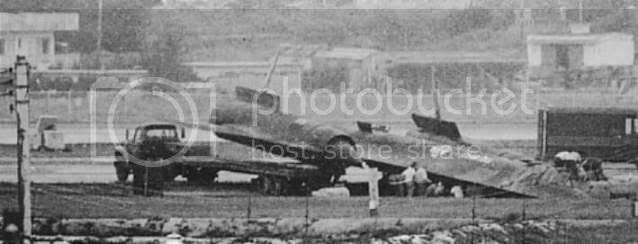
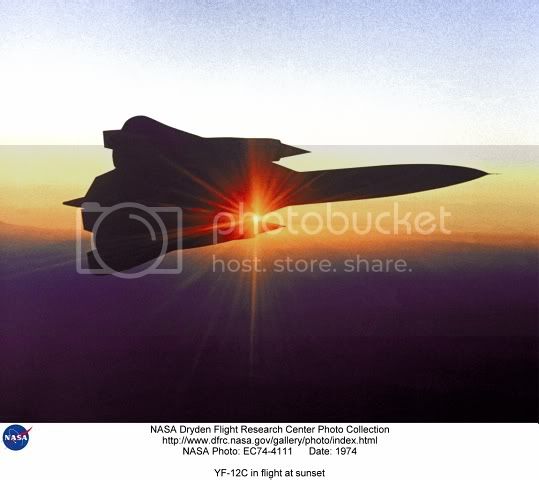
The results was the SR-71 Blackbird or Habu. It was capable of an altitude of 90,000 ft. and Mach 3.2+ speed, faster than a rifle bullet. In 1968, the first SR-71s went into service at Kadena, AFB in Okinawa, Japan. The SR-71s also operated out of two other bases bases: Beale Air Force Base, California and Mindenthall, UK. Most of the missions were flown out of Kadena.

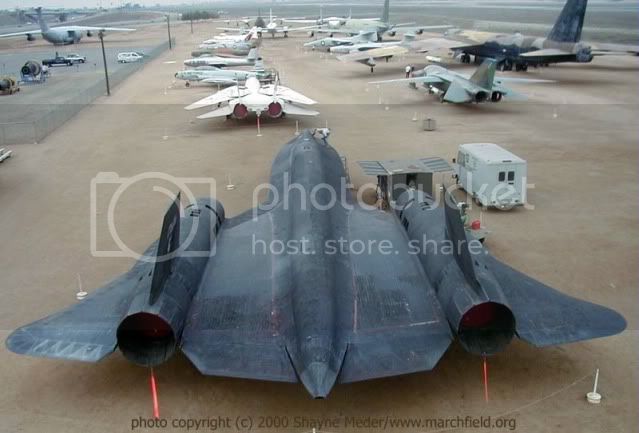
The plane was tough to land. Of the 32 Blackbirds built, 11 crashed on landing. On the other hand, it was safe to fly. Over 1,000 attempts were made to shoot them down, but not a single plane was lost to enemy action or mechanical problems. In 1968, a presidential order required that all molds and tools used to build the SR-71 be destroyed so that the plane could never be built by anyone again. This also meant that spare parts could not be made, so if there were any major problems, planes in storage would have to be cannibalized. In 1990, the SR-71 fleet was decommissioned at Beale AFB. Five years later, three of the planes were returned to service, but it cost $140 million a year to keep them flying. The Air Force felt the money could be better used, so the plane was taken out of service
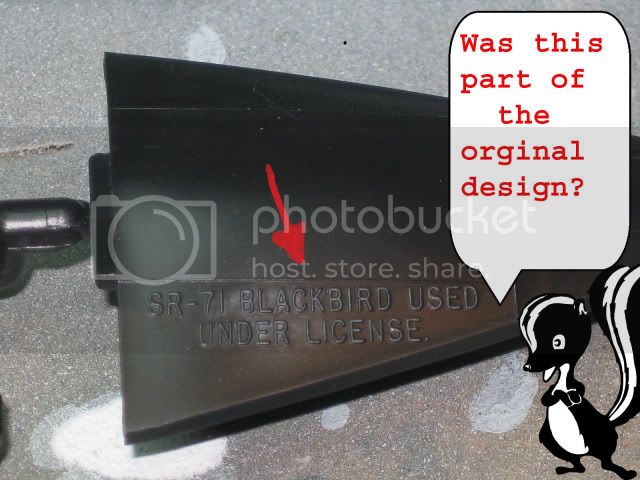
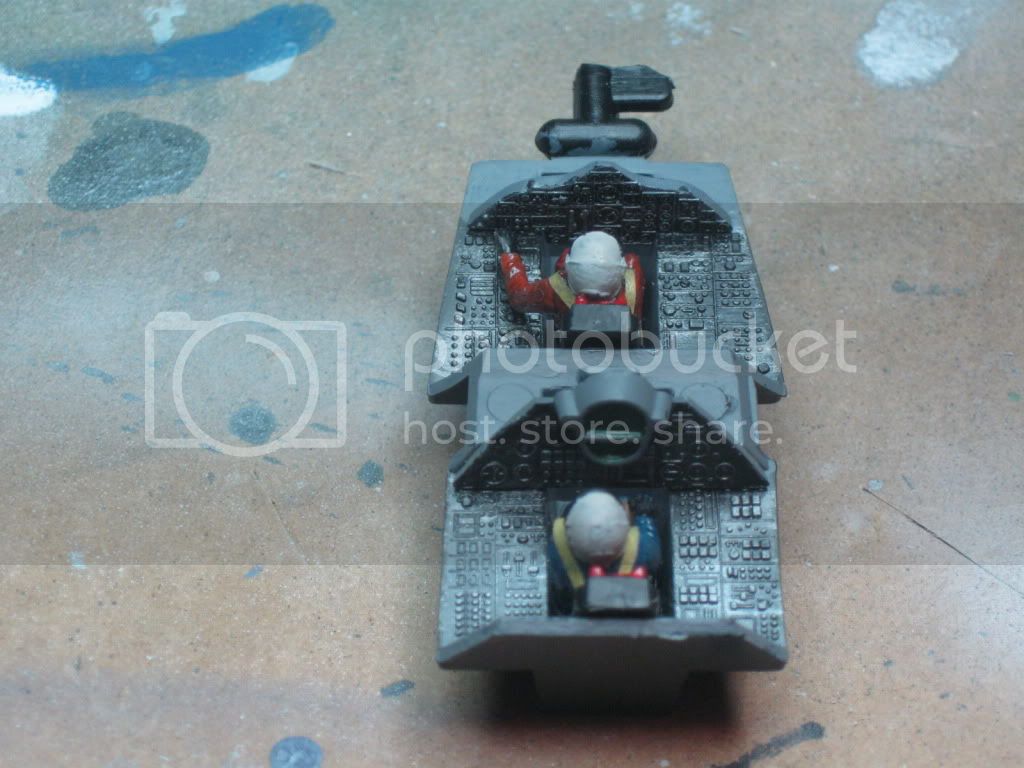
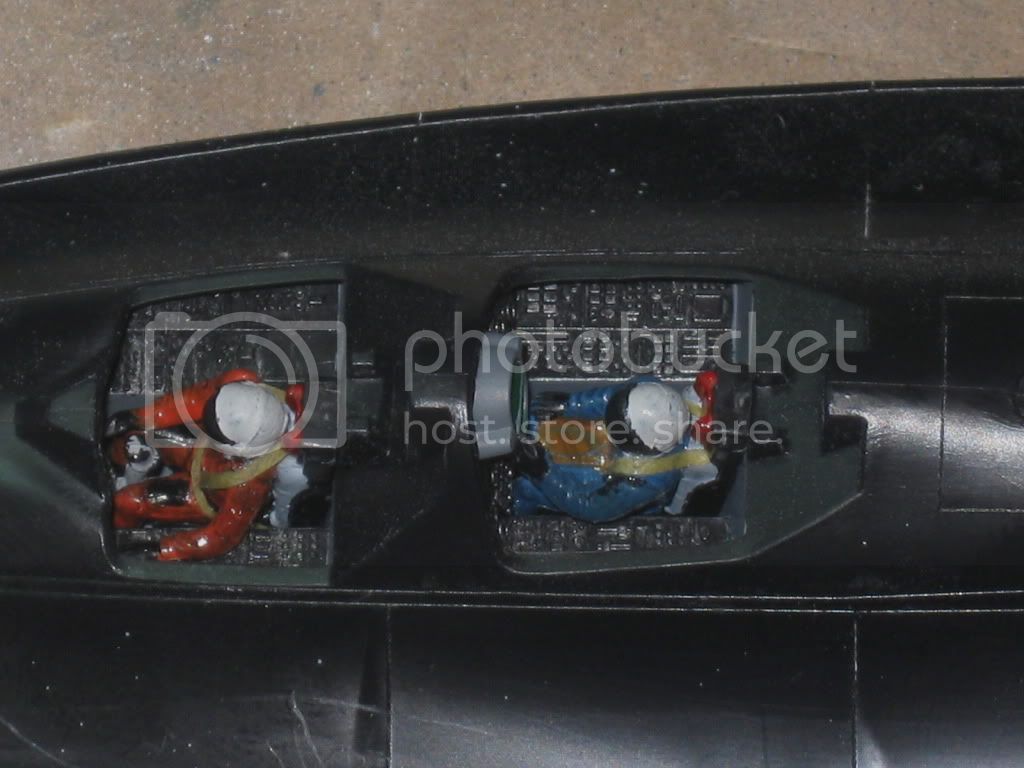
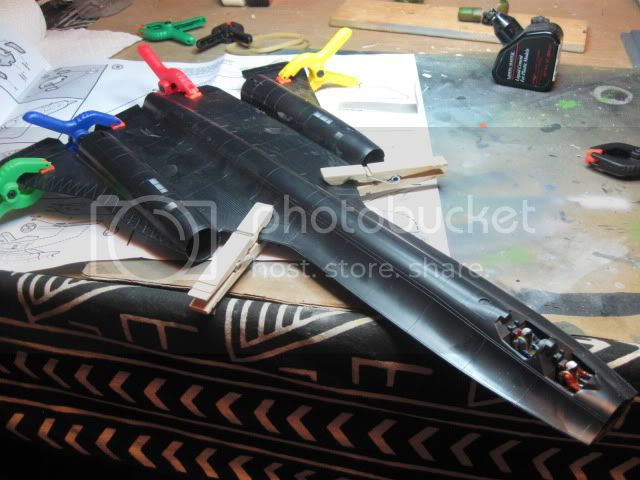
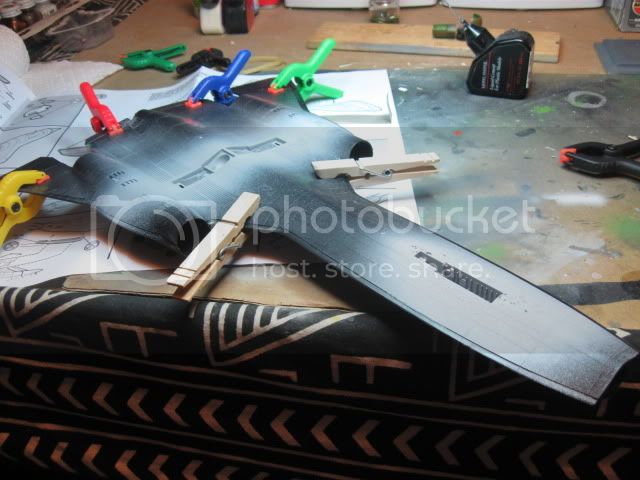
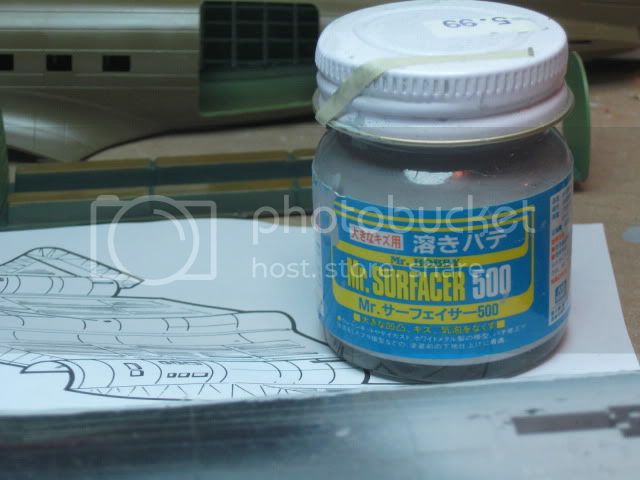
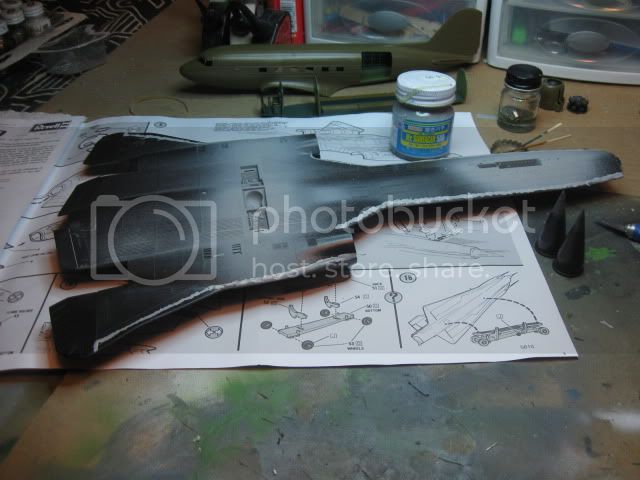
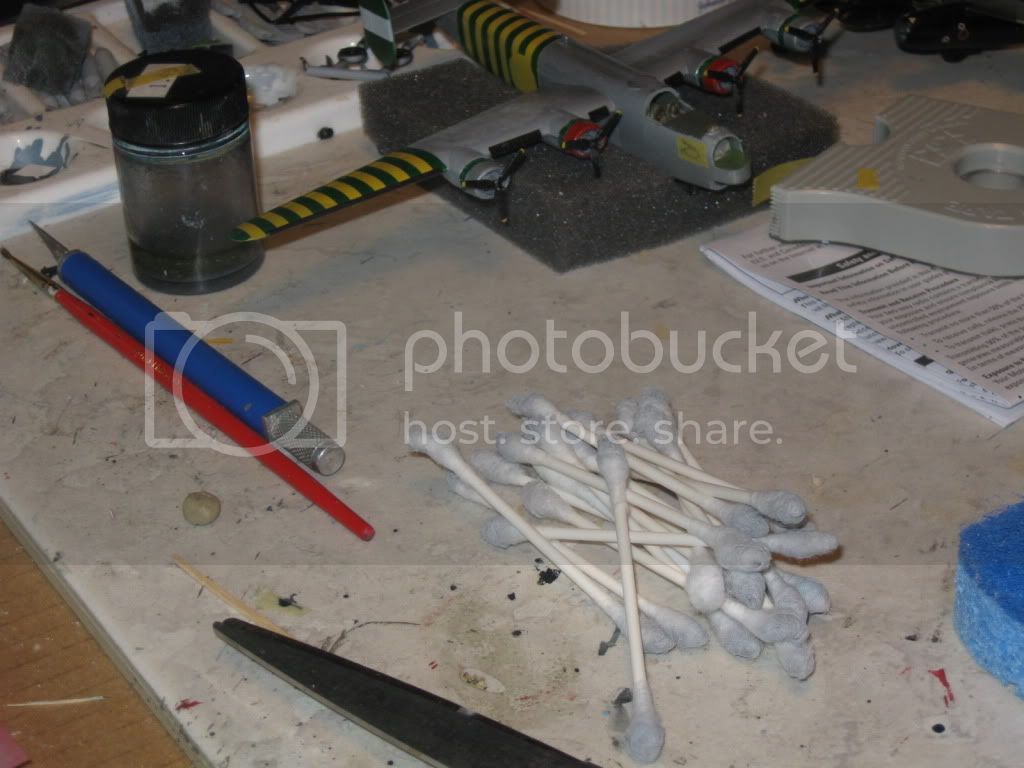
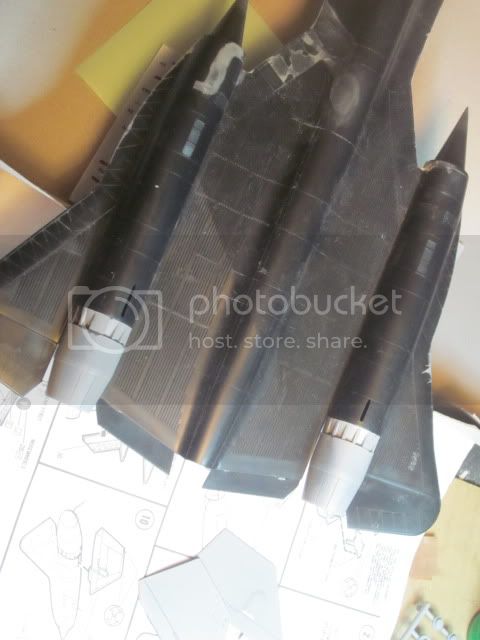
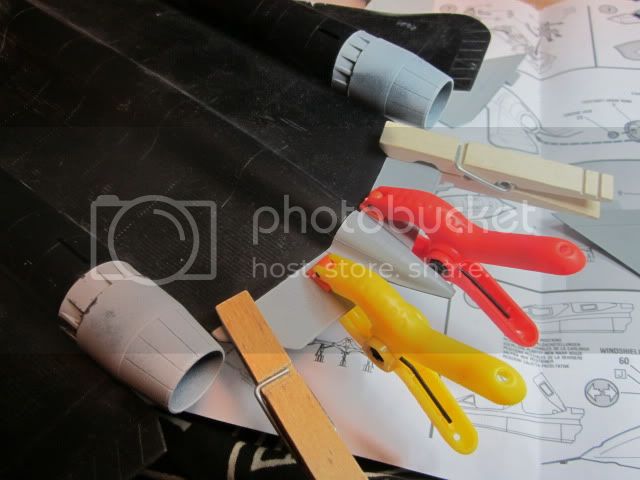
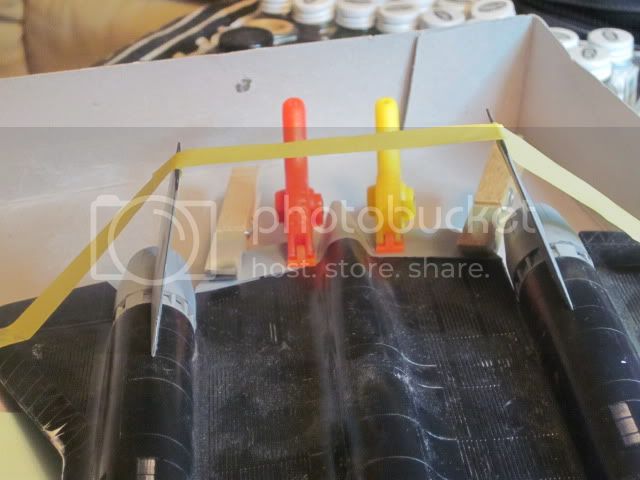
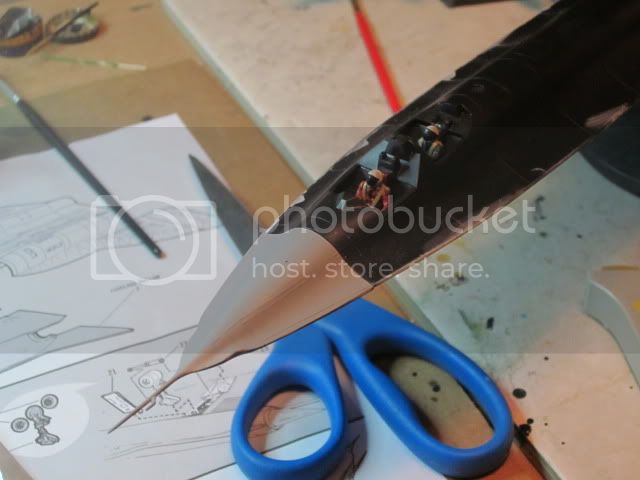
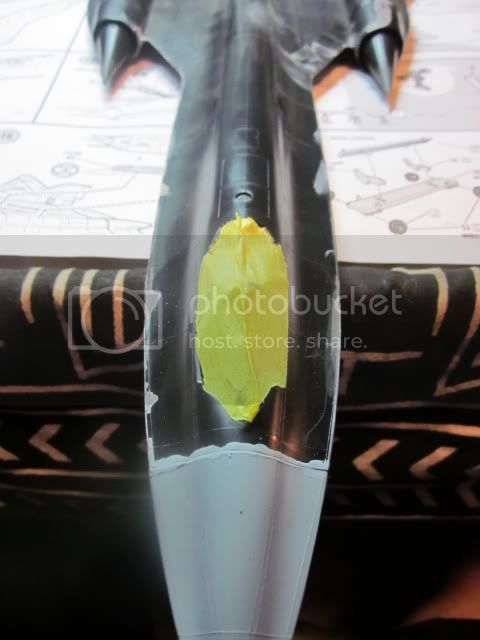
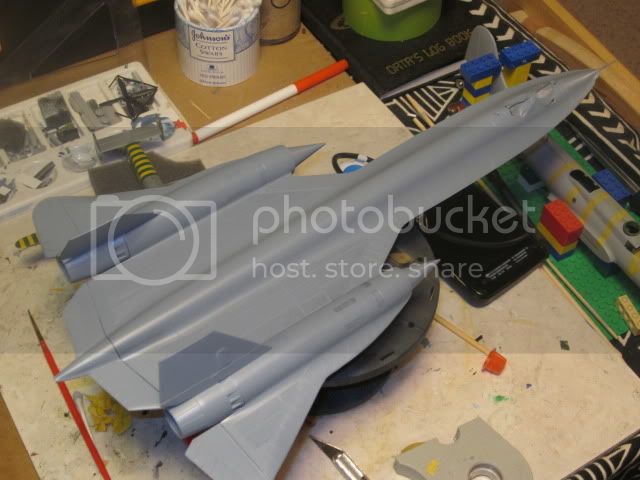
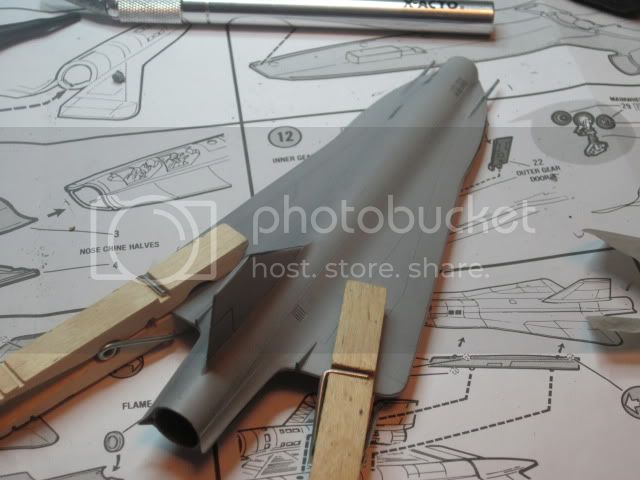
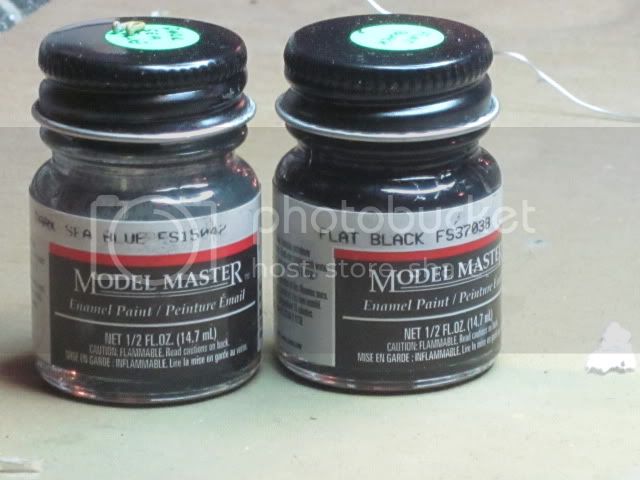
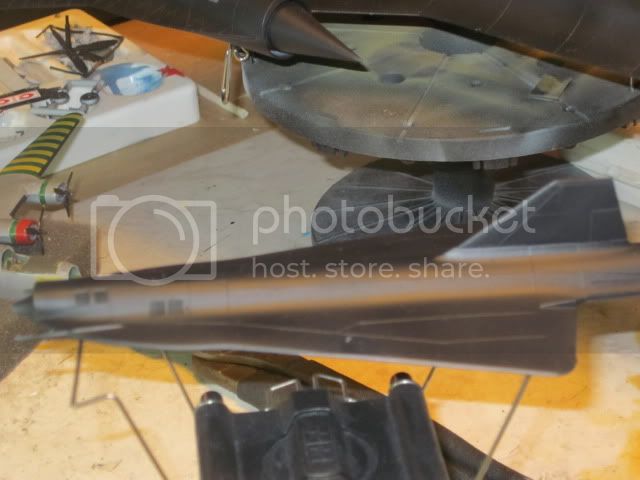
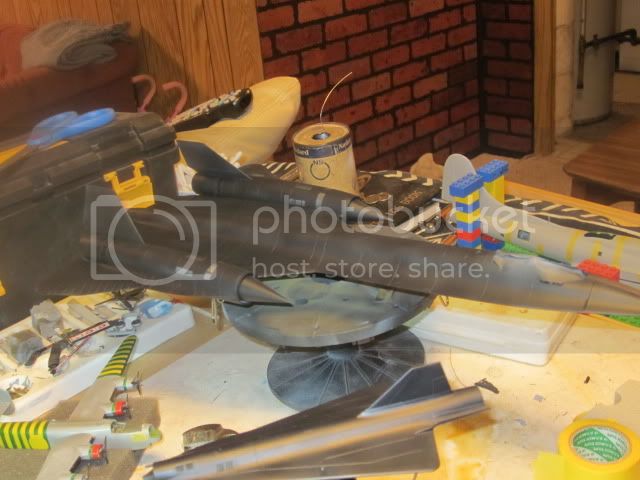
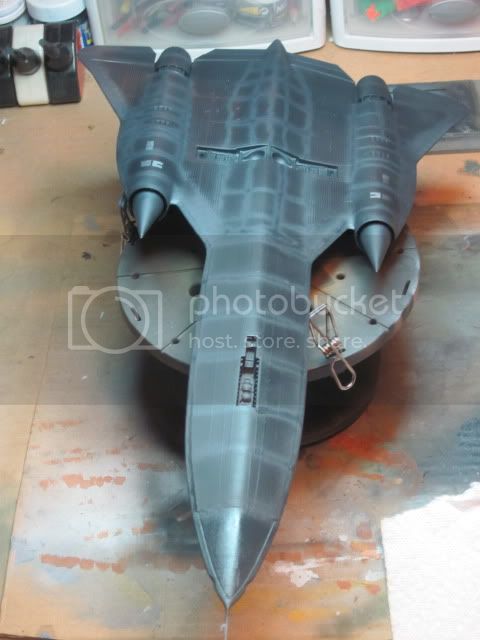
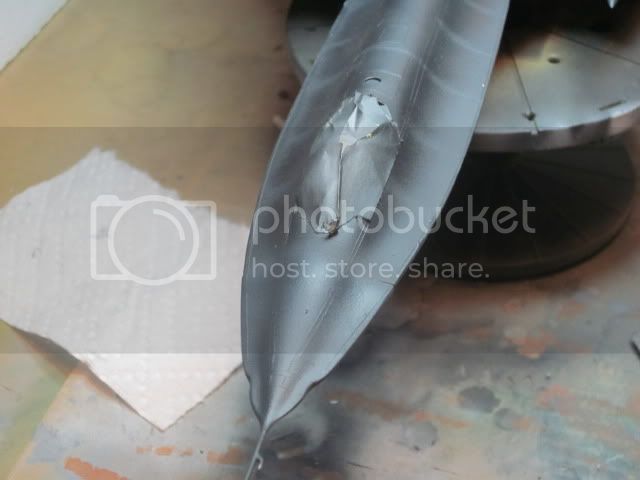
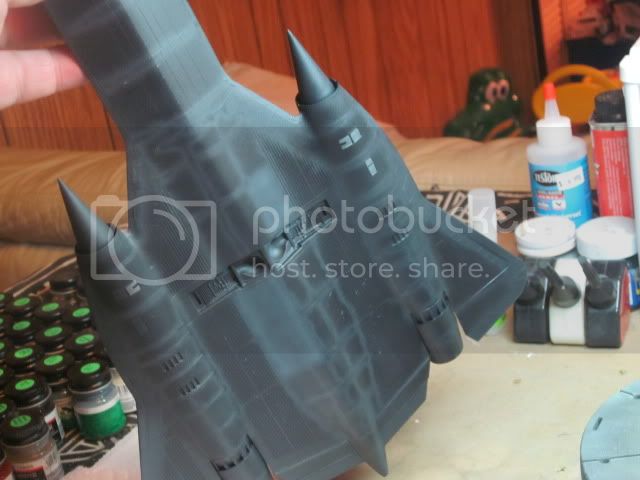
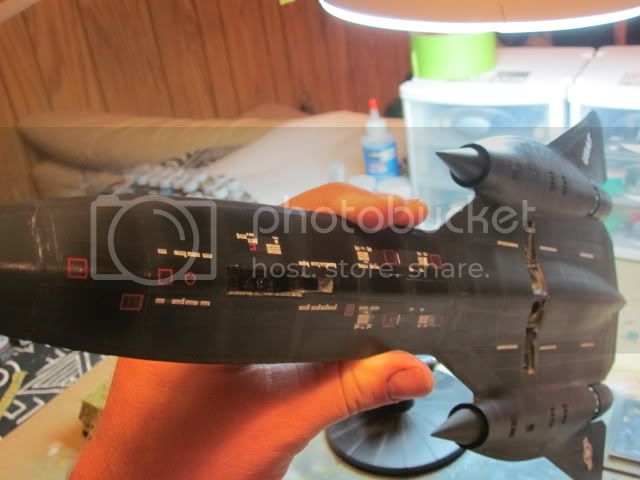
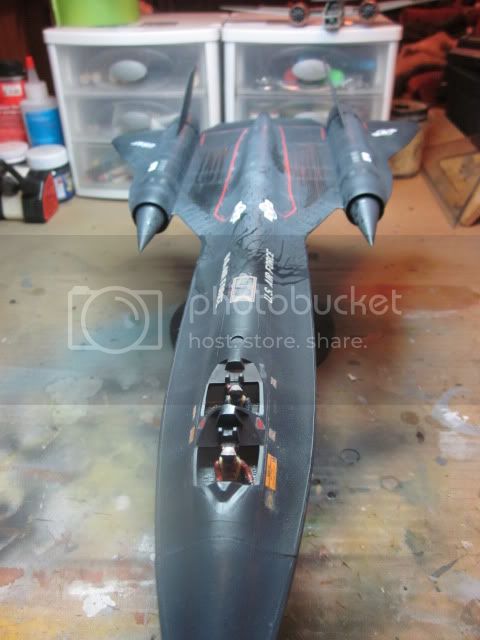
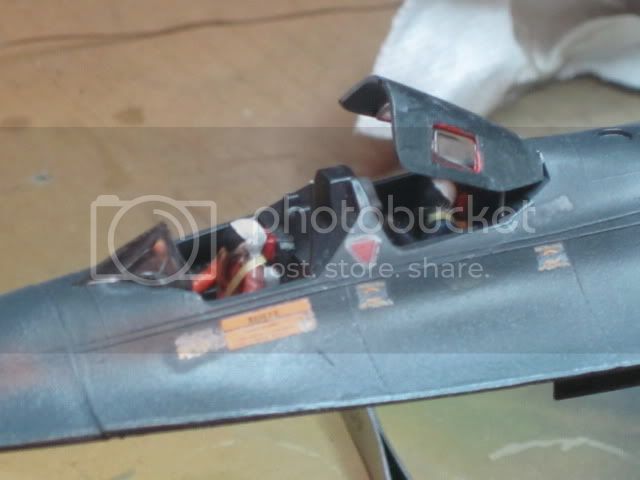
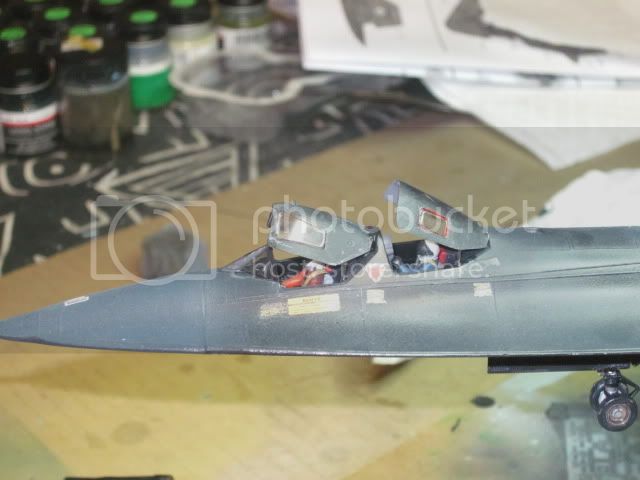
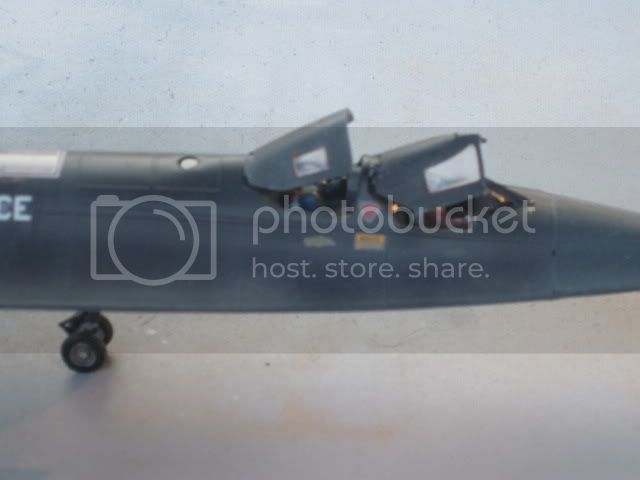
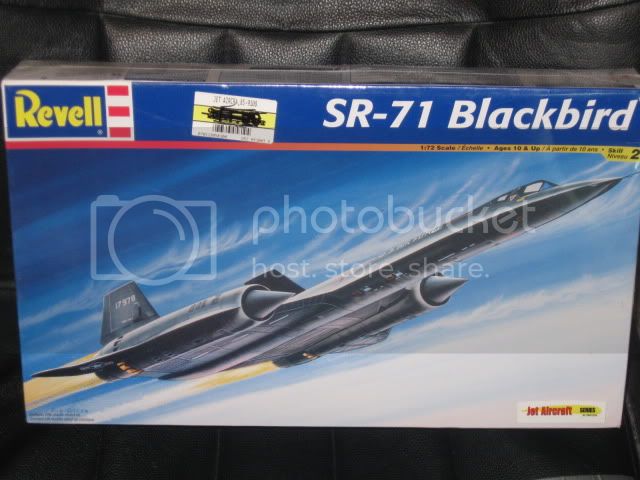
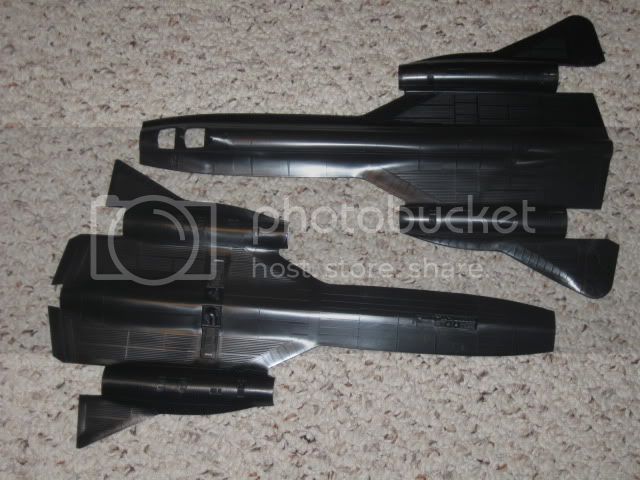
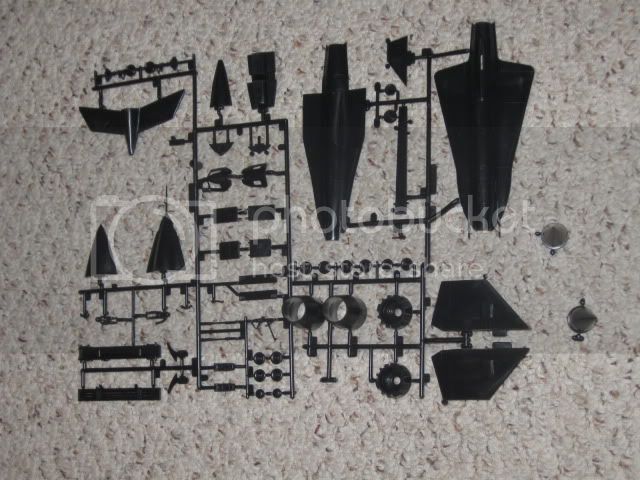
The Model


SR-71 Fun Fact

Did you know The SR-71 Blackbird is the fastest aircraft in the world to take off under its own power.

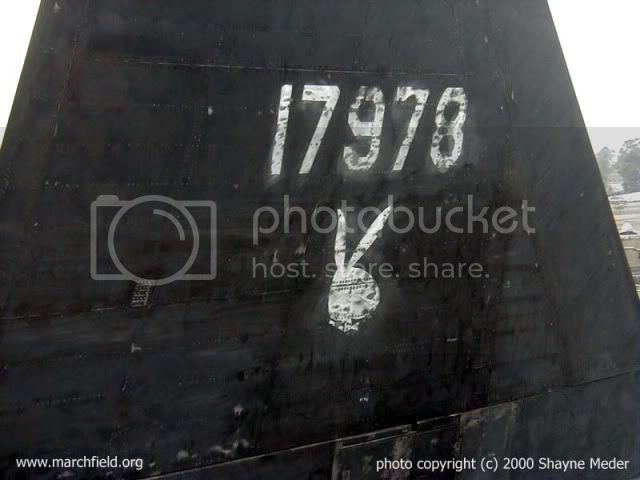
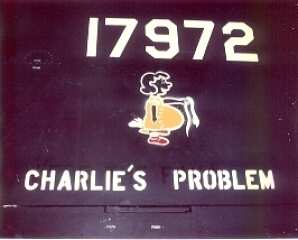
Originally I wanted to do aircraft tail number 17972 "Charlie's Problem" which had a picture of a pregnant Lucy on the tail. Alas I can't locate the custom decals anywhere and I haven't progressed to the point where I can make my own.


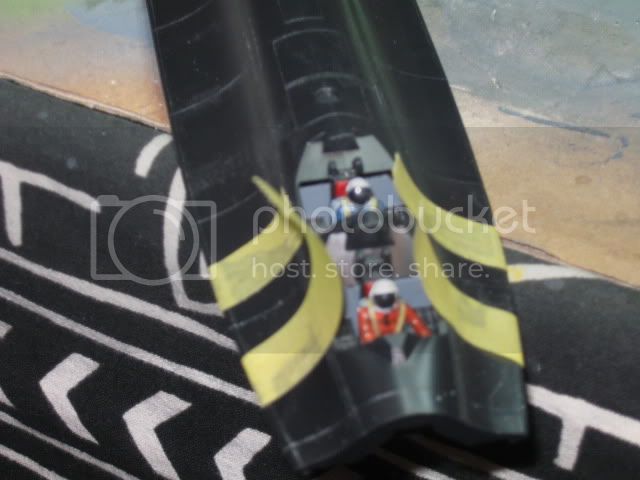
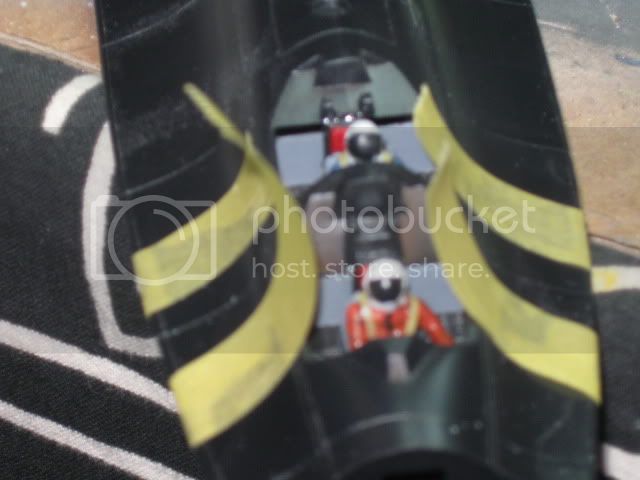
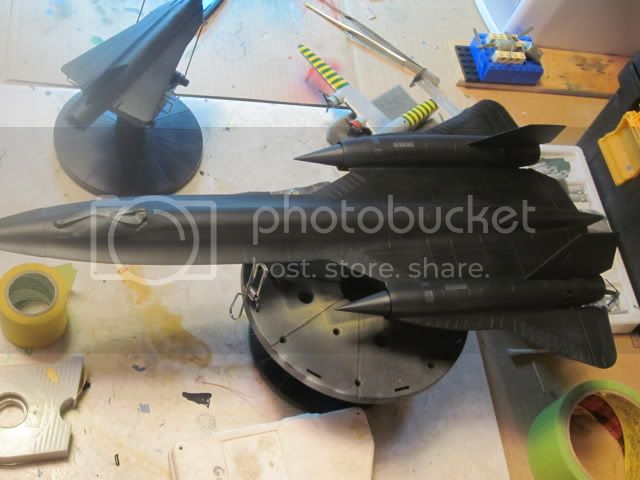
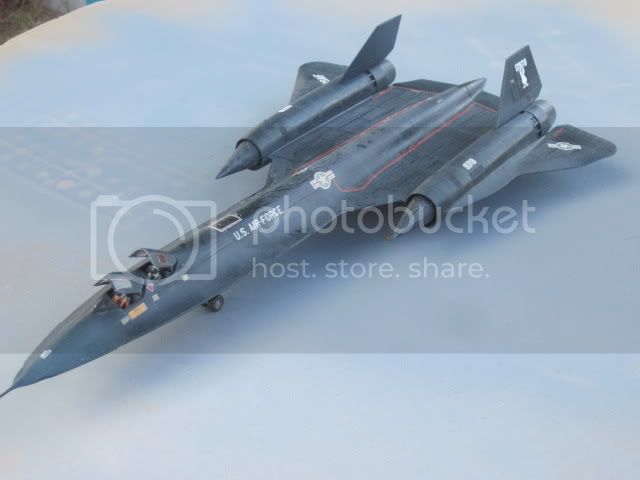
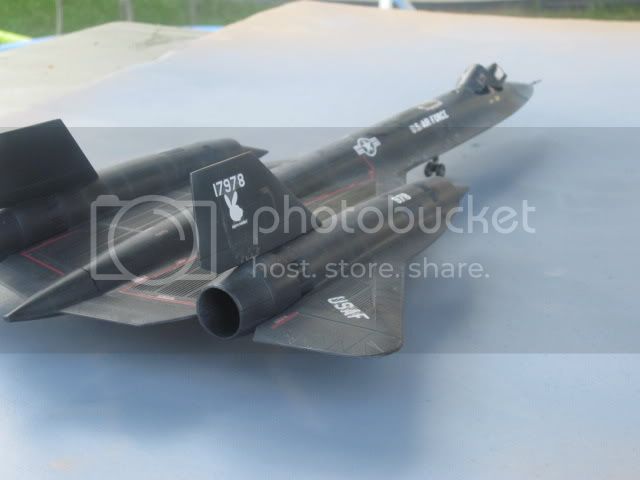
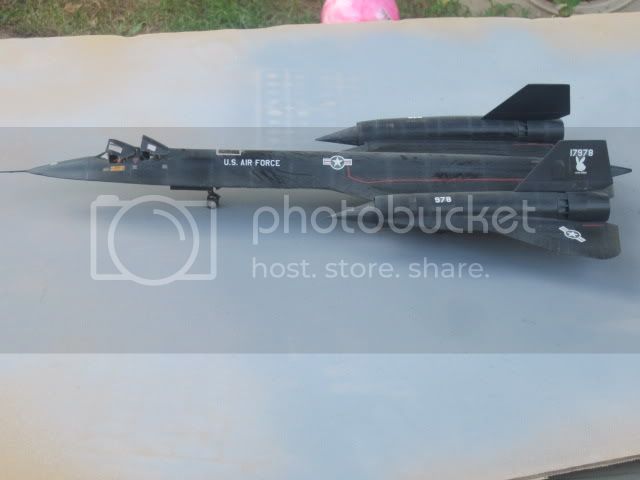
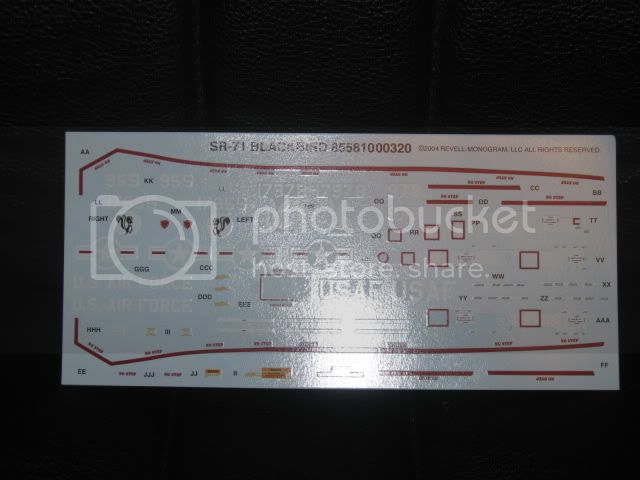
So I will be going with one of the kit options, 17978, Rapid Rabbit. Who doesn't like a playboy bunny? :oops:


Thanks for taking the time to look at my project.
Dirkpitt289
_VISITCOMMUNITY
New Jersey, United States
Joined: May 24, 2008
KitMaker: 346 posts
AeroScale: 307 posts
Posted: Sunday, August 15, 2010 - 04:48 AM UTC
Here I go again! My latest project is now underway.


Blackbird Specifications

Primary Function: Strategic Reconnaissance
Contractor: Lockheed-Martin Skunkworks
Crew: Two
Unit Cost: $34 Million per Airframe
Powerplant: Two Pratt and Whitney J-58 axial-flow turbojets with afterburners, each producing 32,500 pounds of thrust
Speed: over Mach 3.2 / 2,000 mph (3,200 kph)
Ceiling: over 85,000 feet (26,000 m)
Range: over 2000 miles (3200 km) unrefueled
Armament: NONE
Number of SR-71's built:50 Blackbird airframes of various designations

SR-71 Fun Fact

The Blackbird is painted with a black paint that consists of a pigmentation containing minute iron balls. These dissipate electro-magnetically-generated energy and effectively lower the chances of the plane being picked up by radar. The special black finish also wards off heat caused by high speeds and actually radiates significantly more friction-generated heat than it absorbs at cruising speeds of Mach 3

The Model
Going through the parts some things stand out.


David Clark S1030 Suit

A fully enclosed suit with a double zippered rear entry, it had enclosed feet at the bottom of the legs, full-length sleeves with metallic rings and a locking mechanism that acted as a connecting point for the gloves. The head opening had another metallic ring with a locking mechanism that served as a connecting point for the helmet. The second component was the helmet, the third were the gloves and the final component was the torso harness, which was part of the egress and survival systems that was worn over the suit itself. Standard flight boots were worn with the ensemble, the only difference being that the boots were a full 2 – 2.5 sizes larger to accommodate the feet of the suit when inflated.


SR-71 Ejection Seats


This photo doesn't do justice to the panels. The cockpit was painted ghost gray, the instruments and panels were painted black and then dry-brushed with aluminum.
Dirkpitt289
_VISITCOMMUNITY
New Jersey, United States
Joined: May 24, 2008
KitMaker: 346 posts
AeroScale: 307 posts
Posted: Sunday, August 15, 2010 - 04:55 AM UTC
The plan is to build this model with the cockpit open allowing people to view the interior. To liven things up a bit I choose to dress the crew in two different color flight suits. While the gold suits (Almost looks Orange in most photos) were the primary color suits there were others such as white brown and blue. The blue suit was and still is the primary color suit for U2 Pilots.


Pilots assigned their seats and strapped in using Tamiya tape


Thanks for looking
Dirkpitt289
_VISITCOMMUNITY
New Jersey, United States
Joined: May 24, 2008
KitMaker: 346 posts
AeroScale: 307 posts
Posted: Sunday, August 15, 2010 - 04:58 AM UTC
A story from an SR-71 Pilot

We trained for a year, flying out of Beale AFB in California, Kadena Airbase in Okinawa, and RAF Mildenhall in England. On a typical training mission, we would take off near Sacramento, refuel over Nevada, accelerate into Montana, obtain high Mach over Colorado, turn right over New Mexico, speed across the Los Angeles Basin, run up the West Coast, turn right at Seattle, then return to Beale. Total flight time: two hours and 40 minutes.
One day, high above Arizona, we were monitoring the radio traffic of all the mortal airplanes below is. First, a Cessna pilot asked the air traffic controllers to check his ground speed.
“Ninety knots,” ATC replied.
A twin Bonanza soon made the same request.
“One-twenty on the ground,” was the reply.
To our surprise, a Navy F-18 came over the radio with a ground speed check. I knew exactly what he was doing. Of course, he had a ground speed indicator in his cockpit, but he wanted to let all the bug-smashers in the valley know what real speed was.
“Dusty 52, we show you at 620 on the ground,” ATC responded.
The situation was too ripe. I heard the click of Walter’s mike button in the rear seat. In his most innocent voice, Walter startled the controller by asking for a ground speed check from 81,000 feet, clearly above controlled airspace.
In a cool, professional voice, the controller replied, “Aspen 20, I show you at 1,982 knots on the ground.” We did not hear another transmission on that frequency all the way to the coast.


I believe this story came from Brian Shul's book, "Why I Fly"
Dirkpitt289
_VISITCOMMUNITY
New Jersey, United States
Joined: May 24, 2008
KitMaker: 346 posts
AeroScale: 307 posts
Posted: Sunday, August 15, 2010 - 05:01 AM UTC
I made some progress on the SR-71 last night


Here I was able to clean up the raised letters on the fin


Fuselage halfs put together


More to follow
md72
#439
_VISITCOMMUNITY
Washington, United States
Joined: November 05, 2005
KitMaker: 4,950 posts
AeroScale: 3,192 posts
Posted: Sunday, August 15, 2010 - 05:06 AM UTC
Looking forward to this one. Somehow, I've managed to get 2 of them into the stash. Price tage looks familiar, Fred Meyer / Kroger?

Worked with a guy that had worked for P&W in the late 50's. All they had was a set of specifications and envelope drawings. The drawings all had the title blocks removed so that they couldn't track back to the airframe builder. It wasn't till LBJ unveiled it in the late 60's that he knew what he'd worked on.
Dirkpitt289
_VISITCOMMUNITY
New Jersey, United States
Joined: May 24, 2008
KitMaker: 346 posts
AeroScale: 307 posts
Posted: Monday, August 16, 2010 - 04:24 AM UTC
ok last night I started to fill the endless seams. Tonight I applied a second round of filler.


After reading some other build threads and seeing what those modlers went through I figured there had to be a better way. As I described above I filled the seems with Mr Surface 500 (Two applications). Then after it dried instead of sanding till my arm and the detail fell off I decided to go the acetone route. This is what's left after working on the seems of the SR-71. No surface detail was harmed during the removal of the filler. Woo Hoo


At this time I don't have any presentable photos to show but the seems are just as acceptable to me if not better then if I sanded them. The only issue I had is at one point I spilled some of the acetone and it got on my thumb. I then imprinted my finger print into the top of the model. Not that big a deal as I already sanded it out. Removal time of all the filler was close to 2 hours. I wanted to be sure I got all the filler and not melt the plastic. After I was done I went over the seams with some fine (pink paper from the Testors pack) grit sandpaper to soften it all up. Its now smooth as a baby's bottom
md72
#439
_VISITCOMMUNITY
Washington, United States
Joined: November 05, 2005
KitMaker: 4,950 posts
AeroScale: 3,192 posts
Posted: Monday, August 16, 2010 - 04:42 AM UTC
Dirk, Looks like a virtual aircraft factory on your desk.

Acetone trick sounds like I need to look into it. But, in the last photo it looks like the acetone made the seams and the plane invisible.
Dirkpitt289
_VISITCOMMUNITY
New Jersey, United States
Joined: May 24, 2008
KitMaker: 346 posts
AeroScale: 307 posts
Posted: Monday, August 16, 2010 - 04:58 AM UTC

Quoted Text

Dirk, Looks like a virtual aircraft factory on your desk.


yeah I have a multitude of unfinished projects on my bench. I'm trying to knock some of them out now.


Quoted Text

Acetone trick sounds like I need to look into it. But, in the last photo it looks like the acetone made the seams and the plane invisible.


Funny you should say that. Someone on another forum thought the pile of used q-tips were all that was left of the project after an acetone accident.

md72
#439
_VISITCOMMUNITY
Washington, United States
Joined: November 05, 2005
KitMaker: 4,950 posts
AeroScale: 3,192 posts
Posted: Monday, August 16, 2010 - 05:20 AM UTC
Dirk, looking at the stuff on your desk, I see some of those plastic drawer things. My desk is a mess, how well do those things work? Can they hold paint bottles. Mine are mostly Testors 1/4 oz or their MM series.
Dirkpitt289
_VISITCOMMUNITY
New Jersey, United States
Joined: May 24, 2008
KitMaker: 346 posts
AeroScale: 307 posts
Posted: Monday, August 16, 2010 - 06:33 AM UTC
Mark

Here is a link to my bench and builds. Almost all my builds are somewhere here on this forum but you can find most of them in this one thread.

http://gregers.7.forumer.com/viewtopic.php?t=11613

In these pictures I don't have the draws yet. I use them for holding everything from brushes, sandpaper to some paint. I like them a lot and should get some more.
md72
#439
_VISITCOMMUNITY
Washington, United States
Joined: November 05, 2005
KitMaker: 4,950 posts
AeroScale: 3,192 posts
Posted: Monday, August 16, 2010 - 07:15 AM UTC
Well Dirk, you're clearly a modeler after my own heart. Now I know that there is at least one other modeler CRAZY enough to drill out all 394 holes in the Testors SBD's dive brakes. I re did the guns and tried to duplicate the gunner's sling. Not nearly as well (2-3 orders of magniture worse) as you did. The markings for the tricolor bird in the kit are a joke, The fuselage is a -5, the decals are for a -3 and they try to pass it off as a Battle of Midway veteran, but most didn't have the dual .30's yet and they'd done away with the red circle on the star after Coral Sea.....

If I ever finish it, I paint and mark it as a -5 in the Atlantic, gray over white, in flight, since the gear is molded into the wing in the closed position...
Dirkpitt289
_VISITCOMMUNITY
New Jersey, United States
Joined: May 24, 2008
KitMaker: 346 posts
AeroScale: 307 posts
Posted: Monday, August 16, 2010 - 07:27 AM UTC
As horrible as that kit was I actually went out and picked up another one with the intentions of (1) scratch building the cockpit and (2) painting it in the Atlantic color scheme
Dirkpitt289
_VISITCOMMUNITY
New Jersey, United States
Joined: May 24, 2008
KitMaker: 346 posts
AeroScale: 307 posts
Posted: Monday, August 16, 2010 - 11:58 PM UTC
ot a lot to show here but this should bring everyone up to speed.

Installing the two 34,00 pound thrust Pratt & Whitney JT11D-20 (Military designation J58 ) afterburning turbo-ramjet engines. The real engines measured 20 feet long, 4.5 feet in diameter and 6500 pounds in weight. The early J-58s produced 30,000 pounds of thrust while the later versions were rated at 34,000 pounds. They operated in continuous afterburning during cruse flight.


This is where the engines were housed in the aircraft. Talk about impressive.


Here the tail assembly was installed


Next the vertical fins were put in place and set to the correct angle.


Next I installed the Advanced Synthetic Aperture Radar (ASAR) nose. The nose usually housed the OBC (Optical Bar Camera) which was capable of photographing 100.000 square miles of territory per hour.


next step is to prime the aircraft


I was at a stopping point and decided to assemble the GTD-21 Drone. While I don't plan on attaching it to the aircraft I figured what the heck. To the best of my knowledge information on these drones is still classified as top secret.

Dirkpitt289
_VISITCOMMUNITY
New Jersey, United States
Joined: May 24, 2008
KitMaker: 346 posts
AeroScale: 307 posts
Posted: Monday, August 23, 2010 - 02:35 AM UTC
The painting has commenced

First I started with laying down the base cote. That consisted of mixing Model Master Flat Black and Dark Sea Blue in a 50/50 mix. I did a test shot and wasn't happy so I upped the Dark Sea Blue to 60/40. This mix tested better.


First the drone


Next I started with the same base mixture but this time I added a few drops of Model Master Light Gray and some Aluminum. I then lowered the PSI as low as I could and would still allow the paint to flow. It took a few tests to get the desired affect I was looking for but it worked. and I'm pleased.

The only thing that drove me nuts was that the mix worked great on the panel lines but when I painted the nose cone (I wanted a lot of wear on this part) it came out blue. I really had to lighten the mix to get the cone to match.

Top


Bottom


Dirkpitt289
_VISITCOMMUNITY
New Jersey, United States
Joined: May 24, 2008
KitMaker: 346 posts
AeroScale: 307 posts
Posted: Monday, August 23, 2010 - 02:36 AM UTC
Here is the blackbird in her dress blues, All shinny and raring to go


md72
#439
_VISITCOMMUNITY
Washington, United States
Joined: November 05, 2005
KitMaker: 4,950 posts
AeroScale: 3,192 posts
Posted: Monday, August 23, 2010 - 03:25 AM UTC
Looks good, how are you going to finish off the gear wells?
Dirkpitt289
_VISITCOMMUNITY
New Jersey, United States
Joined: May 24, 2008
KitMaker: 346 posts
AeroScale: 307 posts
Posted: Tuesday, August 24, 2010 - 06:59 AM UTC
After looking over tons of photos, both the original and new episodes of Great Planes featuring the SR71 and one thing that stood out on the operational blackbirds was the fuel streaks across the fuselage. So arming myself with a pipit , Future, Poly scale Flat and a can of compressed air I went to work.


next step will be to add the landing gear
Keeperofsouls2099
_VISITCOMMUNITY
Florida, United States
Joined: January 14, 2009
KitMaker: 2,798 posts
AeroScale: 2,443 posts
Posted: Tuesday, August 24, 2010 - 03:15 PM UTC
Now thats a new technique impressive build Dirk.
ShawnM
_VISITCOMMUNITY
Missouri, United States
Joined: November 24, 2008
KitMaker: 564 posts
AeroScale: 510 posts
Posted: Thursday, August 26, 2010 - 09:05 AM UTC
I use the same technique!
Works great too.
These jets leaked like sieves on the ground as they counted on the thermal expansion caused by flight friction to seal the aircraft, go to town with the streaks!
ShawnM
_VISITCOMMUNITY
Missouri, United States
Joined: November 24, 2008
KitMaker: 564 posts
AeroScale: 510 posts
Posted: Thursday, August 26, 2010 - 09:16 AM UTC


Dirkpitt289
_VISITCOMMUNITY
New Jersey, United States
Joined: May 24, 2008
KitMaker: 346 posts
AeroScale: 307 posts
Posted: Wednesday, September 01, 2010 - 02:45 AM UTC
Well gentlemen I believe this will be my last entry for this build. Tomorrow i will post the final photos. Till then here is what i got for you. Lets take one last spin in the Blackbird shall we?


First off some more photos and info.

At blackbird speeds and temperatures, oxygen becomes explosive and can spontaneously ignite in the tanks and fuel lines. In order to prevent this, all 6 fuel tanks are purged with pure nitrogen before being filled. The blackbird also carries 260 liters of liquid nitrogen in 3 dewars. This nitrogen expands into its gasous form as it is pumped into the fuel tanks to top them off as fuel is consumed. Without the nitrogen, the empty fuel tanks would cavitate from the increased pressure when returning to lower altitudes to refuel.


She's looking a little wet and worn out isn't she? I know there is a joke in there somewhere but I'll keep it clean.


Back to the model

With the landing gear and assembled it was time to put the finishing touches in place and all that is left is the canopies. First the RSO [Steve]


Then the pilot [jack]


Lastly using some Micro Kristal Klear I made the lens behind the RSO position.

I'm calling this one done. It's not perfect by any means but to me its a fitting final tribute to 17978 "The Rapid Rabbit." As for the real Rapid Rabbit she was lost on Thursday, July 20, 1972, while attempting to land at Kadena AFB during extreme crosswinds. The braking parachute failed to slow the aircraft, forcing pilot Denny Bush to turn the landing attempt into a touch-and-go and try for a second go-round. He released the chute, took off, and attempted another landing.

Normally the braking chute is used for all landings to assist in slowing the aircraft, although under good conditions the brakes can do the job themselves without the assist. Having an extremely long runway (or dry lakebed like at Edwards AFB) for such landings doesn't hurt either.

However, the chute becomes extremely important during high-speed landings -- even with empty fuel tanks, the blackbird still weighs more than 2 fully-loaded dump trucks; she has almost no drag due to her low profile; and because of the high temperature imparted during flight, her brakes lose efficiency and have difficulty stopping her completely when landing at high speeds (which are necessary when landing with high crosswinds).

In other words, she was doomed.
On the second attempt, Bush could not slow the aircraft down in time and she ran off the end of the runway, breaking the main landing gear and damaging more than just the paint on her underside. He and his RSO Jimmy Fagg escaped serious injury, but 978 was a total loss. She was buried under a berm at the end of the runway, which is called "Habu Mountain" or "Habu Hill" depending on who you ask.


The story of the Rapid Rabbit doesn't end there. During the restoration of 975, March Field Museum's restoration manager Shayne Meder (MSgt-Ret, USAF) discovered that the left rudder of 975 was once the right rudder of 978, the "Rapid Rabbit." Rudder sharing is not unusual in and of itself. The left and right rudders are interchangable, and new rudders are not to be had thanks to McNamara ordering all blackbird tooling destroyed in February 1970. Parts were often taken from decommissioned airframes or salvaged from wrecks when possible.


Well that's it boys. I hope you enjoyed the ride. I can honestly say I enjoyed the company and comments. See you all in the BoB Group Build

Dirkpitt289
_VISITCOMMUNITY
New Jersey, United States
Joined: May 24, 2008
KitMaker: 346 posts
AeroScale: 307 posts
Posted: Wednesday, September 01, 2010 - 02:49 AM UTC
To Keep The Peace They Flew Alone...Unarmed

"Reconnaissance in a Class of One"


Thanks for looking
 _GOTOTOP