_GOTOBOTTOM
Pre-Flight Check
Constructive critique of your finished or in-progress photos.
1/48 Lancer for 3B Campaign
jhutchi
_VISITCOMMUNITY
England - East Anglia, United Kingdom
Joined: May 12, 2010
KitMaker: 88 posts
AeroScale: 73 posts
Posted: Sunday, August 29, 2010 - 08:13 AM UTC
Ok, well here goes. I have decided to put everything else on hold and join this campaign. I am going to (attempt to) build Revell's 1:48 B-1B Lancer.
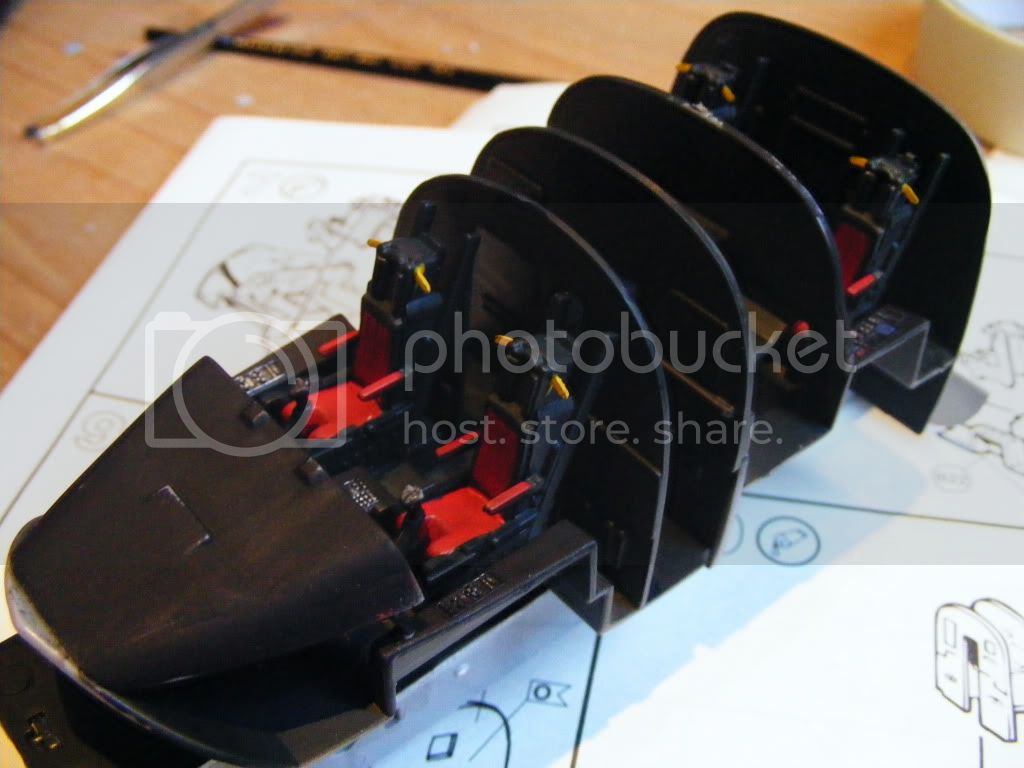
Ive just opened the box and am staggered at the size of the thing!! and am currently wondering what I've let myself in for!!

Wish me luck people and i will post some pics on here as I go

alpha_tango
_VISITCOMMUNITY
Germany
Joined: September 07, 2005
KitMaker: 5,609 posts
AeroScale: 5,231 posts
Posted: Sunday, August 29, 2010 - 08:34 AM UTC
Hi James

GOOD LUCK!! I am procrastinating that project for quite a while already ... luckily I have more than sufficient others .

Will you do it OOB or do you have a tom of AM for it (I lack the Cutting Edge Nozzles, which is a good argument to further postpone it ) but OTOH I have the Eduard Set, Eduard Nozzles set, SHull ALE-50 Towed Decoy and I bet there is some more in the huge box

so again Good Luck!

cheers

Steffen
jhutchi
_VISITCOMMUNITY
England - East Anglia, United Kingdom
Joined: May 12, 2010
KitMaker: 88 posts
AeroScale: 73 posts
Posted: Sunday, August 29, 2010 - 09:38 AM UTC
I bought this in a moment of madness back in june and have put off starting it until now although im thinking im going to regret putting it off as I have just read a review by someone who built it and it took them 8 months to complete!!

Im planning on building it out of the box
bdanie6
_VISITCOMMUNITY
New Hampshire, United States
Joined: November 09, 2008
KitMaker: 615 posts
AeroScale: 459 posts
Posted: Sunday, August 29, 2010 - 11:08 AM UTC
OOB is fine, don't let the online reviews put you off. Alto it does need the usual putty sand putty routine the only thing that makes it a pain is the size of the seams. The only part I really had any problems with was fitting the forward fus. to the rest of it.

Personally I didn't like the weapons load out so I did the bay doors closed rather than spend the money for cruise missle replacements (cheap sod that I am )

Cutting Edge is out of buisness and has been for over a year now so dont hold your breath waiting for their engine nozzles to come onto the market again

The only AM that I did use where Quick Boost (I think 
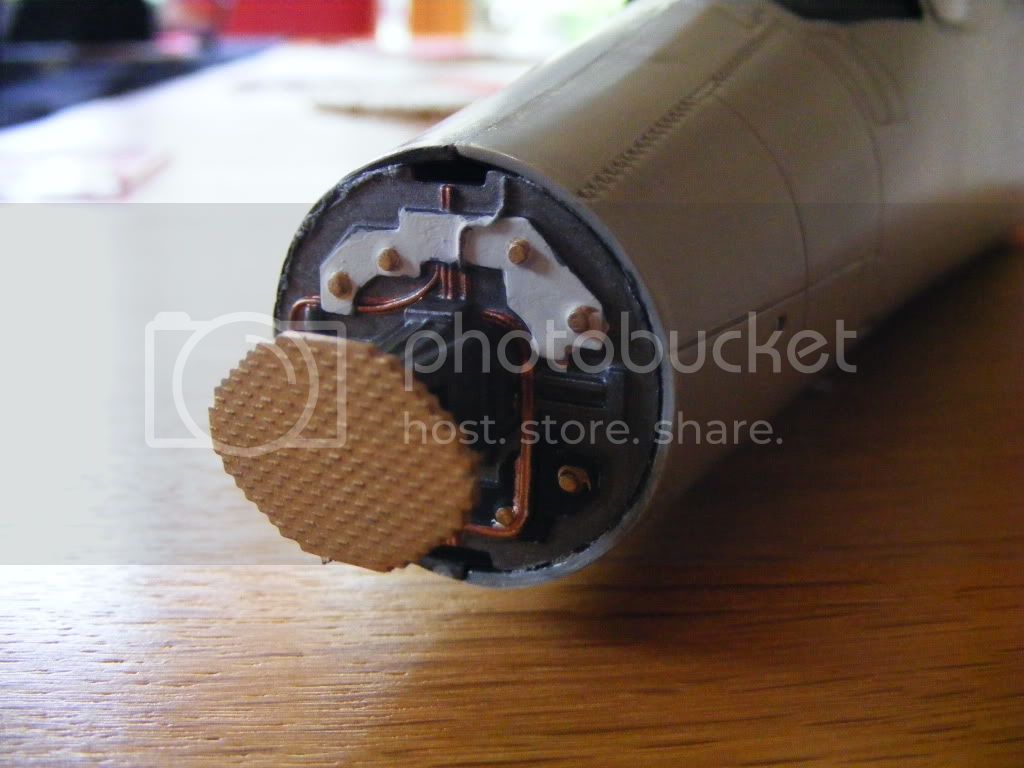
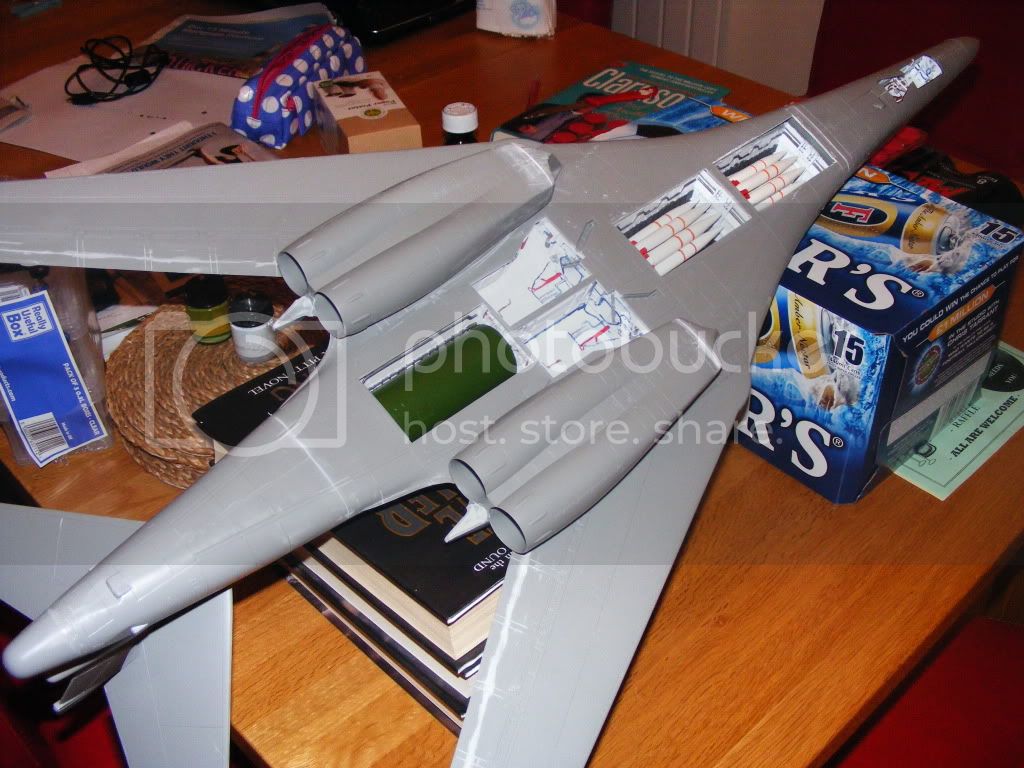
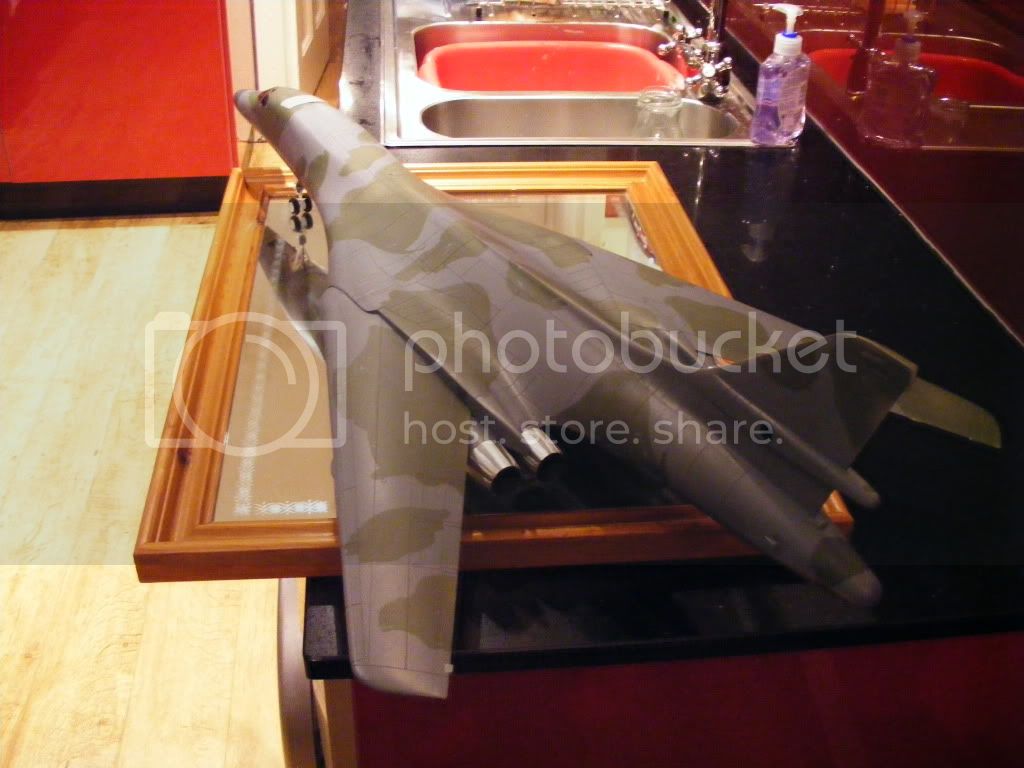
) F-15 Turkey Feather nozzles 
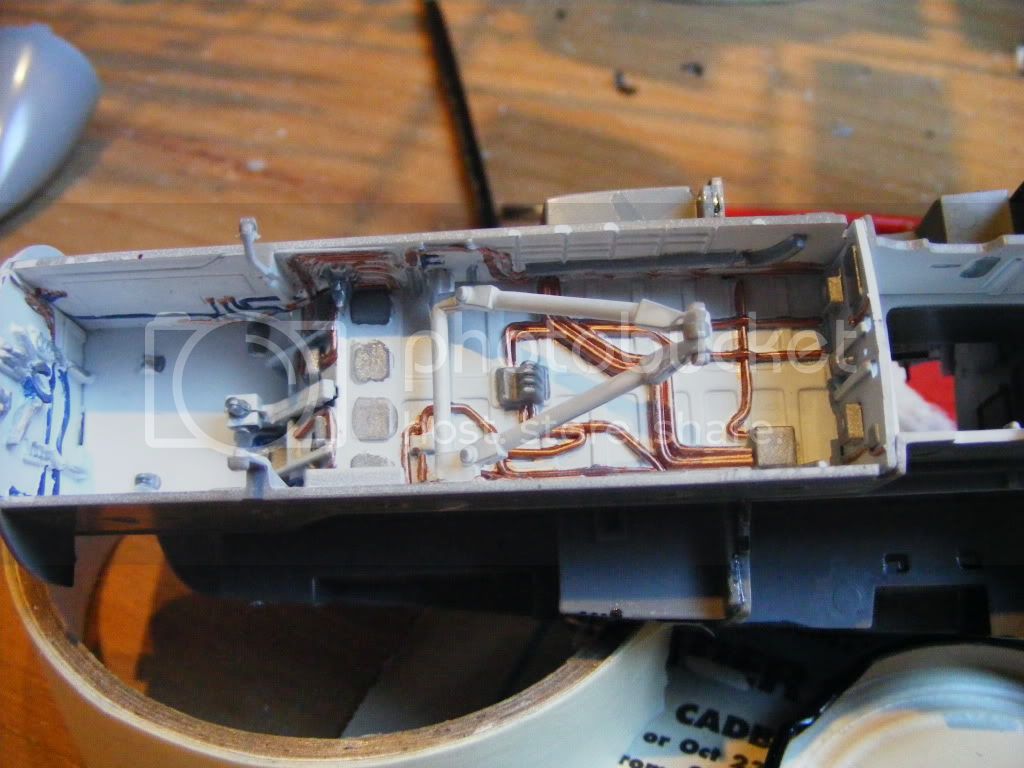
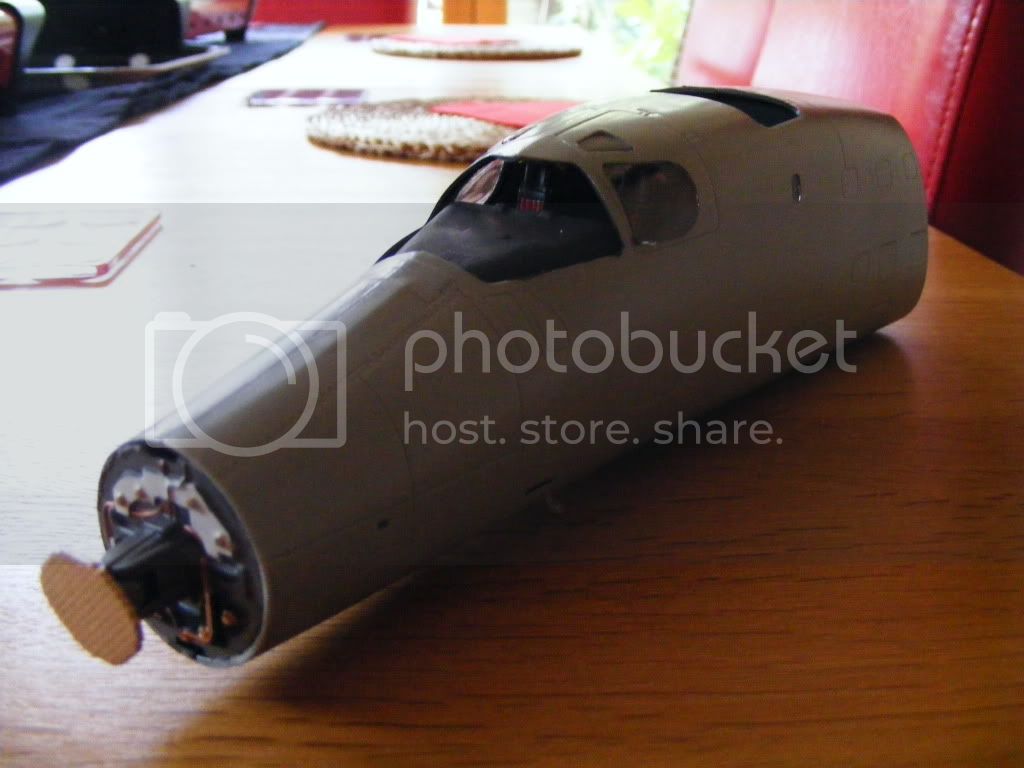
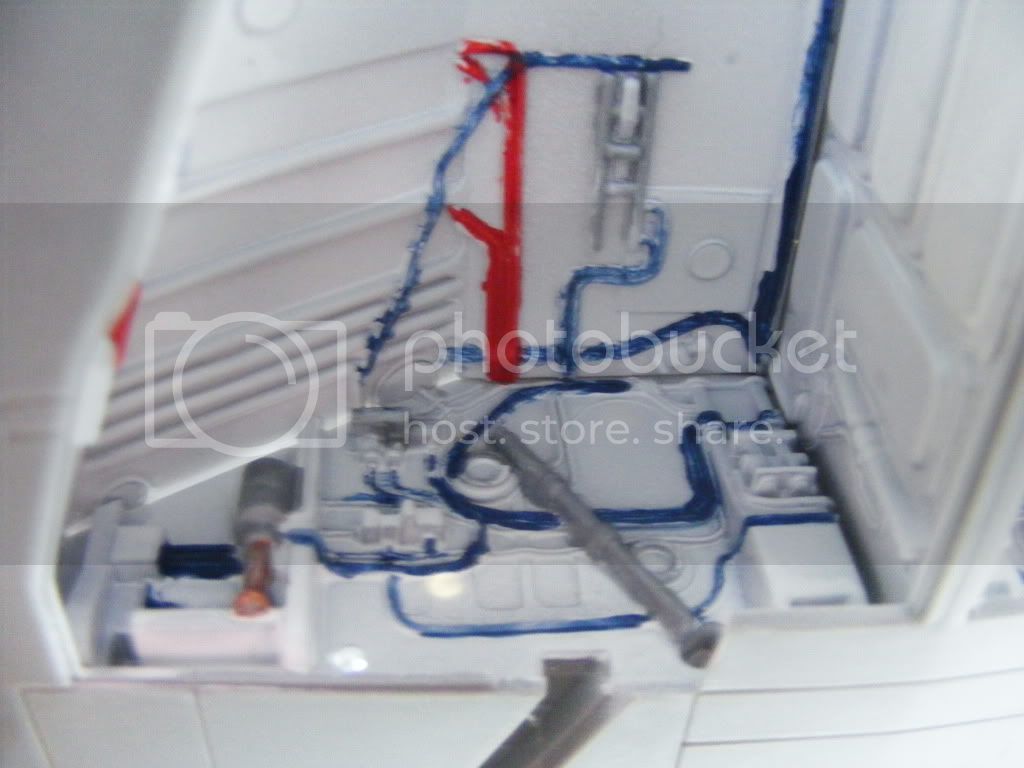
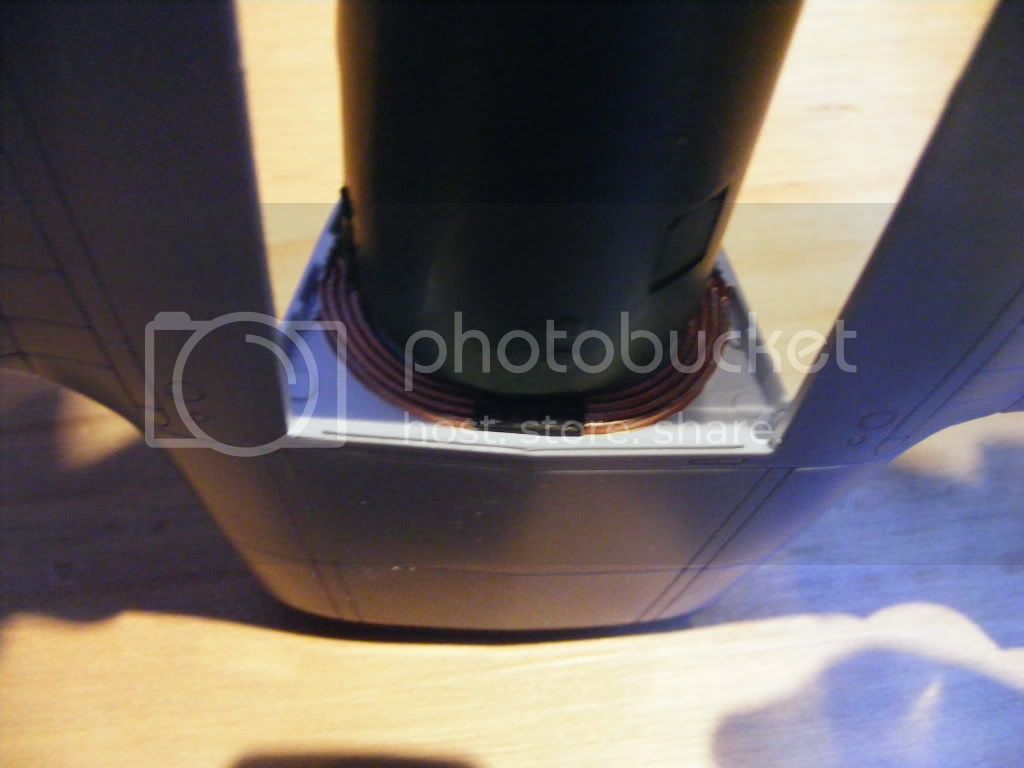
Same engines in both planes now, and the effect is well worth the extra bucks.

Last bit of advise Instructions say C cell battery in the nose to off set the weight. With the wings swept back, it's still a tail sitter, Go with 2 D cells

Later
Bigskip
_VISITCOMMUNITY
England - South East, United Kingdom
Joined: June 27, 2006
KitMaker: 2,487 posts
AeroScale: 575 posts
Posted: Sunday, August 29, 2010 - 08:17 PM UTC
Good luck with this mate, i've built the Dragon 144 offering, and i was surprised by the size of that, in quarter scale it must be monster. Can't wait to see it built..

Andy
jhutchi
_VISITCOMMUNITY
England - East Anglia, United Kingdom
Joined: May 12, 2010
KitMaker: 88 posts
AeroScale: 73 posts
Posted: Monday, August 30, 2010 - 02:41 AM UTC
Thanks for the advice and encouragement guys, i may well be calling on you for more over the next few months!! lol
jhutchi
_VISITCOMMUNITY
England - East Anglia, United Kingdom
Joined: May 12, 2010
KitMaker: 88 posts
AeroScale: 73 posts
Posted: Wednesday, September 01, 2010 - 05:54 AM UTC
Ok, done a bit of work in the last few days and felt it was time to update, so here goes


Inside of the forward fuselage, painted and ready to go


I didnt go into that much detail in the cockpit as people have said it's quite difficult to see it when the model is completed


Inside of the front wheel bay

And finally.............


My new best friend!!

More to follow when I get some more time
jhutchi
_VISITCOMMUNITY
England - East Anglia, United Kingdom
Joined: May 12, 2010
KitMaker: 88 posts
AeroScale: 73 posts
Posted: Saturday, September 04, 2010 - 05:59 AM UTC
Just a quick update as I've not managed to get much done

Filled the space behind the rear bulkhead and behind the radar bulkhead with fishing weights and plasicene to try to get it to sit on the nosewheel and glued the two halves of the fuselage together


The nose-cone is removable to allow the radar assembly to be shown off


Completed front wheel bay

I'm pleased with this kit so far, the detail is good and (touch wood) have had no fitting issues

More to follow, although I'm working quite a bit this week so doubt much progress will be made
jhutchi
_VISITCOMMUNITY
England - East Anglia, United Kingdom
Joined: May 12, 2010
KitMaker: 88 posts
AeroScale: 73 posts
Posted: Saturday, September 11, 2010 - 03:28 AM UTC
OK, done a bit more his week, turns out I was at work less than I thought so i managed to do more than I was expecting

I have made the undercarriage for the front wheels, made 16 SRAM Missiles and the two rotary launchers and started painting them, made the 2 bomb bays, the main wheel bay and also glued the wings together


Any comments or tips are more than welcome

Have a good week, more to follow
Keeperofsouls2099
_VISITCOMMUNITY
Florida, United States
Joined: January 14, 2009
KitMaker: 2,798 posts
AeroScale: 2,443 posts
Posted: Saturday, September 11, 2010 - 10:32 AM UTC
Just wanted to give you a heads up on the rear landing gear make sure they sit in there place and have plenty of time to dry.This is where all the weight sits and if not they will just fold under.Looking good so far
jhoog59
_VISITCOMMUNITY
Florida, United States
Joined: November 13, 2005
KitMaker: 189 posts
AeroScale: 129 posts
Posted: Saturday, September 11, 2010 - 10:49 PM UTC
Nice work so far. I built one of these monsters when I was 12 years old had to hang it from my bedroom ceiling because there was no room for it anywhere else.
jhutchi
_VISITCOMMUNITY
England - East Anglia, United Kingdom
Joined: May 12, 2010
KitMaker: 88 posts
AeroScale: 73 posts
Posted: Tuesday, September 14, 2010 - 04:34 AM UTC
Have completed the tail unit for the Lancer. The stabilisers are joined and can move, howevere down (as shown) appears to be their default position.


Hope you are liking it so far
jhutchi
_VISITCOMMUNITY
England - East Anglia, United Kingdom
Joined: May 12, 2010
KitMaker: 88 posts
AeroScale: 73 posts
Posted: Wednesday, September 15, 2010 - 06:32 AM UTC
Dry fitted the weapons load to the rotary launcher and sprayed gloss white, then removed the missiles and painted tail fins and bands on the missile body

Also sprayed long range fuel tank in the 3rd bomb bay and fitted that in place


jhutchi
_VISITCOMMUNITY
England - East Anglia, United Kingdom
Joined: May 12, 2010
KitMaker: 88 posts
AeroScale: 73 posts
Posted: Monday, September 20, 2010 - 02:46 AM UTC
I have got the top and bottom halves of the fuselage centre glued together and im impressed (but also scared) at how big the model is!!

A couple of issues where the seams did not sit together right, think that is due to the size of it, but with a bit of filler they won't show


Comments welcome as always
jhutchi
_VISITCOMMUNITY
England - East Anglia, United Kingdom
Joined: May 12, 2010
KitMaker: 88 posts
AeroScale: 73 posts
Posted: Saturday, November 06, 2010 - 08:08 AM UTC
Hi all, been a long time since i posted anything here and have made a lot of progress so here are some pics to show what ive been doing


The whole model glued together


Close-up showing the seam around the cockpit joining the rest of the fuselage


Underside of the model


Model with base coat of green on


Covered large areas of green with maskol to protect when painting the grey


Grey on and maskol off to reveal camo paint scheme


Wheels on and sitting on a mirror to reveal detail underneath

Not too much left to do now, got bomb-bay / undercarriage bay doors to paint and fix and then decals to apply

Any comments / pointers welcome
jhutchi
_VISITCOMMUNITY
England - East Anglia, United Kingdom
Joined: May 12, 2010
KitMaker: 88 posts
AeroScale: 73 posts
Posted: Friday, December 31, 2010 - 06:15 AM UTC
Completed pictures of the Lancer

I broke the tailplane off as i moved it to take pictures so it is missing from the final pictures

Hope you like


Its been quite a long build but I have enjoyed doing it. The only issue now is where to store it!!
Gundam-Mecha
_VISITCOMMUNITY
England - South East, United Kingdom
Joined: August 05, 2009
KitMaker: 1,019 posts
AeroScale: 66 posts
Posted: Saturday, January 01, 2011 - 04:58 AM UTC
Lovely work. The detailing on the wheel bays is particularly nice!
jhutchi
_VISITCOMMUNITY
England - East Anglia, United Kingdom
Joined: May 12, 2010
KitMaker: 88 posts
AeroScale: 73 posts
Posted: Saturday, January 01, 2011 - 01:24 PM UTC
Thanks.
Took 4 months to build. Think i go for something a bit smaller and easier next time though
Emeritus
_VISITCOMMUNITY
Uusimaa, Finland
Joined: March 30, 2004
KitMaker: 2,845 posts
AeroScale: 1,564 posts
Posted: Sunday, January 02, 2011 - 04:34 AM UTC
Judging from the nose art, the crew must be fans of Judas Priest?

NIce work! 
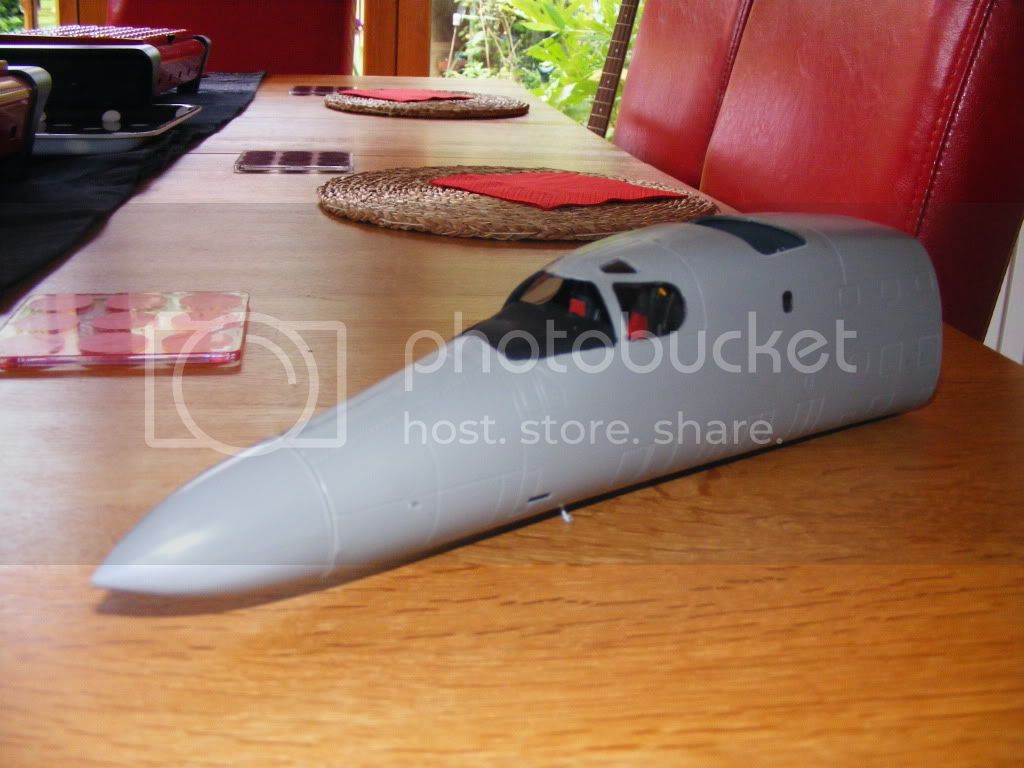
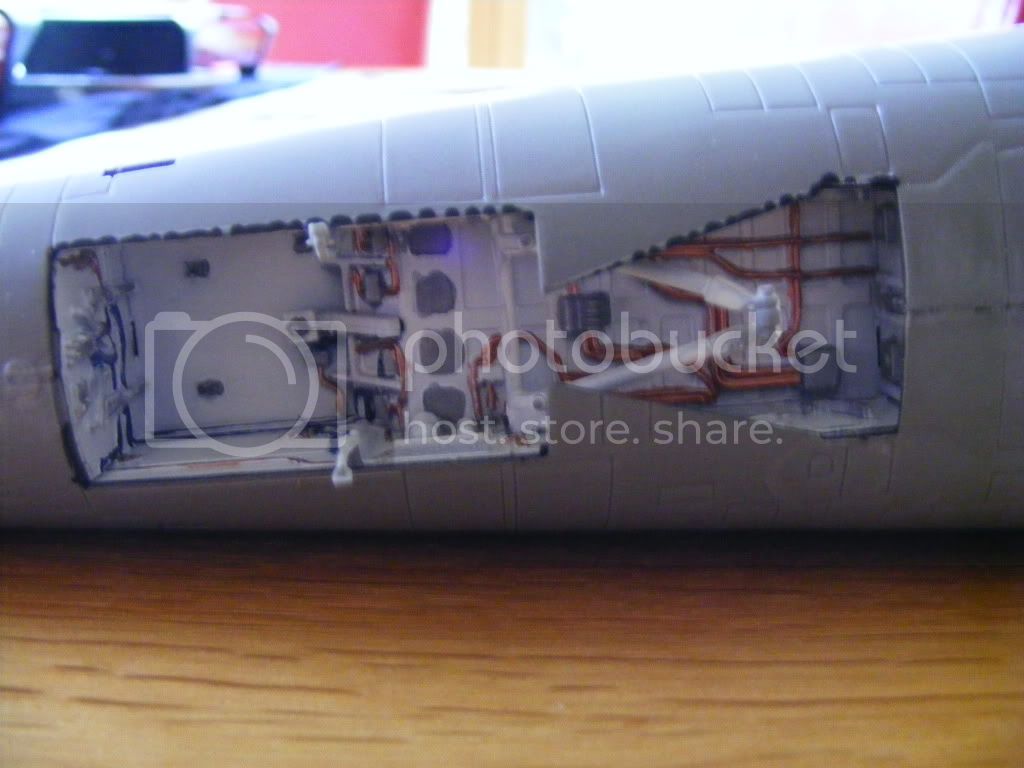
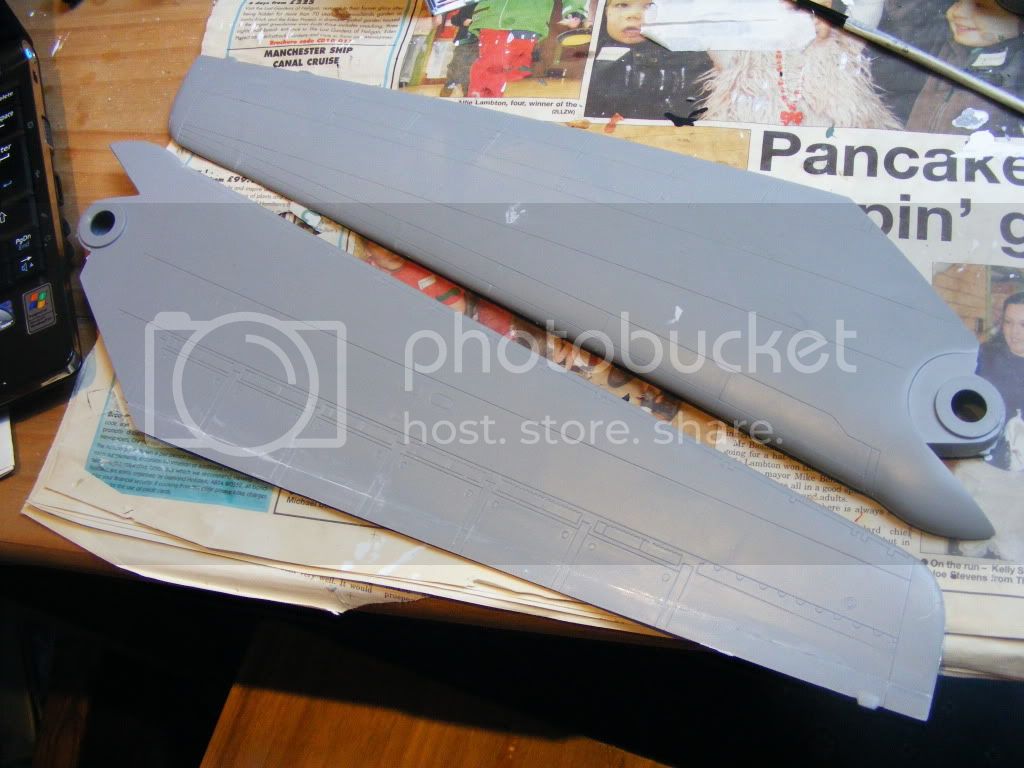
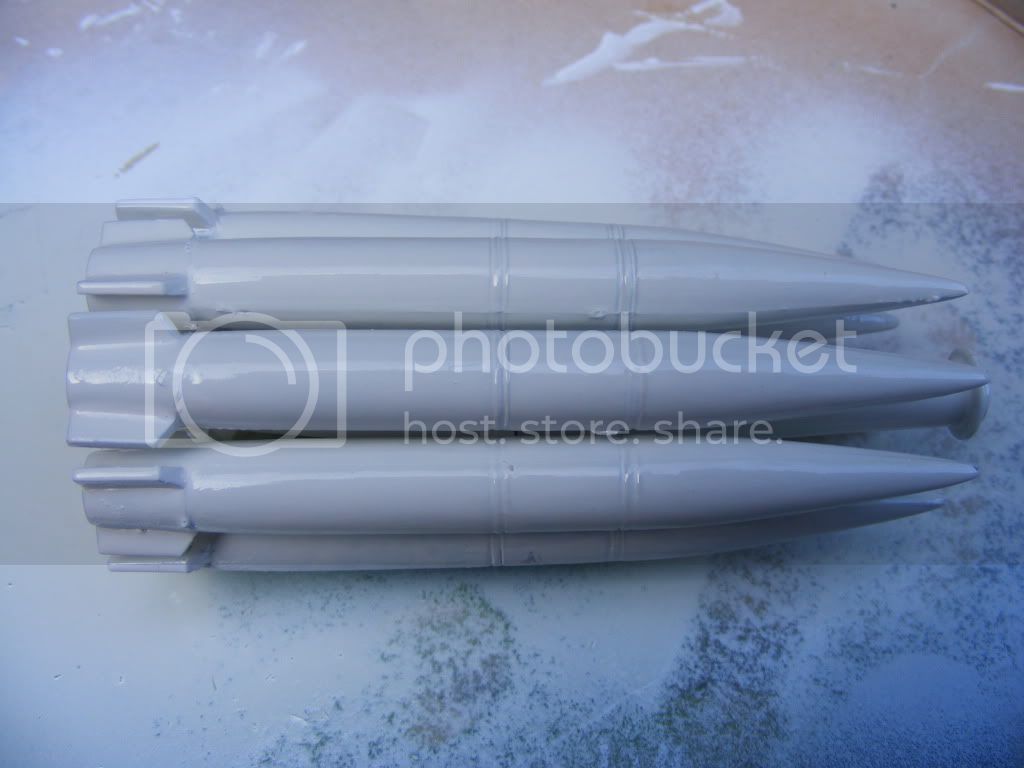
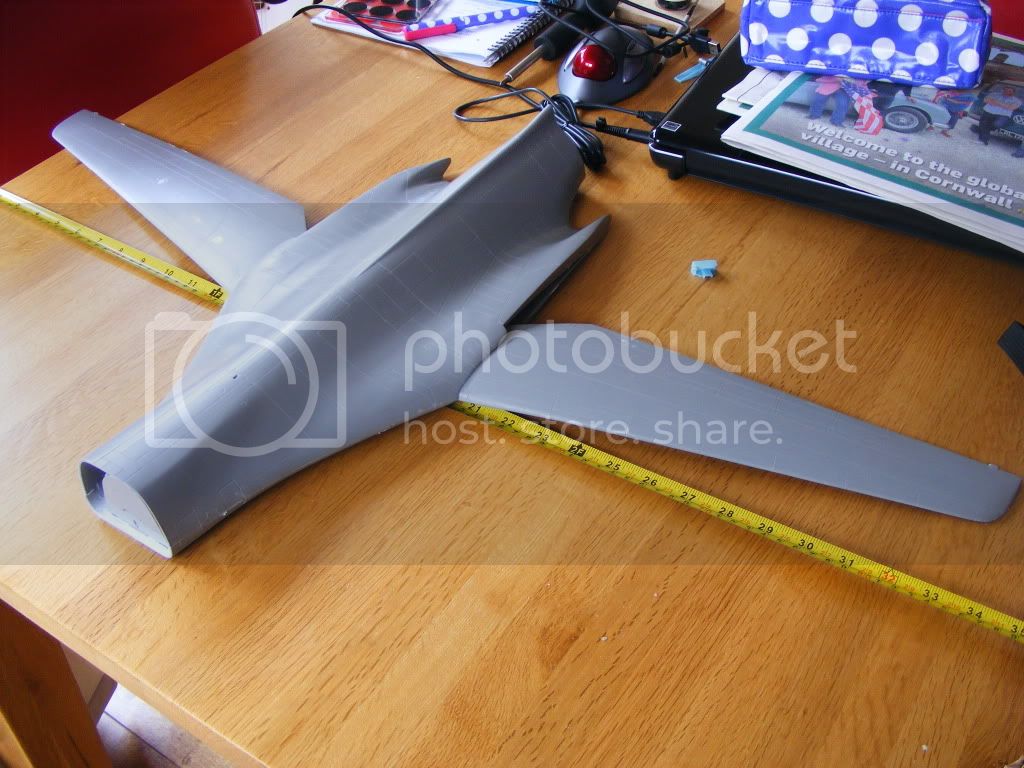
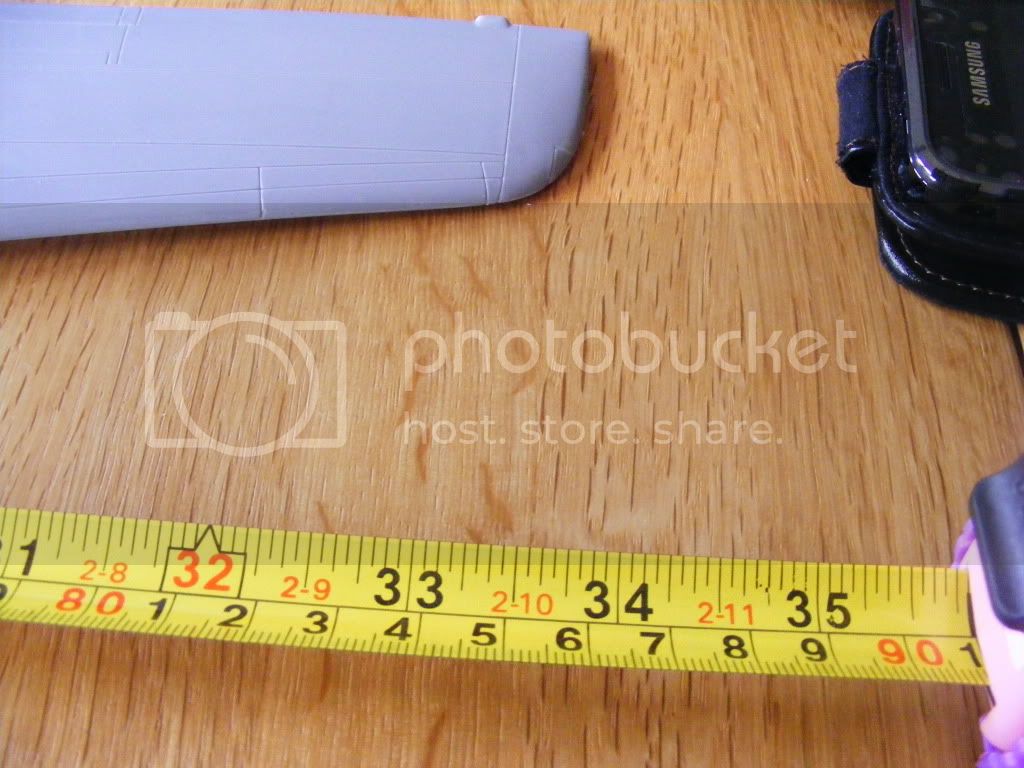
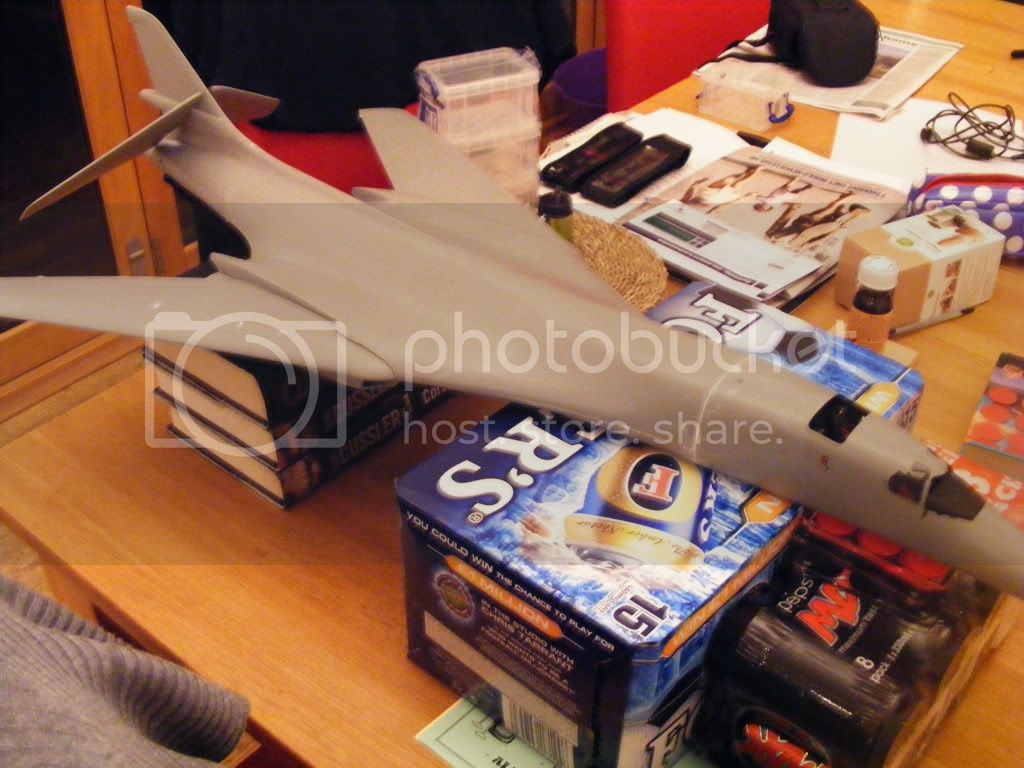
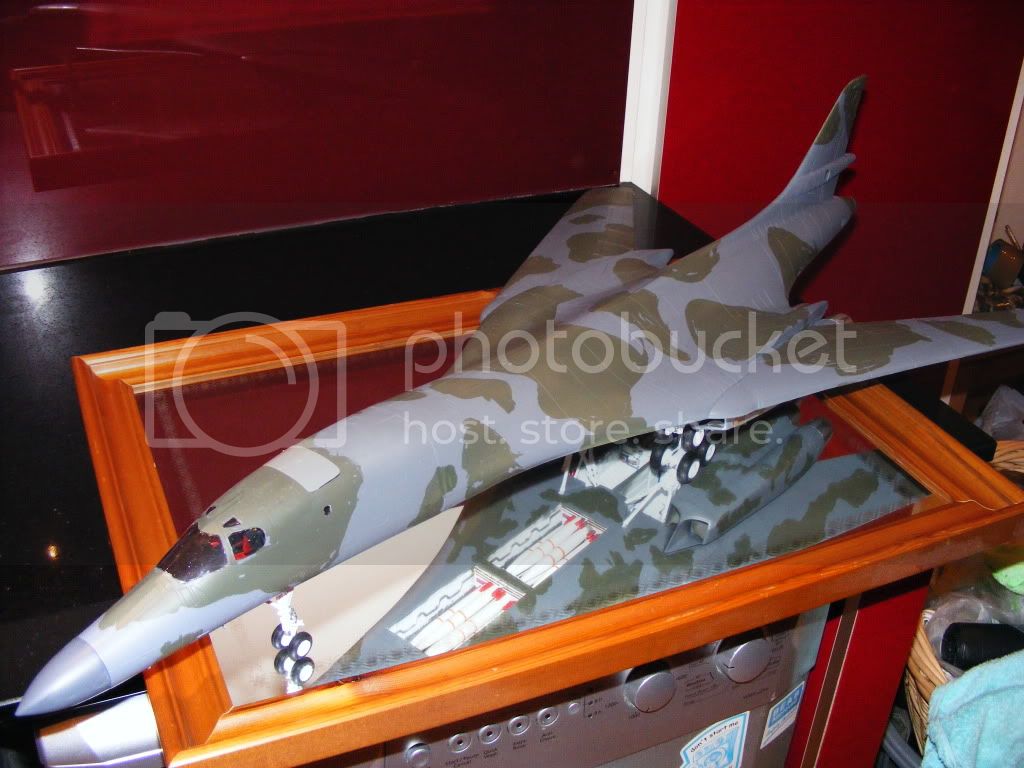
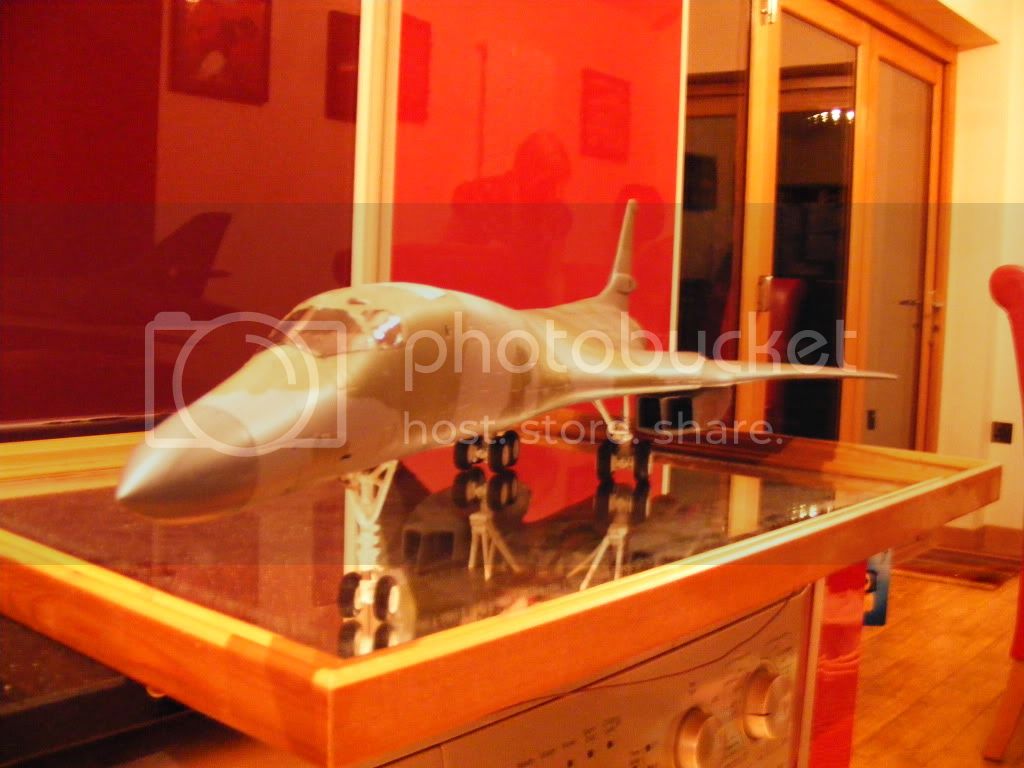
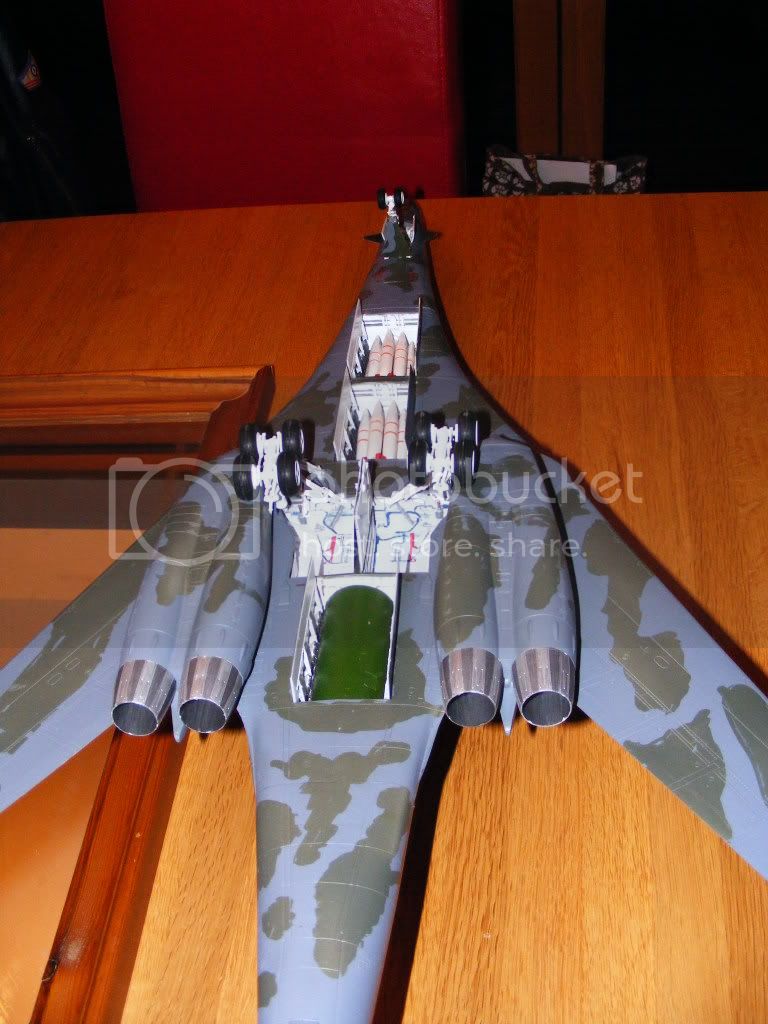
That's thing really is quite huge.
 _GOTOTOP