_GOTOBOTTOM
World War II: Great Britain
Aircraft of Great Britain in WWII.
Hosted by Rowan Baylis
Dirk's 1/72 Airfix Beaufighter "Reverse Lend
Dirkpitt289
_VISITCOMMUNITY
New Jersey, United States
Joined: May 24, 2008
KitMaker: 346 posts
AeroScale: 307 posts
Posted: Sunday, September 05, 2010 - 07:27 AM UTC
Brief History

Although a lot of histories have been written about individual combat aviation units, Beaufighters in the Night, by Colonel Braxton Eisel, stands out in a crowd because the subject it covers represents something quite out of the ordinary. For one thing, the unit concerned, the 417th Squadron, was one of the relatively few U.S. Army Air Force night fighter squadrons to see extensive operational service during World War II. In addition, the 417th represented a rare instance of "reverse Lend-Lease" in that it was one of only four USAAF squadrons to fly the British-built Bristol Beaufighter.

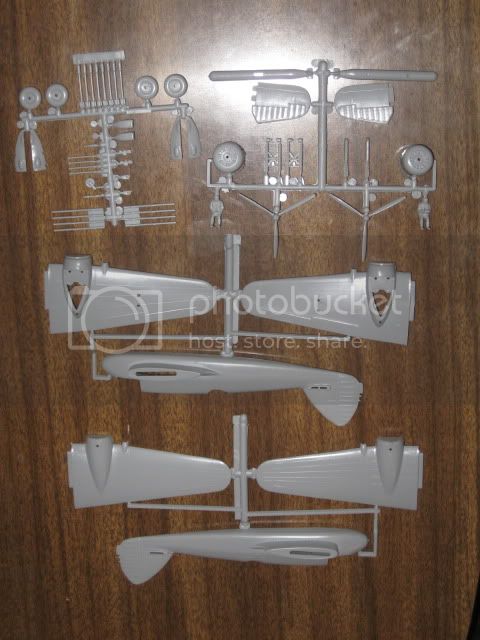
British air combat experience showed the USAAF that it was ill-prepared for war in many respects. Not least among those deficiencies was the lack of a suitable night fighter. Although one highly promising design, the Northrop P-61 Black Widow, had been selected for production, it was still in the early stages development and would not become available for operational use until the end of 1944. In the meantime, the USAAF had to settle for the Douglas P-70. An adequate night fighter training platform, the P-70--which had been modified from the A-20 Havoc ground attack plane--lacked the performance required of a frontline fighter. For that reason four USAAF night fighter squadrons--the 414th, 415th, 416th and 417th--left their P-70s behind when they deployed overseas in May 1943 and were reequipped in Britain with Beaufighters.

The Model


[u]The Interior[/u]

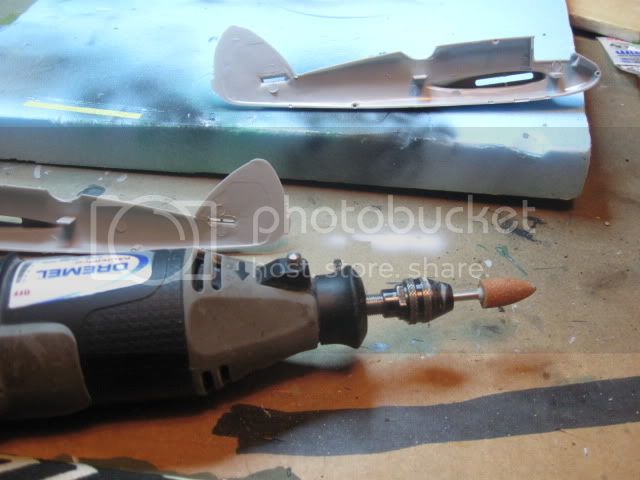
The interior filled with injector marks and funky shelves for the pilots to sit on.


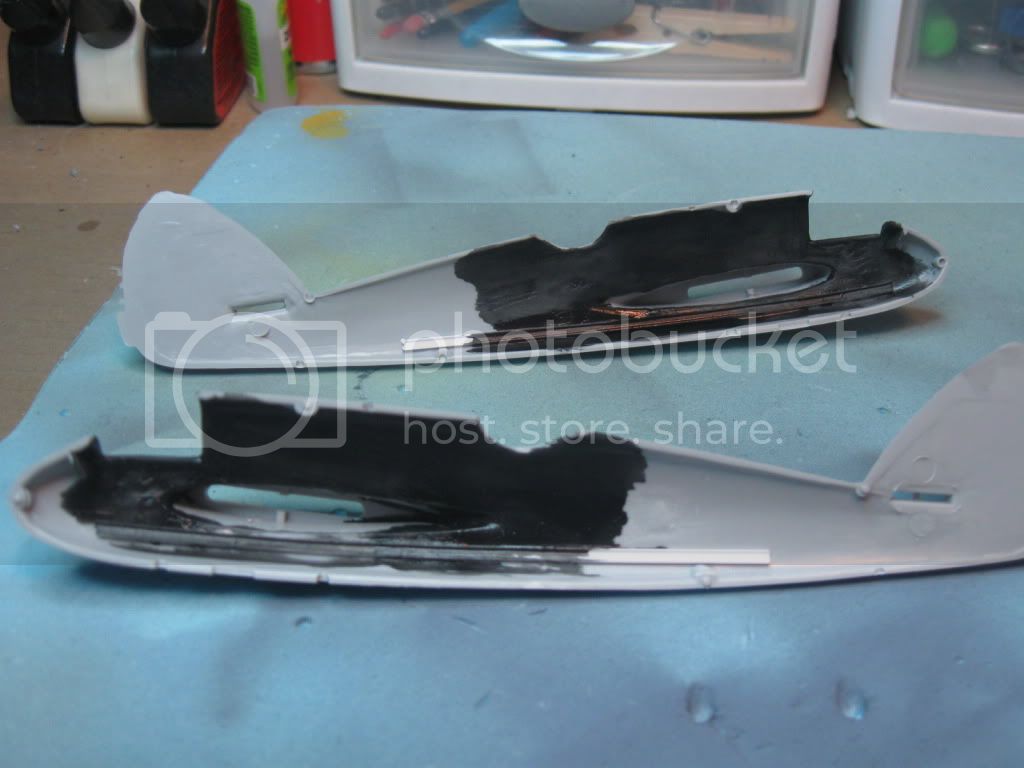
With the help of this delicate modeling tool ;-) we will remove the ejection marks and funky shelvie things for the pilot and crew.


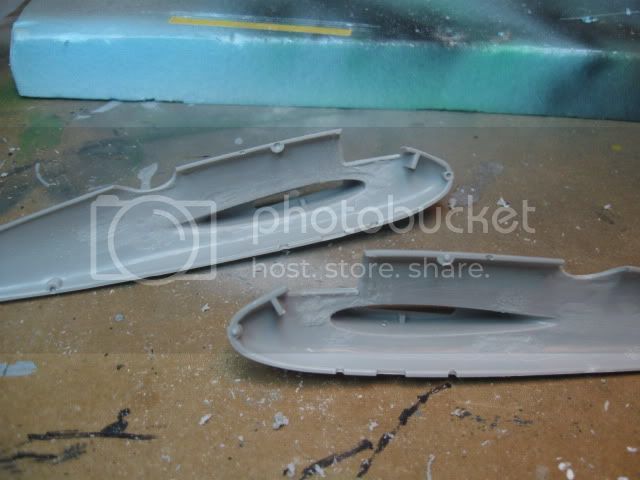
We now have a blank canvas to work with.
Dirkpitt289
_VISITCOMMUNITY
New Jersey, United States
Joined: May 24, 2008
KitMaker: 346 posts
AeroScale: 307 posts
Posted: Sunday, September 05, 2010 - 07:28 AM UTC
After some rethinking I've decided NOT to go forward with scratch building a cockpit for this build. In a way I'm kinda disappointed because of all the research and material I gathered prior to the start of the build. I was really looking forward to it but with so many other things going on I guess one more hollow aircraft on display won't matter, eh? Besides I have another Beaufighter in the stash I can go nuts on at a latter time.

I always joke and complain about these old Airfix models but the truth is they act as a great test bed for trying out new modeling techniques.

Here's where we are right now.

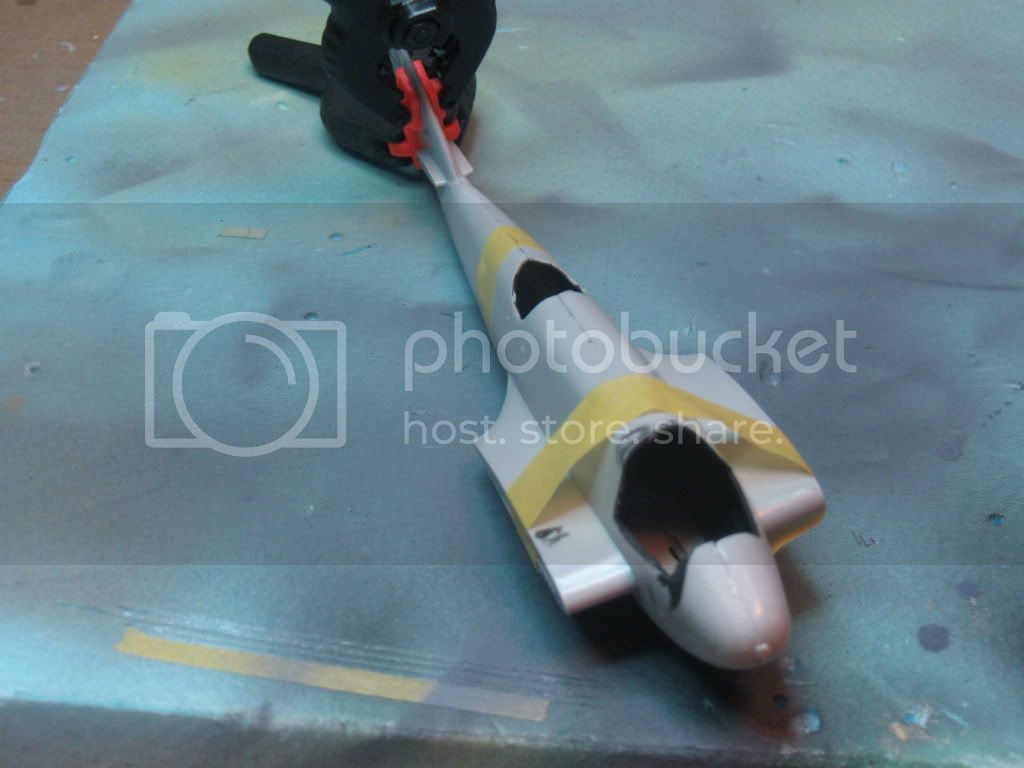
I panted the interior black to help hide the hole that will be the interior. I'll probably also smoke the canopy but I haven't decided yet.


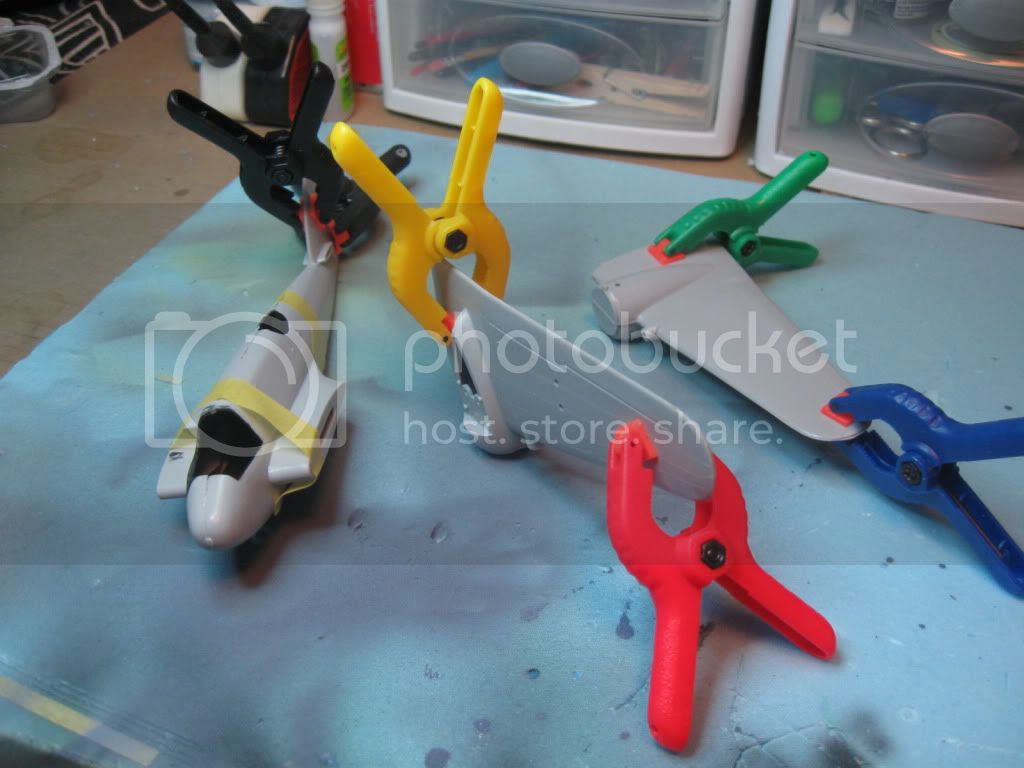
Assembled fuselage


Wings also assembled


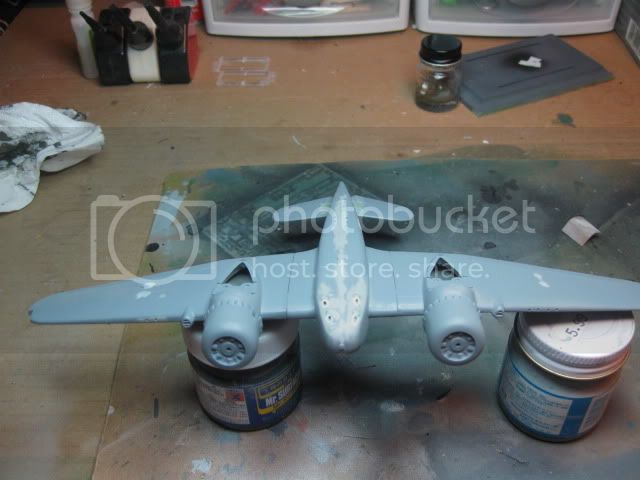
I guess we all do things for a reason and it looks like my decision to skip the cockpit to save time was a good decision because now I will need to spend some time on defects such as these.


The wings on this are just all messed up and lacking detail.

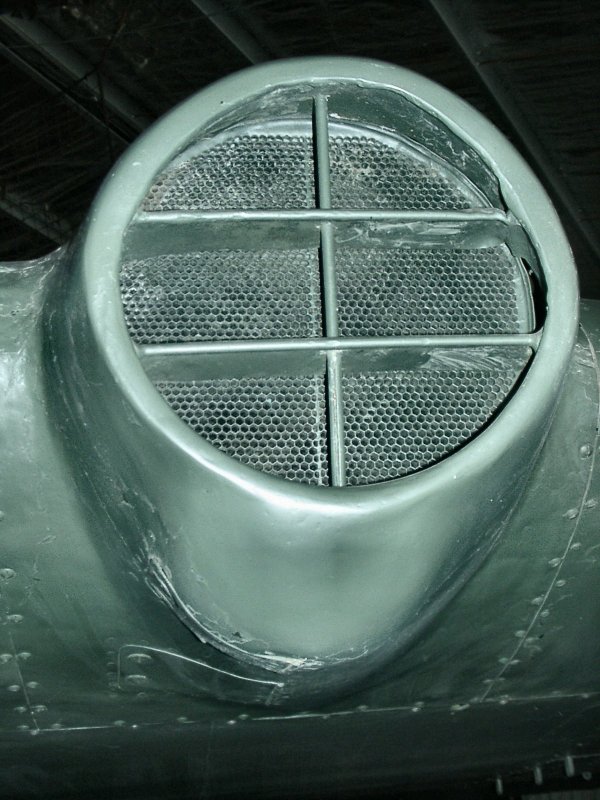
The louvers in the intake were missing. After cleaning it up it would be nothing but a gaping hole without some attention.

Here is what it should look like


This being a 1/72 scale model there isn't much that can be done but a little bit of plastic card and it looks a little better


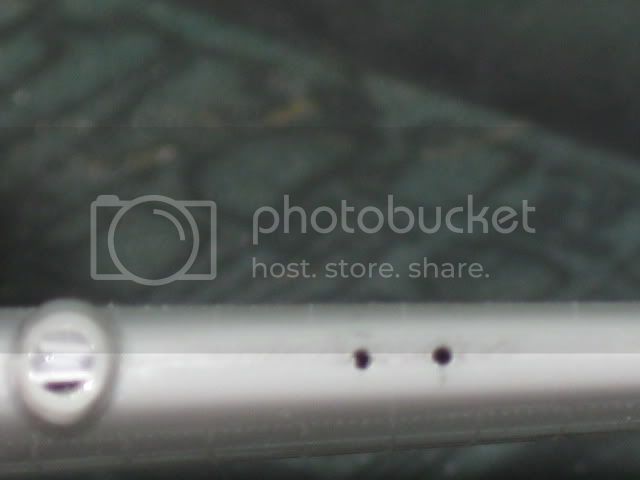
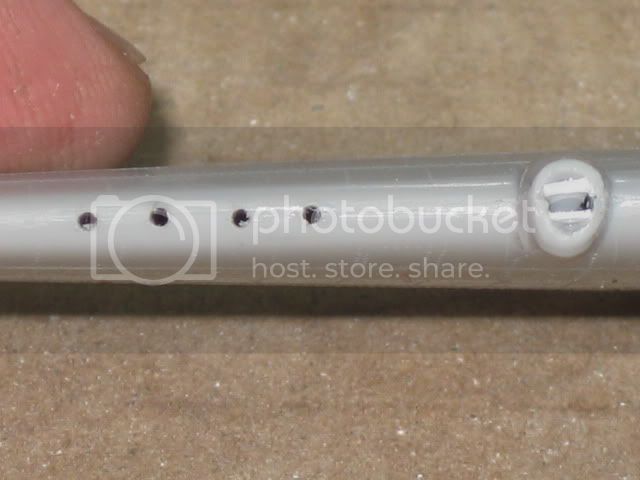
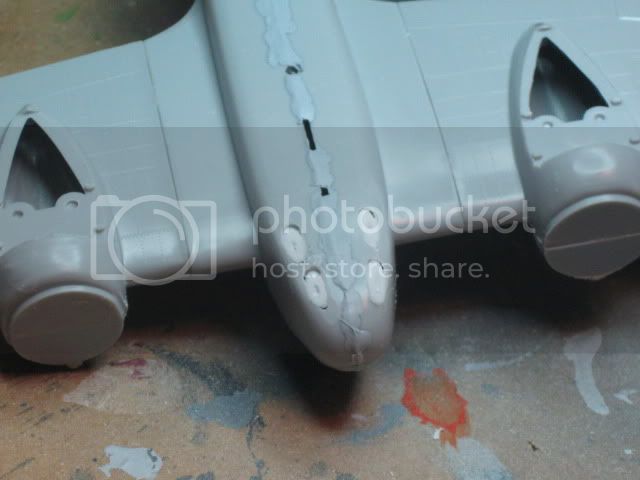
The thing I like about the beaufighter was that it was armed to the teeth with six 303 machine guns mounted in the wings and four 20mm cannons. None of which Airfix choose to detail in this kit. Not to fear, a pin vice and some various size bits and we are good to go.

I'm not familiar enough to know the reason but Bristol mounted two 303's in the left wing and four in the right. Seems it would throw off the ballance but what do I know. :oops:


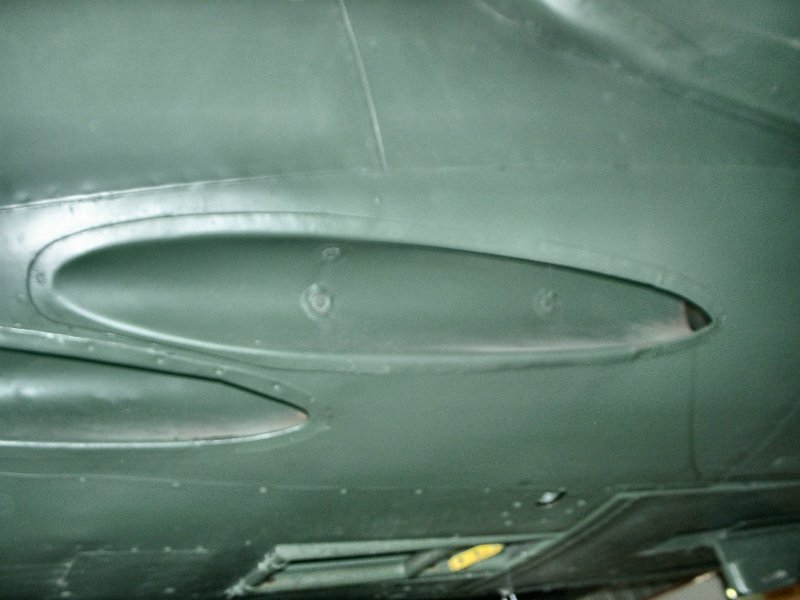
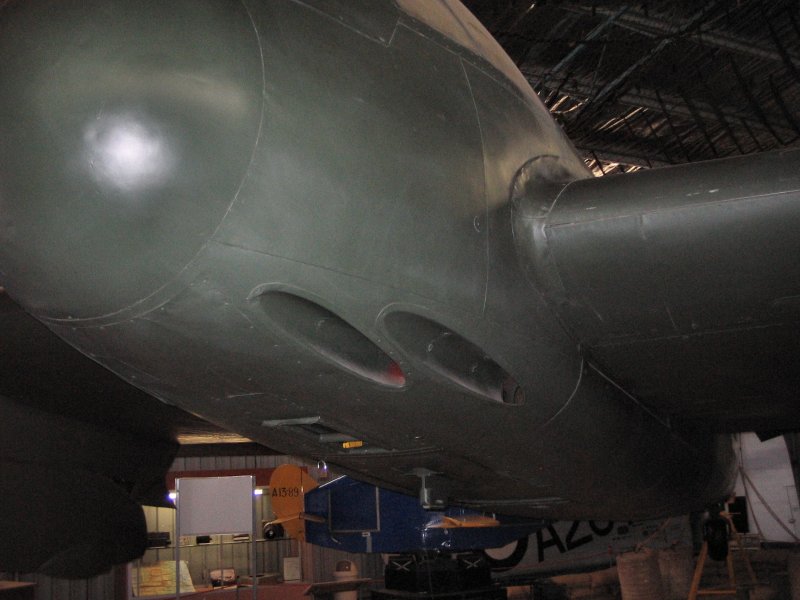
Next it was time to add the four 20mm cannons.

Here is what the real deal looks like


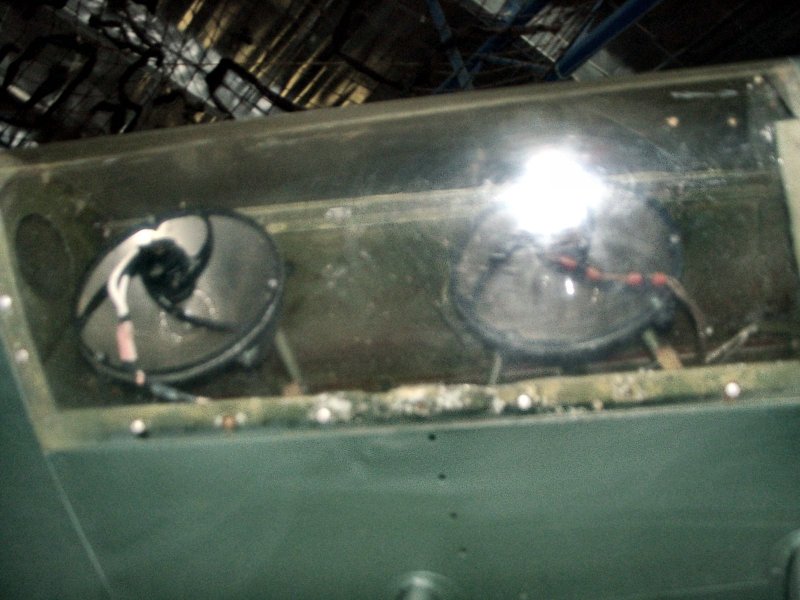
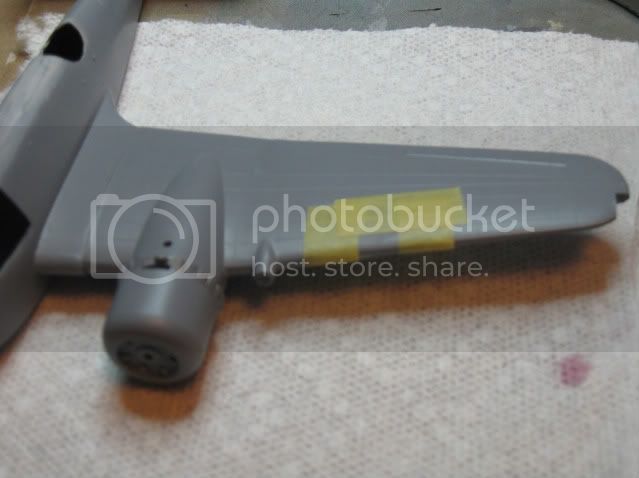
Another missing feature to the Airfix wings was the landing light in the left wing. This is what the real thing looks like


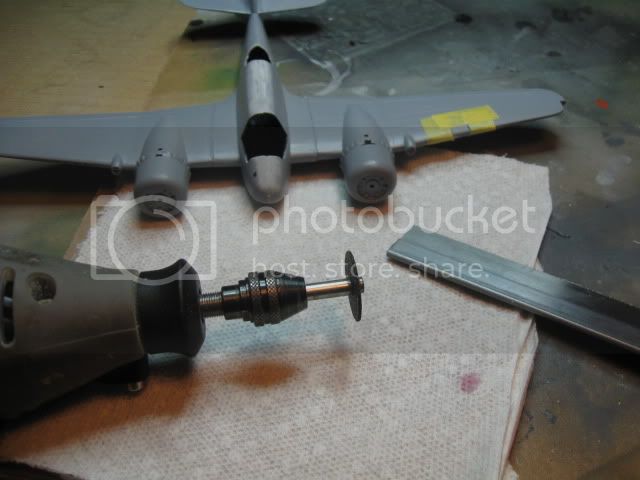
First I marked off the area with some strips of tape


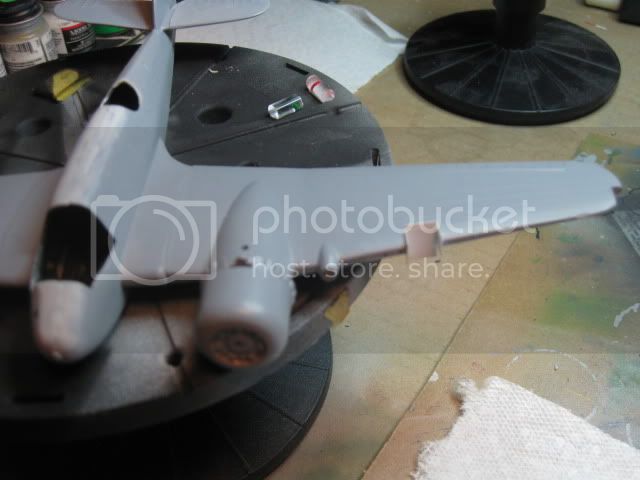
Next I framed out the new hole in the wing with some plastic card


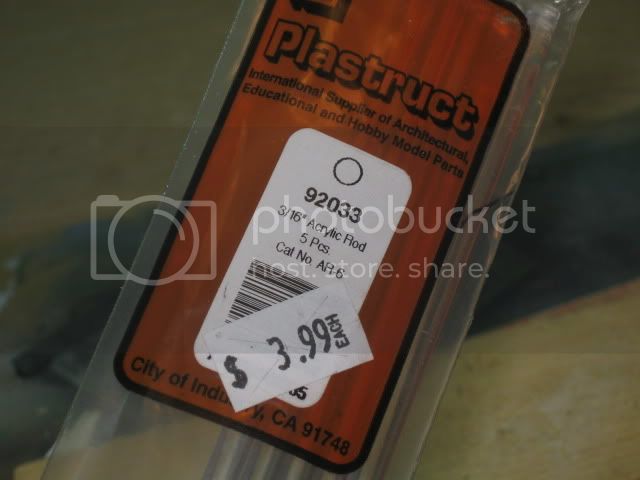
Here is what I used to make the landing light


All trimmed up


That's it for now. Thanks for looking
Dirkpitt289
_VISITCOMMUNITY
New Jersey, United States
Joined: May 24, 2008
KitMaker: 346 posts
AeroScale: 307 posts
Posted: Sunday, September 05, 2010 - 07:29 AM UTC
Not a lot of progress on this one recently other then some tinkering with adding the wing tip lights. This is my first go so be nice. :oops:

If you remember from earlier in the thread the wing tips were pretty chewed up. The only idea I could come up with to fix this without tons o putty was to guy the tips (damaged areas) and put in wing lights. Her's how it went.

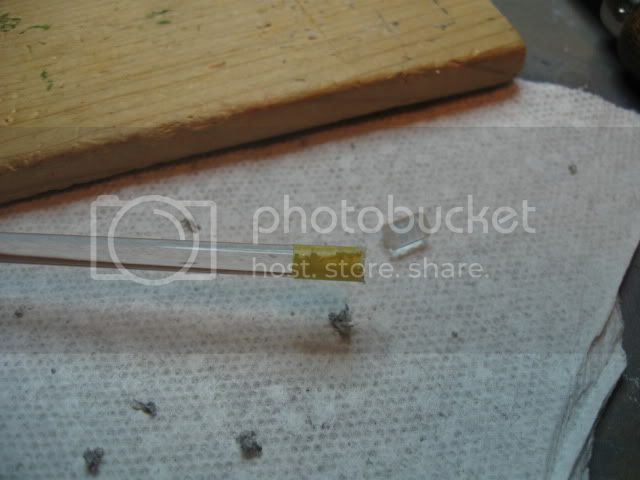
First I started with some clear stock. Its the same material I used to make the landing light in the wing.


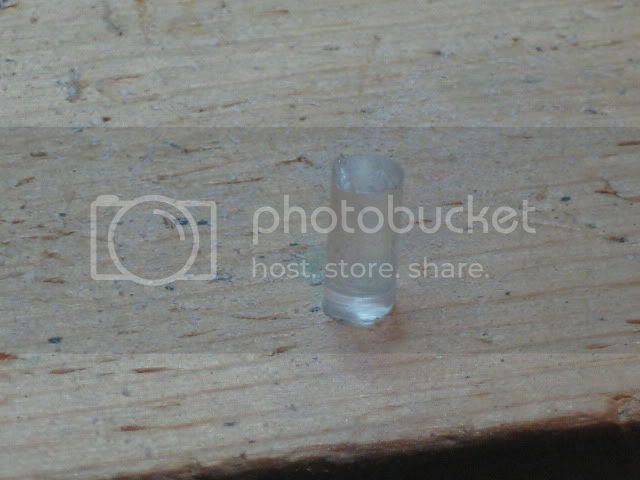
Cut to a workable size


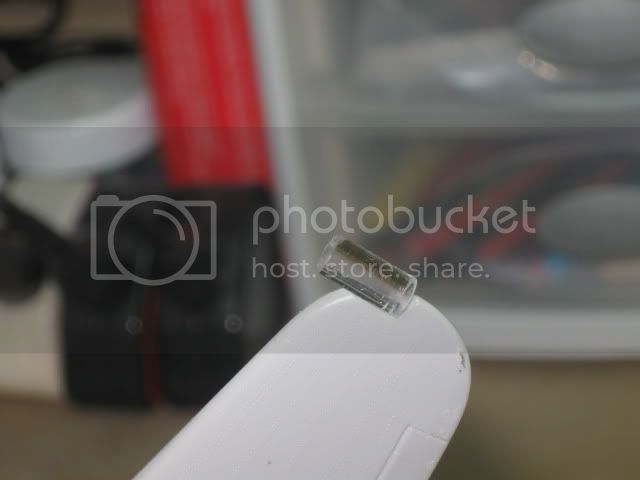
From what I understand the wing tips had clear lenses with a colored bulb. I did my best to figure out the location of the bulb and went to work. I drilled a small hole into the plastic.


Next I filled the hole with some green and red Testors paint to represent the bulbs


Attached the tip to the wing. Yes Yes I know there should be a front and rear lens but this is just an experiment. If it works next time I will do both.


After a whole lot of filing and sanding this is where it stands. It still needs some more work to get the shape fit correctly to the wing and then some polishing.

Dirkpitt289
_VISITCOMMUNITY
New Jersey, United States
Joined: May 24, 2008
KitMaker: 346 posts
AeroScale: 307 posts
Posted: Sunday, September 05, 2010 - 07:30 AM UTC
Ok now that the wing lights have been beat into shape its time to put some paint to plastic.

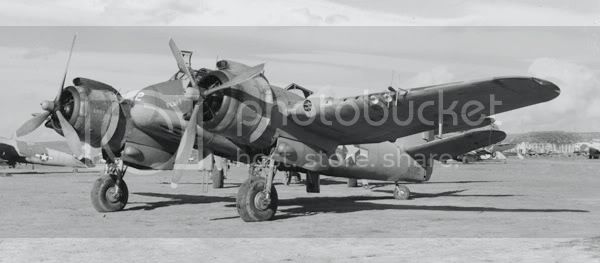
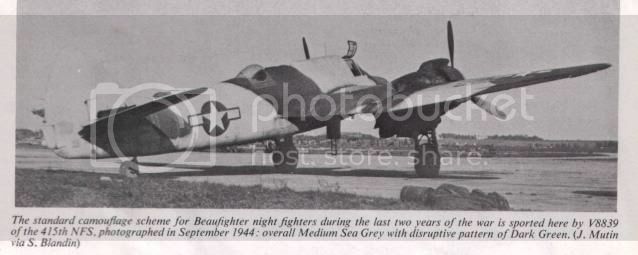
I was able to find an actual picture of the bird i'm doing of the 416th NFS.


This isn't the same aircraft but it is still a Reverse Lend Lease Beau. This bird is from the 415th NFS


Boy did I screw the pooch on this wing.


Undoing my mistake. All ready for another try.

Dirkpitt289
_VISITCOMMUNITY
New Jersey, United States
Joined: May 24, 2008
KitMaker: 346 posts
AeroScale: 307 posts
Posted: Sunday, September 05, 2010 - 07:30 AM UTC
The reason I had to redo the left wing can be seen here


All better


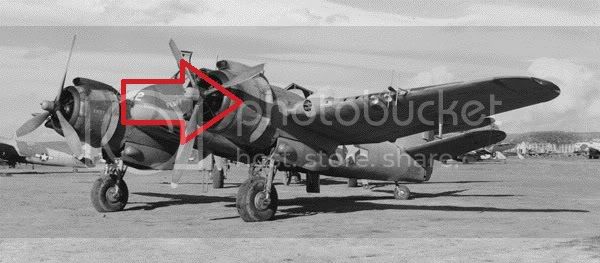
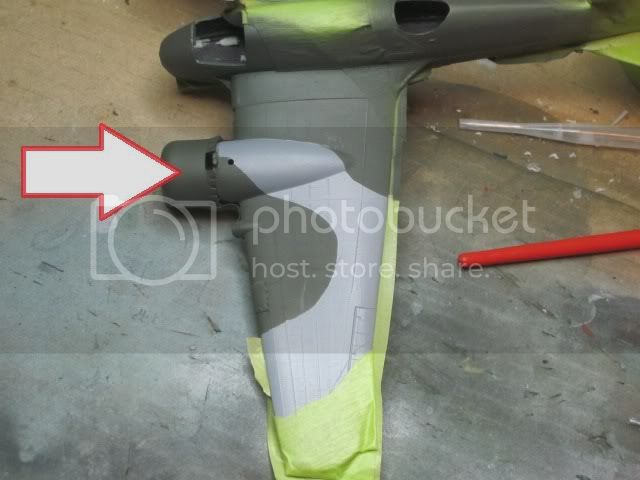
I'm really hating these engine nacelles. I'm tossing around the idea of ripping them off and replacing with Resin. I know they make them but don't know where. If anyone can help a fella out please let me know.

Siderius
_VISITCOMMUNITY
Tennessee, United States
Joined: September 20, 2005
KitMaker: 1,747 posts
AeroScale: 1,673 posts
Posted: Sunday, September 05, 2010 - 07:38 AM UTC
Coming along nicely there Dirk. I am looking forward to seeing the finished product. Keep up the good work. Russell
Dirkpitt289
_VISITCOMMUNITY
New Jersey, United States
Joined: May 24, 2008
KitMaker: 346 posts
AeroScale: 307 posts
Posted: Wednesday, September 08, 2010 - 06:59 AM UTC
I made a little more progress on this one the last few days. I apologize in advance for the blurriness of some of the photos.

Now that the colors were acceptable its time to work on some of the small stuff. I started with the collaborator intakes. As I said before and I think I showed you the intakes on the real aircraft are longer then the ones supplied by Airfix. Not that big deal.


The make the modifications I pulled some Evergreen styrene form my stock (Love this stuff )


Next I applied some Mr Surfacer 500 and let it dry. After that I did some preliminary sanding and reapplied some Mr Surface 500. This happened 3 times. The last time I applied Mr Surfacer 1000. We'll get back to these after they dry.

Next I dry-fitted the cockpit canopy. :evil: I'll worry about this later. I want to get it masked and painted first. I feel that will be easier then with it attached to the aircraft.


Now I noticed that the American birds they didn't use the rear gunner. That's all well and good but this kit came with one canopy with a cut out for the rear gunners. No big deal with my best friend Micro Kristal Clear.


Now I've run into another problem which I hope I can over come with relative ease. It seems the dry transfers I was going to use for the names "Fluff, Patsy, and Amby" are too big. I will have to see if I can find some smaller transfers or else.... I might have to change the aircraft I'm doing. :x

Till next time thanks for looking.
Dirkpitt289
_VISITCOMMUNITY
New Jersey, United States
Joined: May 24, 2008
KitMaker: 346 posts
AeroScale: 307 posts
Posted: Wednesday, September 08, 2010 - 07:01 AM UTC
Not much to show here lately as I didn't have the proper transfers to customize the exterior. Well I found what I needed yesterday and set to work last night. The location of the markings made it a bit of a challenge to do with only two hands but it the end its not too bad.

First there is "PATSY". Its a bit hard to see the yellow on the gray but its there.


Then there was "FLUFF"


Last there is "AMBY"


The finish line is in sight, thanks for looking
Bigrip74
_VISITCOMMUNITY
Texas, United States
Joined: February 22, 2008
KitMaker: 5,026 posts
AeroScale: 2,811 posts
Posted: Thursday, September 09, 2010 - 01:04 PM UTC
Dirk, nice job on the Bea. so far. Ouch on the wing tip, and I would like to raid your stock of plastic I need to make a trip to the LHS for supplies. Again nice job on your build, cannot wait to see the old girl finished.

Rip
 _GOTOTOP