_GOTOBOTTOM
Pre-Flight Check
Constructive critique of your finished or in-progress photos.
Eduard 1/48 F6F-5N campaing build
vonHengest
_VISITCOMMUNITY
Texas, United States
Joined: June 29, 2010
KitMaker: 5,854 posts
AeroScale: 372 posts
Posted: Monday, September 06, 2010 - 09:09 AM UTC
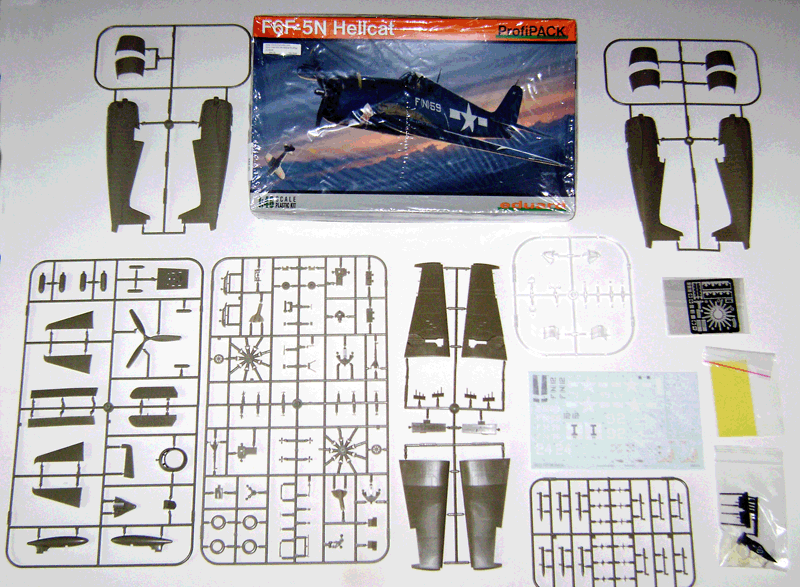
This is going to be a build log for my F6F-5N entry into the PIN-UPS campaign. I will obviously be building the aircraft depicted on the box art in order to qualify for the campaign. This looks to be a great kit, and I'll probably end up adding a couple more to my stash as there are several interesting aircraft that can be built OOB from this kit.


I am working mostly on the cockpit interior components at the moment. It is quite detailed and requires a bit of patience to build. I will post pics before I box it up and install it in the fuselage. Looks like it's going to be quite a little stunner in itself
md72
#439
_VISITCOMMUNITY
Washington, United States
Joined: November 05, 2005
KitMaker: 4,950 posts
AeroScale: 3,192 posts
Posted: Monday, September 06, 2010 - 11:42 AM UTC
Looks like a good starting point, looking forward to this build.
vonHengest
_VISITCOMMUNITY
Texas, United States
Joined: June 29, 2010
KitMaker: 5,854 posts
AeroScale: 372 posts
Posted: Monday, September 06, 2010 - 05:11 PM UTC
Thanks Mark! I'm looking forward to getting this kit all built up

Looking forward to seeing your build when the Korean War campaign kicks off
vonHengest
_VISITCOMMUNITY
Texas, United States
Joined: June 29, 2010
KitMaker: 5,854 posts
AeroScale: 372 posts
Posted: Thursday, September 16, 2010 - 08:32 PM UTC
I apologize for the lack of updates. It looks like it will be about another week or so before I am able to return home. Looking forward to finishing up that cockpit interior
vonHengest
_VISITCOMMUNITY
Texas, United States
Joined: June 29, 2010
KitMaker: 5,854 posts
AeroScale: 372 posts
Posted: Monday, October 04, 2010 - 12:17 PM UTC
Ok then, now that I have returned home I can commence building!

I just checked the fuselage intended for the plane portrayed in the box art and much to my surprise found that it was warped around the nose and tail. The other fuselage halves are straight and fit together with no problems whatsoever. There is an option for that version that does include pinup art, so I may be going with that one.

For now I am working on the cockpit and engine. Pictures to come soon.

*edit: Quick question, does anyone know a good way to attach the small PE pieces together and to the plastic of the cockpit interior?
Keeperofsouls2099
_VISITCOMMUNITY
Florida, United States
Joined: January 14, 2009
KitMaker: 2,798 posts
AeroScale: 2,443 posts
Posted: Monday, October 04, 2010 - 04:33 PM UTC
For small parts of PE I like to use a drop ca glue on a scrap pc of paper and touch the part to the glue and then install.this way you don't get a huge drop of glue on anything
vonHengest
_VISITCOMMUNITY
Texas, United States
Joined: June 29, 2010
KitMaker: 5,854 posts
AeroScale: 372 posts
Posted: Tuesday, October 05, 2010 - 09:04 AM UTC
Very good then, thanks Justin! I didn't realize that nearly all of the controls were PE in this kit
Keeperofsouls2099
_VISITCOMMUNITY
Florida, United States
Joined: January 14, 2009
KitMaker: 2,798 posts
AeroScale: 2,443 posts
Posted: Tuesday, October 05, 2010 - 02:44 PM UTC
I use alot of PE it can be grueling at times but its worth it in the end
vonHengest
_VISITCOMMUNITY
Texas, United States
Joined: June 29, 2010
KitMaker: 5,854 posts
AeroScale: 372 posts
Posted: Tuesday, October 05, 2010 - 03:22 PM UTC
No doubt, it looks to be quite the stunner when built up properly
Keeperofsouls2099
_VISITCOMMUNITY
Florida, United States
Joined: January 14, 2009
KitMaker: 2,798 posts
AeroScale: 2,443 posts
Posted: Wednesday, October 06, 2010 - 04:48 PM UTC
Soooo are you done yet Got a sparkly ribbon for ya
vonHengest
_VISITCOMMUNITY
Texas, United States
Joined: June 29, 2010
KitMaker: 5,854 posts
AeroScale: 372 posts
Posted: Wednesday, October 06, 2010 - 05:03 PM UTC
Working out some issues with my airbrush atm, hoping to have this done within in a week and a half so I can trade in some pics for that sparkly ribbon you have waiting

Speaking of, do you have any preference for glues when you build aircraft?
vonHengest
_VISITCOMMUNITY
Texas, United States
Joined: June 29, 2010
KitMaker: 5,854 posts
AeroScale: 372 posts
Posted: Sunday, October 10, 2010 - 06:54 PM UTC
Alright guys, I've been somewhat hampered by weather and such, but should be getting some pictures to you during the length of this week. Expect updates as early as tomorrow evening if all goes well
Keeperofsouls2099
_VISITCOMMUNITY
Florida, United States
Joined: January 14, 2009
KitMaker: 2,798 posts
AeroScale: 2,443 posts
Posted: Monday, October 11, 2010 - 07:17 AM UTC
Well I use Testors model master liquid cement for the fuselages. for small gaps and what not I use medium CA Sir
vonHengest
_VISITCOMMUNITY
Texas, United States
Joined: June 29, 2010
KitMaker: 5,854 posts
AeroScale: 372 posts
Posted: Tuesday, October 12, 2010 - 03:58 PM UTC
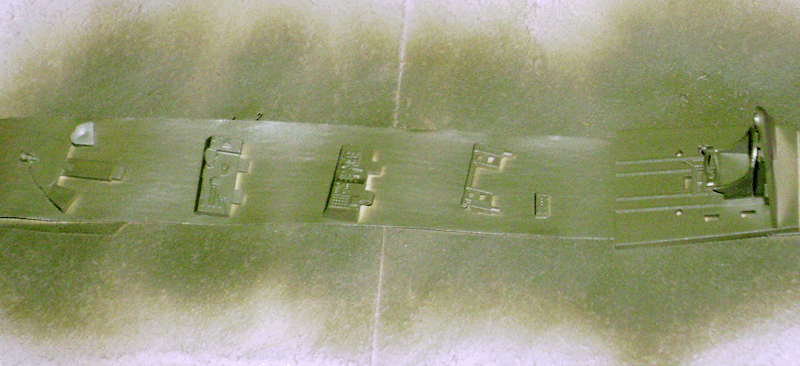
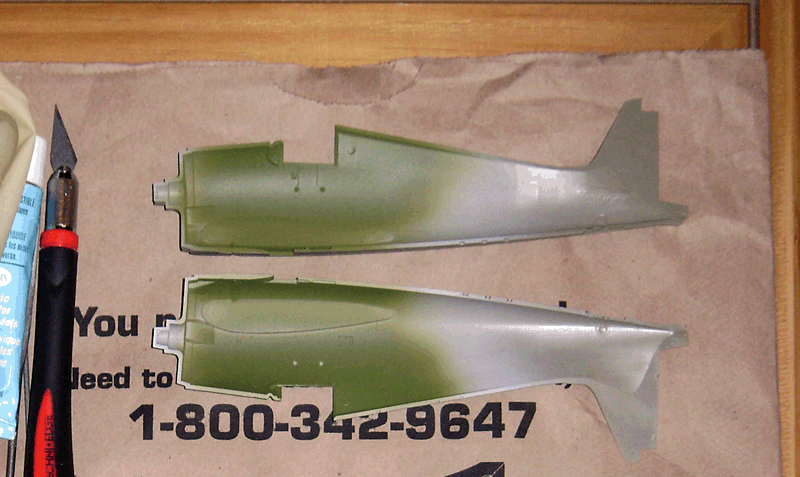
Alright, It finally stopped raining so I had a chance to try out my airbrush and actually had success! (Keep in mind this is my first time painting with an airbrush, or doing any of this stuff for that matter )


Will add the Zoom set tomorrow and start getting this bird together
vonHengest
_VISITCOMMUNITY
Texas, United States
Joined: June 29, 2010
KitMaker: 5,854 posts
AeroScale: 372 posts
Posted: Tuesday, October 12, 2010 - 04:01 PM UTC

Quoted Text

Well I use Testors model master liquid cement for the fuselages. for small gaps and what not I use medium CA Sir

Excellent, am incorporating this method to my build and have several parts assembled, but none of the major pieces until I get my cockpit squared away
vonHengest
_VISITCOMMUNITY
Texas, United States
Joined: June 29, 2010
KitMaker: 5,854 posts
AeroScale: 372 posts
Posted: Saturday, October 16, 2010 - 05:32 PM UTC
Alright guys, wasn't intending such a delay this past week.

The PE for the interior is beautiful, but trying my patience. I'm almost done with this part however and should have the interior together soon.

The Brownings are horribly offset in their casting and soft in detail, so I had to order some AM replacements for them, which just arrived today. I should have the wings together soon.

Once I get these aspects taken care of I will be able to prime the Hellcat. Wish my luck and will post pics soon
 _GOTOTOP