


thoughts?


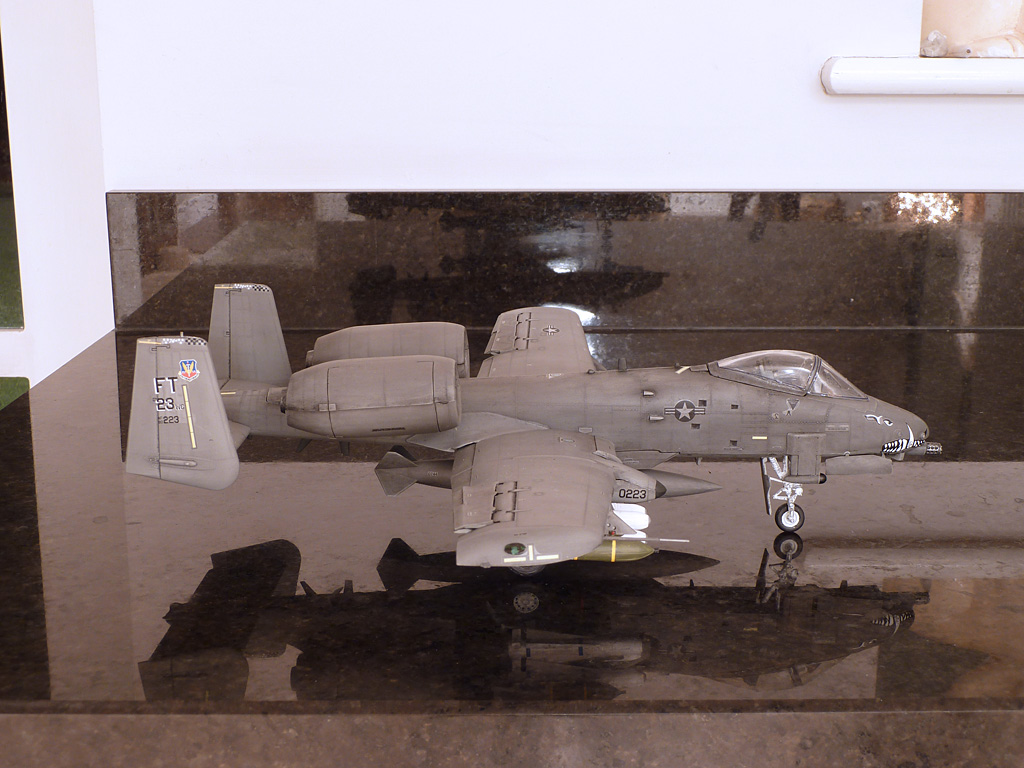
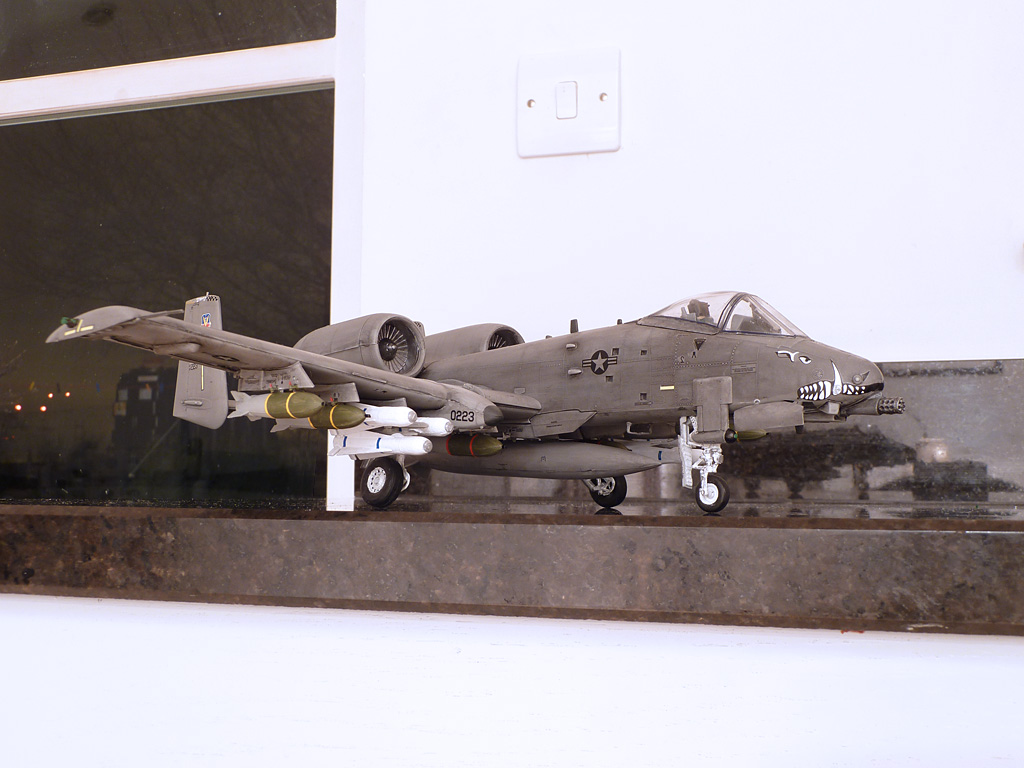
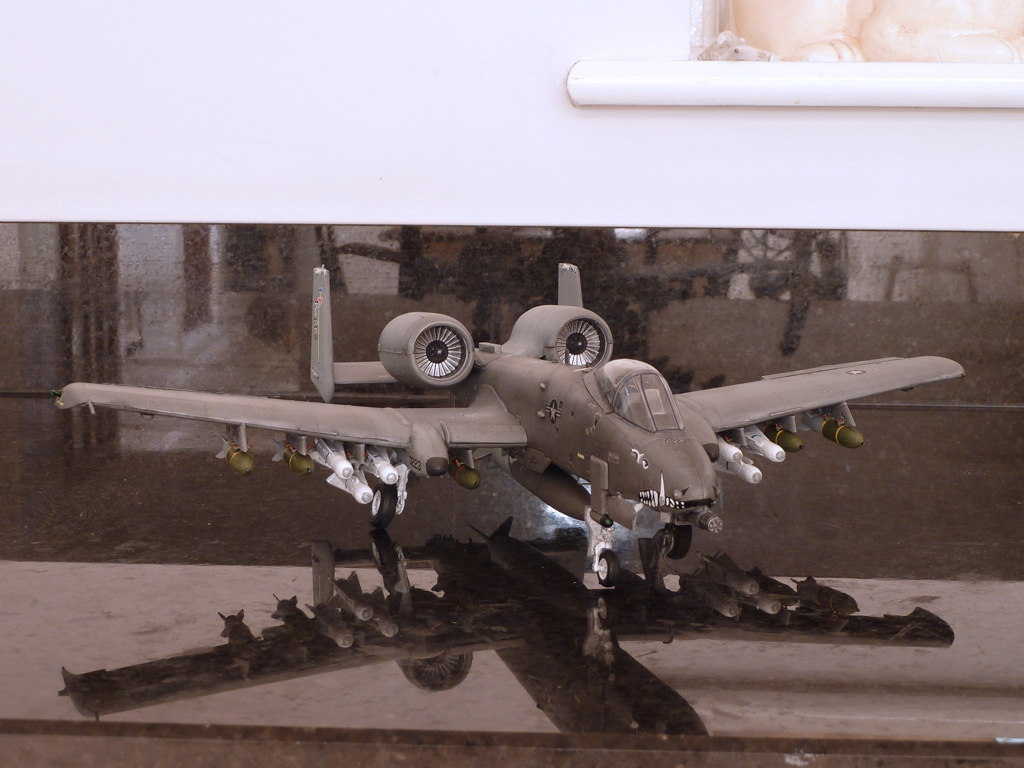
Im still quite new to this, this is only my 3rd one, and iv not really experimented with filler and such yet.
Also the way i weather the paint wouldnt work too well after the bits were stuck together and fillered etc.
They arent quite as bad as they look, the are nearly invisible to the eye, the flash seems to bring them out though.
Im sure there are better ways of doing things and il find them out as i go along


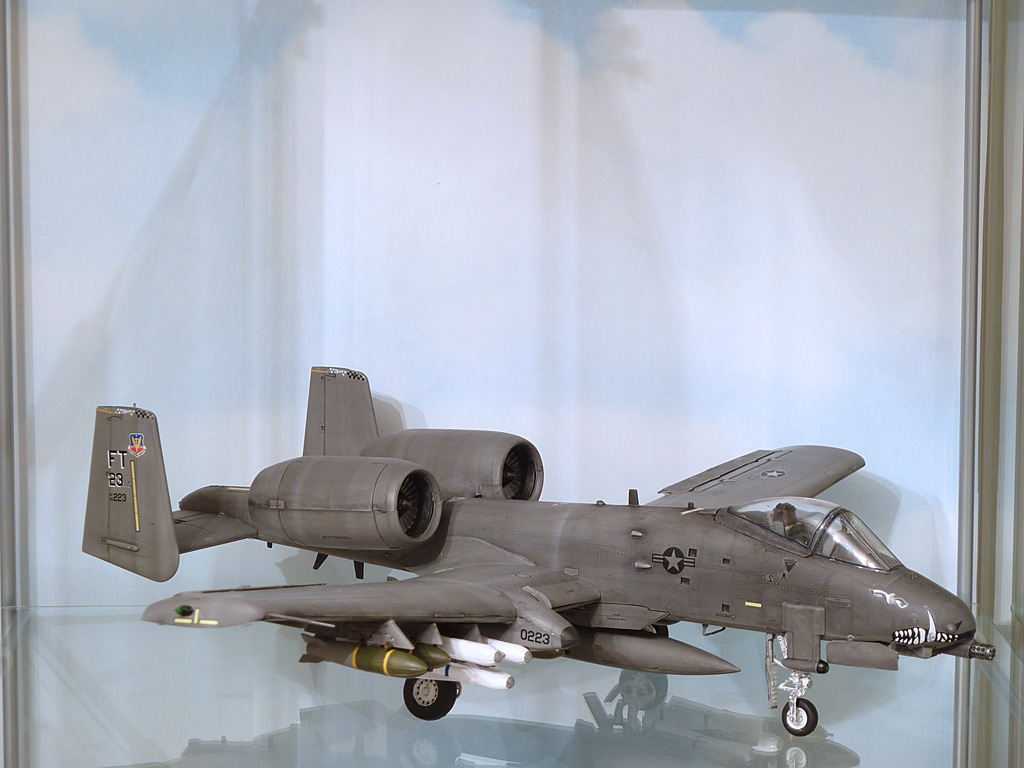
 i look forward to seeing more and yes the reading the seams article is a really good place to start.


 If not make sure the rod is strong enough.
 |


