_GOTOBOTTOM
World War II
Discuss WWII and the era directly before and after the war from 1935-1949.
Hosted by Rowan Baylis
YAK-3 Eduard 1/48
Naseby
_VISITCOMMUNITY
Slovakia
Joined: October 15, 2010
KitMaker: 825 posts
AeroScale: 476 posts
Posted: Wednesday, February 09, 2011 - 05:34 AM UTC
Eduard always had an interesting policy of kit releases. Certain kits, which were released not a long time ago dissapeared and then again appeard after a while only to dissapear again. I dont know if they have small storing spaces or if it is a marketing move. Fact is its sometimes frustrating to know I missed a release of something I wanted. So it was with the Yak. First released sometimes in the late 90s and then again and again, I somehow managed to miss it. Since I came back to the hobby, the only one in stock was the weekend edition, which is nice but I wanted the real thing. After the La-7 came out feew weeks ago I somehow had the feeling that the Yak will be the next. And it is! I will built this one in the next days and You are all invited to watch and criticize. The kit is nice and good value for money. PEs, canopy masks and quality transfers, as it is usual with Eduard ProfiPACKs, I guess You saw the reviews. One more thing You can see in the last picture is, that the Yak is realy small, probably the smalest fighter I ever built in 1/48!


NickZour
_VISITCOMMUNITY
Attica, Greece / Ελλάδα
Joined: May 01, 2008
KitMaker: 1,437 posts
AeroScale: 1,241 posts
Posted: Wednesday, February 09, 2011 - 08:54 AM UTC
Hello Mr. Naseby, that's a great P-51 you got there, oops I have seen it again

Have a nice start on the Yakovlev


Cheers Nick
lespauljames
_VISITCOMMUNITY
England - South West, United Kingdom
Joined: January 06, 2007
KitMaker: 3,661 posts
AeroScale: 369 posts
Posted: Wednesday, February 09, 2011 - 08:02 PM UTC
Looking forward to.this.build , I love Russian fighters , good luck !
Naseby
_VISITCOMMUNITY
Slovakia
Joined: October 15, 2010
KitMaker: 825 posts
AeroScale: 476 posts
Posted: Friday, February 11, 2011 - 08:13 PM UTC
Thanks for Your comments. So I finnaly started. First came the wing. I painted the inside of both wing parts with black, so the oil cooler openings can stay open. Next I started on the cockpit. Since the seat and side pannels are supposed to lean on the fuselage parts and I couldnt put them in place without the fuselage, I decided to glue them with the fuselage temporaly attached and then removed it for painting. It all worked well and now I have the seat and sidepannels in place and can also paint and weather them as a whole.


Naseby
_VISITCOMMUNITY
Slovakia
Joined: October 15, 2010
KitMaker: 825 posts
AeroScale: 476 posts
Posted: Tuesday, February 15, 2011 - 06:35 PM UTC
I made a little progress. The cockpit is finished, the fuselage and the wing glued together. I also managed to attach the radiator and rear wheel. The kit is a dream. When the PEs in cockpit are done, the rest is a piece of cake. Only trouble was with the decking for the radio behind the pilots seat, which didnt align with the fuselage halves. Im a little behind with the pictures. So far I have only a couple I made on the weekend.


KrisMax
_VISITCOMMUNITY
Queensland, Australia
Joined: January 23, 2010
KitMaker: 156 posts
AeroScale: 139 posts
Posted: Wednesday, February 16, 2011 - 10:49 PM UTC
A great looking cockpit, Naseby. The 'hang' of the seatbelts looks just right, not easy to do with PE.
Naseby
_VISITCOMMUNITY
Slovakia
Joined: October 15, 2010
KitMaker: 825 posts
AeroScale: 476 posts
Posted: Thursday, February 17, 2011 - 09:30 AM UTC
Thanks Simon. You are right, the PEs are the most complicated part of this kit. After that, its much faster. I have the main part together, and ready for paint . Here are some pictures. The fit is a dream as You can see.


NickZour
_VISITCOMMUNITY
Attica, Greece / Ελλάδα
Joined: May 01, 2008
KitMaker: 1,437 posts
AeroScale: 1,241 posts
Posted: Thursday, February 17, 2011 - 09:52 AM UTC
It's coming along nicely Mr. Naseby
Keep going


Cheers Nick
Naseby
_VISITCOMMUNITY
Slovakia
Joined: October 15, 2010
KitMaker: 825 posts
AeroScale: 476 posts
Posted: Sunday, February 20, 2011 - 07:15 PM UTC
I have been reading other toppics on this forum and I must say that I didnt porovide as much photos an information as the others do. To be honest, Im not an expert on russian planes and there is not much to write about this kit. It it is far the easiest 1/48 plane I ever buit, and if there were no PEs it would be done in three days. I however did had some problem fitting the end part of cannopy. The soviet late war fighter camouflage colours are as usual a theme for countless arguments. I didnt bother to read all the articles and forums and decided to make it simple dark grey, light grey and blue. Prove me wrong !


Naseby
_VISITCOMMUNITY
Slovakia
Joined: October 15, 2010
KitMaker: 825 posts
AeroScale: 476 posts
Posted: Friday, February 25, 2011 - 11:29 PM UTC
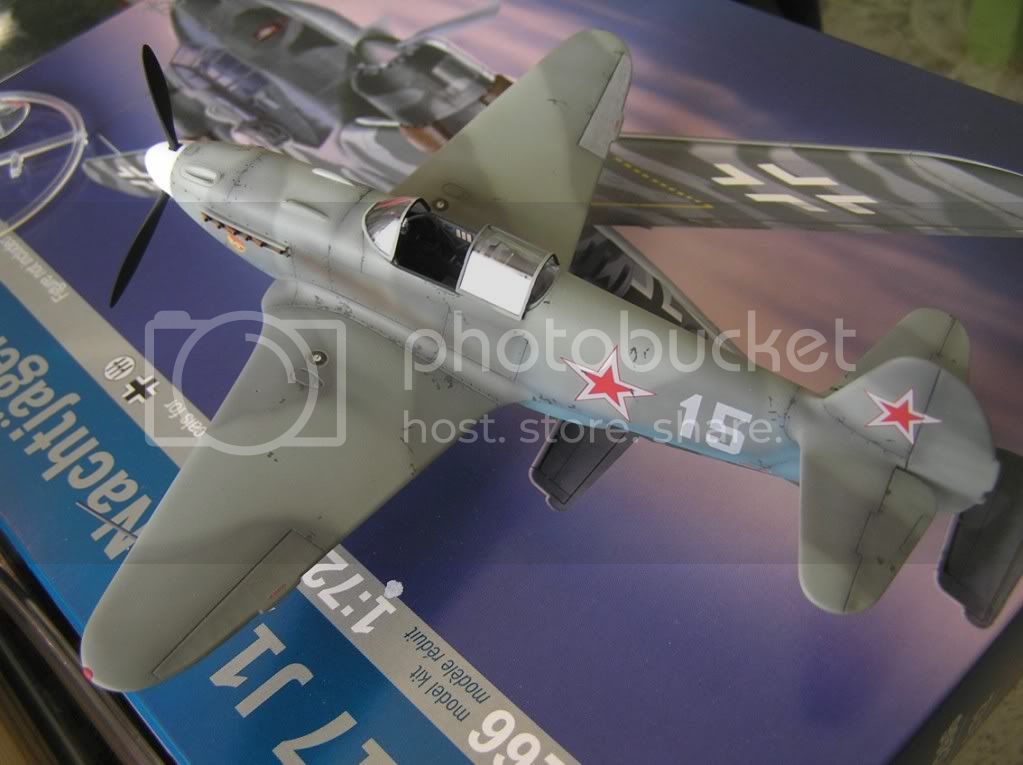
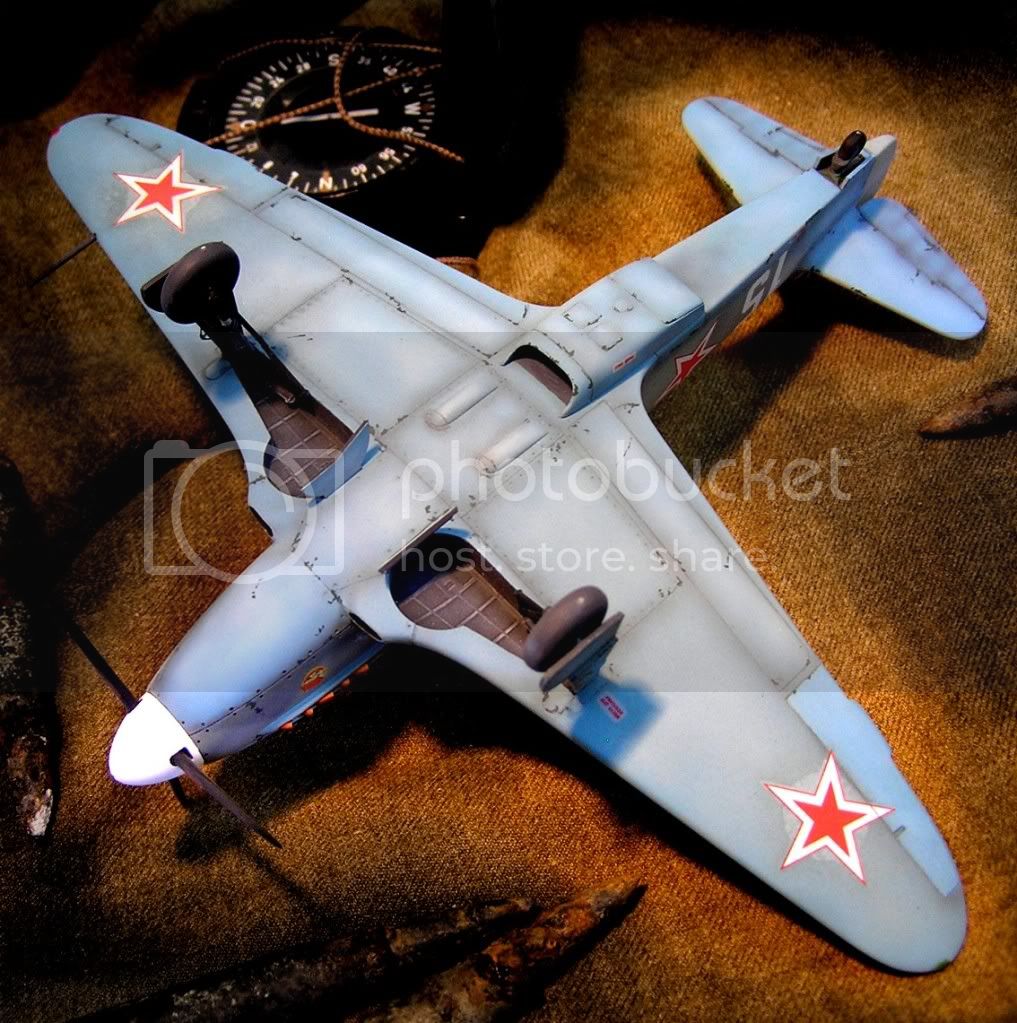
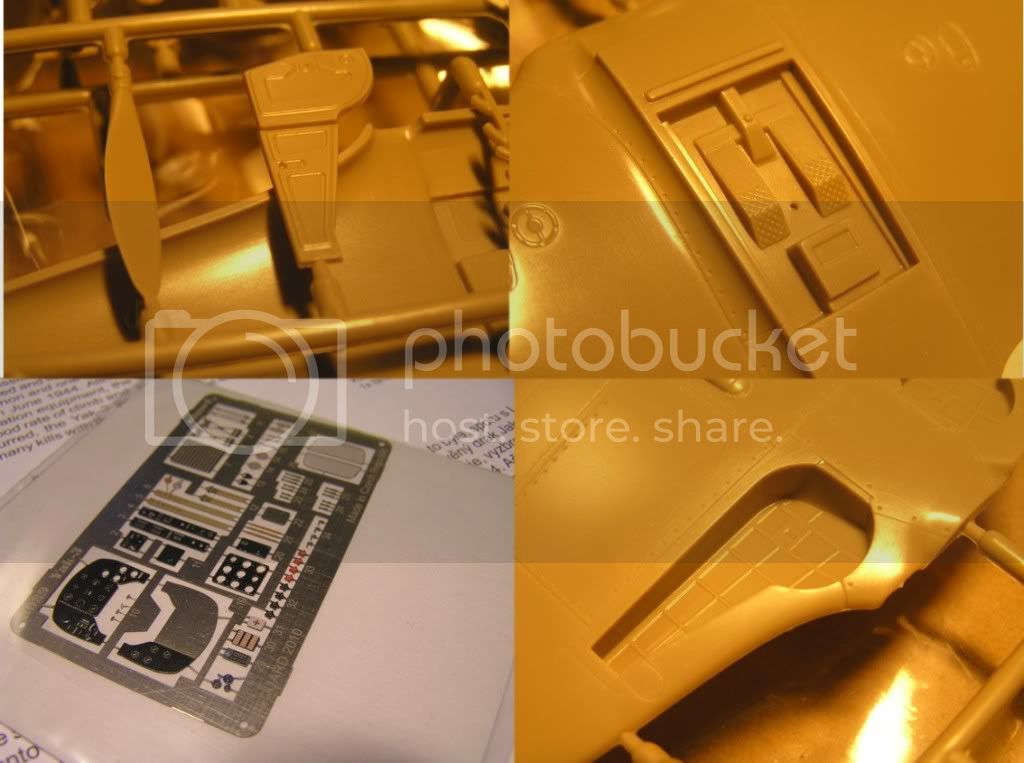
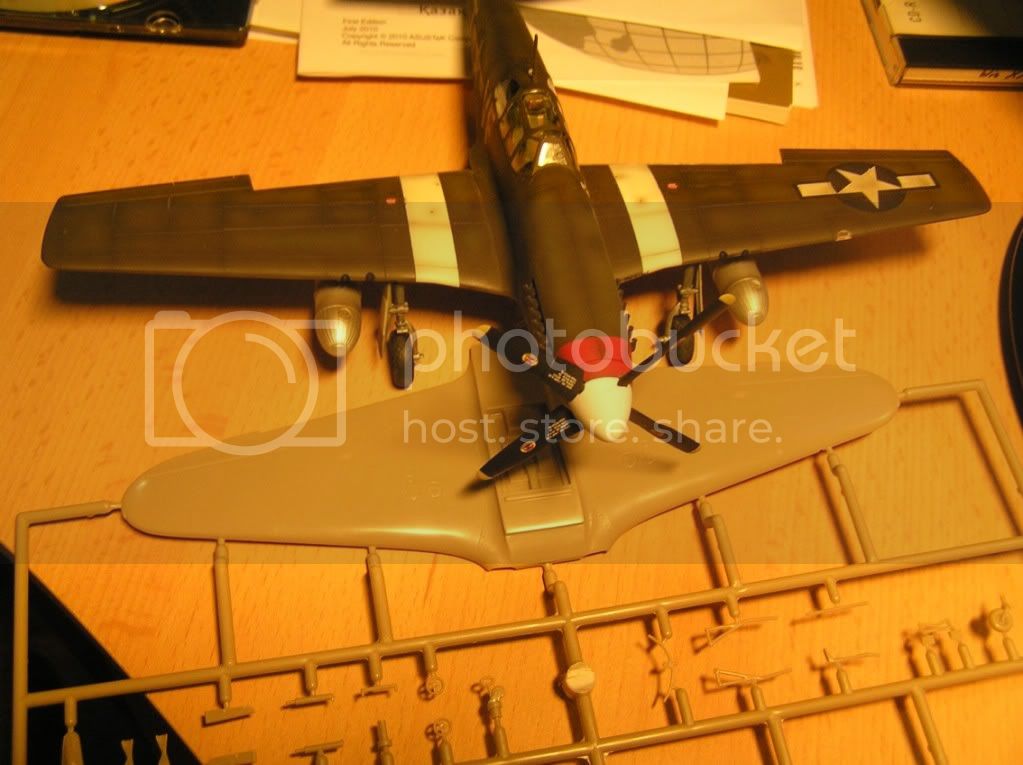
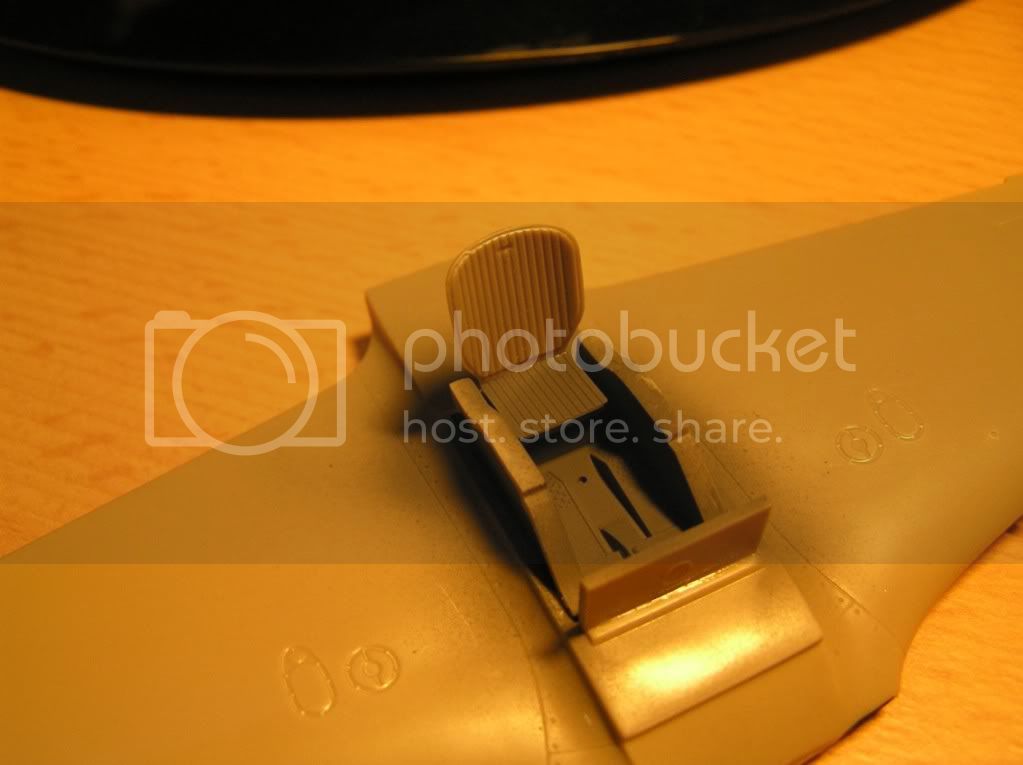
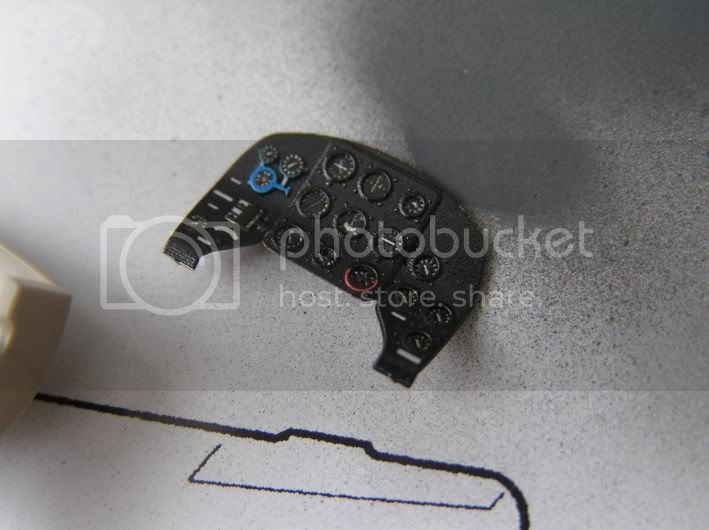
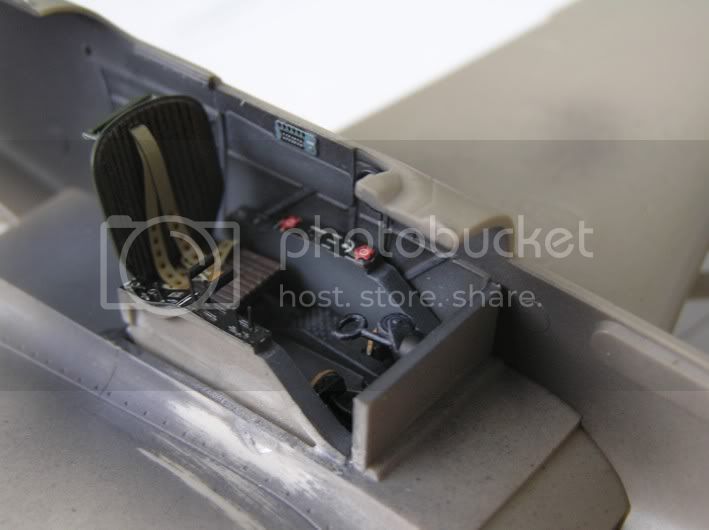
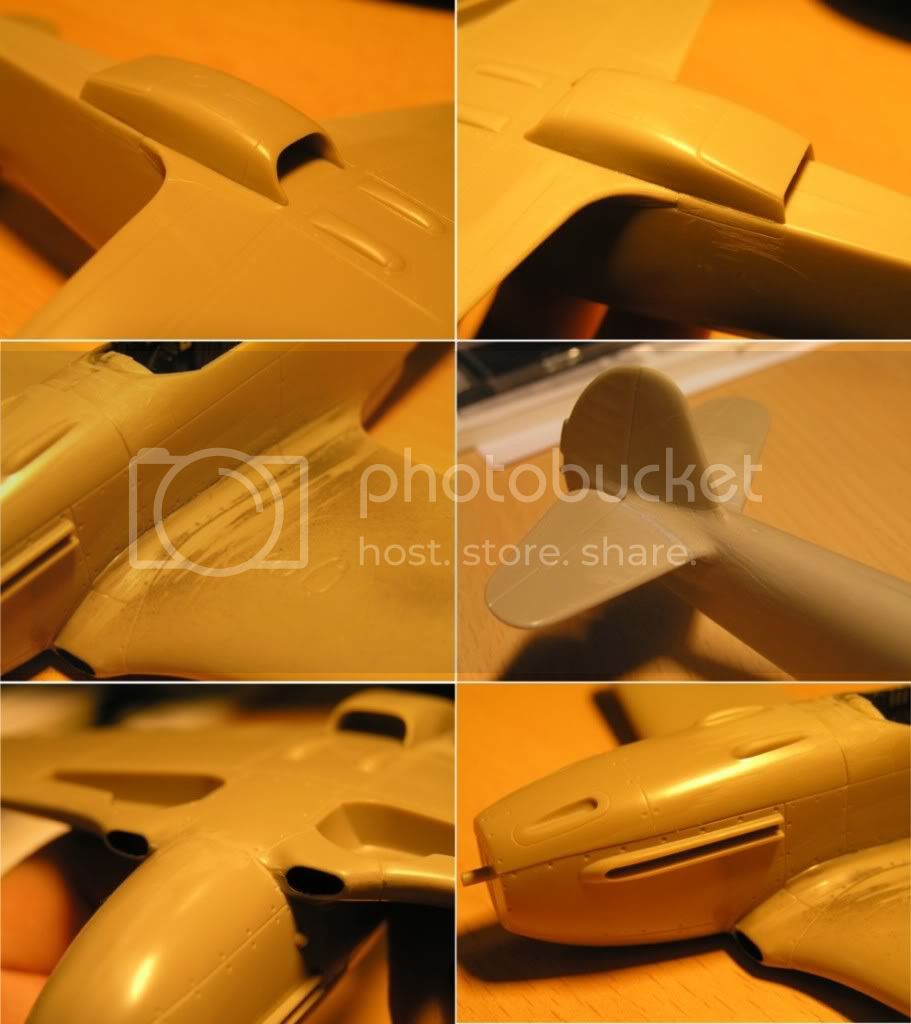
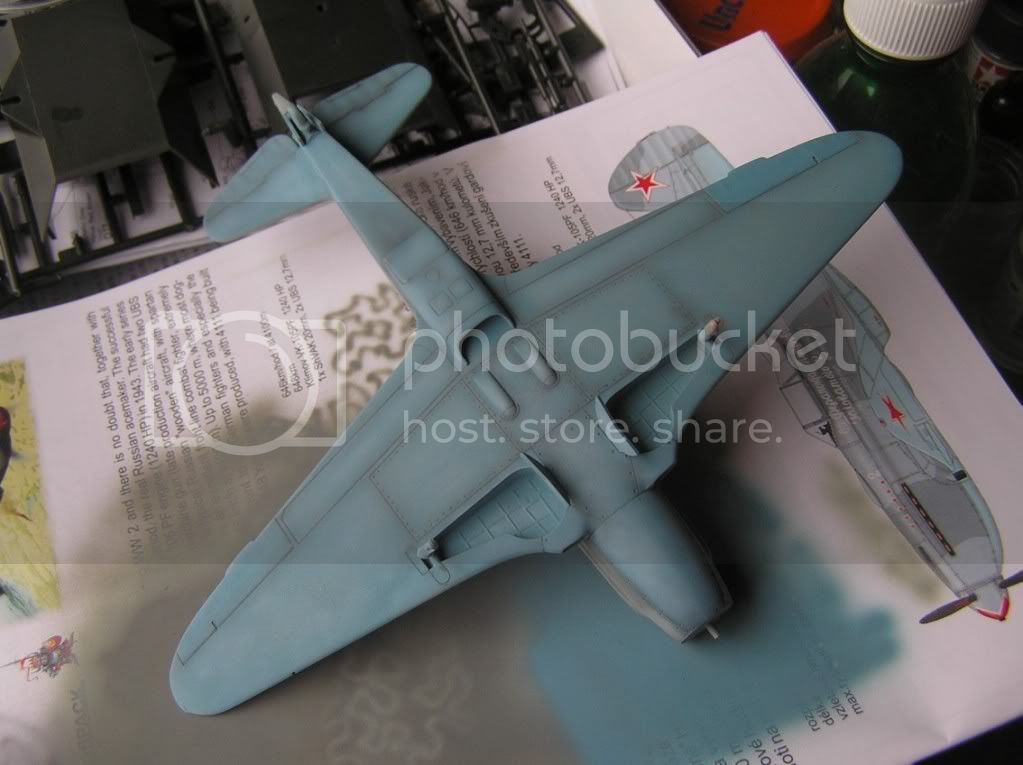
I finished yesterday and its time to sum up the build. As for the plastic parts, I am satisfied with their quality. The fit of the parts was exceptionel and I used putty only once. There are however two issues. The first is the fact that the air intakes on the wing roots dont have the charakteristic middle plates. The second issue is with the wings. The way they are constructed, they lack stiffness and can be easily bent and crack on the joint with the fuselage. I would recommend to anyone to use a piece of plastic and glue it into the wings between the wheel bays, to ensure the upper and lower part of the wings doesnt bend when assembled. As for the PE parts, they are very nice, but some of them are small and need carefull handling. The gunsight could be done better, the clear plastic part is not as good as it could be. The fit of the radio plate behind the pilot seat was a little tricky too. The masks for the canopy are ok, as are the clear parts. I didnt use the masks for wheels, as I prefer to paint them by hand. The most dissapointing thing of this build are the decals. This are not Cartograf decals as was usual before, but probably Eduards own offering. As I recently built the Eduards F6F with decals from Cartograf, I can say that the quality of these new decals is inferior. I had particular troubles with stars on the lower part of the wing, where the stars have a distinct circle around their middle part (see last photo). No Gunze or anything else helped, so I decided to leave it as it is. The camouflages offered in the kit were too colourfull for me, so I made a sci-fi camouflage using parts from the kits decal sheet. With more than 3000 YAKs produced and given that the camouflage was standard as were the stars and numbers, the chances that a plane as this existed is high.
Well how to sum up? The kit is nice and a I like it a lot. Its the best choice for a YAK-3 out there and even without the PEs can be buit into a nice model.


MrMtnMauler
_VISITCOMMUNITY
Washington, United States
Joined: January 15, 2011
KitMaker: 224 posts
AeroScale: 223 posts
Posted: Saturday, February 26, 2011 - 05:49 AM UTC
Outstanding Build!! Thank you for sharing these photos. I'm about to embark on a Yak 9 so these will help. Take care
Jim
NickZour
_VISITCOMMUNITY
Attica, Greece / Ελλάδα
Joined: May 01, 2008
KitMaker: 1,437 posts
AeroScale: 1,241 posts
Posted: Saturday, February 26, 2011 - 07:01 AM UTC

Quoted Text

Outstanding Build!!


I have to agree


Cheers Nick
Emeritus
_VISITCOMMUNITY
Uusimaa, Finland
Joined: March 30, 2004
KitMaker: 2,845 posts
AeroScale: 1,564 posts
Posted: Saturday, February 26, 2011 - 08:45 AM UTC
Turned out really fine. I especially like that weathering. Great work with that "used but not abused" look!

Bummer with those wing markings. Peculiar issue indeed. Was the level of gloss under all the decals the same? I've never had a problem with Eduard's own decals myself. In fact, I find the Cartograph decals included nowadays to be slightly thicker than their own, but it's not an issue of any kind, as they're still quite thin.
The shapes of the stars don't look too hard for touching up the the silvering (or whatever it is), but would it be hard to blend in with the rest of the blue?

Naseby
_VISITCOMMUNITY
Slovakia
Joined: October 15, 2010
KitMaker: 825 posts
AeroScale: 476 posts
Posted: Saturday, February 26, 2011 - 10:57 AM UTC
Thank You for Your Comments, Im very happy that You like the Result. As for the Decals, I used my usual way. The blue Colour is Humbrol, then Tamiya Gloss Clear, then the Decals with Gunze Mark Setter and after that Gunze Flat Clear. What I dont understand is why the stars on the Fuselage and the Tail are ok? The only Difference being, that the upper Surfaces are airbrushed with Tamiya Paints not Humbrol. I will try to fix the Stars Someday in the Future, but first I have to wait for a Russian Decal Sheet I ordered to have a Backup at hand.
 _GOTOTOP