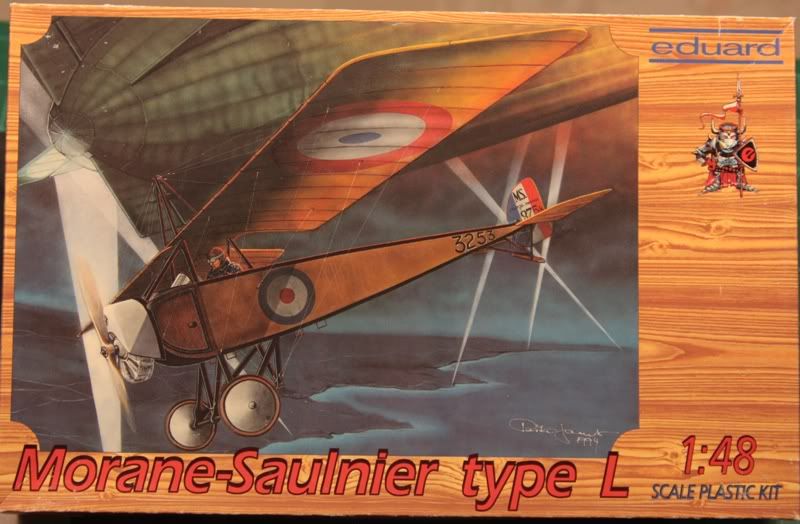
KotS GB 2011 MS type L Red4
California, United States
Joined: April 01, 2002
KitMaker: 4,287 posts
AeroScale: 1,164 posts
Posted: Wednesday, February 16, 2011 - 01:12 AM UTC
"Don't fear the night, fear what hunts at night"
England - South East, United Kingdom
Joined: November 06, 2005
KitMaker: 1,667 posts
AeroScale: 1,551 posts
Posted: Wednesday, February 16, 2011 - 02:39 AM UTC
Welcome to WWI modelling Q, any questions just post them, theres a wealth of knowledge here and always available to share.
Interesting choice of subject too.
Keith
Still can't cure the AMS even with sausage finger implants & olde eyes.
Indiana, United States
Joined: May 14, 2007
KitMaker: 3,117 posts
AeroScale: 2,270 posts
Posted: Wednesday, February 16, 2011 - 06:56 AM UTC
Welcome Matthew. Been a while since I last saw you, but I spend most of my time over here or on the Darkside of modeling (Automotive). We will all be here if you need our help. But I think you are more than capable of turning out a fantastic flier. I like your choice. Welcome to the GB.

"Treat 'em Rough", Current Builds--Wingnut Rumpler
I am frequently seen with blood shot eyes from staying up past my nap time to get the right colour scheme on my latest WWI model?
Arizona, United States
Joined: December 12, 2008
KitMaker: 1,423 posts
AeroScale: 1,319 posts
Posted: Wednesday, February 16, 2011 - 08:11 AM UTC
Greetings and welcome "Q". Interesting topic indeed, will be looking forward to seeing this little guy progress. Enjoy the build and the great company here on Aeroscale.
Best
Mark
We few, we happy few........
California, United States
Joined: April 01, 2002
KitMaker: 4,287 posts
AeroScale: 1,164 posts
Posted: Wednesday, February 16, 2011 - 03:54 PM UTC
Thanks for the warm welcome all. It has been awhile since we've seen each other hasn't it Carl?

I wasn't able to get anything done on my entry today as I was helping a friend and fellow modeler with some life blahs. He's better and sitting at his bench building
I'll be diving into my build here as soon as this and a couple other posts are taken care of. Thanks again for the warm welcome, much appreciated. "Q"

"Don't fear the night, fear what hunts at night"
California, United States
Joined: April 01, 2002
KitMaker: 4,287 posts
AeroScale: 1,164 posts
Posted: Wednesday, February 16, 2011 - 05:46 PM UTC
"Don't fear the night, fear what hunts at night"
Alberta, Canada
Joined: January 19, 2008
KitMaker: 6,743 posts
AeroScale: 6,151 posts
Posted: Wednesday, February 16, 2011 - 06:41 PM UTC
Welcome to the GB Matt ! Nice to see you hanging out here ( about time ! )
The older Eduard kits are a limited run type affair that will test your skills . However , they are really nice kits even if they are out dated by today's standards .
You seem to be on the right track and she is looking good . You can always remove the flat bracing wires and replace them with stock rod or a fine fishing line .
Any Questions just ask , more than enough helpful folks hanging out here !
Colorado, United States
Joined: January 25, 2004
KitMaker: 11,669 posts
AeroScale: 11,011 posts
Posted: Thursday, February 17, 2011 - 04:08 AM UTC
Yes. Those early Eduard kit instructions were a bit hard to follow at times. Time, eyesight and dexterity are your personal hurdles that can impair an enjoyable build. In the planning stages use the kit instructions to document what you have done, will do, wont do by colour coding your steps with pastel high-lighters. Pink=complete, yellow=delete Green=scratch-build/alter & blue= replace with an existing kit item.
". . .The most important thing is to know why you build and then get the most that you can out of building." via D.D.
California, United States
Joined: April 01, 2002
KitMaker: 4,287 posts
AeroScale: 1,164 posts
Posted: Thursday, February 17, 2011 - 06:46 AM UTC
"Don't fear the night, fear what hunts at night"
California, United States
Joined: April 01, 2002
KitMaker: 4,287 posts
AeroScale: 1,164 posts
Posted: Thursday, February 17, 2011 - 08:33 AM UTC
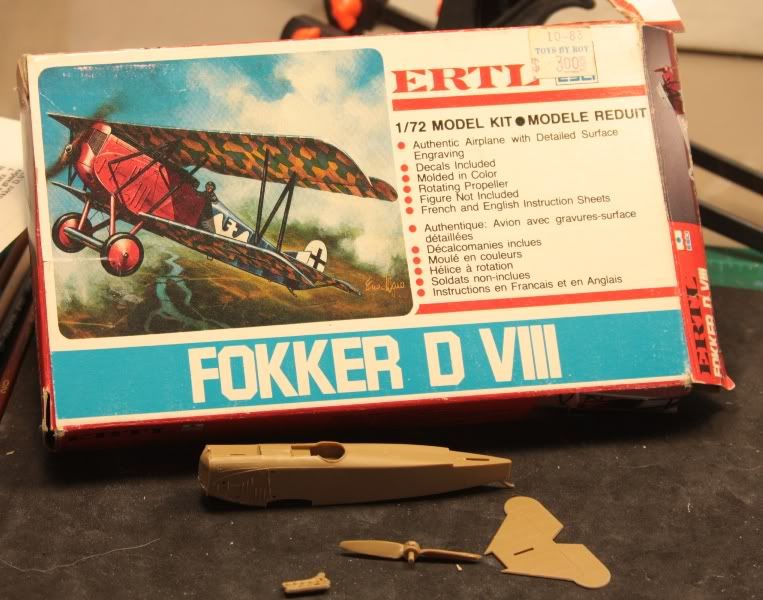
In case things go horribly wrong with my MS Type L, I have this as a back up. Limited rigging, and a scale I can Identify with...

"Q"
"Don't fear the night, fear what hunts at night"
Arizona, United States
Joined: December 12, 2008
KitMaker: 1,423 posts
AeroScale: 1,319 posts
Posted: Thursday, February 17, 2011 - 08:34 AM UTC
Hi Matthew:
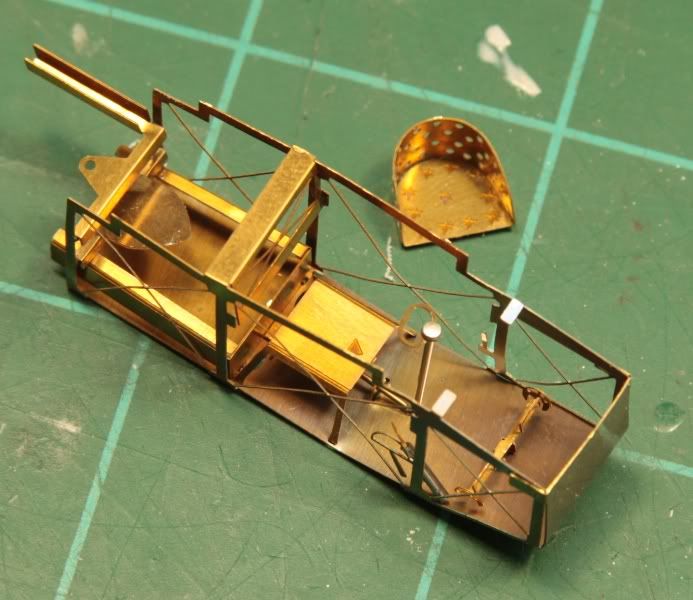
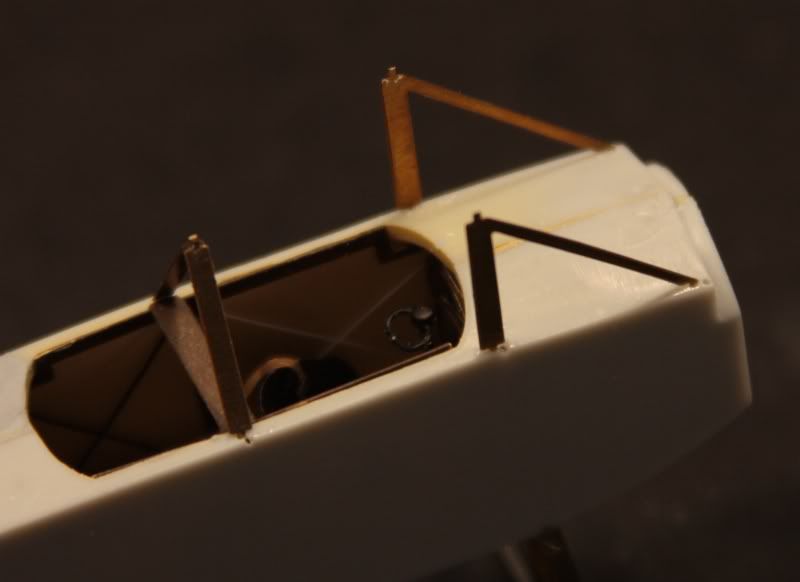
It is coming along, and it looks like you did well on the cockpit. I am not a fan of PE and stay away from it as much as possible. Yes, it takes some planning to get these shelf or contest worthy. After a long 30 year hiatis from WWI modeling I approached the Revell 1/28 Fokker DVII thinking it would be a walk in the park, wrong. It is still in the box. This is shaping up nicely.
Best
Mark
We few, we happy few........
Indiana, United States
Joined: May 14, 2007
KitMaker: 3,117 posts
AeroScale: 2,270 posts
Posted: Thursday, February 17, 2011 - 08:39 AM UTC
It looks like you are building her up very quick. These older kits are not known as fast builders. Good work.
"Treat 'em Rough", Current Builds--Wingnut Rumpler
I am frequently seen with blood shot eyes from staying up past my nap time to get the right colour scheme on my latest WWI model?
California, United States
Joined: April 01, 2002
KitMaker: 4,287 posts
AeroScale: 1,164 posts
Posted: Thursday, February 17, 2011 - 09:31 AM UTC
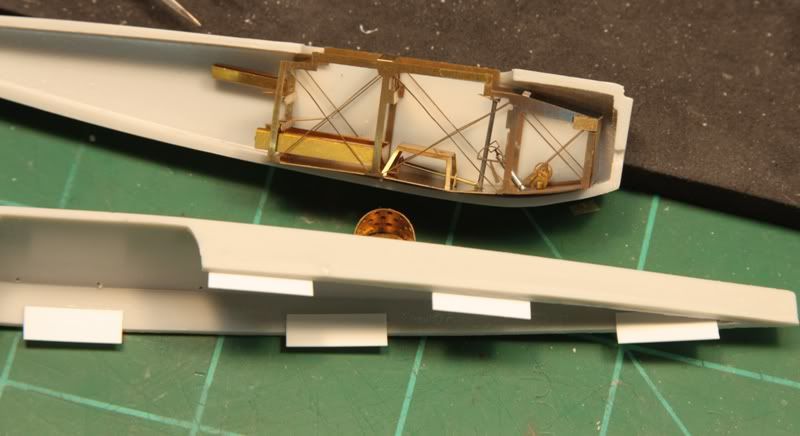
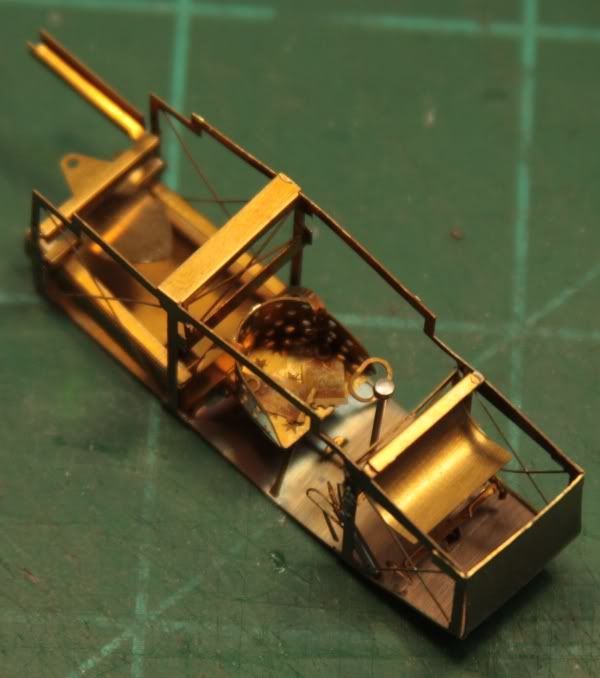
Thanks for the kind words guys. This is definitely not in my comfort zone, but I plan to stick with it. I figure if I can get through one that maybe I'll take on another one, etc. and expand my interests/skills. While the cockpit on this one is anything but pretty...understatement of the year.. lol, there isn't a lot that can be seen. I'm going to chalk this one up to learning what to and not to do when building this type of aircraft.

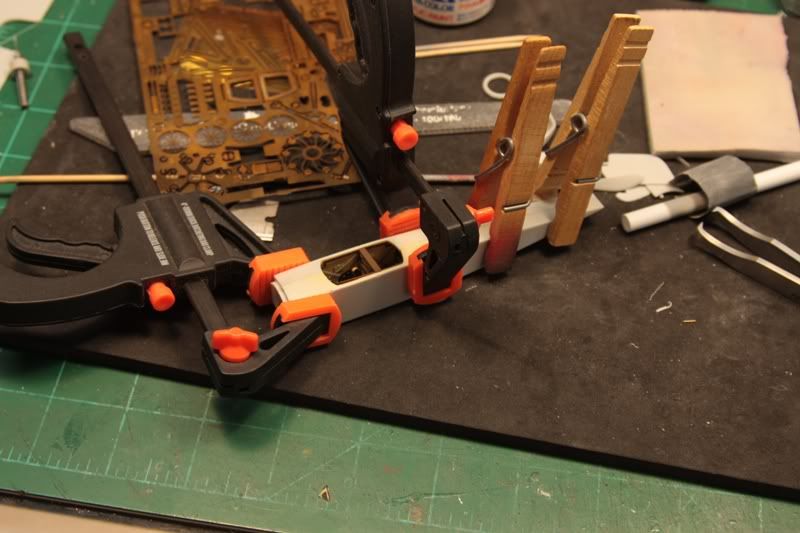
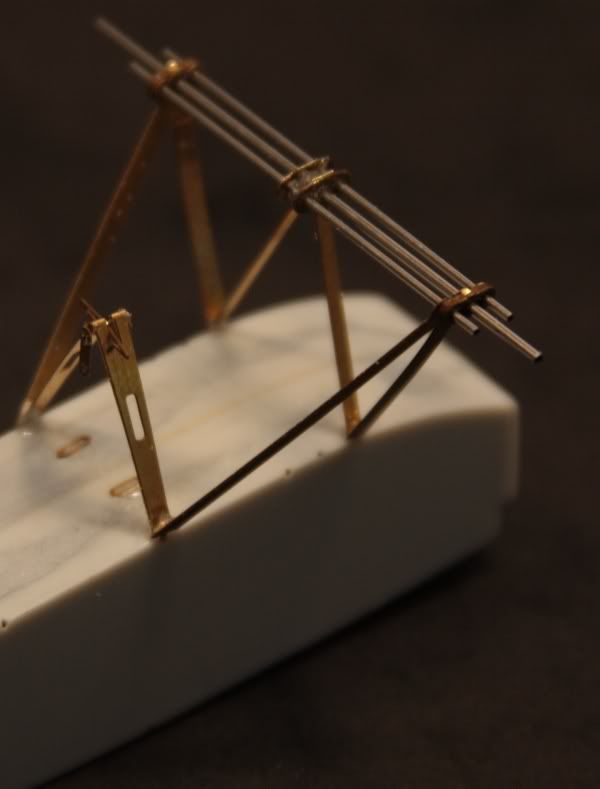
After removing the clamps from the fuselage I saw that there were some pretty large steps to deal with. I guess my shims didn't keep things aligned. But, since there aren't any panel lines to worry about sanding away, the putty was deployed and quickly filled the steps. A little block sanding and I should be back in business soon enough. I have pre-drilled all the holes for the rigging. I was going to try and replicate the turn buckles, but I think I may just run the lines into the holes and call it even. At least until I'm more comfortable with working on these rigged subjects. Thanks again for the encouragement and kind words, much appreciated. "Q"
"Don't fear the night, fear what hunts at night"
United Kingdom
Joined: February 26, 2010
KitMaker: 74 posts
AeroScale: 71 posts
Posted: Thursday, February 17, 2011 - 10:34 AM UTC
Fokker D VIII? am i missing something?

California, United States
Joined: April 01, 2002
KitMaker: 4,287 posts
AeroScale: 1,164 posts
Posted: Thursday, February 17, 2011 - 10:49 AM UTC
Misprint on the box art. I never noticed it...lol. "Q"

"Don't fear the night, fear what hunts at night"
California, United States
Joined: April 01, 2002
KitMaker: 4,287 posts
AeroScale: 1,164 posts
Posted: Friday, February 18, 2011 - 03:33 PM UTC
"Don't fear the night, fear what hunts at night"
Indiana, United States
Joined: May 14, 2007
KitMaker: 3,117 posts
AeroScale: 2,270 posts
Posted: Saturday, February 19, 2011 - 12:30 AM UTC
You seem to have a talent for these Early Aviation subjects Matthew. I hope you will pick up some of the higher quality kits and give them a try. You have a good approach towards these subjects, and they really look good. I hope to see you around here more often after you finish these two builds.
"Treat 'em Rough", Current Builds--Wingnut Rumpler
I am frequently seen with blood shot eyes from staying up past my nap time to get the right colour scheme on my latest WWI model?
California, United States
Joined: April 01, 2002
KitMaker: 4,287 posts
AeroScale: 1,164 posts
Posted: Saturday, February 19, 2011 - 01:21 AM UTC
Thanks for the kudos Carl. I hope I do too..
Lots of interesting subjects to be had. Thanks again for the compliment, much appreciated. "Q"
"Don't fear the night, fear what hunts at night"
Arizona, United States
Joined: December 12, 2008
KitMaker: 1,423 posts
AeroScale: 1,319 posts
Posted: Saturday, February 19, 2011 - 04:02 AM UTC
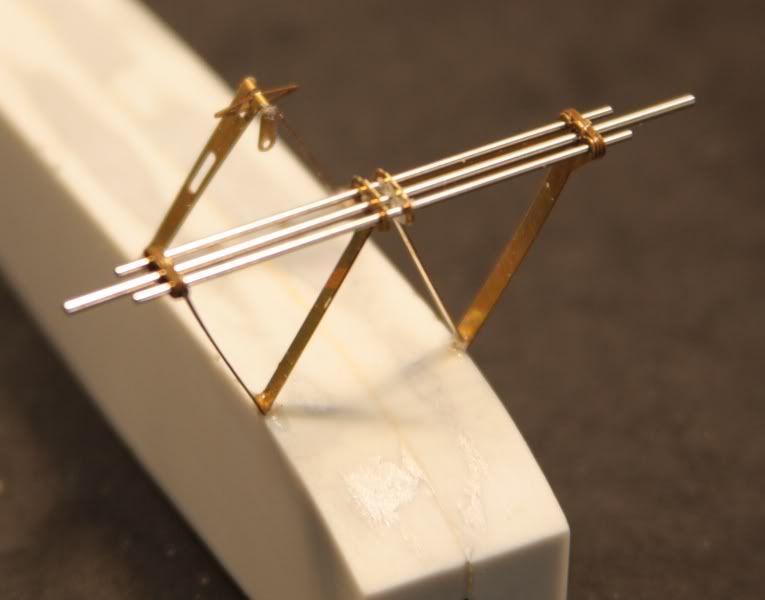
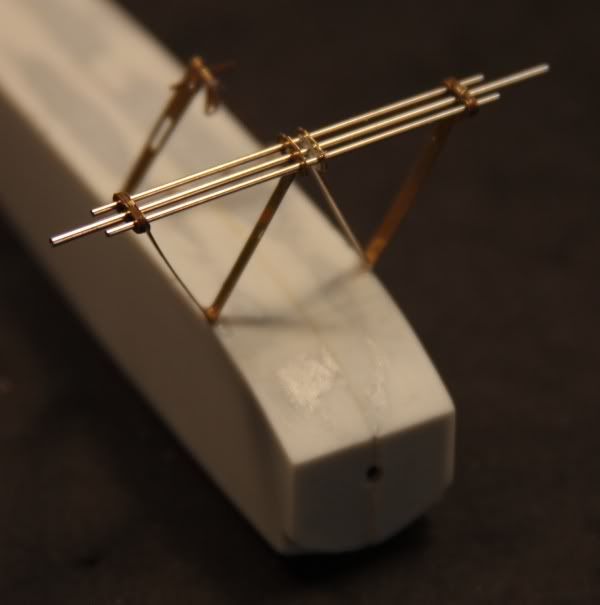
The landing gear really turned out nice, you exhibit a lot more patience than I could muster for that. I echo Carl's sentiments hope to see you around here more with more subjects.
Best
Mark
We few, we happy few........
British Columbia, Canada
Joined: February 11, 2007
KitMaker: 96 posts
AeroScale: 25 posts
Posted: Saturday, February 19, 2011 - 04:20 AM UTC
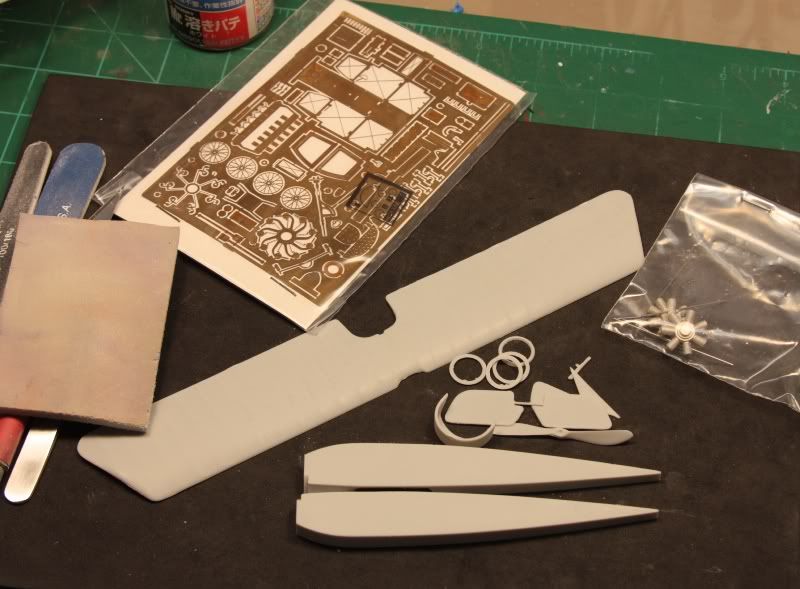
Holy smokes that's a lot of photo etch that comes with the kit. The build looks great.
Ted
Colorado, United States
Joined: January 25, 2004
KitMaker: 11,669 posts
AeroScale: 11,011 posts
Posted: Saturday, February 19, 2011 - 06:37 AM UTC
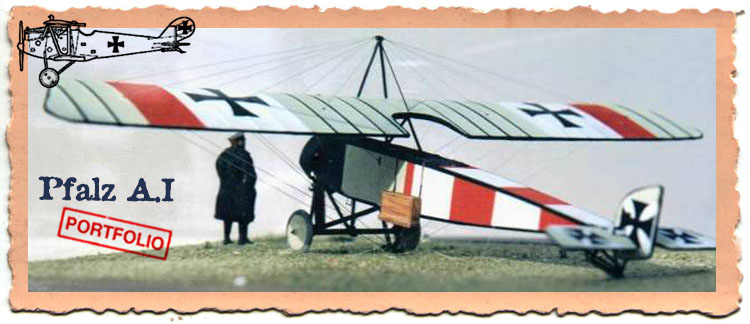
I remember building this kit and backdating it to a German License built Pfalz A.I

". . .The most important thing is to know why you build and then get the most that you can out of building." via D.D.
California, United States
Joined: April 01, 2002
KitMaker: 4,287 posts
AeroScale: 1,164 posts
Posted: Saturday, February 19, 2011 - 04:44 PM UTC
If mine comes out remotely looking like Stephens I'll be happy. Thanks for the kudos thus far all. Much appreciated. "Q"
"Don't fear the night, fear what hunts at night"
California, United States
Joined: April 01, 2002
KitMaker: 4,287 posts
AeroScale: 1,164 posts
Posted: Sunday, February 20, 2011 - 04:35 AM UTC
"Don't fear the night, fear what hunts at night"
California, United States
Joined: April 01, 2002
KitMaker: 4,287 posts
AeroScale: 1,164 posts
Posted: Sunday, February 20, 2011 - 06:12 AM UTC
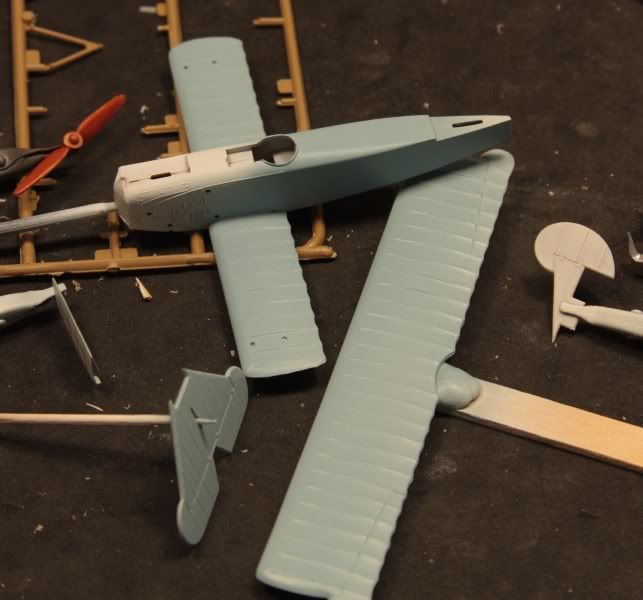
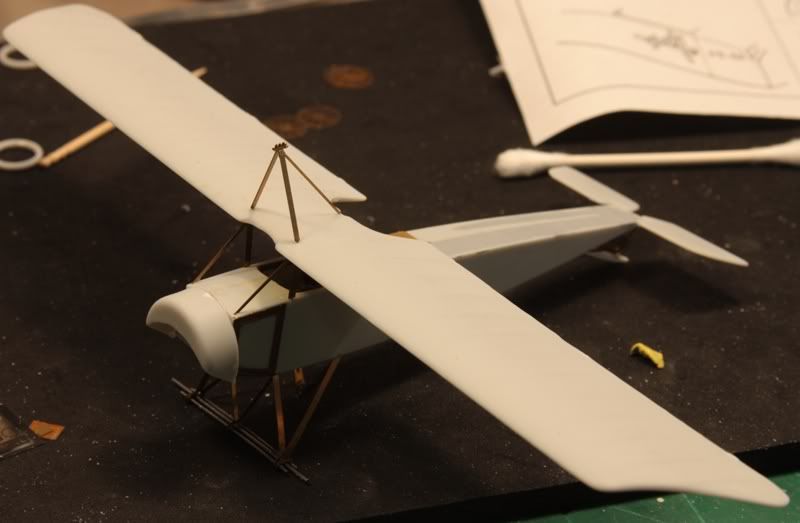
Elevators in place and top wing test fitted. I was able to even/level things out. It's beginning to look like a plane now.
"Q"
"Don't fear the night, fear what hunts at night"
England - South East, United Kingdom
Joined: November 06, 2005
KitMaker: 1,667 posts
AeroScale: 1,551 posts
Posted: Sunday, February 20, 2011 - 07:12 AM UTC
Coning the wheels, if you had another kit with injected wheels you could use them to form the PE if they were the correct or larger size. If not possibly cut a disc of plasticard, take a slice out and Cyano it together to form a cone shaped former? Rummage in the spares box for something roughly like what your looking for?
Just an idea or 2, hope it helps
Keith
Lovely work so far, glad to see the needed amedments havent phazed you.
Still can't cure the AMS even with sausage finger implants & olde eyes.