_GOTOBOTTOM
World War II: Germany
Aircraft of Germany in WWII.
Hosted by Rowan Baylis
Revell 1/32 Bf109K-4
iflytb20
#501
_VISITCOMMUNITY
Kerala, India / भारत
Joined: August 25, 2009
KitMaker: 292 posts
AeroScale: 194 posts
Posted: Friday, February 25, 2011 - 10:09 PM UTC
I am building this for a very close friend of mine. He met with a road accident in Nov and for almost 2 weeks was in a coma. Now he is on the road to recovery and should be on his feet soon. So i thought the best gift for him would be to give him a model of a fighter plane - after all he too is a fighter

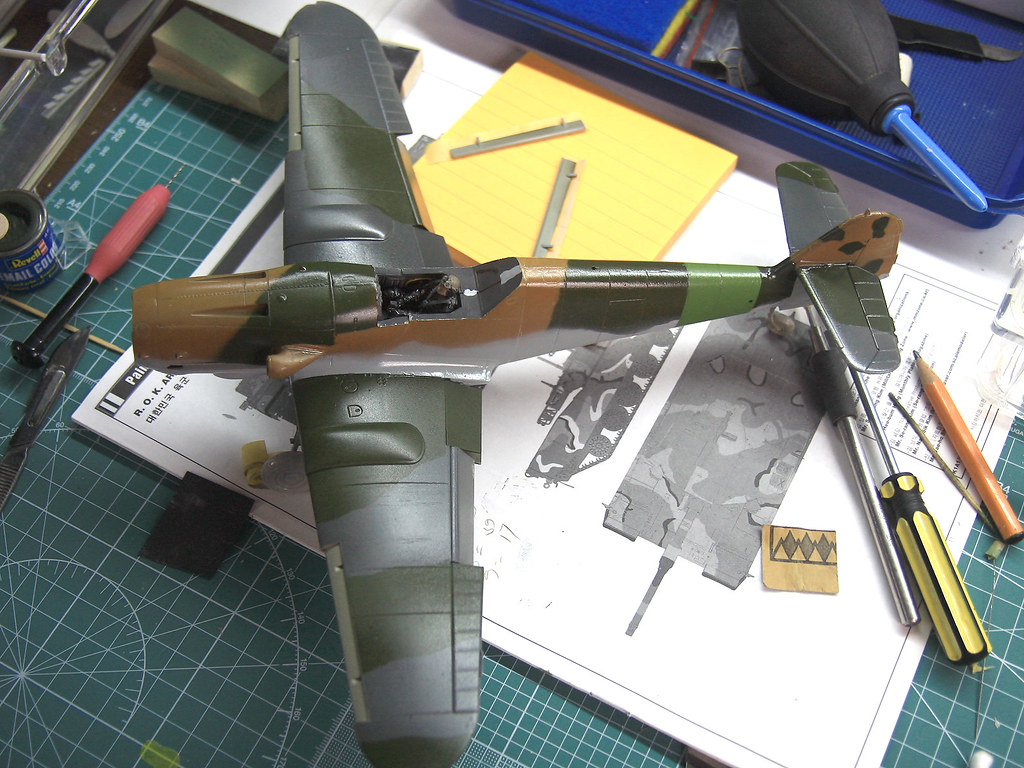
The progress so far :

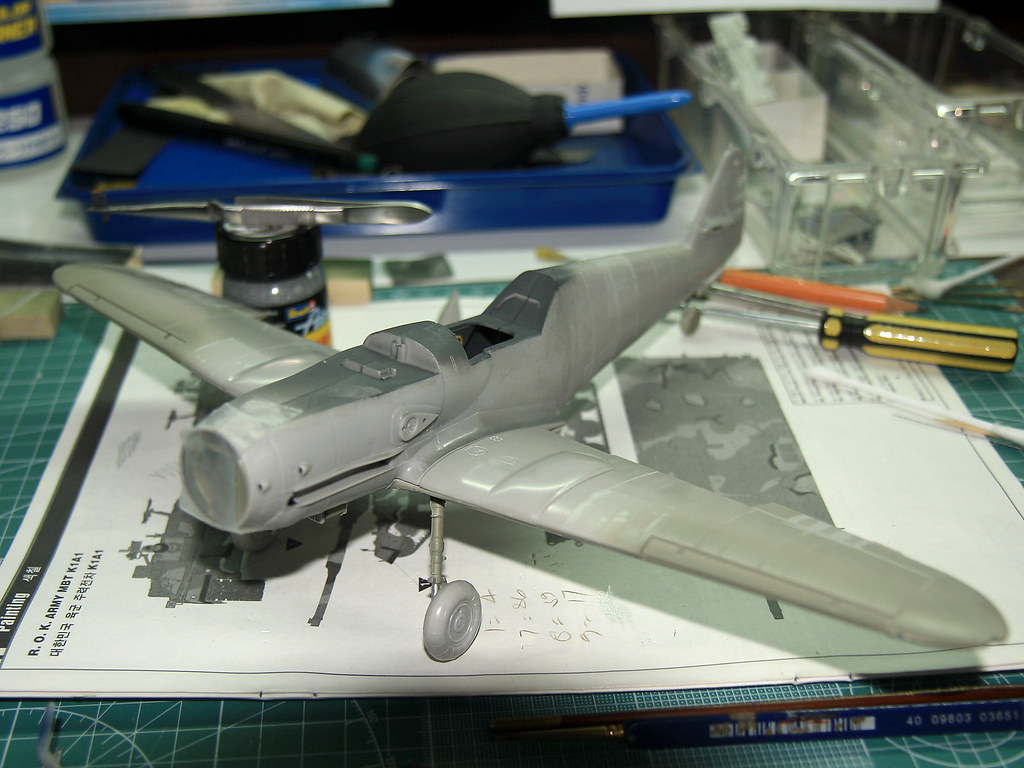
Test fitting of the wings and fuselage


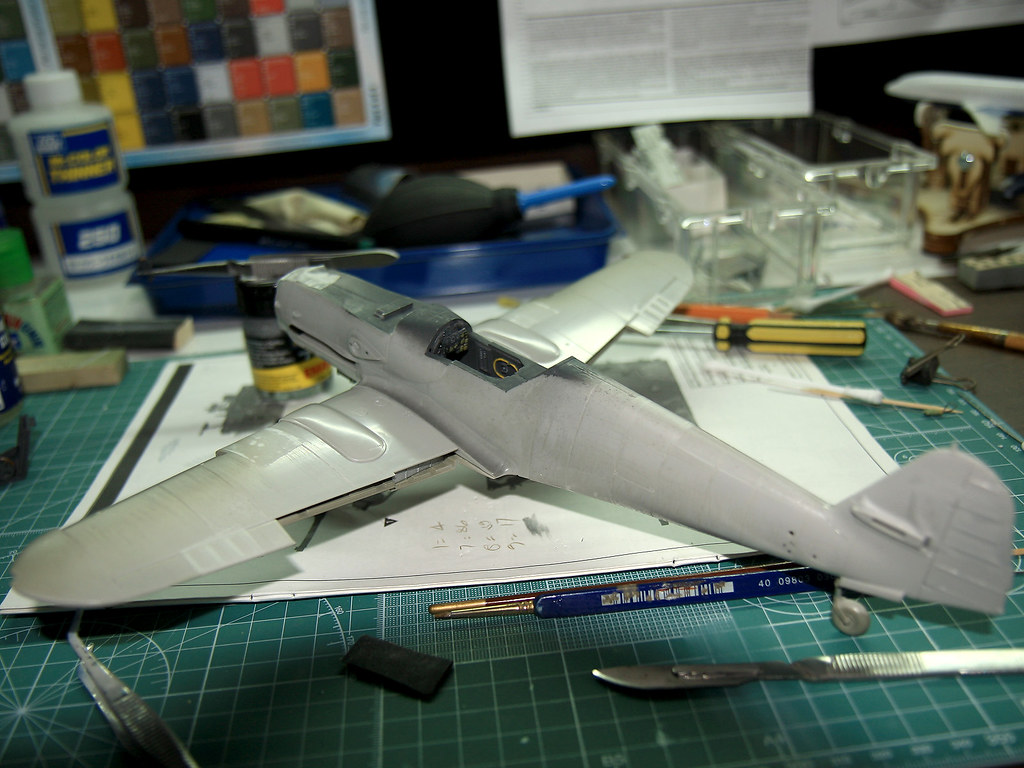
The flaps have not yet been attached


My figure painting skills are non-existent
I cut each instrument decal individually and transferred them to the instrument panel


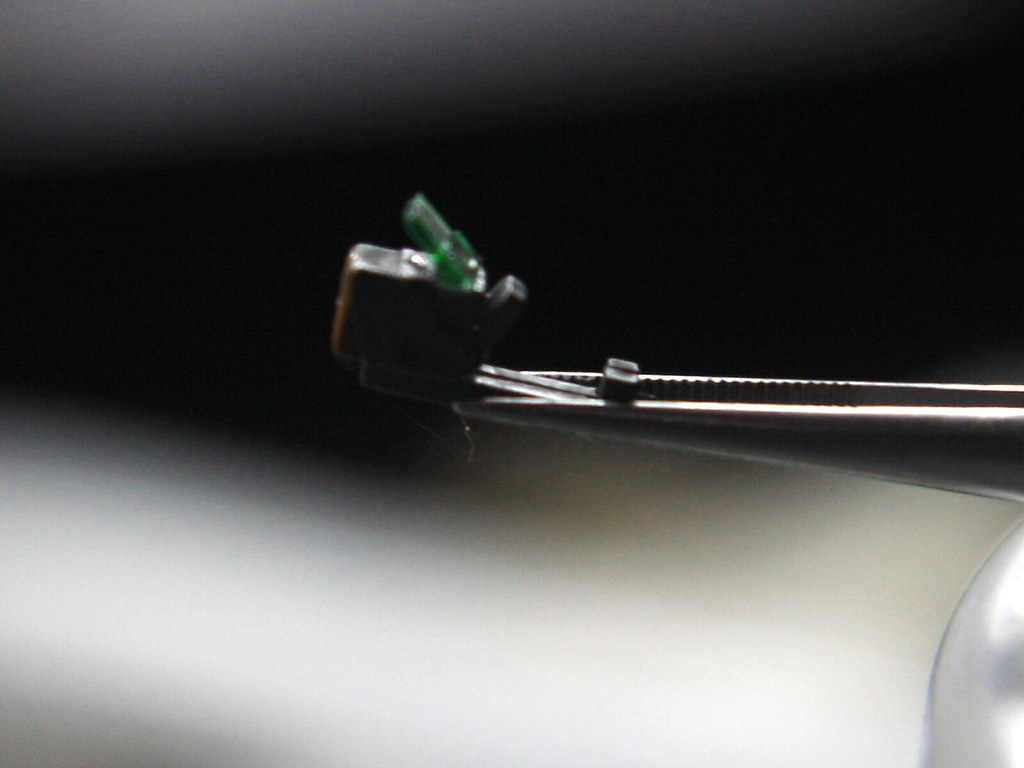
Trying for the optical glass look for the gun sight.


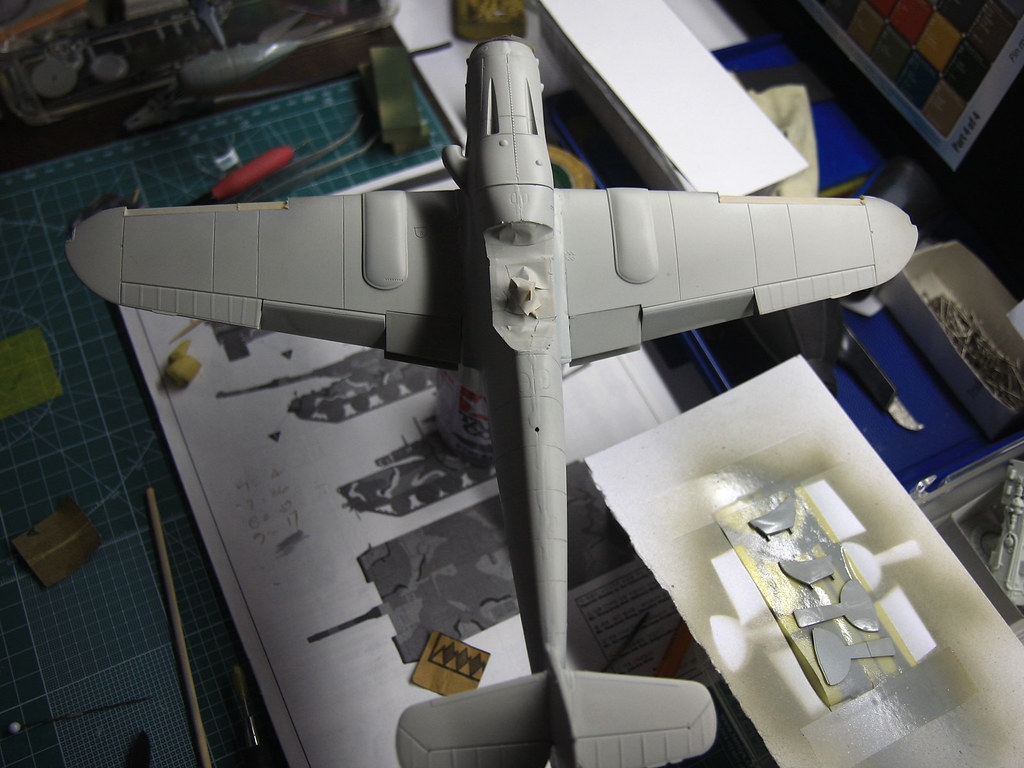
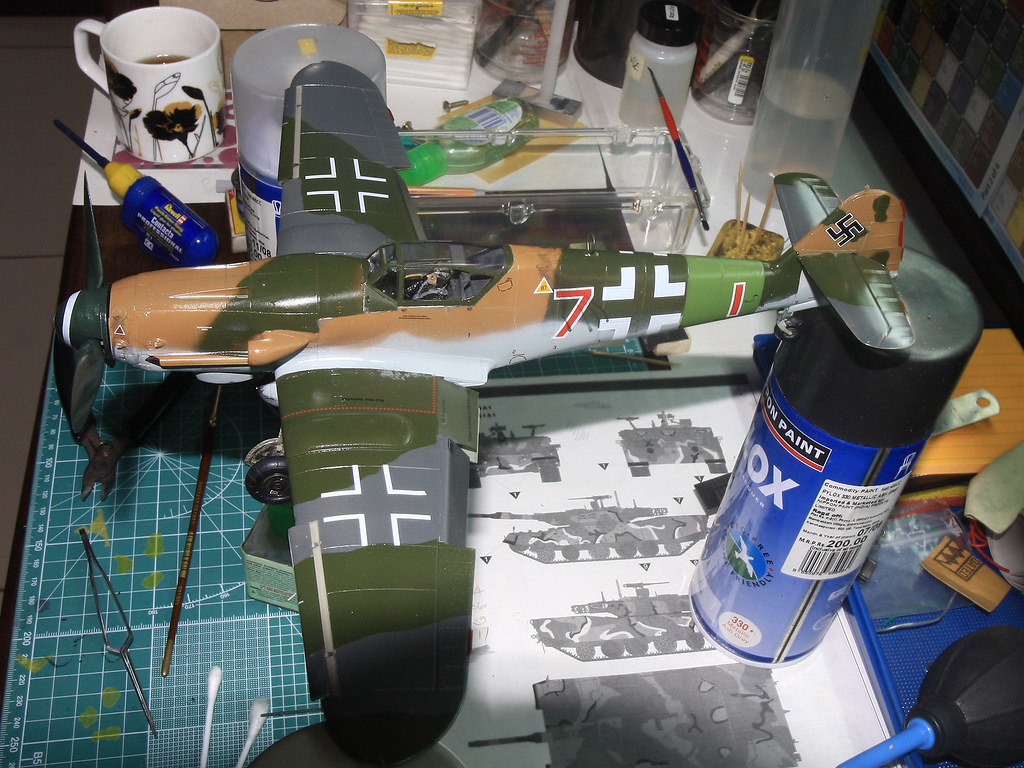
All primed up....hmmm need some more sanding on the fuselage

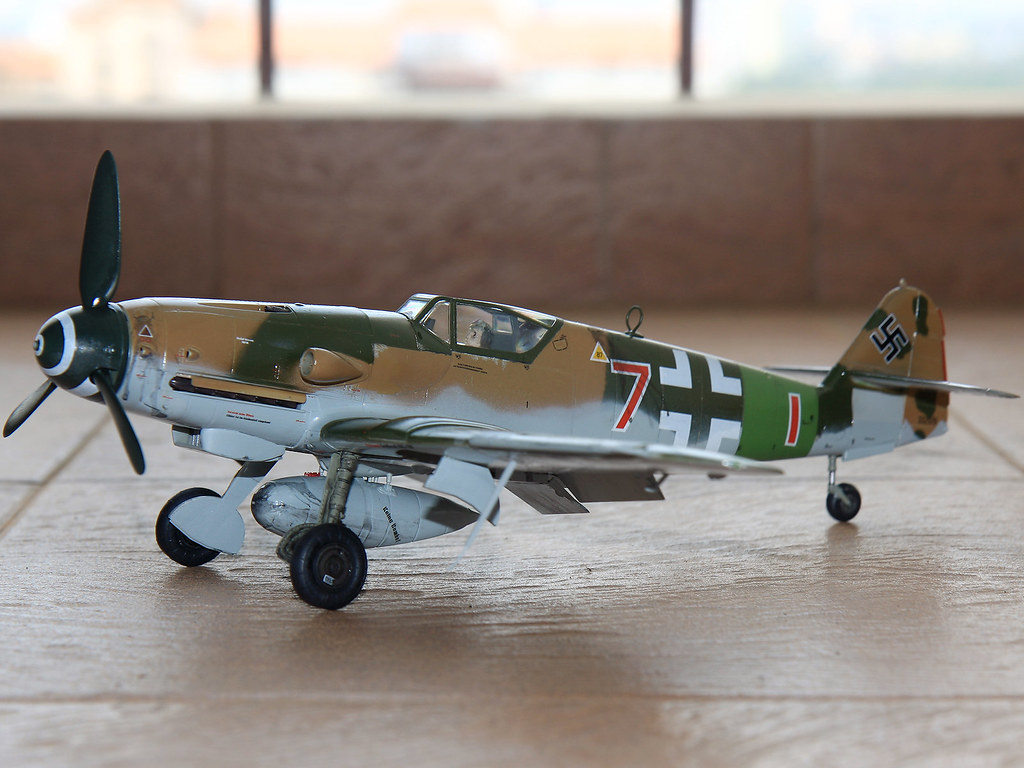
As usual, i welcome all comments / suggestions. And do point out any obvious mistakes that i am making so that i can improve myself.
iflytb20
#501
_VISITCOMMUNITY
Kerala, India / भारत
Joined: August 25, 2009
KitMaker: 292 posts
AeroScale: 194 posts
Posted: Saturday, February 26, 2011 - 12:18 AM UTC


Painting is finished finally
Trying to make an K-4 from JG27. I know the camo in all likely hood is wrong, but hey - i'm still learning
javlin
_VISITCOMMUNITY
Mississippi, United States
Joined: August 28, 2008
KitMaker: 106 posts
AeroScale: 7 posts
Posted: Saturday, February 26, 2011 - 01:44 AM UTC
Interesting camo scheme;I do like.These Hase/Rev kits practically fall together I think probably one of the best engineered .
Snorri23
_VISITCOMMUNITY
Ontario, Canada
Joined: March 25, 2010
KitMaker: 514 posts
AeroScale: 244 posts
Posted: Saturday, February 26, 2011 - 04:06 AM UTC
According to the books AJ Press, Kagero, ect you should have left the dorsal seam alone. For the fuselage was built in two pieces and joined as a clam creating a fuselage section then attached to the fore and aft fuselage piece thus creating the fuselage. Great paint job.
iflytb20
#501
_VISITCOMMUNITY
Kerala, India / भारत
Joined: August 25, 2009
KitMaker: 292 posts
AeroScale: 194 posts
Posted: Saturday, February 26, 2011 - 04:29 AM UTC

Quoted Text

According to the books AJ Press, Kagero, ect you should have left the dorsal seam alone. For the fuselage was built in two pieces and joined as a clam creating a fuselage section then attached to the fore and aft fuselage piece thus creating the fuselage.


Thanks for the bit of info. I will keep it in mind for my next build
stonar
_VISITCOMMUNITY
England - West Midlands, United Kingdom
Joined: August 15, 2008
KitMaker: 337 posts
AeroScale: 309 posts
Posted: Saturday, February 26, 2011 - 07:54 AM UTC

Quoted Text

According to the books AJ Press, Kagero, ect you should have left the dorsal seam alone. For the fuselage was built in two pieces and joined as a clam creating a fuselage section then attached to the fore and aft fuselage piece thus creating the fuselage. Great paint job.


Essentially true,here is an extract from an allied report on the construction od the Bf109.


The top (and bottom) seams are all but invisible on most aircraft. The vertical seams are much less pronounced than the insect like segmentation so fashionable with modellers in recent times.
I'd say this picture of one of Moelder's aircraft is about typical.


Cheers
Steve

iflytb20
#501
_VISITCOMMUNITY
Kerala, India / भारत
Joined: August 25, 2009
KitMaker: 292 posts
AeroScale: 194 posts
Posted: Saturday, February 26, 2011 - 08:51 PM UTC
Thanks for the pic steve. It really explains a lot

Decal work in progress :


First time with the spinner spiral
Still need a lot of practice.

Now i have a general query to all the experten out there. How do you manage to avoid the paint ridge line while painting the camo using masks??
stonar
_VISITCOMMUNITY
England - West Midlands, United Kingdom
Joined: August 15, 2008
KitMaker: 337 posts
AeroScale: 309 posts
Posted: Sunday, February 27, 2011 - 03:03 AM UTC
Brush or spray away from the edge of the masking,don't apply too much paint in each coat and remove your masking as soon as it is practicle to do so.
Cheers
Steve
iflytb20
#501
_VISITCOMMUNITY
Kerala, India / भारत
Joined: August 25, 2009
KitMaker: 292 posts
AeroScale: 194 posts
Posted: Monday, February 28, 2011 - 06:38 PM UTC
Finished finally
Only thing left is to add some exhaust stains.


iflytb20
#501
_VISITCOMMUNITY
Kerala, India / भारत
Joined: August 25, 2009
KitMaker: 292 posts
AeroScale: 194 posts
Posted: Friday, April 01, 2011 - 09:43 PM UTC
One last pic taken in natural light before gifting it to my pal.
Siderius
_VISITCOMMUNITY
Tennessee, United States
Joined: September 20, 2005
KitMaker: 1,747 posts
AeroScale: 1,673 posts
Posted: Saturday, April 02, 2011 - 05:42 AM UTC
Very nice Raj. I am sure your friend will enjoy it immensely. Russell
 _GOTOTOP