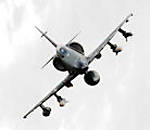
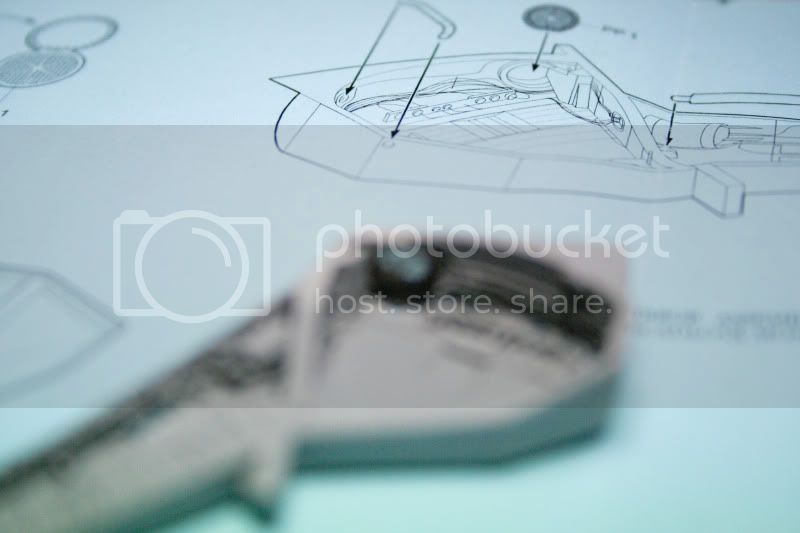
I have made a start on a HB F-105D for the Cold War Campaign in progress and I have decided to take the plunge and do a Step by Step build.
Firstly a bit about me to give you an idea of my abilities(or lack of). I am 37 and have only been modelling for about 3 years now. I have built a huge 13 models in that time but feel I have learnt a lot mostly through websites such as Aeroscale and I have also joined the local Illawarra Plastic Modellers Association and have learnt a lot from the guys there.
My builds so far have been OOB Tamiya and Hasegawa without any aftermarket items except Ultracast seats and all have been WWII planes in 1/48 scale except a single Tamiya F-16C. So I have not had too much to complain about build wise.
Onto my build:
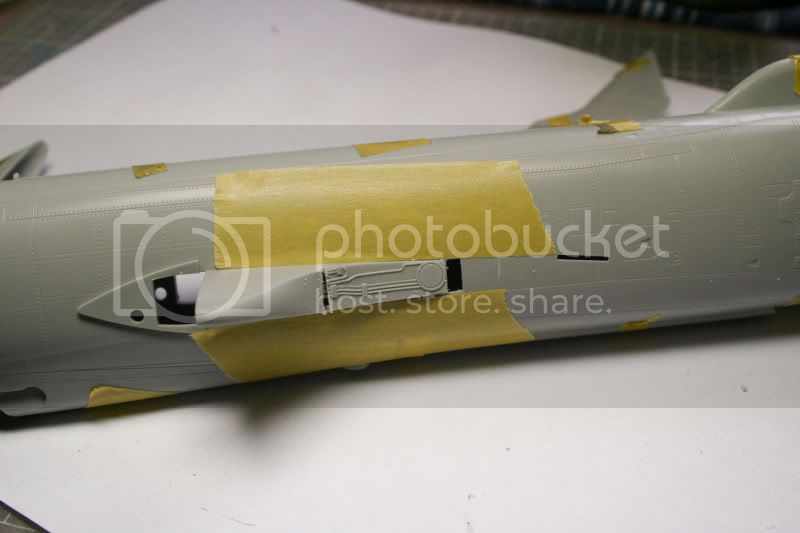
I have purchased the Aires Cockpit and Wheel Bay sets and this will be a test for me to say the least. I also have (hopefully) a second kit with the same aftermarket items along with a Albatros Decals "Thud Alley" sheet in the mail:
http://www.zotzdecals.com/reviews/alc48004/alc48004.htm
I plan on ending up doing a dual build for the Bare Metal "Pussy galore" as well as the SEA "Pussy Galore II).
I am very keen to get all your thoughts, ideas and tips etc as I progress as I am doing the SBS to learn from you all!
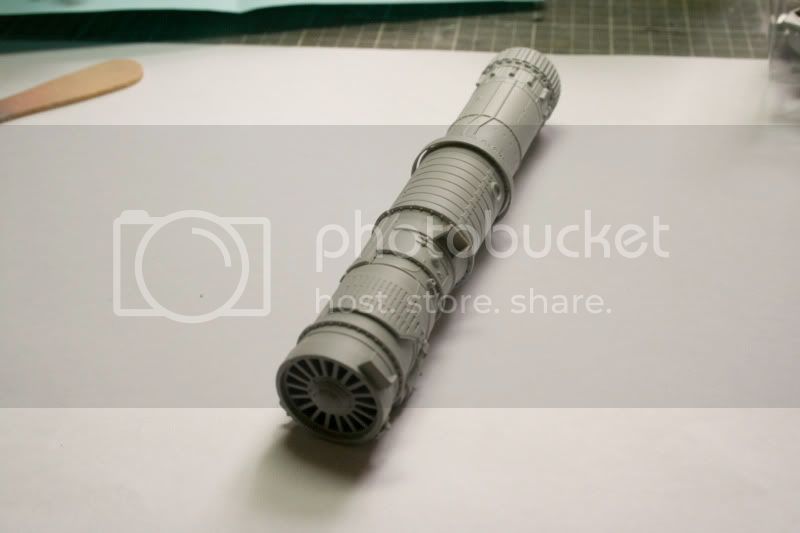
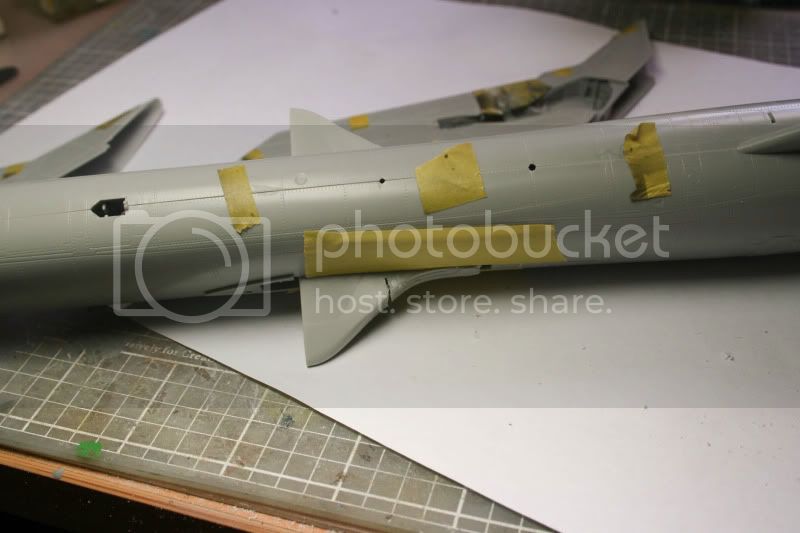
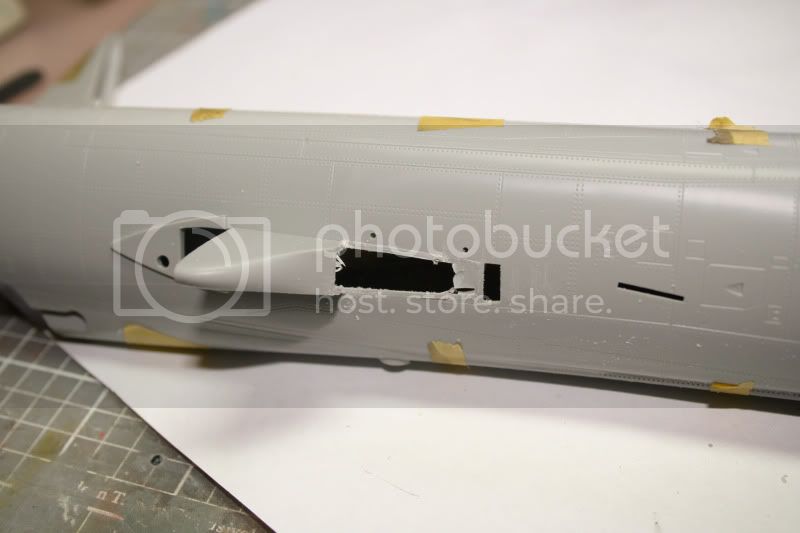
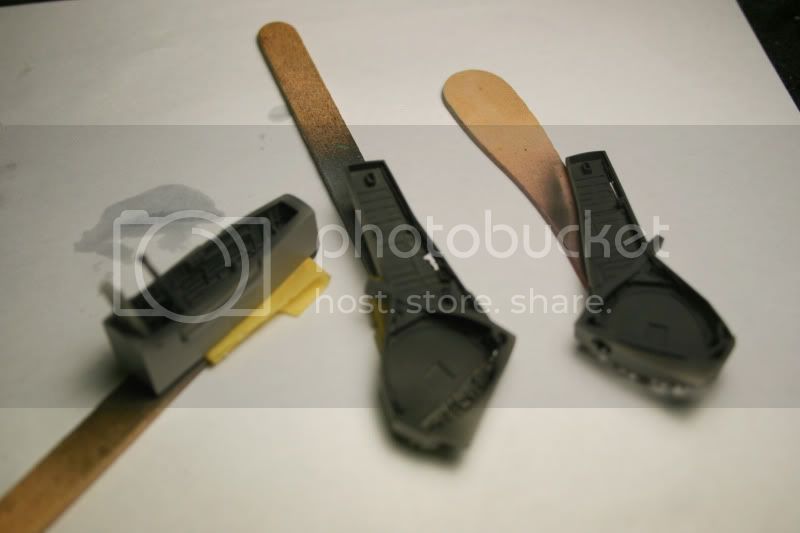
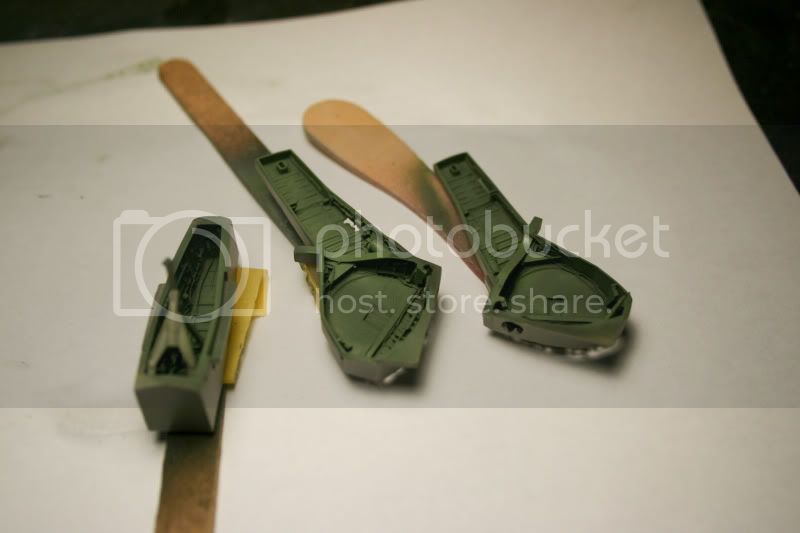
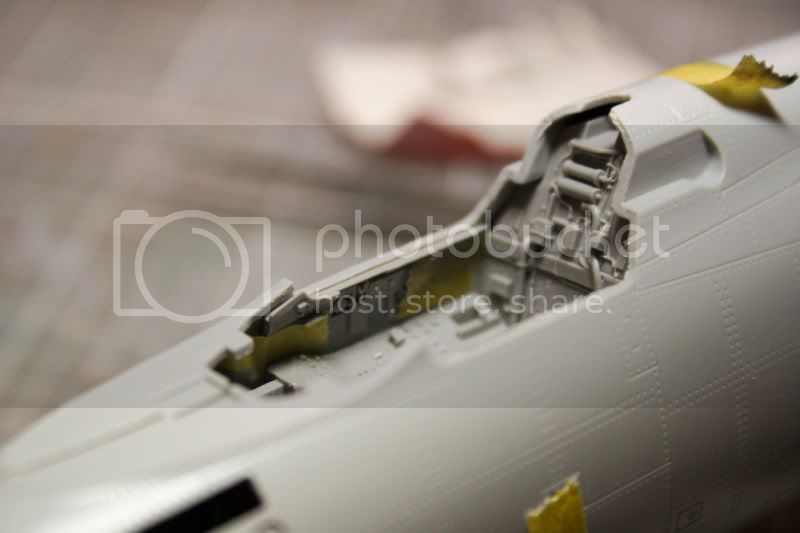
So where am I at? I have spent a few nights on the lounge cleaning up parts and building the engine section which is quite detailed:
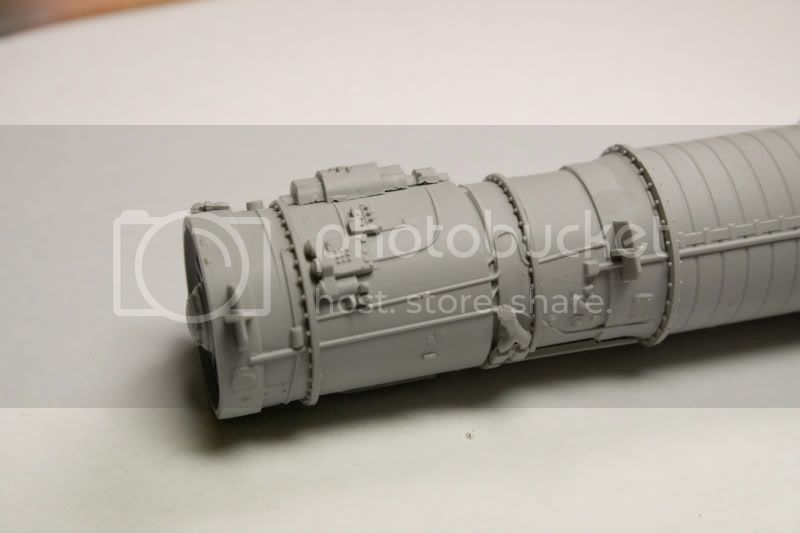
I will be building mine with the tail section closed up but you have the option to have the whole tail section off to display the engine in all it's glory.
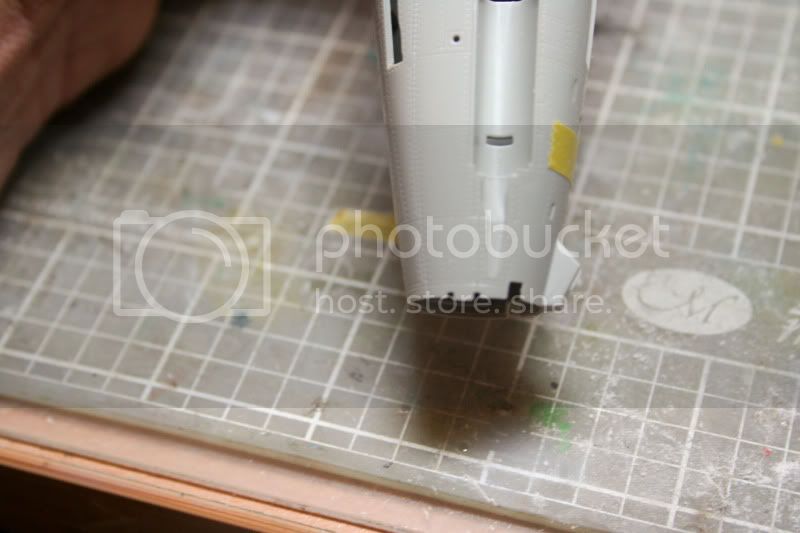
I have to work out how to clean up the seam lines in the very tail section as these are provided in 4 parts and when the fuselage is together will be the only section that you will be able to see. They represent inside the cans and have a corrugated looking surface?
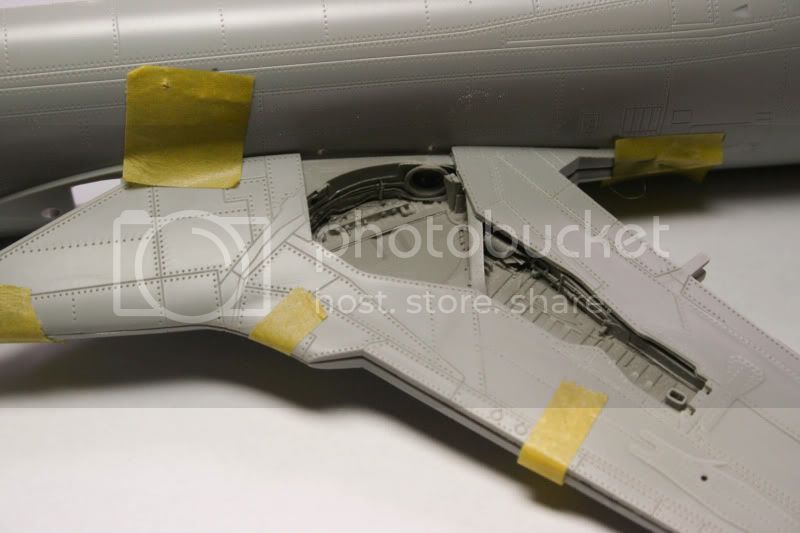
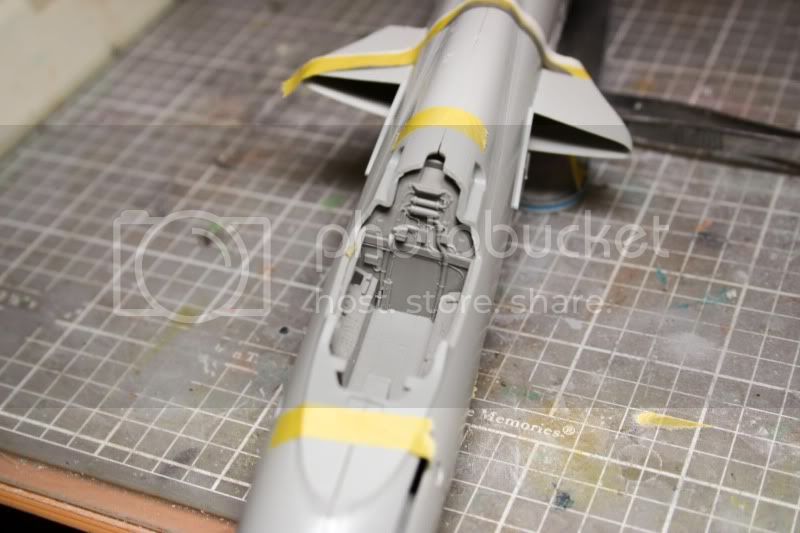
While that is drying I have opened the Aires Wheel Bay set and cleaned them up, not something I enjoyed as I sawed throught where the lines on the slab are but still managed to have paper thin sections and a small couple of holes as well.
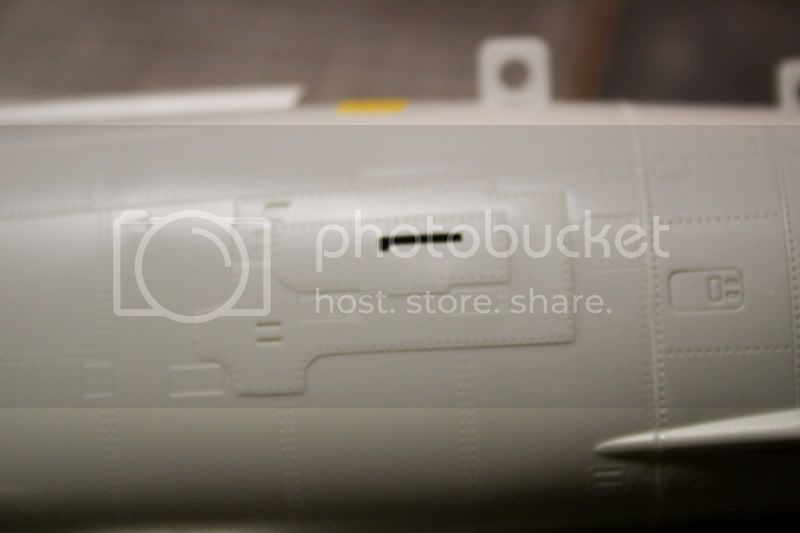
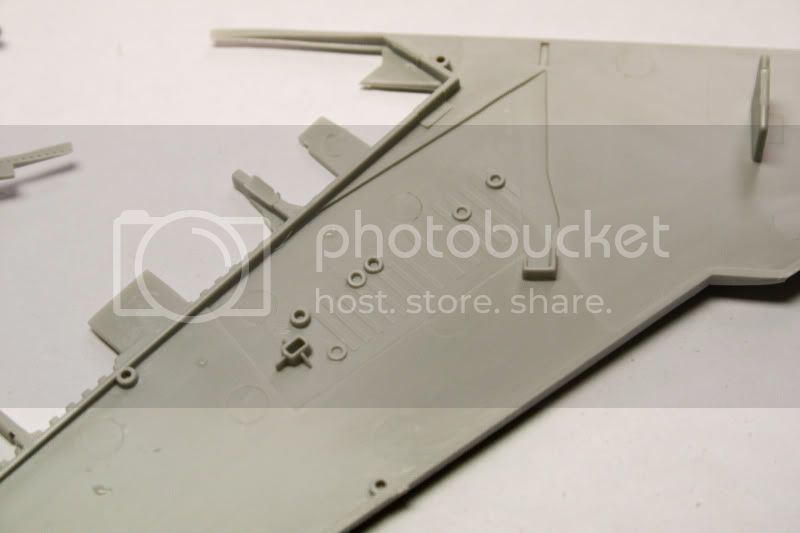
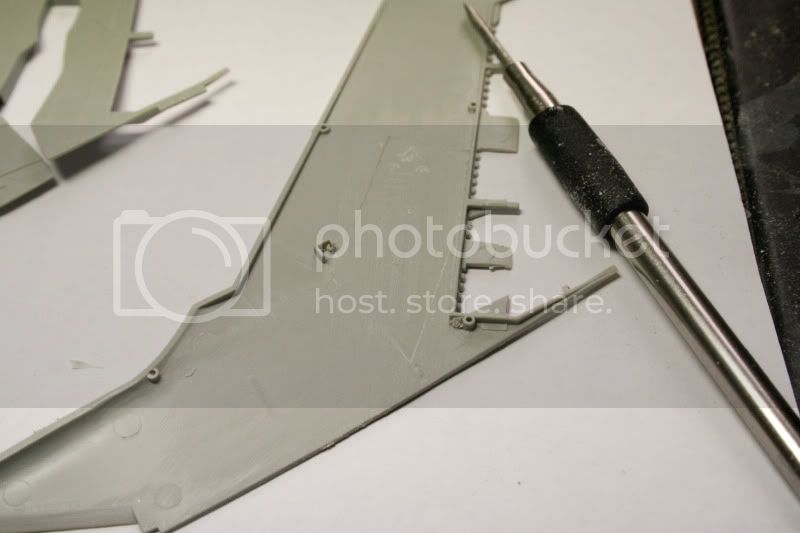
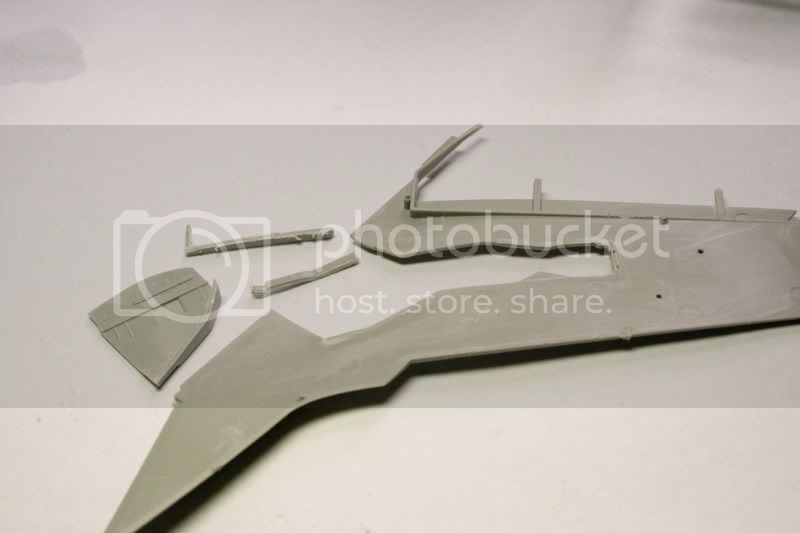
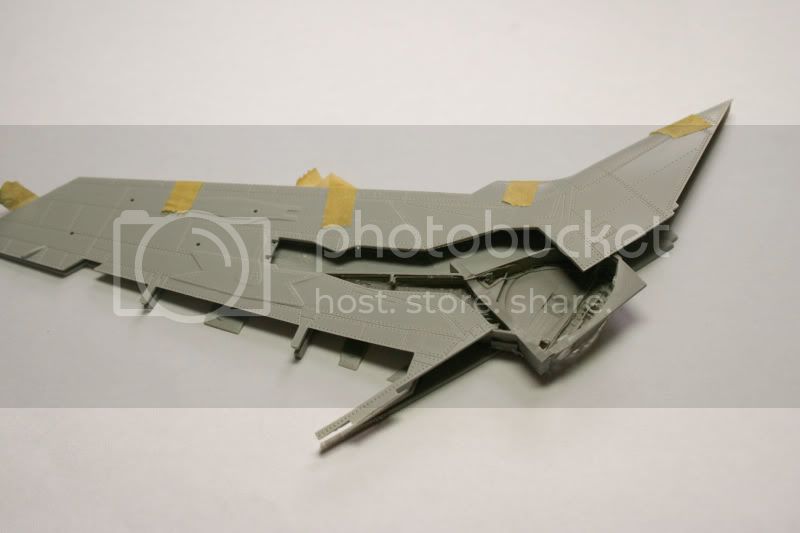
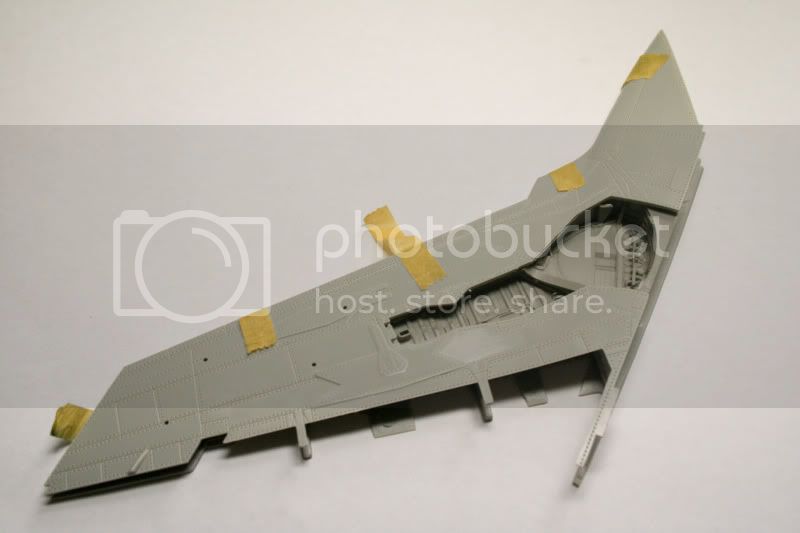
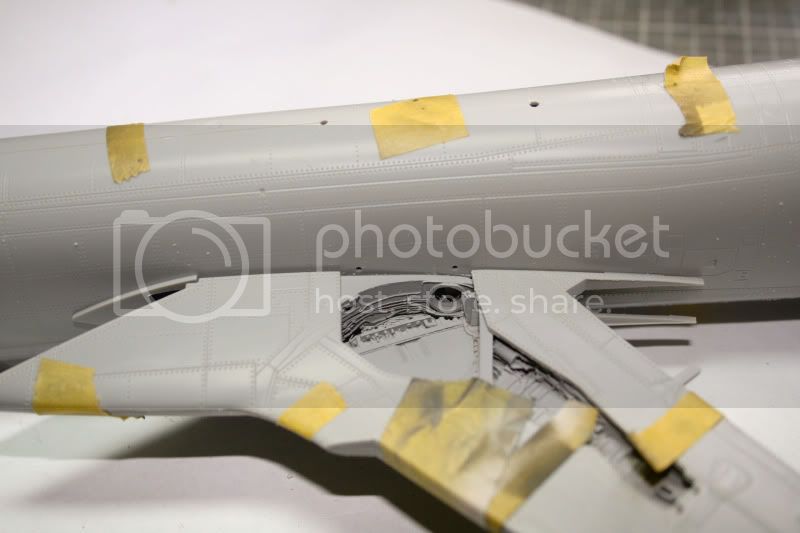
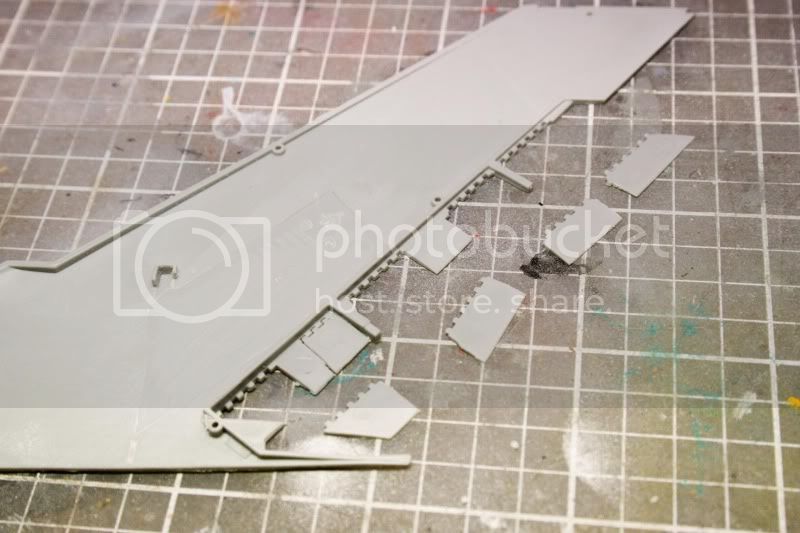
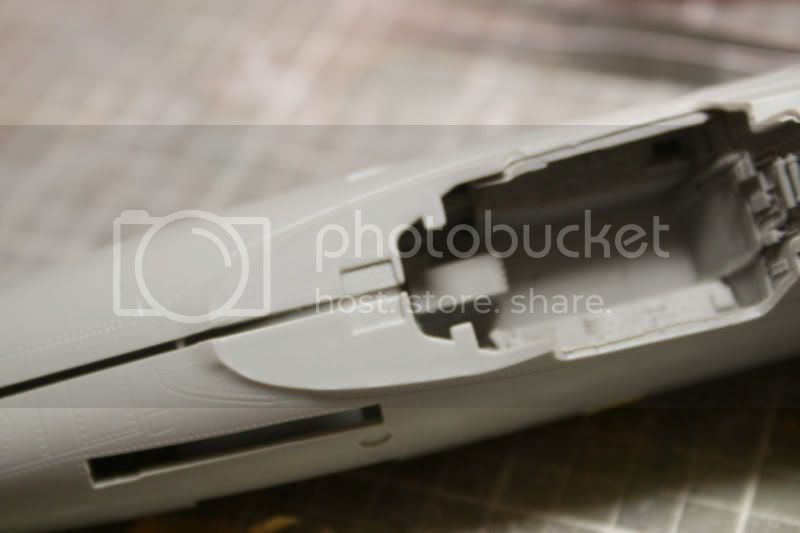
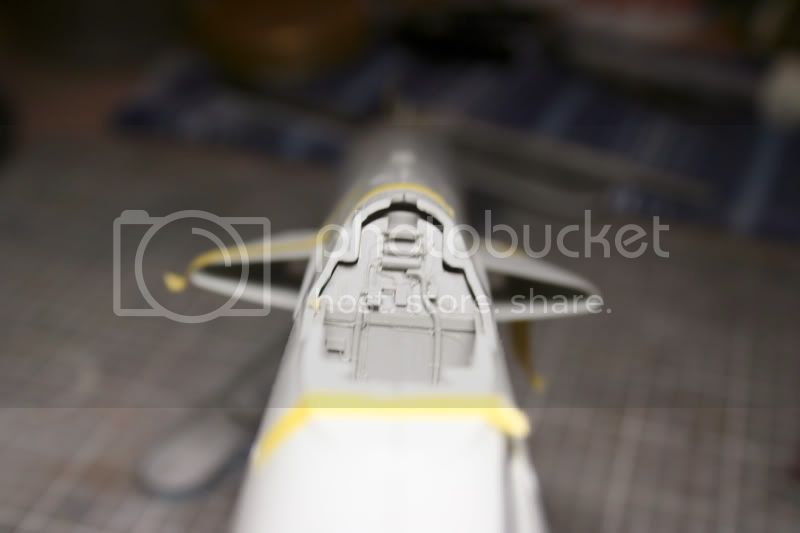
I have dry fitted the wings together to see how it fits, but first I had to remove some of the original detail:
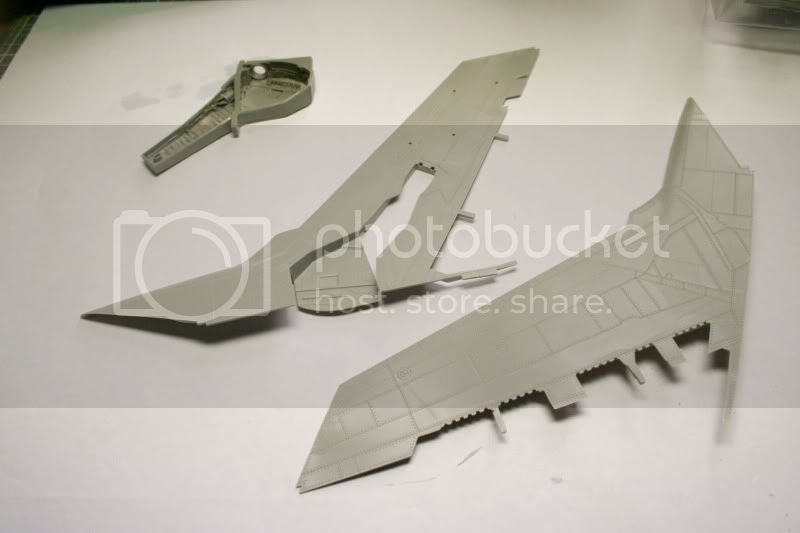
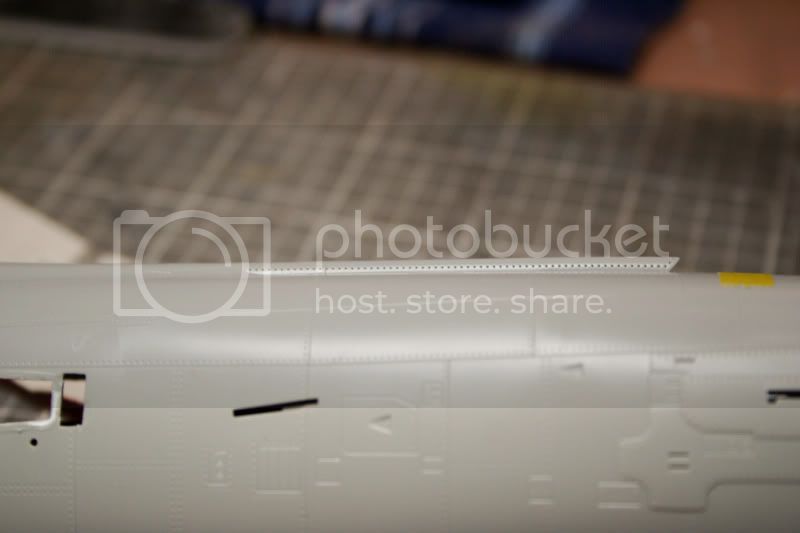
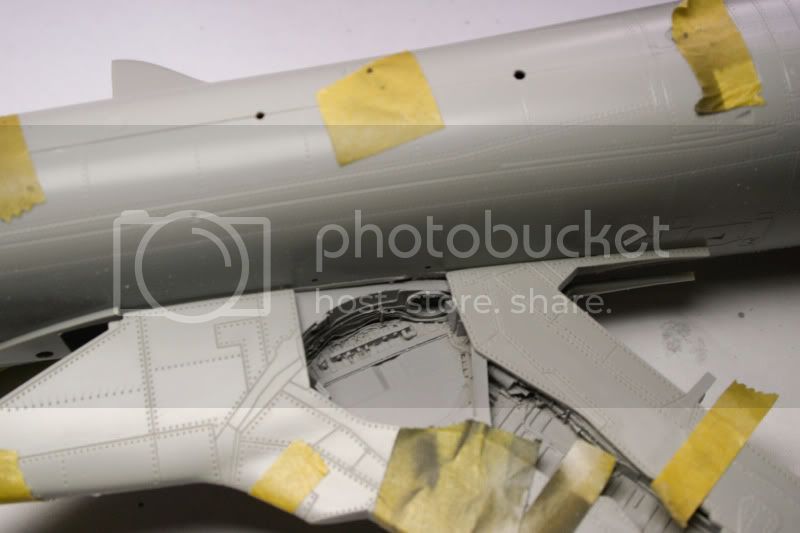
After this has been done I am ready to dry fit the Aires part to the wing section:
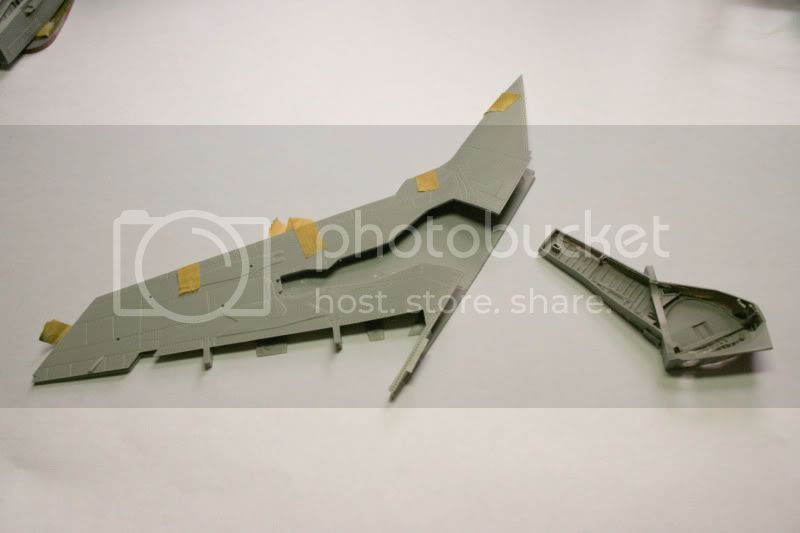
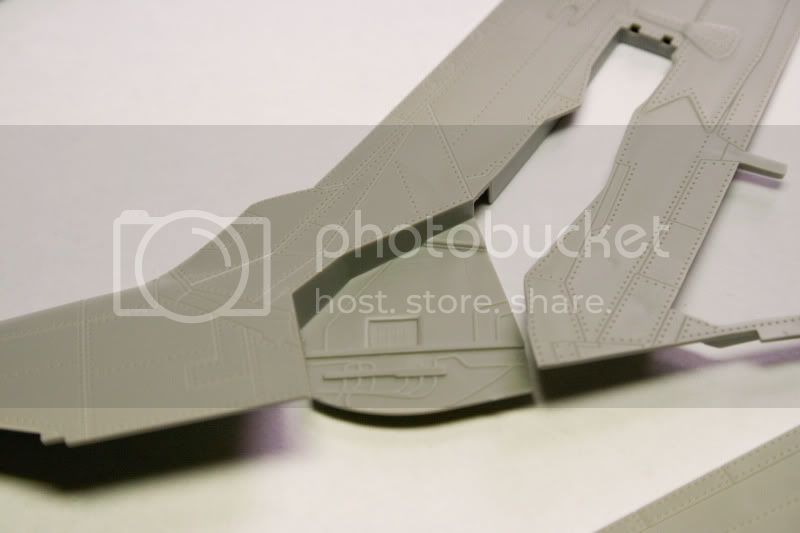
It slides into place:
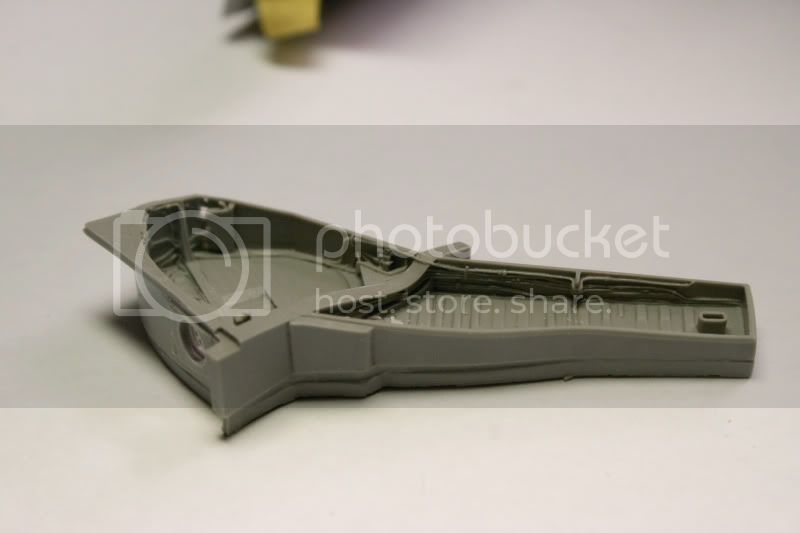
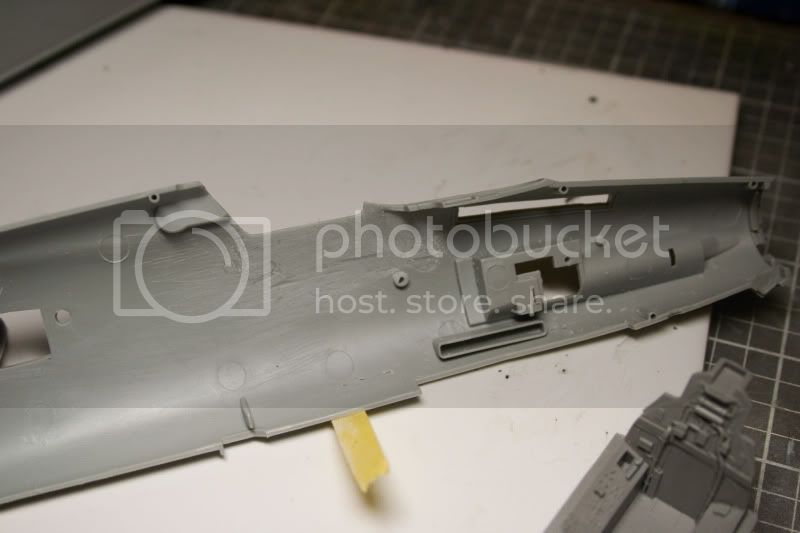
Nose wheel bay section already cleaned and primed:

So there you go, feel free to comment. Another update to follow soon.


 .
.