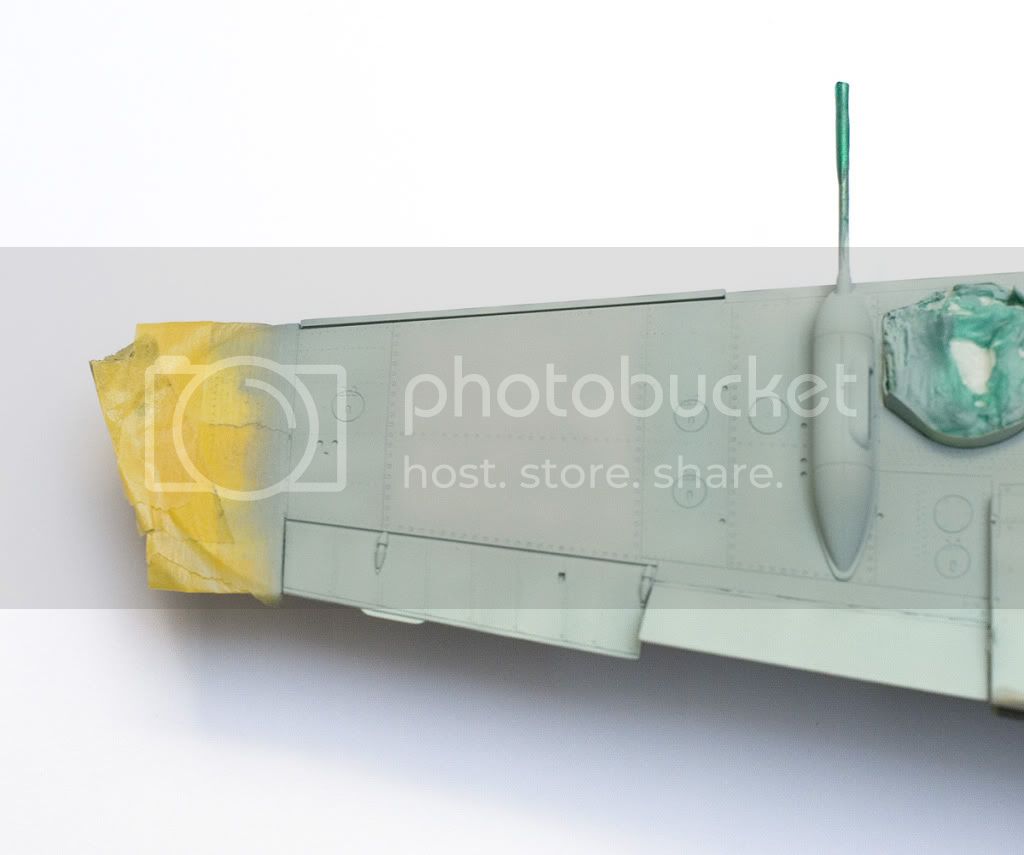
Messerschmitt Bf-109G-4 RA | Hasegawa | 1:32
Warszawa, Poland
Joined: August 09, 2009
KitMaker: 42 posts
AeroScale: 41 posts
Posted: Monday, March 07, 2011 - 10:28 AM UTC
Hi,
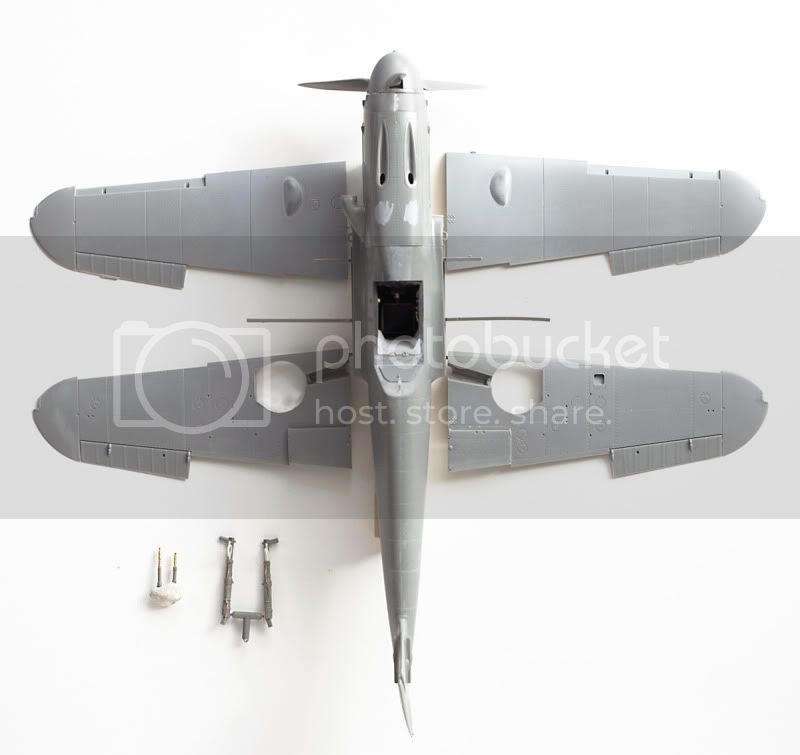
few weeks ago i started new build.
This is my first 1:32 model in plastic. About 25 years ago i did buid few planes made with paper. This one i will build in box markings 365 - 1
from 150° Gruppo Caccia Terrestre.
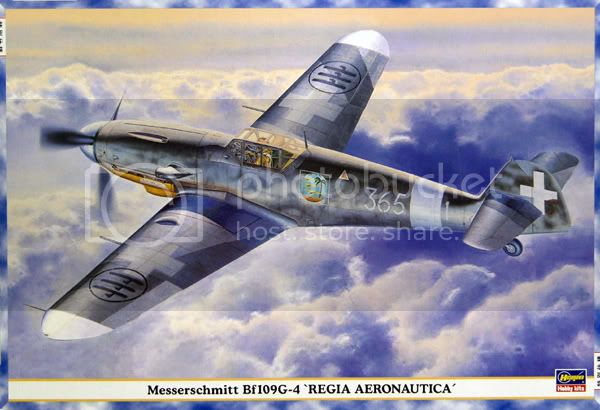

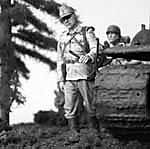
picture from
http://www.150gct.itI plan not to add photoetched parts, there will be ready guns barel tips from Aber mayby belts from HGW and a bit from myself.
Here are some progress pictures.


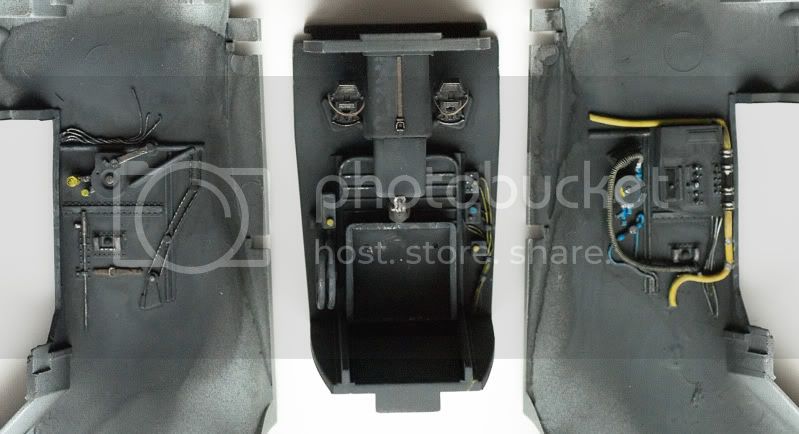
Best regards,
Jerzy
Warszawa, Poland
Joined: August 09, 2009
KitMaker: 42 posts
AeroScale: 41 posts
Posted: Friday, March 11, 2011 - 12:58 AM UTC
United States
Joined: August 12, 2007
KitMaker: 153 posts
AeroScale: 139 posts
Posted: Friday, March 11, 2011 - 02:44 AM UTC
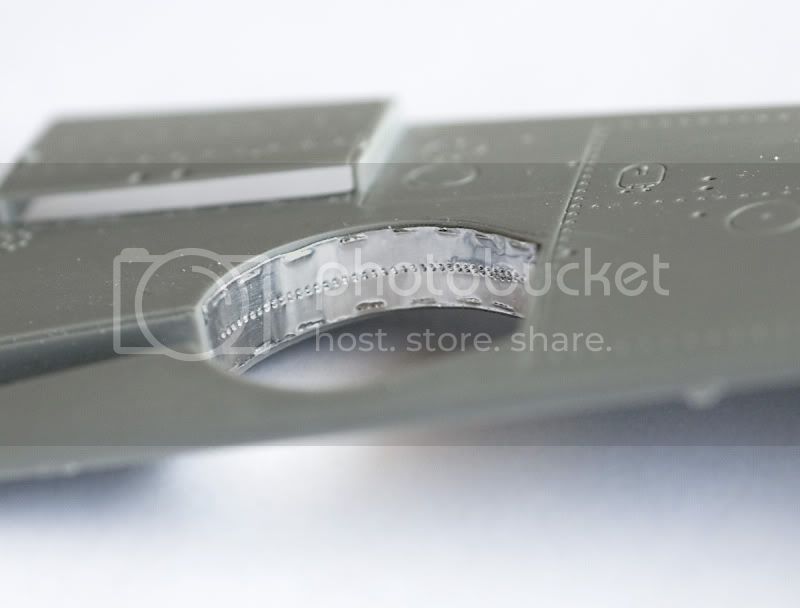
Looks good, Jerzy. How did you do the wheelwell dust covers?
Regards;
Automaton
Not everything that counts can be counted, and not everything that can be counted counts. (Albert Einstein)
Warszawa, Poland
Joined: August 09, 2009
KitMaker: 42 posts
AeroScale: 41 posts
Posted: Friday, March 11, 2011 - 03:24 AM UTC
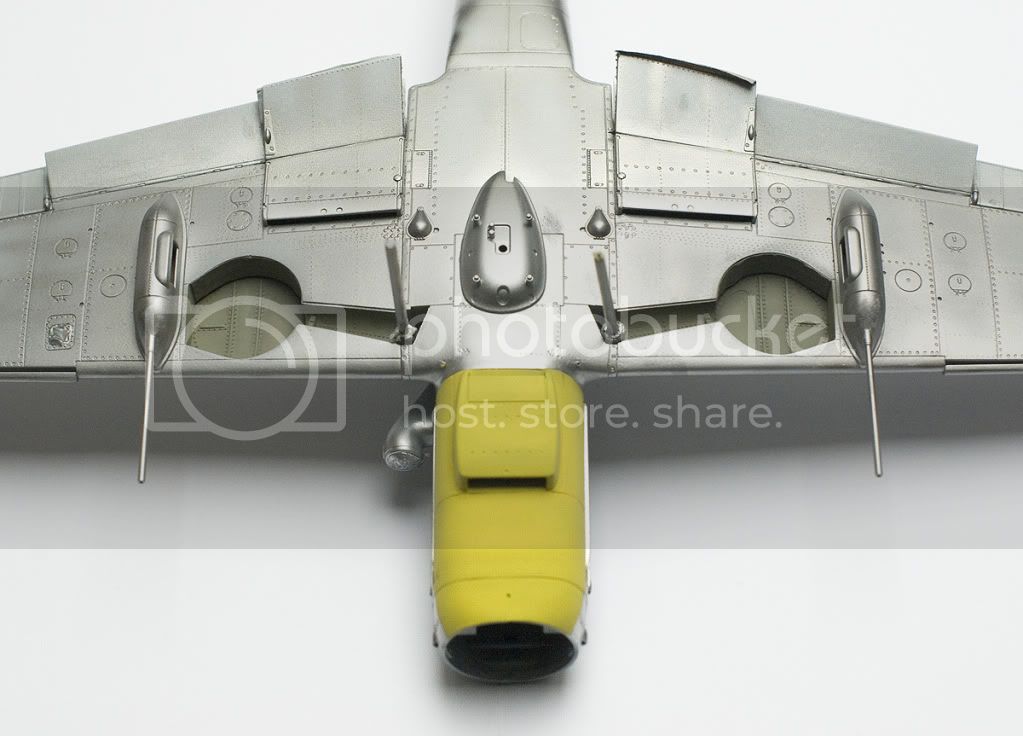
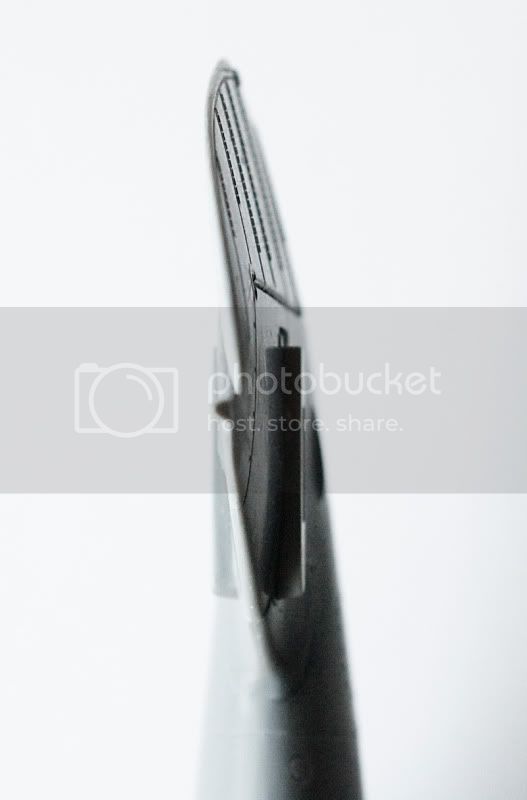
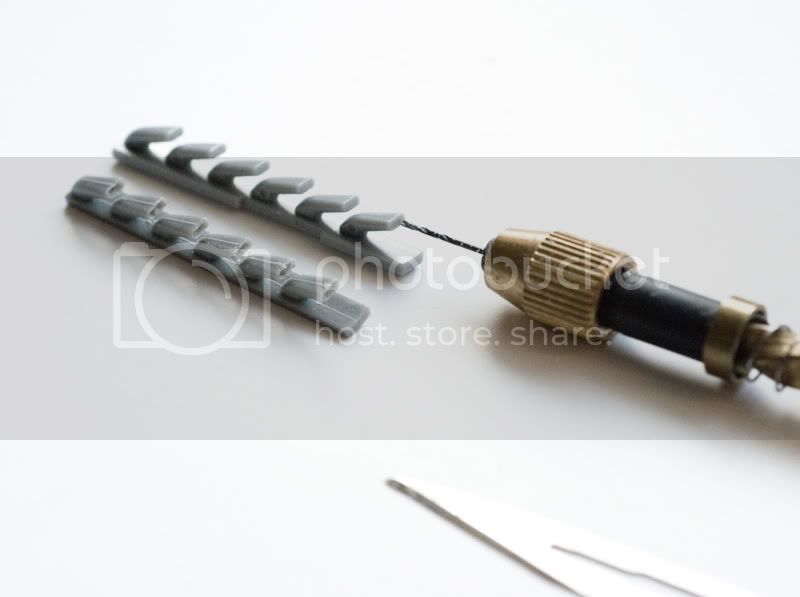
Dust covers are made from selfadhesive metal foil from market. I made two close lines with riveter as a zipper, and press the lacing with pencil.
Warszawa, Poland
Joined: August 09, 2009
KitMaker: 42 posts
AeroScale: 41 posts
Posted: Saturday, March 19, 2011 - 05:04 AM UTC
Warszawa, Poland
Joined: August 09, 2009
KitMaker: 42 posts
AeroScale: 41 posts
Posted: Friday, April 01, 2011 - 03:13 AM UTC
Thanks for a kind words.
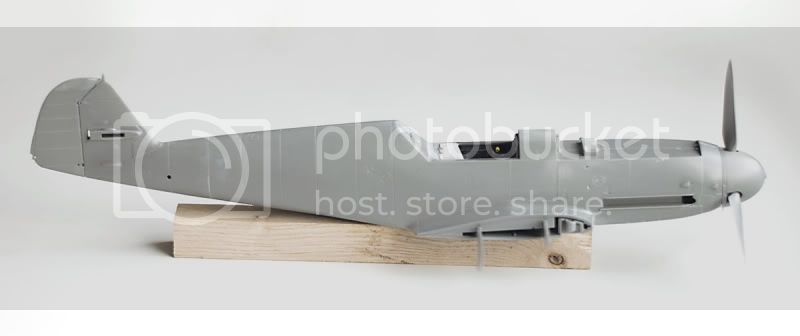
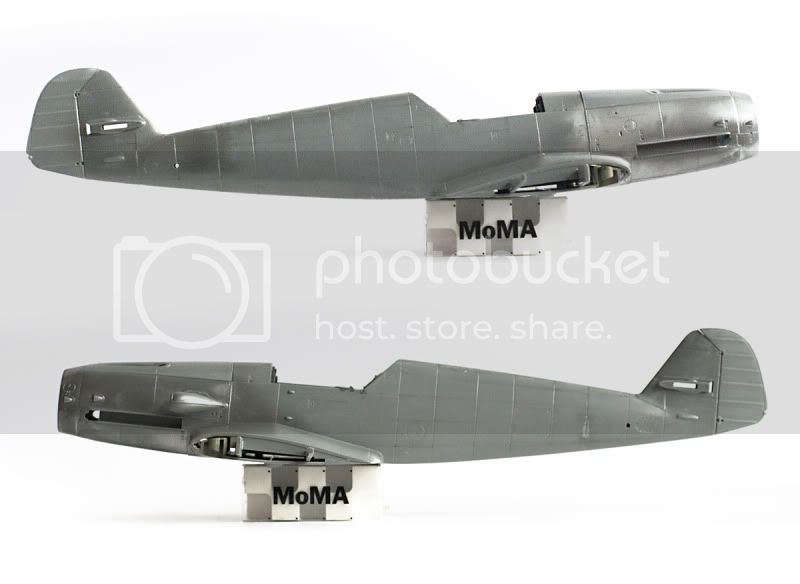
Some more progress. I had some additional work in joining
upper part of engine cowling with rest (thanks Hasegawa).
Compressor inlet joining with fuselage is also in not so nice place.


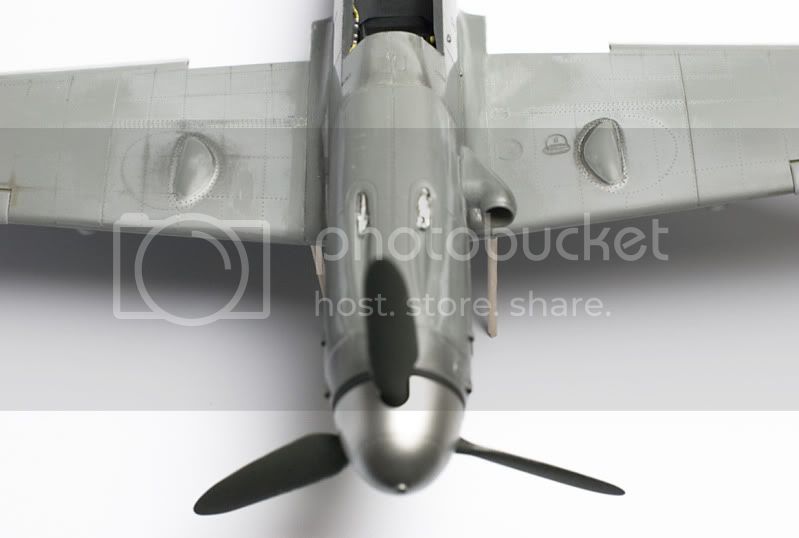
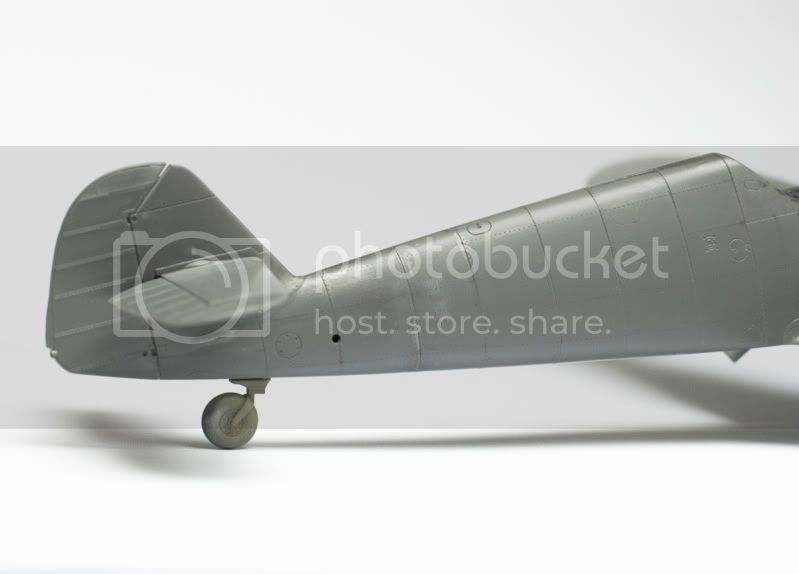

I see i forgot to cut off some weght from stabilizers.
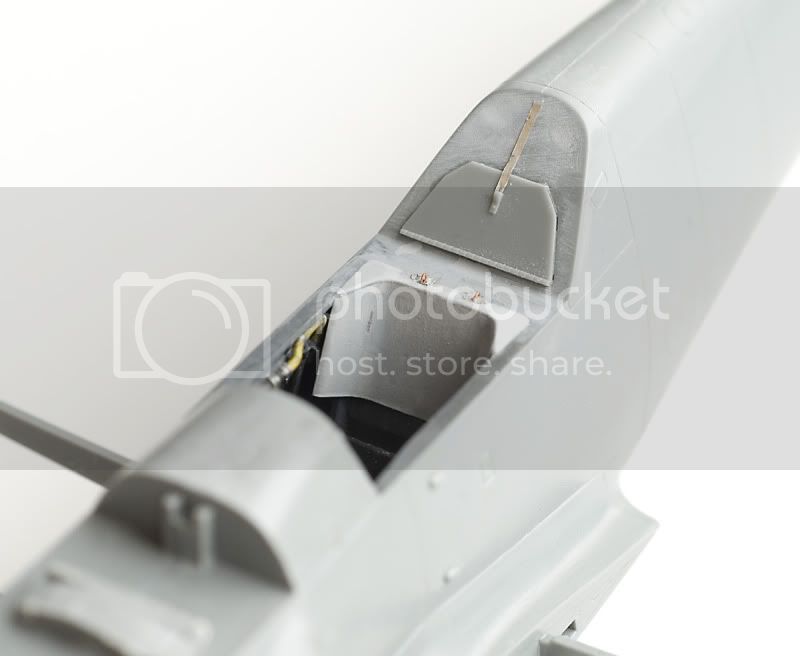
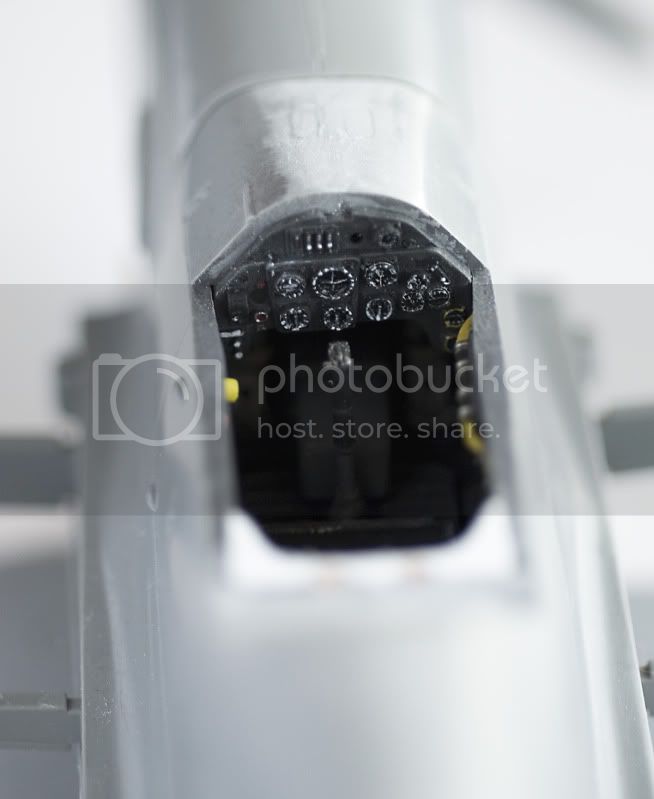
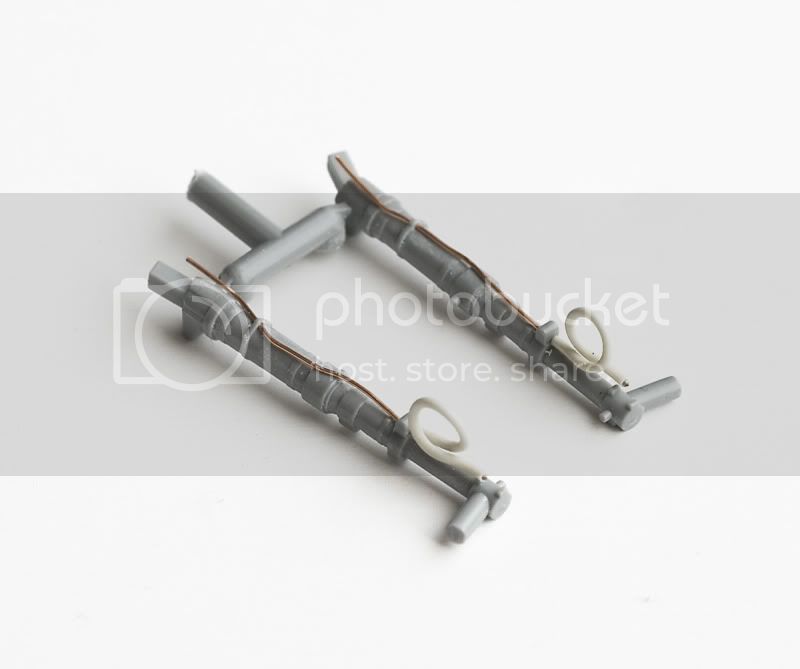
As a "relax" i did pilot belts from HGW set. It looks really nice.
Instruction is a bit tricky but you can do it.

There is still a bit minor work to do and then surfacer.
Stockholm, Sweden
Joined: May 03, 2010
KitMaker: 123 posts
AeroScale: 98 posts
Posted: Friday, April 01, 2011 - 03:25 AM UTC
Very nicely done so far, I really like your detailing.
I used the same Italian kit for my backdated Finnish Air Force G-2.
https://aeroscale.kitmaker.net/forums/159756#1340984 I also see that you have covered the seam on the hood, something I completely forgot

Cheers

/Fred
Warszawa, Poland
Joined: August 09, 2009
KitMaker: 42 posts
AeroScale: 41 posts
Posted: Tuesday, April 12, 2011 - 12:21 AM UTC
Thanks Fredrik.
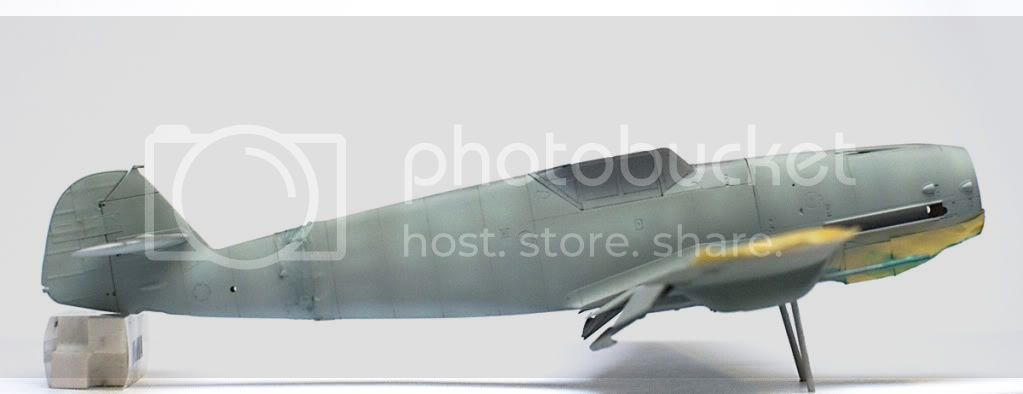
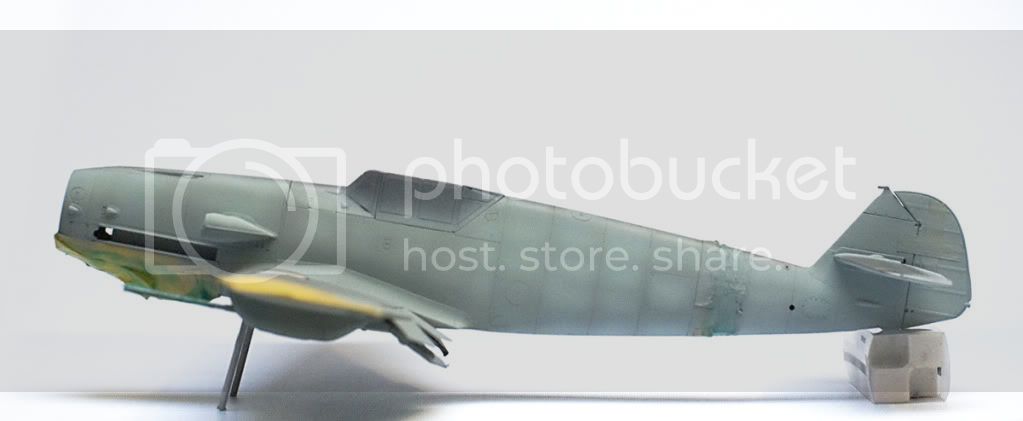
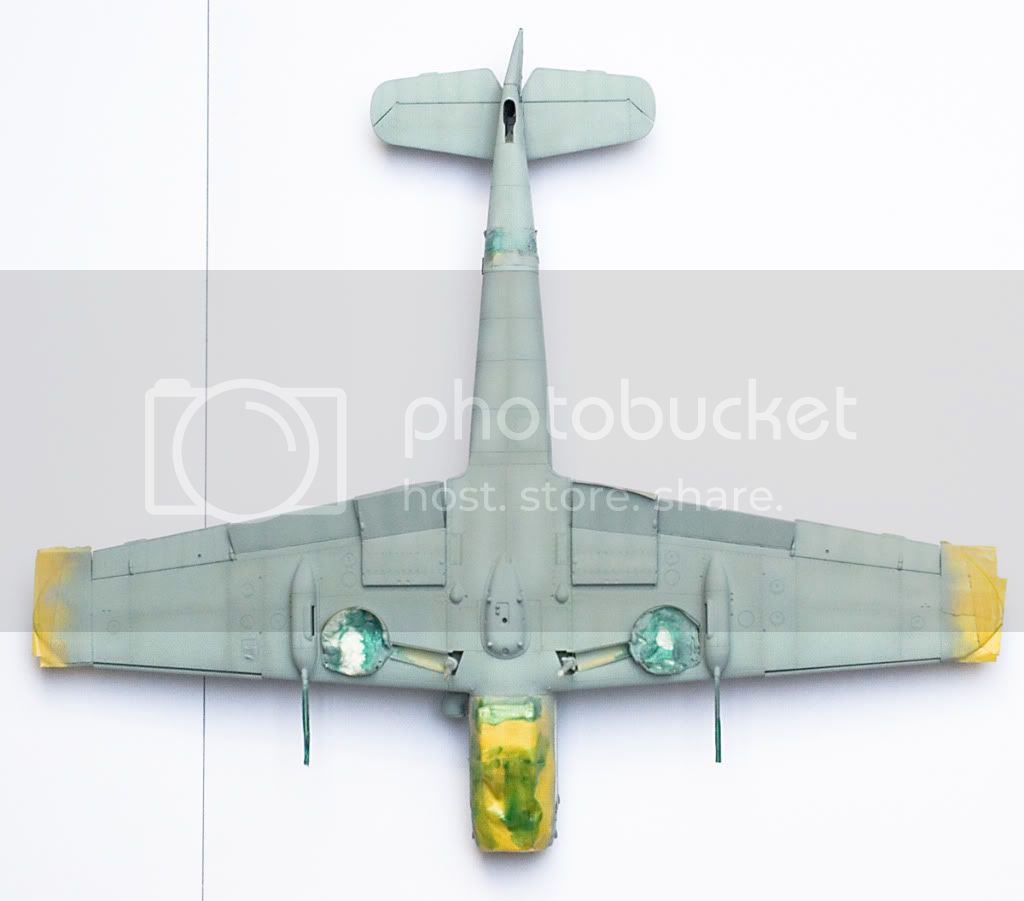
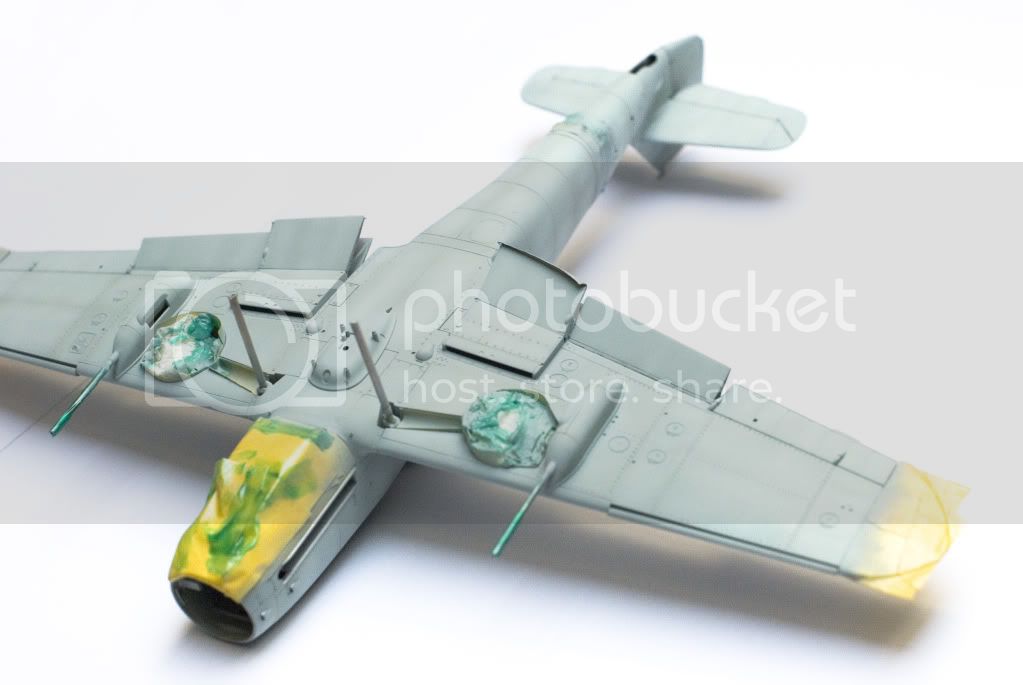
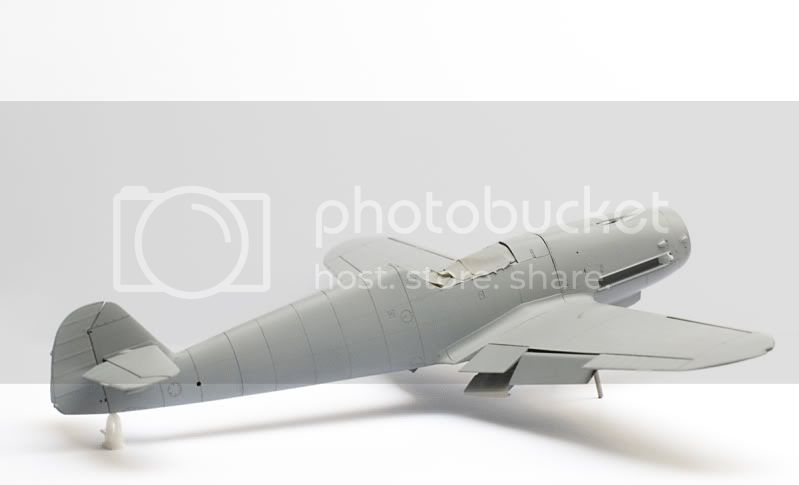
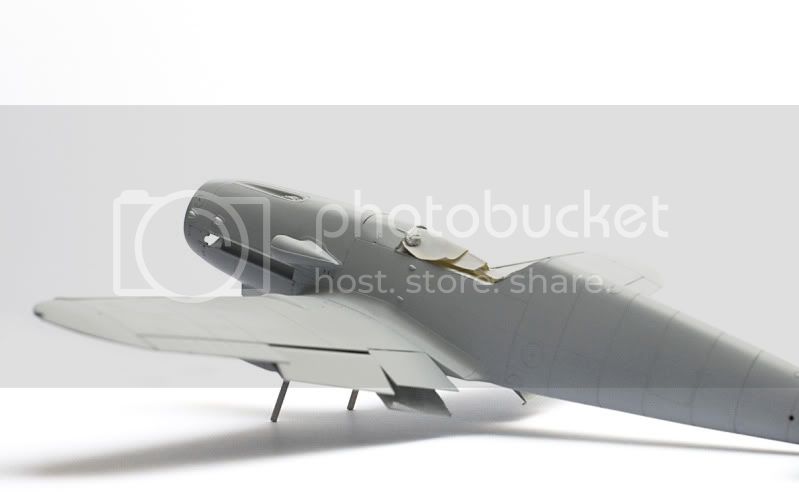
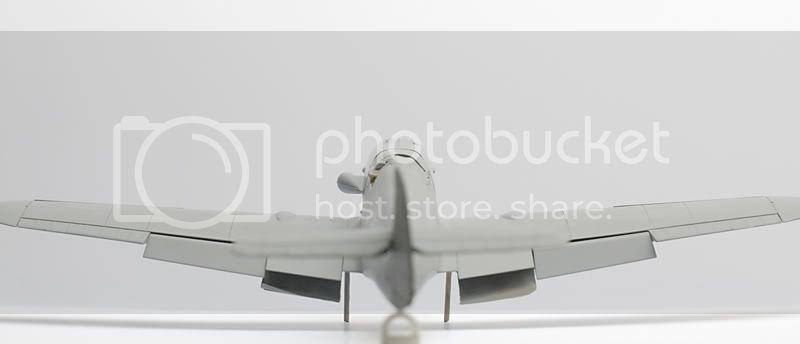
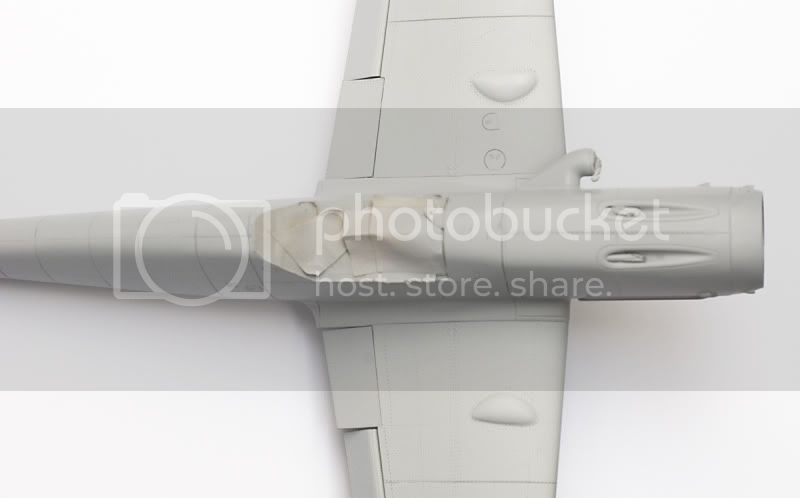
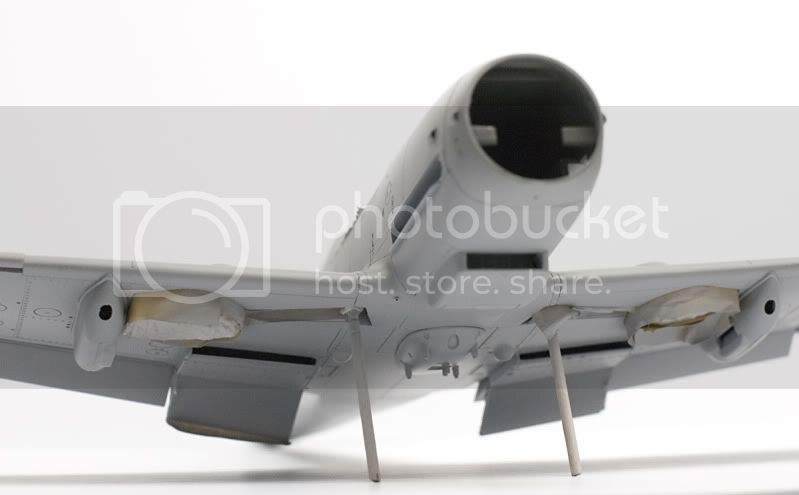
Some more progress.
That engine covling is a
dog, i did those joining 3 times and now im nearly happy. Overal is Mr.Surfacer 1200 Spray from Gunze.

California, United States
Joined: November 28, 2007
KitMaker: 817 posts
AeroScale: 729 posts
Posted: Tuesday, April 12, 2011 - 03:30 AM UTC
That's beautiful, Jerzy! Very cleanly done- you're a true artisan.
Cheers!
chuk
[url]http://chukw.blogspot.com/[/url]
Warszawa, Poland
Joined: August 09, 2009
KitMaker: 42 posts
AeroScale: 41 posts
Posted: Tuesday, April 12, 2011 - 06:23 PM UTC
Warszawa, Poland
Joined: August 09, 2009
KitMaker: 42 posts
AeroScale: 41 posts
Posted: Friday, April 15, 2011 - 01:33 AM UTC
Thanks!
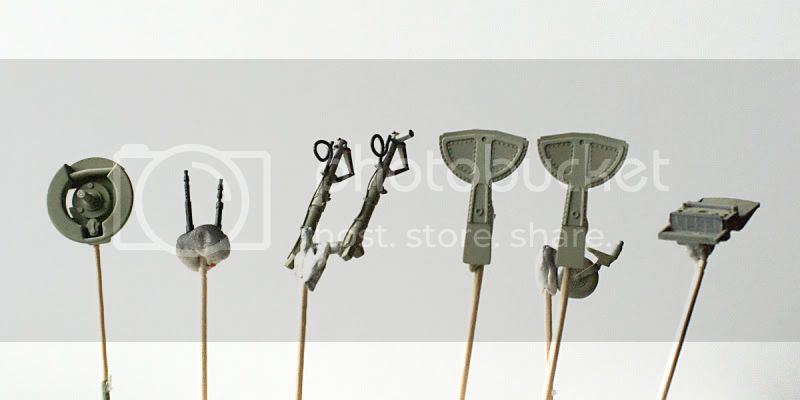
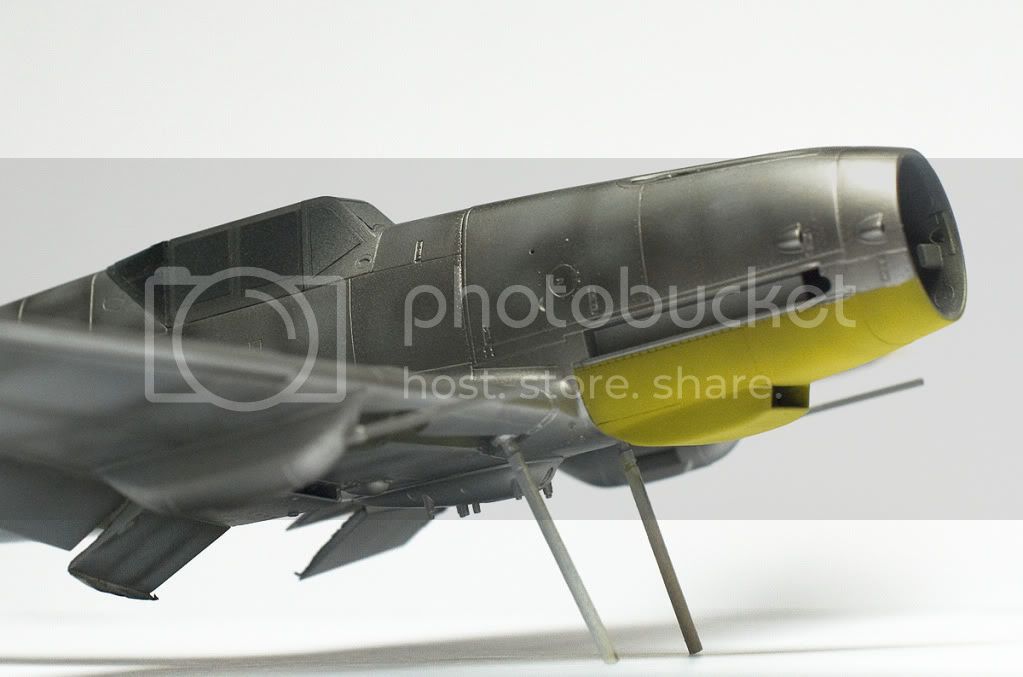
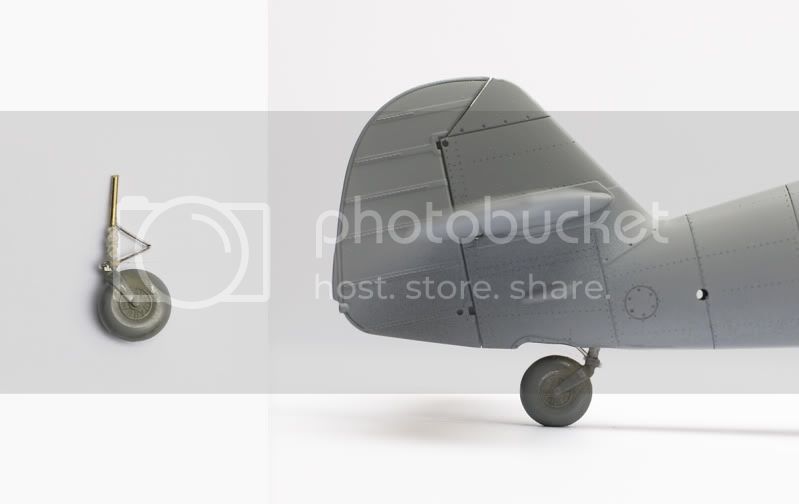
In the meantime my friend remind me there is opened tail weel bay it that 109, so i decided to improve that. Done with wire, metal foil from some package, magicsculpt, and some other not much visible stuff as fishing line, spring from guitar string.
Warszawa, Poland
Joined: August 09, 2009
KitMaker: 42 posts
AeroScale: 41 posts
Posted: Wednesday, April 20, 2011 - 12:25 AM UTC
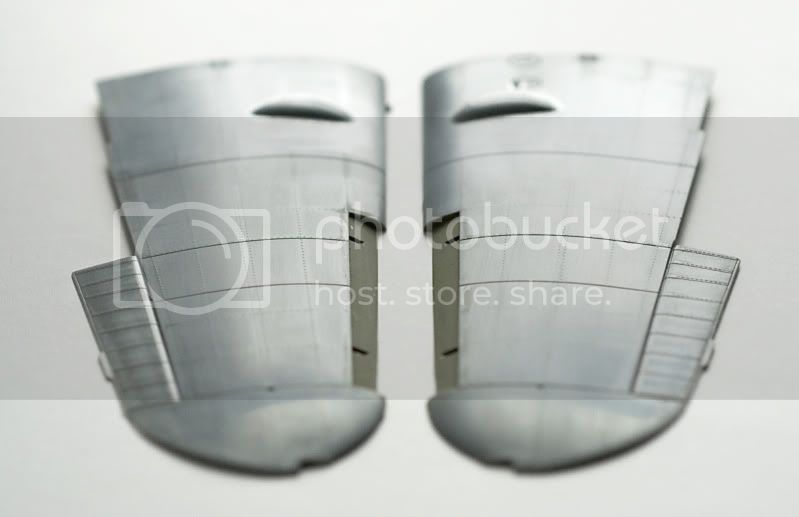
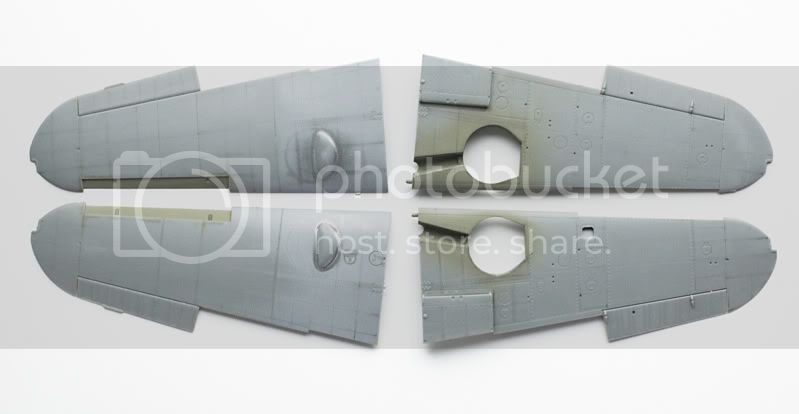
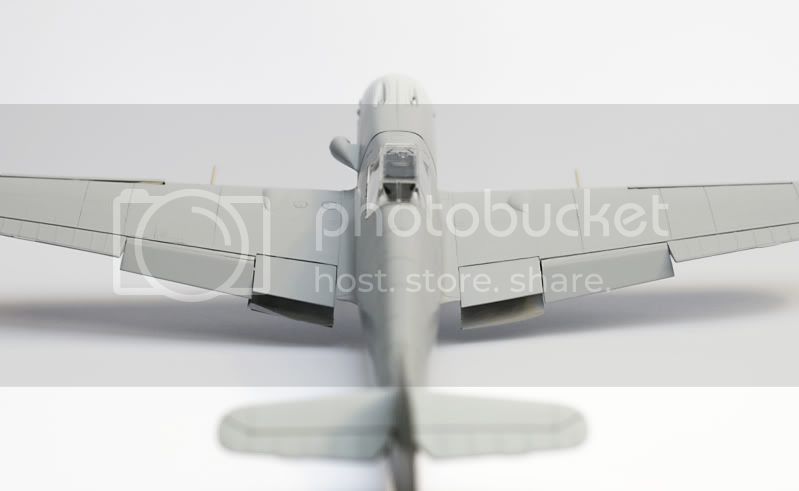
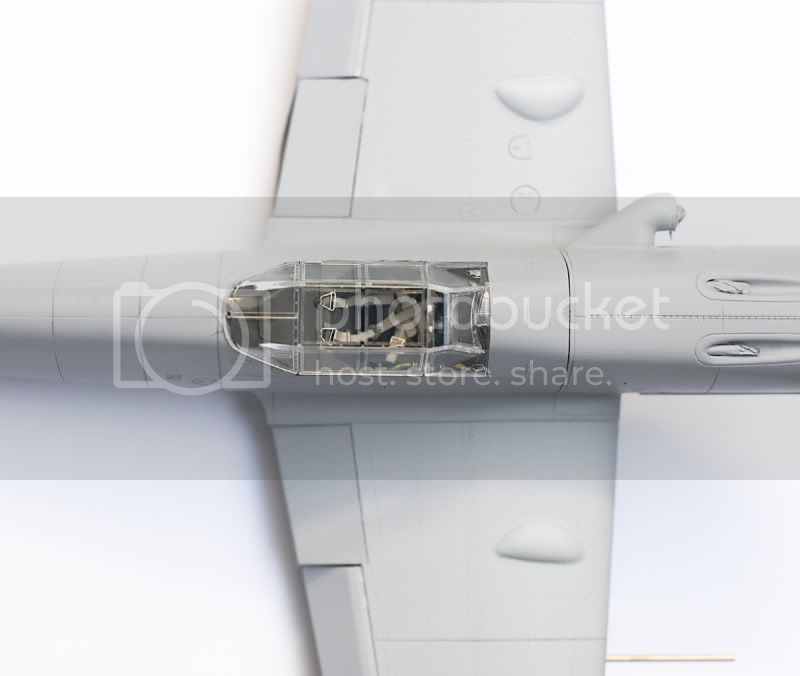
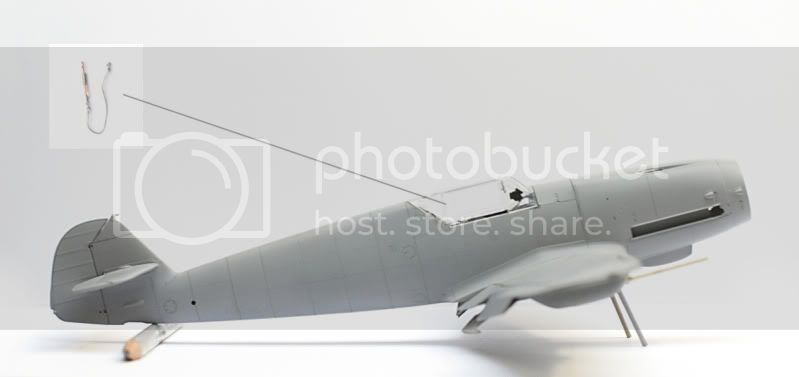
I decided to fill the gap between flaps and wing with MagicSculpt (MS).
Canopy is dry fited.
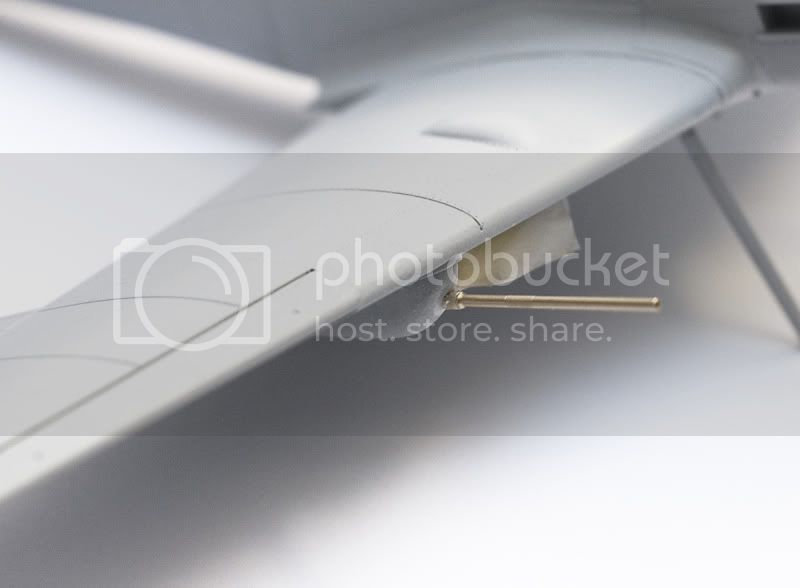
I decided also to use MG 151 from Model Master. It was a bit dificult at this step. I had to make hole bigger to fit the barrel, and afterwards to fill it (i use MS).
I added a cord to canopy.
Buenos Aires, Argentina
Joined: September 07, 2006
KitMaker: 918 posts
AeroScale: 688 posts
Posted: Wednesday, April 20, 2011 - 04:08 AM UTC
Very nice Jerzy, good job

Bayern, Germany
Joined: December 11, 2010
KitMaker: 64 posts
AeroScale: 57 posts
Posted: Tuesday, April 26, 2011 - 01:13 AM UTC
Neat and clean! Skilled work! Nice photography as well! Keep going!
Warszawa, Poland
Joined: August 09, 2009
KitMaker: 42 posts
AeroScale: 41 posts
Posted: Tuesday, May 03, 2011 - 11:56 PM UTC
Thanks!
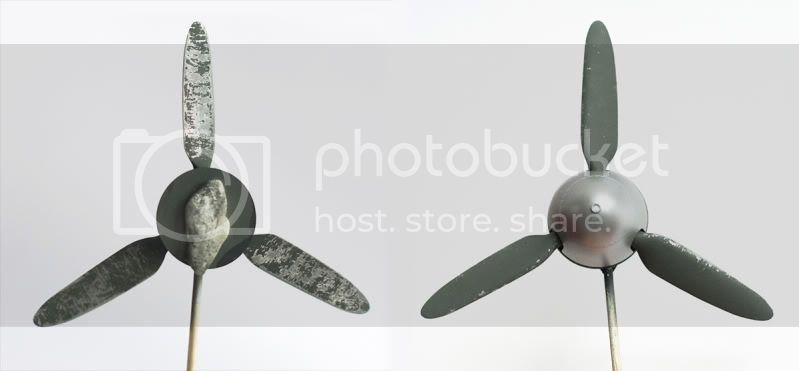
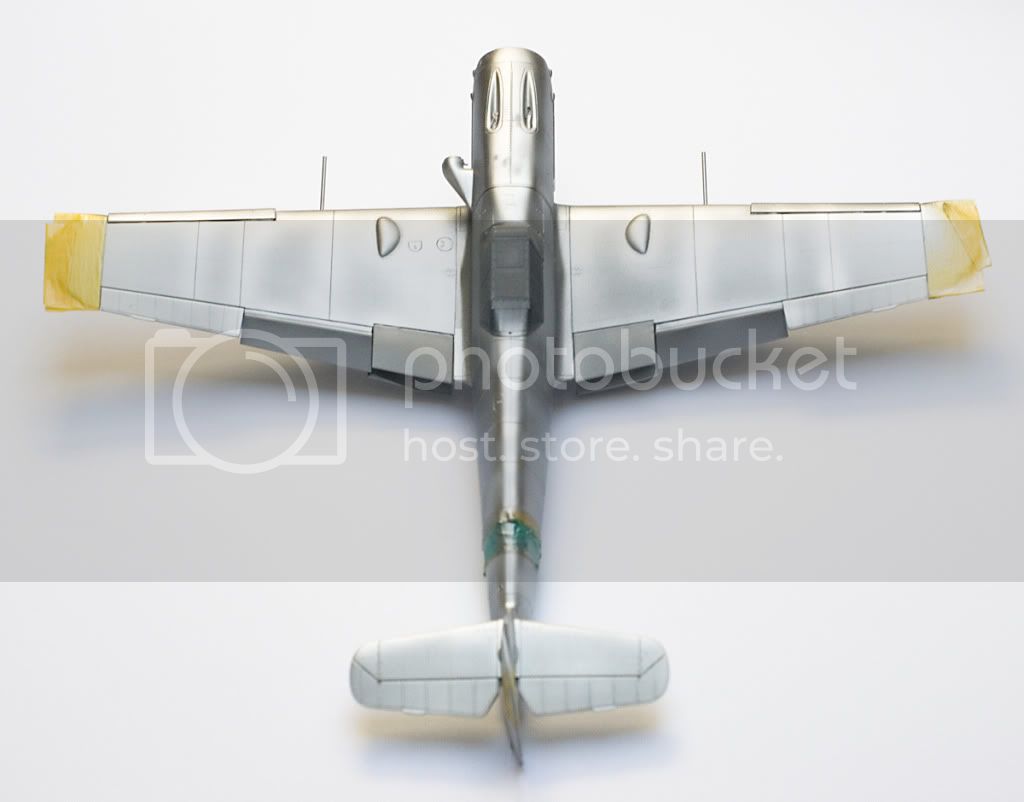
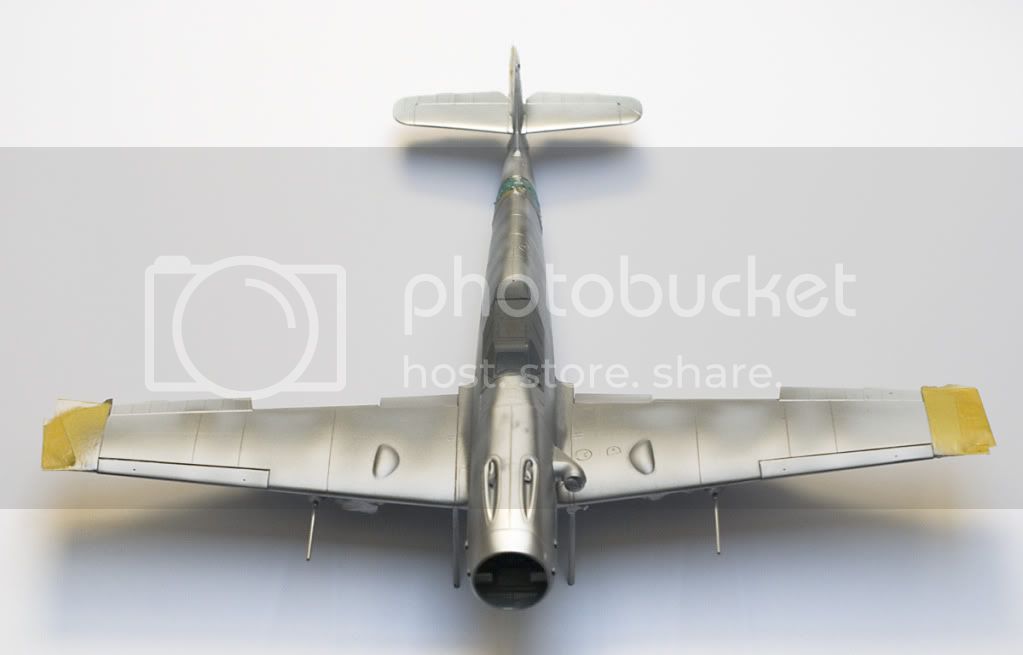
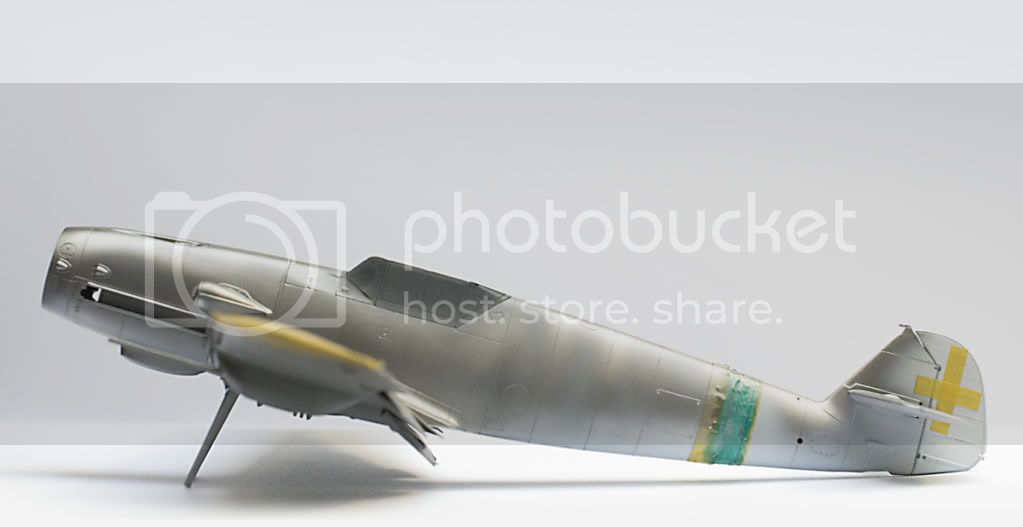
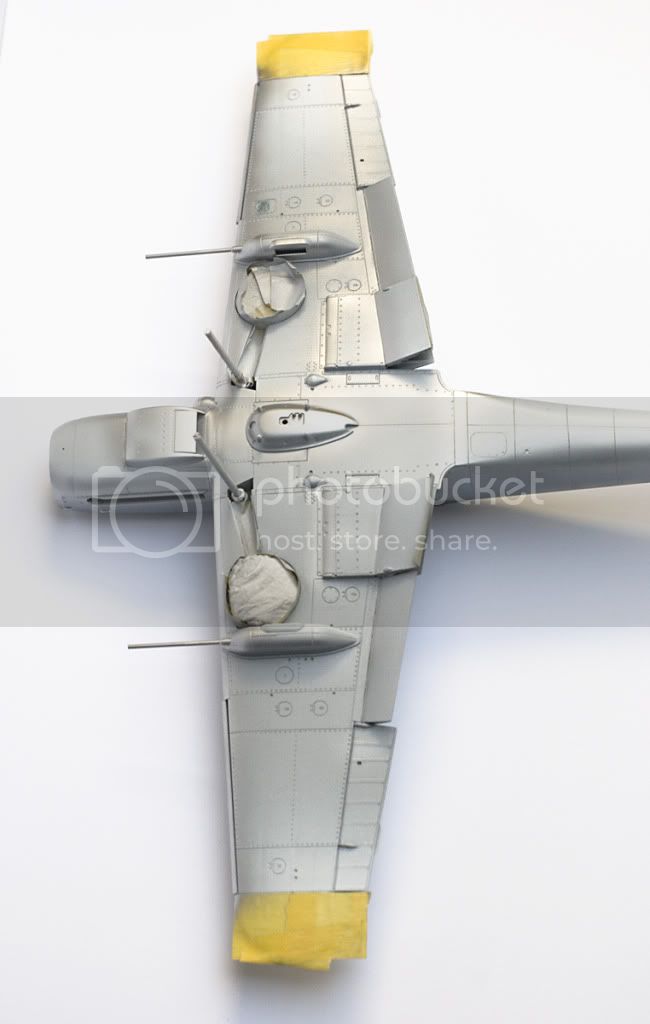
Some more progress. Cockpit closed.
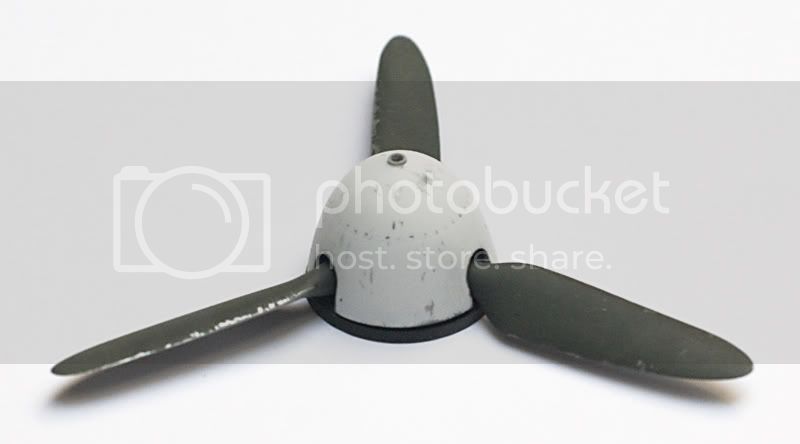
White surfecer 1000 done in fast identification places and crosses.
Now i work on metallic colors which in some places where there will be some chafing.
Warszawa, Poland
Joined: August 09, 2009
KitMaker: 42 posts
AeroScale: 41 posts
Posted: Thursday, May 12, 2011 - 01:31 AM UTC
Alberta, Canada
Joined: March 08, 2009
KitMaker: 394 posts
AeroScale: 360 posts
Posted: Thursday, May 12, 2011 - 02:50 AM UTC
Jerzy, your doing a fantastic modeling job, and producing an excellent photographic tutorial. I really like those seat harness; beautiful.
Hats off to you.

Current Projects: 1/144 R5D-3 (MiniCraft)
1/48 Ford Flivver (Williams Bro.)
1/72 UC-64A Norseman (MatchBox)
MAAC No.51187
IPMS CANADA No. 3369
Warszawa, Poland
Joined: August 09, 2009
KitMaker: 42 posts
AeroScale: 41 posts
Posted: Thursday, May 12, 2011 - 09:18 PM UTC
Thanks!
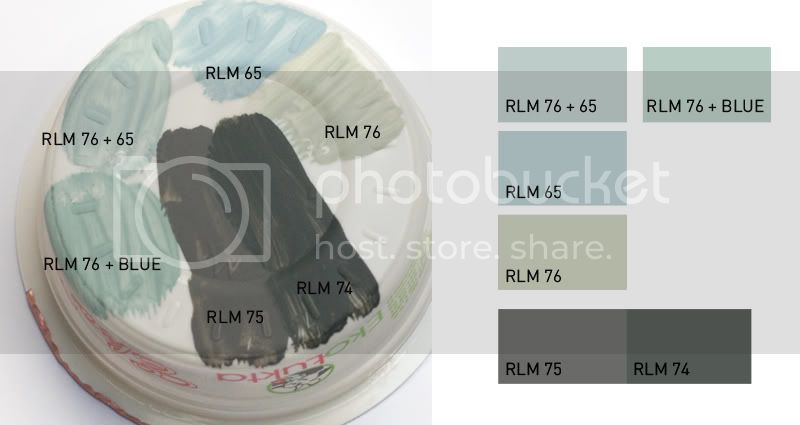
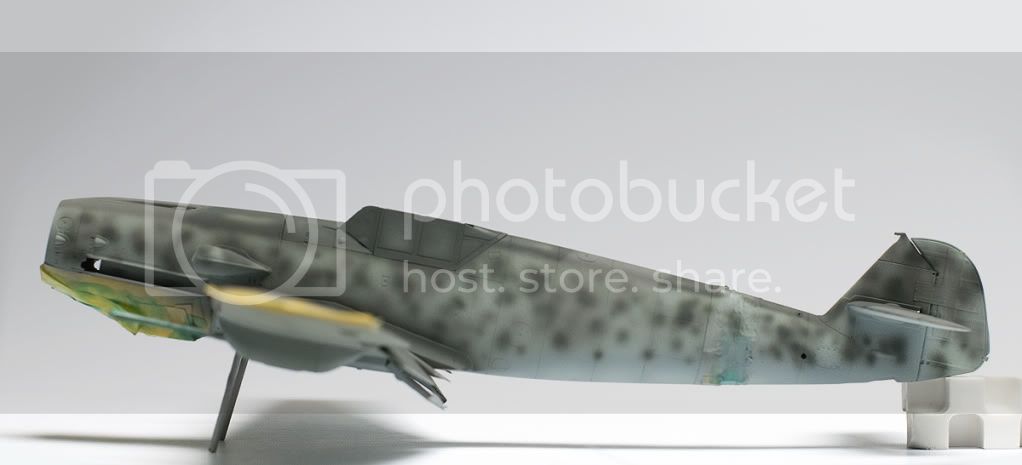
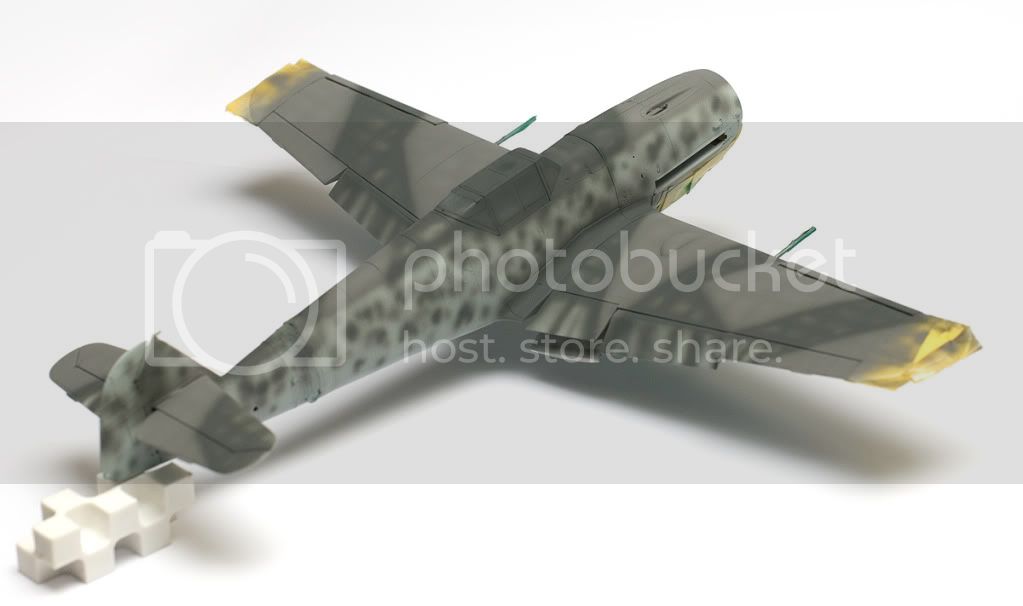
Started with upper surfaces.
Lifecolor RLM 75 on the panel lines and lighter between. Lifecolor RLM 74 on the panel lines (similiar it was with RLM 75 at the beginning).
Some spots ready.


Warszawa, Poland
Joined: August 09, 2009
KitMaker: 42 posts
AeroScale: 41 posts
Posted: Wednesday, May 18, 2011 - 12:14 AM UTC
Hello,
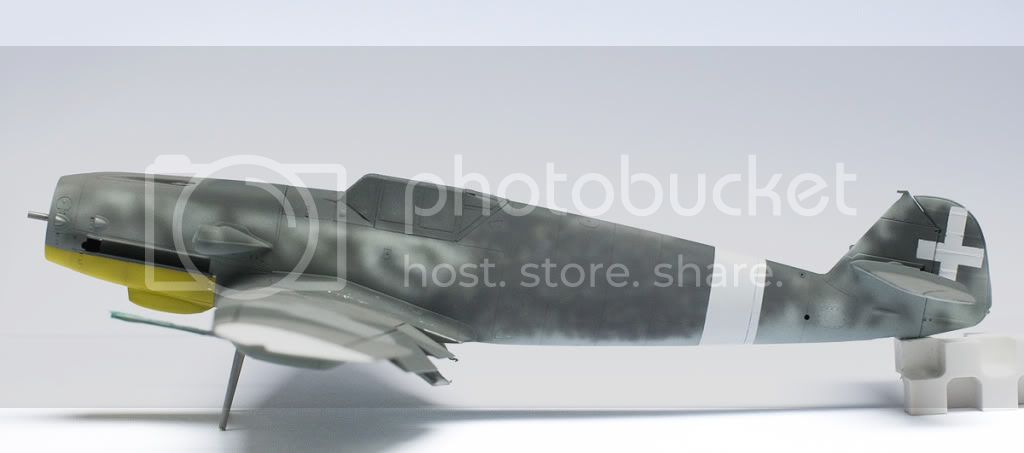
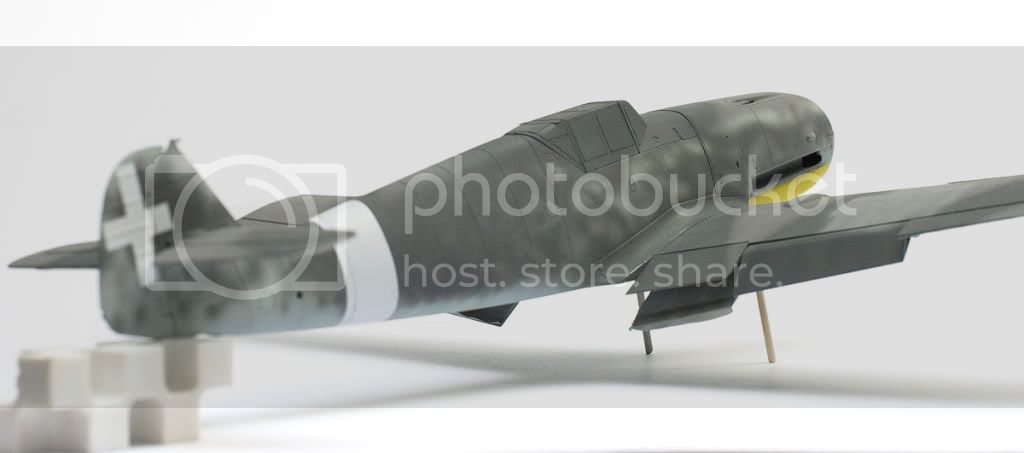
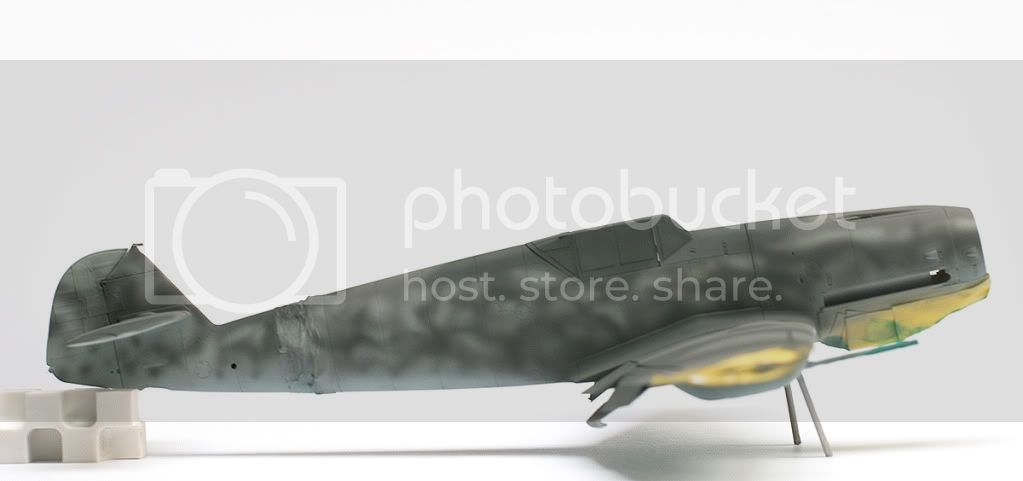
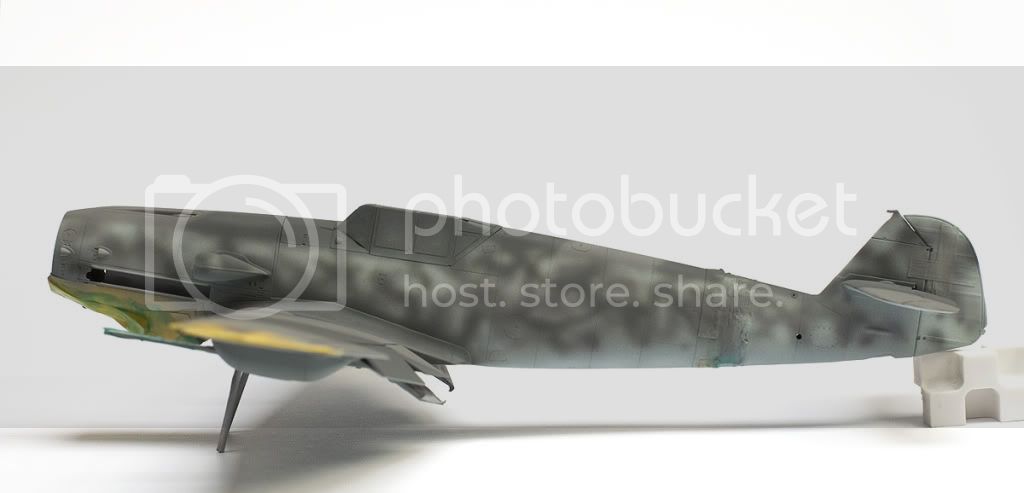
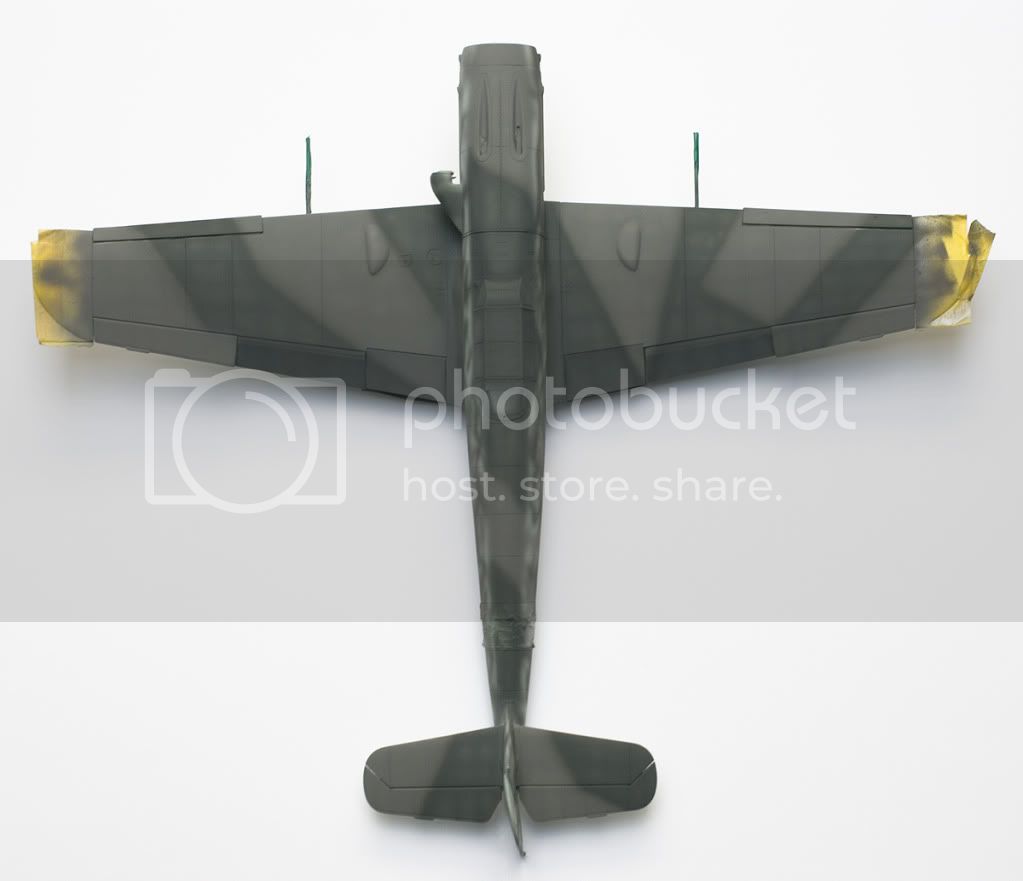
mottling was looking nice but was not so similiar to the plane picture, what do You think about it?
Now it is more like, but still need some improvement.
There will be some overpainting of fuselage part where german cross was.
Warszawa, Poland
Joined: August 09, 2009
KitMaker: 42 posts
AeroScale: 41 posts
Posted: Tuesday, May 24, 2011 - 09:46 PM UTC
Attica, Greece / Ελλάδα
Joined: May 01, 2008
KitMaker: 1,437 posts
AeroScale: 1,241 posts
Posted: Wednesday, May 25, 2011 - 08:25 AM UTC
Wow, it's such an enjoyment to watch your step by step with great photos build Mr. Jerzy

I also like very much, Regia Aeronautica

Keep up the GREAT work

Cheers Nick


Warszawa, Poland
Joined: August 09, 2009
KitMaker: 42 posts
AeroScale: 41 posts
Posted: Wednesday, June 01, 2011 - 02:29 AM UTC
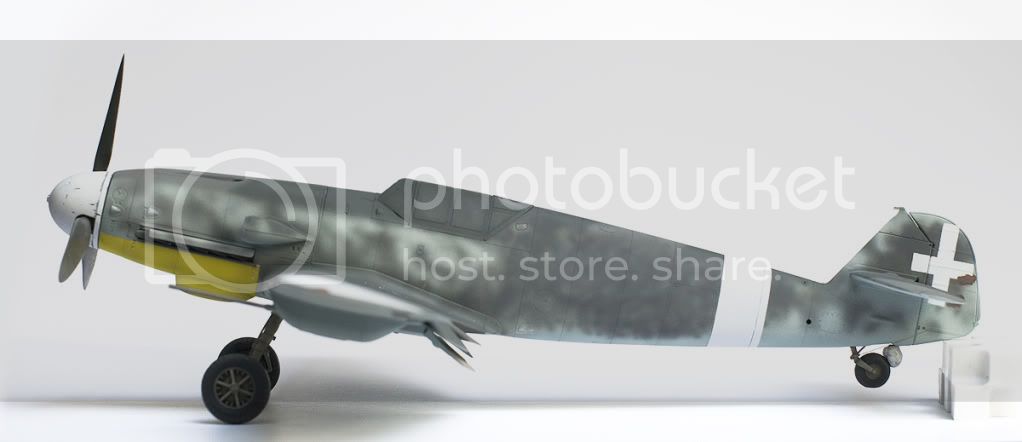
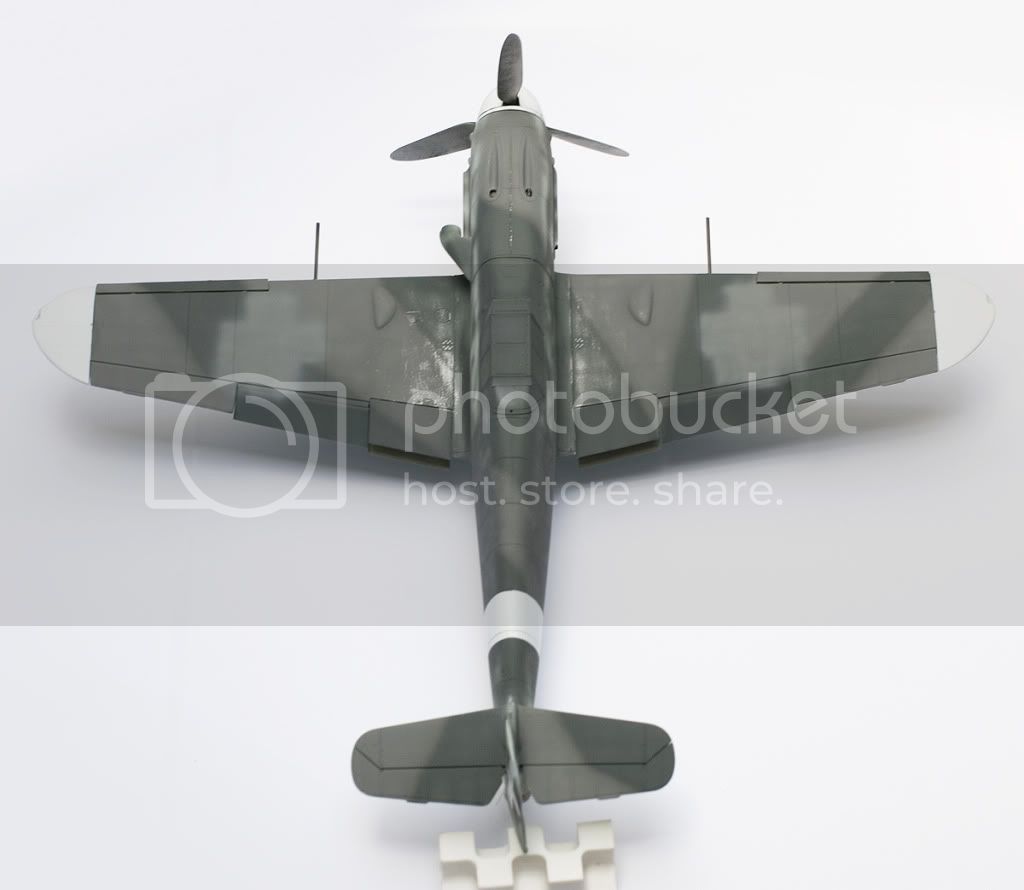
Slowly but forward.
There is still few details to add,
but those will be done after Sidolux
(polish substitute of Future, acrylic for flor),
and markings.

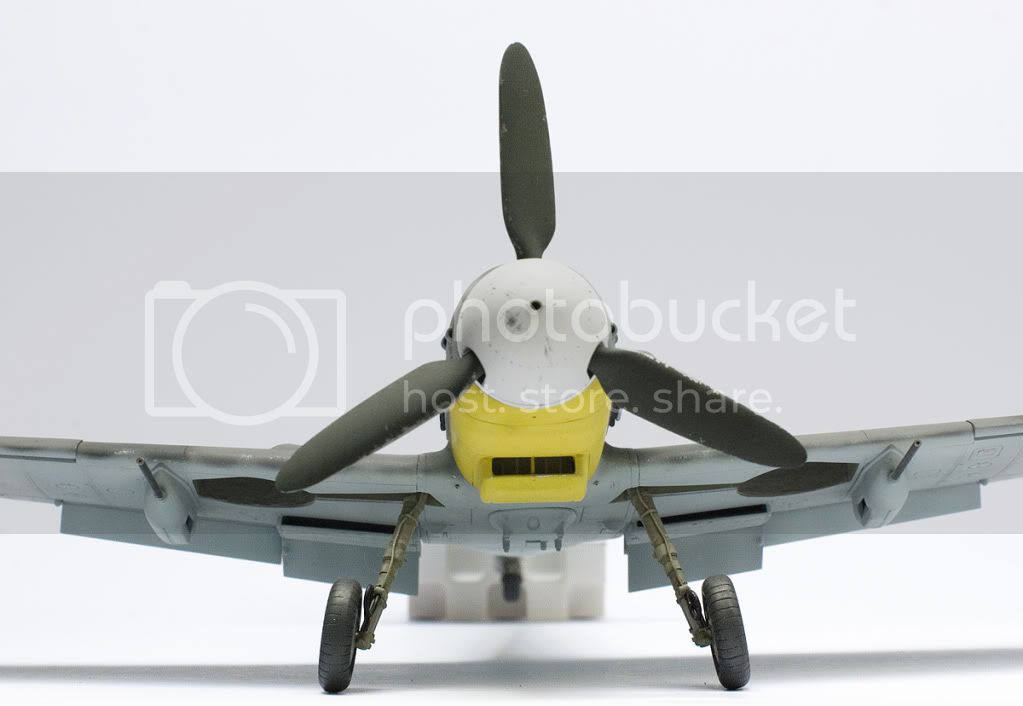
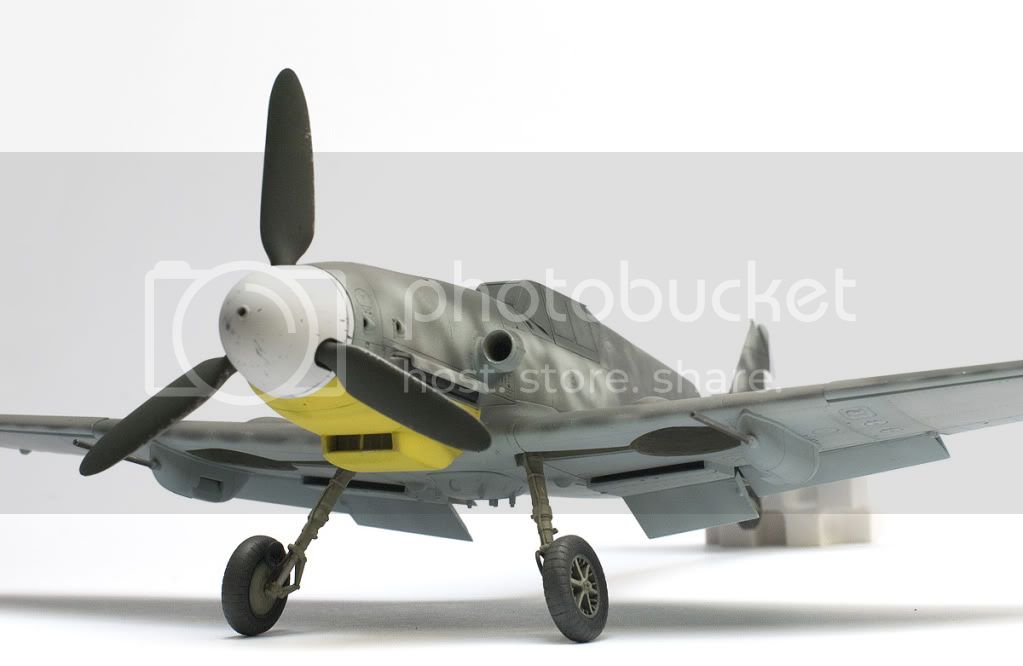
By the way have anyone some close picture or drawing
of blocks that can be seen under the main weels on original picture
(at the begining of that thread).
Rigas, Latvia
Joined: July 04, 2007
KitMaker: 268 posts
AeroScale: 245 posts
Posted: Thursday, June 02, 2011 - 12:52 AM UTC
Brilliant stuff! Waiting to see it finished
Warszawa, Poland
Joined: August 09, 2009
KitMaker: 42 posts
AeroScale: 41 posts
Posted: Thursday, June 09, 2011 - 12:19 AM UTC
Thanks.
Next teaser. All decals at the places.
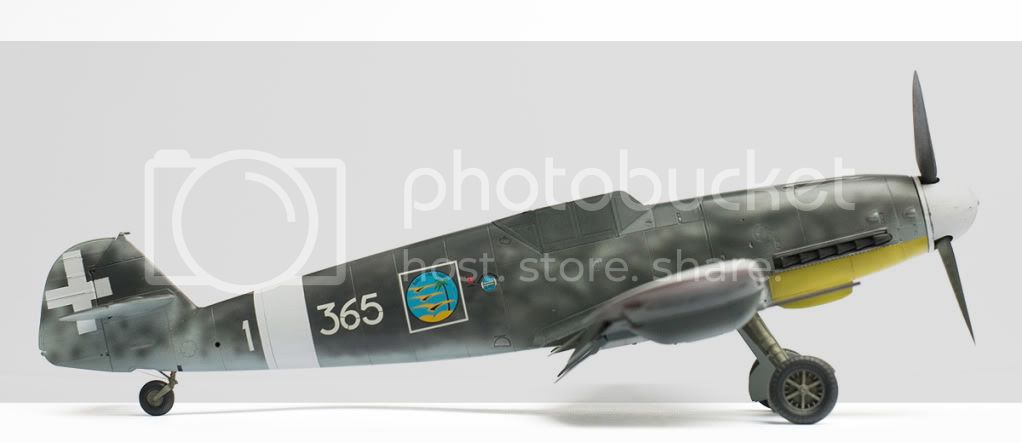
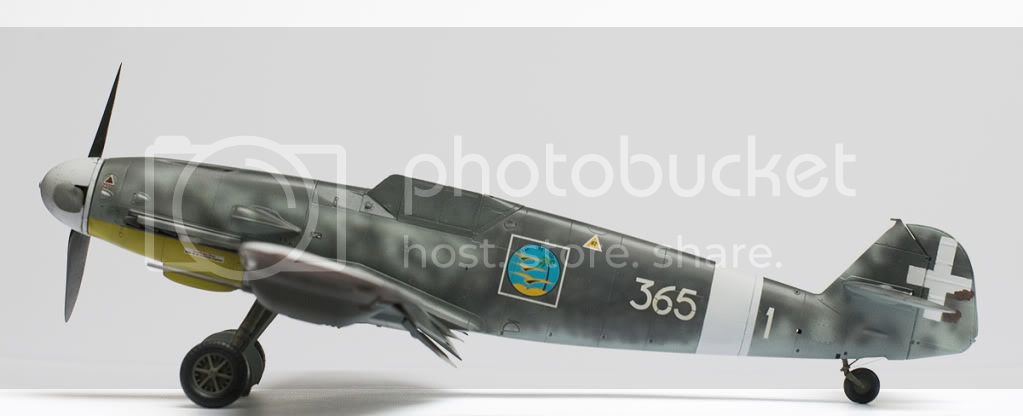
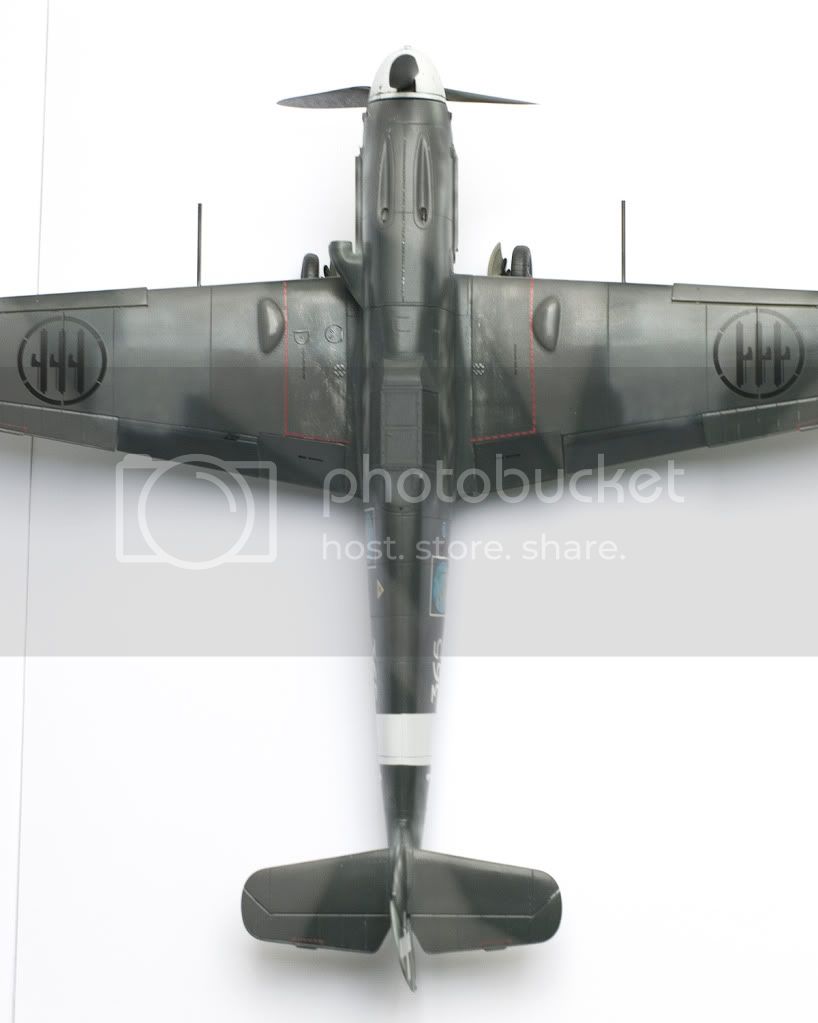
I don't like blue in Gigi Tre Osei, i'll try to repaint it a bit to recive something less cyan.

Slowly finishing.
Rigas, Latvia
Joined: July 04, 2007
KitMaker: 268 posts
AeroScale: 245 posts
Posted: Thursday, June 09, 2011 - 01:16 AM UTC


