_GOTOBOTTOM
Early Aviation
Discuss World War I and the early years of aviation thru 1934.
KotS GB 2011 Sopwith F.I lalanagas.
lalanagas
_VISITCOMMUNITY
Tabasco, Mexico
Joined: November 26, 2007
KitMaker: 31 posts
AeroScale: 26 posts
Posted: Tuesday, March 22, 2011 - 03:45 AM UTC
Well, beginning with this new company


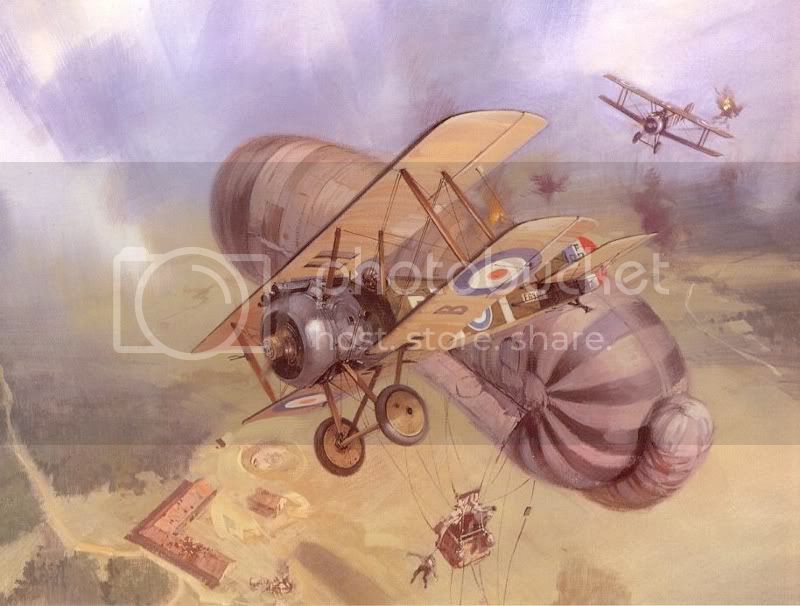
a simple, so say so camel F1 think I brand Smer.
the model is very simple, and even it is not acurate.


This is the box and its components.
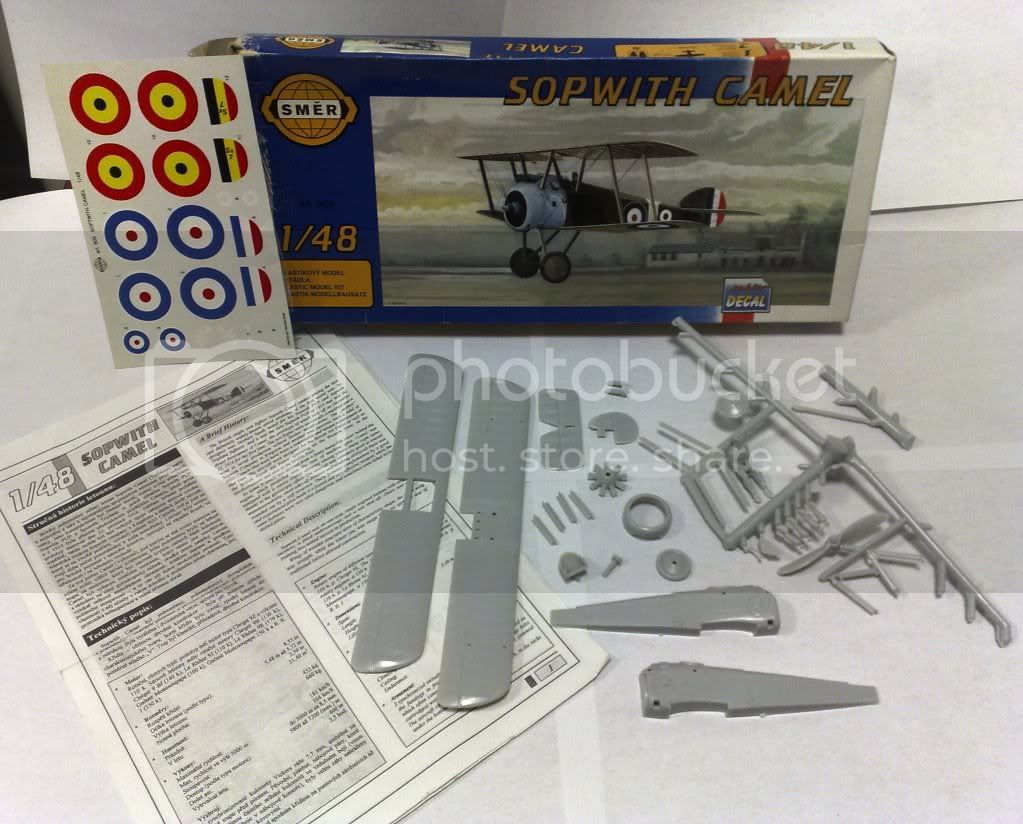

its content


and one of the two schemes to make, or modes no from which to choose, so I will be costume decoration


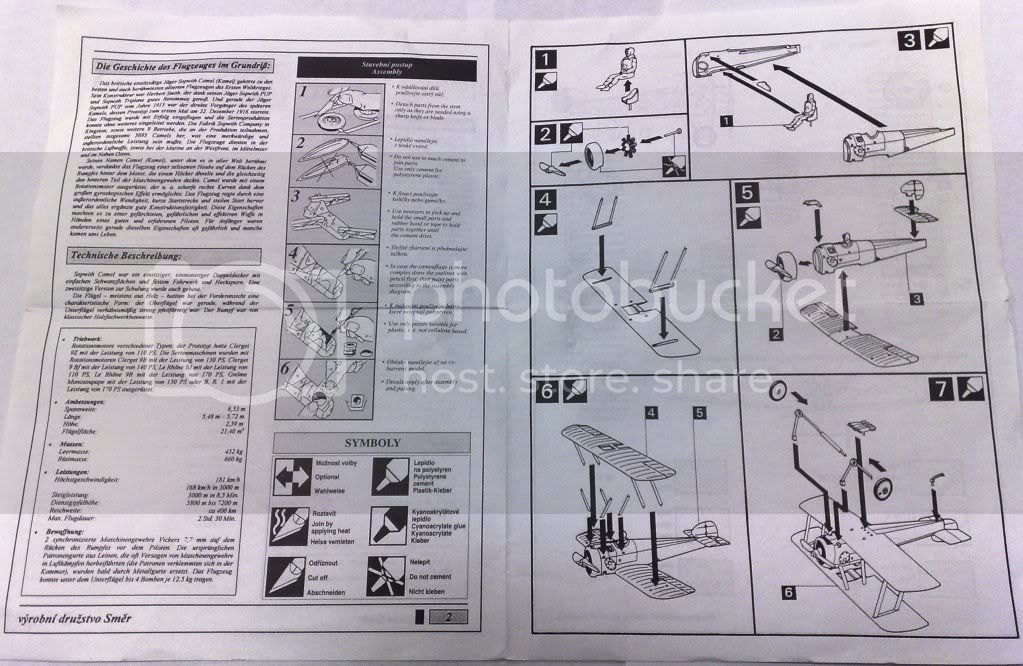
the instructions is very basic

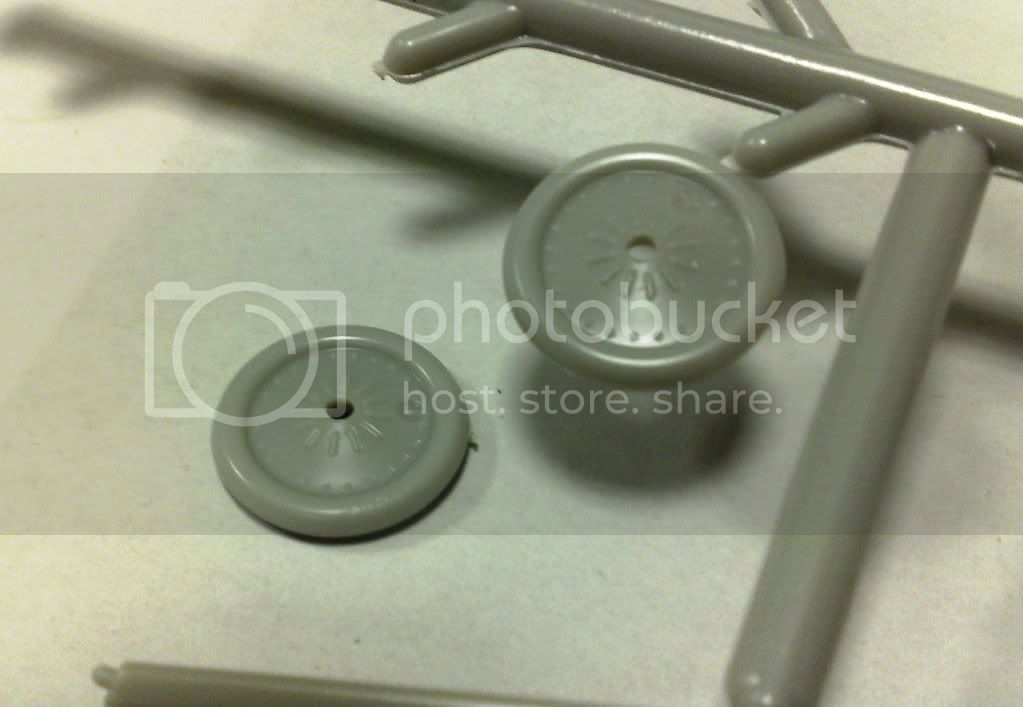
and now the problems to be solved in the model.

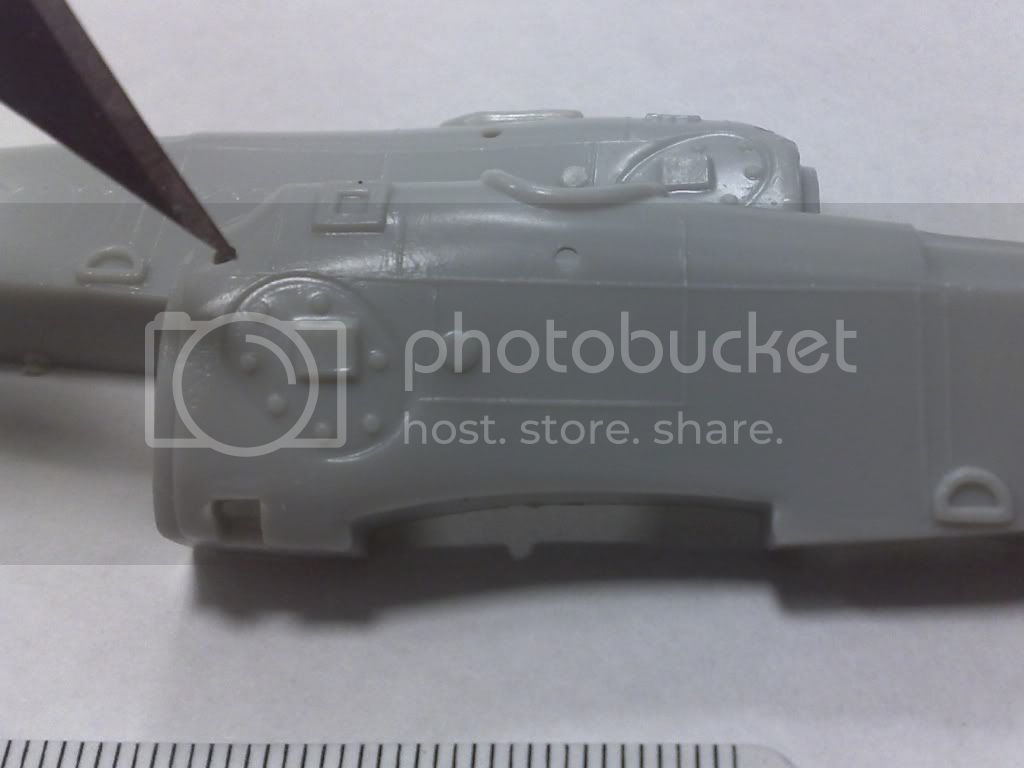
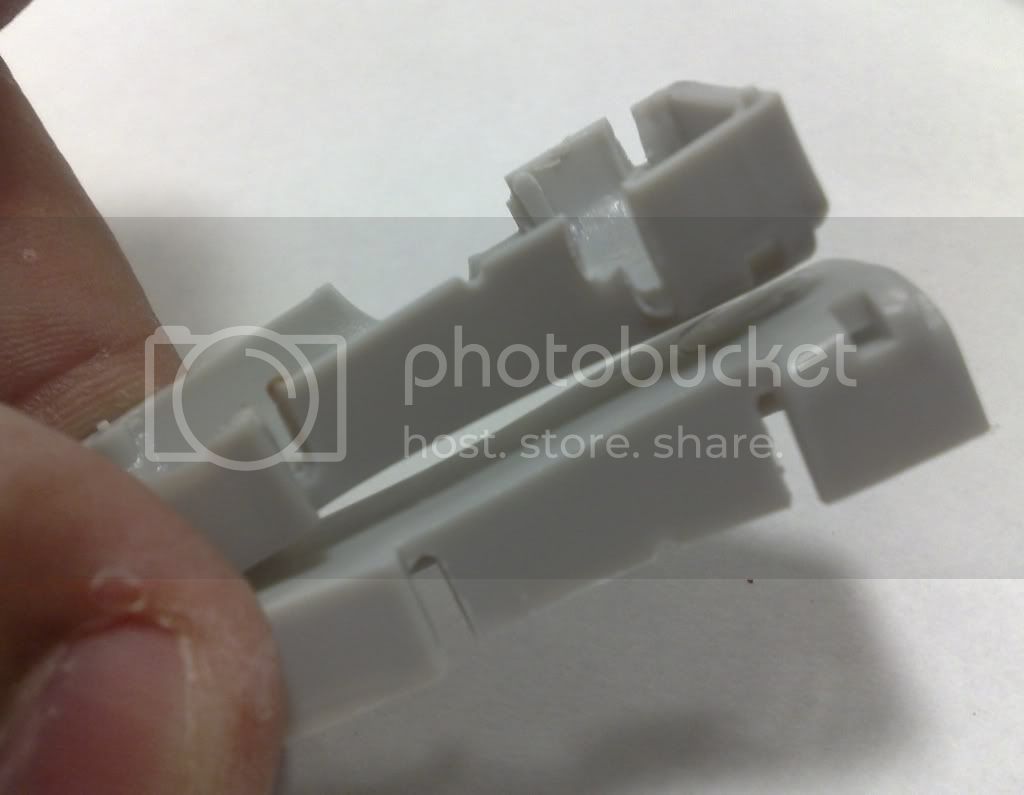
first they are these details, which by the way not should be, this confirms that it is a cast from the mold of Aurora

Here the details....


It is clear that all these highlighted details should not be, they were soon placed so that they could be painted by hand, but in the present, in my case it is preferable to use decals.


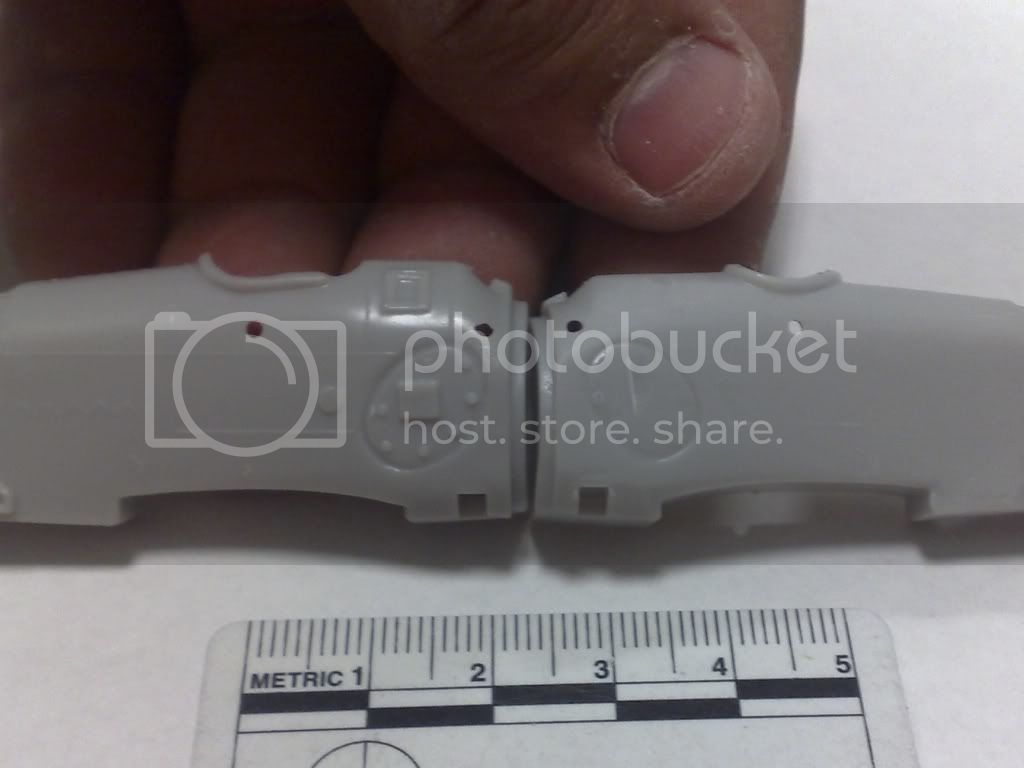
part of the cabin on the outside, the details are inadequate, very coarse and very highlighted, all these will be rebuild. including the machineguns are going to rebuild, if they could recommend me some aftermarket, or brand of photoeched. to replace them

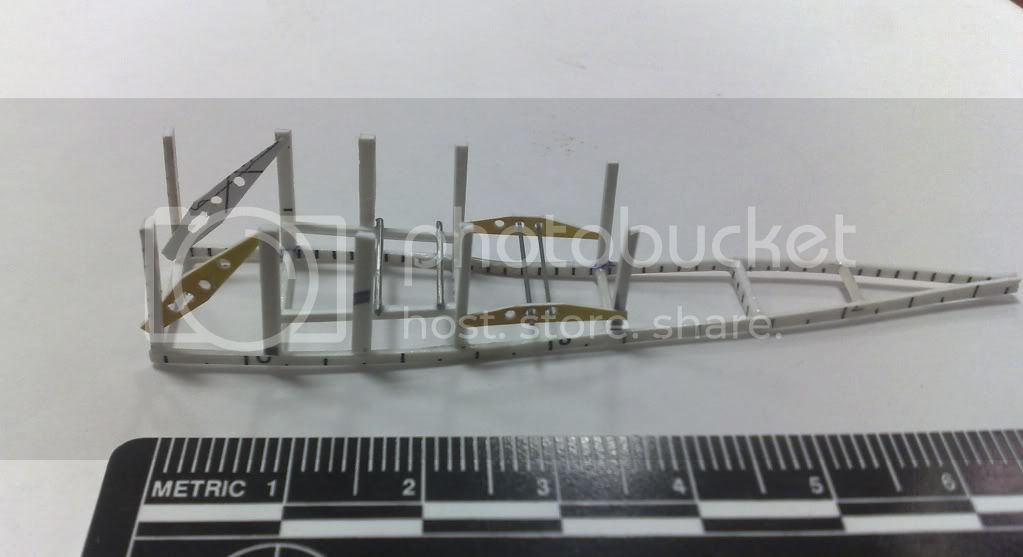
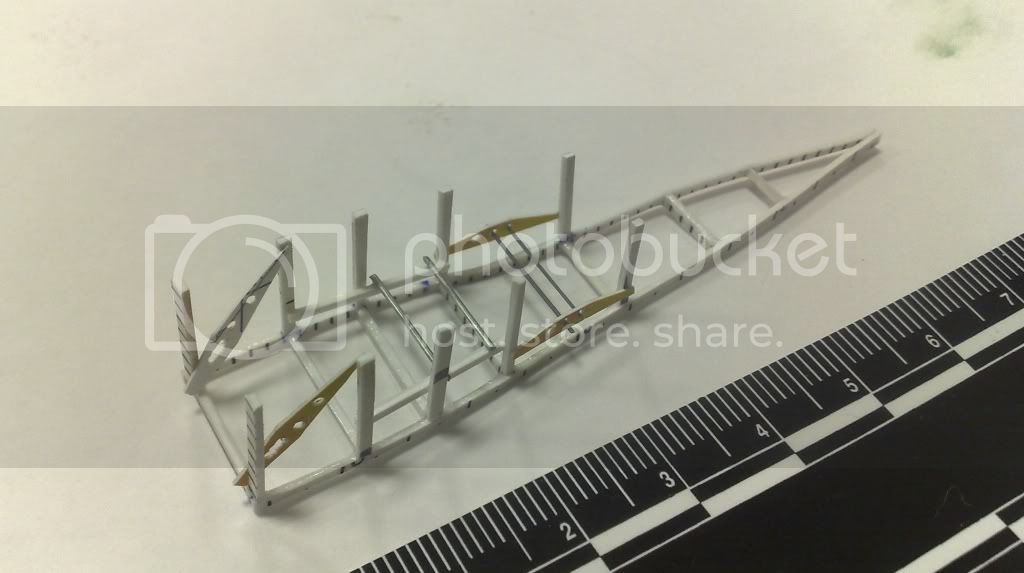
the engine and the rest of the pieces of look good, maybe engine must work in the a bit to look better.


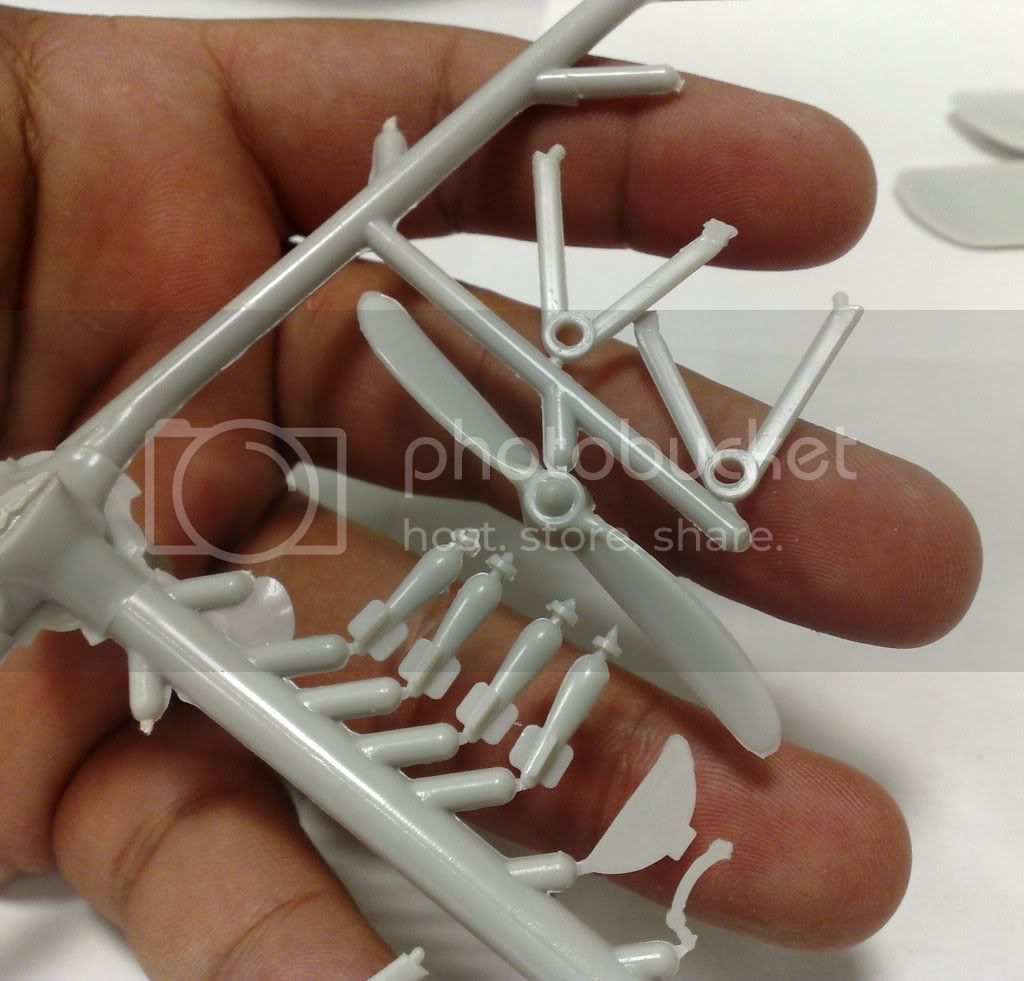
Maybe the propeller, just requires some work.

and now I would like to know because they include an extraterrestrial in the kit,

its looks like a grey......, its scary,

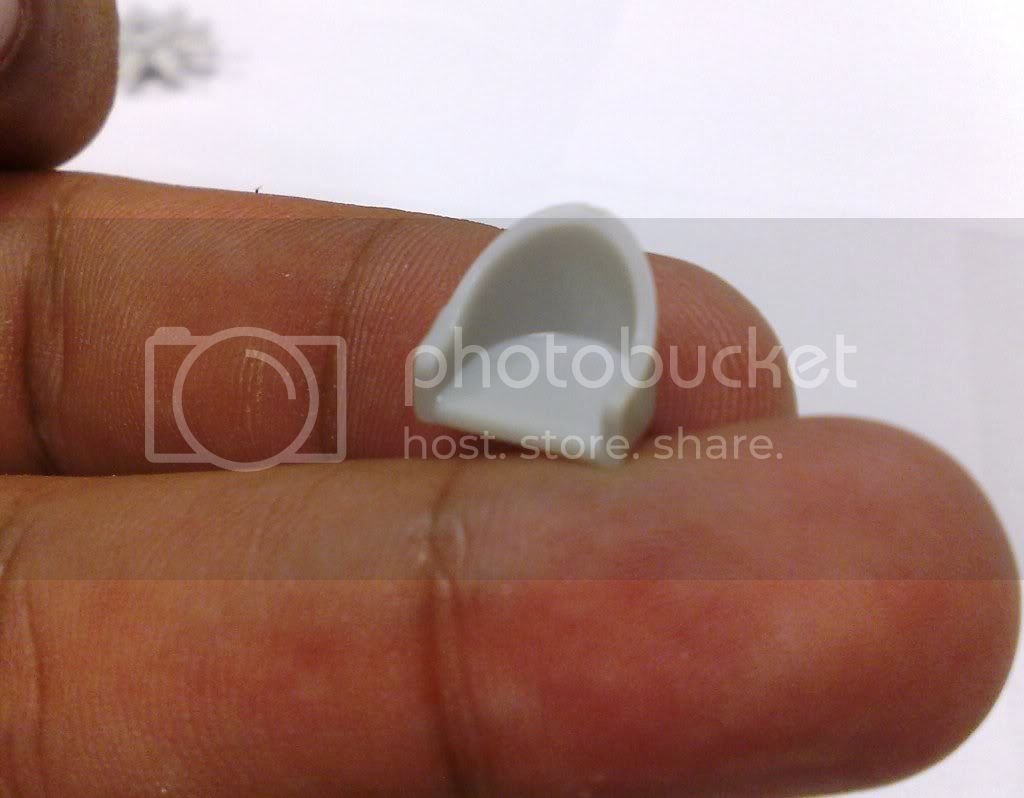
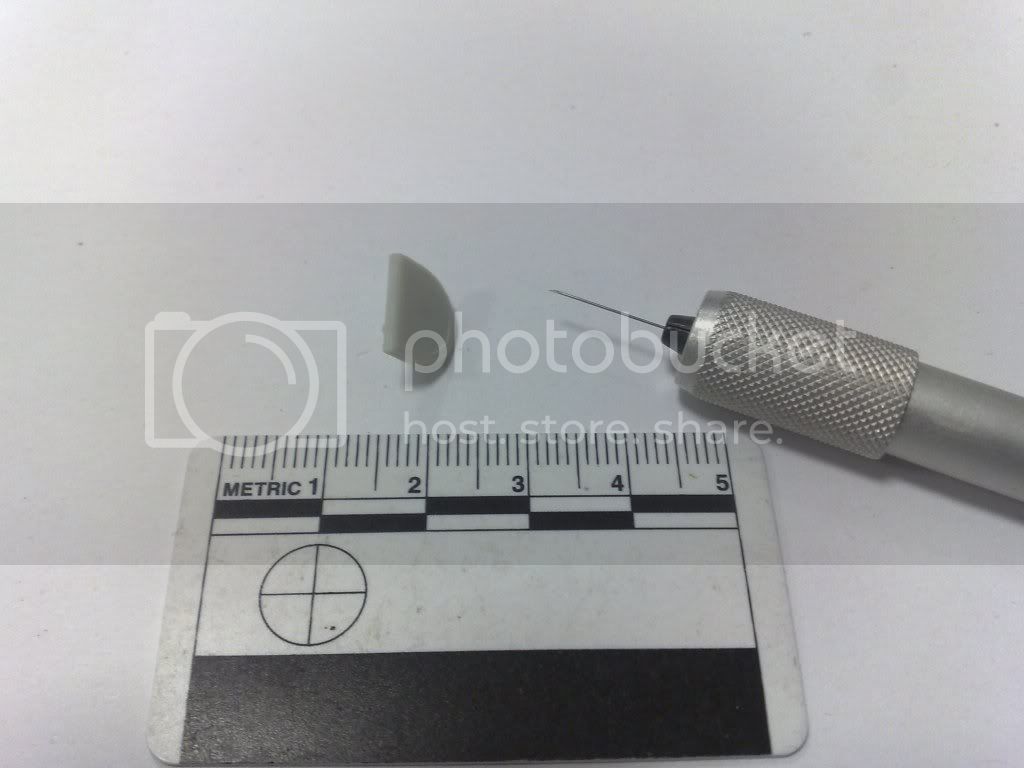
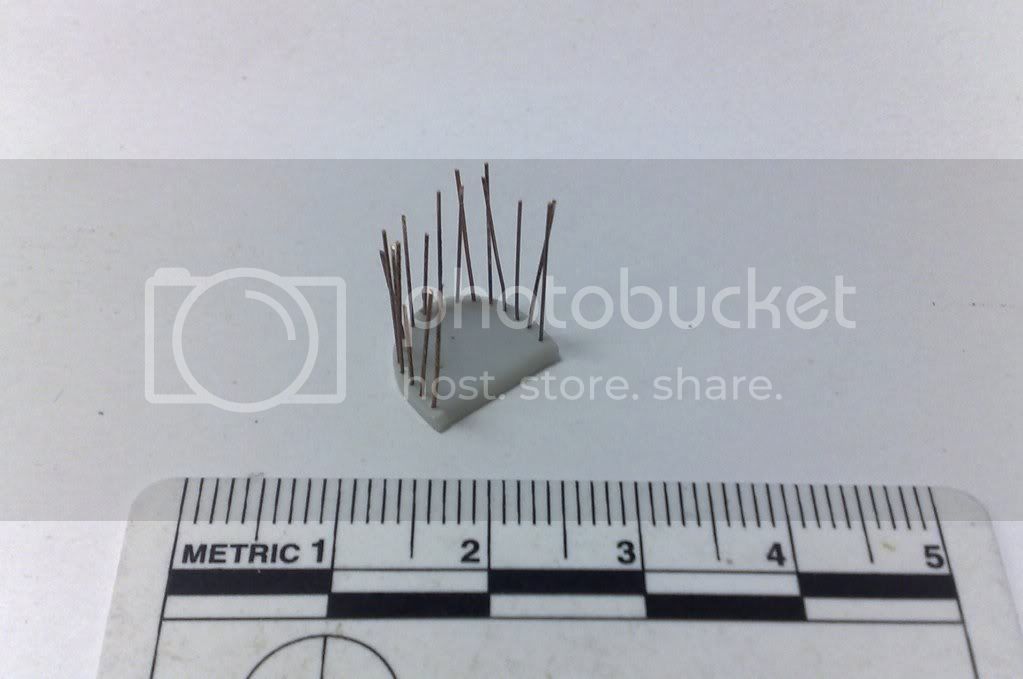
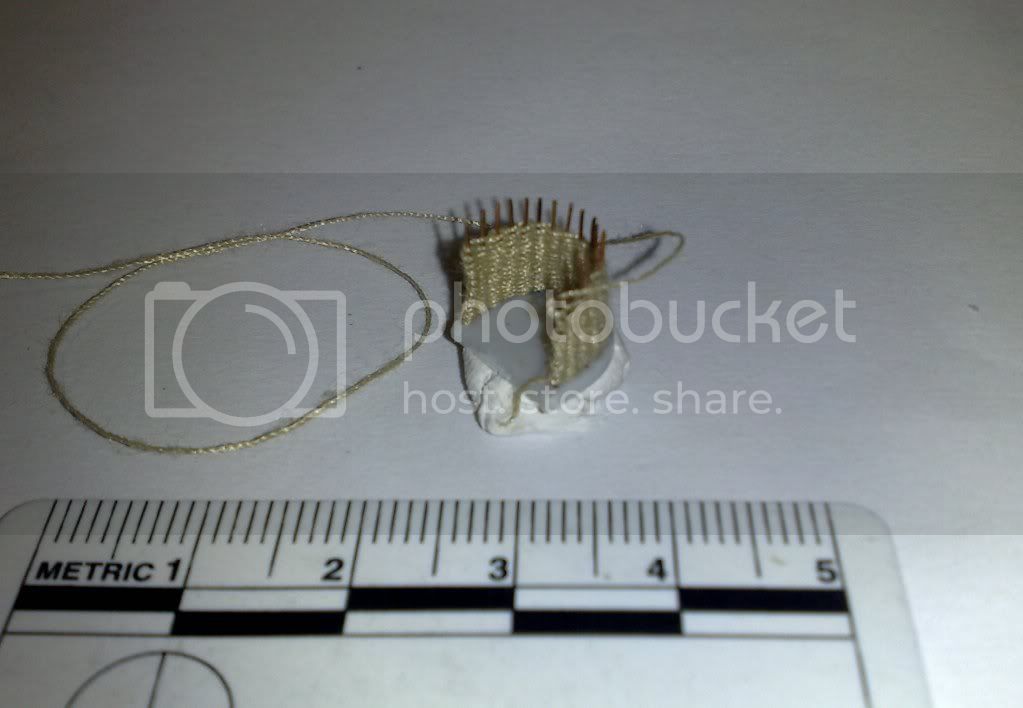
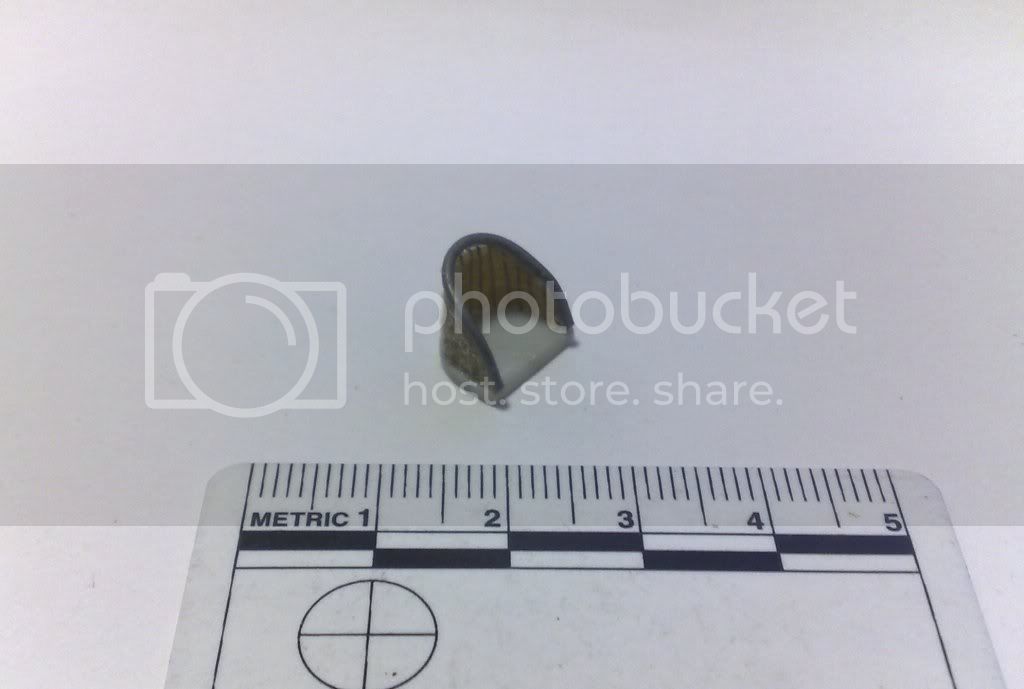
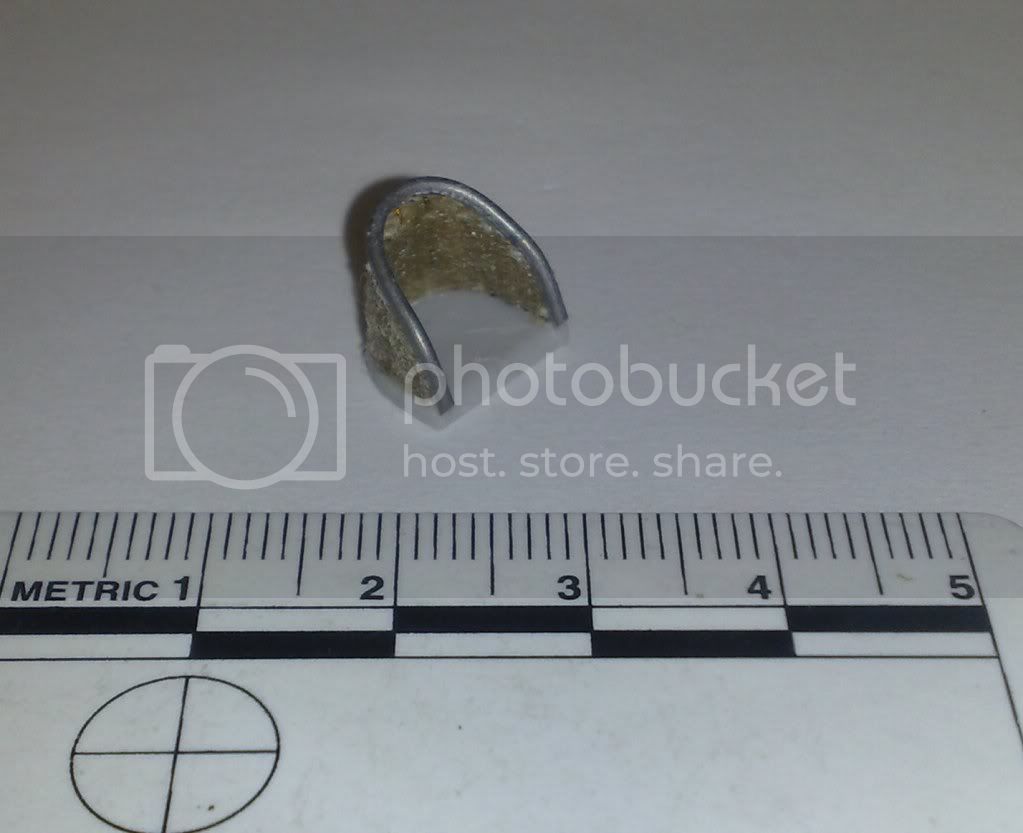
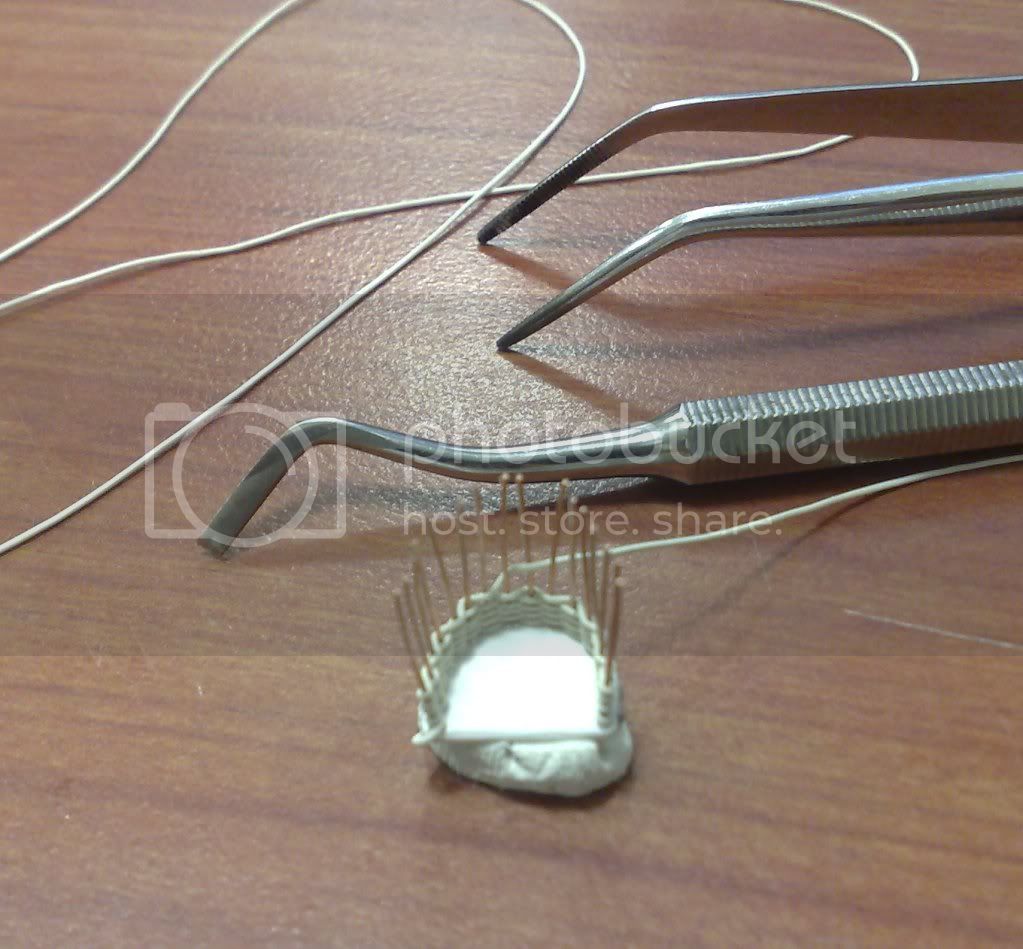
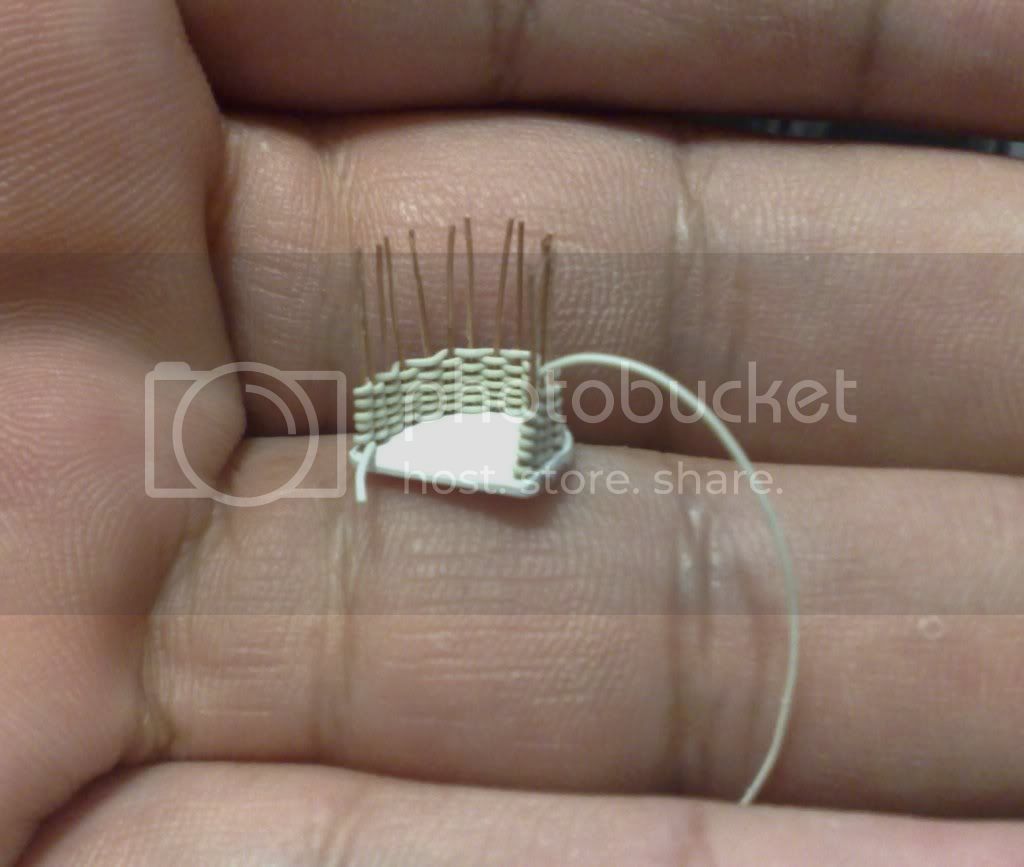
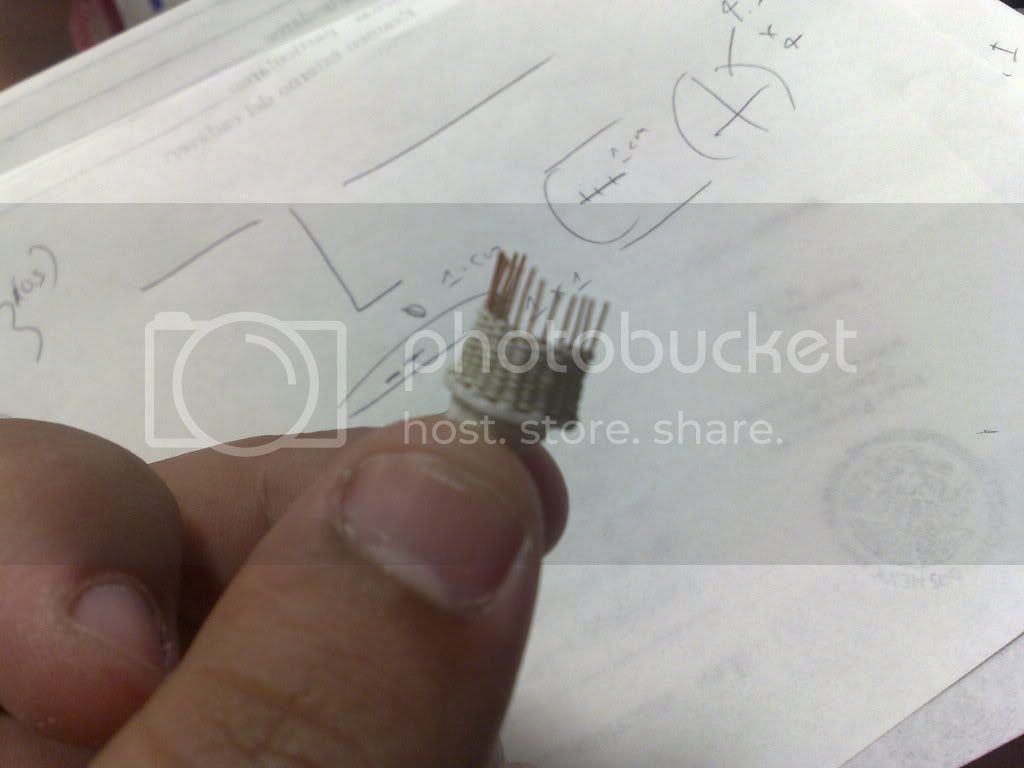
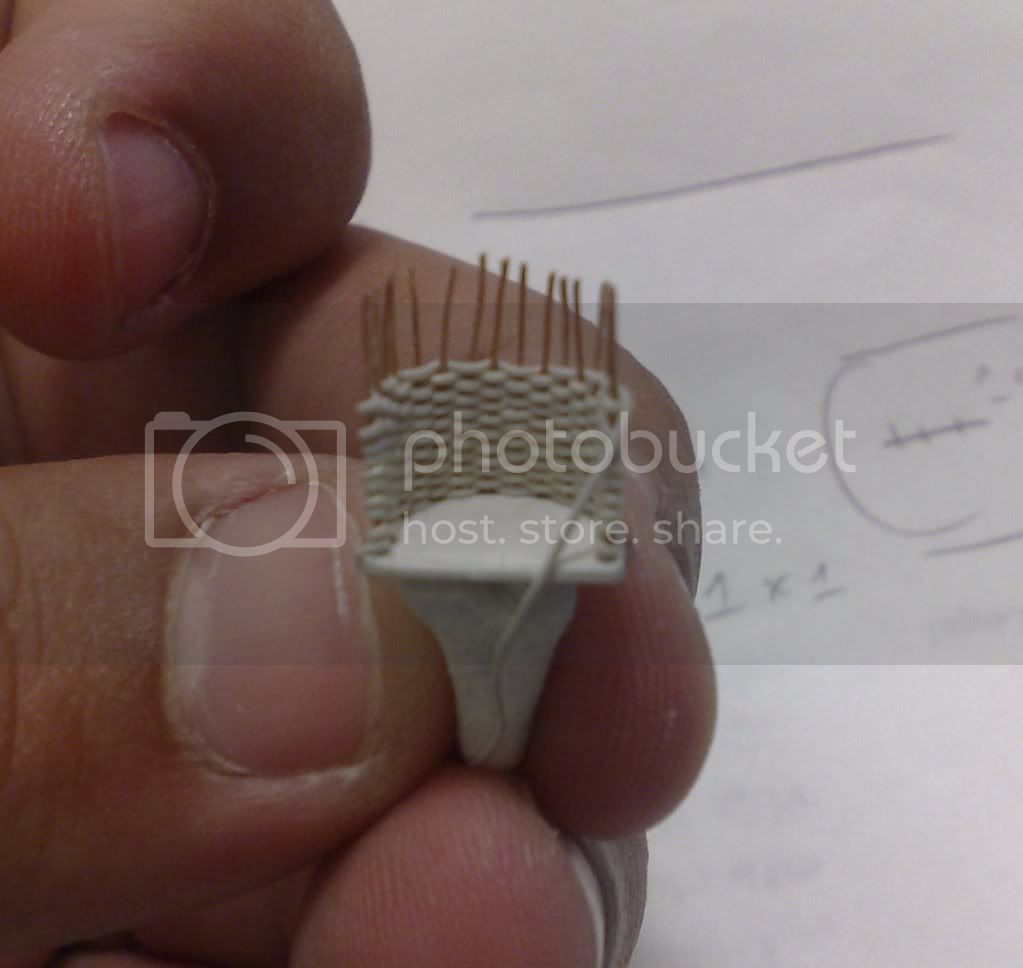
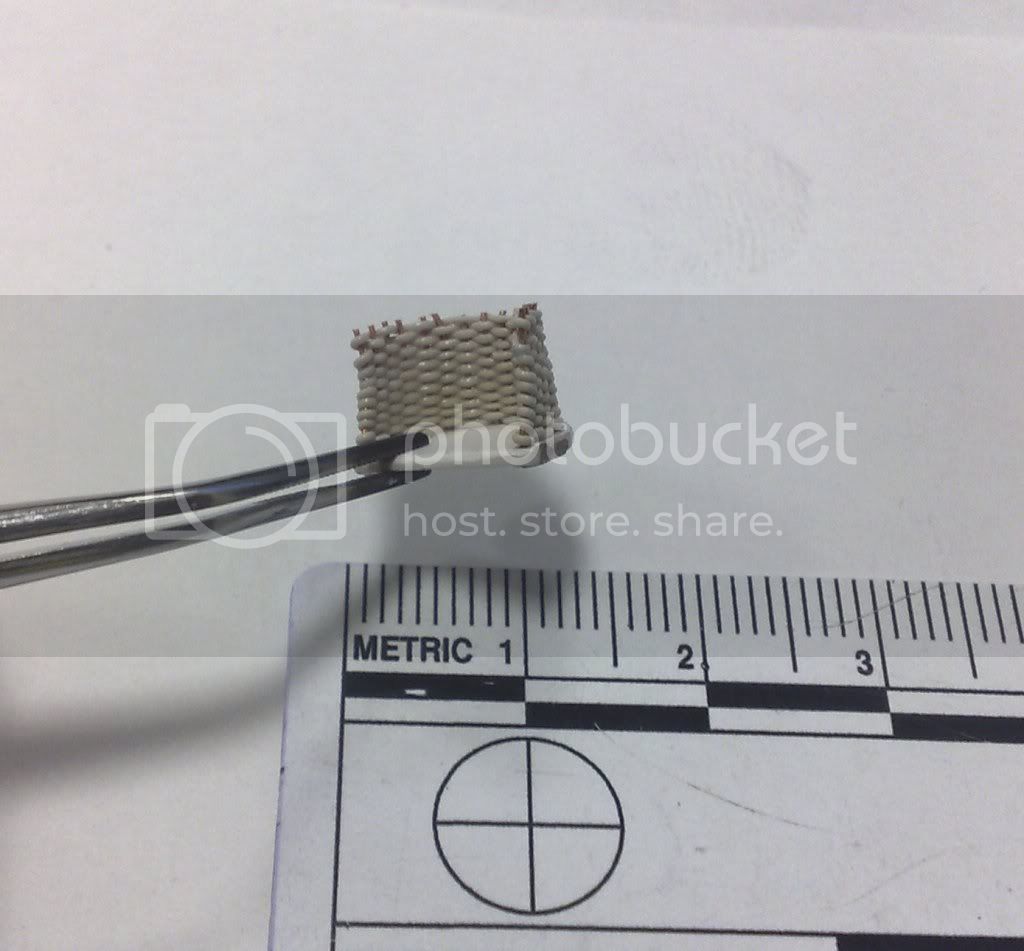
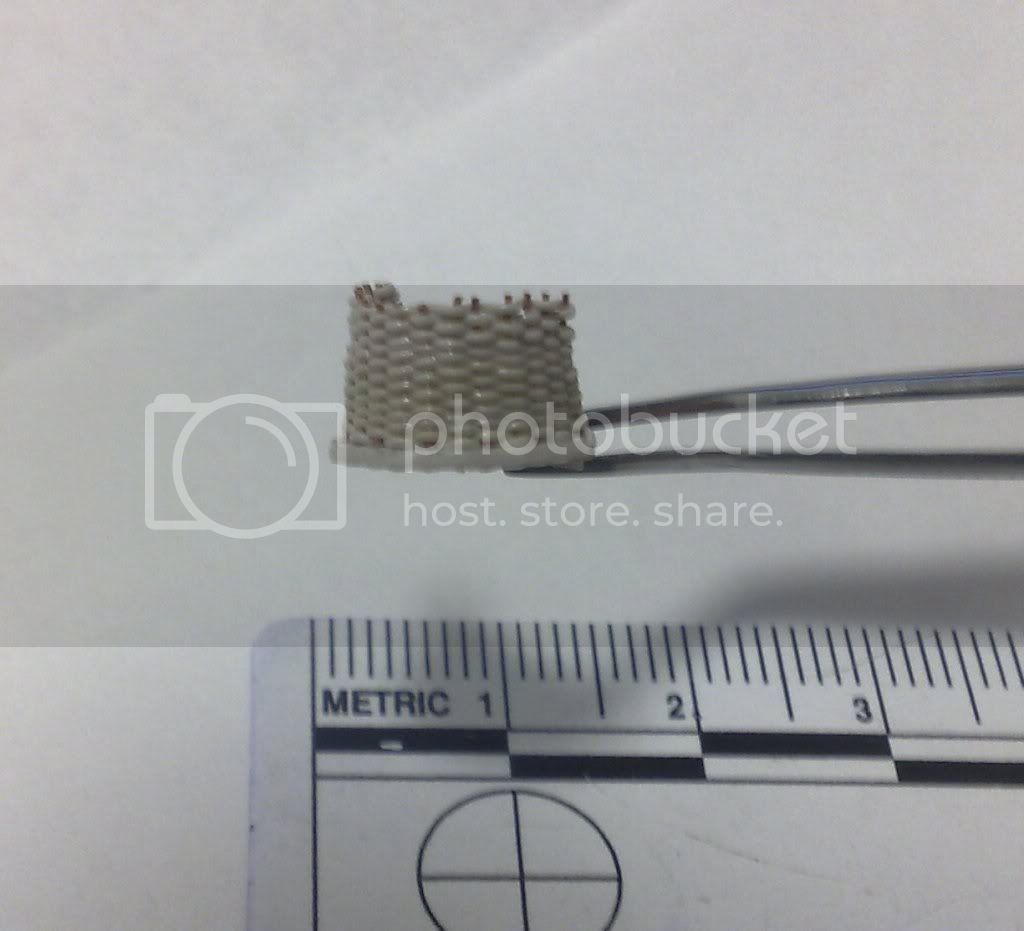
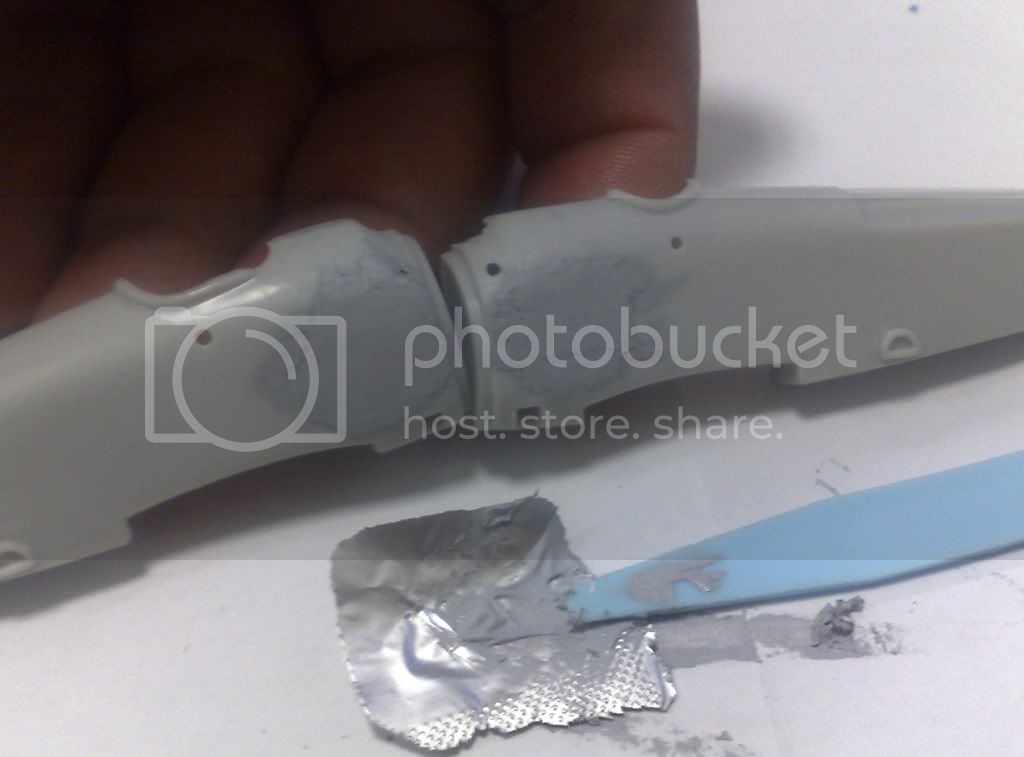
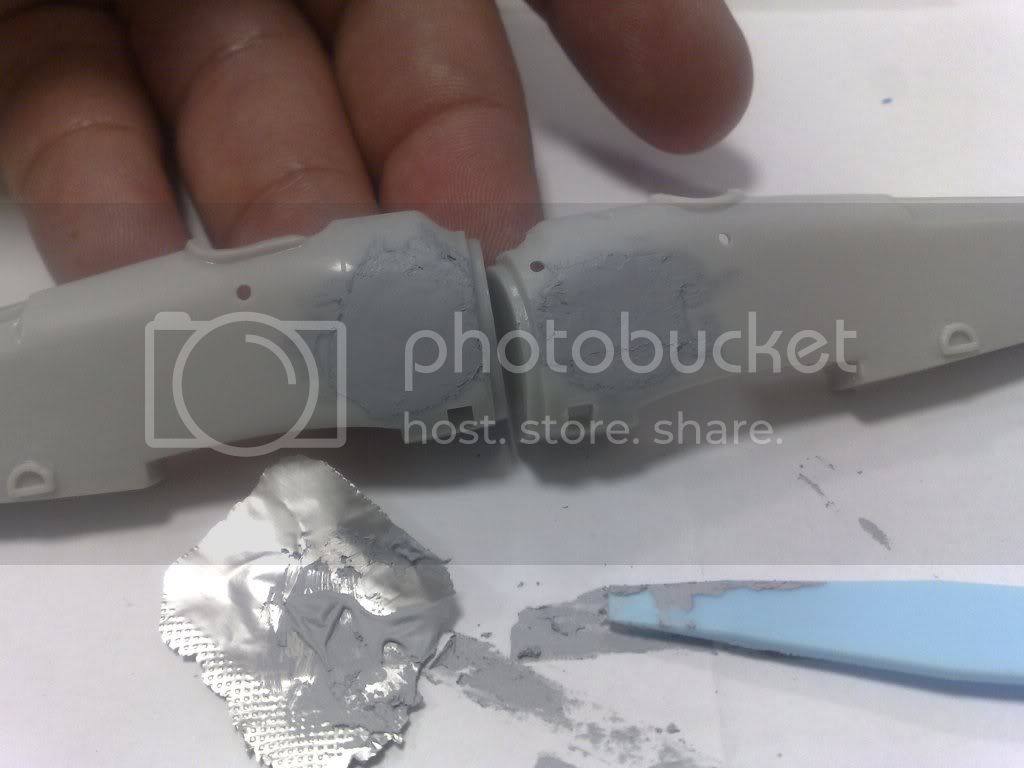
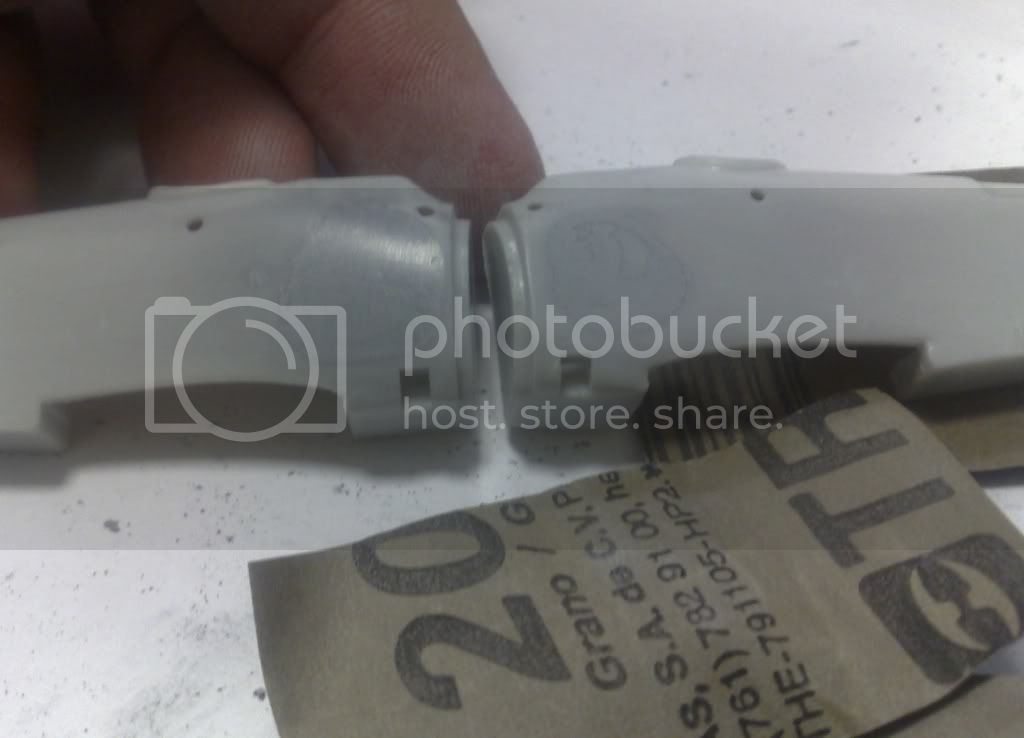
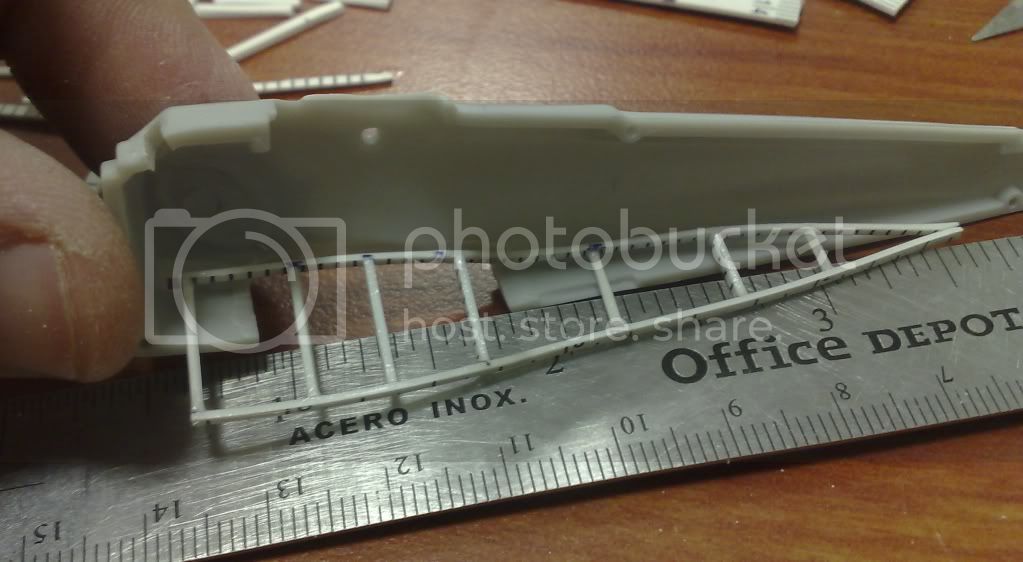
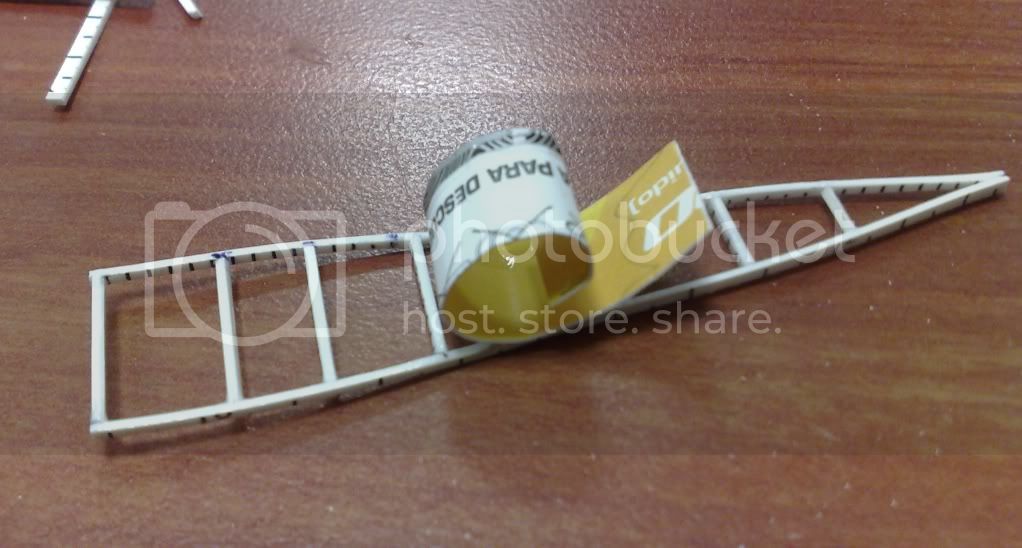
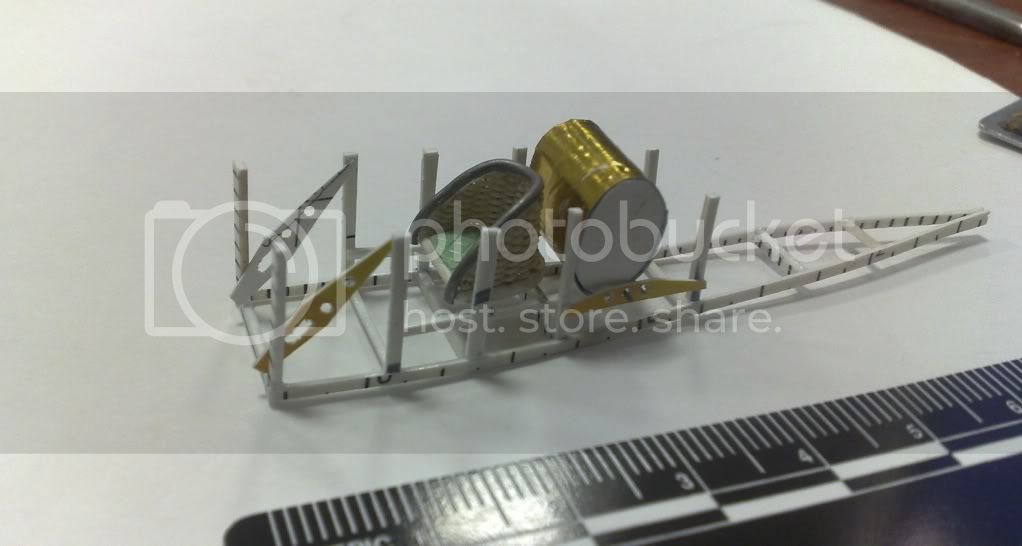
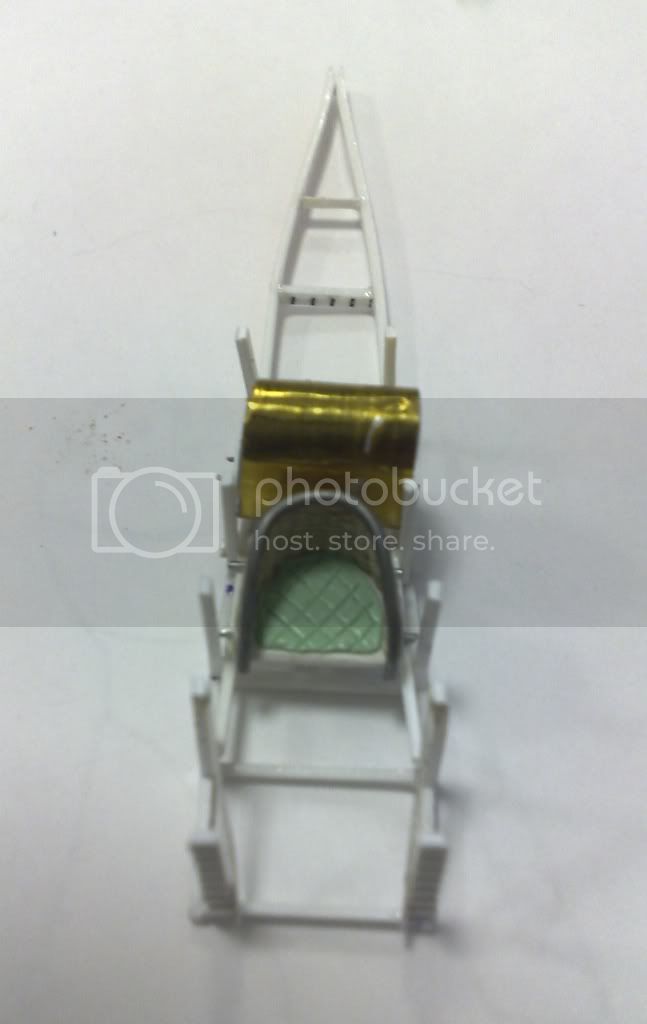
and last but not least, I think in this piece in particular where I'm going to put to work first.


I hope to have progress soon


Greetings Luis Antonio.
Mgunns
_VISITCOMMUNITY
Arizona, United States
Joined: December 12, 2008
KitMaker: 1,423 posts
AeroScale: 1,319 posts
Posted: Tuesday, March 22, 2011 - 06:01 AM UTC
Hi Luis:

Welcome to the build. You certainly have your work cut out for you with that kit. It is actually a copy of the Aurora kit. I am sure many on the forum would recommend the Eduard kit, but you can build your skills on this one as well and it does have the look. I especially like the Belgian markings you get with it. I didn't know that the new SMER release had those markings. Which ones are you going to go with?
I look forward to seeing how you do on this one.

Best

Mark
vulkanizer
_VISITCOMMUNITY
Croatia Hrvatska
Joined: December 26, 2009
KitMaker: 144 posts
AeroScale: 109 posts
Posted: Tuesday, March 22, 2011 - 11:10 AM UTC
Welcome to the build Luis.
Soon I will begin a one smer, so to me this is very interesting
It will obviously need some sandpaper, and a lot of nerve.
thegirl
_VISITCOMMUNITY
Alberta, Canada
Joined: January 19, 2008
KitMaker: 6,743 posts
AeroScale: 6,151 posts
Posted: Wednesday, March 23, 2011 - 01:52 PM UTC
Nice to have you in the GB Luis

You do have your work cut out for you , but like your Albbie D.V I'm sure you will turn this into a beautiful looking model !

Looking forward to your progress
lalanagas
_VISITCOMMUNITY
Tabasco, Mexico
Joined: November 26, 2007
KitMaker: 31 posts
AeroScale: 26 posts
Posted: Thursday, March 24, 2011 - 03:29 AM UTC
I appreciate the comments.
Thank you, Mark Dani and Terri, I hope that on this occasion not me later a year to update the build gruop.


I hope not disappoint

Greetings Luis Antonio
lalanagas
_VISITCOMMUNITY
Tabasco, Mexico
Joined: November 26, 2007
KitMaker: 31 posts
AeroScale: 26 posts
Posted: Saturday, March 26, 2011 - 09:43 AM UTC
well, putting progress.
This is the first time that I am frustrated with the building of a seat,
Here the construction.

the first saw short is back


and with the help of a needle, I drill the basis. then I put wire of copper, for the base of the seat

then with a clamp fine, and the same needle, yew seat, to achieve the desired form


then I put a welding cable, to make a padded, then varnished all seat with cyanocrylate. and ready a burnt seat rough and coarse, I am in these conditions because I did it with thread.

so, as I did not like beginning again, maybe make one with copper wire and the truth Its horrible, and after experimenting, I found a rubber filament

and I started weaving again.


This looks better


This is the final result


the interesting thing was that the varnishing, keep the rubber, and he gave her hardness to the seat. and I'ts not ugly.

here at this time, I will continue with the fuselage.

Greetings Luis Antonio.
JackFlash
_VISITCOMMUNITY
Colorado, United States
Joined: January 25, 2004
KitMaker: 11,669 posts
AeroScale: 11,011 posts
Posted: Saturday, March 26, 2011 - 02:01 PM UTC
Very cool work.
SGTJKJ
#041
_VISITCOMMUNITY
Kobenhavn, Denmark
Joined: July 20, 2006
KitMaker: 10,069 posts
AeroScale: 3,788 posts
Posted: Sunday, March 27, 2011 - 01:45 AM UTC
Very nice work, Luis. Some great detail.

Looking forward to see more.
thegirl
_VISITCOMMUNITY
Alberta, Canada
Joined: January 19, 2008
KitMaker: 6,743 posts
AeroScale: 6,151 posts
Posted: Sunday, March 27, 2011 - 02:05 AM UTC
Excellent job on the seat so far luis !

Have you ever tried fishing line before for doing the wicker ?
Rotebaron
_VISITCOMMUNITY
Jalisco, Mexico
Joined: August 10, 2010
KitMaker: 182 posts
AeroScale: 179 posts
Posted: Wednesday, April 06, 2011 - 01:35 PM UTC
Luis, nice to see you here are you Lordsky?

This seat is superb!!!!!!!!!!!!!!!!!!!! a super job.

Cheers.

Al
Mgunns
_VISITCOMMUNITY
Arizona, United States
Joined: December 12, 2008
KitMaker: 1,423 posts
AeroScale: 1,319 posts
Posted: Thursday, April 07, 2011 - 04:17 AM UTC
The seat looks nice Luis, looking forward to more.

Best

Mark
lalanagas
_VISITCOMMUNITY
Tabasco, Mexico
Joined: November 26, 2007
KitMaker: 31 posts
AeroScale: 26 posts
Posted: Sunday, June 05, 2011 - 12:59 AM UTC
continuing with the model,


We are now preparing to get rid of the details of this model in particular are exaggerated and disproportionate, and out of scale so we proceed with the exact.


including this lines, since this the repanelaremos ( scribing new panel lines), will be little but we had to highlight.


all elements of are going to remodel, the closure of access to the system of the engine, the expel chute of the caps, a kind of escape,
and besides remodeling the part where they are settled the vickers, and them will put some of photoeched brand PART. of course nothing more than to arrive.
just leave the footstep, that is fine.


We begin with the exact, and do this, clear working certain cuts.
You can notice in the midst of access there until it lost a flake of talk


well as with the exact or cutter I was taking a good and I still medical surgeon you I am putting my scalpel in the case of diseccion when a student.


and in the first court, not be as I slip, then i want to grab, my mistake, maybe by inertia of when one is in surgery, and so I turn with the thumb and ring finger, and that I forget, that neither brought latex gloves and scalpel new newly released blister, the single my finger pressure, me cutme almost a steak, if you look at the plastic note notch just you remove that it was where to jump, and there was the first blood

but good must resolve the issue, and something so not stopped one.

and of course the tape 80 ml tamiya is hot for this clear with an cotton of some qtip, so that it will not stick.


model 1 Luis Antonio 0


We continue good even with battle wounds.

Let sahve the model, and pass you sanding paper from 300, 400, 1000 and 1200 to make it more satin possible. If your server does not pads of sanding stevens. Oh for you as you can.


before continuing the motortool we do, and do a few cuts to remove based on the cockpit since this robs us canvas, and the details I have planned not enter. later with sandpaper of jeweler refine edges.


We put a layer of putty, and look forward to that medium dry.

and without that dry we put another.


sanding time up to 1200,


and this is what we have.

and we have ready the model for reescribing the panel lines.


at the moment is everything, I am working in the inteiror, but with limitations because they know because besides needed me arriving a few upgrades to volume the camel.


In short, a little more


Greetings Luis Antonio
wing_nut
_VISITCOMMUNITY
New Jersey, United States
Joined: June 02, 2006
KitMaker: 1,212 posts
AeroScale: 468 posts
Posted: Sunday, June 05, 2011 - 12:40 PM UTC
Love the seat and love that band-aid. Right up there with the one i made in the field from a paper towel form under the seat of my truck wrapped with the Teflon plumber's tape. Necessity is the mother r of invention after all. Well done all around.
lalanagas
_VISITCOMMUNITY
Tabasco, Mexico
Joined: November 26, 2007
KitMaker: 31 posts
AeroScale: 26 posts
Posted: Friday, June 10, 2011 - 10:12 PM UTC
good after the nasty attack that perpetrated the camel against me continue.


now secludes the cabin with maybe a little bit more...

These levels I had to draw from a print, which was made with dot matrix printer. and I will serve as a basis for making, all the detailed interior.


detailed interior.

I would remind you that here in my city, because I still believe that I am the only Modeller, and materials, then to recycle, here a rule of styrene they give his life for the sake of modeling, this get shredded, the more thin that we were able or started has make the internal frame.

We confront it with the airframes to know if it fits.


We continue with the internal elements.

Here I did a test with a prepaid phone card, to make the tank, but I find little malleable. so we resorted to the metals.
in particular Tin of recycled tube of ointment.

Paste two ovals of styrene. and we roll.

and ready we have our fuel tank.
We continue recycling strips of styrene.

so it will take form, here with a coping of the tank to find out what will be su pocision.


After most strips, and slices of styrene, we come to this.

Although I still need, add some controls.

three-quarter view.

here with a black backgroubd so appreciate all the structure.


and place some parts to see the check of the composition.
.
and the following is from the top, it gives me an idea of that shall be observed in the finished model.
.
and at the moment is everything.


Here we leave them a pic of this beautiful plane, this to make the diorama,


soon more progress

grettings Luis Antonio

wing_nut
_VISITCOMMUNITY
New Jersey, United States
Joined: June 02, 2006
KitMaker: 1,212 posts
AeroScale: 468 posts
Posted: Saturday, June 11, 2011 - 12:11 AM UTC
Some nice looking scratch work.
robot_
_VISITCOMMUNITY
United Kingdom
Joined: March 08, 2009
KitMaker: 719 posts
AeroScale: 691 posts
Posted: Saturday, June 11, 2011 - 12:40 AM UTC
Beautiful interior! I have a soft spot for Camels, and I think this will be a beauty.

Not the nicest kit in the world, by the looks of it, but your work is transforming it completely. I'm sure you'll be proud of the result having done so much of the work yourself.
thegirl
_VISITCOMMUNITY
Alberta, Canada
Joined: January 19, 2008
KitMaker: 6,743 posts
AeroScale: 6,151 posts
Posted: Saturday, June 18, 2011 - 03:11 AM UTC
Coming along very well so far Luis . Your framing is turning out very well so far .
 _GOTOTOP