Here is my latest project - a 1/48 Meteor F4 using a conversion kit from Acancagua Resin Models from Argentina. Always wanted to do an F4 but since the demise of Classic Airframes it's pretty hard to find one of their kits (or one at a reasonable price). Donor kit is the F1 or F3 Tamiya kit - in my case an F3.
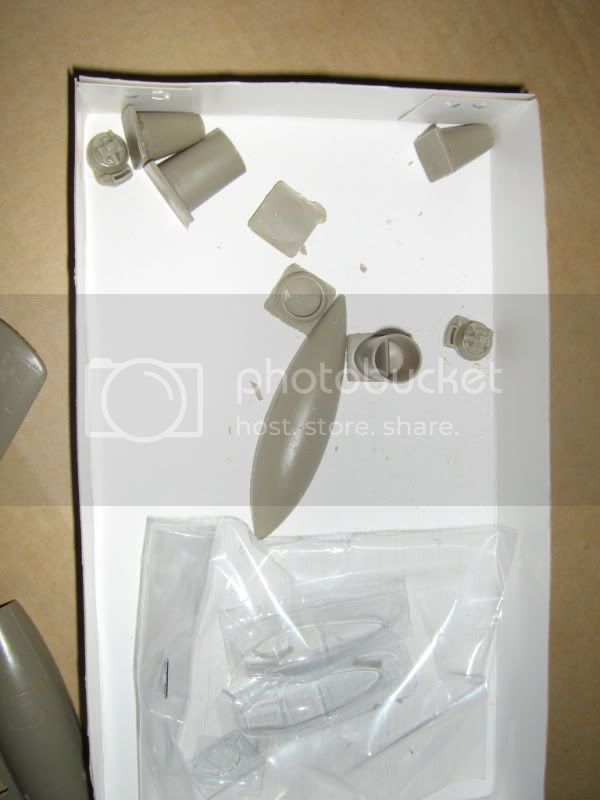
The conversion kit is very well moulded, beautiful detail on the surface, very fine panel lines and detail. Interior is excellent as well with all the Tamiya parts fitting well into the resin parts - like the landing gear struts into the gear bays for example. Kit comes with resin wings - lower centre piece and wheel wells moulded as one piece with the upper wing, upper engine nacelle and entire outer wing (upper and lower) as the remaining main parts of the wing. Intake rings, intake ducts including wing spar, engine faces and rear exhaust 'cones' make up the rest of the wing assembly. Some minor parts such as the upper decking around the cockpit and belly fuel tank round off the resin parts. Two vac canopies are supplied along with a decal sheet printed by Aztec and an illustrated instruction sheet complete the conversion set:
The box:

Most of the contents:

The decal sheets:


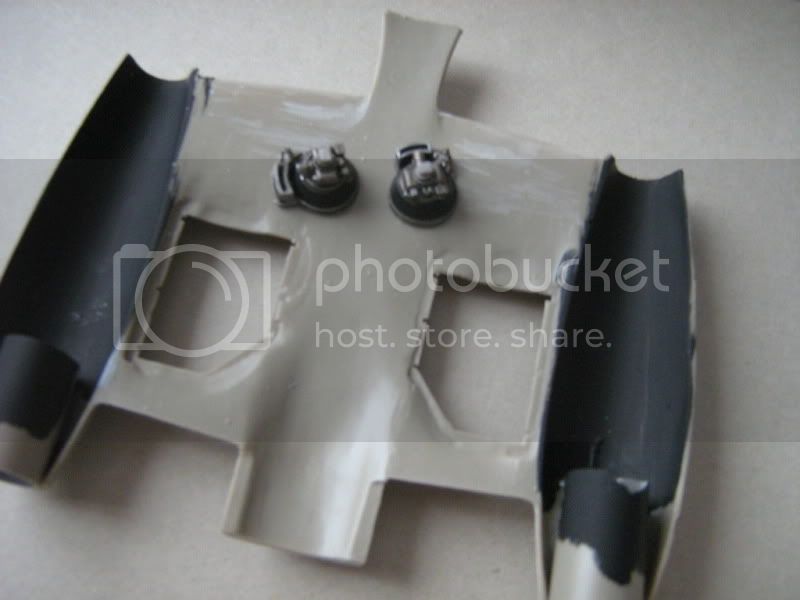
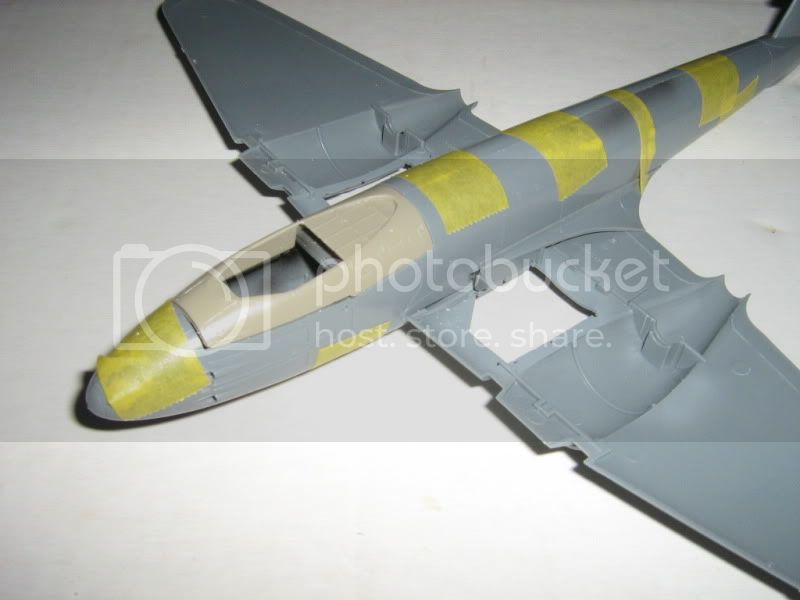
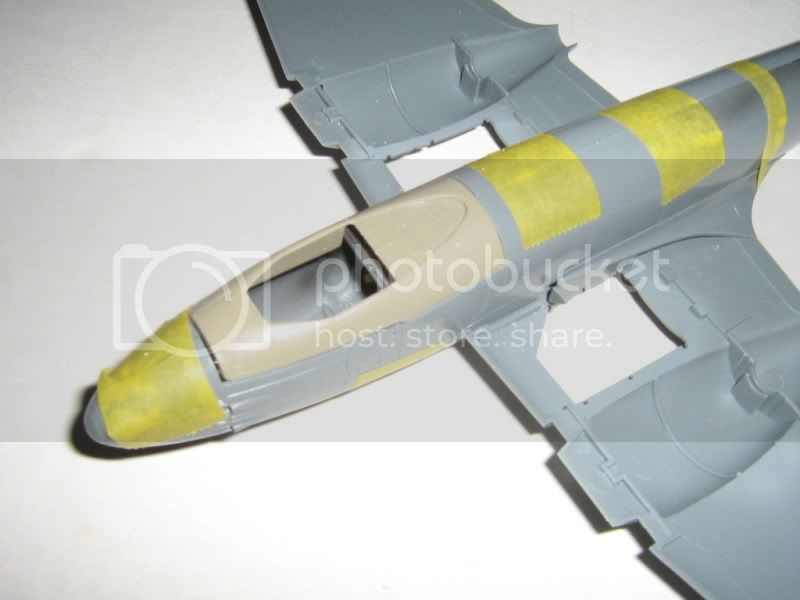
Some initial construction - I've painted the interior of the fuselage on each side of the cockpit and glued the fuselage halves together. You can see the resin upper deck fitted - virtually identical to the Tamiya part with a few minor gaps at each end. I'll use the resin part as the recess for the rear section of the canopy is more pronounced than the Tamiya part so may suit the vac canopy better - I'll cut and test fit first before committing to glue. I'm using the kit wings here to ensure the wing fillets are glued in the correct position:
Was planning to do an RAF version but the markings I could cobble together are just a bit bland, plus I'm a bit bored with Grey/Green combos at the moment... so planning to use the kit decals to make this version:

(Picture courtesy of airliners.net)
I'm very pleased with the conversion kit - mind you with the cost of the original kit and the conversion shipping from Argentina to NZ I could have bought that CA kit on TradeMe (NZ's ebay..) - douh! But then where's the fun in that - may have to get another to use the wings for an Aeroclub T7 awaiting it's turn...
Cheers from NZ
Rob