Academy's Mustang North Africa- which includes a jeep and trailer, plus a flight stand. I would have liked to see a pilot in the kit, as planes usually have these whilst in the air.

I'm making a time-lapse of this build, hence the strangely posed photo. I used Xtracryclix Interior green (I bought it in error when i started in the hobby a few years ago, thinking it was the British interior grey-green: at least it is coming in useful now).
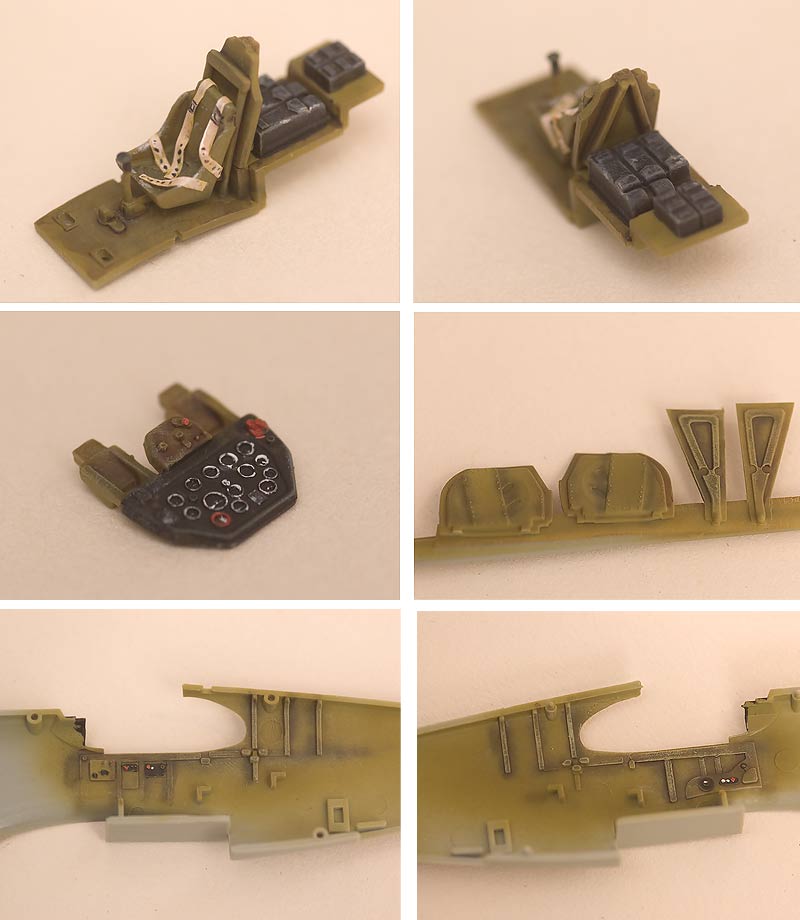
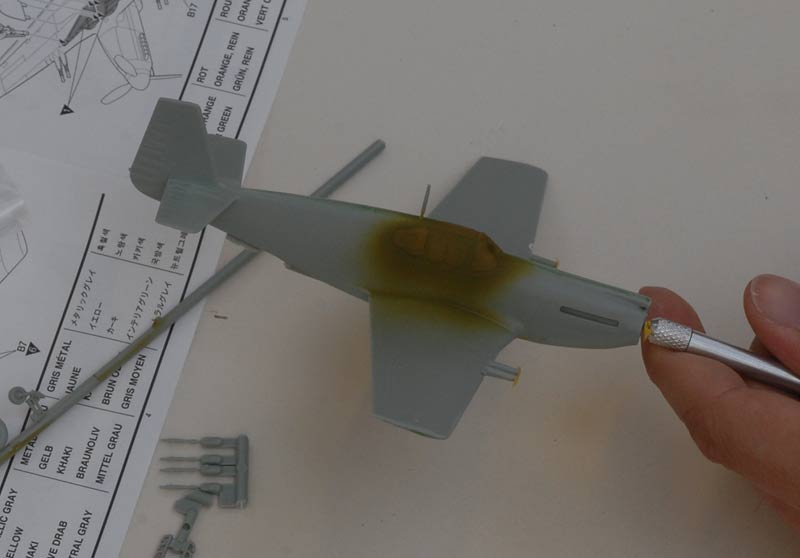
I post-shaded with an airbrush for the first time- still need to learn a bit more control. I also used washes of Citadel Gryphon Sepia and Citadel Devlan Mud, and once dry, I dry-brushed with the interior green mixed with white.
Closing up the fuselage wasn't without drama. Firstly, I had put the bulkhead that the seat mounts to at too much of a slant towards the back of the aircraft, meaning the camera wouldn't fit.
If anyone intends to build this kit, I would advise installing the wall behind the seat to the floor without the seat attached, and installing the seat last, just before closing up. If you follow the instructions for the first few stages. you can easily install the seat too low, without enough room for the control column part to fit under the seat.

The fit is generally very good- with better dry-fitting, you shouldn't need filler. There is so little flash that I got lazy with clean-up. The flash around the cut-outs for the landing lights stopped the wing halves from closing fully (I didn't notice this on the dry run).
The round radiator part needs a bit os sanding to prevent it spreading the fuselage slightly. I didn't find this out until too late.
I also forgot to fit the tail wheel- classic novice mistake!
To complete the list of stupid mistakes, I used the huge horrid brush that comes in the Humbrol Liquid Poly bottle- I had forgot to use an old paint brush for this. I accidentally dumped a huge amount of liquid poly to the top of one of the tailplanes (I was holding it upside down while gluing it to the aircraft) and I didn't notice until my huge thumb print had melted deeply into the plastic...
The hardest bit to get to fit was the part behind the radiator exit flap- I'm not sure why this wasn't moulded with the fuselage halves. After the inevitable bodging by sanding the part too much, I put some filler here too. It is a real pain to sand this area, as the delicate open tail-wheel doors were moulded into the fuselage halves!
The canopy parts all fit brilliantly. I have never had parts fit so well- really nice feeling to fit them without hassle. It would be easy to open up the cockpit if you wanted, as the windscreen is separate from the canopy, as are the side windows at the rear.
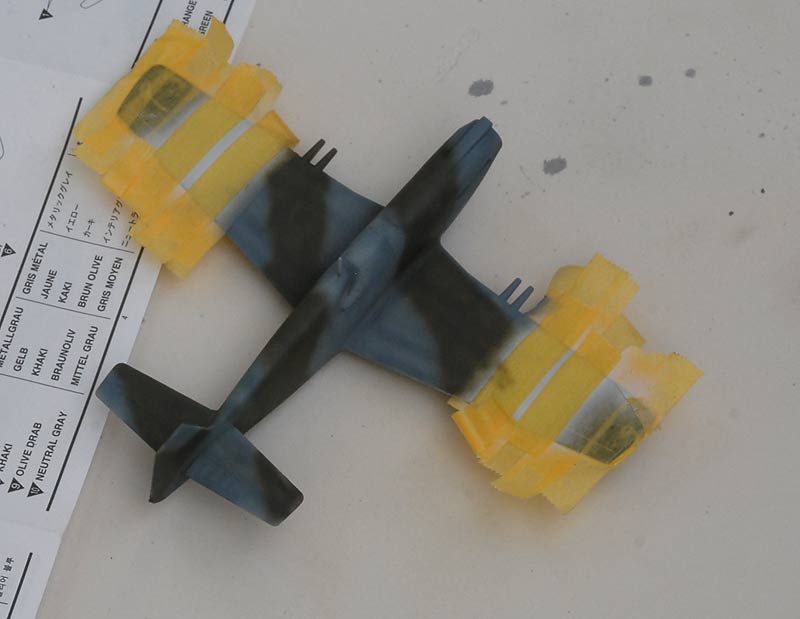
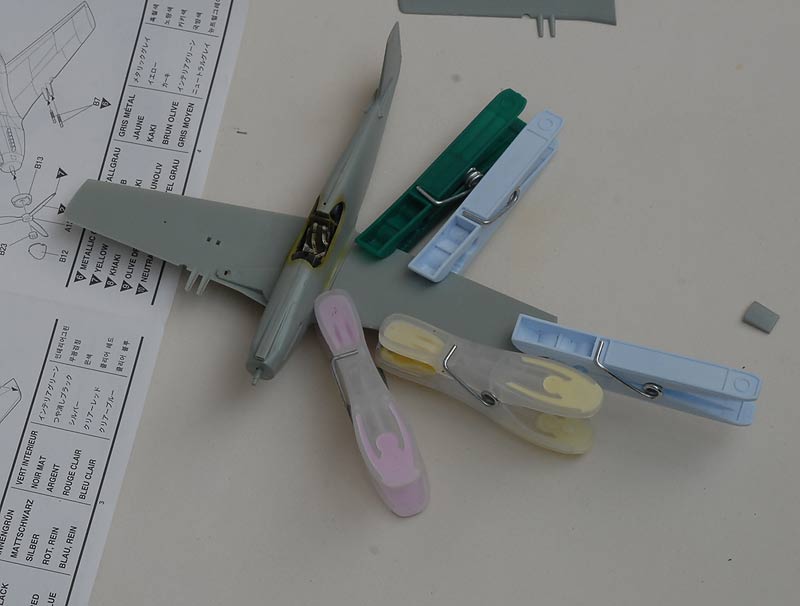
Masking was a so tedious job- I am planning on using Eduard masks for all future kits- expensive, but after an hour of masking, they seem good value.
I sprayed the canopy frames interior green so that the primer doesn't show through the clear parts. This also helped seal the masks, as I build up the colour with mist coats, protecting the clear parts from the thick wet coat from the aerosol primer.
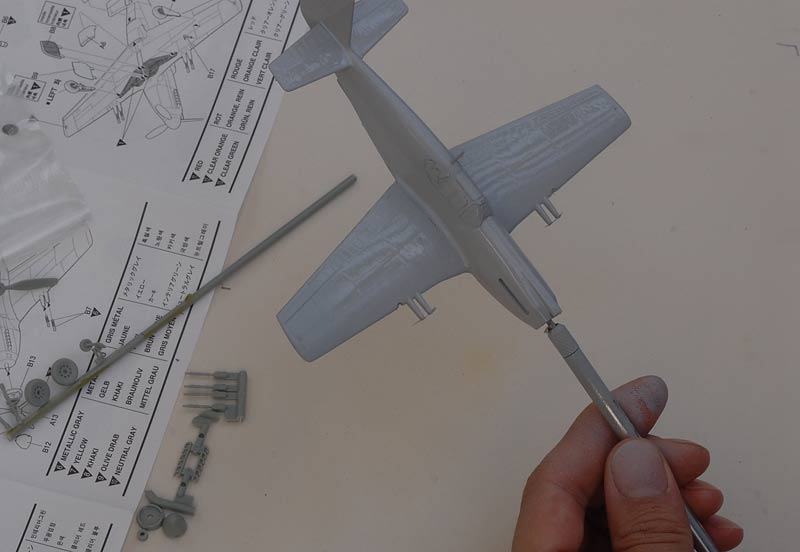
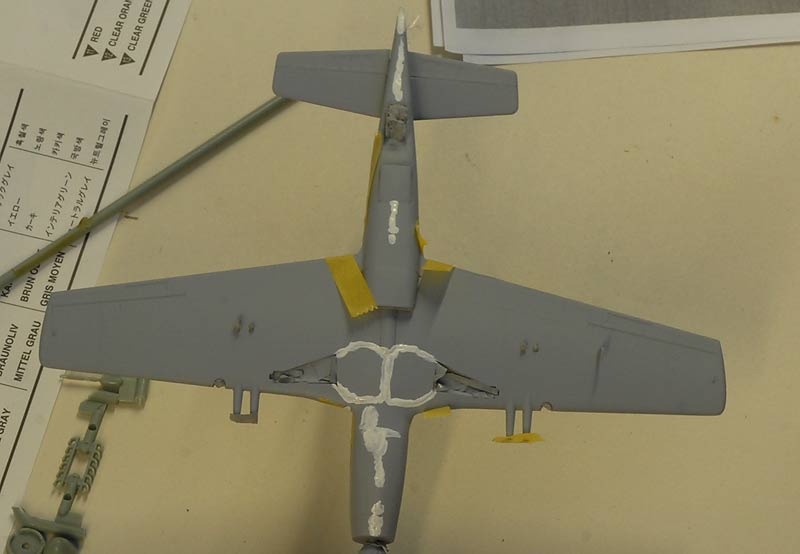
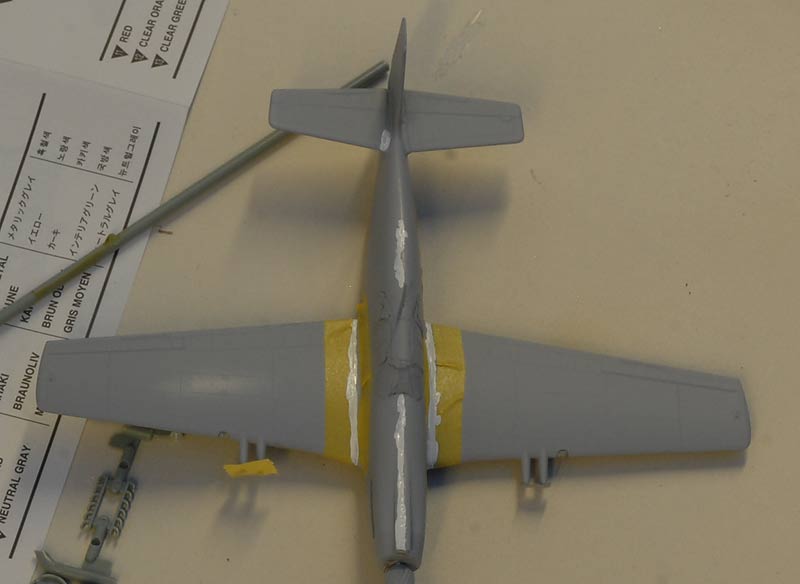
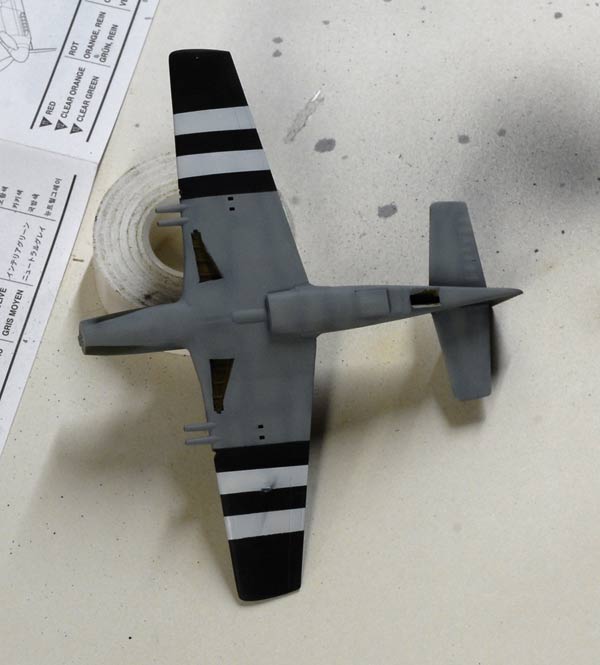
After priming with Mr Surfacer 1200 aerosol. I was a bit too close, so it went on heavier than I would have liked. It looks fine now it has dried. The wing roots, that I thought were OK, look like they need some attention.
Moral of the build so far: rushing will just result in errors that are more time consuming to fix.
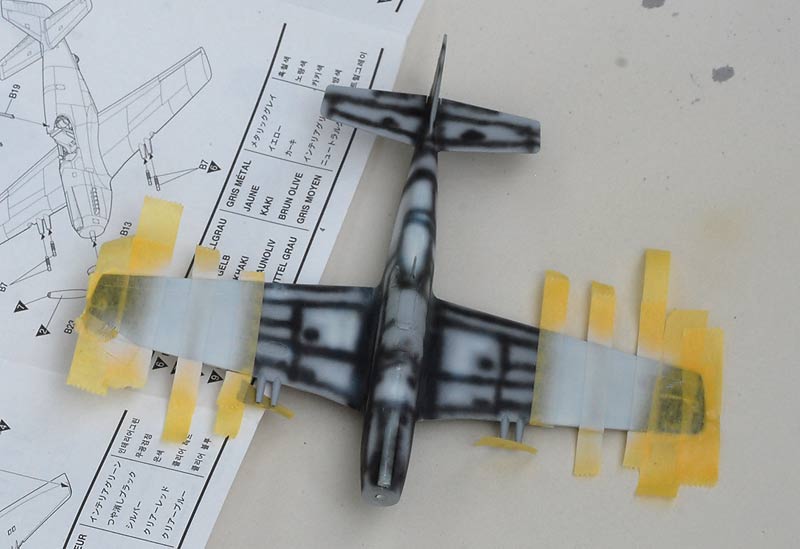
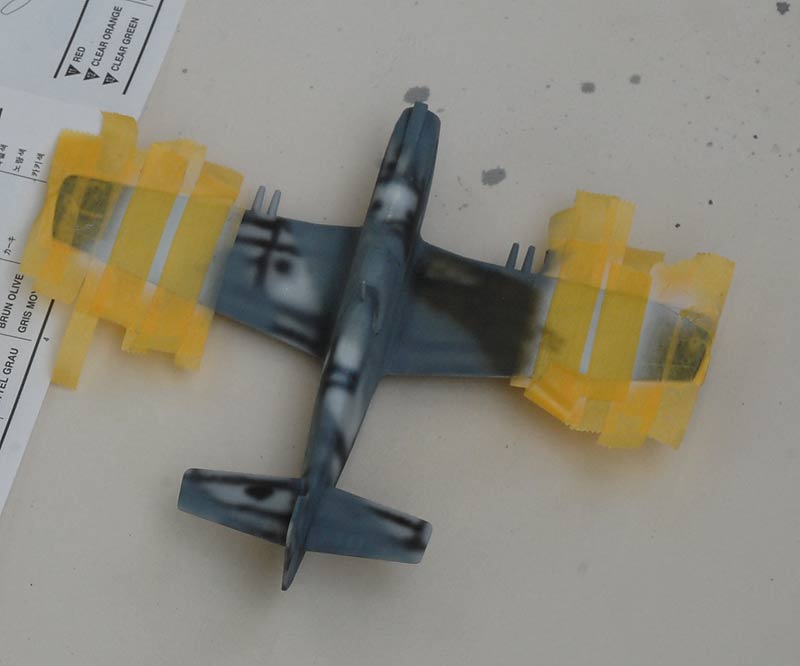
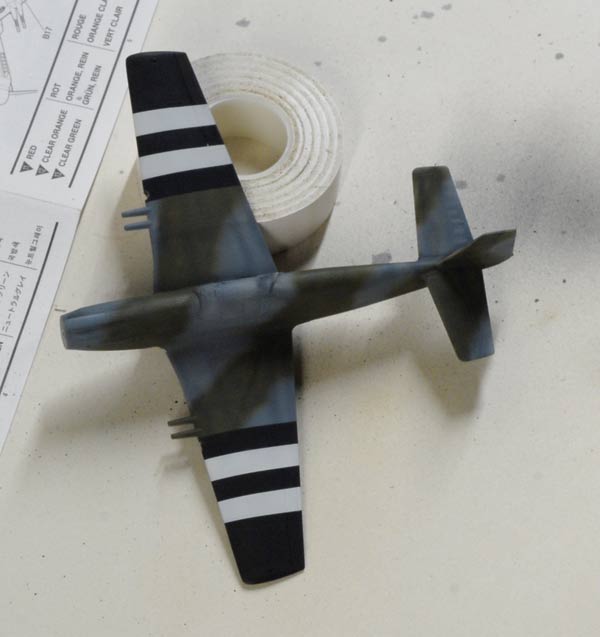
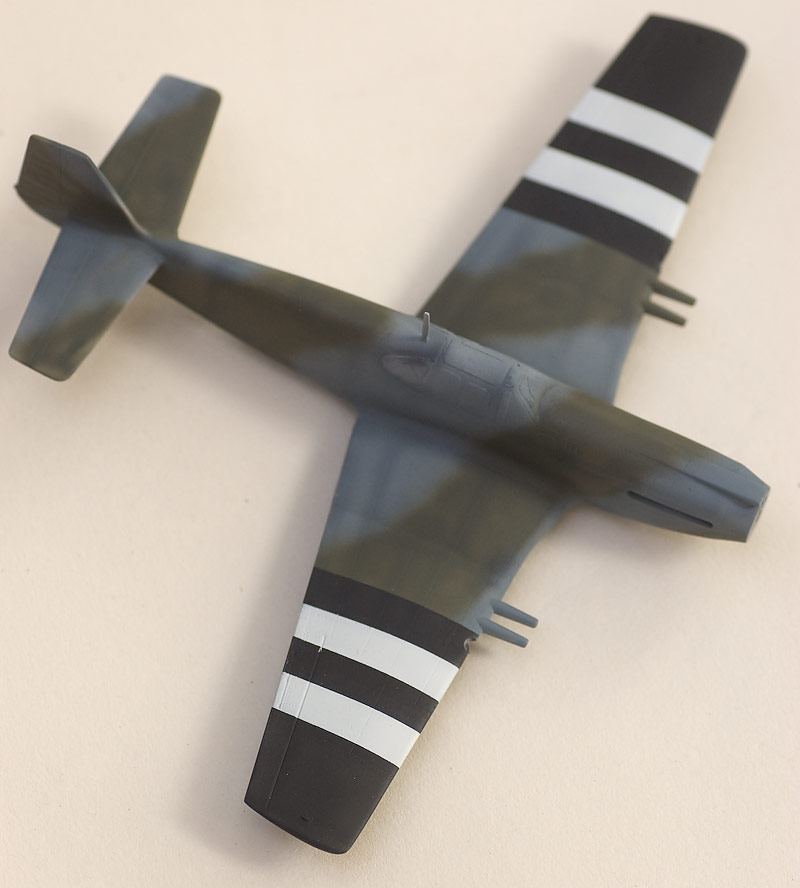
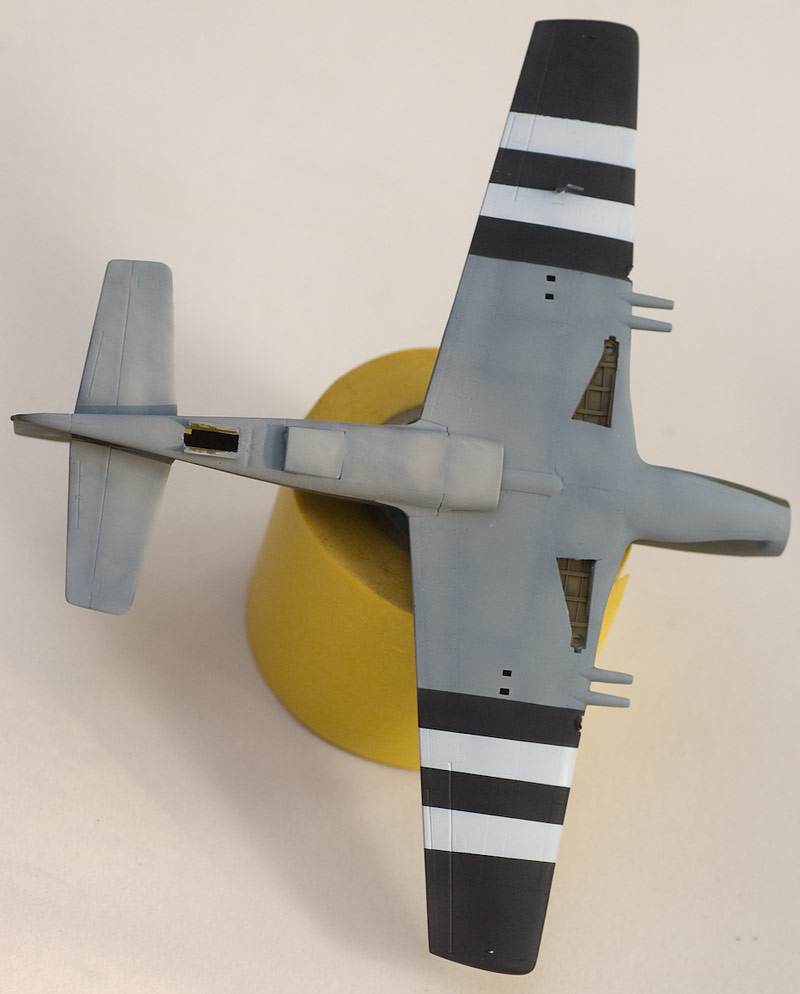
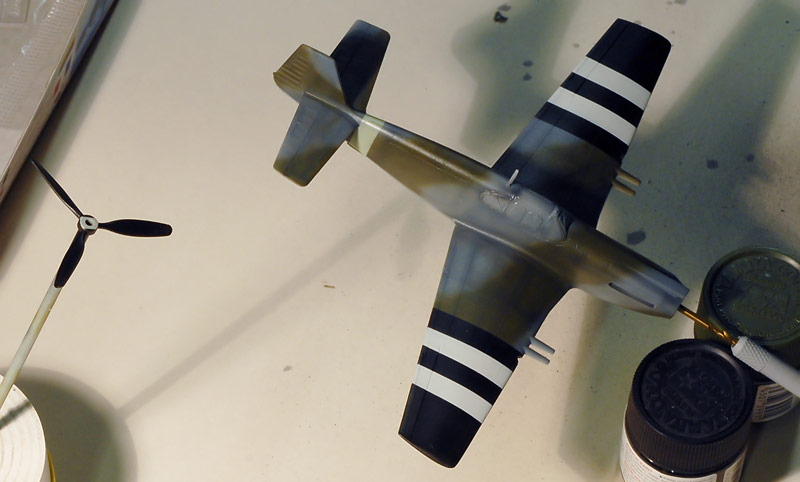
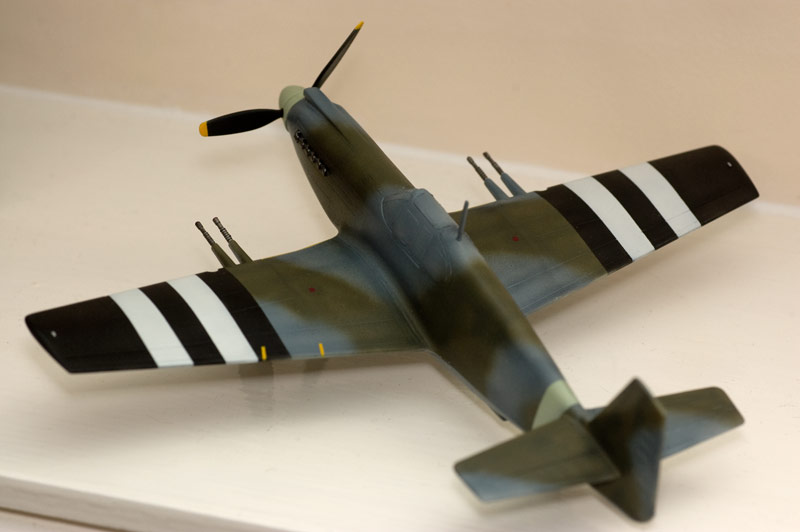
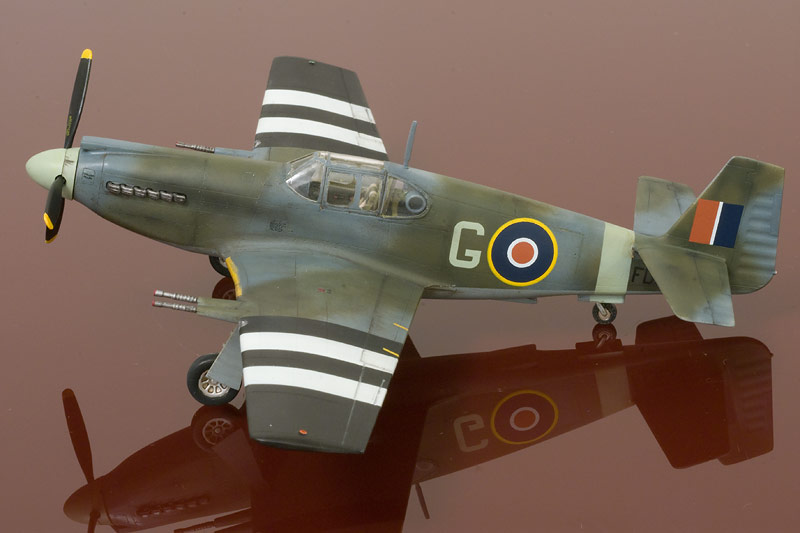
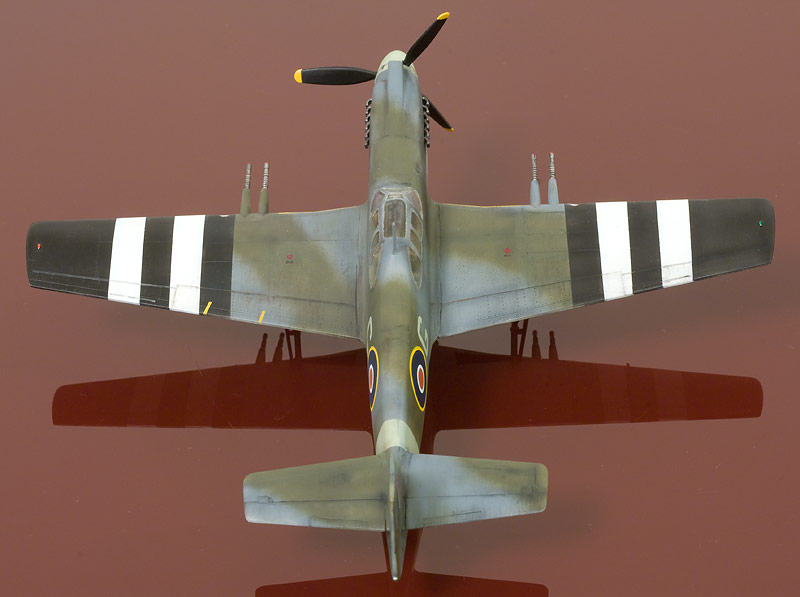
I plan to paint it in Operation Starkey colours- black and white bands top and bottom of outer wings- covering roundels. Aircraft 'G' from 268 Sqn, 2TAF.