_GOTOBOTTOM
Early Aviation
Discuss World War I and the early years of aviation thru 1934.
KotS GB 2011 Bristol Frightener warreni
wing_nut
_VISITCOMMUNITY
New Jersey, United States
Joined: June 02, 2006
KitMaker: 1,212 posts
AeroScale: 468 posts
Posted: Friday, May 27, 2011 - 01:36 AM UTC
Rigging with double cables? What sick SOB thought of that?

Nice.
warreni
_VISITCOMMUNITY
South Australia, Australia
Joined: August 14, 2007
KitMaker: 5,926 posts
AeroScale: 2,201 posts
Posted: Friday, May 27, 2011 - 09:00 AM UTC
Oh yes.. It would not be so bad if it was just the interplane rigging, but the control rigging as well?!?!
There is also the problem that WNW has no detail where four of the wires join the fuselage and you have to guess where to put them. Lucky there are lots of photos on the web.
warreni
_VISITCOMMUNITY
South Australia, Australia
Joined: August 14, 2007
KitMaker: 5,926 posts
AeroScale: 2,201 posts
Posted: Friday, May 27, 2011 - 11:34 AM UTC
Some progress!!

Unlike most WNW kits the top wing fought me all the way but I eventually glued it into submission. Can you see all the wires? (Eek!!)

The twin control wires for the right hand aileron. The turnbuckles will straighten after the wires are tensioned with a little heat.
One thing I found is that as well as CA glue for the eyelets I also applied a little clear paint to hold them in place. Sometimes CA glue can be a little brittle.The wing rigging will be done next week while I have the house to myself. Nice and quiet and easy to concentrate.. well almost easy!!
warreni
_VISITCOMMUNITY
South Australia, Australia
Joined: August 14, 2007
KitMaker: 5,926 posts
AeroScale: 2,201 posts
Posted: Sunday, May 29, 2011 - 08:25 PM UTC
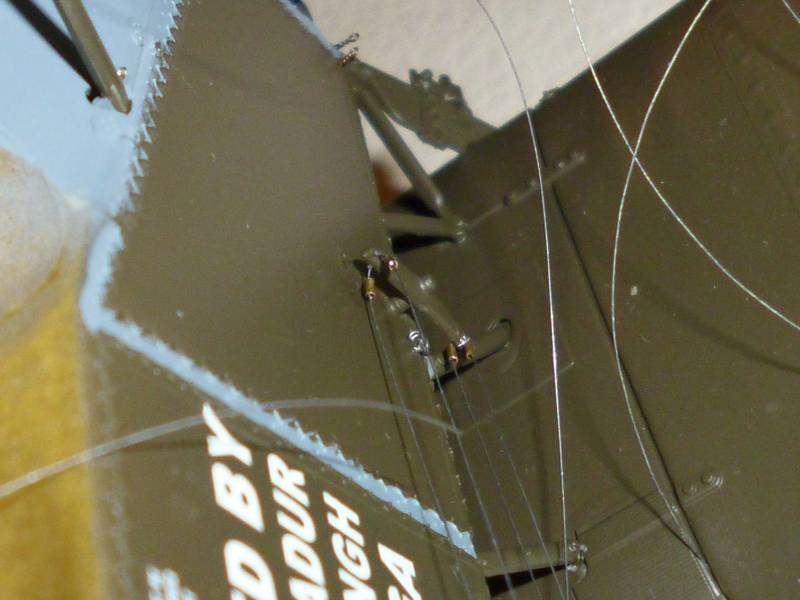
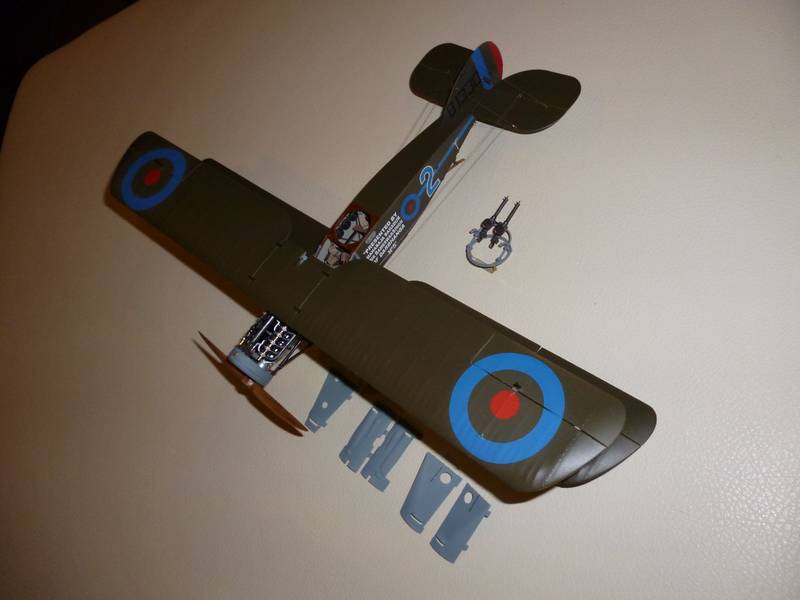
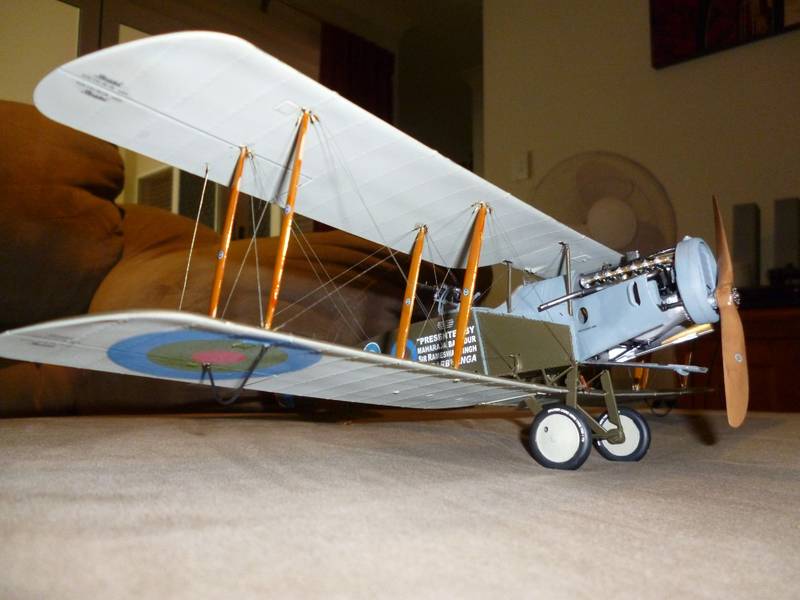
It may not look like much progress, but it has taken me all day, with a few interruptions including a job interview, to get the rigging on the wings done.

Still have to cut all the dags off the ends. I use the 0.5mm brass tube and eyelets method for rigging. I use invisible mending thread for the wire and make it much more visible by running it under a Tamiya paint marker.
Had a few setbacks with some eyelets coming adrift, but they are the ones I missed applying the clear paint to to bond them in position better.
I got impatient with some and applied fixed them with gel superglue followed by a dob of thin stuff to really get in and hold them against the strain of the rigging wires.
More progress piccies tomorrow!
wing_nut
_VISITCOMMUNITY
New Jersey, United States
Joined: June 02, 2006
KitMaker: 1,212 posts
AeroScale: 468 posts
Posted: Monday, May 30, 2011 - 03:43 AM UTC
Nice. And thanks for the inspiration as I am about to start that process as well.
lcarroll
_VISITCOMMUNITY
Alberta, Canada
Joined: July 26, 2010
KitMaker: 1,032 posts
AeroScale: 1,025 posts
Posted: Monday, May 30, 2011 - 04:35 AM UTC

Quoted Text

Nice. And thanks for the inspiration as I am about to start that process as well.


Warren,

I too am within a few sessions of the rigging stage.........hope I can come close to your results. It's looking mighty fine!!

Cheers,
Lance
warreni
_VISITCOMMUNITY
South Australia, Australia
Joined: August 14, 2007
KitMaker: 5,926 posts
AeroScale: 2,201 posts
Posted: Monday, May 30, 2011 - 10:29 AM UTC
Many thanks Mac and Lance. Hopefully rigging at least will be finished today. Having little money out of a job is bad, but the time I can devote to models is great!
warreni
_VISITCOMMUNITY
South Australia, Australia
Joined: August 14, 2007
KitMaker: 5,926 posts
AeroScale: 2,201 posts
Posted: Tuesday, May 31, 2011 - 10:03 PM UTC
Well, it is finished, well all except putting the twin Lewis guns in the rear cockpit so if you could excuse me for that I would be grateful.

The cowlings are staying off this one as the engine looks too good to cover up!

Hmm.. looks like a wire has slackened off and needs some heat treatment...
I will be purchasing some of the ground crew figures when WNW finally release them and pose them doing a bit of maintenance on the Bristol.OK. It is back to the Albatross after its transformation from licourice all-sort to black beauty due to the engine mistake..
warreni
_VISITCOMMUNITY
South Australia, Australia
Joined: August 14, 2007
KitMaker: 5,926 posts
AeroScale: 2,201 posts
Posted: Wednesday, June 01, 2011 - 07:27 PM UTC
Postscript..

Hi All.
Now it is really finished..

The flash seems to wash out the blue in the roundels.

I posed the cowlings partially open for a different look. Top cowlings are staying off.

Bugger! I forgot to darken the Vickers Gun handles a bit... later..

Worms-eye view..

And that as they say is that. The Brisfit has been retired to the cabinet to await some maintenance figures and some matting.

:o)
wing_nut
_VISITCOMMUNITY
New Jersey, United States
Joined: June 02, 2006
KitMaker: 1,212 posts
AeroScale: 468 posts
Posted: Thursday, June 02, 2011 - 12:31 AM UTC
And she comes across the finish line in fine style. Looks real nice.
lcarroll
_VISITCOMMUNITY
Alberta, Canada
Joined: July 26, 2010
KitMaker: 1,032 posts
AeroScale: 1,025 posts
Posted: Thursday, June 02, 2011 - 02:44 AM UTC
The "worms eye view" really compliments the rigging and particularly the wood effect on the interplane struts. She's magnificent Warren and a very impressive replica; inspiring to say the least. And now, back to my sow's ear, er, I mean my Alb DIII Build.......................

Cheers,
Lance
warreni
_VISITCOMMUNITY
South Australia, Australia
Joined: August 14, 2007
KitMaker: 5,926 posts
AeroScale: 2,201 posts
Posted: Thursday, June 02, 2011 - 06:03 AM UTC
Thanks guys. One day I am going to have to figure out a way to take better piccies!
Mgunns
_VISITCOMMUNITY
Arizona, United States
Joined: December 12, 2008
KitMaker: 1,423 posts
AeroScale: 1,319 posts
Posted: Thursday, June 02, 2011 - 07:20 AM UTC
looking good Warren: A difficult build and you did an outstanding job.

Best

Mark
warreni
_VISITCOMMUNITY
South Australia, Australia
Joined: August 14, 2007
KitMaker: 5,926 posts
AeroScale: 2,201 posts
Posted: Thursday, June 02, 2011 - 07:54 AM UTC
Thanks Mark.
Apart from self-induced problems the only hassle was the engine cowls for the top that didn't seem to go even close to fitting for me. Hence leaving them off but that does show the engine detail which I normally don't worry about too much.
dmopath
_VISITCOMMUNITY
Kentucky, United States
Joined: July 02, 2010
KitMaker: 175 posts
AeroScale: 174 posts
Posted: Thursday, June 02, 2011 - 01:44 PM UTC
It looks really nice, Warren.

I especially like the "exploded" effect with the open cowlings.
warreni
_VISITCOMMUNITY
South Australia, Australia
Joined: August 14, 2007
KitMaker: 5,926 posts
AeroScale: 2,201 posts
Posted: Thursday, June 02, 2011 - 01:56 PM UTC
I just realised I forgot to touch up the undercarriage.. oops!
 _GOTOTOP