One might easily think that since I start another Bucker Bestmann within a month of the first one this is the sexiest aircraft in my plastic universe. Well, it isn't but there are other good reasons for starting it!
Bücker Bestmann #1 can be found here and it comes with some essential spare parts AND a generous sheet of decals, the only parts I miss for this build now is a set of seats and a pair of wheels. Seats can be scratch-built and I would be astonished if I don't find a pair of suitable wheels in the spare parts box!
There is also a story that goes with this old Airmodel kit. I got it from a childhood friend when he quit building fifteen or so years ago, he had bought it for his (now late) father who was an Sk 25 (SWAF designation for the Bestmann) mechanic during WWII who never got around to build it. So, after dwelling in a plastic bag for probably nearly 30 years the time has finally come to build it! It will be a bit different from the original intentions since I will go for the Egyptian decal option from the AZ models kit.
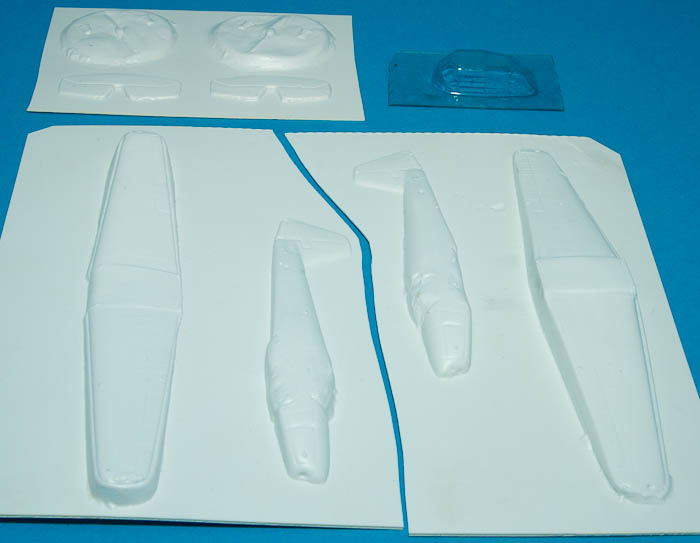
At some point in history I cut the sheet in two to fit it into a box. This is all that comes with the kit, I wonder why they did a prop and a set of landing gear legs that are sure to be useless while a set of wheels and seats actually can be used, even if they are vacformed!
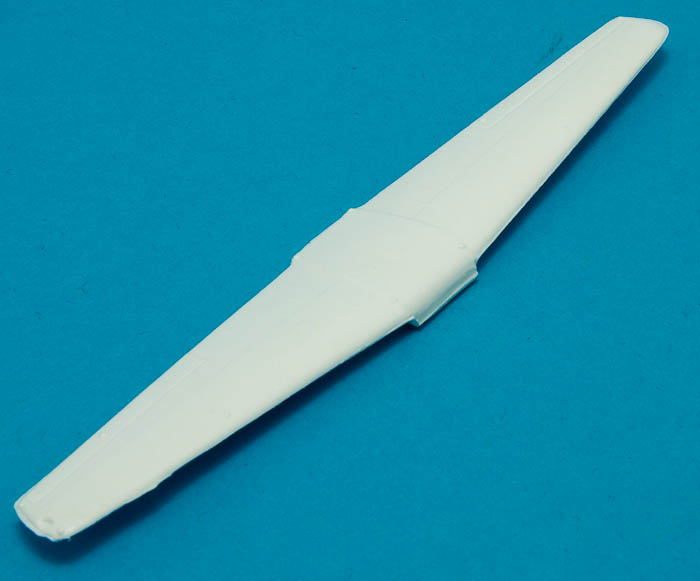
The wing glued together, two rather flimsy halves glued together form a quite sturdy (and lightweight!) wing!
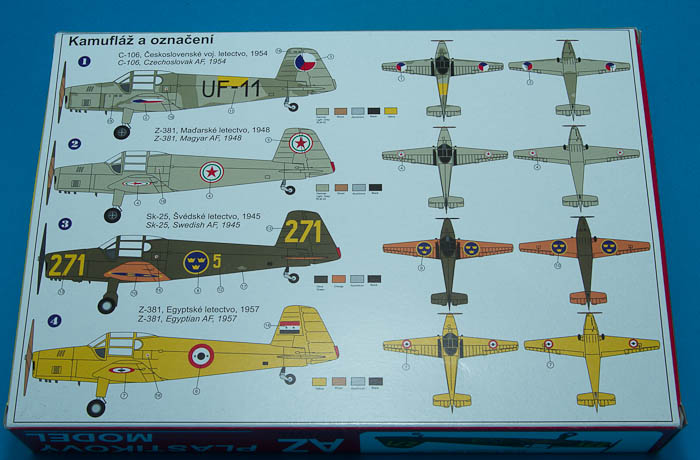
Decal options from the AZ models kit, I'll go for the all-yellow Egyptian one!
Fuselage buttoned up.
Magnus
World War II
Discuss WWII and the era directly before and after the war from 1935-1949.
Hosted by Rowan Baylis
1/72 Airmodel vacform Bucker Bestmann
magnusf
Stockholm, Sweden
Joined: May 02, 2006
KitMaker: 1,953 posts
AeroScale: 1,902 posts
Joined: May 02, 2006
KitMaker: 1,953 posts
AeroScale: 1,902 posts
Posted: Thursday, May 05, 2011 - 09:55 AM UTC
robot_
United Kingdom
Joined: March 08, 2009
KitMaker: 719 posts
AeroScale: 691 posts
Joined: March 08, 2009
KitMaker: 719 posts
AeroScale: 691 posts
Posted: Thursday, May 05, 2011 - 11:07 AM UTC
Hi Magnus- the closed wing and fuselage look very impressive for vac-form: I am sure you are making this look easier than it really is!
Have you thought about making a plastic cast of the canopy to smash/vac-form a new canopy for the injection kit (à la Chuck's Me 410)?
magnusf
Stockholm, Sweden
Joined: May 02, 2006
KitMaker: 1,953 posts
AeroScale: 1,902 posts
Joined: May 02, 2006
KitMaker: 1,953 posts
AeroScale: 1,902 posts
Posted: Friday, May 13, 2011 - 09:25 AM UTC
Ben! No, I promise you: this isn't complicated or difficult! Thanks for the advice about the canopy but I think I'll stick to the original parts in both cases. If for nothing else I am a bit curious how they turn out!
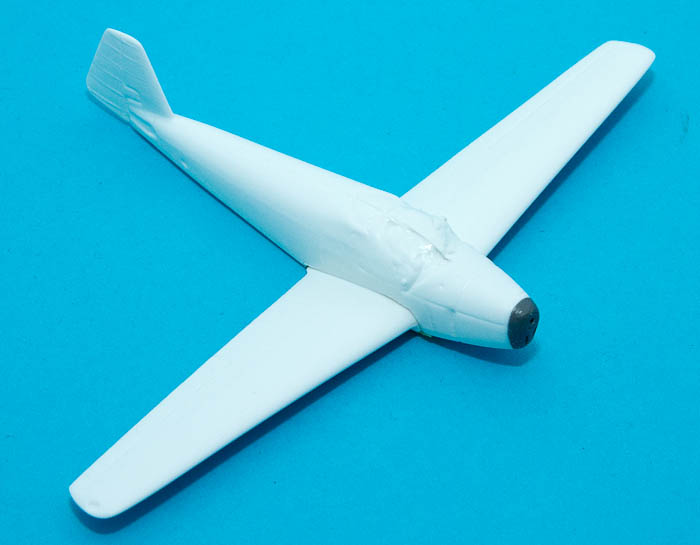
After a bit of sanding I decided to fit the new engine front and the wing.
Engine front was a no-brainer, just cut along the line in the plastic and glue the new part in place. Contours can be a bit tricky in these cases but this time it was spot on!
After cutting out the recess for the wing I test fitted it. Not bad!
Magnus
magnusf
Stockholm, Sweden
Joined: May 02, 2006
KitMaker: 1,953 posts
AeroScale: 1,902 posts
Joined: May 02, 2006
KitMaker: 1,953 posts
AeroScale: 1,902 posts
Posted: Thursday, May 26, 2011 - 09:06 AM UTC
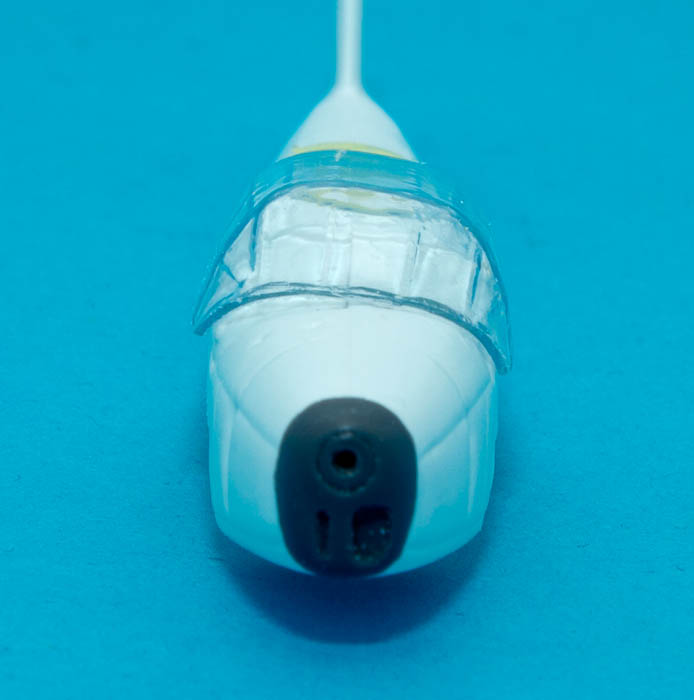
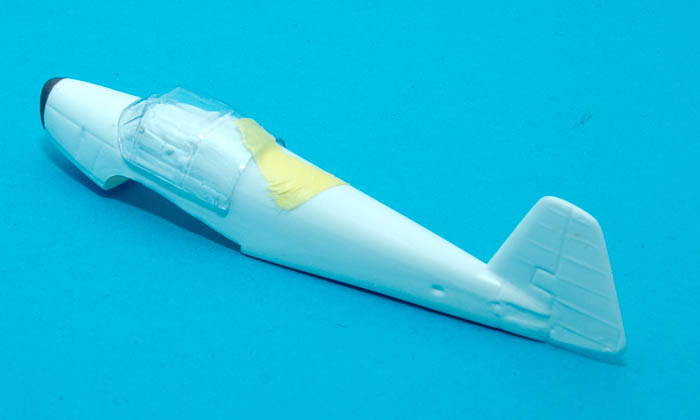
Test fit part two didn't go as well as part one... And this is the one that will be complicated to fix!
Canopy doesn't fit. Not even closely. And no, I was very careful when I sanded the fuselage halves so I haven't taken off more material than necessary. Just in case you wondered !
Magnus
Canopy doesn't fit. Not even closely. And no, I was very careful when I sanded the fuselage halves so I haven't taken off more material than necessary. Just in case you wondered !
Magnus
Lawnguylander
United States
Joined: February 19, 2010
KitMaker: 23 posts
AeroScale: 19 posts
Joined: February 19, 2010
KitMaker: 23 posts
AeroScale: 19 posts
Posted: Thursday, May 26, 2011 - 07:33 PM UTC
Hi Magnus,
You might be able to smash-mold a new canopy from a homemade plug- it's shape does not look too complex, and you could make the mold from balsa or miliput--- HTH!
magnusf
Stockholm, Sweden
Joined: May 02, 2006
KitMaker: 1,953 posts
AeroScale: 1,902 posts
Joined: May 02, 2006
KitMaker: 1,953 posts
AeroScale: 1,902 posts
Posted: Saturday, May 28, 2011 - 09:53 AM UTC
Quoted Text
Hi Magnus,
You might be able to smash-mold a new canopy from a homemade plug- it's shape does not look too complex, and you could make the mold from balsa or miliput--- HTH!
Chesley! Looks like I'll have to even if I'm not that tempted ... I did lots of vacforming a decade ago (still got the tool I built that fits the vacuum cleaner and my wife's old toaster that I managed to burn a bit around the edges while heating plastic ) but I was always vaguely disappointed with the results. The worst part was getting the canopies to fit properly.
Magnus
magnusf
Stockholm, Sweden
Joined: May 02, 2006
KitMaker: 1,953 posts
AeroScale: 1,902 posts
Joined: May 02, 2006
KitMaker: 1,953 posts
AeroScale: 1,902 posts
Posted: Monday, May 30, 2011 - 09:37 AM UTC
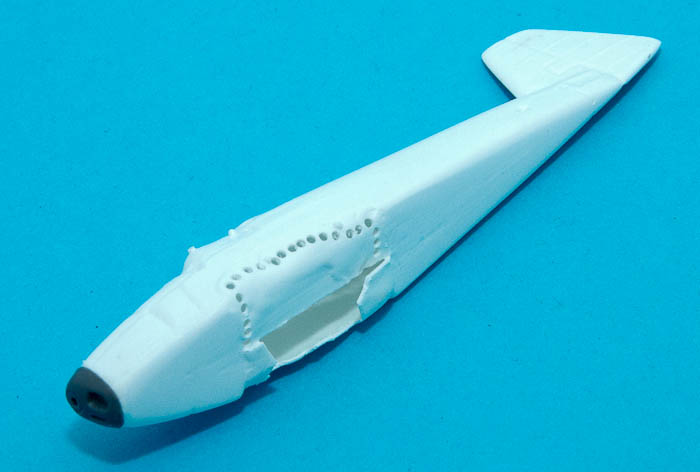
OK, let's see how this turns out! This one I figured out on the bicycle on my way home from work this afternoon... Let's do an "integrated" plug on the vacform fuselage...
I have built up a rough shape using Tamiya epoxy putty. Filing and sanding starts tomorrow!
Magnus
I have built up a rough shape using Tamiya epoxy putty. Filing and sanding starts tomorrow!
Magnus