_GOTOBOTTOM
Pre-Flight Check
Constructive critique of your finished or in-progress photos.
Hasegawa 1/32 Ki-61
mrobeson
_VISITCOMMUNITY
California, United States
Joined: September 19, 2007
KitMaker: 109 posts
AeroScale: 107 posts
Posted: Monday, June 27, 2011 - 11:52 AM UTC
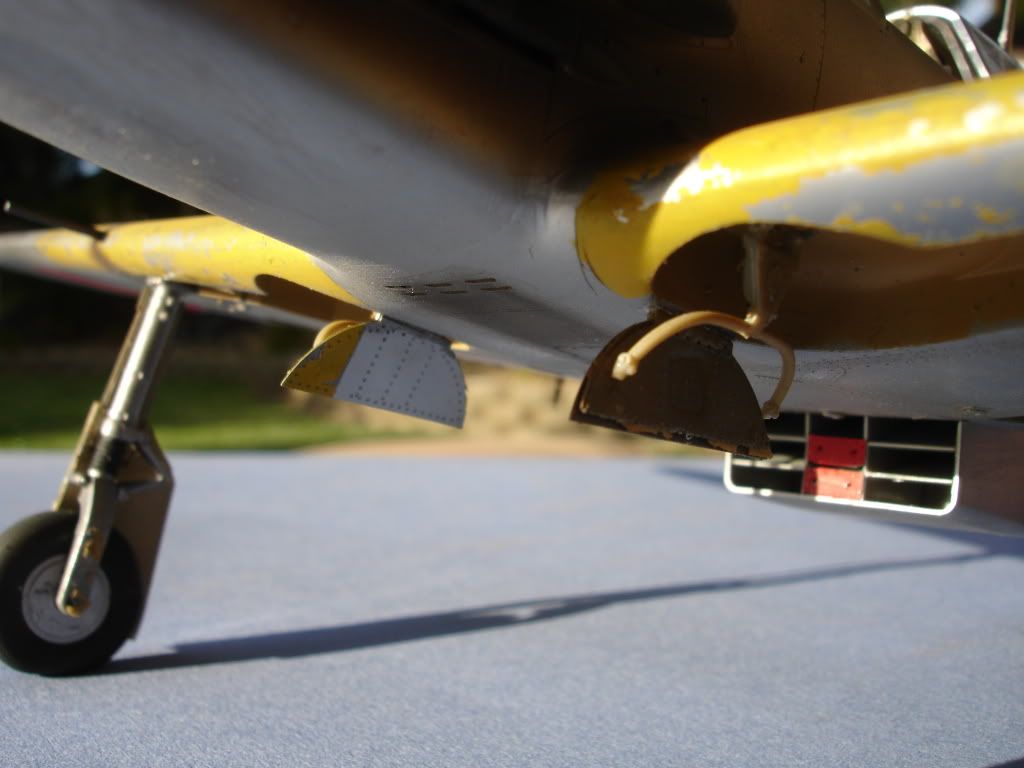
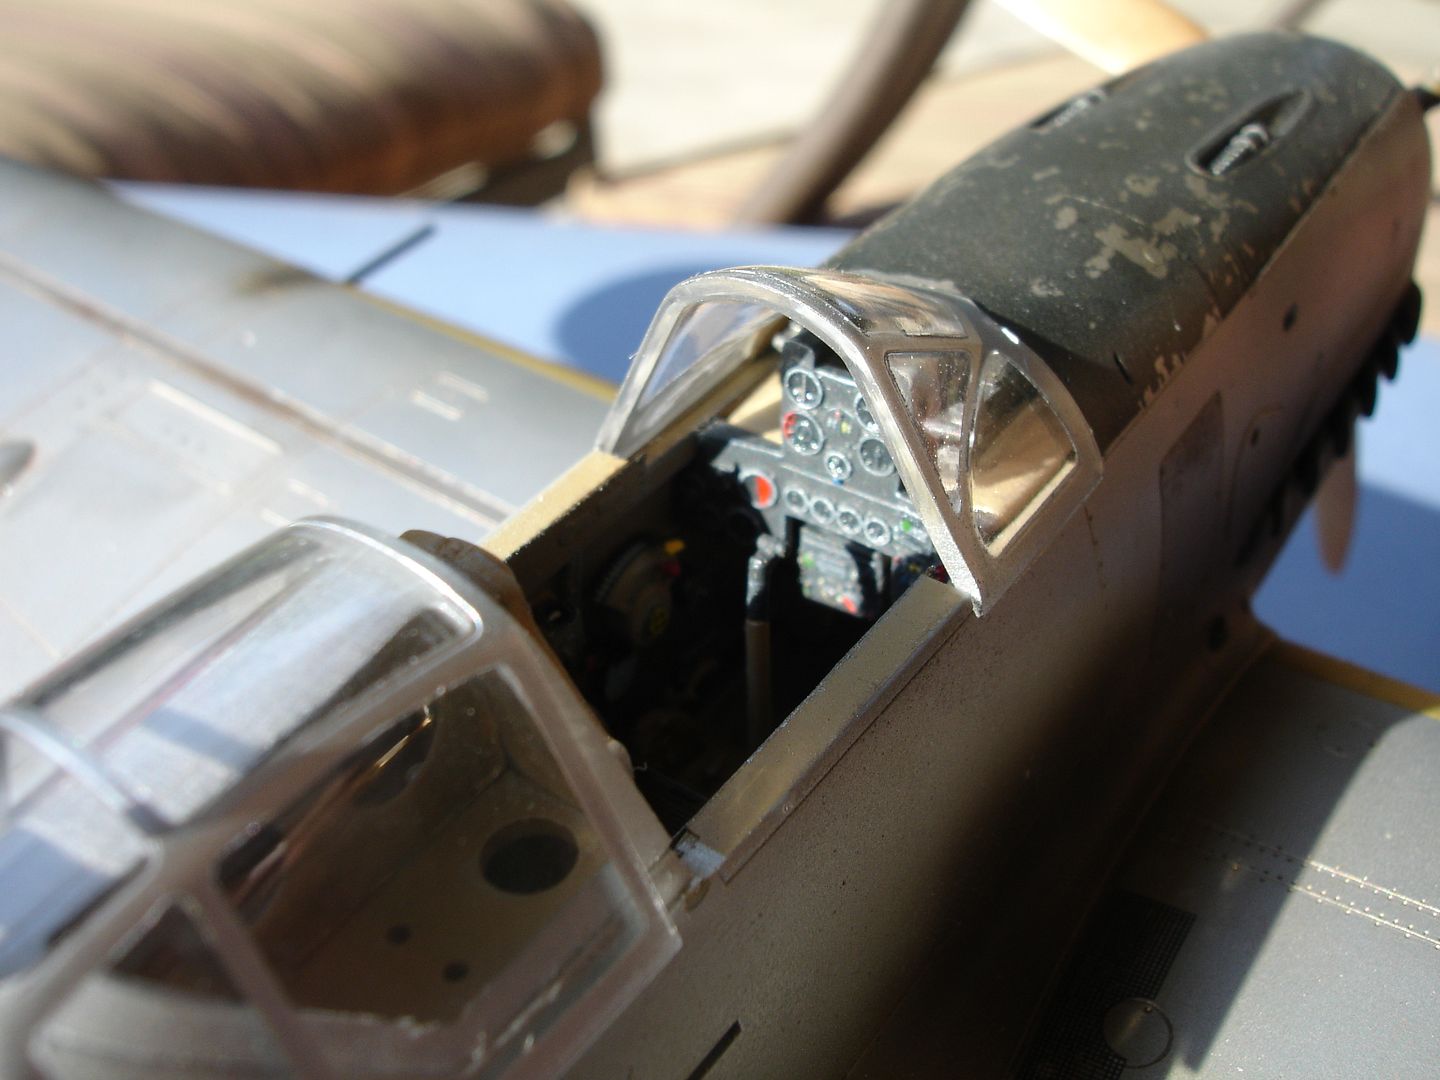
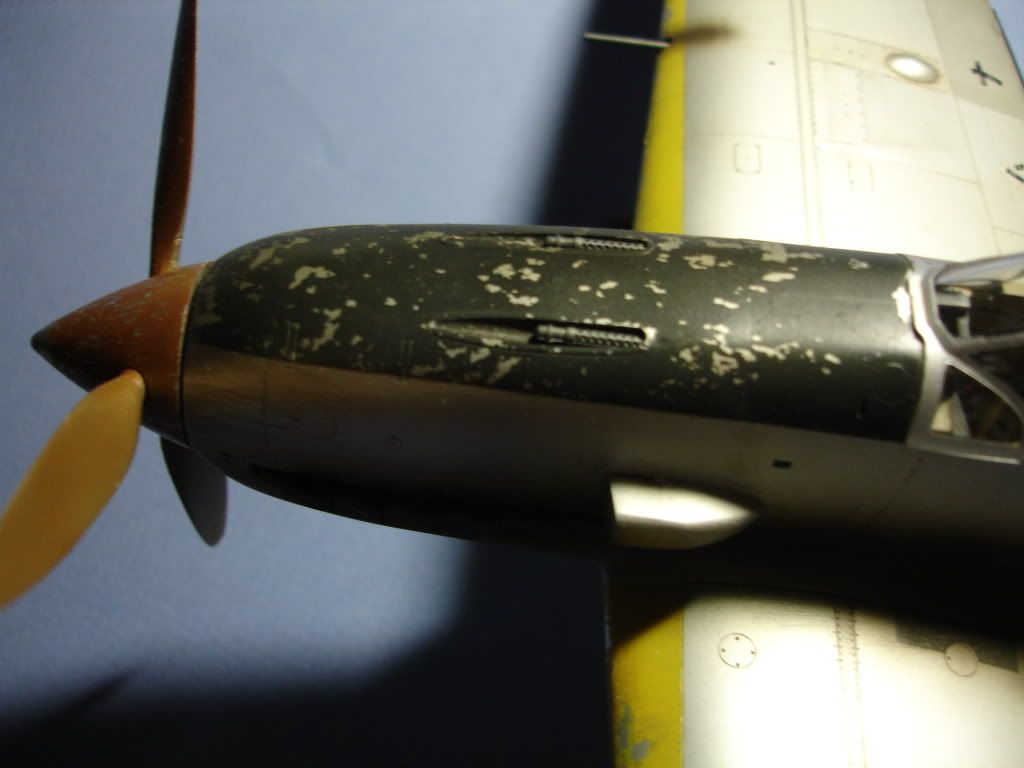
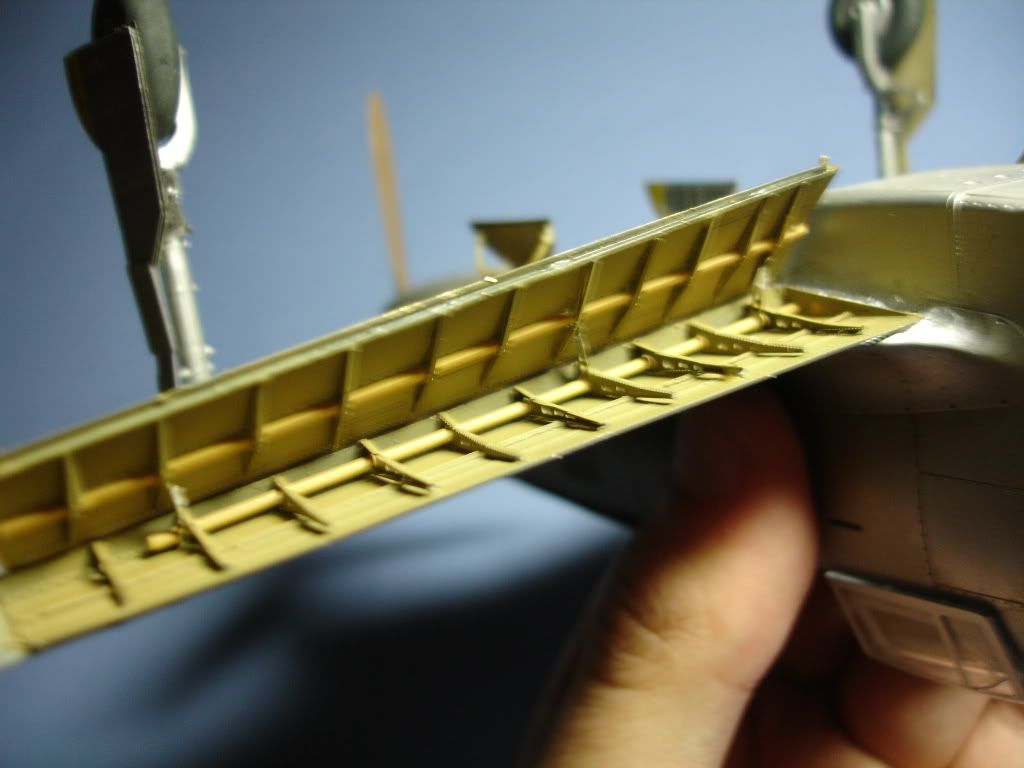
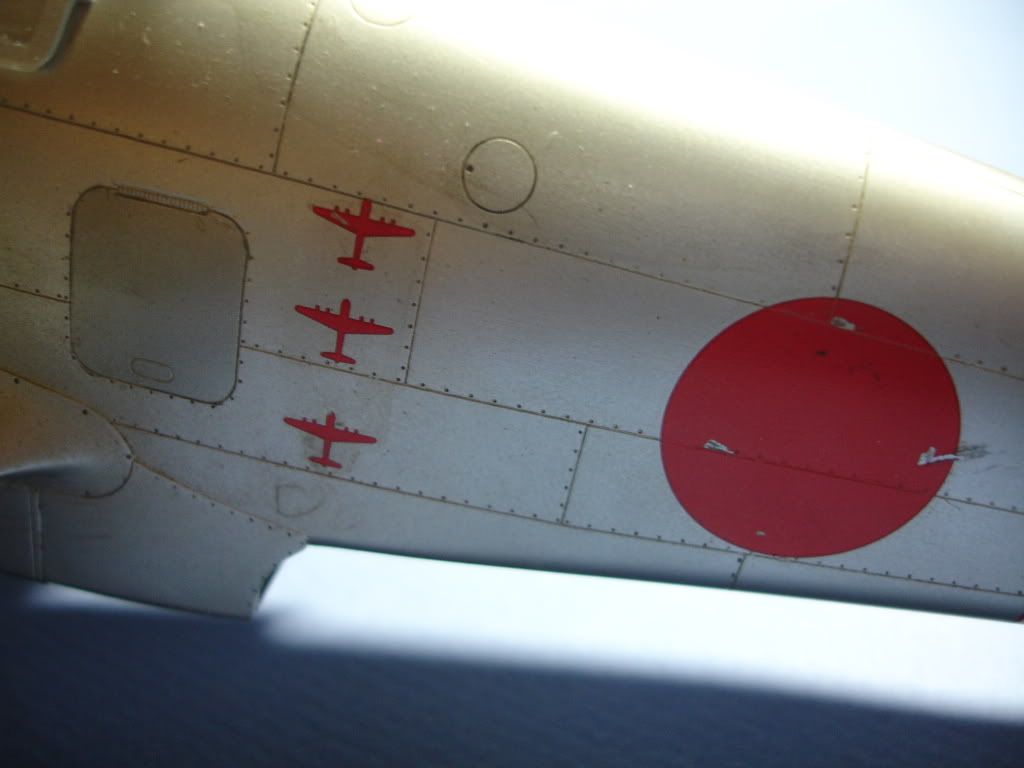
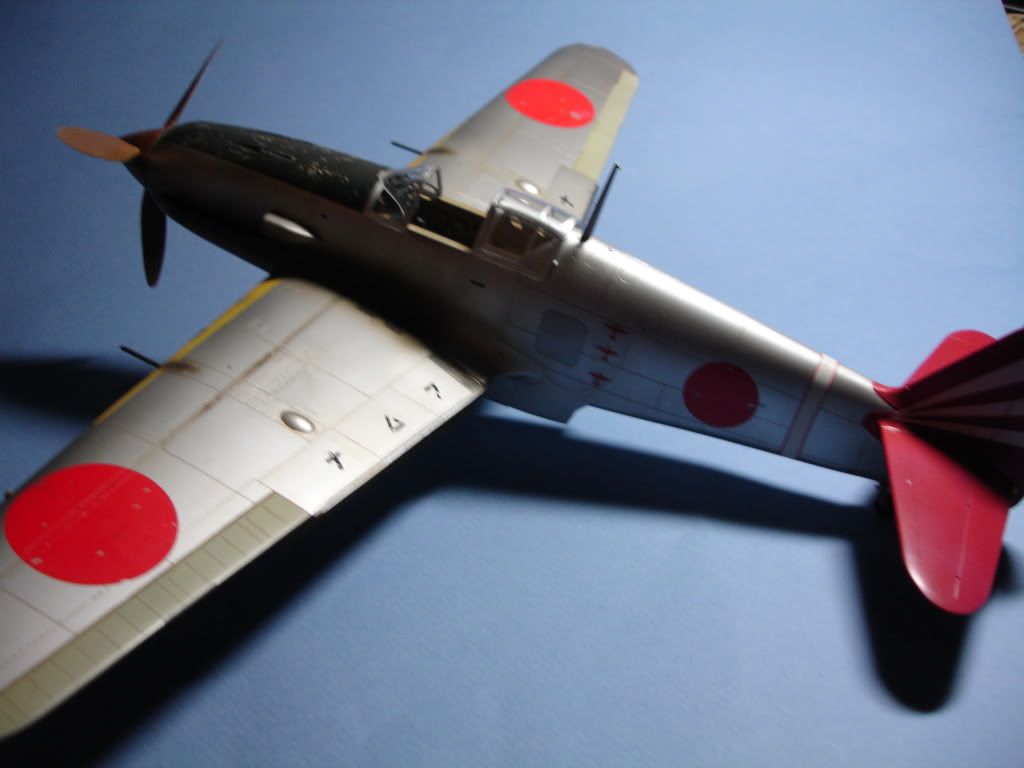
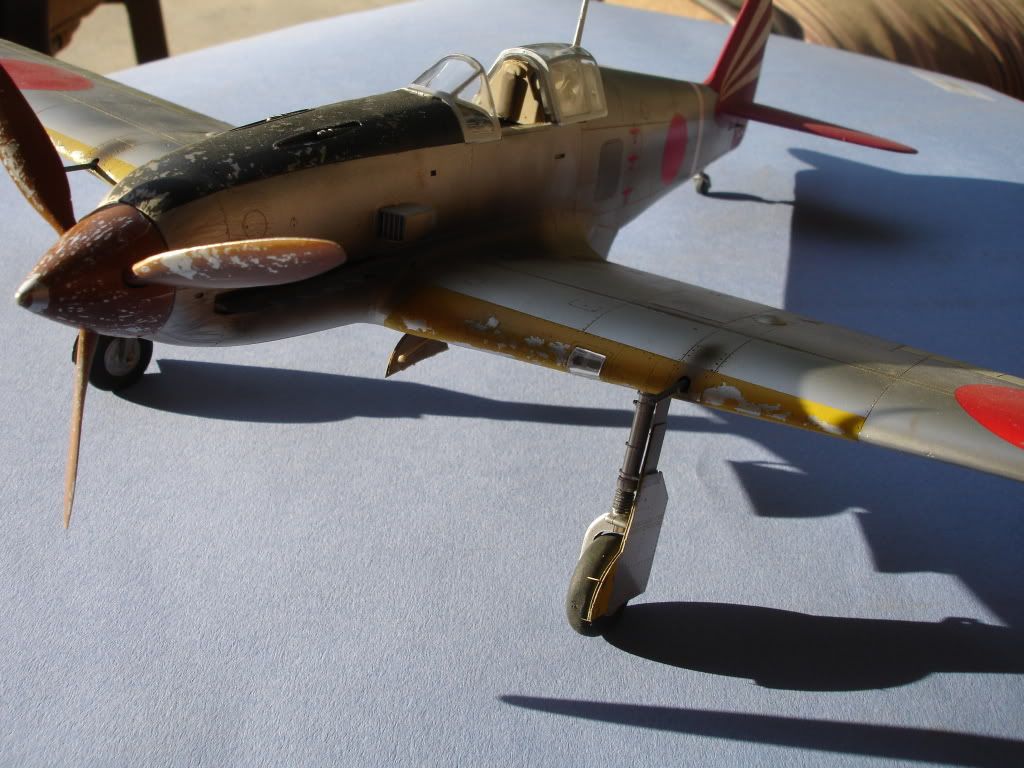
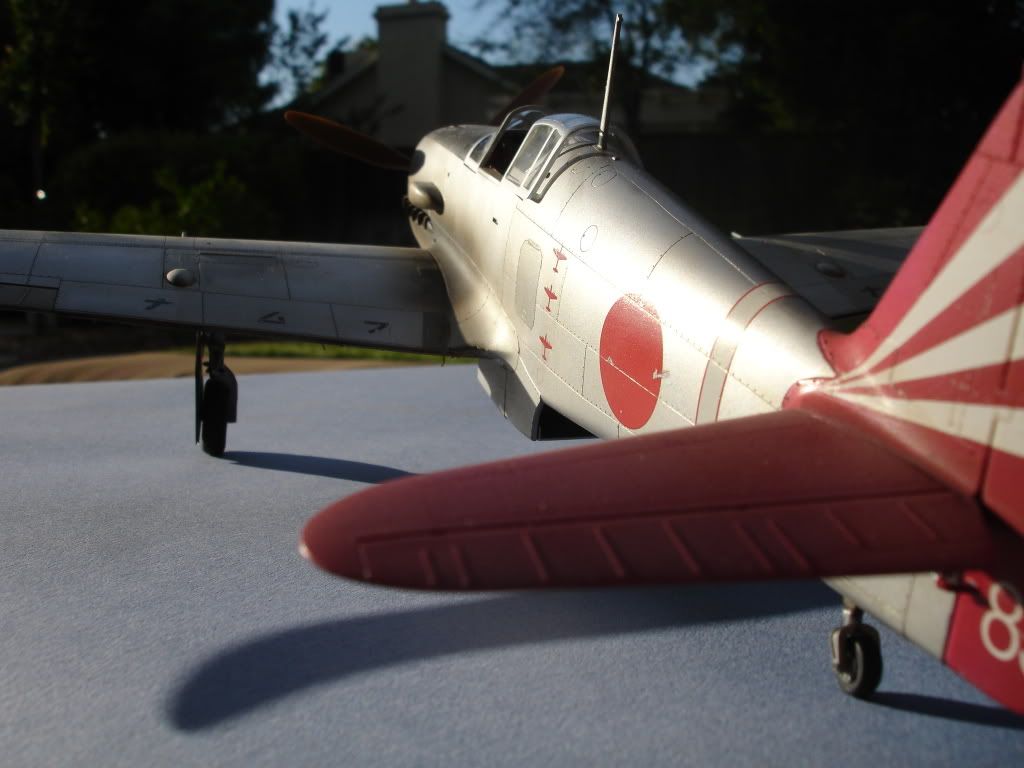
Hey everybody. I've been working on this Ki-61 Tony, detailed with the Eduard "Big Ed" set. This was a really fun build, but the Eduard flap set was very fiddly, and required a lot of patience. But I'm glad to get it all done, and I hope you all enjoy reading about it and looking at the pictures.


Thanks for looking in
Matt
SHarjacek
_VISITCOMMUNITY
Croatia Hrvatska
Joined: January 29, 2011
KitMaker: 977 posts
AeroScale: 263 posts
Posted: Thursday, June 30, 2011 - 11:17 AM UTC
wow,really nice looking Matt.
I like it very much!

Kind regards,Sven.
AussieReg
Staff MemberAssociate Editor
AUTOMODELER
#007
_VISITCOMMUNITY
Victoria, Australia
Joined: June 09, 2009
KitMaker: 8,156 posts
AeroScale: 3,756 posts
Posted: Friday, July 01, 2011 - 03:32 AM UTC
No arguments from me either Matt, I love it !!

Well done sir.

Cheers, D
Bronze4
_VISITCOMMUNITY
Florida, United States
Joined: December 20, 2009
KitMaker: 53 posts
AeroScale: 11 posts
Posted: Friday, July 01, 2011 - 07:34 PM UTC
One of these days I'll get brave enough to do a NMF... You did a wonderful job on yours but I do see one major problem with it.

THERE IS NO OVERALL PICTURE!!!

Dave Shaw
scvrobeson
_VISITCOMMUNITY
United States
Joined: May 17, 2011
KitMaker: 65 posts
AeroScale: 44 posts
Posted: Tuesday, July 05, 2011 - 02:21 PM UTC
Thanks for all of the great comments guys. I really enjoyed the build, but here's an overall picture for you guys.


Matt
corsair1d
_VISITCOMMUNITY
Ireland
Joined: July 18, 2011
KitMaker: 2 posts
AeroScale: 1 posts
Posted: Monday, July 18, 2011 - 05:43 AM UTC
Very nice but there is one thing I noticed. It's really pedantic and not a criticism but since you have extensive weathering and paint chips. This would enhance that. You have lots of paint chips on the front of the propellor but almost none on the rear. In fact the rear of the prop blades suffer the most wear and tear particularly near the tips. I rarely see this featured on models and in fact I only became aware of it myself when I found myself operating a parachute aircraft off a rough stoney strip.

It's all to do with aerodynamics, essentially the airflow over the front of of the blade never touches it so neither does the stones or dust or bugs. So apart from the leading edges the front of the blades remain relatively clean. But the rear of the blade gets hammered, covered in nicks, the paint wears off and the dead bugs accumulate particularly towards the tips. Of course I haven't got a photo to hand, but will post one as soon as I can if you like.

Other that I particularly like your model.
scvrobeson
_VISITCOMMUNITY
United States
Joined: May 17, 2011
KitMaker: 65 posts
AeroScale: 44 posts
Posted: Wednesday, July 20, 2011 - 02:33 PM UTC
Thanks for the nice comments. I think you're right about the prop blades, I will be sure to fix that before my next comment on Saturday.

Thanks for reading in on the build, and for commenting.

Matt
JPTRR
Staff MemberManaging Editor
RAILROAD MODELING
#051
_VISITCOMMUNITY
Tennessee, United States
Joined: December 21, 2002
KitMaker: 7,772 posts
AeroScale: 3,175 posts
Posted: Saturday, August 20, 2011 - 10:25 AM UTC
Great job! Your paint chipping is superb. The P/E in the flaps really make the model.
bmikk1
_VISITCOMMUNITY
Utah, United States
Joined: February 15, 2008
KitMaker: 199 posts
AeroScale: 13 posts
Posted: Sunday, September 11, 2011 - 06:22 AM UTC
Beautiful work Matthew looks more Italian made than Japanese! what did you use for the silver portions of the A/C?
scvrobeson
_VISITCOMMUNITY
United States
Joined: May 17, 2011
KitMaker: 65 posts
AeroScale: 44 posts
Posted: Monday, December 26, 2011 - 08:41 PM UTC
Hey there. Sorry it took so long to respond. The silver is Alclad exclusively, it's all I use for metal work. It really works the best, and is so easy to use. i started with a few basic shades, and just mixed up what I needed to do the different shades.

I agree, it really looks like something the Italians would have come up with, has to be the license built DB-605 engine up front, just like what powered the Mc202/205 and the later 109s

Matt
scvrobeson
_VISITCOMMUNITY
United States
Joined: May 17, 2011
KitMaker: 65 posts
AeroScale: 44 posts
Posted: Monday, December 26, 2011 - 08:43 PM UTC
Thank you Frederick! I'm glad you like it! The PE was really fiddly to work with, but I agree that it really sets this plane apart from other ones that I've seen. i'm just happy I got this one up on the shelf, with no big problems.


Matt
Middle_Franconian
_VISITCOMMUNITY
Bayern, Germany
Joined: January 02, 2011
KitMaker: 279 posts
AeroScale: 239 posts
Posted: Tuesday, December 27, 2011 - 09:17 AM UTC
Hi!

I just found your nice Ki-61 here. Very nice work! I really enjoy it.

Servus,

Sebastian
 _GOTOTOP