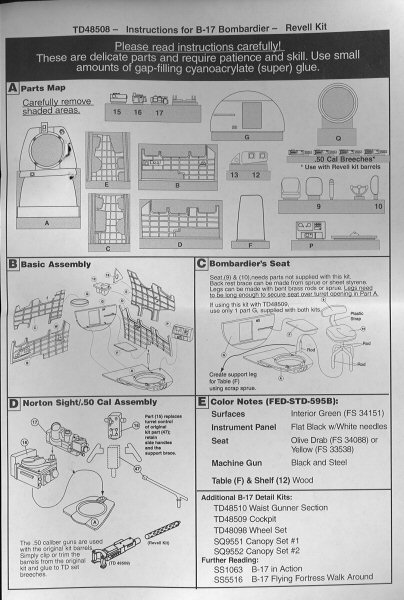
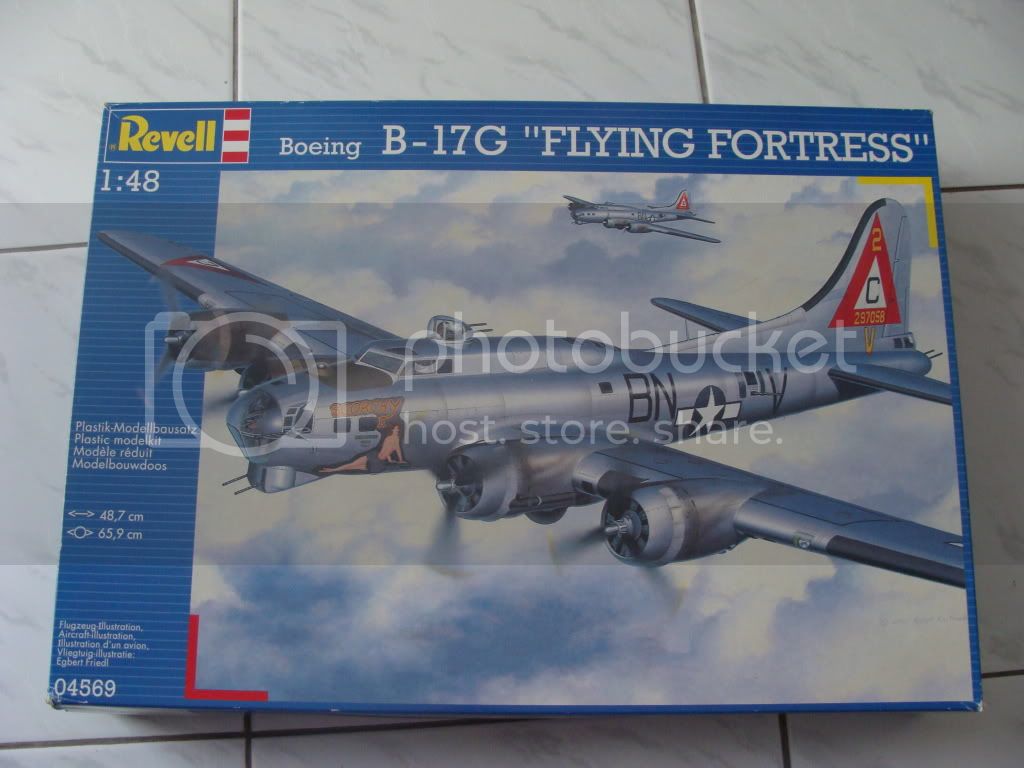
My next model will be the B-17 of the Revell kit (ex. Monogram) in Coastal Command Markings.
It will also be a SUPERDETAILED Fortress

The improvments I'll do, are:
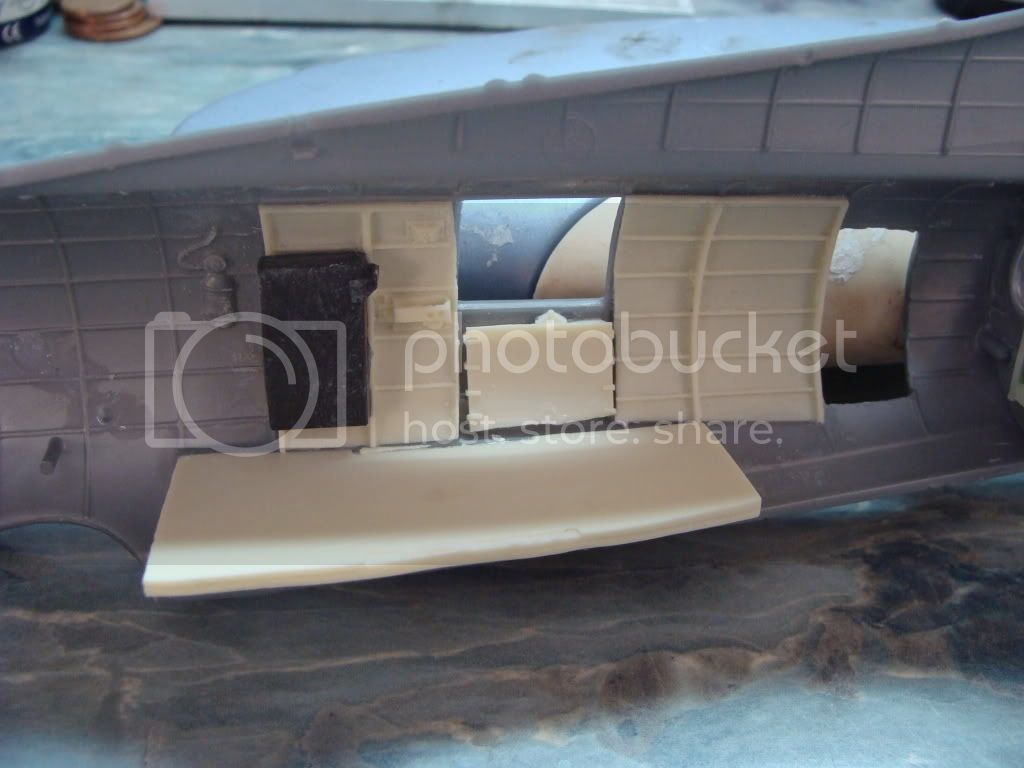
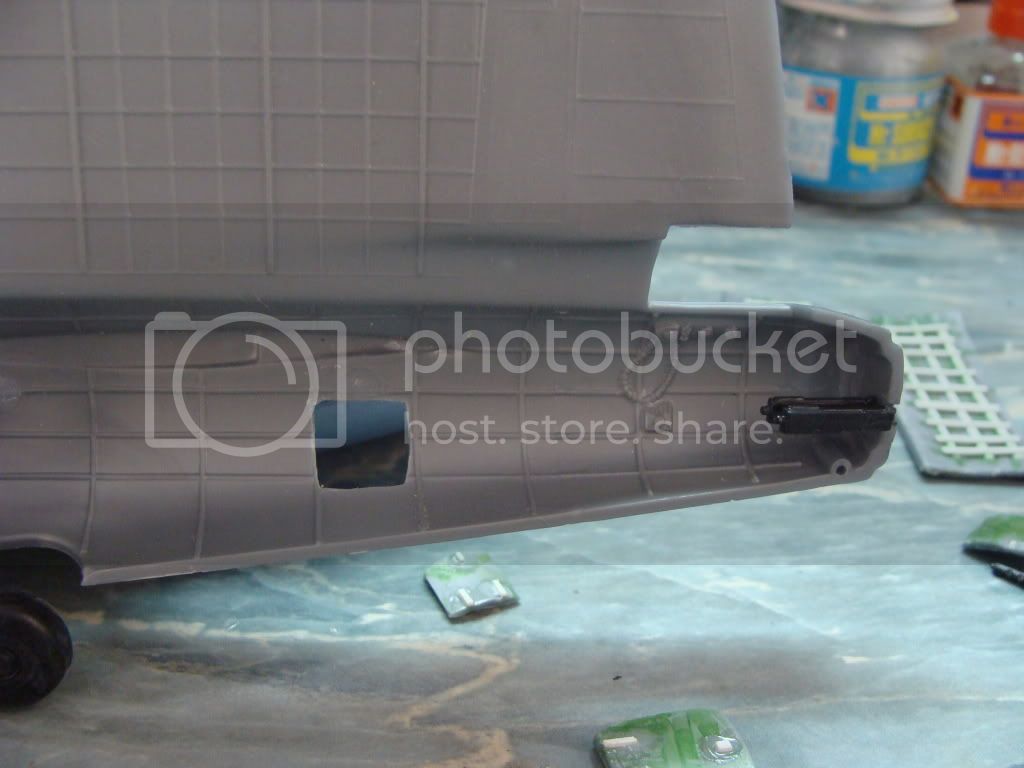
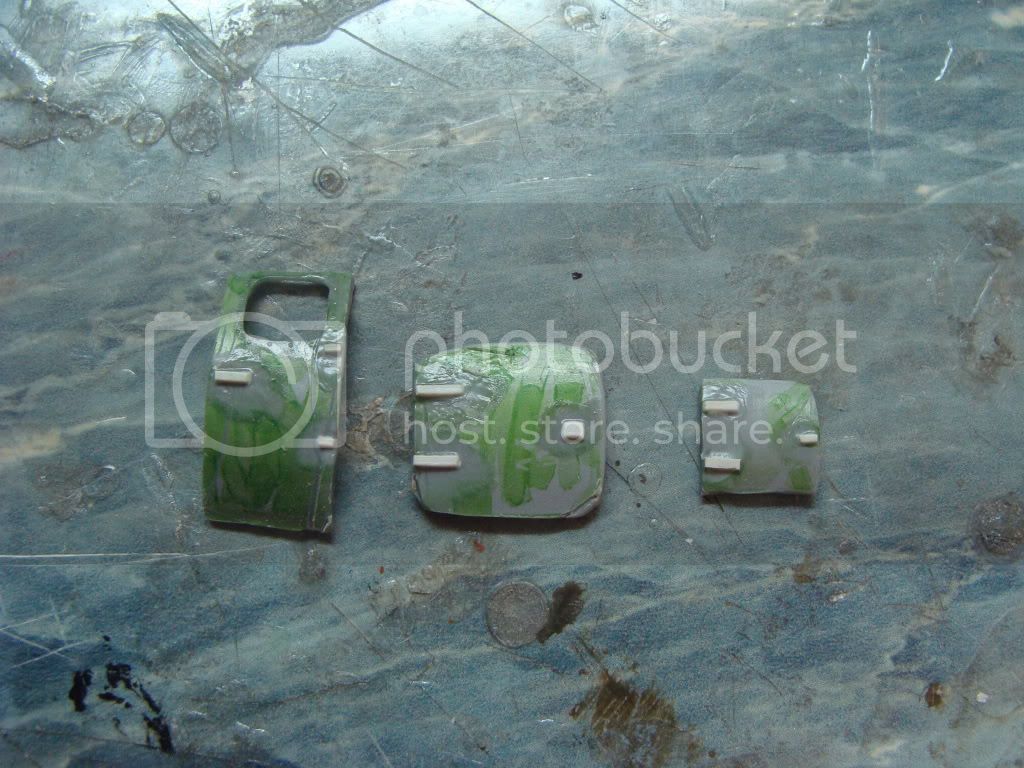
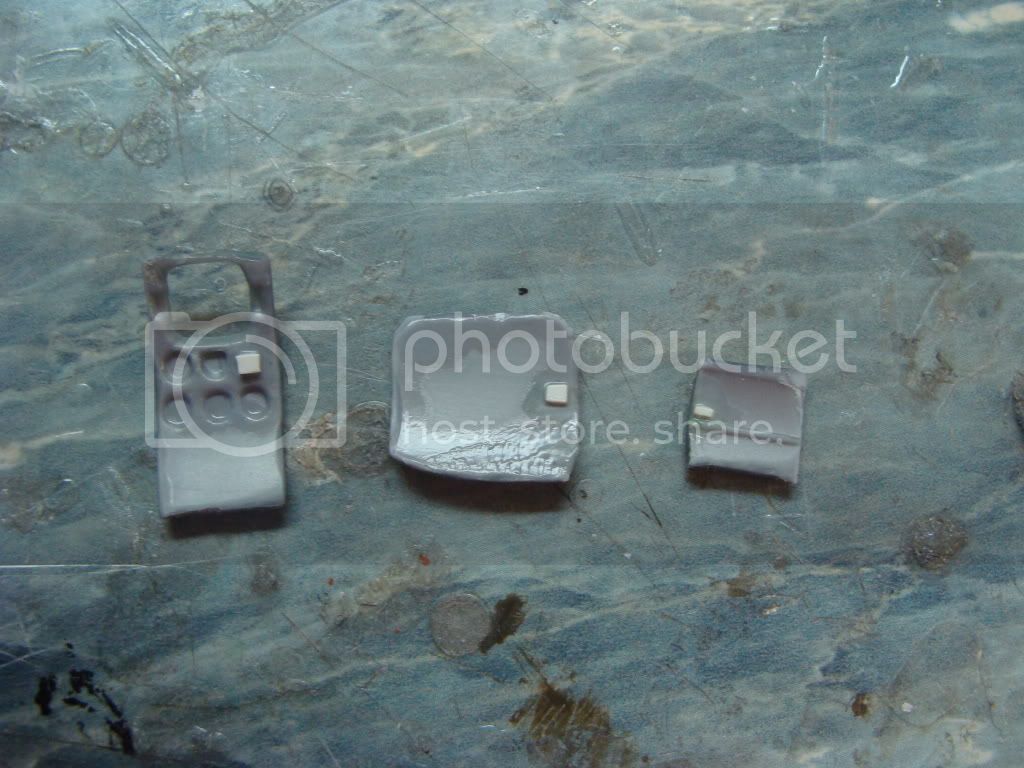
-Open the bomb bay hatches, remove the bad detail of the kit, and add new from scratch
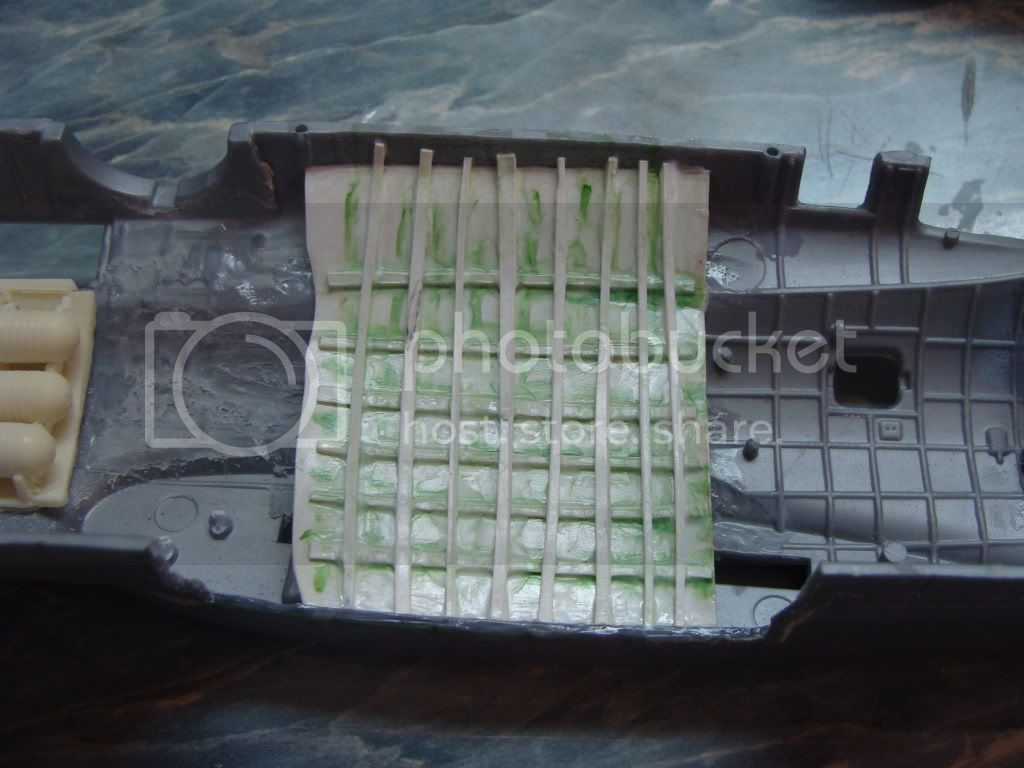
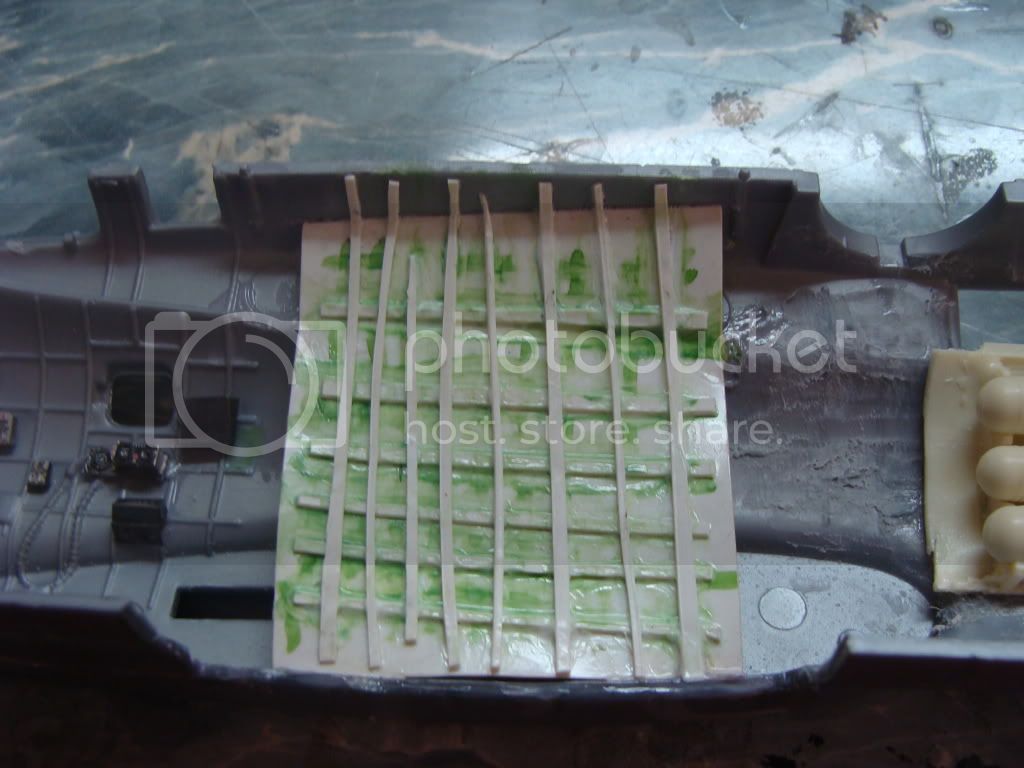
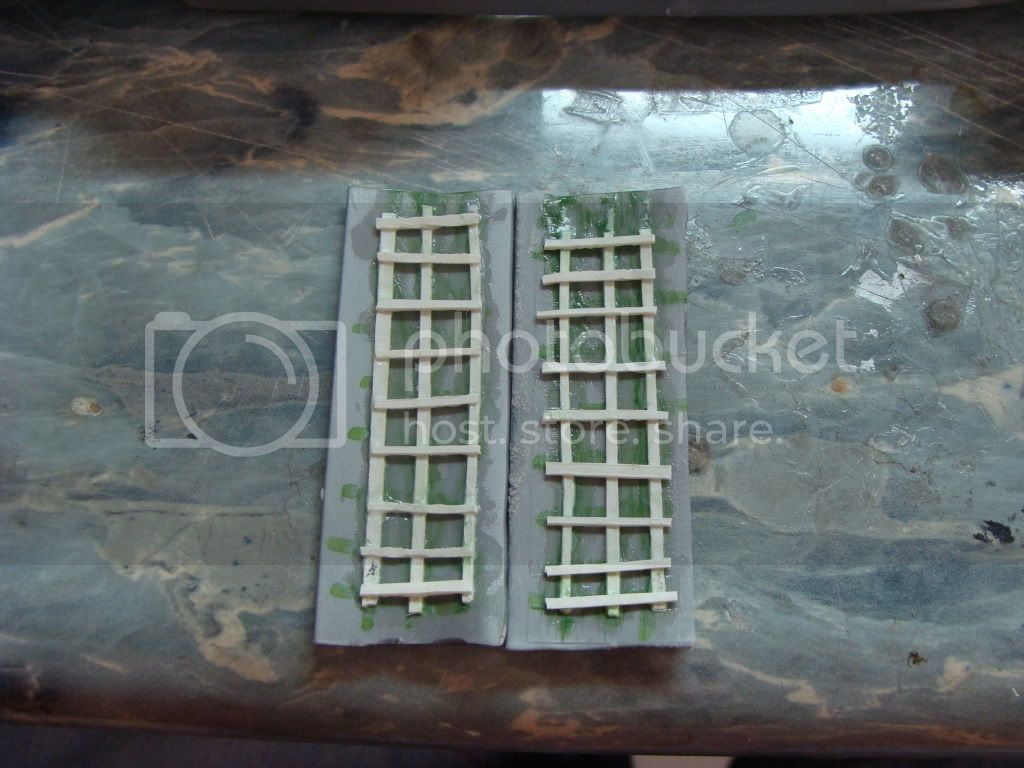
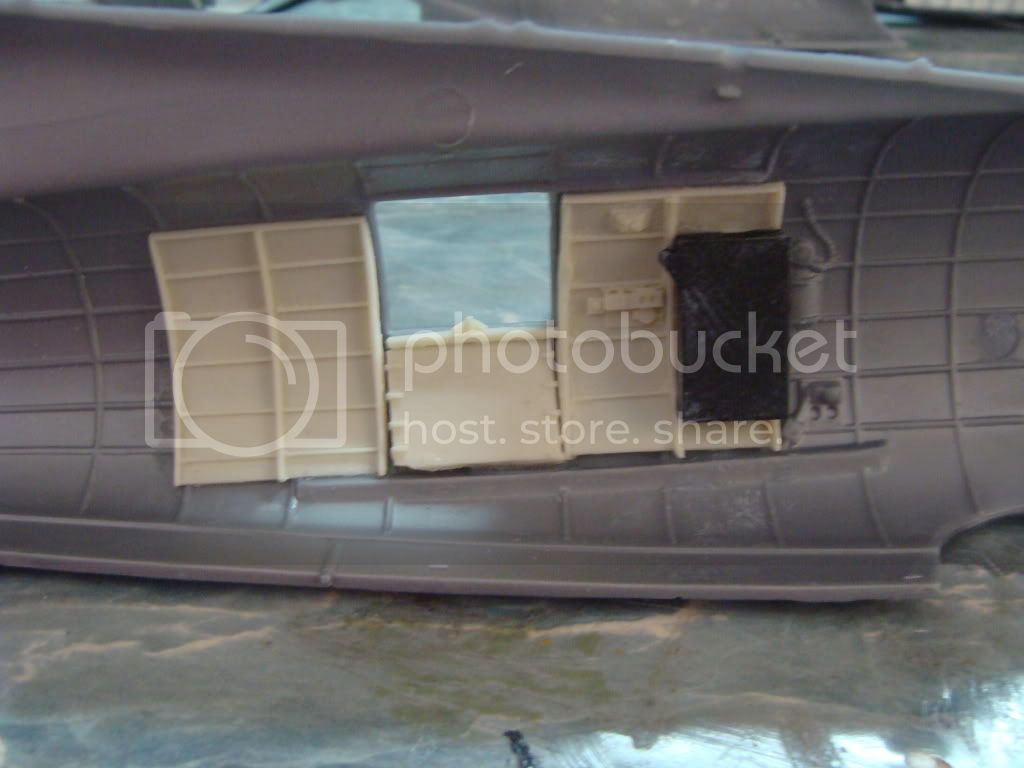
-Open ALL crew hatches (3 in total) and add details in there
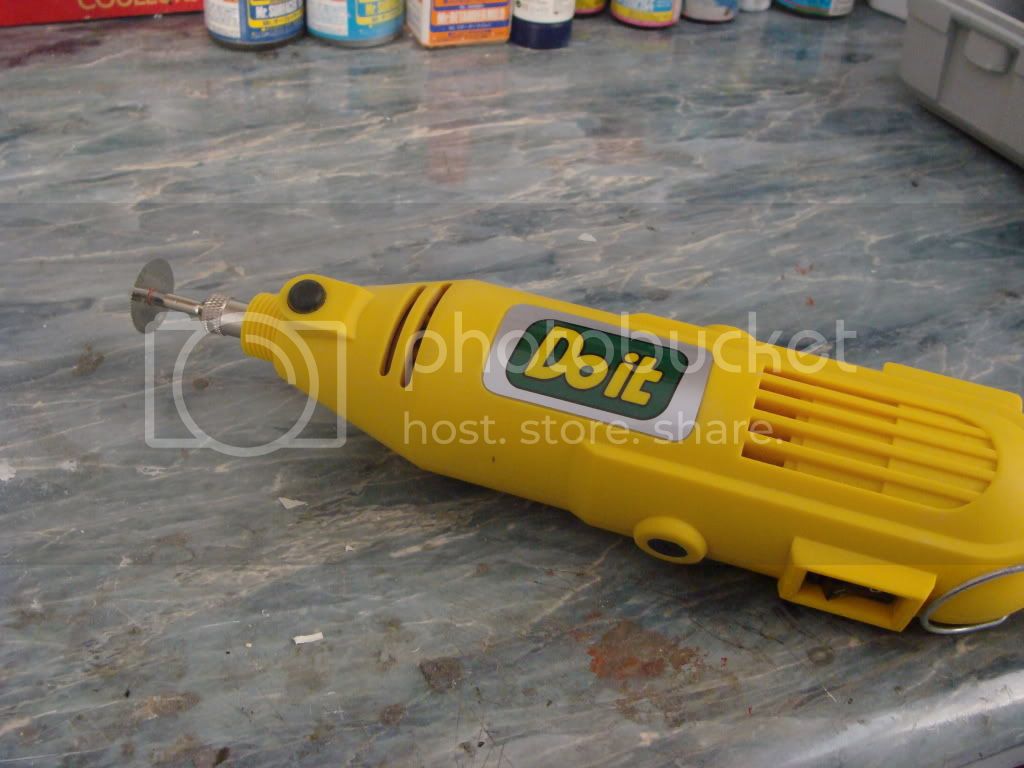
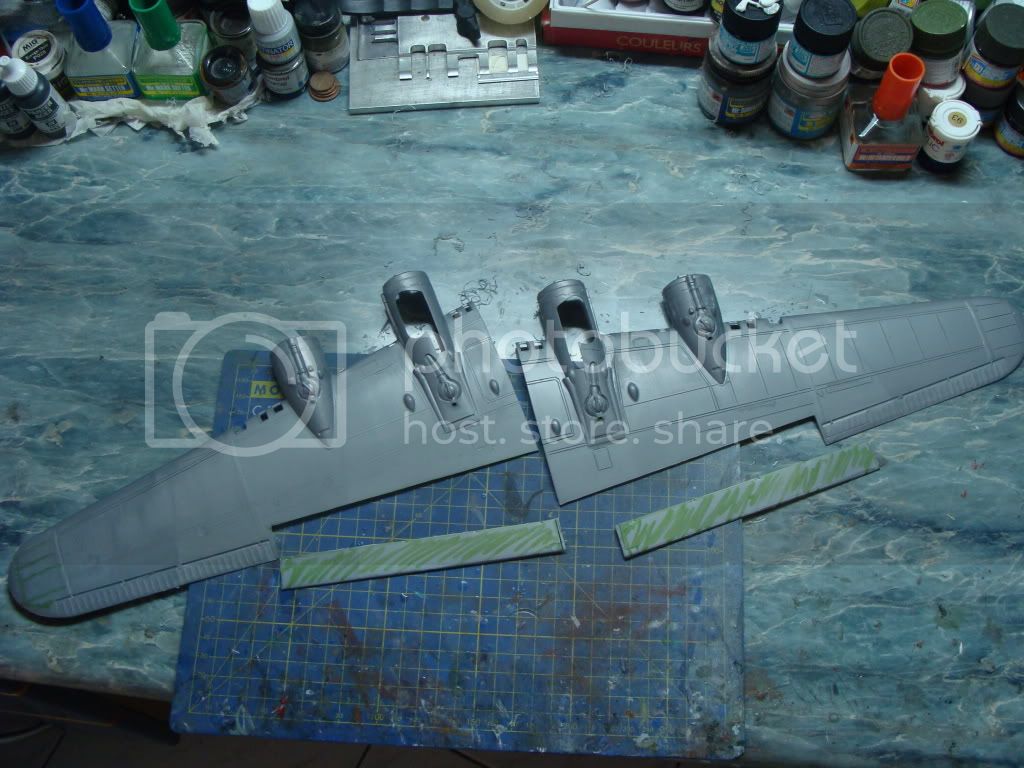
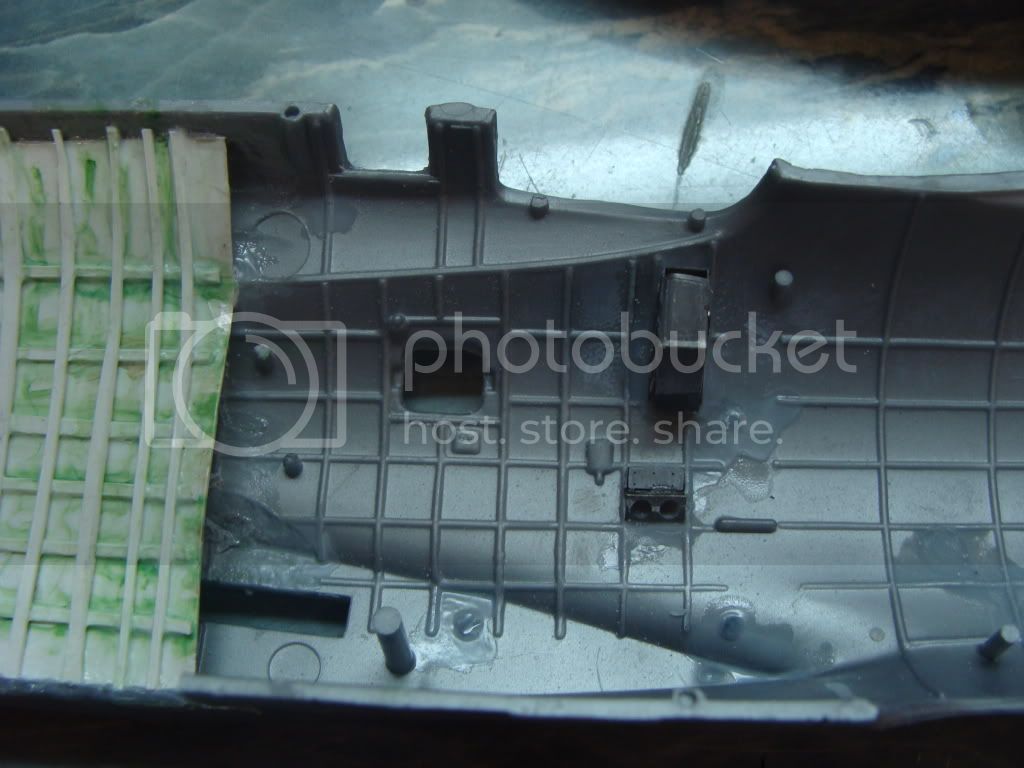
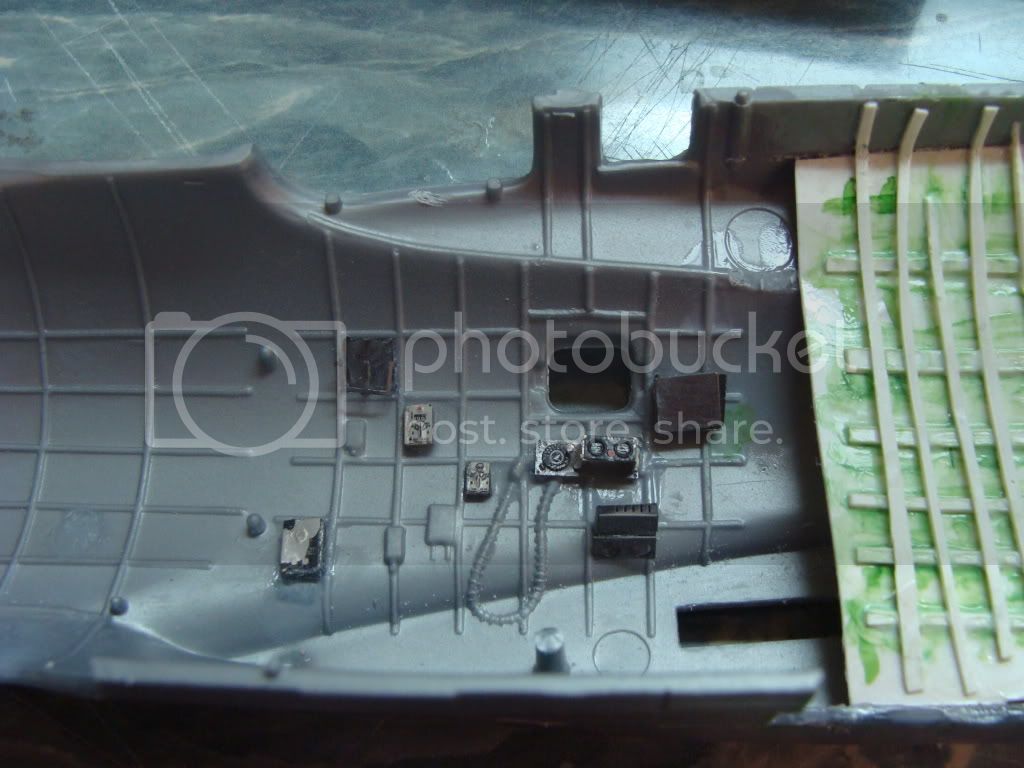
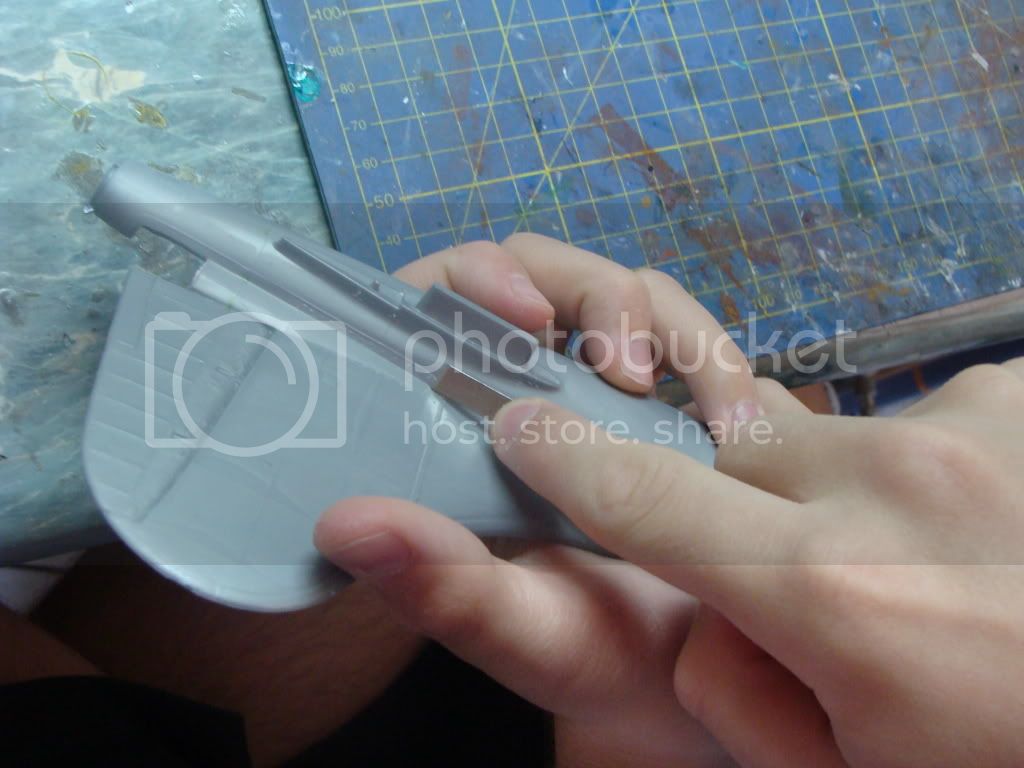
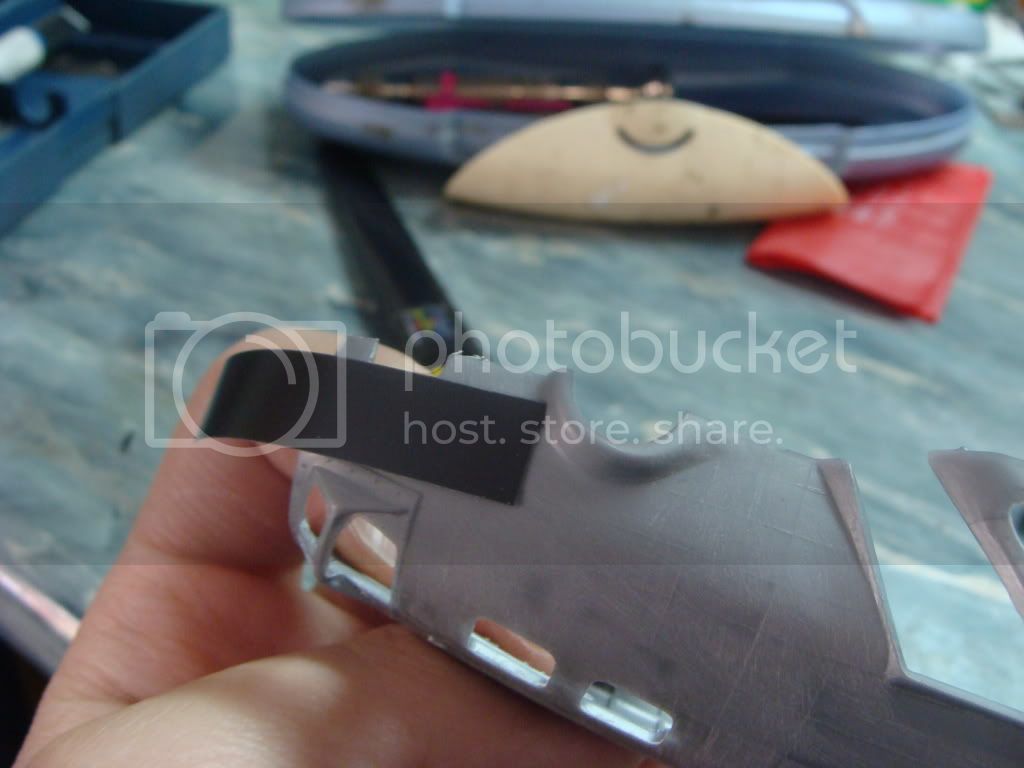
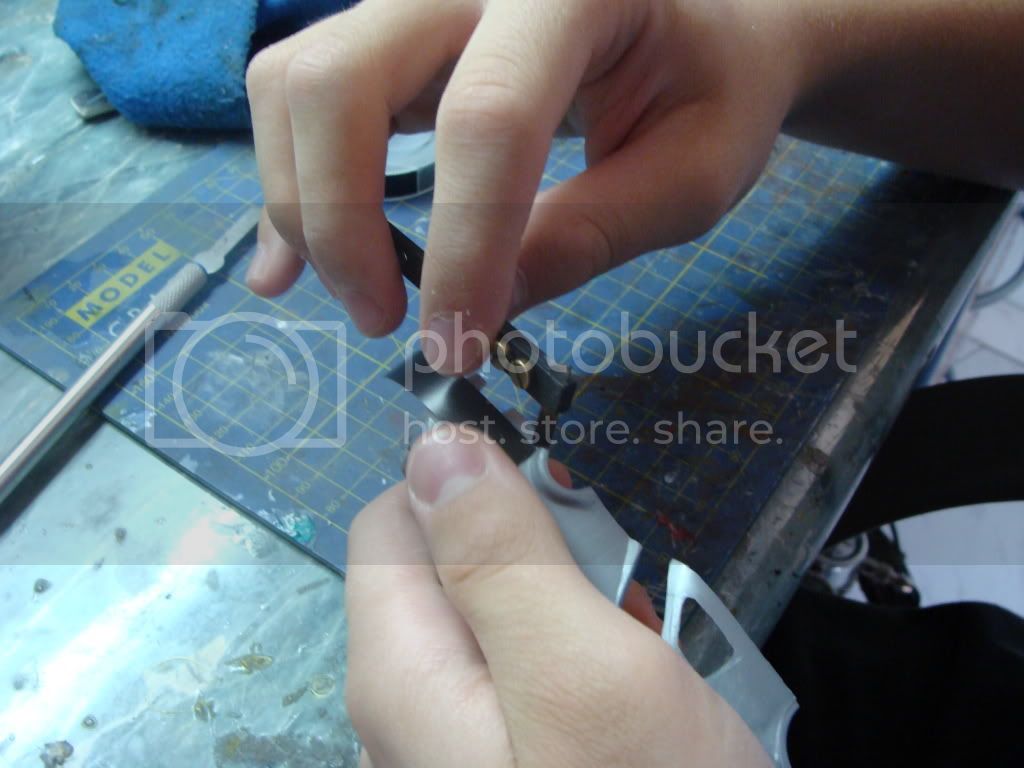
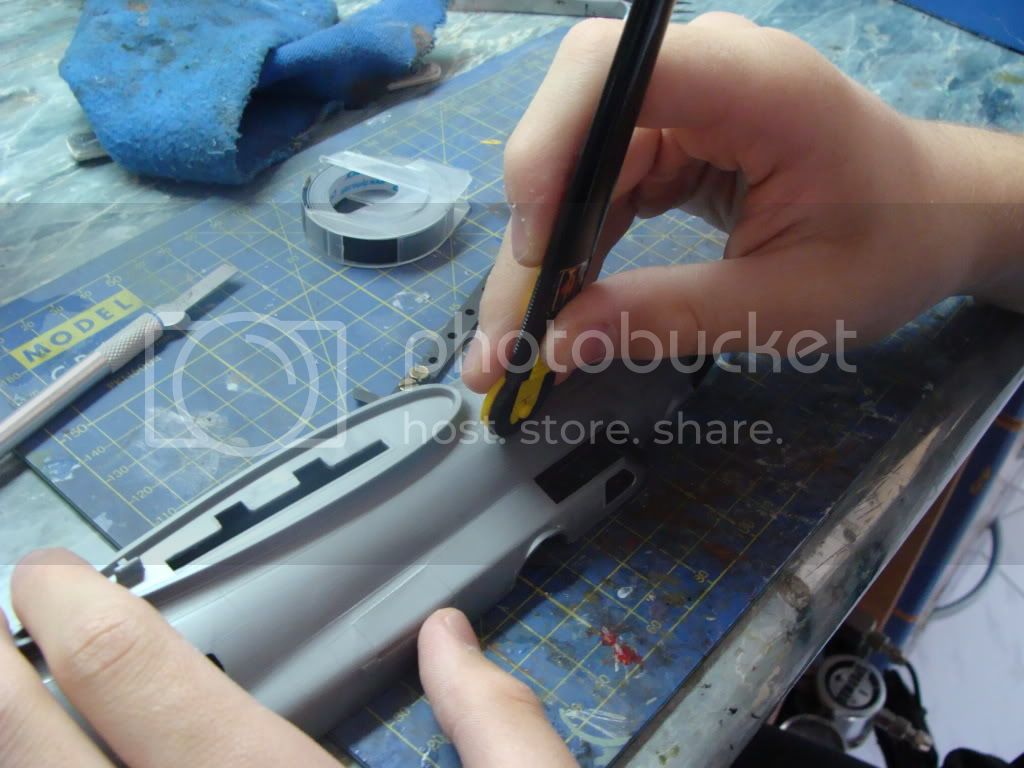
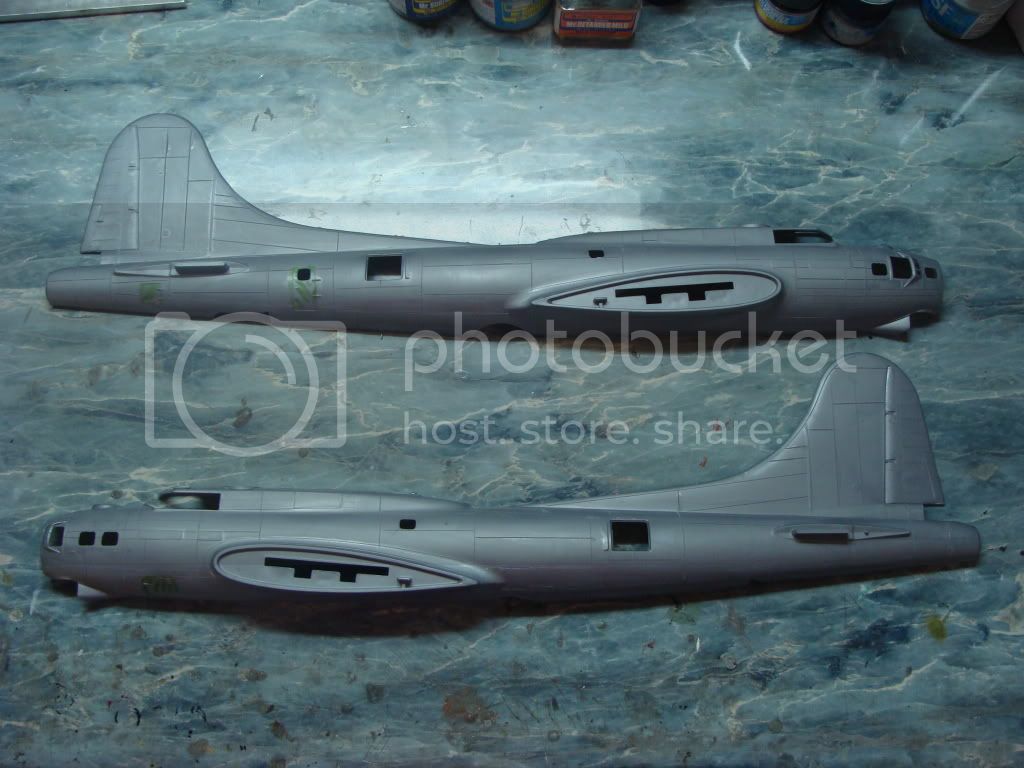
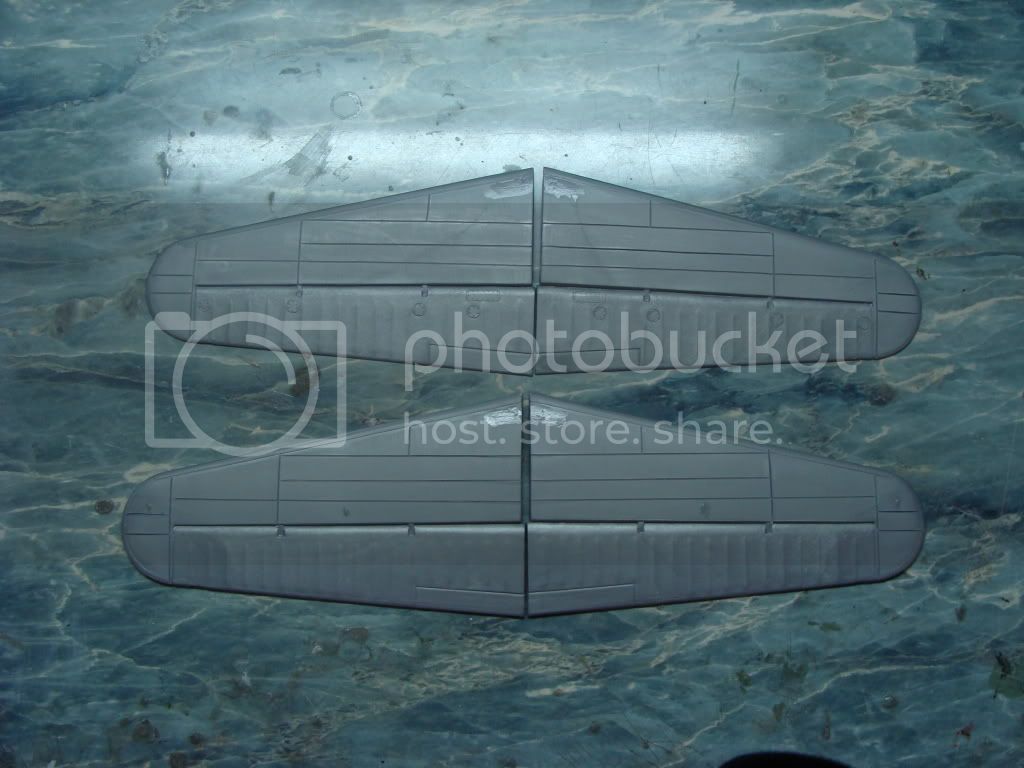
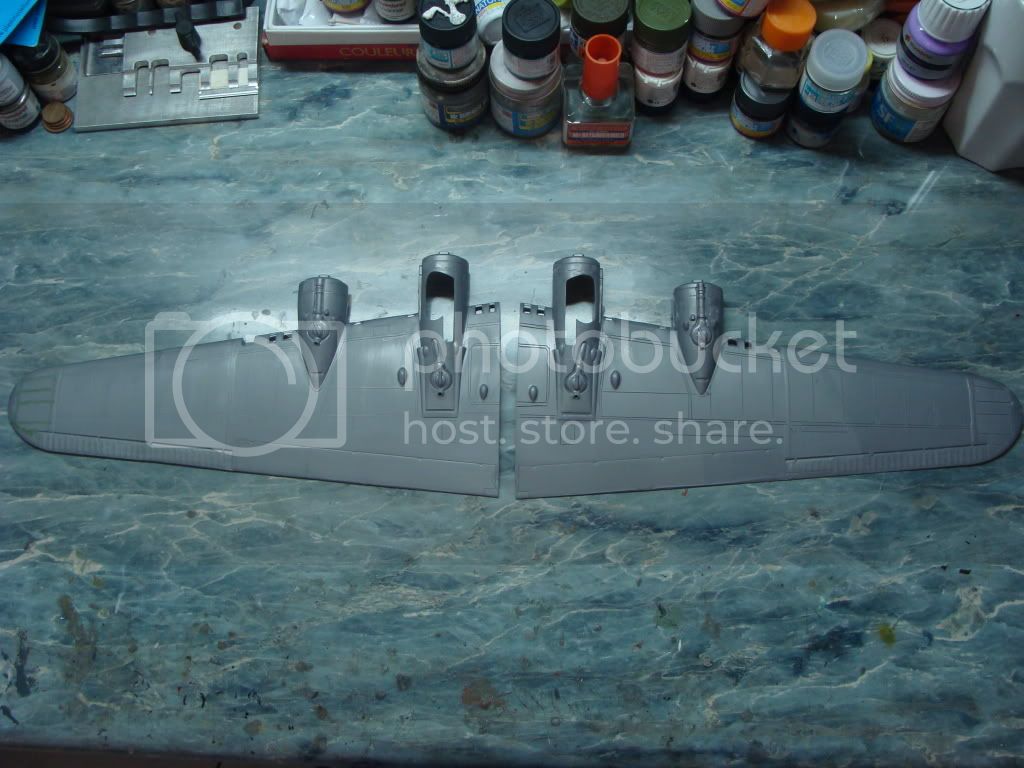
-Rescribing ALL panel lines (Already done)
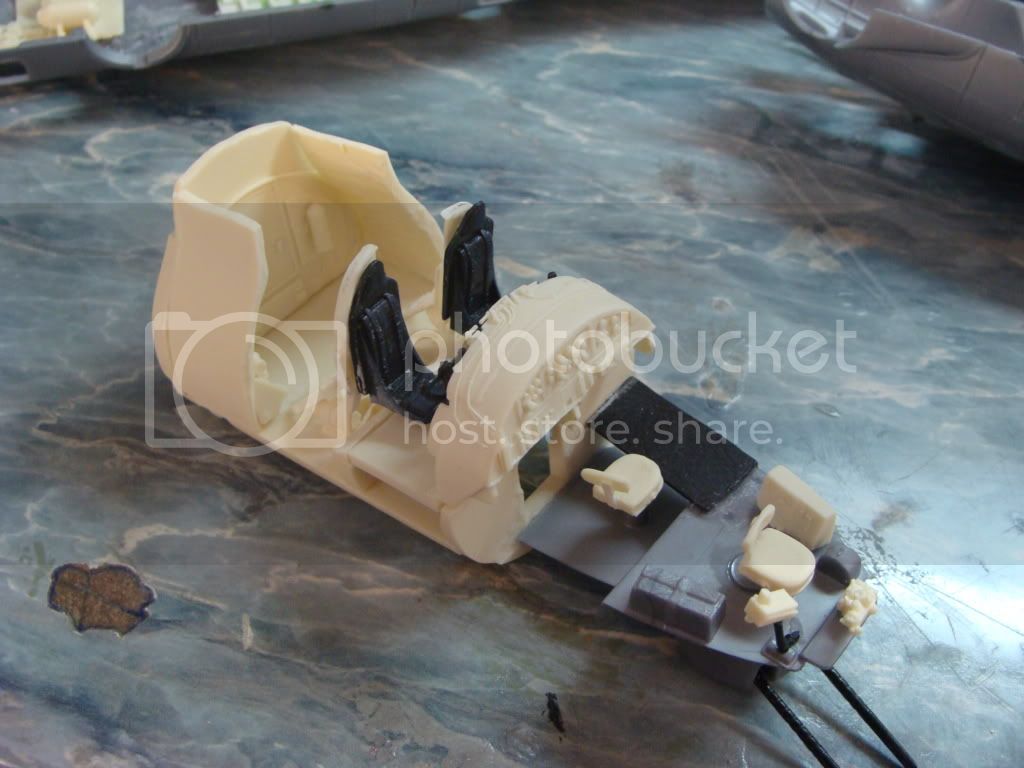
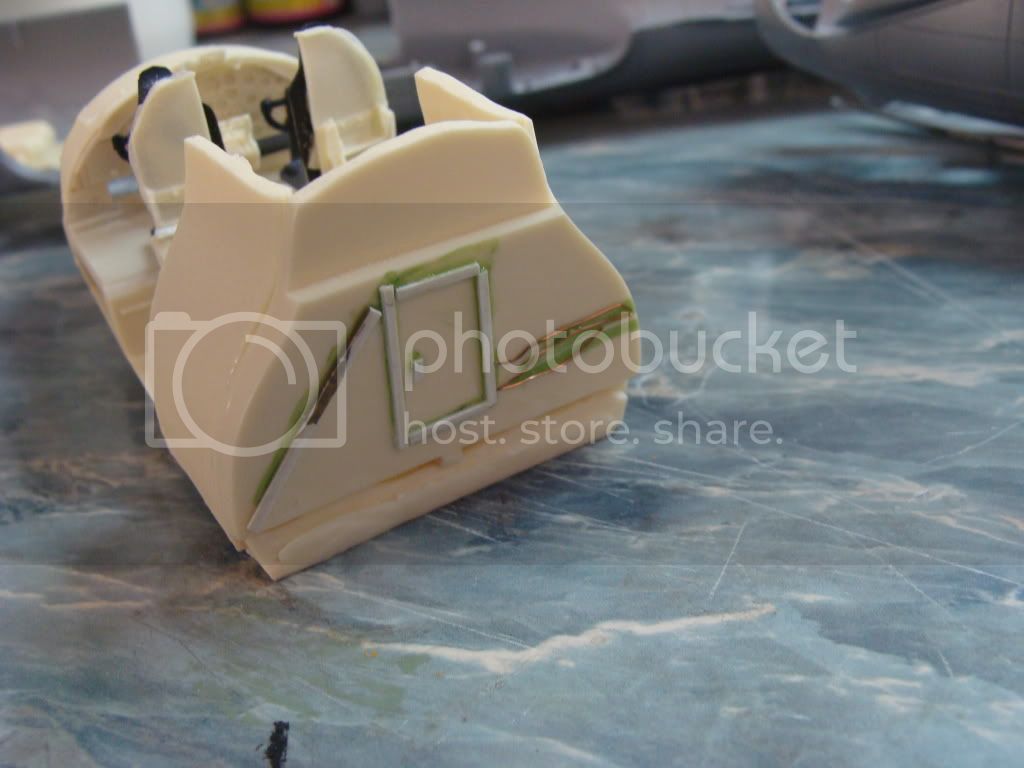
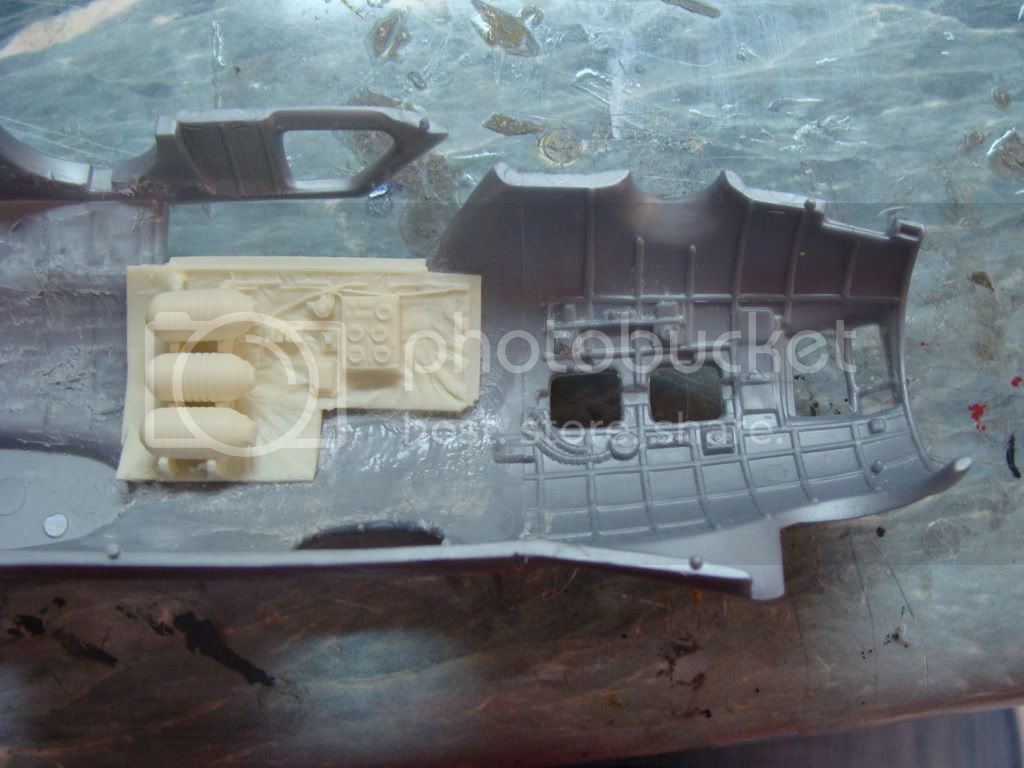
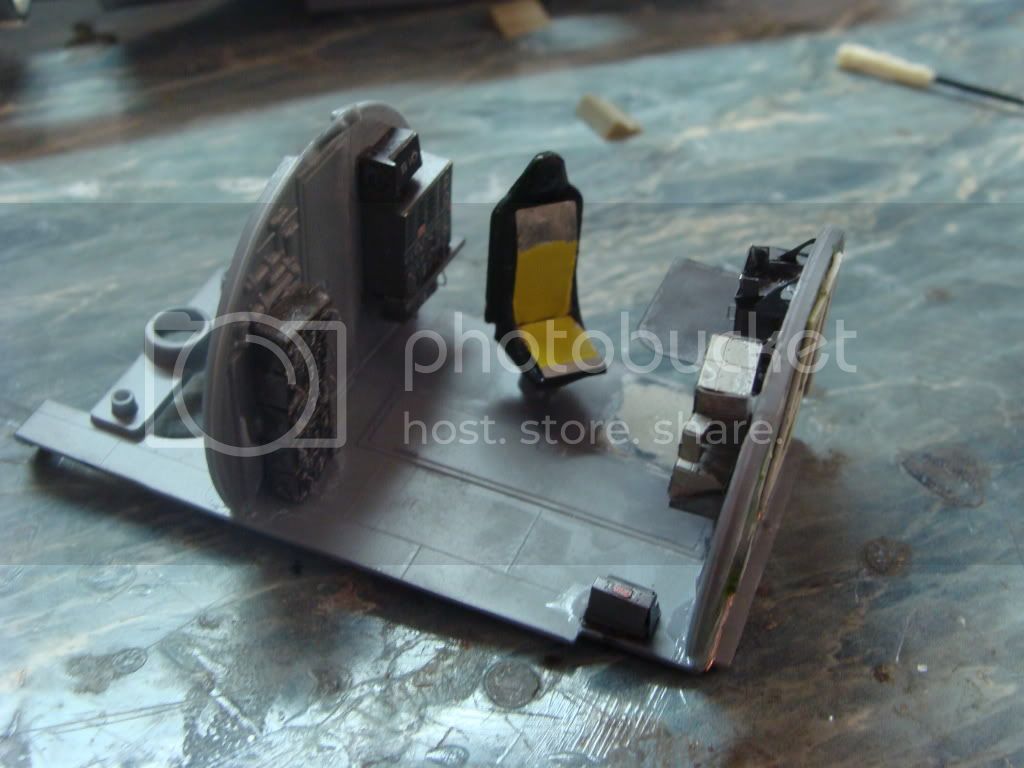
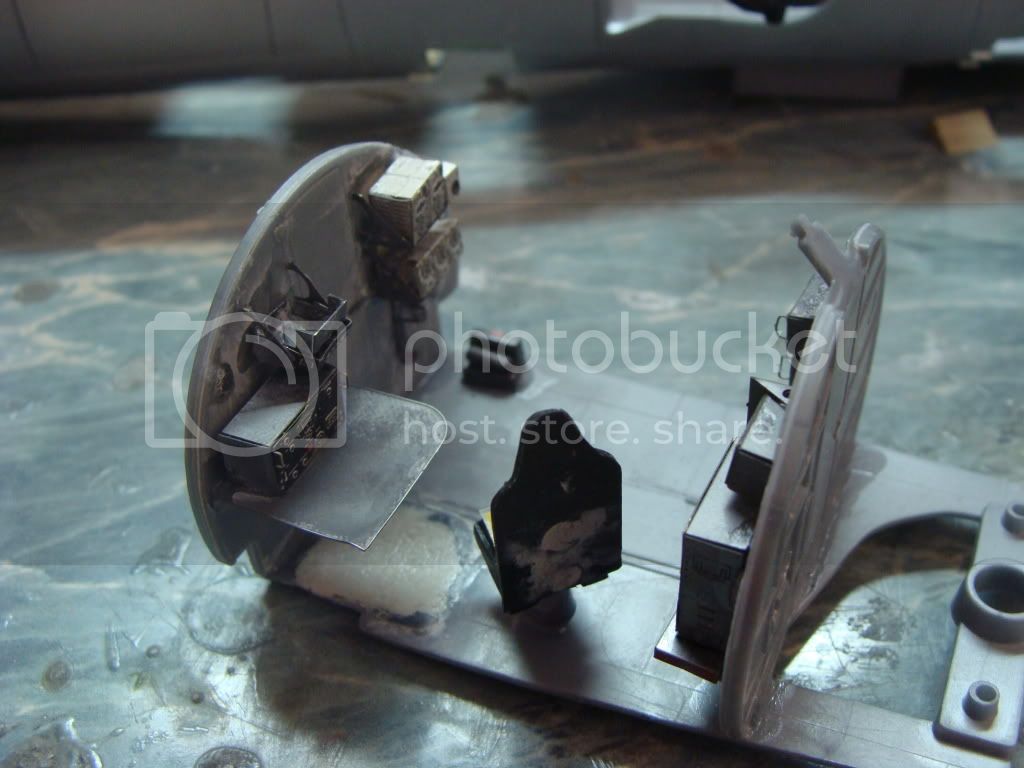
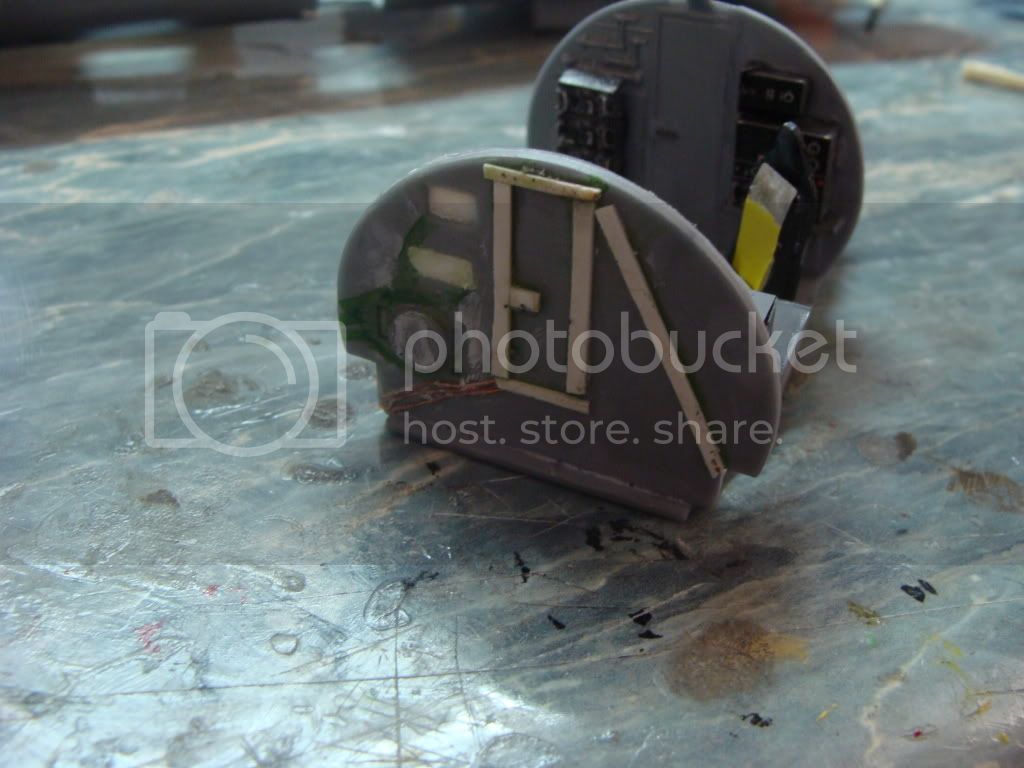
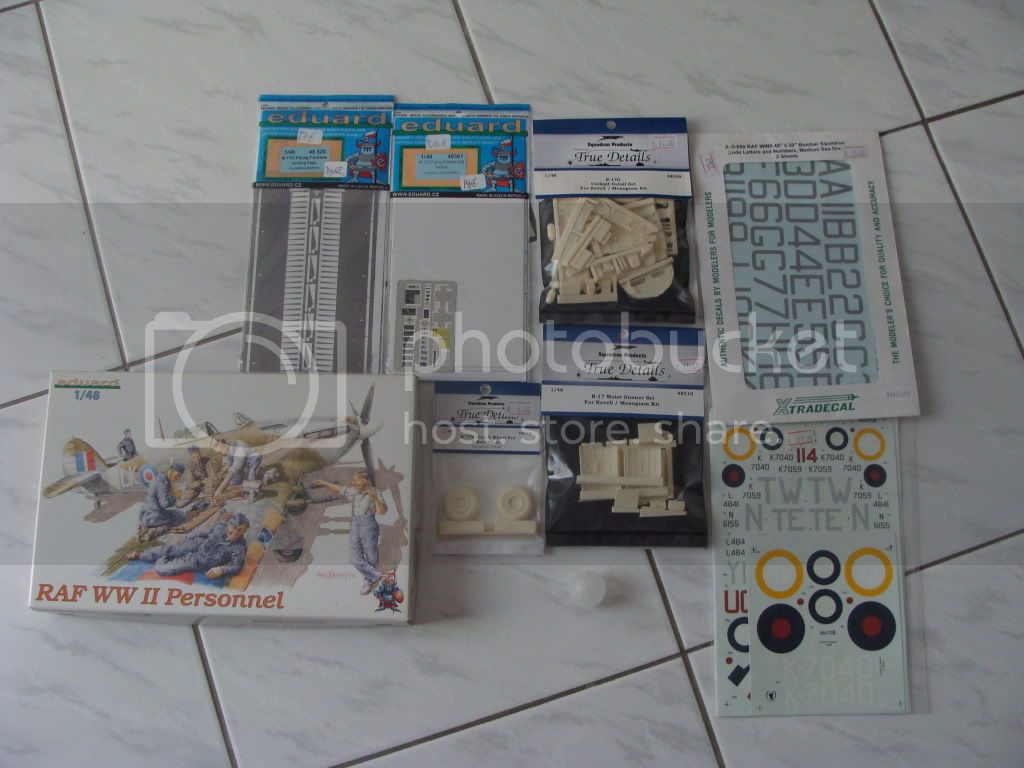
-True Details Set for Cockpit
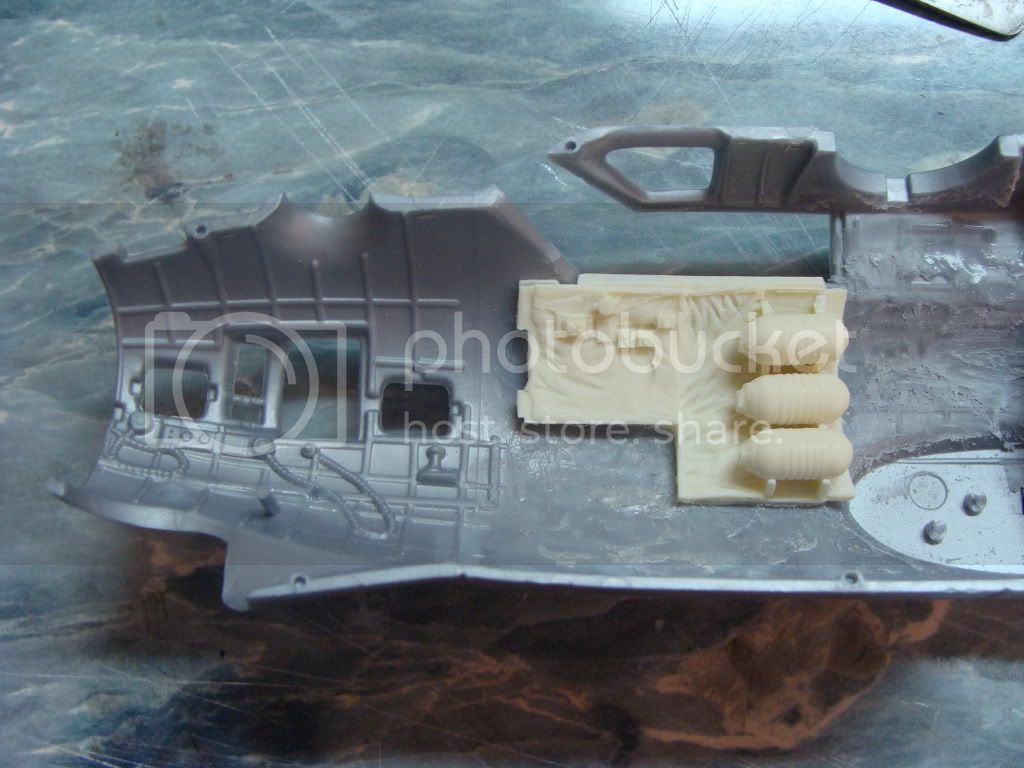
-True Details Set for Waist Gunner position
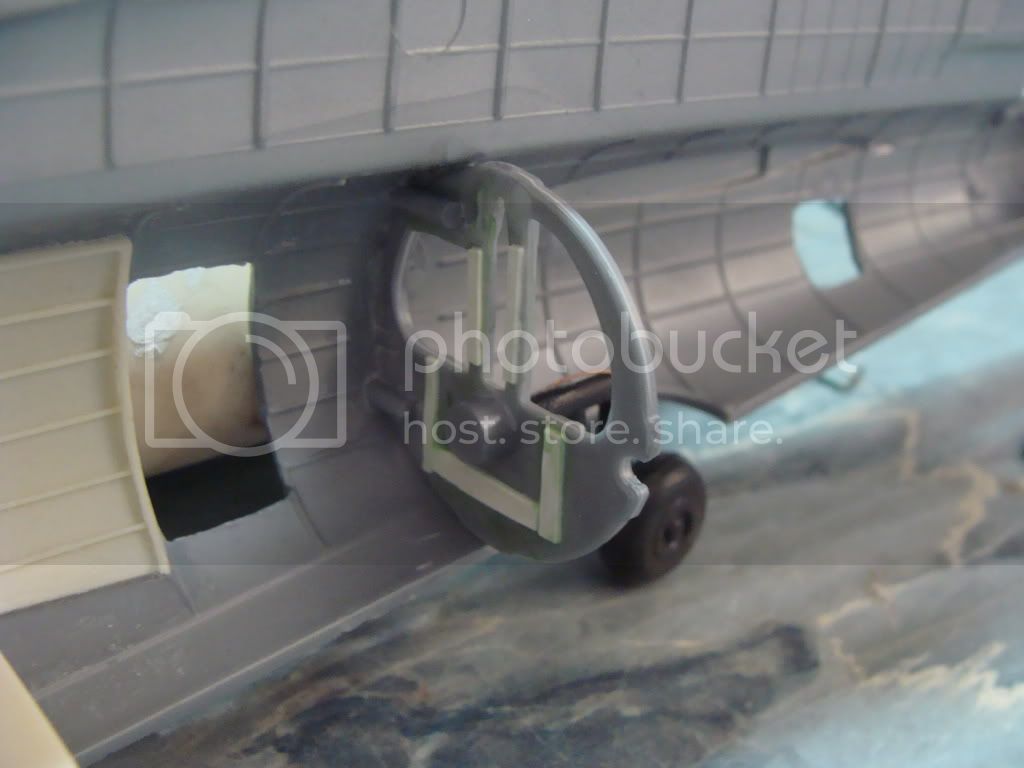
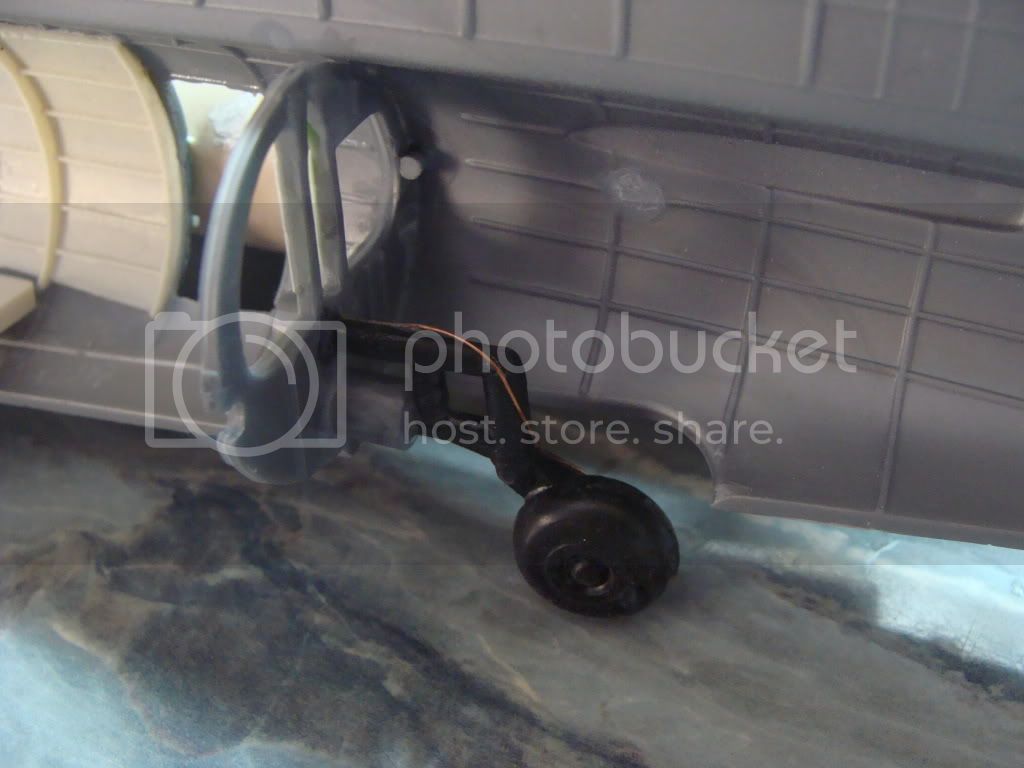
-True Details, main Wheel Set
-Eduard Radio Man compartment
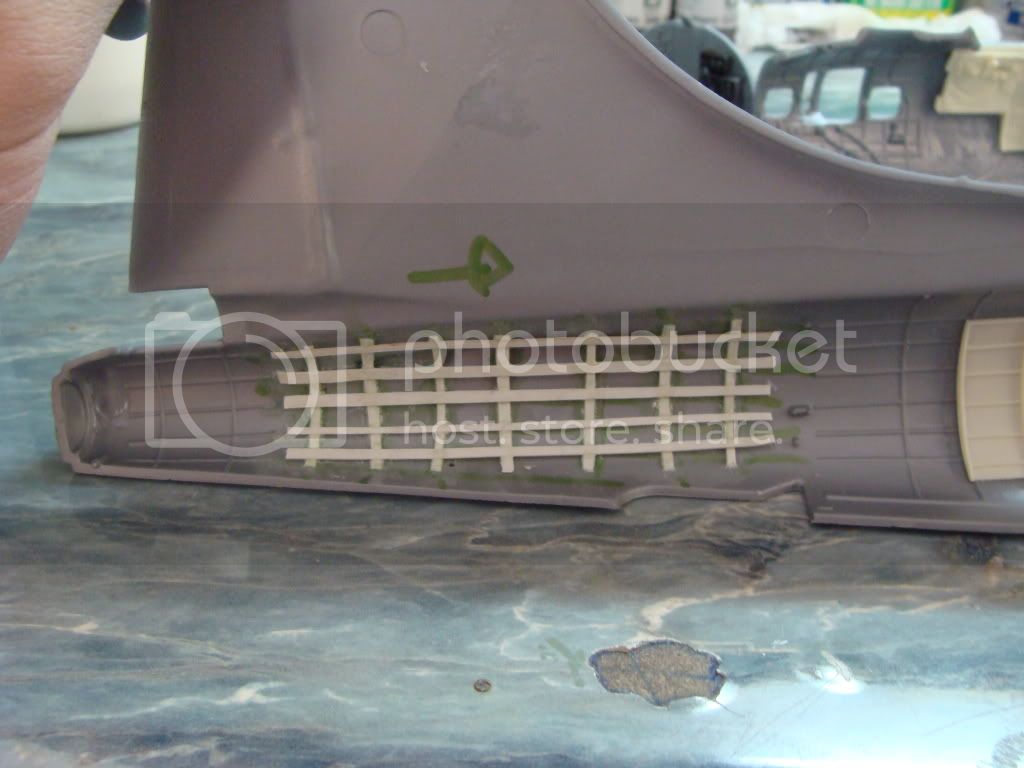
-Eduard Flap set
-Scratchbuilding some detail in bombardier's section (kit detail here is very good in this place, though)
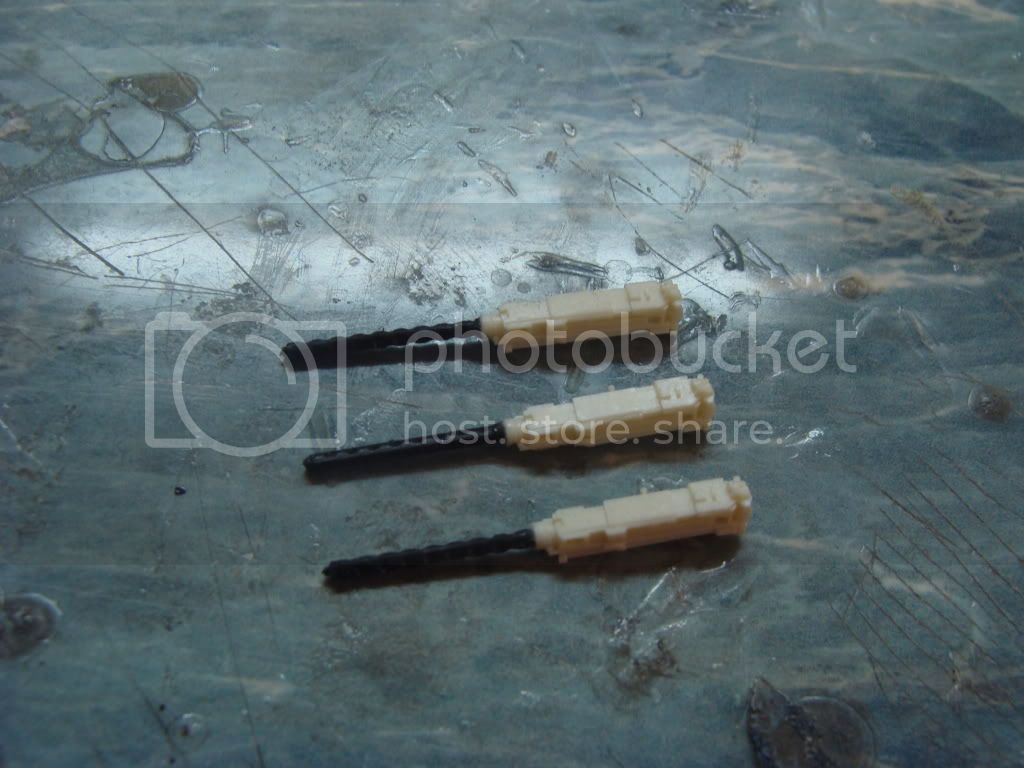
-Scratchbuilt engine detais (wiring)
-Some riveting here & there
I will also do the following things to convert it into a Coastal command bird:
-New markings
-Remove the ball turret and add a spherical shaped piece that will reproduct the radar
-Remove the two nose machine guns (NOT the nose turret)
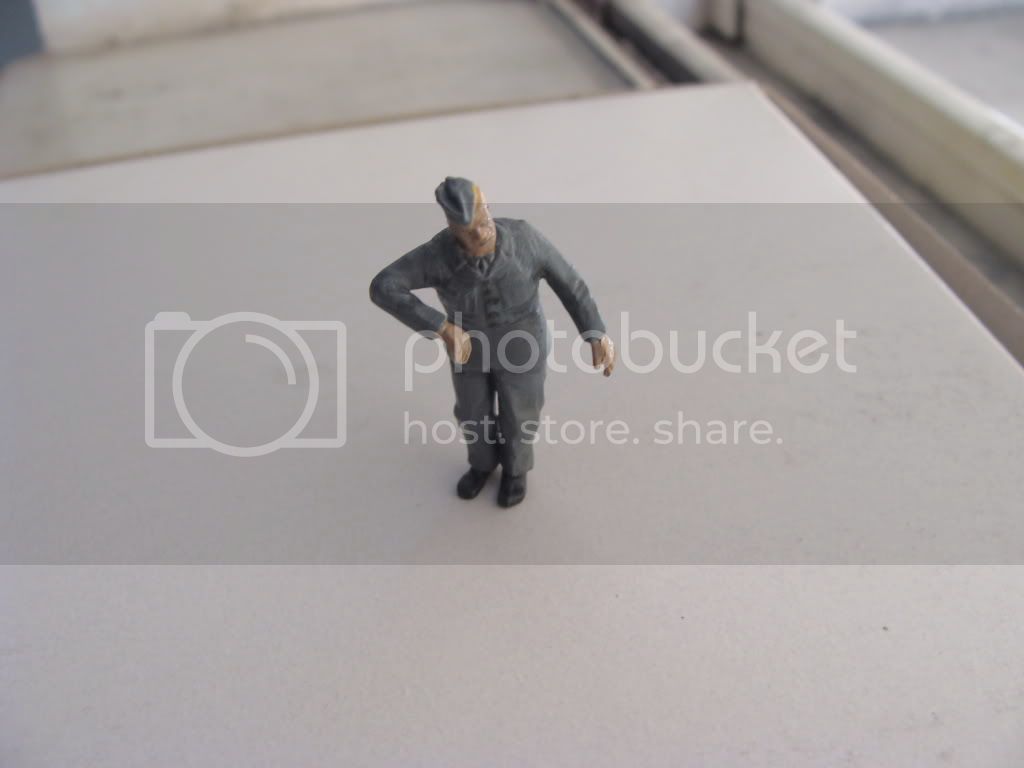
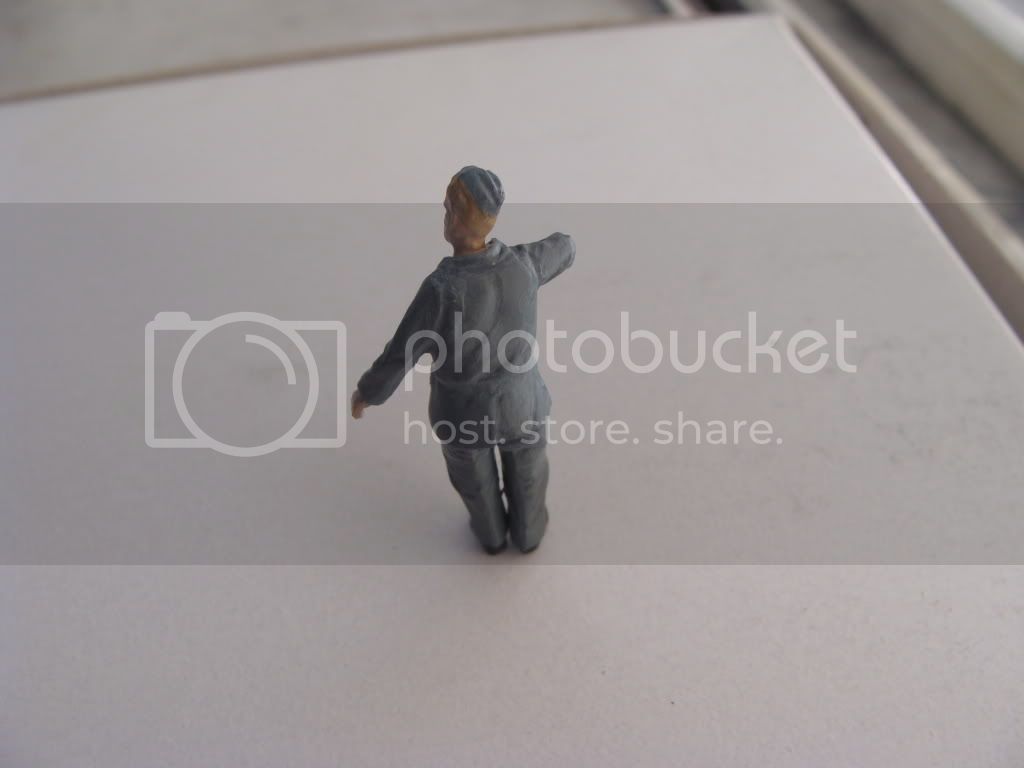
And for the endings, I'll add a RAF ground Crew officer figure in one of the wings

Now I'll show you the photos of the kit, the extras I'll add & the scribed model !


Cheers Nick