_GOTOBOTTOM
World War II
Discuss WWII and the era directly before and after the war from 1935-1949.
Hosted by Rowan Baylis
Fw-189A-1 Nachtjager- Build review
scvrobeson
_VISITCOMMUNITY
United States
Joined: May 17, 2011
KitMaker: 65 posts
AeroScale: 44 posts
Posted: Wednesday, July 27, 2011 - 01:43 PM UTC
Hey everybody. Thought I should post this. I was given this kit by Jim Starkweather, KitMaker publisher to build up. This kit has been built and reviewed elsewhere, so I'm going to tackle the night-fighter edition of it.


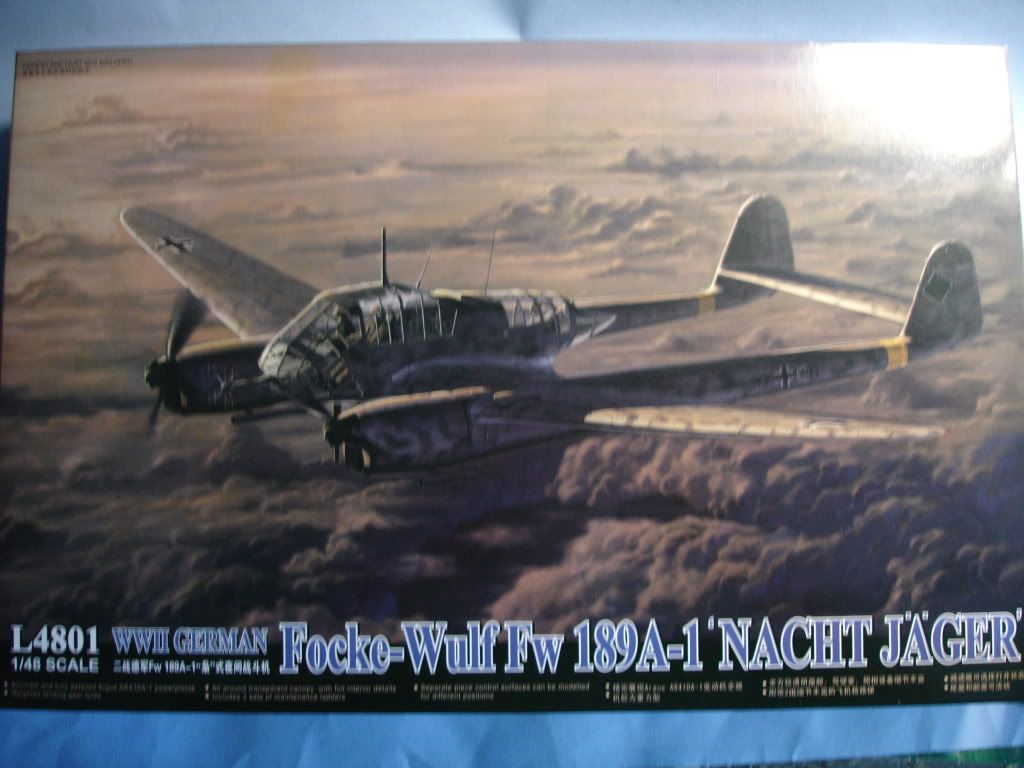
First off, here's the obligatory box-top shot.


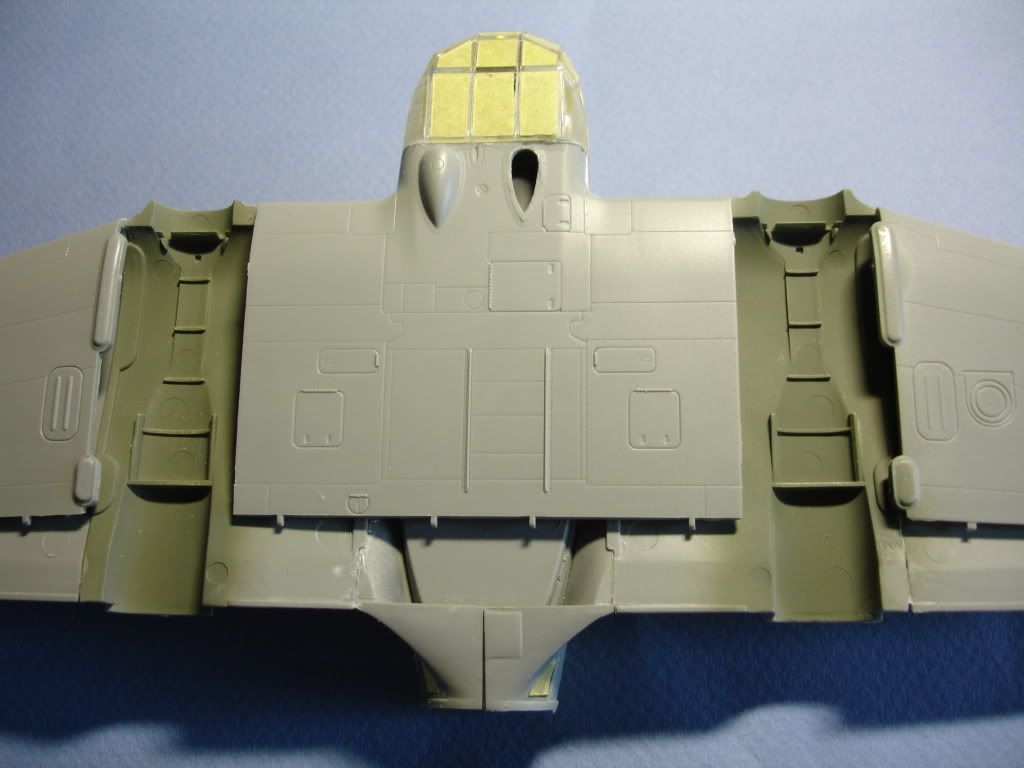
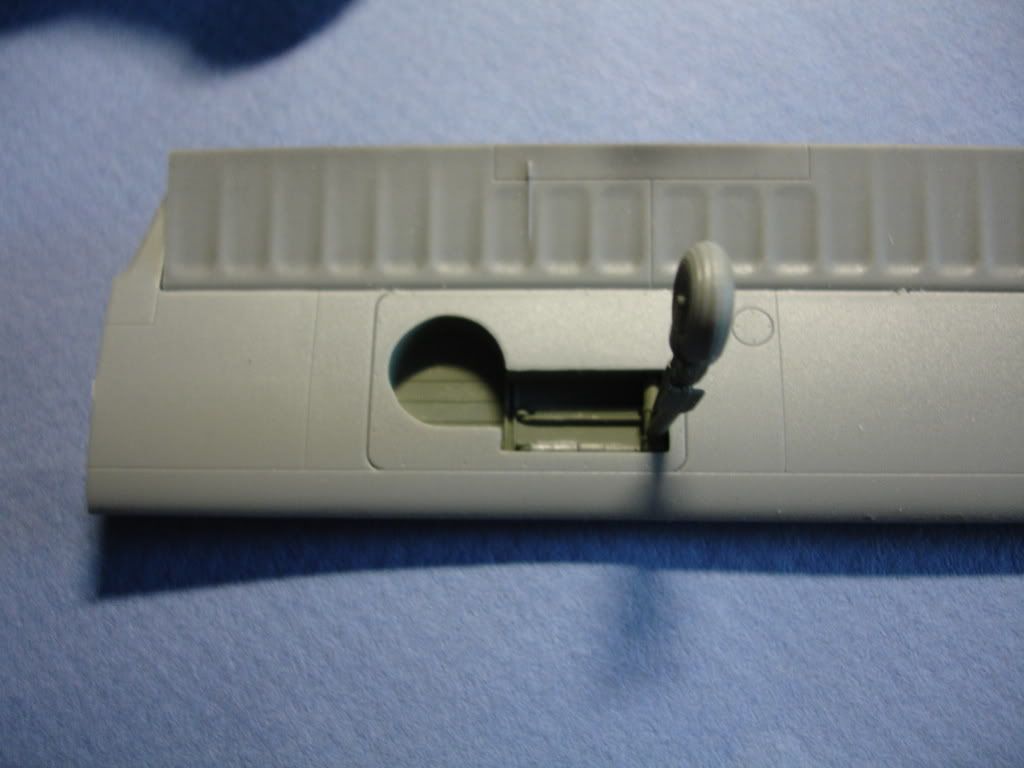
The kit comes very, very well molded. Especially when you consider this is GWH's first aircraft kit. The only problem I've found in this kit is the ejector pins. Maybe this works for armor kits, but it's way too much for a plane kit, especially on so many visible areas, like the landing gear wells, and the engine bay doors.

It also comes with a couple of nice bonuses, namely a set of full engines, and boarding and maintenance ladders. Also, a poster of the box art in the bottom, suitable for framing and displaying.

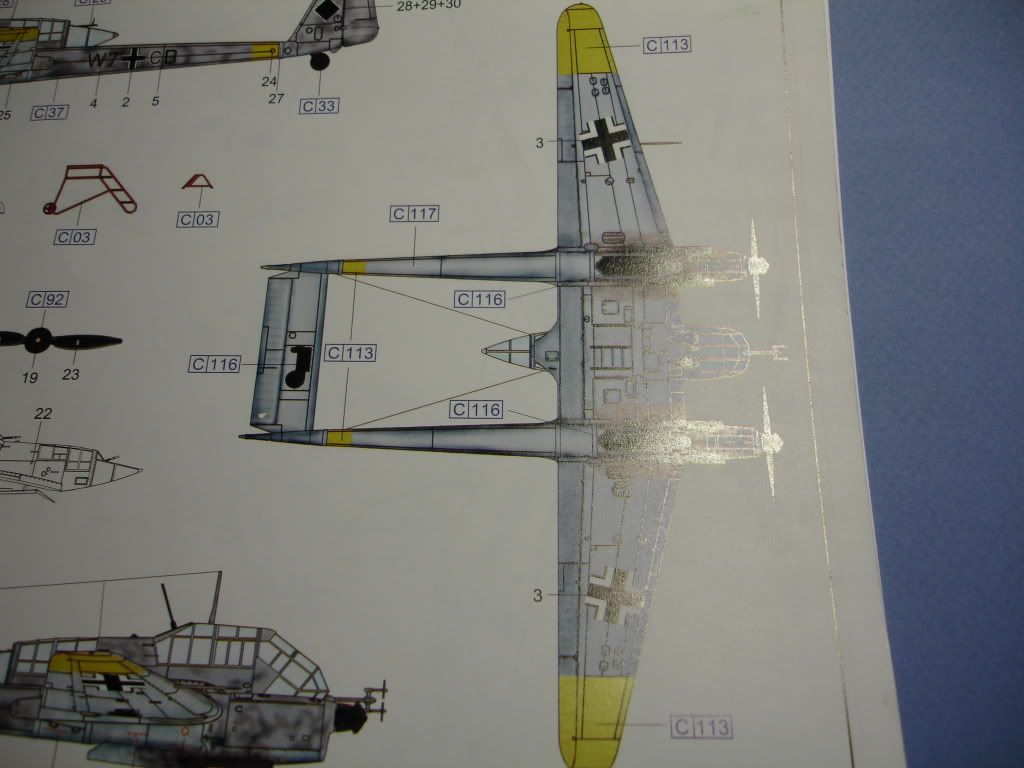
And sadly, only one marking option in the box, a nightfighter from early 1945. It's in either RLM 76 overall, with an RLM 75 mottle on top, or RLM 76 on bottom, RLM 75 on top, with a 76 mottle. I'm confused, might try a couple of different methods to achieve the paint scheme.


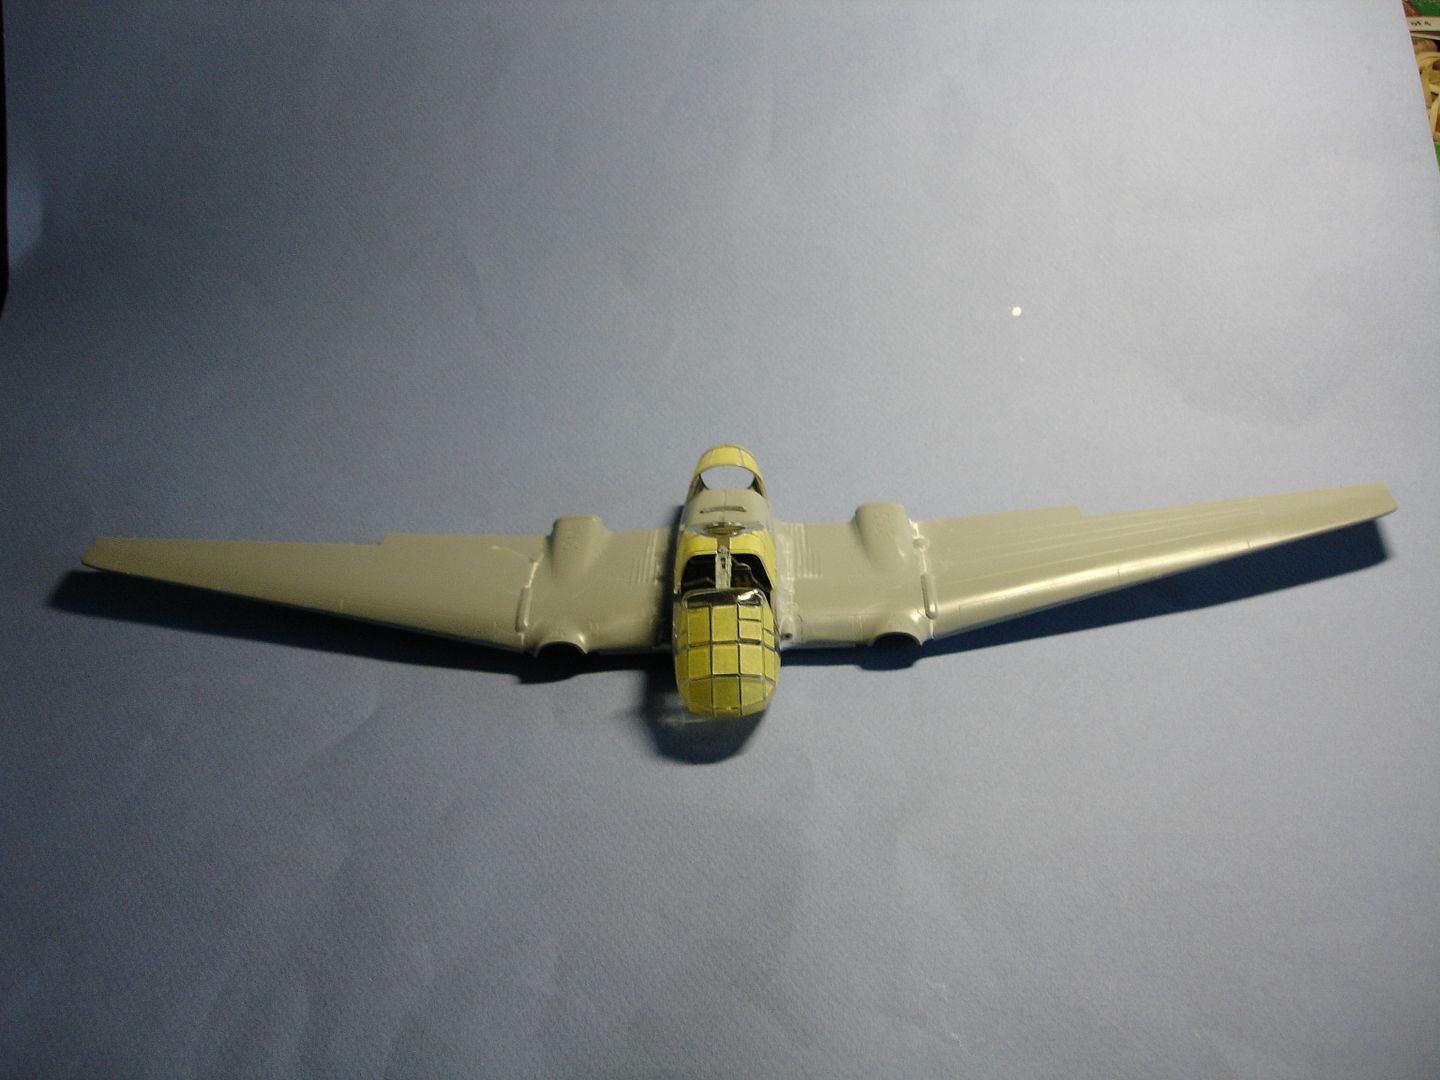
I got right to work after receiving the kit, and that meant getting to work on the interior. Everything got a quick shot of Model Master RLM 66, since I found some research that any plane with a large amount of greenhouse was painted 66 inside.

After the base-coat was down, I highlighted by adding white to the grey, then shaded by spraying VERY thin flat black into the recesses. Then I went to work detail painting, using Vallejo and Tamiya Acrylics. I use acrylics over the enamel base coats, because if something goes wrong, I can use alcohol to clean up the mistakes.


The last step was to give everything a dry-brush with Mig German Grey Highlight oil paint, which is a nice light grey.


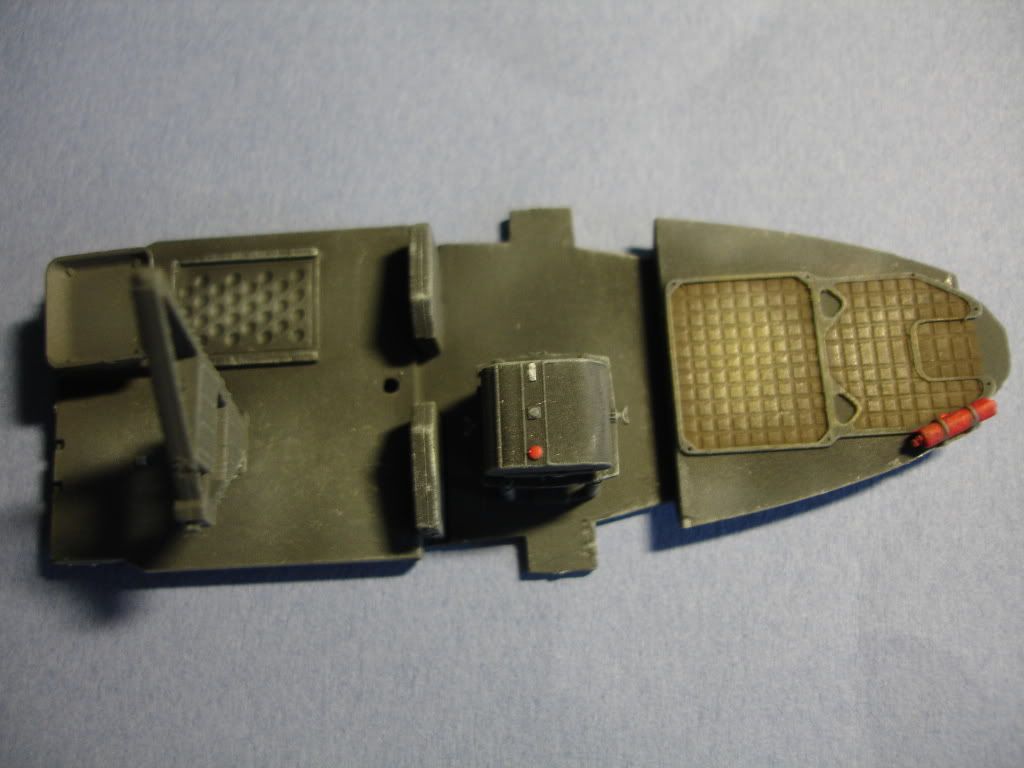
I did the rear gunner's "pad" with Vallejo Brown Leather, then dry-brushed with Tamiya Deck Tan to give it a worn look.


I will hope to keep this build updated very quickly, already have the fuselage together, and I'm going to try something different with the wings and tail booms.

Thanks for reading in everybody, hope to not disappoint with this build.

Matt
Merlin
Staff MemberSenior Editor
AEROSCALE
#017
_VISITCOMMUNITY
United Kingdom
Joined: June 11, 2003
KitMaker: 17,582 posts
AeroScale: 12,795 posts
Posted: Wednesday, July 27, 2011 - 07:26 PM UTC
Hi Matt

Nice start. I really like the subtle shading work - the gunner's pad looks great.

A couple of points I noticed; the coloured rectangles you've picked out on the starboard sidewall are empty clips for flares, so I think they'd probably just be painted RLM 66, and most sources I've read seem to agree that the camera would have been removed for the nightfighter conversion.

I'm looking forward to seeing how your build progresses - I hope to get my own attempt iunderway soon using the North Star interior detail set which Alex Sulla has just announced is complete.

All the best

Rowan
scvrobeson
_VISITCOMMUNITY
United States
Joined: May 17, 2011
KitMaker: 65 posts
AeroScale: 44 posts
Posted: Wednesday, July 27, 2011 - 07:50 PM UTC
Thank you Rowan. I painted the flare racks just to put a little bit of color in there, it gets a bit dark inside of that cockpit. I will remove the camera though, thanks for the catch. I was wondering how it would be used, without me drilling a hole through the bottom of the fuselage.


Thanks for reading in, I hope you enjoy the build.

Matt
scvrobeson
_VISITCOMMUNITY
United States
Joined: May 17, 2011
KitMaker: 65 posts
AeroScale: 44 posts
Posted: Thursday, July 28, 2011 - 03:00 PM UTC
Hey everyone. Have a lot more progress on the 189. Got the whole fuselage assembled, and some of the glass installed. I've heard some negative comments about the canopy masks, so I didn't even bother with them, and just masked them with Tamiya tape, it took 20 minutes to do everything, after the glass had a bath in Future to clear them up a bit.


I went a different route on the wings than the instructions say, in order to take care of any seams, which there were a couple. Just filled them in with some Gunze Dissolved Putty, then wiped away the excess with a Q-Tip dipped in alcohol.

The last bit of progress I made was to glue together the tail, which involves trapping the tail wheel in as well, not my favorite method, but the hinge works well enough that you can tuck the tail wheel up for painting.


Anyways, here are my new pictures.


And am I the only one seeing a WHIF tailless assault glider, like the Baynes Bat...?


That's all for this, hope to get some more done in the next couple of days here, thanks everybody for reading in.


Matt
 _GOTOTOP