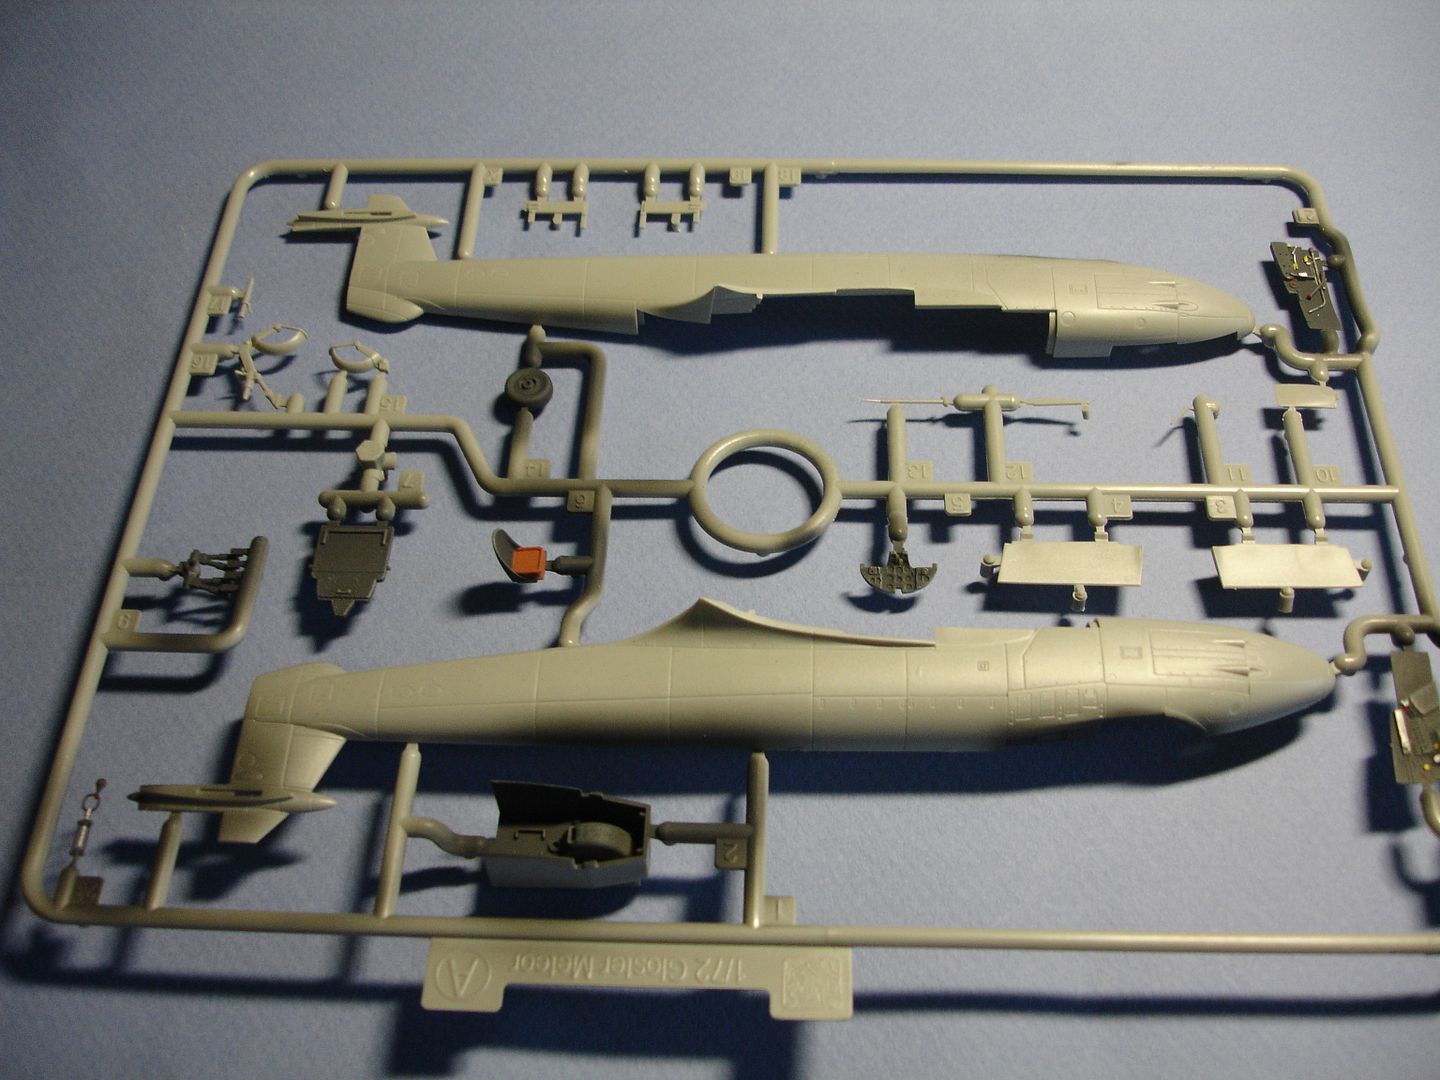
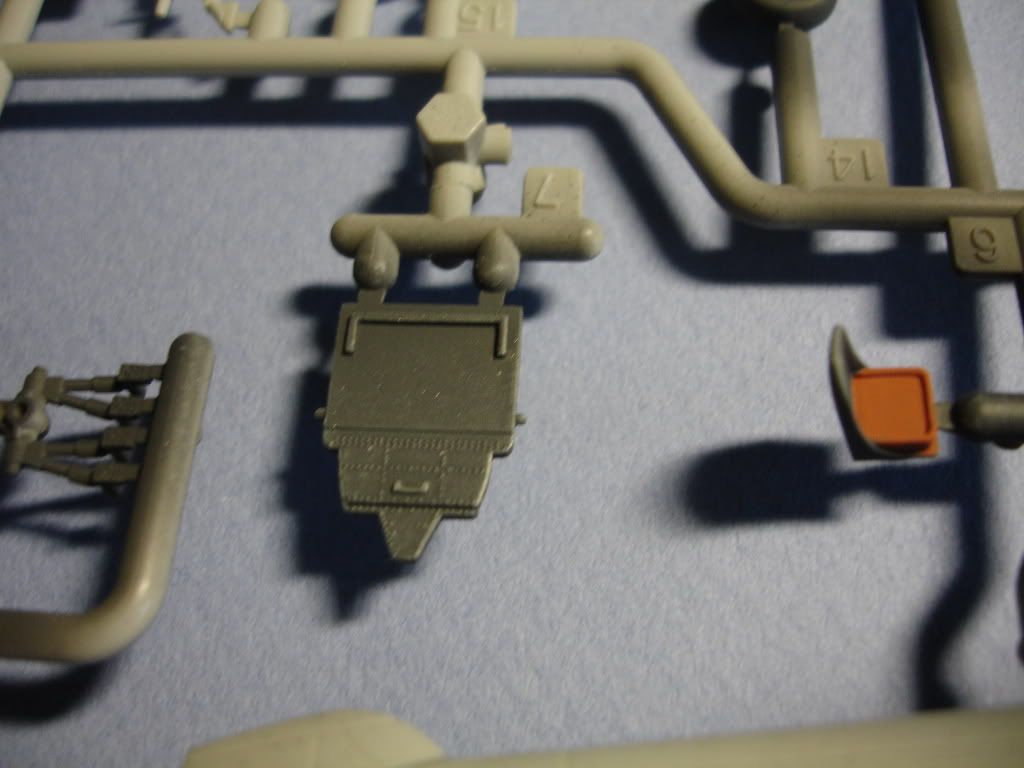
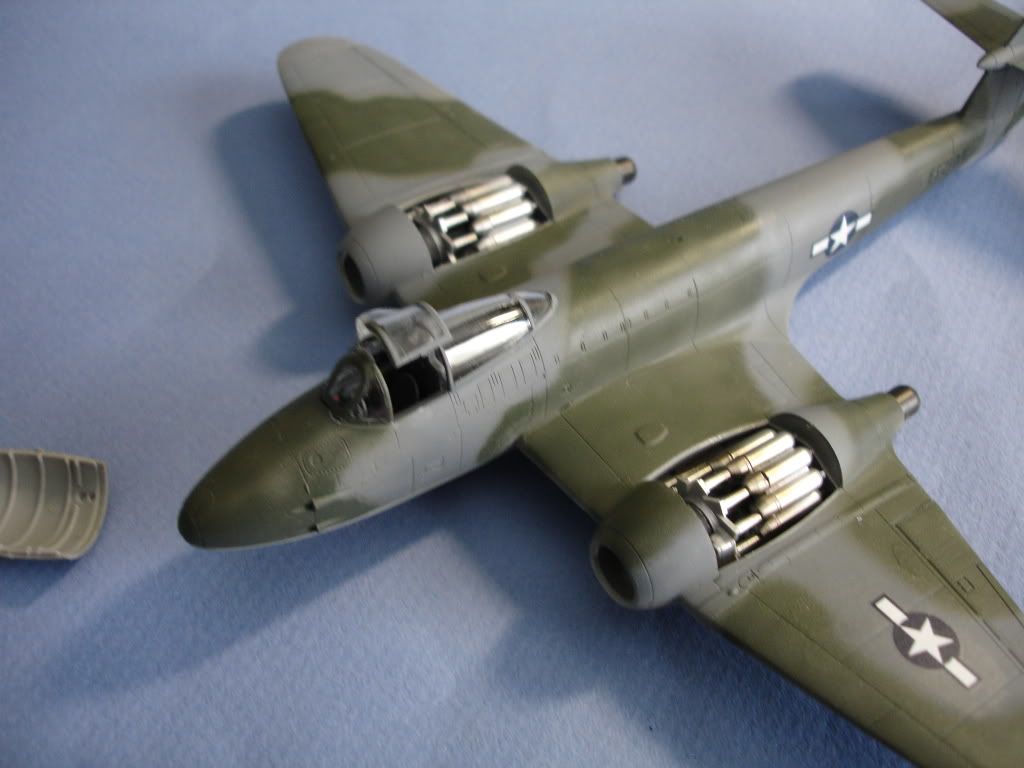
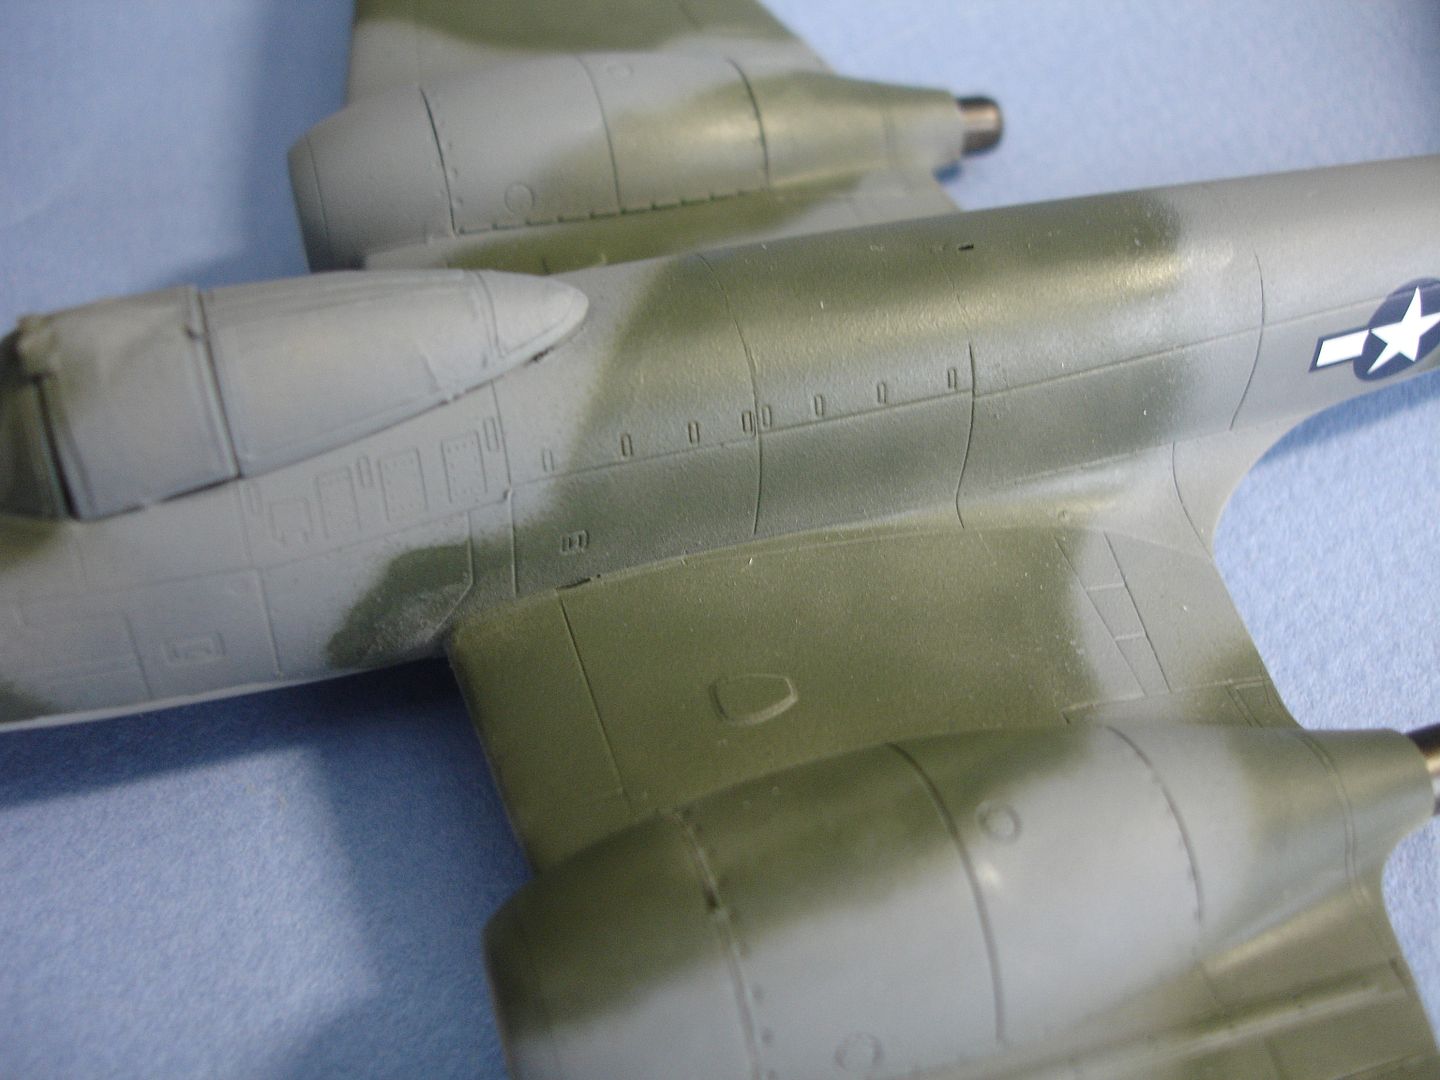
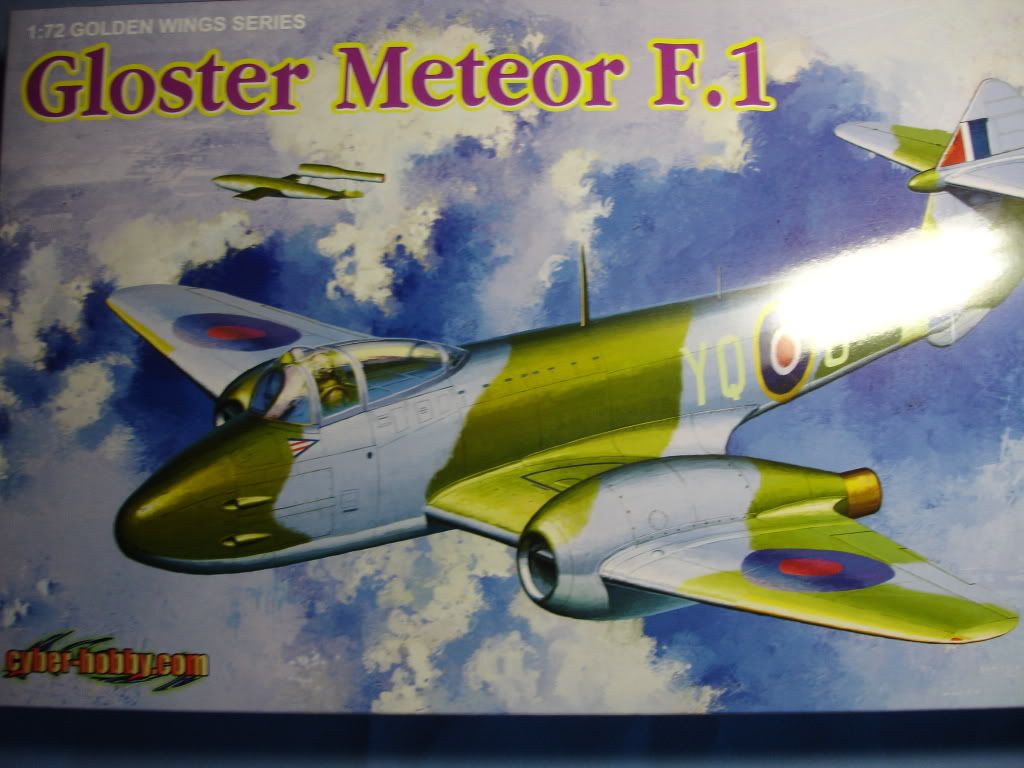
Hi everyone. Since the Fw-189 is really starting to make me tear my hair out, I decided to move on to one of my other review builds, the brand new Cyber-Hobby Gloster Meteor F.1. This is an amazing piece of plastic, using a large amount of Dragon's "slide-molding" technology, and it really shows. Most of the parts that should be hollow are, and the control surfaces are all one piece, with no sink marks or ejector pins.
All I've done so far is paint the cockpit, using Model Master Flat Black, with a little IJN Sky Grey mixed in, to give it some more of a scale appearance. Detail painting was done with Vallejo acrylics, my favorite paint to detail with. The only think missing from this kit is photo-etch seatbelts, that would have made the kit perfect.
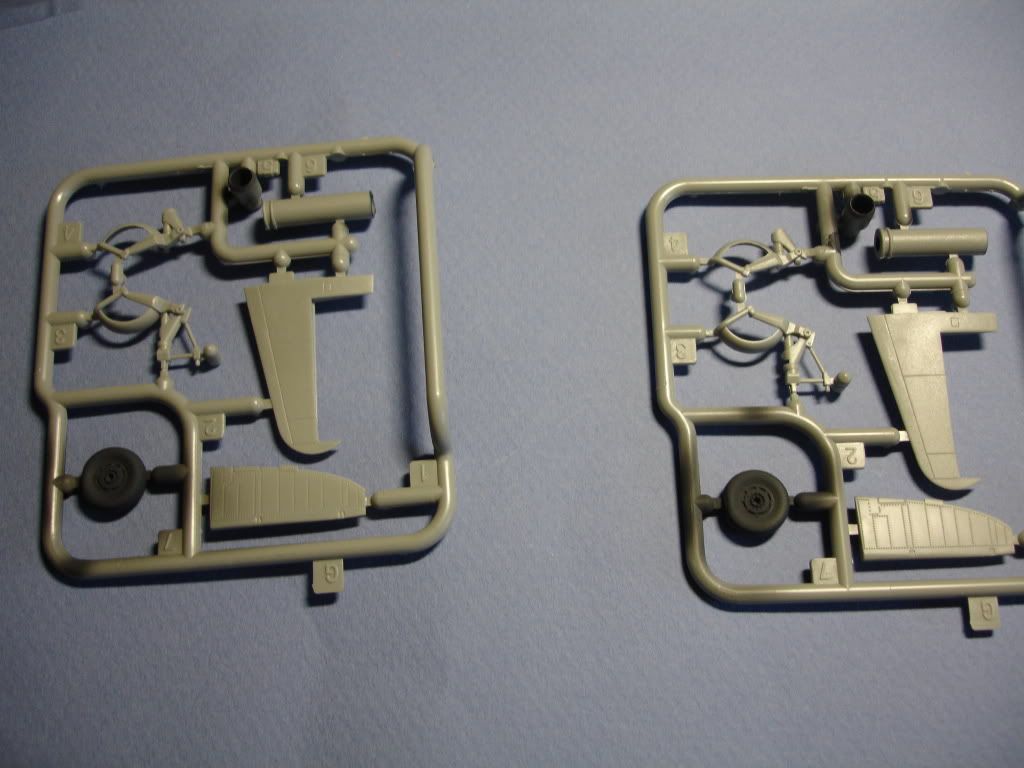
Here you can see the slide-molded horizontal stabilizers, not an ejector pin in sight here!
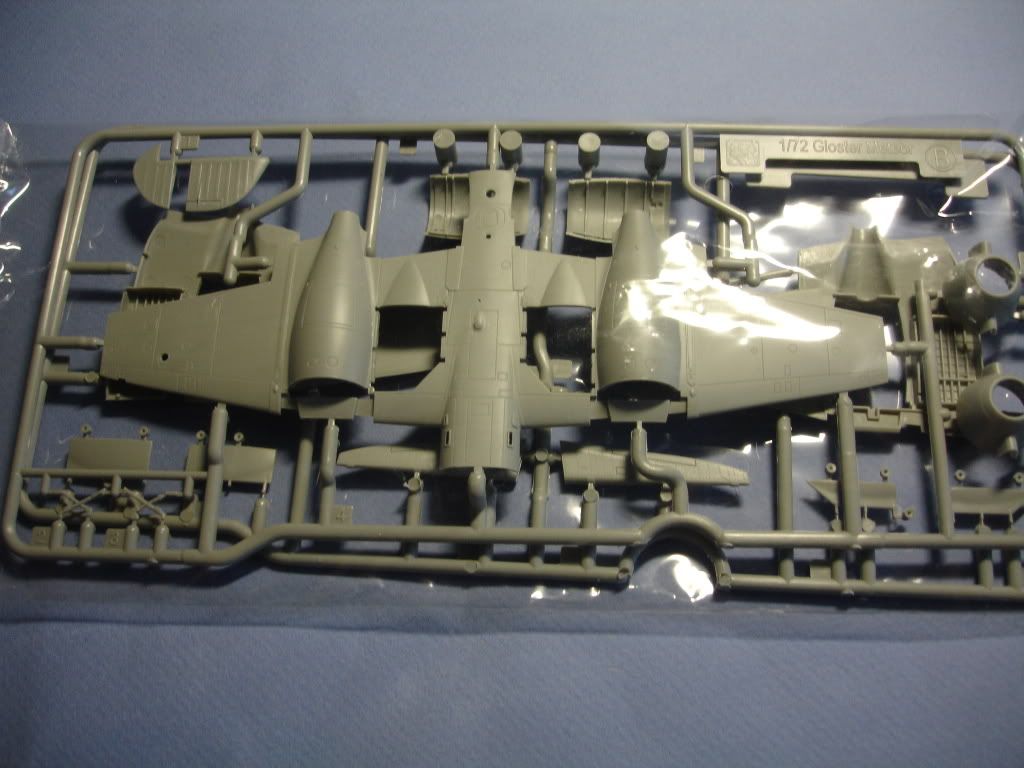
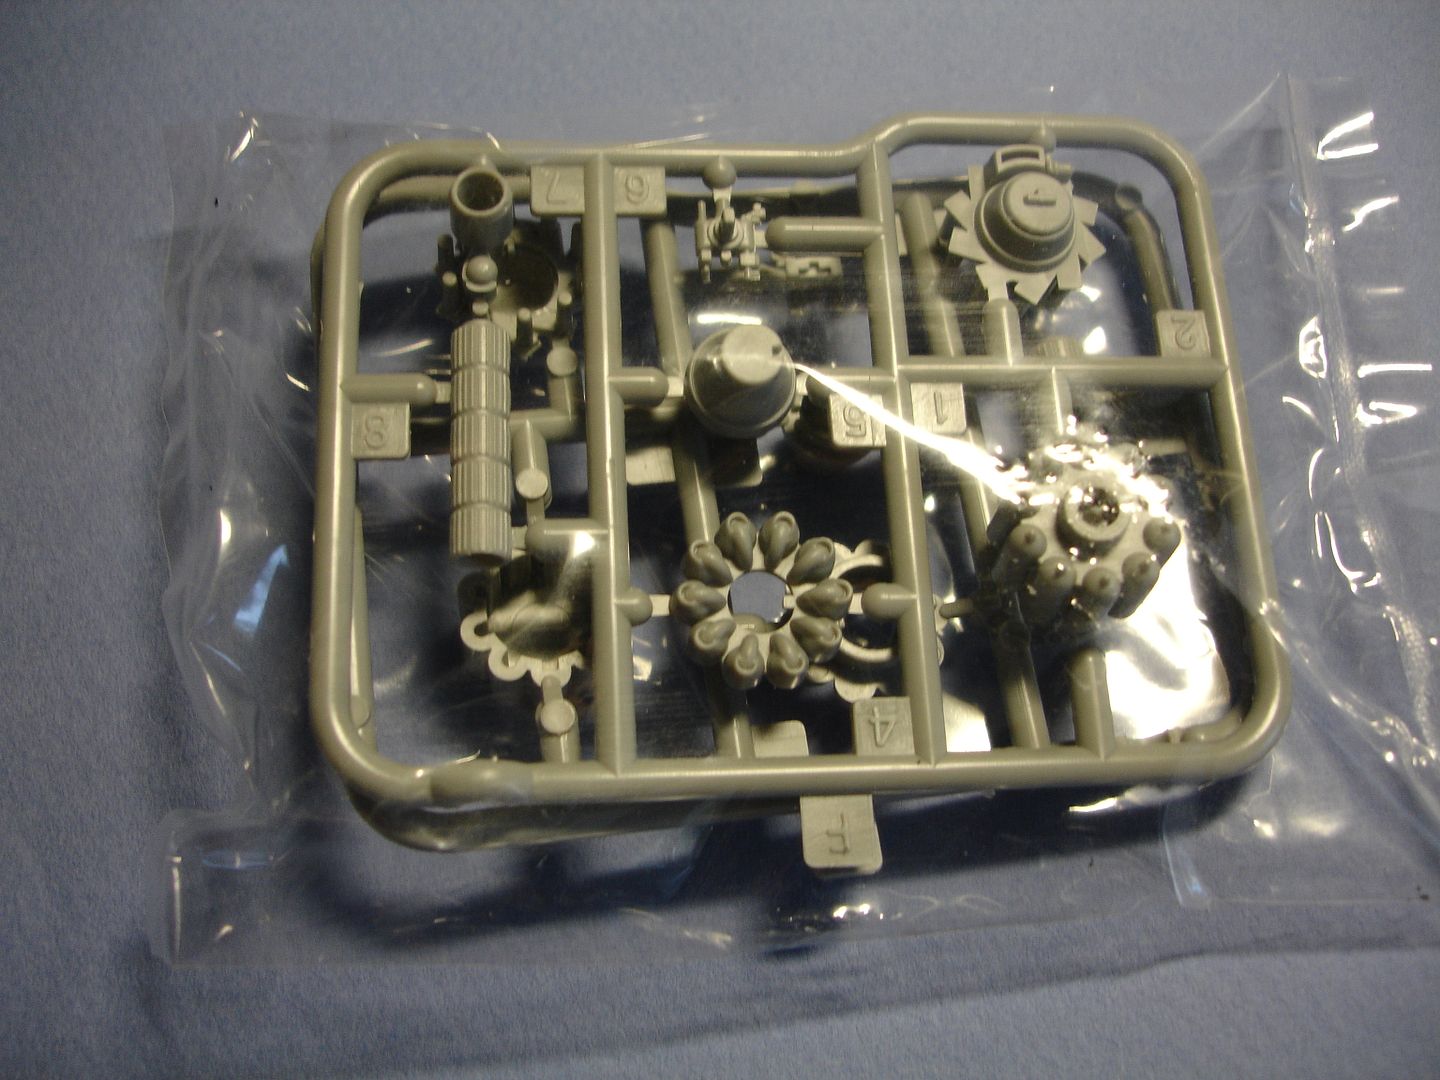
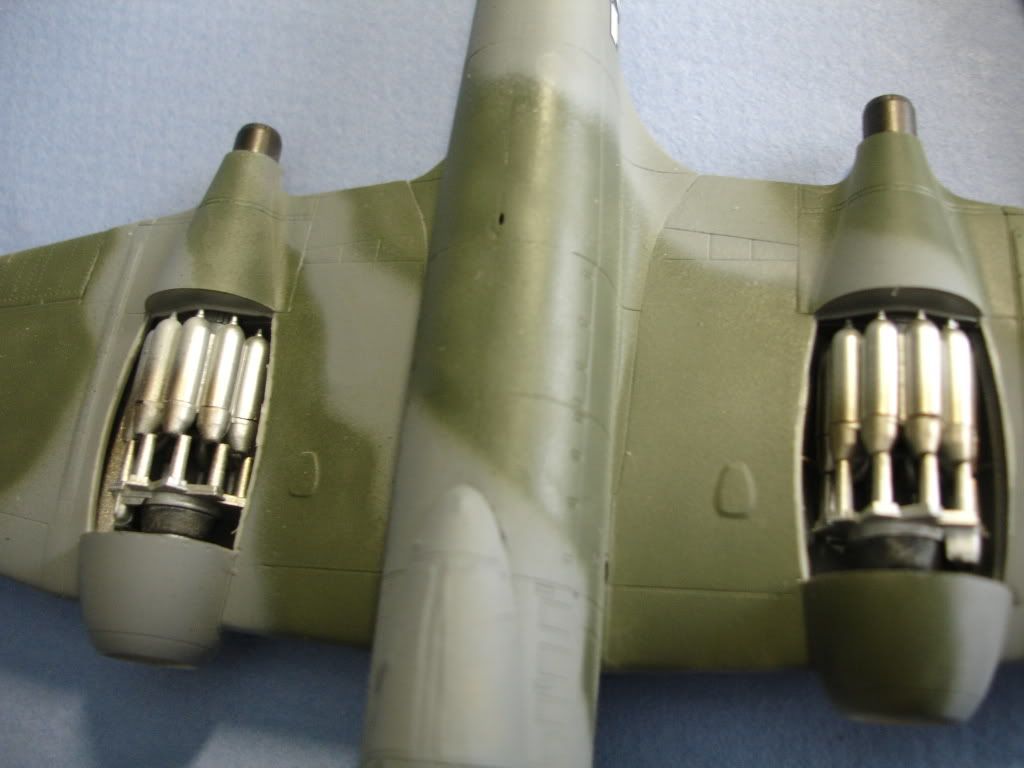
Two full engines are supplied, I might display those open in the wings, they are very nicely detailed.
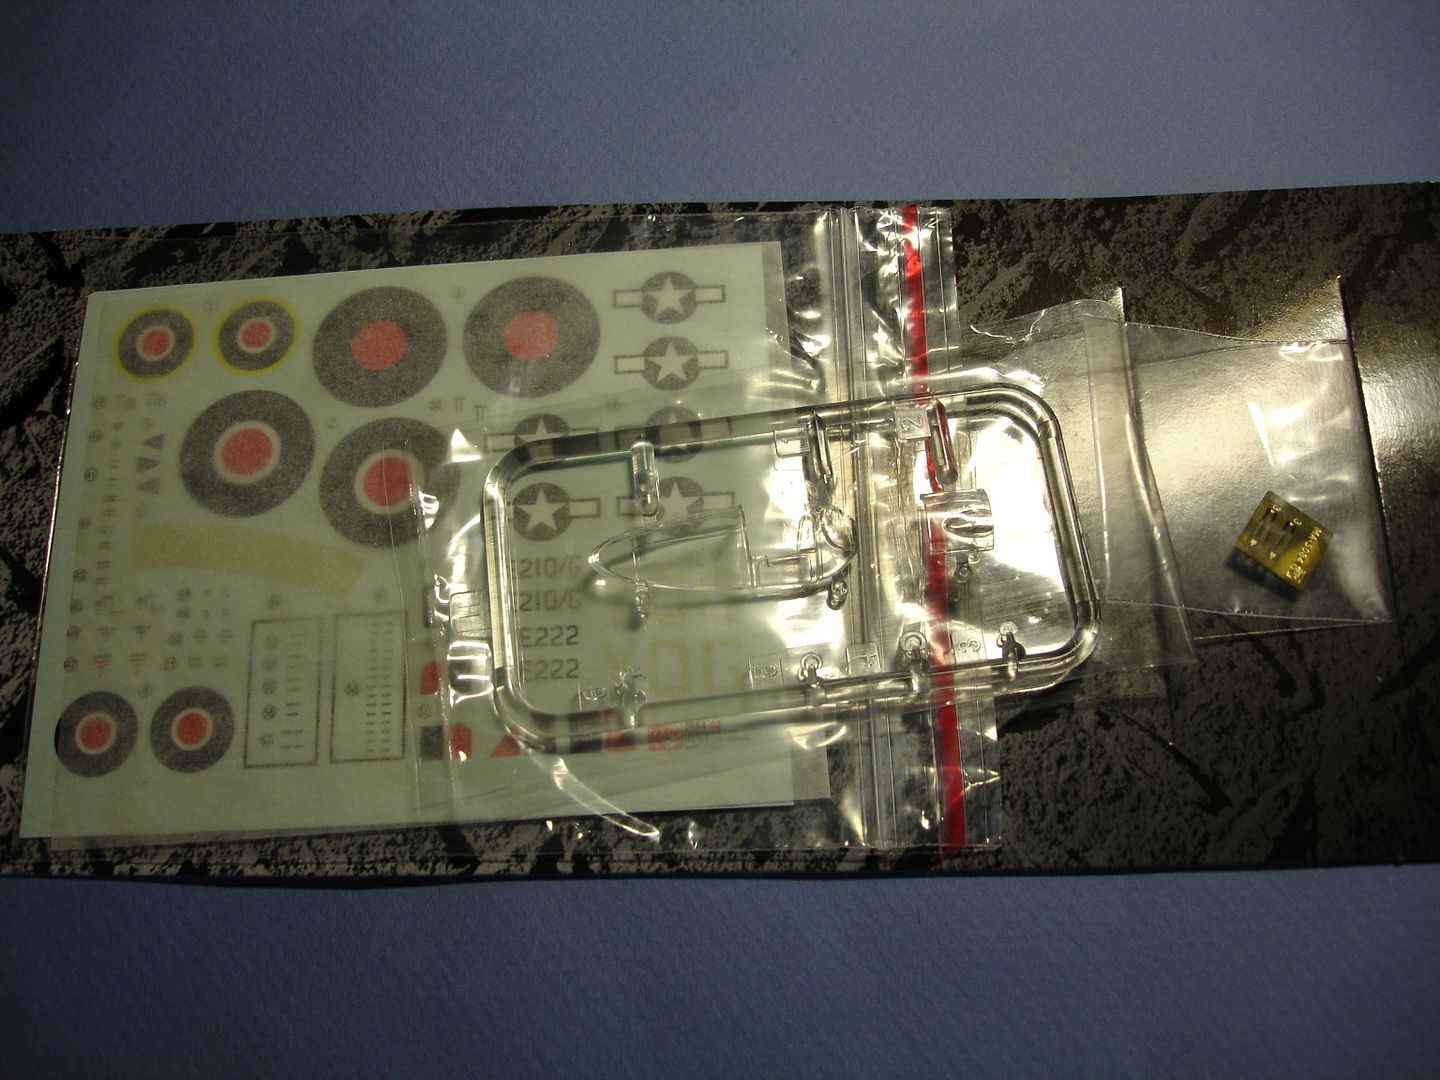
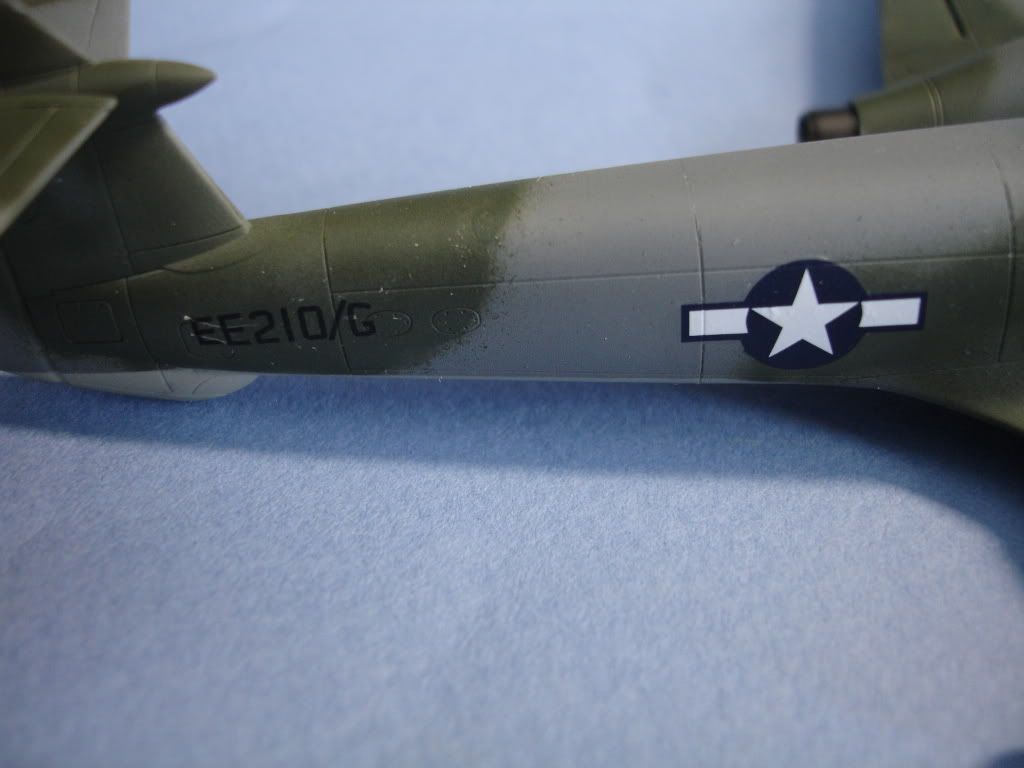
And the standard Dragon card, containing the clear parts, two photo-etched antennas, and the decals. I know this might offend some of the Brits on here, but I'm going to do this in the US markings, since Muroc (edwards) air base is about 4 hours away from me here, have to go for California connection here.
I should be able to update this build pretty regularly, I hope you all enjoy this build.
Matt
Hosted by Rowan Baylis
Cyber-Hobby 1/72 Meteor F.1
scvrobeson
United States
Joined: May 17, 2011
KitMaker: 65 posts
AeroScale: 44 posts
Joined: May 17, 2011
KitMaker: 65 posts
AeroScale: 44 posts
Posted: Tuesday, August 02, 2011 - 03:55 PM UTC
scvrobeson
United States
Joined: May 17, 2011
KitMaker: 65 posts
AeroScale: 44 posts
Joined: May 17, 2011
KitMaker: 65 posts
AeroScale: 44 posts
Posted: Sunday, August 07, 2011 - 07:46 PM UTC
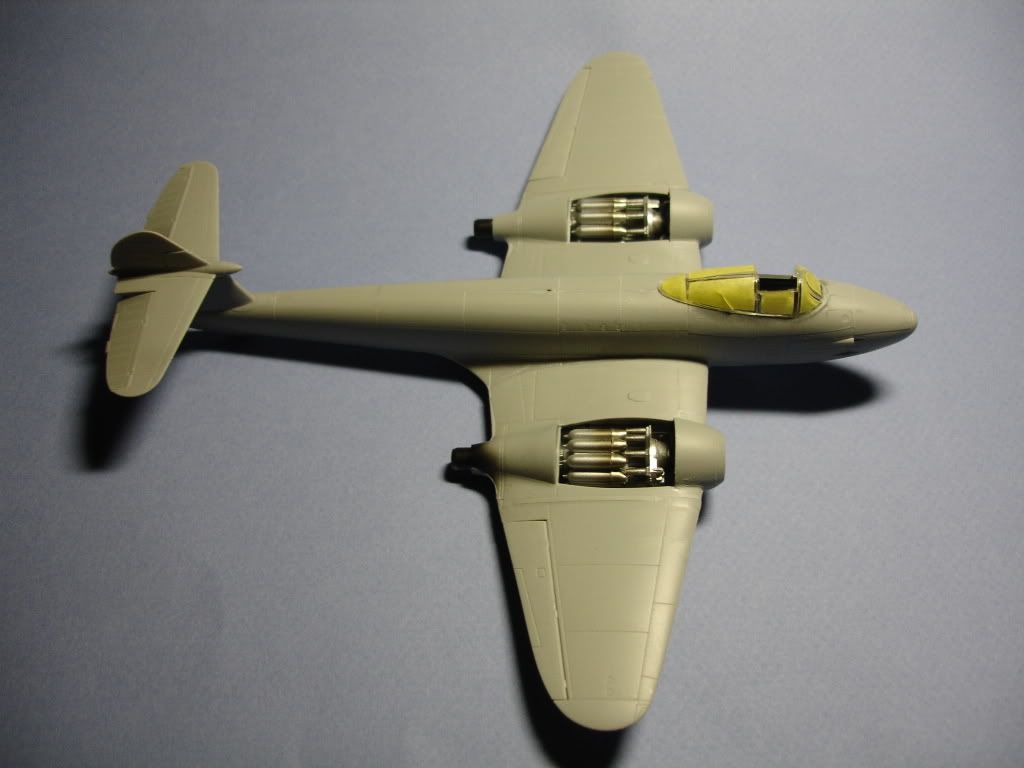
Hey everyone. Sorry for not updating more often, but this build really just fell together, so it was together before I even knew it. This kit is really a great piece of plastic, Dragon's technology really improved this kit. The use of slide-molding really made assembly much easier, and greatly improved the fit.
So far, all I've needed on this kit is some Mr. Surfacer 1000, that's it. No putty, no superglue, it's really great. I'm glad how quickly this fell together, and now we're prepping for paint already on this one.
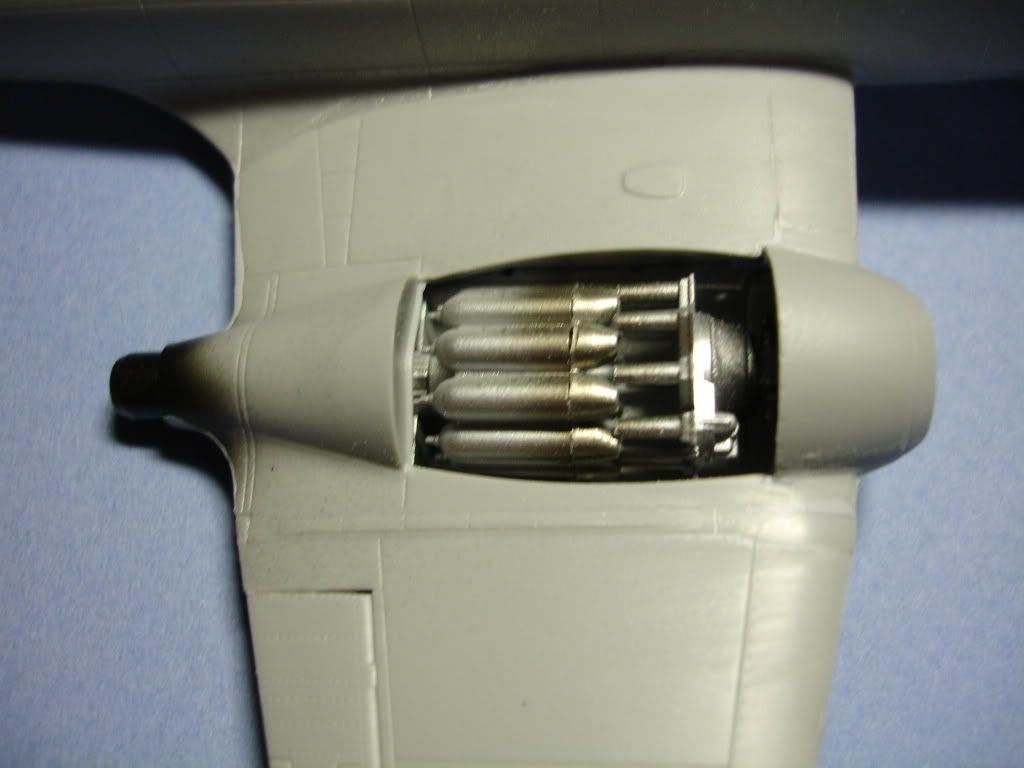
Engines were really well done, mostly slide-molded. All they needed was some Alclad, I used Aluminum, Pale Burnt Metal, and Jet Exhaust in different mixes to give the different metal tones.
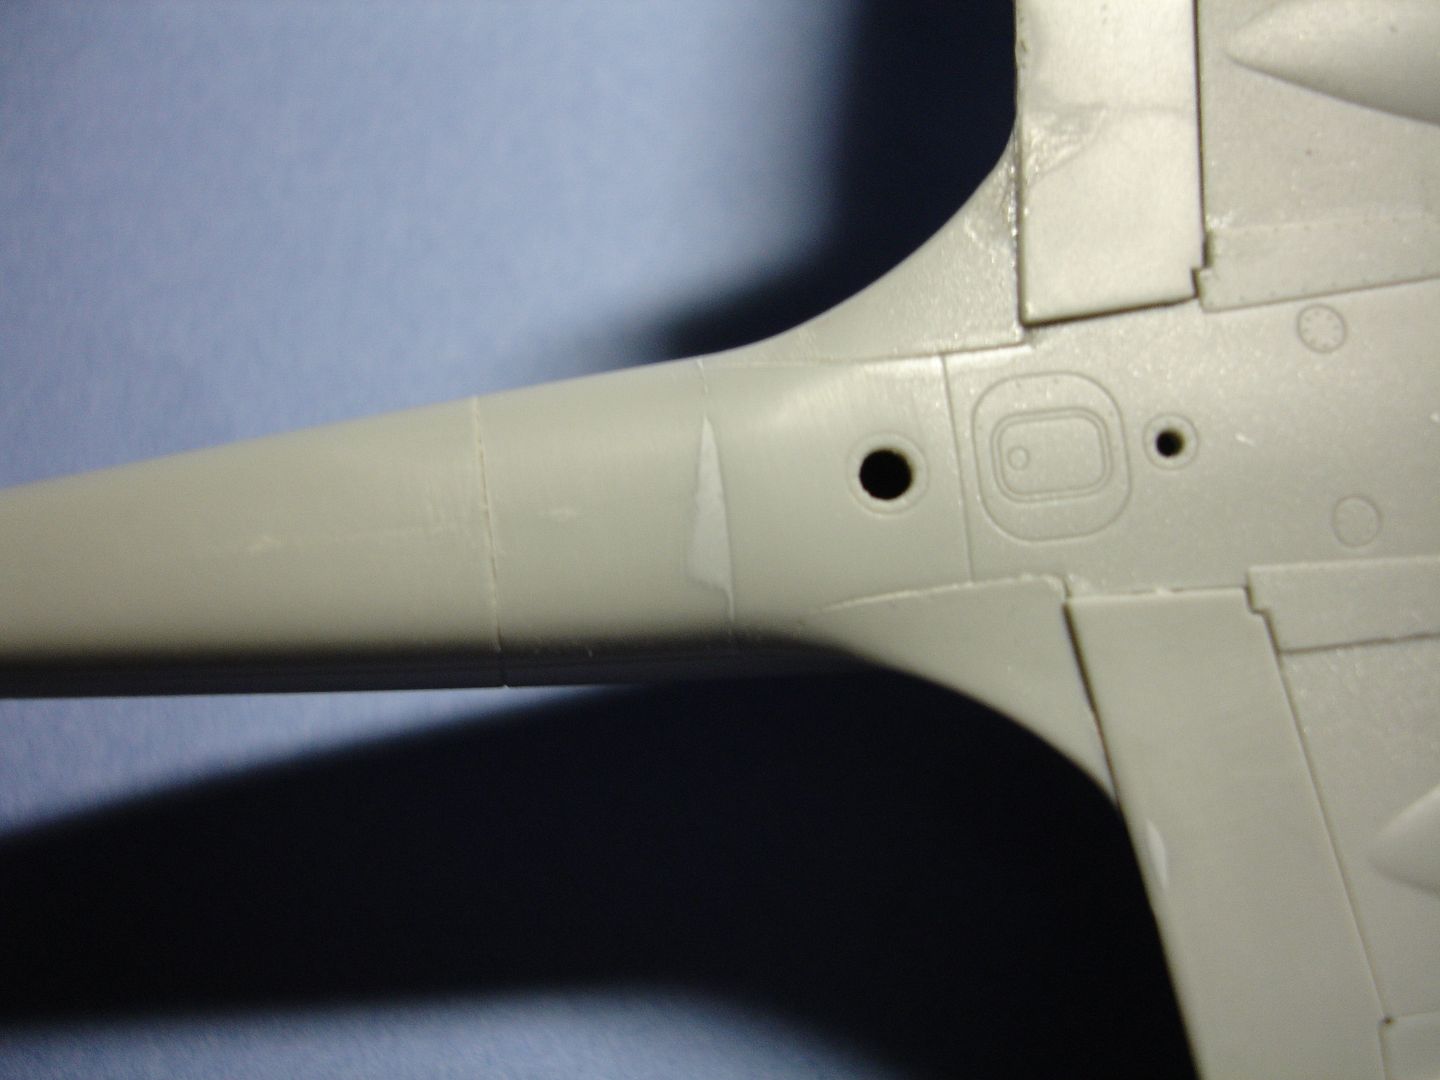
Perfect wing-root fit on here, great job Dragon!
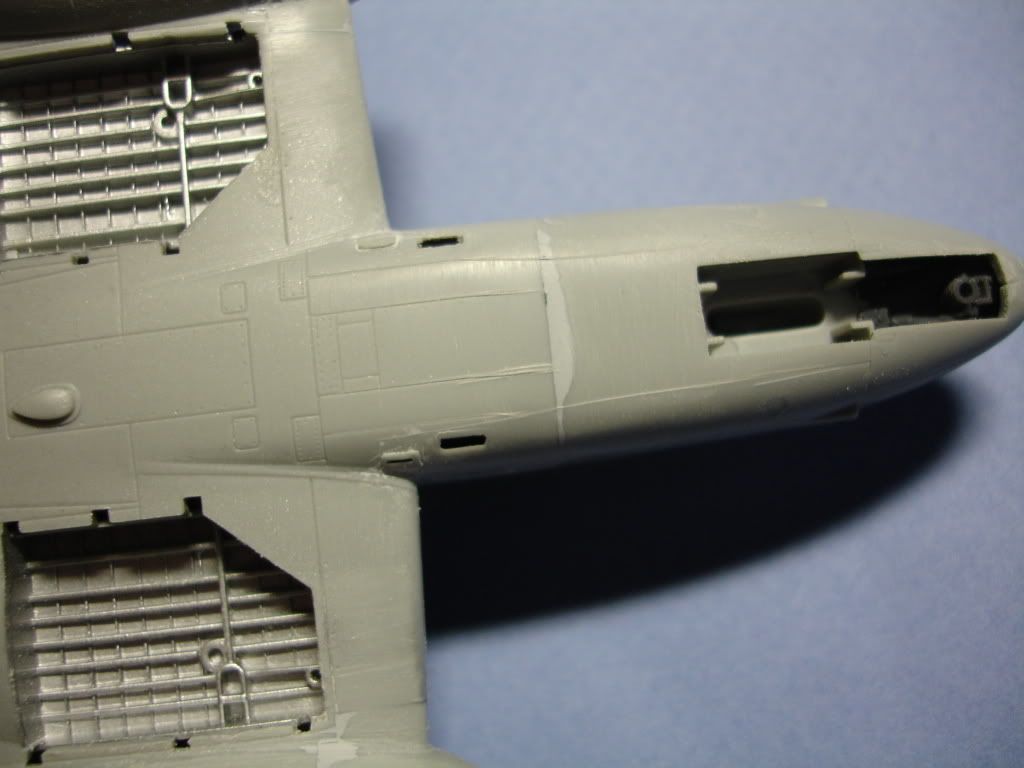
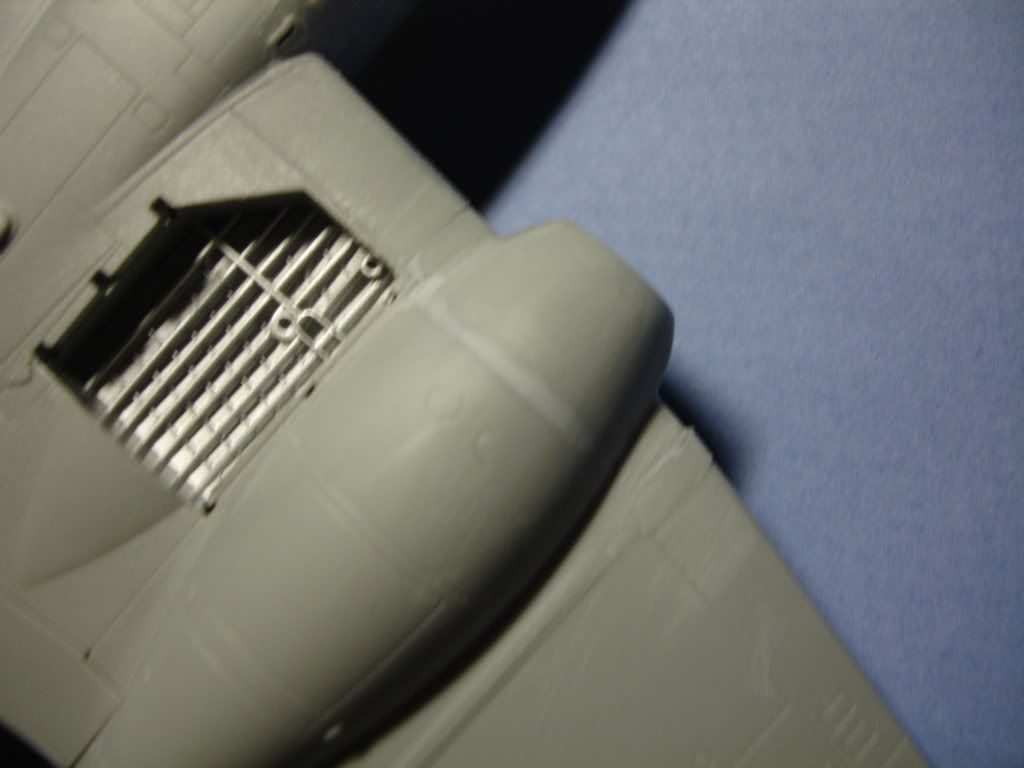
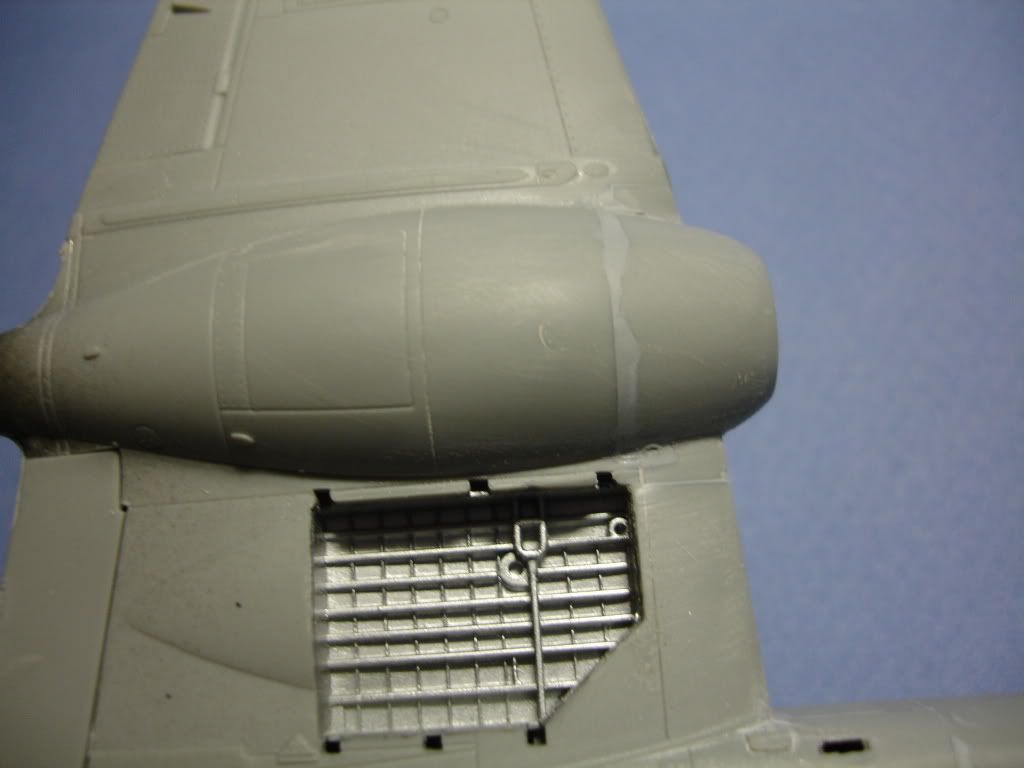
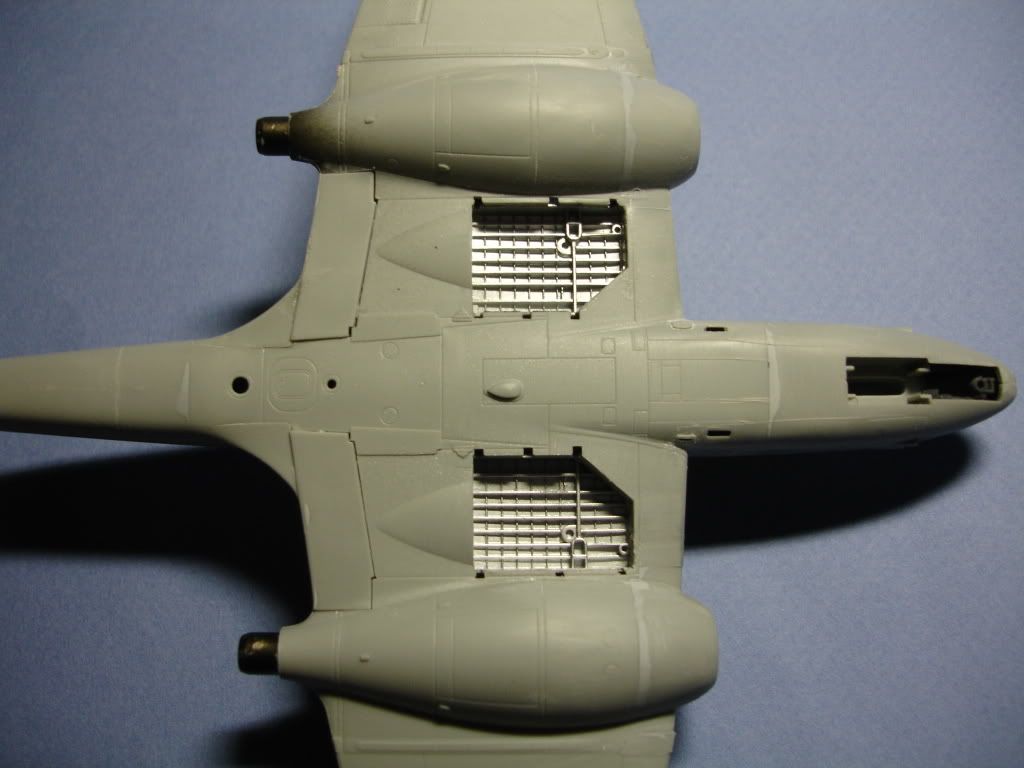
Just the tiny amount of filler on here. But there's never been a Meteor kit that didn't need some filler on the intake rings, even the Tamiya kit did. Luckily, the fit was really, really close.
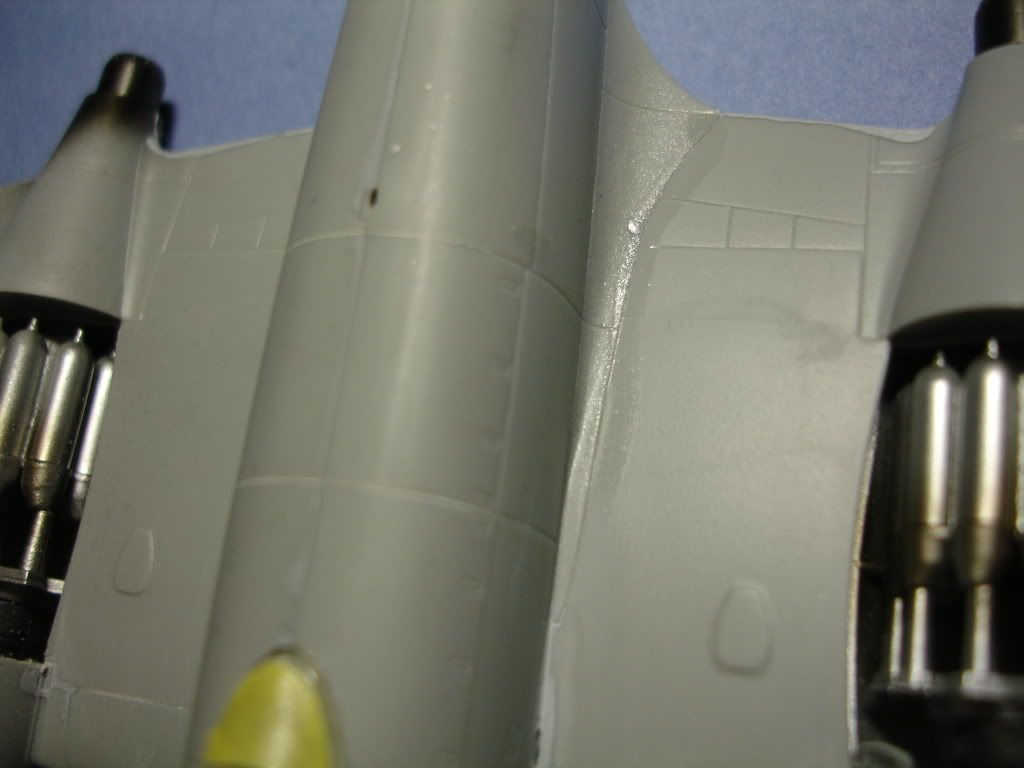
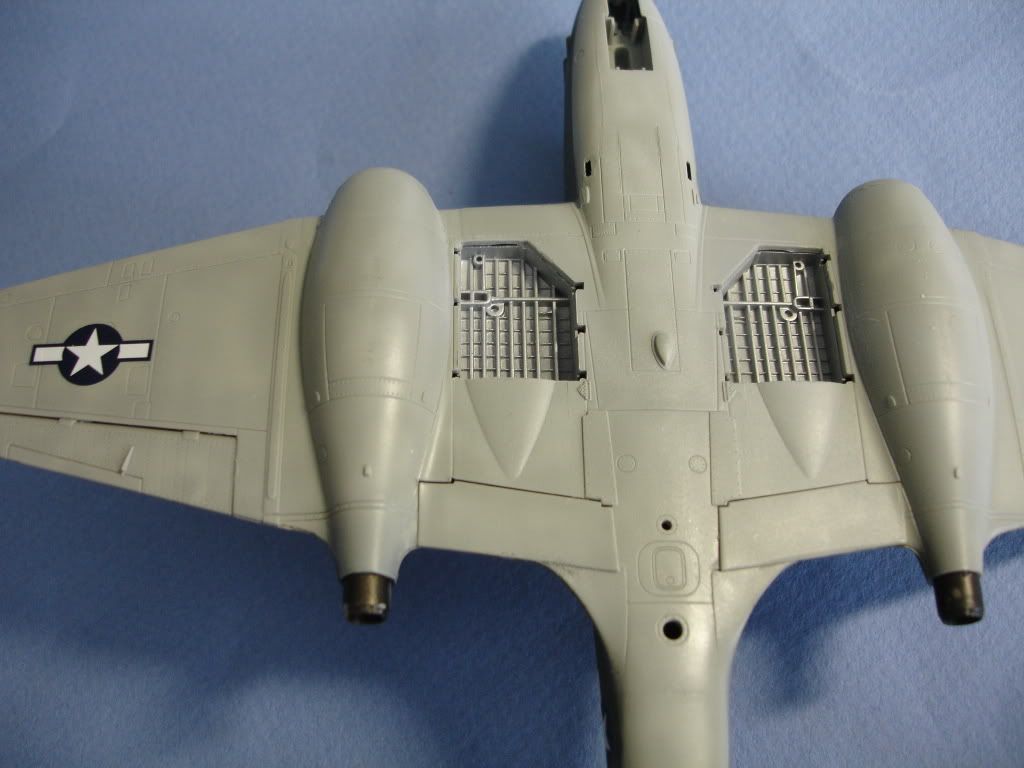
And an overall underside view, showing how little filler there really is, and the aluminum wheel bays.
Before I forget, yes, you do need nose-weight in this one. I'm not sure if I have enough, so I might have to improvise a bit on this build....
Thanks everyone for reading in on this one. Hope to have paint on for the next update.
Matt
spaarndammer
Noord-Holland, Netherlands
Joined: January 28, 2007
KitMaker: 1,945 posts
AeroScale: 388 posts
Joined: January 28, 2007
KitMaker: 1,945 posts
AeroScale: 388 posts
Posted: Sunday, August 07, 2011 - 08:47 PM UTC
Impressive kit! and build!
Looking forward to see more.
Jelger
Looking forward to see more.
Jelger
scvrobeson
United States
Joined: May 17, 2011
KitMaker: 65 posts
AeroScale: 44 posts
Joined: May 17, 2011
KitMaker: 65 posts
AeroScale: 44 posts
Posted: Monday, August 08, 2011 - 05:40 PM UTC
Thank you very much. I'm glad you're enjoying this one. I'm really enjoying the build. And I started painting it today, I got the Medium Sea Grey on the bottom, and weathered it a little bit. This is supposed to be a test plane, so probably would not have weathered much.
Thanks for reading in.
Matt
Thanks for reading in.
Matt
litespeed
News Reporter
England - North West, United Kingdom
Joined: October 15, 2009
KitMaker: 1,976 posts
AeroScale: 1,789 posts
Joined: October 15, 2009
KitMaker: 1,976 posts
AeroScale: 1,789 posts
Posted: Tuesday, August 09, 2011 - 11:34 AM UTC
Quoted Text
Impressive kit! and build!
Looking forward to see more.
i agree with Jesper Matt. Very impressed with your build so far. Keep up the excellent work.
All the best.
tim
scvrobeson
United States
Joined: May 17, 2011
KitMaker: 65 posts
AeroScale: 44 posts
Joined: May 17, 2011
KitMaker: 65 posts
AeroScale: 44 posts
Posted: Tuesday, August 09, 2011 - 05:40 PM UTC
Thank you Tim. I'm really glad you're enjoying the build. It really is a nice kit, and it might convince me to actually try out 1/72, I've always been 1/48 and above builder.
Matt
Matt
scvrobeson
United States
Joined: May 17, 2011
KitMaker: 65 posts
AeroScale: 44 posts
Joined: May 17, 2011
KitMaker: 65 posts
AeroScale: 44 posts
Posted: Monday, August 29, 2011 - 08:13 AM UTC
Hey everyone. Sorry for not updating this build more frequently, but it is all done now. The paint was done with Model Master Enamels, free-handed on. Then the decals, (nice by the way, if a bit thick) were applied, then the whole thing sealed up. I figured as a test bird, it wouldn't get too dirty, so I didn't really do a wash or any weathering.
About the nose-weight, Dragon doesn't give an amount in the instructions, and I did not put enough in. I put in about 15-20 grams of weight, but it was not enough. Close, but not enough to hold up the plane. Too bad, have to put it on a base to support it.
Thanks everyone who read in on this build, I hope you all enjoyed it. This is a great kit, if this is the new Dragon, I'm very happy with it, and can't wait to see what else they can come out with.
Thanks to everyone on Aeroscale for letting me post on here, I like the people on this site.
Matt
ELABOGADO
Mexico
Joined: August 11, 2010
KitMaker: 13 posts
AeroScale: 11 posts
Joined: August 11, 2010
KitMaker: 13 posts
AeroScale: 11 posts
Posted: Thursday, September 01, 2011 - 11:51 AM UTC
Hi MATT!
Amazing model!...and amazing construction!
Honestly, the reactors engine inside the caves...seen O.K.!..im close to finnish the old model of METEOR from AIRFIX.....and beetwen this and the airfix , there is no comparison.....
The Frank Whittle"s reactor ...the structure inside the landing gear..just very very fine work.
Hitler get crazy, when he read the notice that the brittish just to finnish his tests whit a reactor plane, in january of 1944.
I read in a book of Grover c. Hall: "History of the Fourth Fighter group of the U.S.A.A.F. that Don Blakeslee flew in a METEOR jet, testing it and prepare himself for the future fight that they expect against the nazi jets reported (they dont know in that time that the nazis were short of gas -turbocine-,pilots etc) .he recommended the plane, and he tough than maybe could former an American squadron whit meteors.
At last wasnt neccesary, the war is closing to the end, and the P-51 ,whit others fighters was enough to blast the nazi jets.
The Frank Wittle reactors survive from the METEOR to 60s in service in the R.A.F. but it still in fly for another air forces (Argentina including).
Let me show you the engine and Frank :
Congratulations! very nice work and models advance.
From a really fell in love of the GLOSTER METEOR...and P-80
CHEERS!!